Tomatoes are one of my very favourite things to preserve, so I was pretty happy that week 5 of our Master Food Preserver class was devoted to tomatoes (and also cheese!). No, it’s not tomato season here in the PNW, but hey class has to cover everything before the season ramps up, so we got a little tease and now have to wait a few months before we can make all these recipes.
Canning tomatoes is awesome and amazing and definitely something that you should do, but it’s an area where you definitely need to be following tested and trusted recipes for things like salsas and sauces. Tomatoes are acidic enough to hot water bath can, but they are on the borderline between low and high acid, so we must add a little extra acid when we can them. This is because some may not be quite acidic enough, and if they are not remember we have the potential for botulism growth. We also learned that there are a couple bacteria that are only really found on tomatoes, and these bacteria can reduce the acidity and create conditions that are ideal for botulism. Adding that extra acid eliminates these risks.
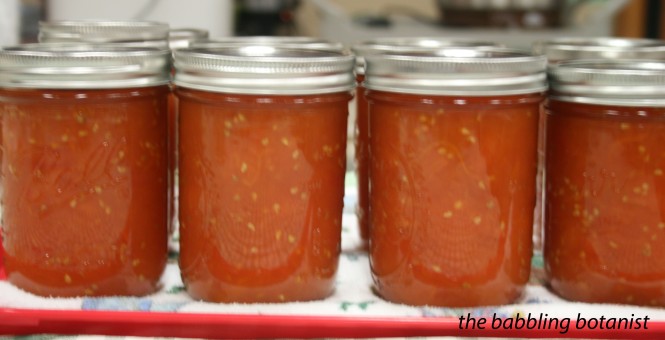
In class we canned crushed tomatoes. When filling the jars, you add a bit of extra acid to each jar. 1 tablespoon of lemon juice per pint or 1/4 teaspoon of citric acid. This ensures your tomatoes are definitely out of the pH range in which botulism can grow. It takes two extra seconds to do, so don’t skip it.
The hardest part of canning tomatoes is the peeling. I always can with a friend doing tomatoes because it’s a lot of work. But totally worth it. Look at those naked ‘maters!

For the crushed tomatoes, we hot packed them. Here we are bringing them to a boil. Hot packing tomatoes is definitely the way to go, or else they have to process for 85 minutes!! That’s crazy talk!

Crushed tomatoes!
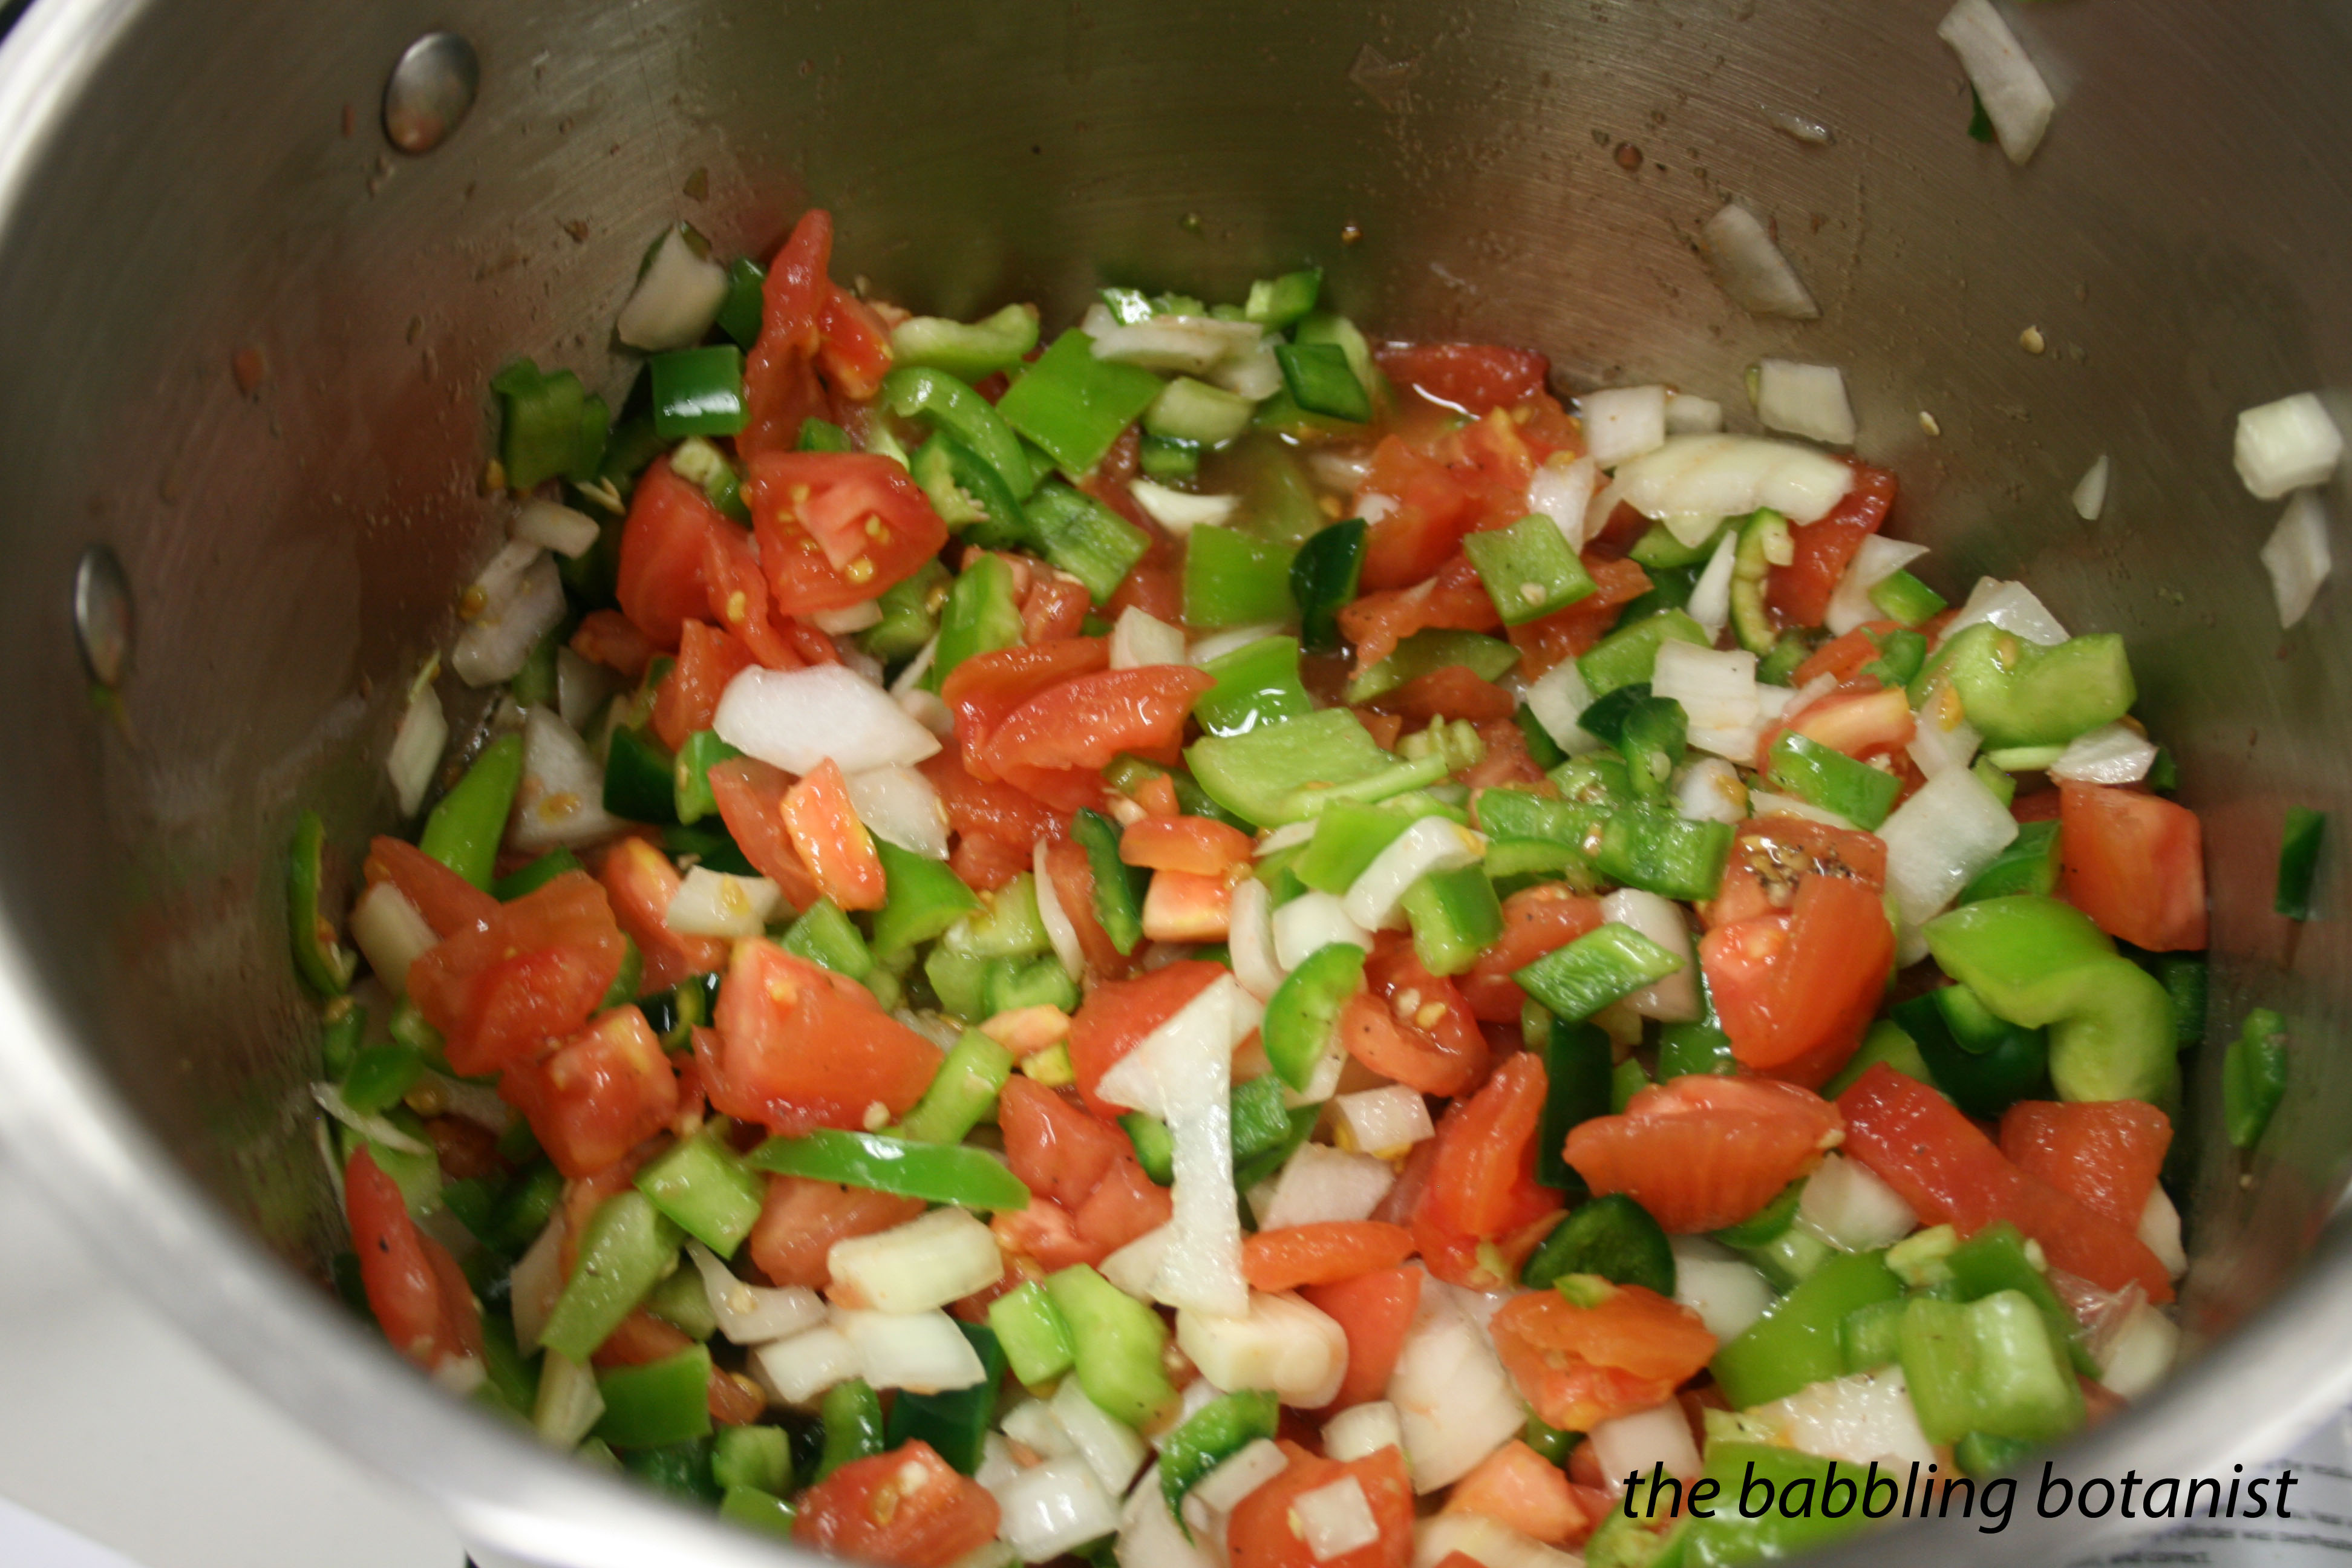
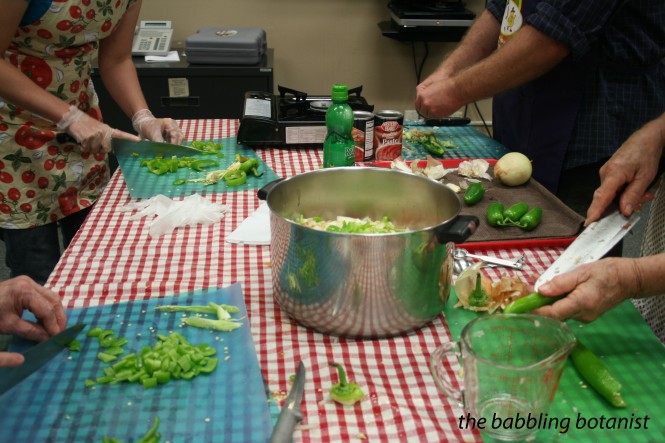
My favourite thing to do with tomatoes is to make salsa. We made three different salsas in class this week. Two tomato salsas and a tomatillo salsa. Salsa are delcious and amazing, but again, this is one area where you really need to follow a tested recipe, such as a recipe from Ball, So Easy to Preserve or from an extension service publication or the National Center for Home Food Preservation. The reason for this is that adding peppers and onions to the tomatoes to create salsa reduces the acidity, putting it into a range where botulism can definitely grow. Vinegar or lemon or lime juice must be added to compensate for these low-acid foods. But do you know exactly how much acid is needed for a cup of peppers or a cup of onions? No, so try out some of those tested recipes and find one you like. There really are a good number of options out there.
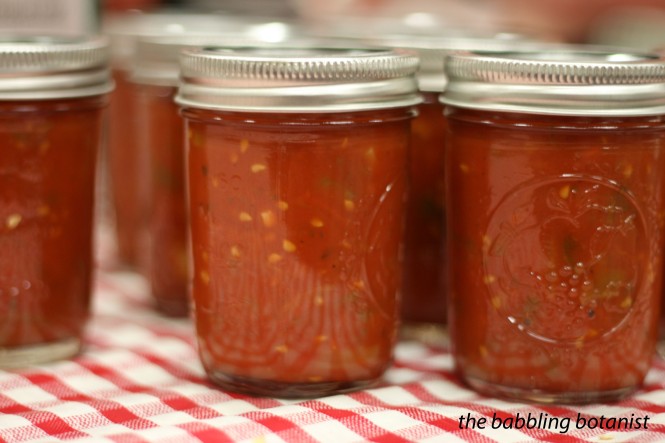
The one that I helped make is actually this one that I posted last fall. It’s a great one if you like a salsa with a lot of peppers in it. I would recommend making about a million jars of this come tomato season. It’s that good. Although one alteration from the way I did it would be to make the recipe as written, then repeat rather than trying to bring twice as much to a boil. It just took forever to boil and I think holds together better if you get it boiling and into the jars faster. You live and you learn.

OH MAN I JUST WANT TO EAT IT ALL RIGHT NOW!

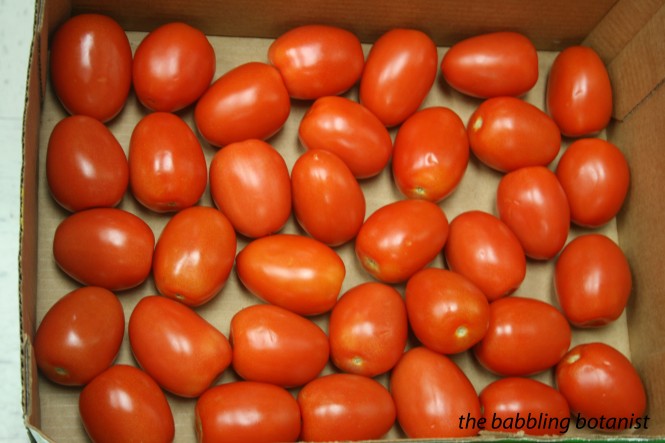
The second recipe was also an OSU extension recipe but it’s more similar to the other one from Ball I posted last year, found here. This one has proportionally more tomatoes than pepper and onions, and has a bit of added tomato paste. They are both delicious and which one you like better will just depend on your taste for salsa.

Beautiful little fellows.
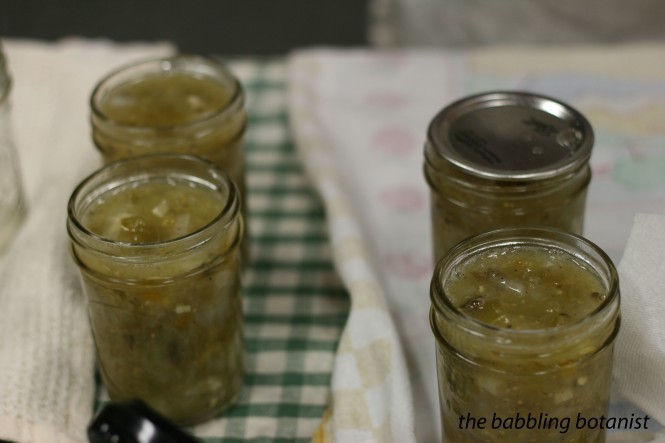
Finally, we made a salsa verde using tomatillos. You could also make this with green tomatoes as I did last year with this recipe.

Filling the jars.
OK. Well now I am drooling and wishing tomatoes were ready…. but never mind let’s not wish the summer away. Let’s talk about some salsa and tomato rules.
– I already mentioned this, but always follow a tested recipe when canning salsa
– Never reduce the vinegar or lemon juice or add extra vegetables
– Altering spices is OK, like adding some cumin, cilantro or oregano to your taste
– You can swap peppers for different peppers, like if you want your salsa milder or hotter – just ensure you use the volume of total peppers called for in the recipe
– Don’t can overripe, spoiled tomatoes, or those from frost-killed vines. They have lower acidity so may not be safe to can
– Tomatillos and tomatoes are interchangeable in salsa recipes
– Use 5% acidity vinegar and bottled lemon or lime juice in salsa
– Equal amounts of lemon juice can be substituted for vinegar but not vice versa since the lemon juice is more acidic
– Don’t use thickeners in canned salsas, this can cause uneven heating and produce and unsafe product
Whew! OK that seems a bit overwhelming, but basically just be safe and smart making salsa. Follow a tested recipe, don’t be stupid, and you will enjoy many a delicious jar of salsa.
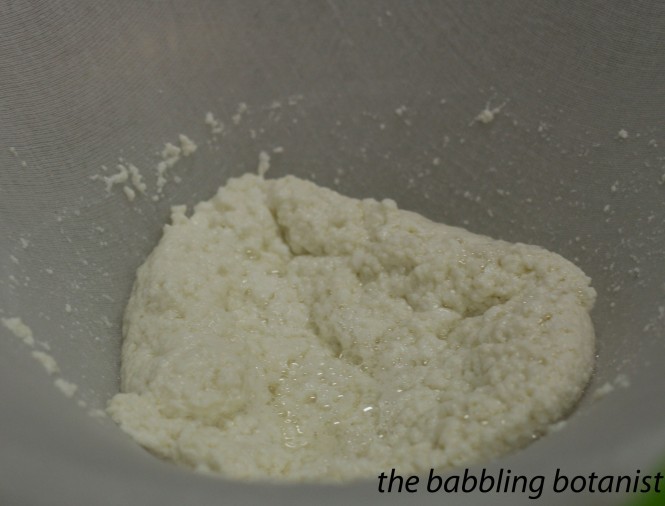
The last thing we did in class was learn to make soft cheese! Honestly, I thought it was a bit of a gross process, but maybe now that I’ve done it once it won’t be so bad next time. ha. And the cheese did taste pretty good. We made queso fresco. I’ll do a full post on it when I have a chance, but here are some pictures.
Milk and buttermilk

The formation of the curd.

The curd is setting up.

Eww. Straining it.

Squeezing out the whey.

Ta-da!

I think it was just the early stages and the smell that bothered me a bit. But it actually tasted surprisingly good. Have you ever made cheese? What’s your favourite kind to make?