Zesty Zucchini Relish

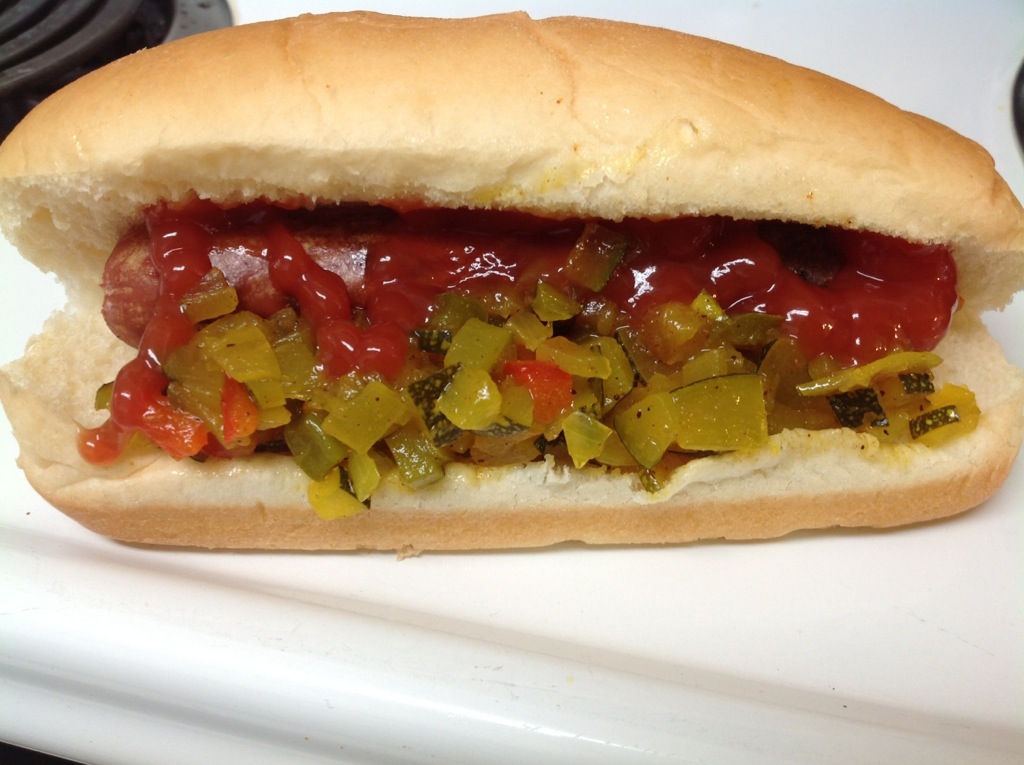
If you have zucchinis growing in your garden, by mid summer you are probably desperate like me for new and exciting ways to use them up. This zucchini relish, modified from the Ball Complete Book of Home Preserving is a delicious way to do just that. I am not a huge fan of the sweet commercial relishes, so tried a small batch of this at first, but it is so good (not sweet, it has a nice ZESTY flavour). I had to make more! Awesome on hot dogs or sausages!

20130903-211321.jpg

Ingredients:
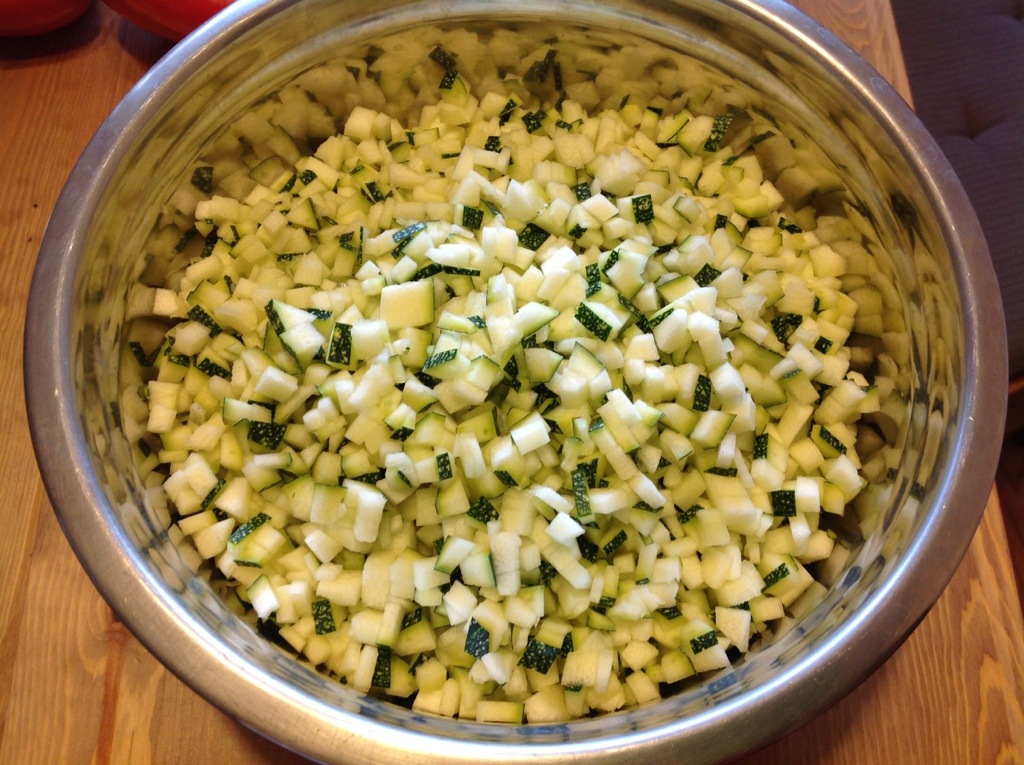
12 cups finely chopped zucchini
4 cups chopped onions
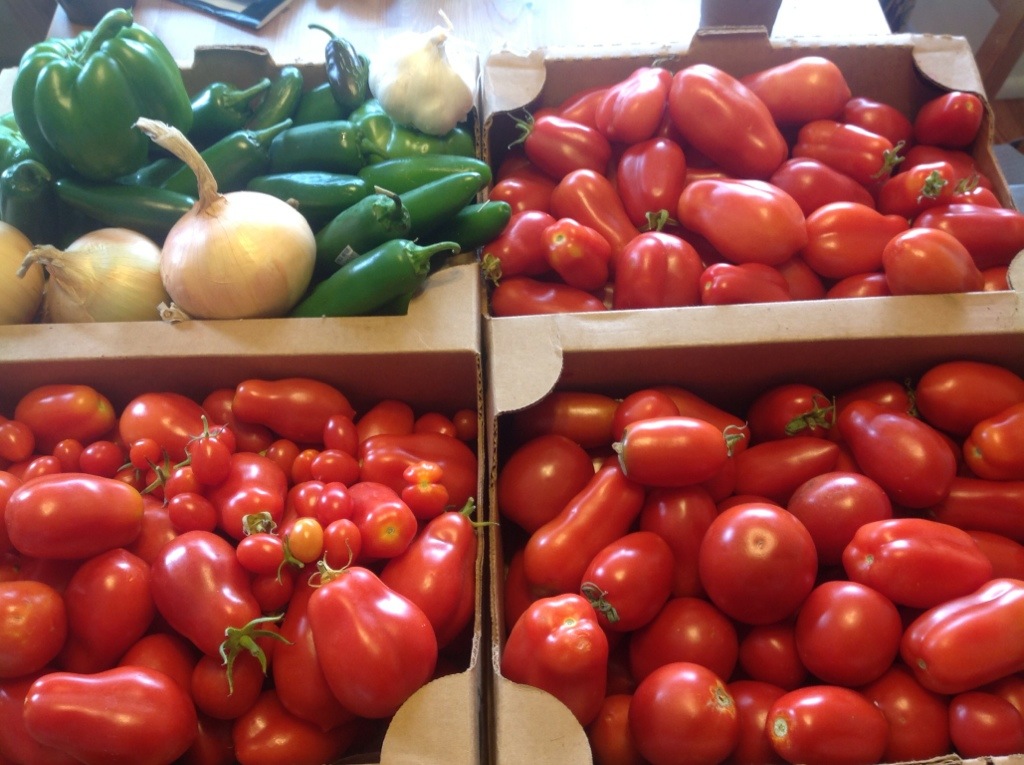
2 red bell peppers, finely chopped
1 green bell pepper, finely chopped
1/3 cup of canning salt
2.5 cups granulated sugar
2.5 cups white vinegar
1 tbsp ground nutmeg
1 tbsp ground turmeric
1 chili pepper, including seeds, chopped

The recipe also calls for 4 tbsp prepared horseradish, but I find horseradish’s flavour screams “Hi I am horseradish, I am ALL you can taste,” so I leave it out. If you like it though, it could be a nice addition to the recipe. Makes about 5 pints.

Here is what I did:

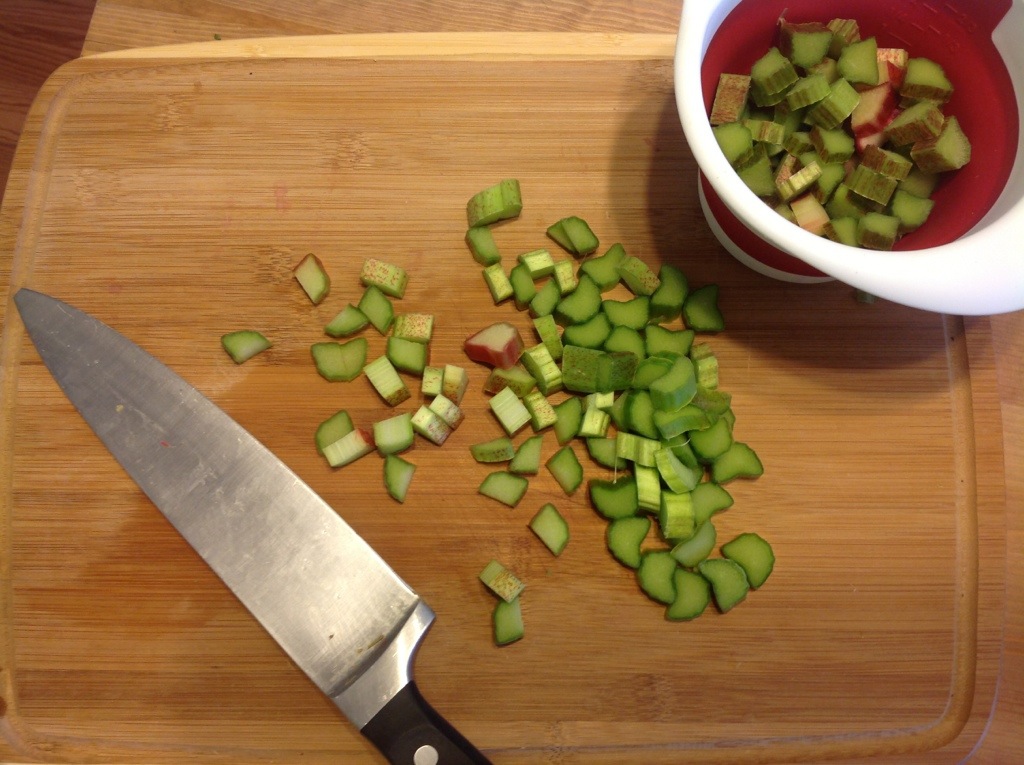
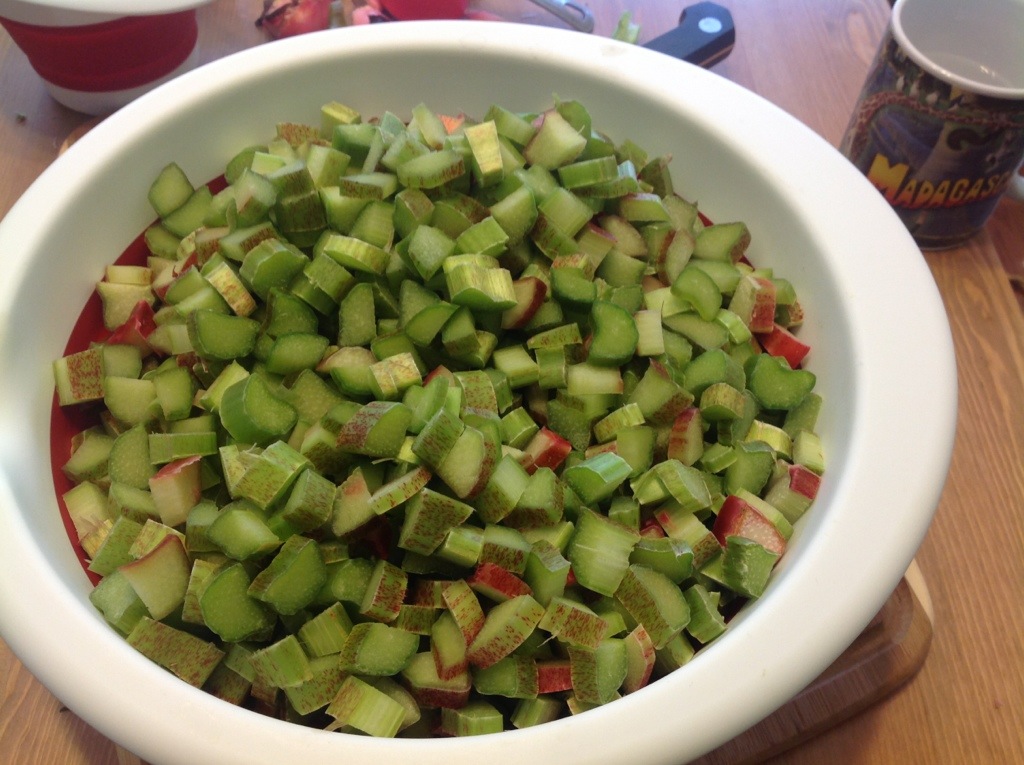
Finely chop the zucchini. 12 cups took me freaking forever though, so I might recommend trying to whip this up in a food processor. I just like the little cubes, but it was a lot of chopping.

20130902-232050.jpg

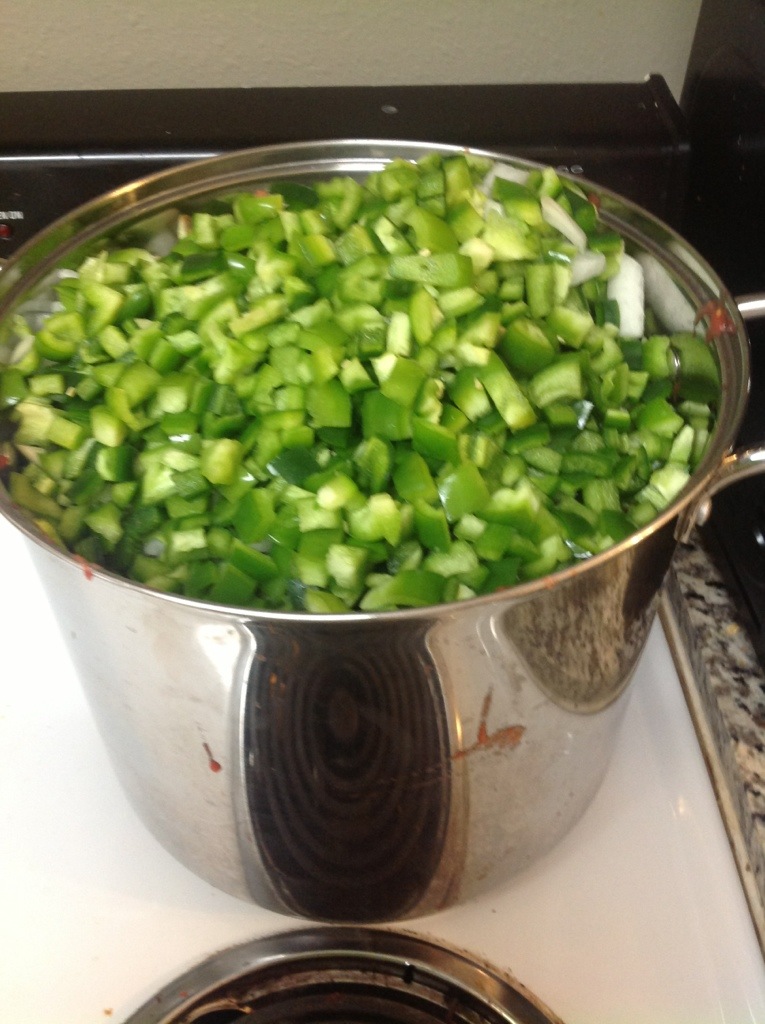
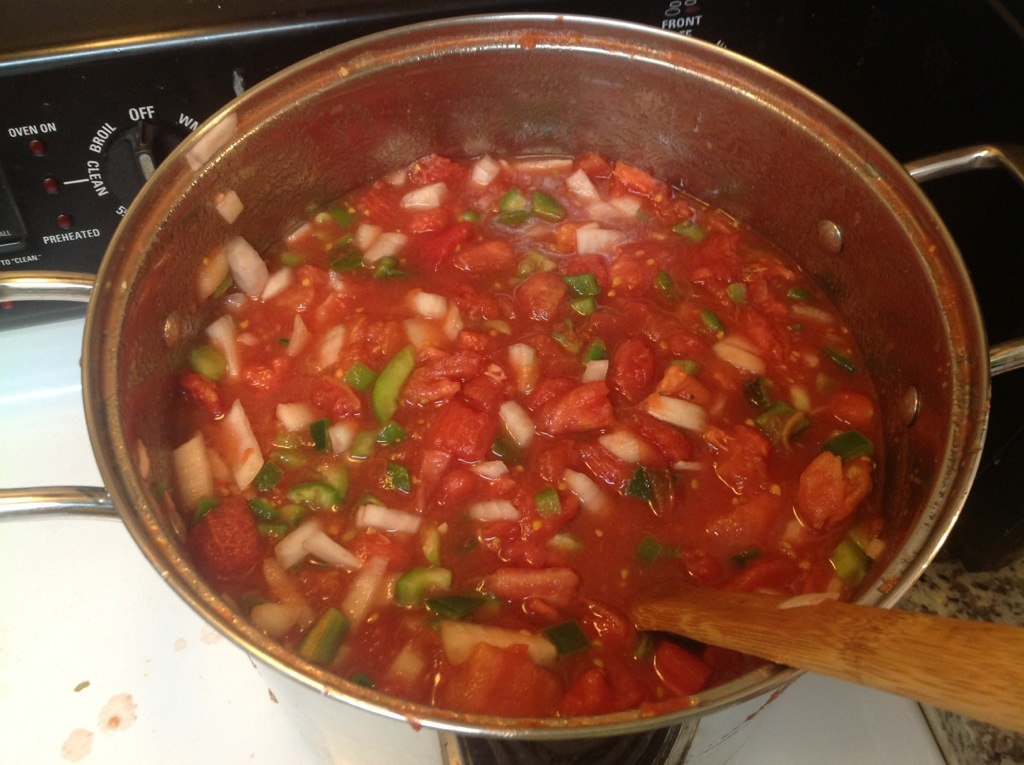
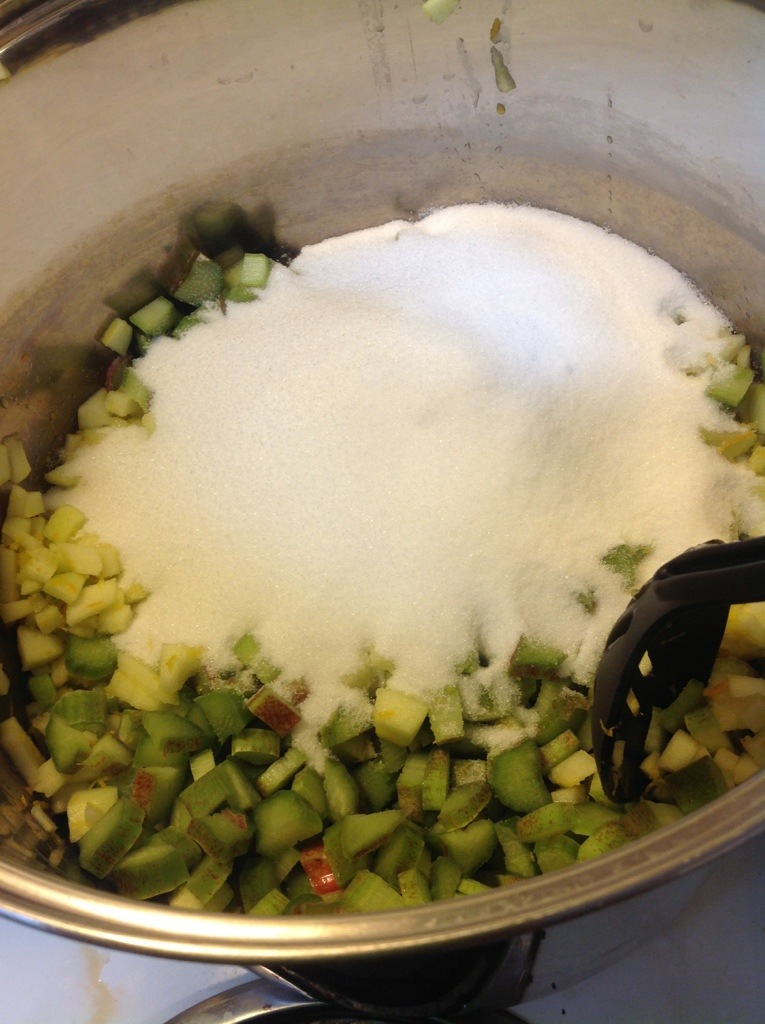
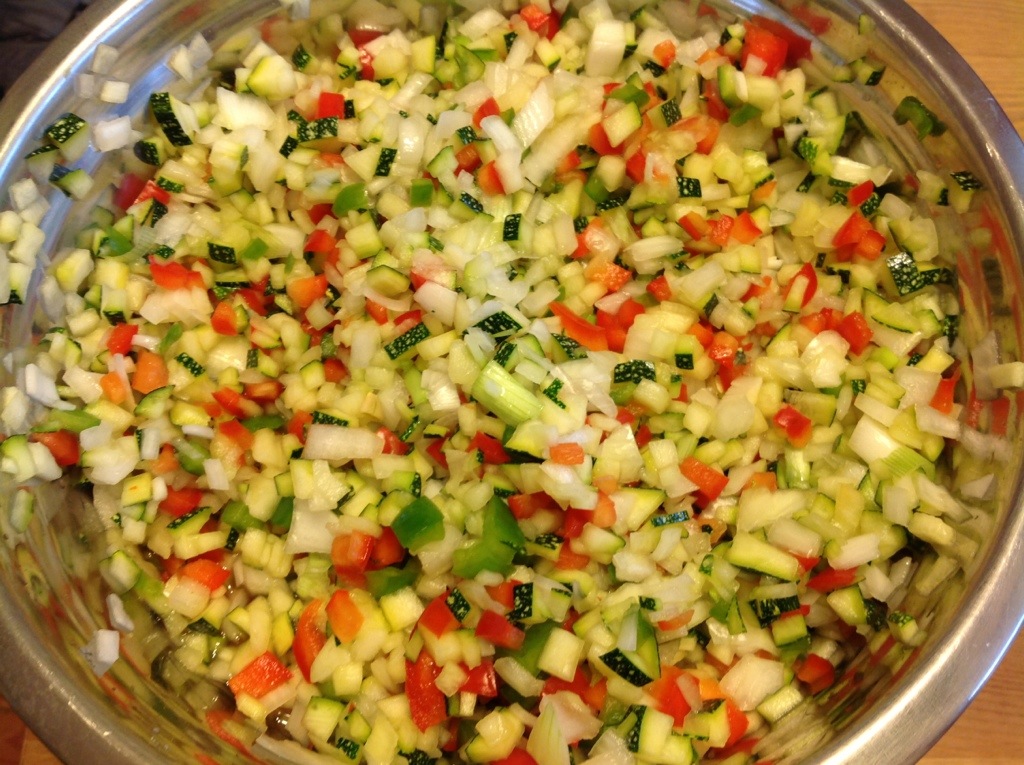
Chop the green and red bell pepper, onion and mix them together with the zucchini and the salt.

Cover and leave in a cool place overnight (12 ish hours).

20130902-232114.jpg

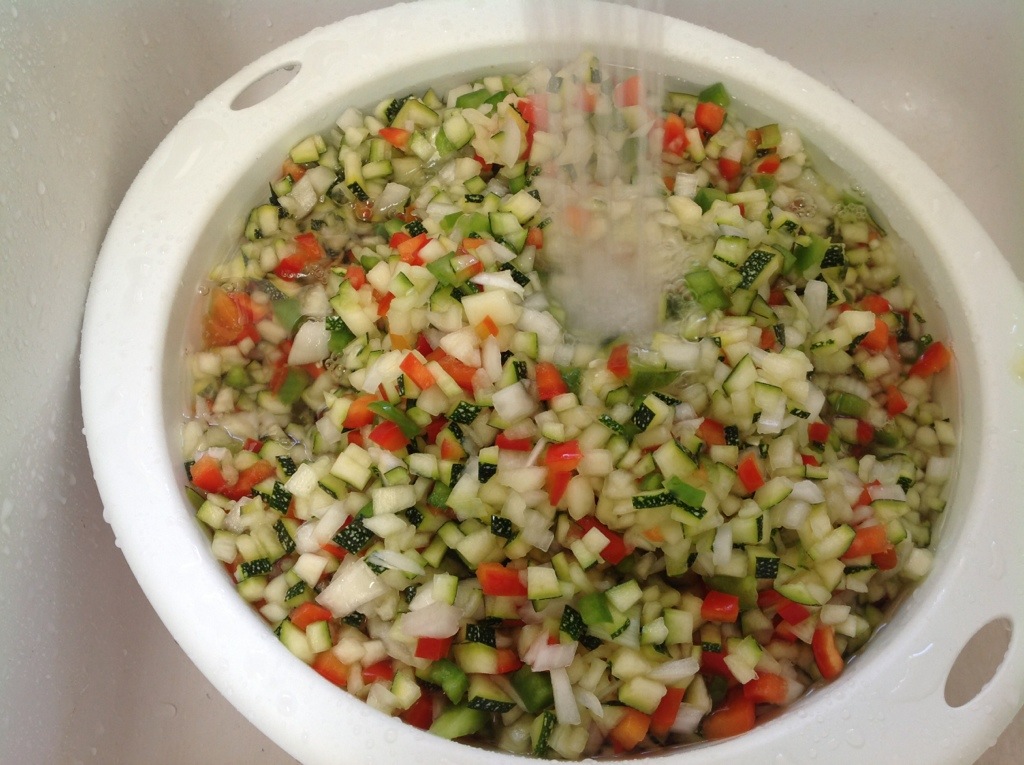
The next day, rinse the mixture off in a colander. Squeeze out as much moisture as you can. Get your hands in there and squeeze a handful at a time, and put it in a pot.

20130903-211225.jpg

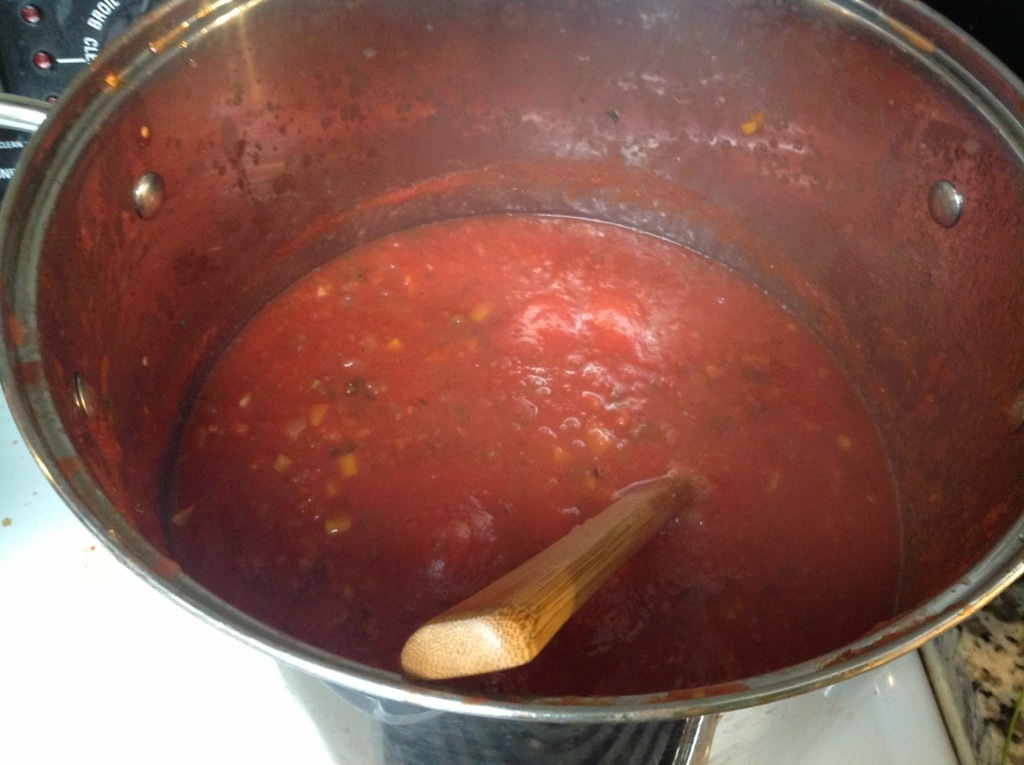
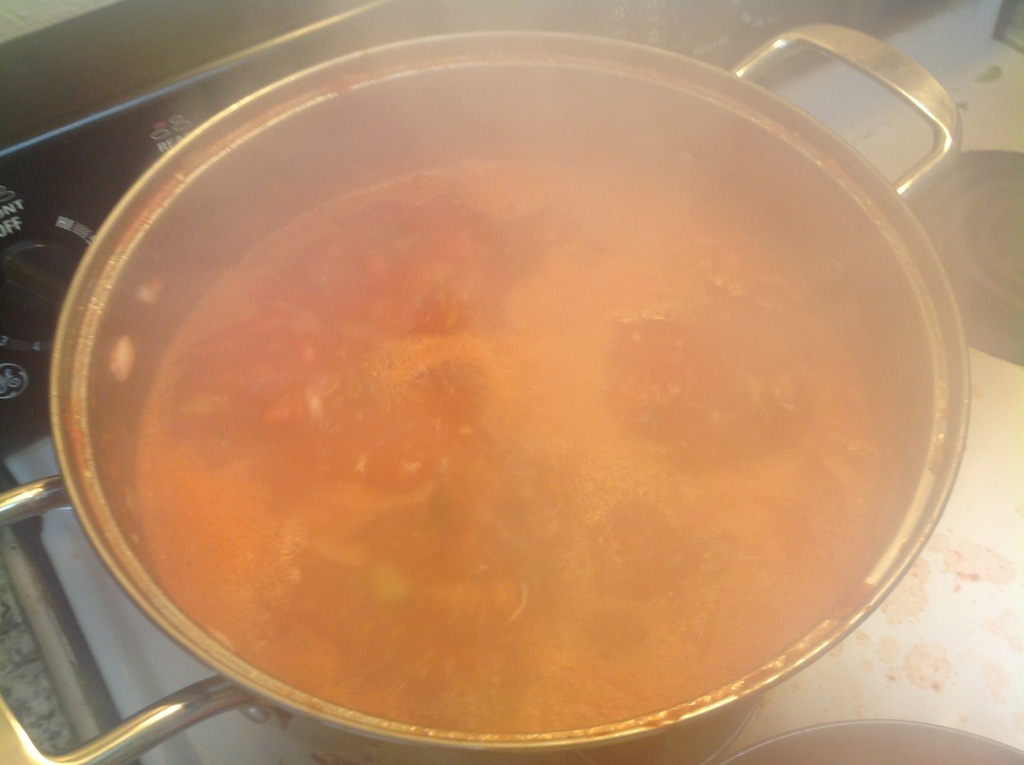
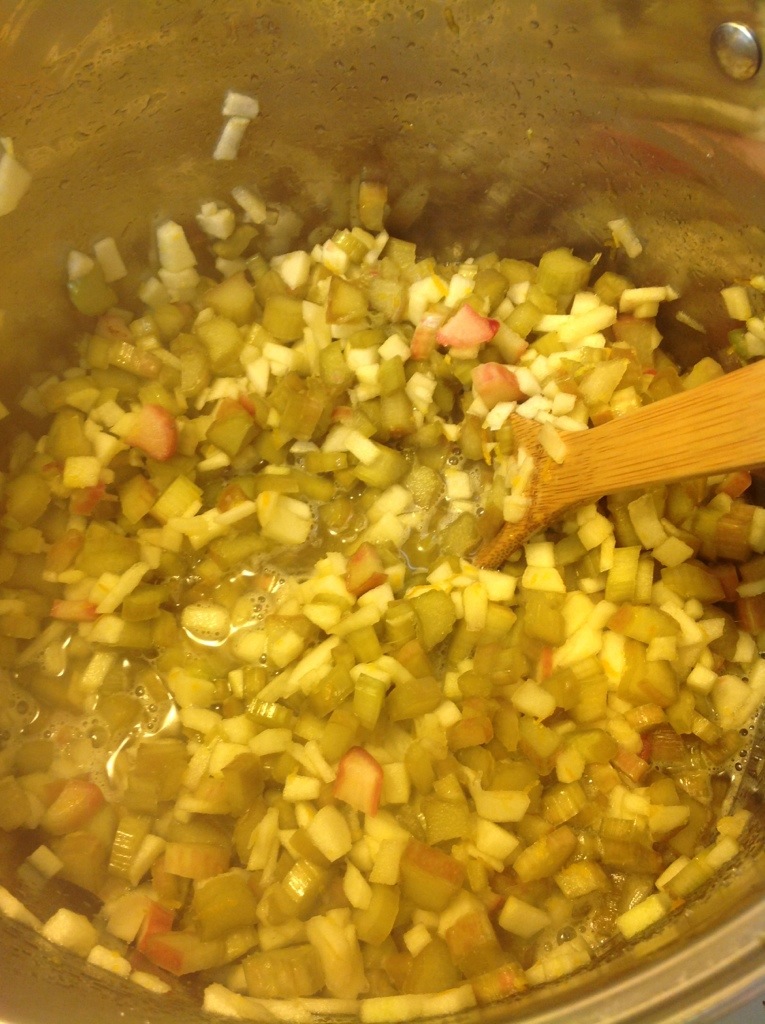
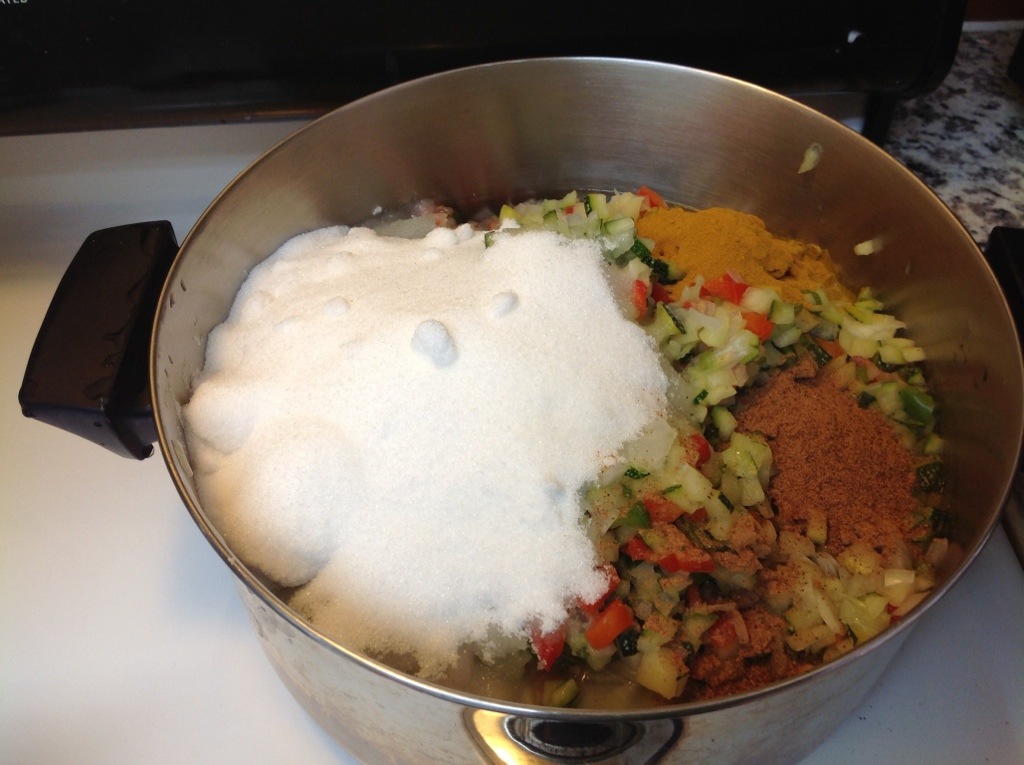
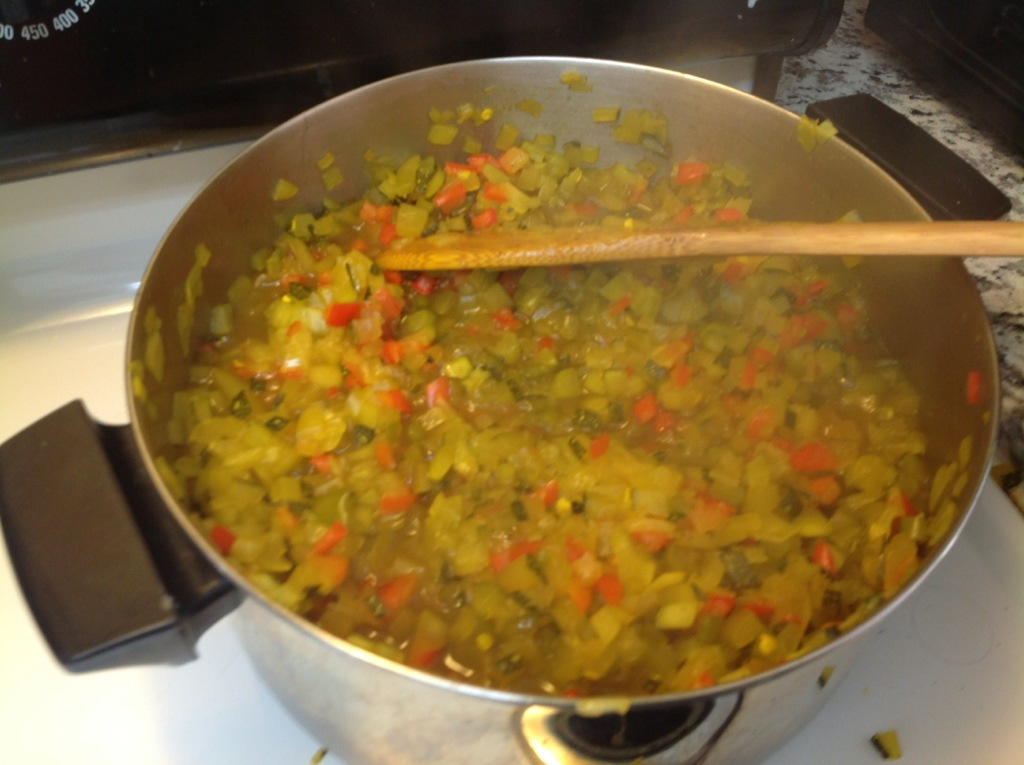
Add the vinegar, sugar, chili pepper, turmeric and nutmeg (and if you want horseradish) and bring to a boil over medium-high heat.

20130903-211255.jpg

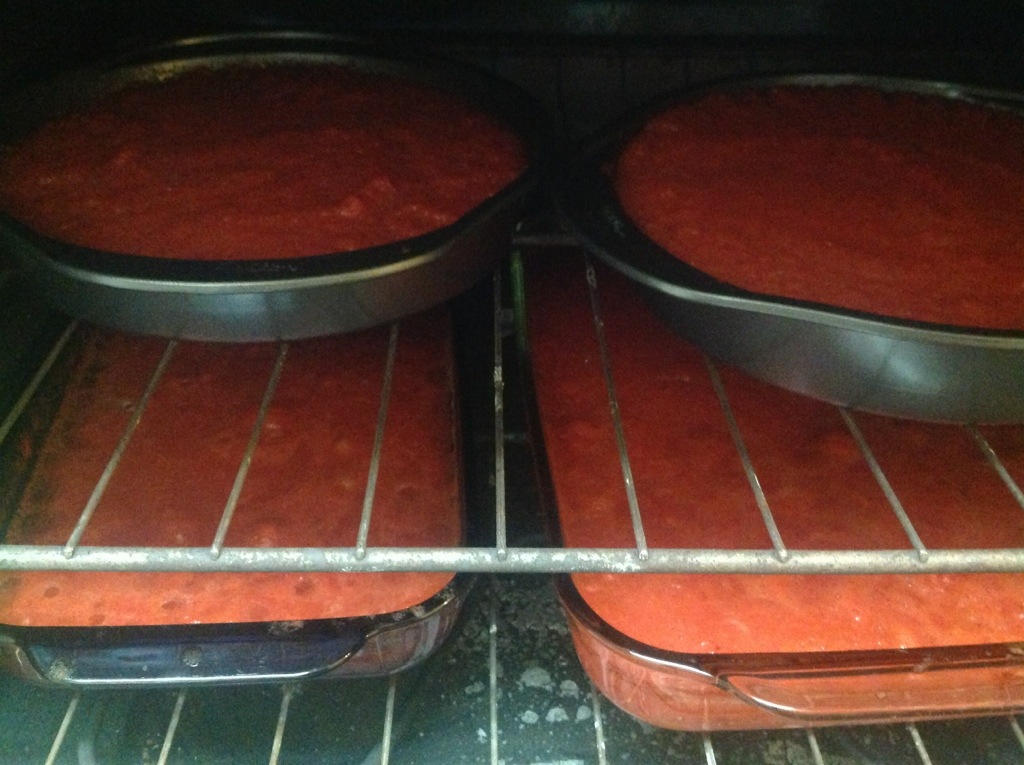
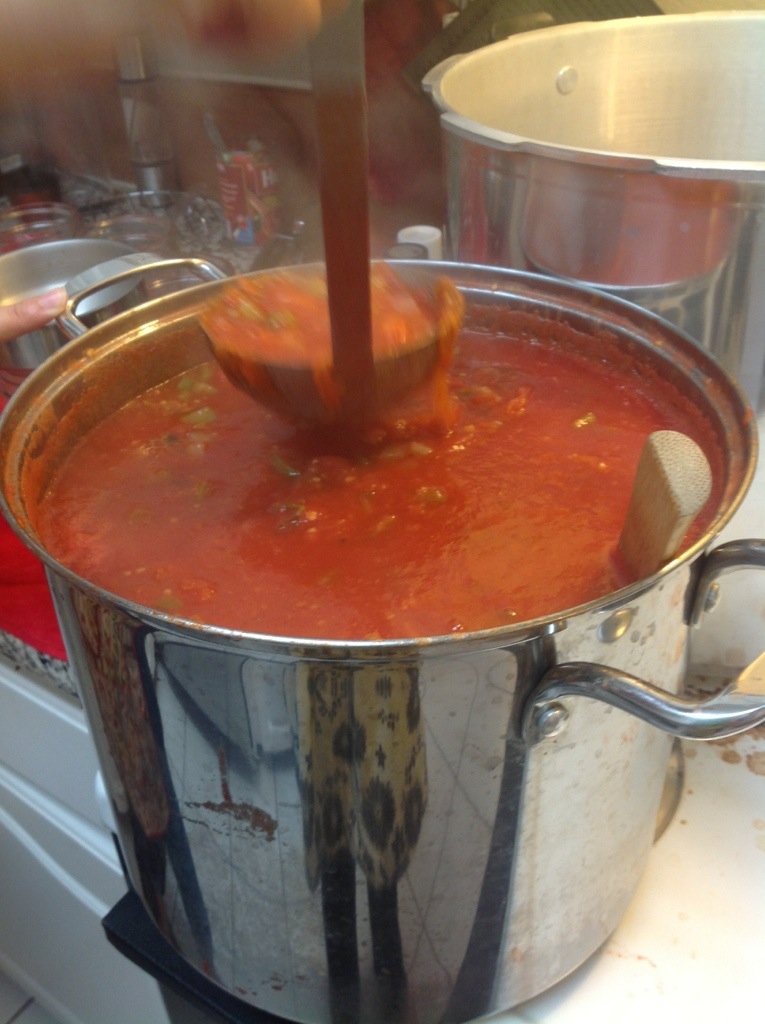
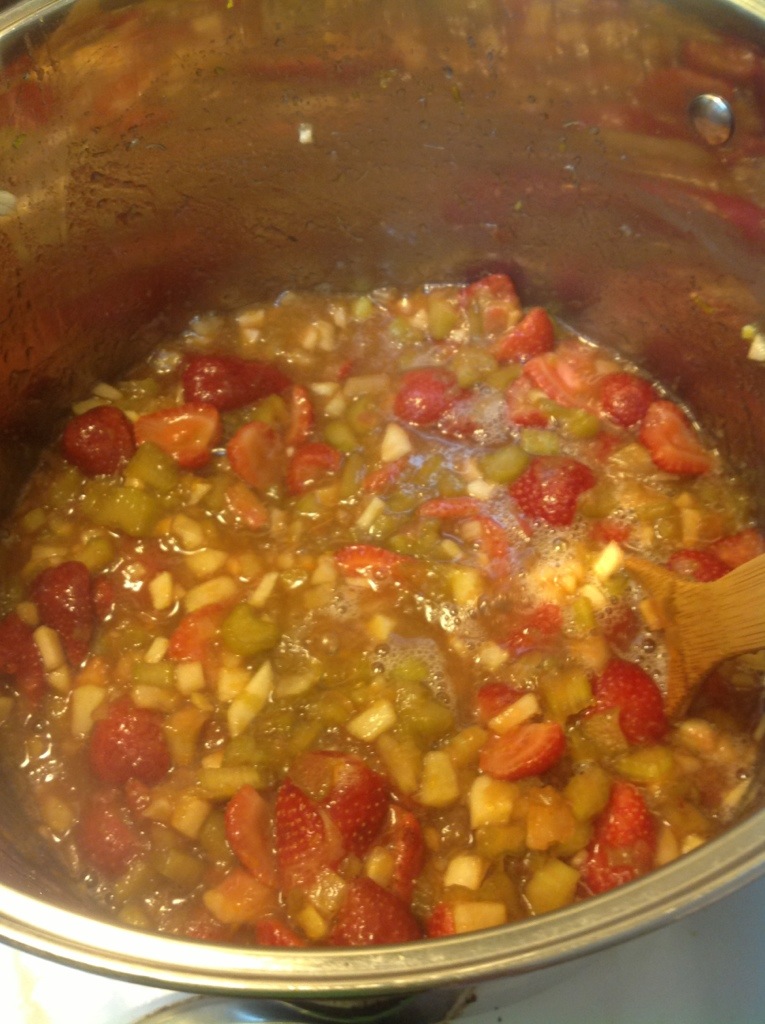
Continue to boil the relish over medium heat. After about 45 minutes or so it should be a pretty good consistency.

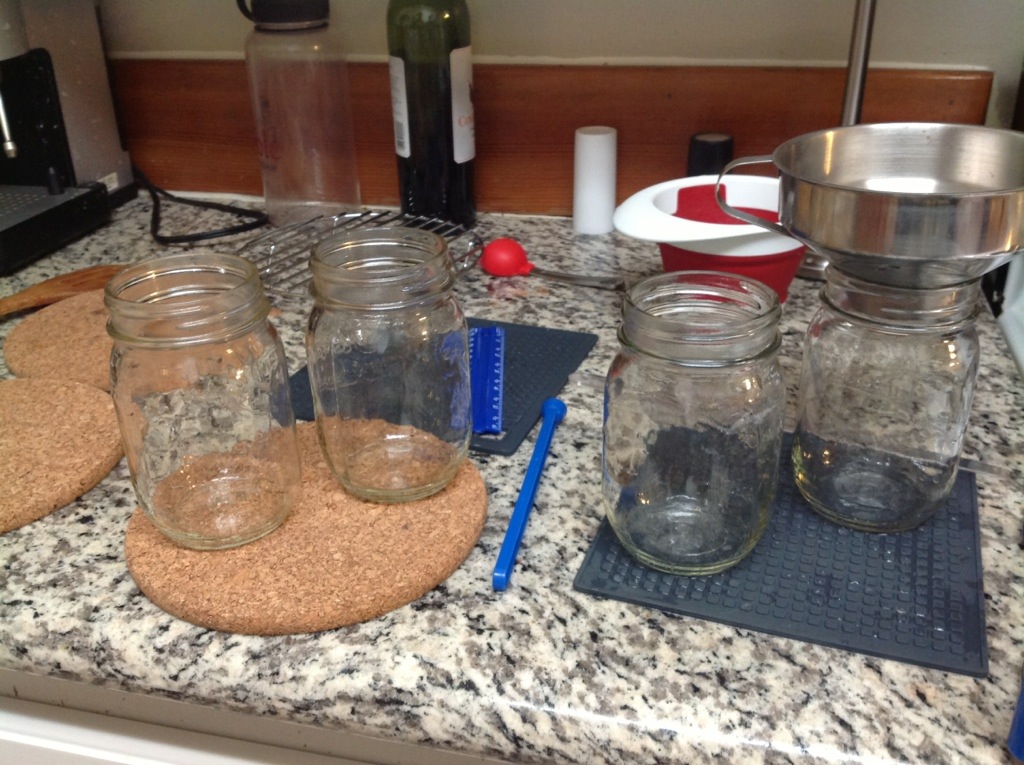
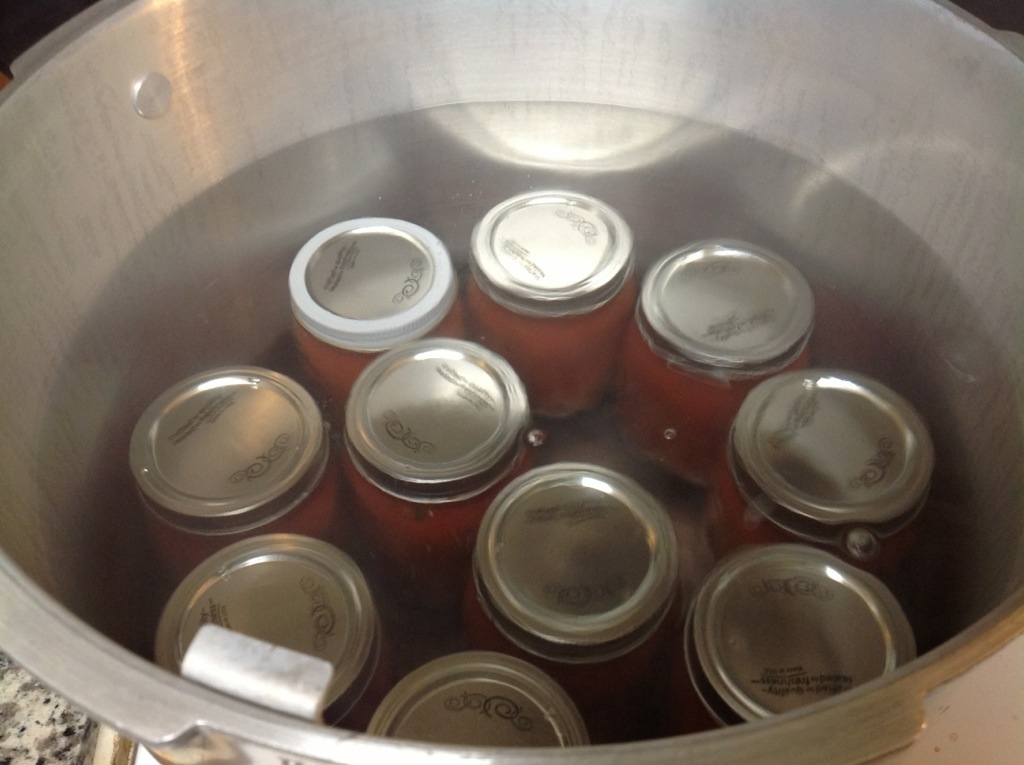
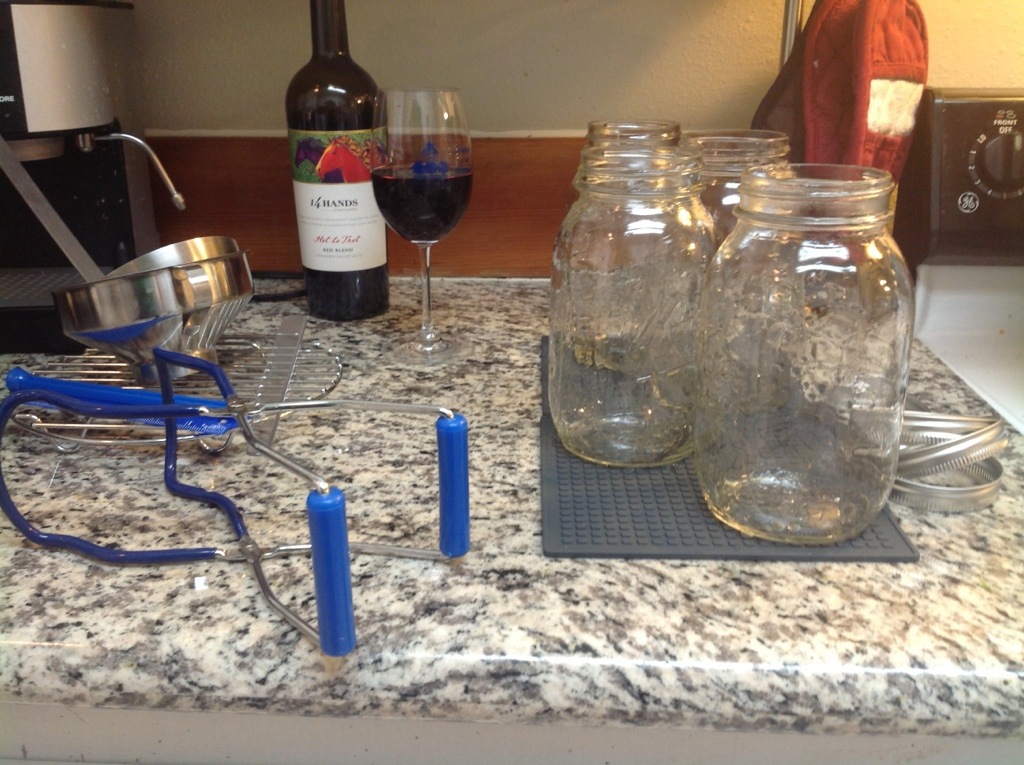
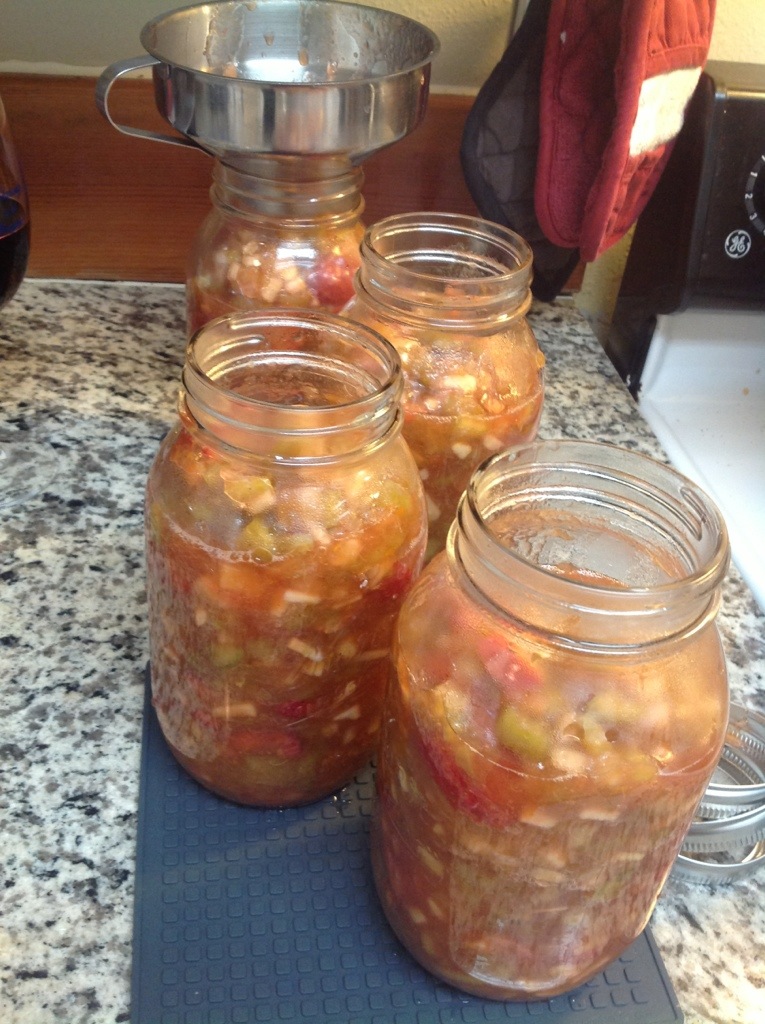
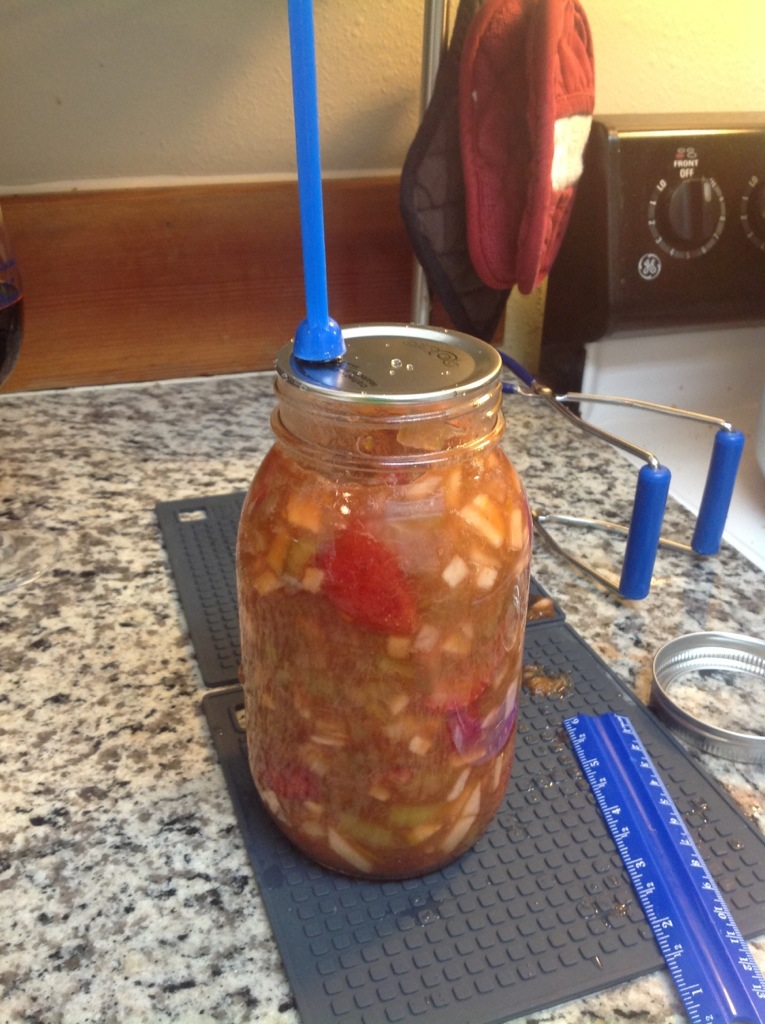
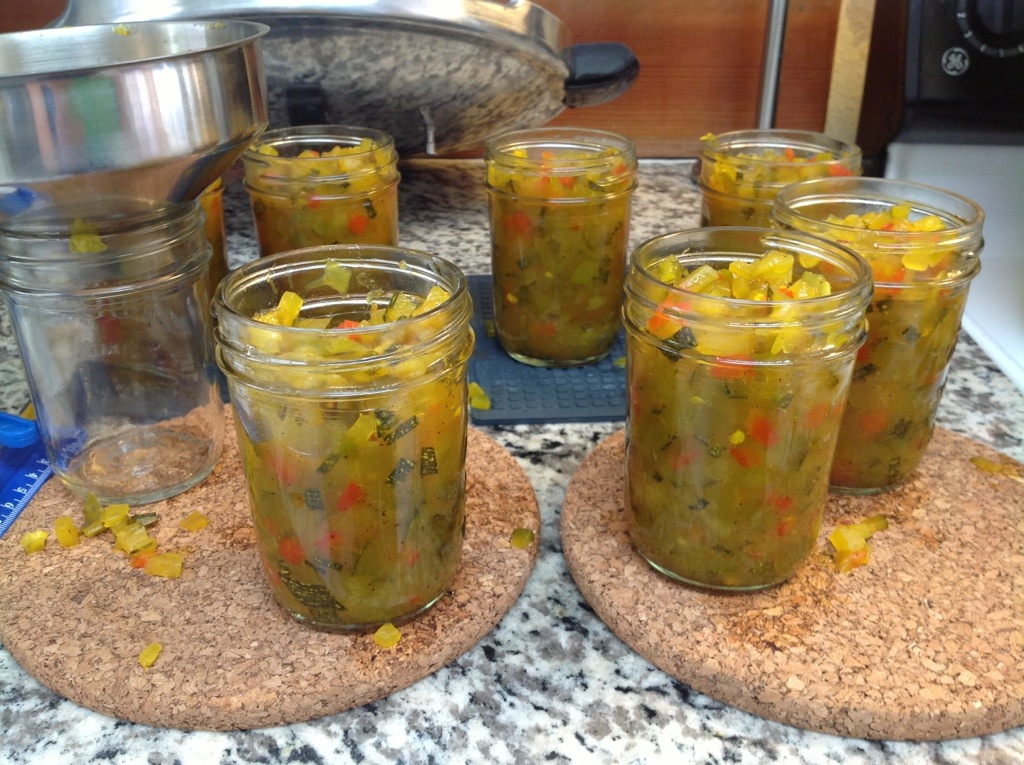
While the mixture is boiling down, prepare the canner, jars and lids.

20130903-211355.jpg

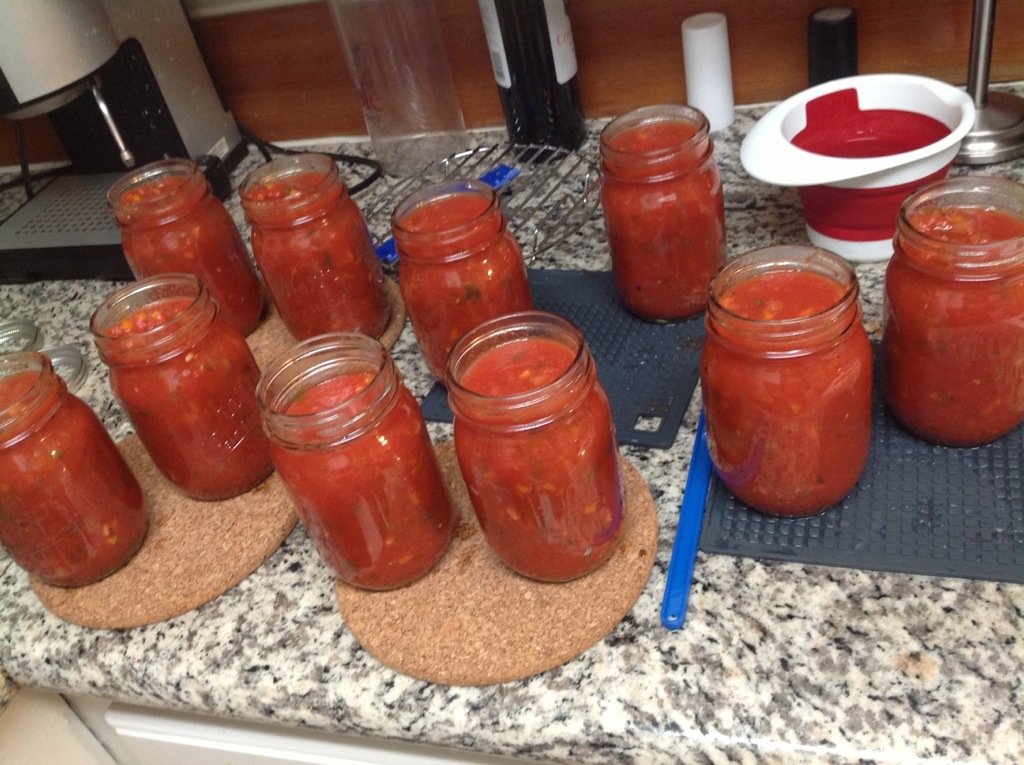
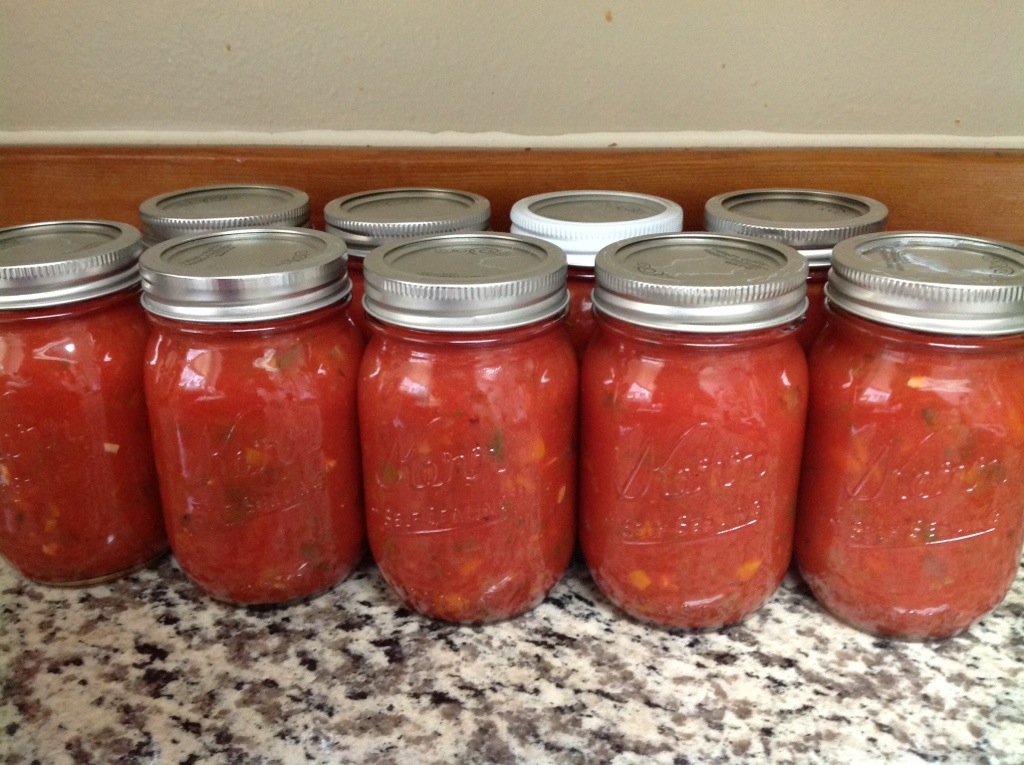
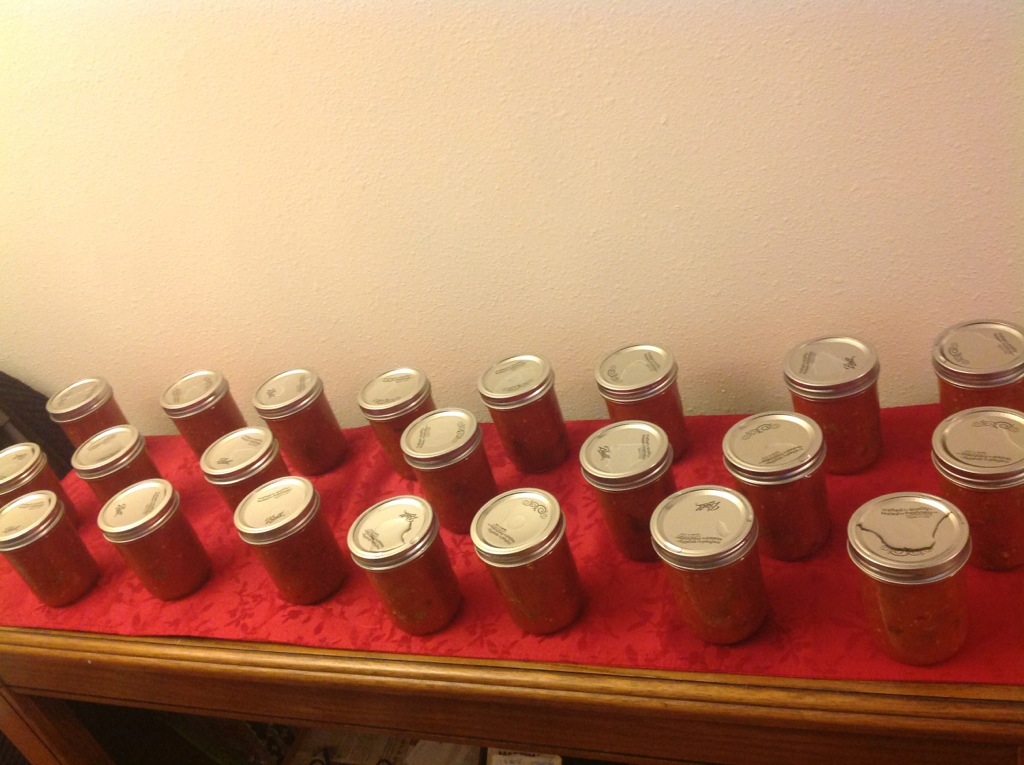
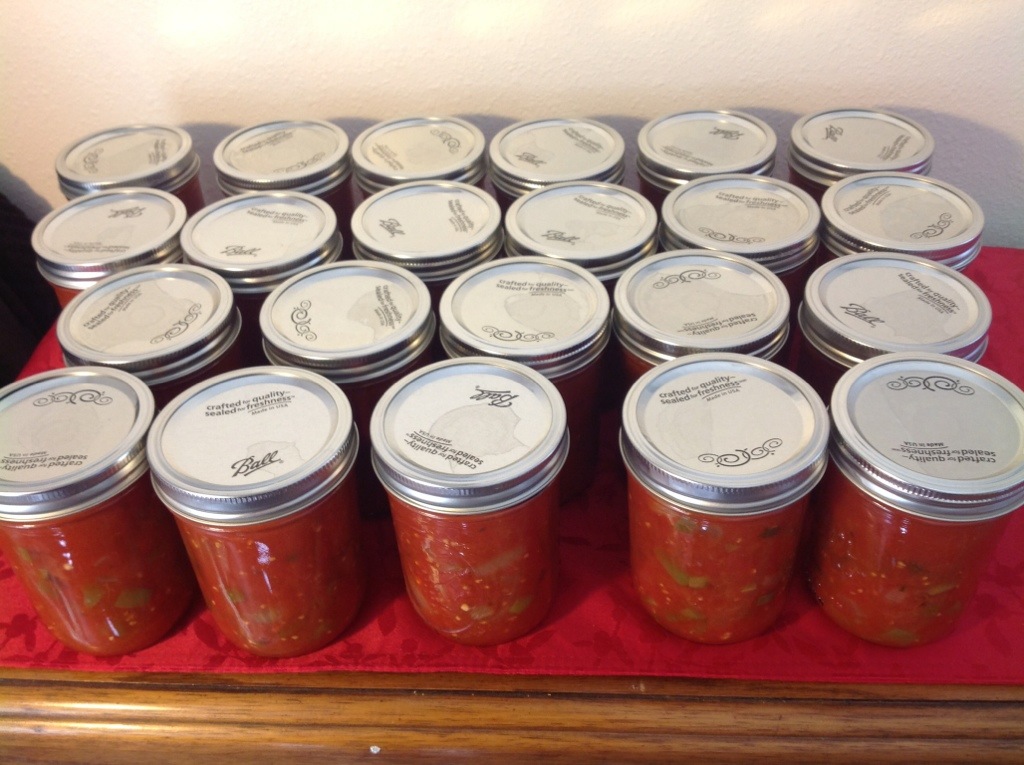
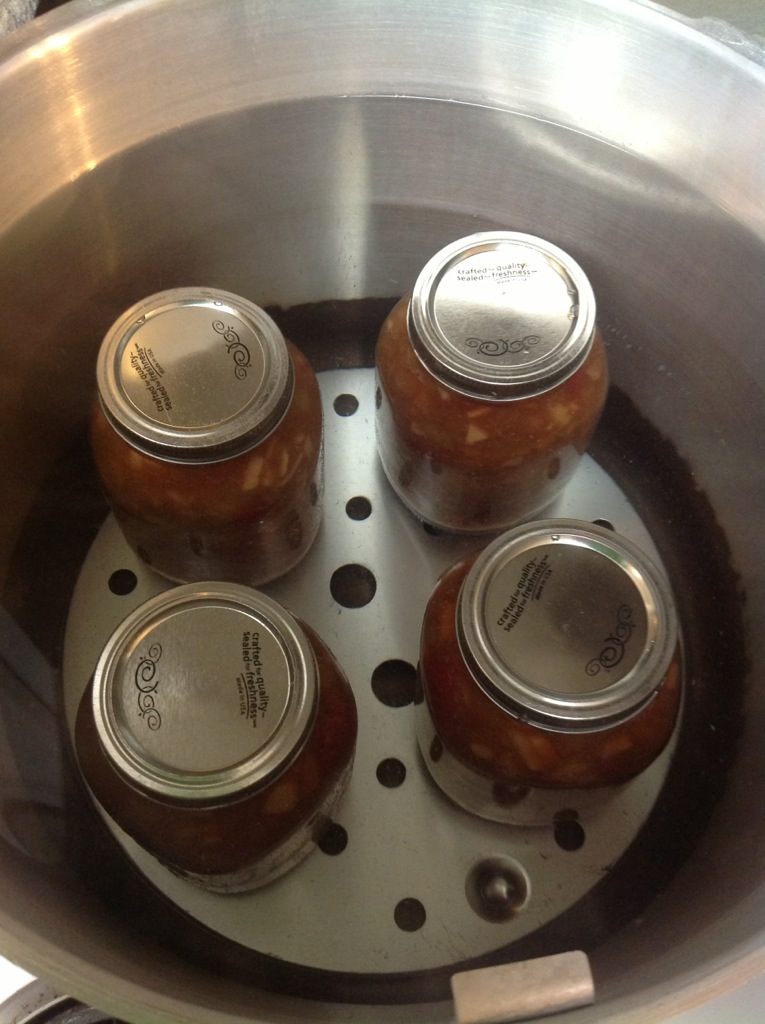
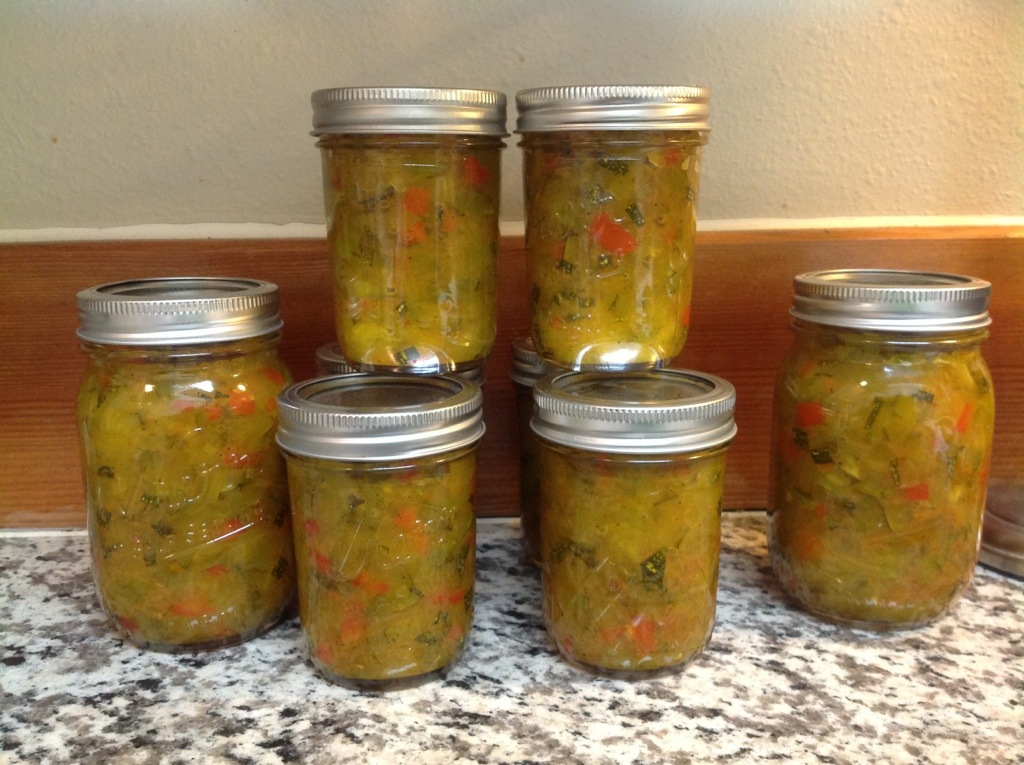
Fill the jars, leaving a half inch heat space. Debubble the jars, wipe the rims, place on the lids and tighten the bands finger tip tight. Processing time is 15 minutes for this recipe. Place the jars in the canner covered by at least 1-2 inches of water. Bring to a full rolling boil. After the 15 minutes, turn off the heat, remove the canner lid and wait 5 minutes before removing the jars to a hot pad or towel. Listen to the delightful ping of the jars sealing!

20130903-211453.jpg

Mmmmmm relish.

20130903-211855.jpg

*This post contains affiliate links. Check out the “About the Blogger” page for more information.

Tomato Sauce

The tomatoes are still flowing in like crazy so the next great mission was tomato sauce! There are a TON of great tomato sauce recipes out there, so I hope for this to be one of many delish recipes I post. Another favourite from the Ball Complete Book of Home Preserving. If you are looking for it, it’s the Italian style sauce in the book.

20130902-110151.jpg

Ingredients:

8 cups of fresh plum tomato purée
2/3 cup finely chopped onion
2/3 cup finely chopped celery
1/2 cup finely chopped carrot
2 cloves garlic
4 tbsp bottled lemon juice
2 tsp salt
1/2 tsp finely ground black pepper
1/2 tsp hot pepper flakes
herbs (oregano, basil, parsley, rosemary) to taste

As written above this recipe makes about 3 pints. I had 22 pounds of tomatoes for this mission, which when pureed was 28 cups of purée. So we did a batch about 3.5x this recipe.

Here is what we did:

Tomato sauces are a lot more manageable with a friend, so Kiki and I set off on another tomatoey adventure. We also invited another good friend – VICTORIO!

20130902-111325.jpg

If you plan to do a lot of sauces, pastes, purées etc. a Victorio strainer is an awesome investment. Plus, it’s so fun to use! Assemble your strainer. Wash and quarter the tomatoes and chuck them into the hopper! Plunge and crank those delicious babies through the strainer.

20130902-111359.jpg

All the good stuff comes flowing out the front and the “waste” gets pooped out the side. This is the skins and seeds, stuff you’d rather not have in a good sauce. BUT see my dehydrating post for something to do with the skins if you want to use the whole tomatoes!

20130902-111511.jpg

Tomatoes can be really juicy, even romas, so I like to reduce them for at least an hour or two. Measure the juice and reduce it either in a pot on the burner, or in the oven. I put the juices in a bunch of trays and reduce it in the oven at 300F. If you are just doing a single batch though, this recipe does reduce fine on the burner. Combine the chopped veggies with a cups of the tomato juice and boil for about 5 minutes. Then add 1 cup of juice at a time so you can maintain the boil. When doing a large batch I like to do a combo of the two methods, reducing some of the juice in the oven first.

20130902-111752.jpg

Once all the tomato business is dealt with, chop up the carrots, onions, celery and garlic. Or perhaps you did this recipe the other way and already added them. I like them pretty finely chopped, but it’s up to you. Try for consistent sizes so they are cooked evenly.

20130902-111538.jpg

Get everything boiling over medium high heat. I did this first with a fraction of the tomatoes, while leaving the rest to reduce in the oven. As the trays in the oven become reduced enough, add them to the main pot. However you want to do it is fine, then reduce it until your desired thickness, about by a third or so. Add seasonings if you desire, the garlic, salt, pepper, hot pepper flakes and lemon juice. SAFETY NOTE: The lemon juice is added to make this recipe safe for hot water bath canning. Make sure you have measured how much tomato juice and everything else you added so you can add enough lemon juice. And don’t add more carrots, onion and/or celery than the recipe calls for. I wouldn’t want you to give your family botulism!

20130902-111828.jpg

While the sauce is reducing and cooking, prepare the canner, jars and lids.

20130902-112050.jpg

Fill the jars leaving a 1/2 inch head space. De-bubble the jars, wipe the rims, and place on the lids and bands, finger tip tight.

I had 10 pints almost exactly – the capacity of the canner. It’s a canning miracle!

20130902-112344.jpg

Place the jars in the canner, covered by at least 1-2 inches of water. Bring to a full rolling boil and process for 35 minutes. Following the 35 minute time, turn off the heat, remove the canner lid, let cool for 5 minutes and remove the jars onto a towel or hot pad. Listen for the 10 pings!!

20130902-112415.jpg

Let them cool for 12-24 hours. Check the seal and wipe the jars down.

Label, store and enjoy!

20130902-112937.jpg

*this post contains affiliate links, please see the “About the Blogger” page for more information

Best Ever Salsa!

Tomato season is here at last, and that of course means salsa season! So yesterday I grabbed my good pal Kiki, picked all my red tomatoes and set out to make some salsa. I first made this salsa last year and it was so delicious it had to be the first thing I used tomatoes for this year. This recipe is from the Ball Complete Book of Home Preserving. Warning, if you make this salsa you will never want to eat store bought salsa again!

20130825-205316.jpg

The recipe as listed below makes around 5 pint jars of salsa.

Ingredients:
7 cups peeled, chopped, cored tomatoes
2 cups coarsely chopped onion
1 cup coarsely chopped green bell pepper
8 jalapeño peppers, seeded and finely chopped
3 cloves garlic, finely chopped
1 can (5.5 oz) tomato paste
3/4 cup white vinegar
1/2 cup cilantro, loosely packed and finely chopped
1/2 tsp ground cumin

Reminder: salsa is one of those foods that can be borderline acidic enough for hot water bath canning, so never alter the ratios in a recipe. It is not safe, for example, to add extra peppers because they reduce the overall acidity. Adding more vinegar for acidity can compensate, but never “guesstimate,” look for a trusted and tested recipe if you like a different ratio of ingredients in salsa.

How to make it:

Keeping true with my large batch style of canning, I picked every single red tomato in my garden for this canning session. I have an array of Roma varieties ready and had around 27 pounds when all was said and done. After peeling and chopping we had 33 cups of tomatoes! So we did about 4.7x the recipe as written, which it turns out is pretty much the capacity of my stock pot. To simmer the mixture I actually ended up spreading it out over a couple pots and mixing it all back together at the end.

The biggest task for this recipe is to peel and chop the tomatoes. This is exponentially easier if you first blanch them. If you want, cut a small x in the bottom of the tomato.

20130825-211845.jpg

Toss them in boiling water for 30-60 seconds.

20130825-211913.jpg

Then into ice water. The skins on these Roma’s came off so easily, which makes for a happy canning session.

20130825-212044.jpg

Chop the tomatoes, onions, peppers and garlic. Make sure to wear gloves to chop the jalapenos! A little bit of jalapeno seeds really go a long way in this recipe so I like to leave the seeds and veins aside and add them in to taste when I get all the ingredients together.

20130825-225201.jpg

Mix all the ingredients in a large stock pot. I am actually not a huge cilantro fan, so I leave it out of this recipe or add a little parsley instead.

20130825-212128.jpg

Bring to a boil over medium-high heat. Reduce heat and simmer for 30 minutes or so to cook the veggies and thicken the mixture.

20130825-212300.jpg

20130825-212349.jpg

While the salsa is cooking, prepare the canner, jars and lids. I like to use wide mouth pints for this because then I can easily dip a chip right into the jar. When the salsa is done, fill the jars leaving a half inch head space. Wipe the rims, place the lids on, and tighten the bands finger tip tight.

20130825-212511.jpg

20130825-212431.jpg

Place the jars in the canner covered by at least 1-2 inches if water. Process jars for 20 minutes, beginning the timer when your hot water bath canner reaches a full rolling boil. After the 20 minutes, turn off the heat, remove the canner lid, wait 5 minutes then remove your jars to a cloth or hot pad on the counter, leaving at least a couple inches between them. Listen to all the jars sealing!

20130825-212541.jpg

For this giant batch of salsa, we ended up with 22 pints, plus a half pint left over for eats. This took 3 canner loads because only 8 wide mouth pints fit in my canner, so just keep the salsa simmering in between if you do more than one load.

Enjoy any little bit left over! Mmm. Although, I think if you leave it a couple weeks for the flavours to commingle it tastes even better. Deeeelish!

20130826-101025.jpg

*This post contains affiliate links. Check out the “About the Blogger” page for more information.

Rhubarb Strawberry Pie Filling

I thought my first canning post should be one of my most favourite recipes that I have canned many times, so we will start with Rhubarb Strawberry Pie Filling. This recipe is modified from the Ball Complete Book of Home Preserving which is one of my favourite canning books.

I tend to be a “go big or go home” type of canner so I like to do more than the recipe calls for, but sometimes (like in the case of jam) that isn’t always the best idea. Here, however, as long as you have a big enough pot I think it’s totally the way to do it. I’ll write the proportions as in the book, but I did just over 1.5x the recipe for this venture, which yielded just over 4 quarts. As written the recipe will make 5 pints.

Ingredients:

  • 3 large apples (a good cooking variety) peeled, cored and finely chopped
  • 1 tbsp grated orange zest
  • 1/4 cup freshly squeezed orange juice
  • 7 cups sliced rhubarb
  • 2 cups granulated sugar
  • 4 cups halved hulled strawberries

20130822-212340.jpg

Here’s what I did:

Prepare the canner, jars and lids. I prefer to put pie fillings into quart jars since I use a quart for a pie, but it’s nice to prepare a smaller jar too in case the yield isn’t exact or you want a pint full for a crumble or something.

I like to cut all the rhubarb up first. Since I have it in my yard I harvest as much as I think the plant can handle (they say to harvest no more than 1/3 to 1/2 of the plant at a time so it can recover). Then I calculate how much I need of all my other ingredients based on how much rhubarb I have. Then I just eat the leftover strawberries since I always buy (or better yet you-pick) too many. For buying purposes, one good sized stalk of rhubarb when cut up is just a little more than a half cup. Cut the rhubarb into about one inch pieces.

20130822-212157.jpg

20130822-212314.jpg

Peel and core the apples and chop them very finely. Juice and zest the orange and combine with the apple in a large stainless steel pot. Stir to coat the apples then add in the chopped rhubarb and sugar.

20130823-110921.jpg

Over medium-high heat bring this mixture to a boil. Stir constantly and boil until the rhubarb becomes soft, but not to the point that it turns to mush, about 10-12 minutes.

20130822-212418.jpg

Add the strawberries and return to a boil.

20130822-212428.jpg

mmmm pie filling.

Remove the mixture from the burner.

20130822-212438.jpg

Fill the hot jars, leaving a one inch head space.

20130822-212452.jpg

20130822-212510.jpg

Once you have removed any air bubbles and adjusted your head space, place your lids on the jar, tighten the band finger tip tight, and place the jars in your hot water bath canner.

20130822-212522.jpg

Ensure the jars are covered by at least 1-2 inches of water. Cover and bring to a boil. The processing time for this recipe is 15 minutes. Begin timing once the water reaches a full rolling boil.

20130822-212535.jpg

Once the 15 minutes is up, turn off the heat and remove the canner lid. Wait 5 minutes then remove the jars from the canner. Listen for the delightful sound of your jars sealing! When the jars are fully cool (12-24 hours), remove the bands, wipe the jars clean, label the lids, and store in a cool, dark place for up to a year. Enjoy a delicious pie whenever you desire!

20130822-212634.jpg

*This post contains affiliate links. Check out the “About the Blogger” page for more information.