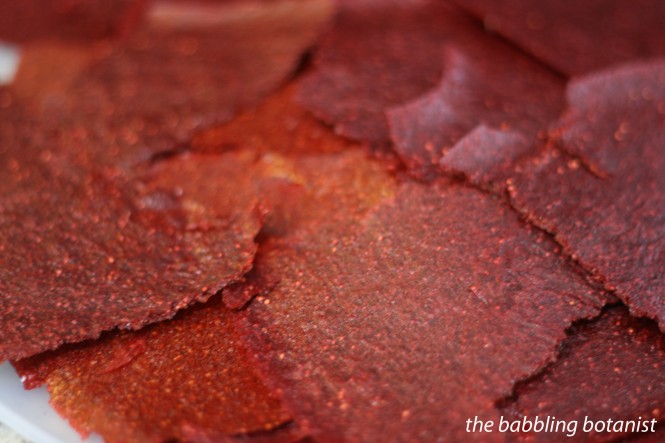
Coconut, carrot, date, and sesame seed “cookies” – Go Raw clone recipe

My go to field snack is always granola bars, so last summer I was trying to mix things up and I discovered these delicious Go Raw cookies. They are tasty tasty! And pretty good for you – sprouted sesame seeds, carrots, coconut, dates and no added sugar. However, they are absurdly expensive, so I decided to try and make them myself. I finally got around to it last week when I harvested a bunch of carrots. They only have 5 ingredients, so I figured I could clone the recipe pretty easily. Here is what I came up with!

IMG_5862 copy

Ingredients:
1/2 cup finely shredded carrots
1/2 cup shredded coconut
1/2 cup sesame seeds
1/2 cup chopped dates
1/2 tsp nutmeg

This recipe will fill approximately one dehydrator tray (quite fully), so multiply accordingly. I tried a few different ratios of the ingredients, and this one to one ratio was the one I liked best. I think it might be more dates than the Go Raw recipe, but it’s really tasty, and 1:1:1:1 is easy peasy to remember, to double, etc.

First I shredded the carrots through my food processor, then pulsed them to chop them up even more. For the dates, I pitted them and pulsed them in the food processor as well.

IMG_5829 copy

Measure equal parts of the 4 ingredients and combine in a food processor. Add a bit of nutmeg, 1/4-1/2 tsp or to taste. If you don’t have a food processor do small batches in a blender, or mix it up by hand in a large bowl.

IMG_5831 copy

Nom nom nom. Pretty and tasty!

IMG_5832 copy

For drying you have two options. For option one I spread the mixture out evenly across a fruit leather tray on the dehydrator, then just broke it into pieces once dry.

IMG_5834 copy

Alternatively you can form them into cookies. Mine were pretty large, much larger than the Go Raw cookies I was trying to clone, but you could make them any size. Smaller would of course dry faster. I was thinking that you could also roll this out almost like dough and use cookie cutters or cut it into squares with a knife. I think I’ll try that next time.

IMG_5838 copy

Mine in back, Go Raw in front!

IMG_5856 copy

I dried them for about 16 hours and they still weren’t quite crispy, but  they were a somewhat soft consistency that I liked. I think they might have been a little wetter too because I had more dates than the Go raw recipe. Dry until your desired consistency.

IMG_5859

Enjoy!

Tools I used for these:
My food processor
NESCO dehydrator
Fruit leather sheets

*this post contains affiliate links, please see the “About the Blogger” page for more information

Applesauce Fruit Leather 

IMG_5375 copy

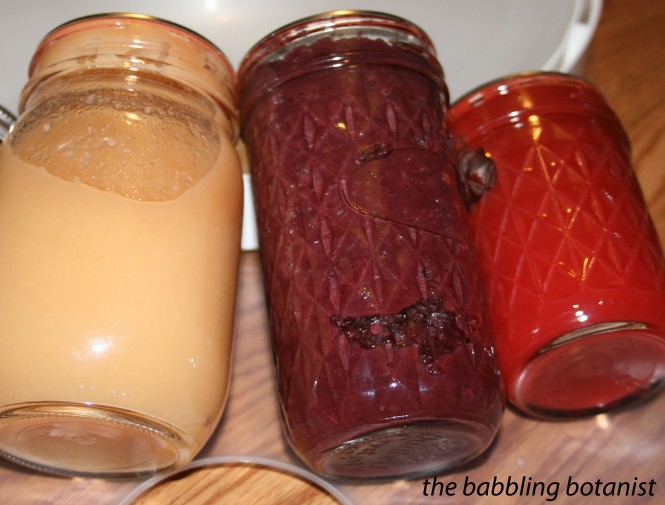
This time of year, when canning season is just beginning, is a great time to inventory what you have left in your pantry from last season. In my inventory one thing I noticed that I still had a lot of was applesauce. I haven’t been cooking with it as much as I thought I would, and I just don’t eat it plain often either. I also had a couple flavoured applesauces that friends gave me, including a blackberry one and a cinnamon one (made with cinnamon candy I think).

IMG_5327

So, I decided to repurpose it as fruit leather. I really enjoyed snacking on strawberry fruit leather last summer in the field, so thought I’d free up some spaces in the pantry and dry a few jars of applesauce.

I spread the applesauce out on my fruit leather trays and dried it at 135 F in my dehydrator. 12 oz was about perfect for one tray; I needed to mix a little extra into the 8 oz jar to cover the whole tray.

Here’s the plain applesauce.

IMG_5356 copy

Cinnamon applesauce.

IMG_5349 copy

Blackberry applesauce.

IMG_5353 copy

I love making this just before I go to bed, because it takes at least 8 hours with a full dehydrator.  It’s nice to just wake up and it’s almost done! After 8 – 10 hours you have fruit leather! The publication says 4-8 hours, but I’m thinking 4 must be with one tray, using their precooked method. You know it’s done when there are no wet spots and peels off but still it’s still slightly tacky. Maybe try it during the day for the first time, but I’ve got the timing down well in my dehydrator and can wake up and it’s done 🙂

IMG_5362 copy

After it is dry, peel it off the trays. If you are having trouble getting it started, I find slipping a butter knife under works well.

IMG_5360 copy

Roll it up and store! You can store a whole sheet, or cut it into smaller pieces. You can roll it up with plastic wrap so it doesn’t stick to itself, but I don’t really like using all that plastic wrap so I usually just deal with a few stuck together pieces.

IMG_5365 copy

So beautiful! For more ideas check out the OSU extension publication linked to below.

IMG_5382 copy

*this post contains affiliate links, please see the “About the Blogger” page for more information
Used for this project:
Nesco dehydrator
Extra trays
Applesauce
Fruit leather publication

Dehydrating Tomatoes

This year has been amazing for tomatoes in the Pacific Northwest. I am really sad for those of you who haven’t had a great season, but here we certainly have. Come visit and I’ll share with you. 🙂 One thing that I love to do with my tomatoes when they are coming in faster than I can process them for canned goods is to dehydrate them. This is great for tomatoes that are getting pretty ripe and you won’t be able to can, and I really love doing grape or cherry tomatoes. They require very little preparation and make a delicious and nutritious snack.

IMG_4258 copy

To dehydrate your tomatoes, you are welcome to blanch and peel them if you like, but I really don’t see it being worth the time and effort. Peels are delicious too. My favourites to dehydrate are romas and cherry tomatoes. For the cherry tomatoes all I do is wash them, cut a tiny sliver off the core end, then cut them in half. I like to place them cut side up, peel side down, so that they make less of a mess on the trays. For romas I wash them, core them, and cut them in 1/2 to 3/4 inch slices and place them on the tray. And again, if you don’t have a dehydrator, this one is the one I have, and I really have enjoyed it so far.

IMG_4262 copy

Tomatoes should be done at 135 – 140 F in the dehydrator, and will take between 10 -18 hours to dehydrate. I have been cutting them up a few hours before bed and letting them go over night, which is working out quite well. In about 14 hours they are about where I like them, with 4 full trays. They should be a bit leathery but not moist at all.

IMG_4268 copy

Four full trays when dehydrated will make a little less than a quart of delicious little snackies! I find the best way to store them is in a mason jar with a reusable lid. They don’t last long, so I’ll be making a few more batches! mmm mmm good.

IMG_4274 copy

*this post contains affiliate links, please see the “About the Blogger” page for more information

Zucchini Chips

Are your zucchini exploding out of control? Are you overwhelmed? Need a solution? Try making dehydrated zucchini chips!

Haha. Yes, I meant for that to sound like an infomercial.

Making zucchini chips is so easy and it really makes a great use of your excess, because they keep for a long time once they are dry and compress down a lot for storage. All you need to do is cut them up in evenish slices, which is much easier with a mandolin. Arrange them on your dehydrator trays without overlapping.

IMG_4059 copy

For this, I used two medium large zucchini to fill 4 dehydrator trays. Spice the zucchini if you would like. Here I salted them and added cayenne. Don’t add too much though, they are really hot the way I made them! I’ve also seen people toss the slices in a bowl with a bit of olive oil, salt and pepper before drying, which would be super delicious also.

IMG_4061 copy

Dry the zucchini at 135-140F. I like to dry them until they are pretty dry and crispy but some people like to leave them a little moister, so it’s really up to personal preference. Dried until the are still slightly pliable is most people’s preference.

IMG_4063 copy

Store in an airtight container. This is two zucchini, four fully loaded trays and they don’t even fill one quart jar. Eat and enjoy!

IMG_4100

Want to make this but need a dehydrator? I have this one and love it.

*this post contains affiliate links, please see the “About the Blogger” page for more information

Strawberry Fruit Leather

Lately in the field I have been eating basically peanut butter and jam sandwiches and granola bars, so I needed some new snacks to mix it up a bit. With strawberry season in full force, this strawberry fruit leather did just the trick. All I did for this leather was puree strawberries in a blender. No added sugar, no added nothing. You can certainly sweeten to taste with a bit of sugar or honey if you like, but I don’t really think it’s necessary.

IMG_2916 copy

How to make it! First, wash, hull and puree the berries.

IMG_2925 copy

Pour the puree onto the fruit leather trays. Unfortunately most dehydrators come with either none or one of the fruit leather trays. But they aren’t too expensive, so I bought 4 more.

IMG_2926 copy

Deydrate the fruit leather at 135-140F. My manual says it should take 4 – 8 hours. I’ve done a couple batches now with 5 full trays and it took about 8 – 10 hours. The only real issue I had was a bit of cracking. Around the crack I had a bit of “case hardening,” which is when you get the outer layer drying, but the middle is still wet. I just kind of punctured it and smeared it into the crack. I think this could be avoided by not pouring such a quite thick layer of puree. Perhaps.

IMG_2937 copy

Almost dry but a titch cracked.

IMG_2935 copy

You can tell that it’s done when it is a bit tacky still and not yet brittle. Watch carefully when it is almost done so that you don’t over cook it. It will also be a little more brittle once it cools, so if it seems nearly done it might be, so cool it and check that it’s ready. Once it’s ready, tear it or cut it into pieces. Deeeelish.

IMG_2941 copy

Store in a plastic bag or whatever you like at room temperature. It will keep quite a while, but I bet you will gobble it up pretty quickly.

IMG_2943 copy

*this post contains affiliate links, please see the “About the Blogger” page for more information

Cranberry Fruit Leather

For anyone who read the cranberry juice post and was wondering, “did she just throw out the cranberries?” Here is your answer: no! I made fruit leather!

Step one: blend the leftover cranberries with a little water. This can of course be made of other pureed fruits and berries as well – be adventurous!! You can add a little sweetener if you like too.

20131025-225013.jpg

Grease a fruit leather tray a little and pour on the fruit puree.

20131025-225036.jpg

Place in the dehydrator at 135F for 4 or so hours (until it is dry enough to lift up but still a little tacky to the touch).

20131025-225102.jpg

This example is a little overdone but still tasty, check it frequently when it’s near done. Peel off pieces and eat! So tasty!

20131025-225202.jpg

Beef jerky – with the jerky gun!

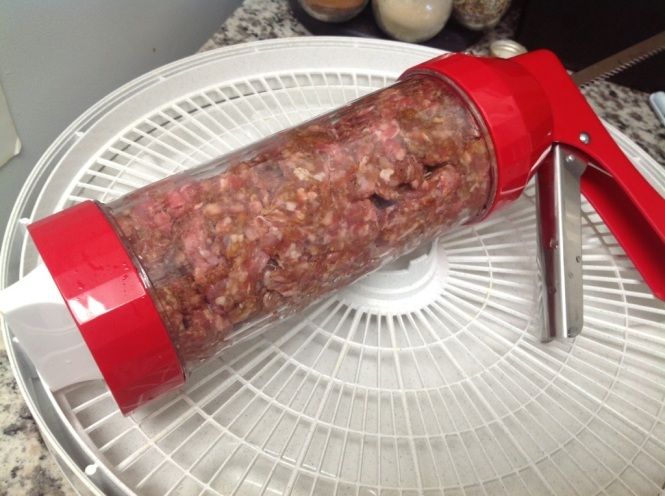
Knowing that I got a dehydrator for my birthday, my good pal Kiki got me the jerky gun to go along with it! I finally tried it out last week and am pretty happy with the results. I just did about a pound of ground beef to try it out, which is about what the gun will hold at a time.

20130919-133326.jpg

For this first endeavour I used the spice and cure packets that came with the gun since it came with 4 packets, but in the future I’d really like to try my own recipes. I don’t like that there is really no list of ingredients on the packets. I will report back with delicious recipes in the future! This is tasty trust me, just maybe not the best for you.

20130916-225738.jpg

Here’s how I made it. Mix one pound of lean ground beef (93% lean or more) with one cure packet and one flavour packet. Add a little extra cayenne for spice if you desire (you DO desire it!)

20130916-225956.jpg

Mix it up well. It smelled so good I wanted to eat it all raw! Eww, don’t be tempted.

20130916-230045.jpg

Fill the meat into the jerky gun.

20130916-230110.jpg

Attach the end piece. I picked the one that makes 2 smaller strips.

20130916-230310.jpg

Squirt strips out onto the dehydrator tray! BAM it’s that easy!

Now, to ensure your jerky is safe from bacteria, you have two options. The first would occur here – precooking the meat. Place the meat on a baking sheet instead of directly on the trays, and cook in a preheated oven at 325F until they reach an internal temperature of 160F. Use a thin tipped thermometer to check the temperature. Then finish on the dehydrator. Option 2 is what I did, which is why the strips are going on the dehydrator raw. Option 2 is post drying heating. Once the jerky is done, immediately place them in the oven, preheated to 275F, and cook for 10 minutes. Both options work fine, you choose which you prefer.

Turn the dehydrator on the the highest setting, 160F / 71C. Preheat it for 15-30 minutes.

20130916-230349.jpg

After about an hour or so it is starting to dry but the fat is pooling on it, so pat them dry with a paper towel. Do this a few times, every hour or so. It’s also nice to flip them once, I think I did it after about 2 hours.

20130916-230426.jpg

When they are done, remove to a paper towel and leave them for a couple hours wrapped in paper towel if they still have any fat droplets. They shouldn’t really though if you had lean meat. You can tell they are done by removing a piece and letting it cool a bit. Try to bend it in half, and if it won’t break at all it’s not ready. If it splits but doesn’t snap you are probably good to go. You don’t want to cook until it snaps in half, that’s over done. For me with only one pound of beef on 4 trays it took about 5 hours to be satisfactorily done. Don’t overcook it, especially if you still need to do the 10 minutes post drying heating.

20130917-013523.jpg

Mmmm jerky. “Condition” your jerky by loosely packing it and shaking the container every couple days. This just helps redistribute moisture from moister ones to drier ones. If you see condensation forming, they are under done. Then store! I like to store it in the fridge just so it keeps longer but it will keep 2 weeks unrefrigerated. Plus it honestly probably will never last long enough to go bad! Make a big batch just before a camping trip! nom nom nom!
Love this and want a jerky gun of your own? Click here to purchase. Don’t have a dehydrator? They are totally worth the price! I have this one and so far love it!

*This post contains affiliate links. Check out the “About the Blogger” page for more information.