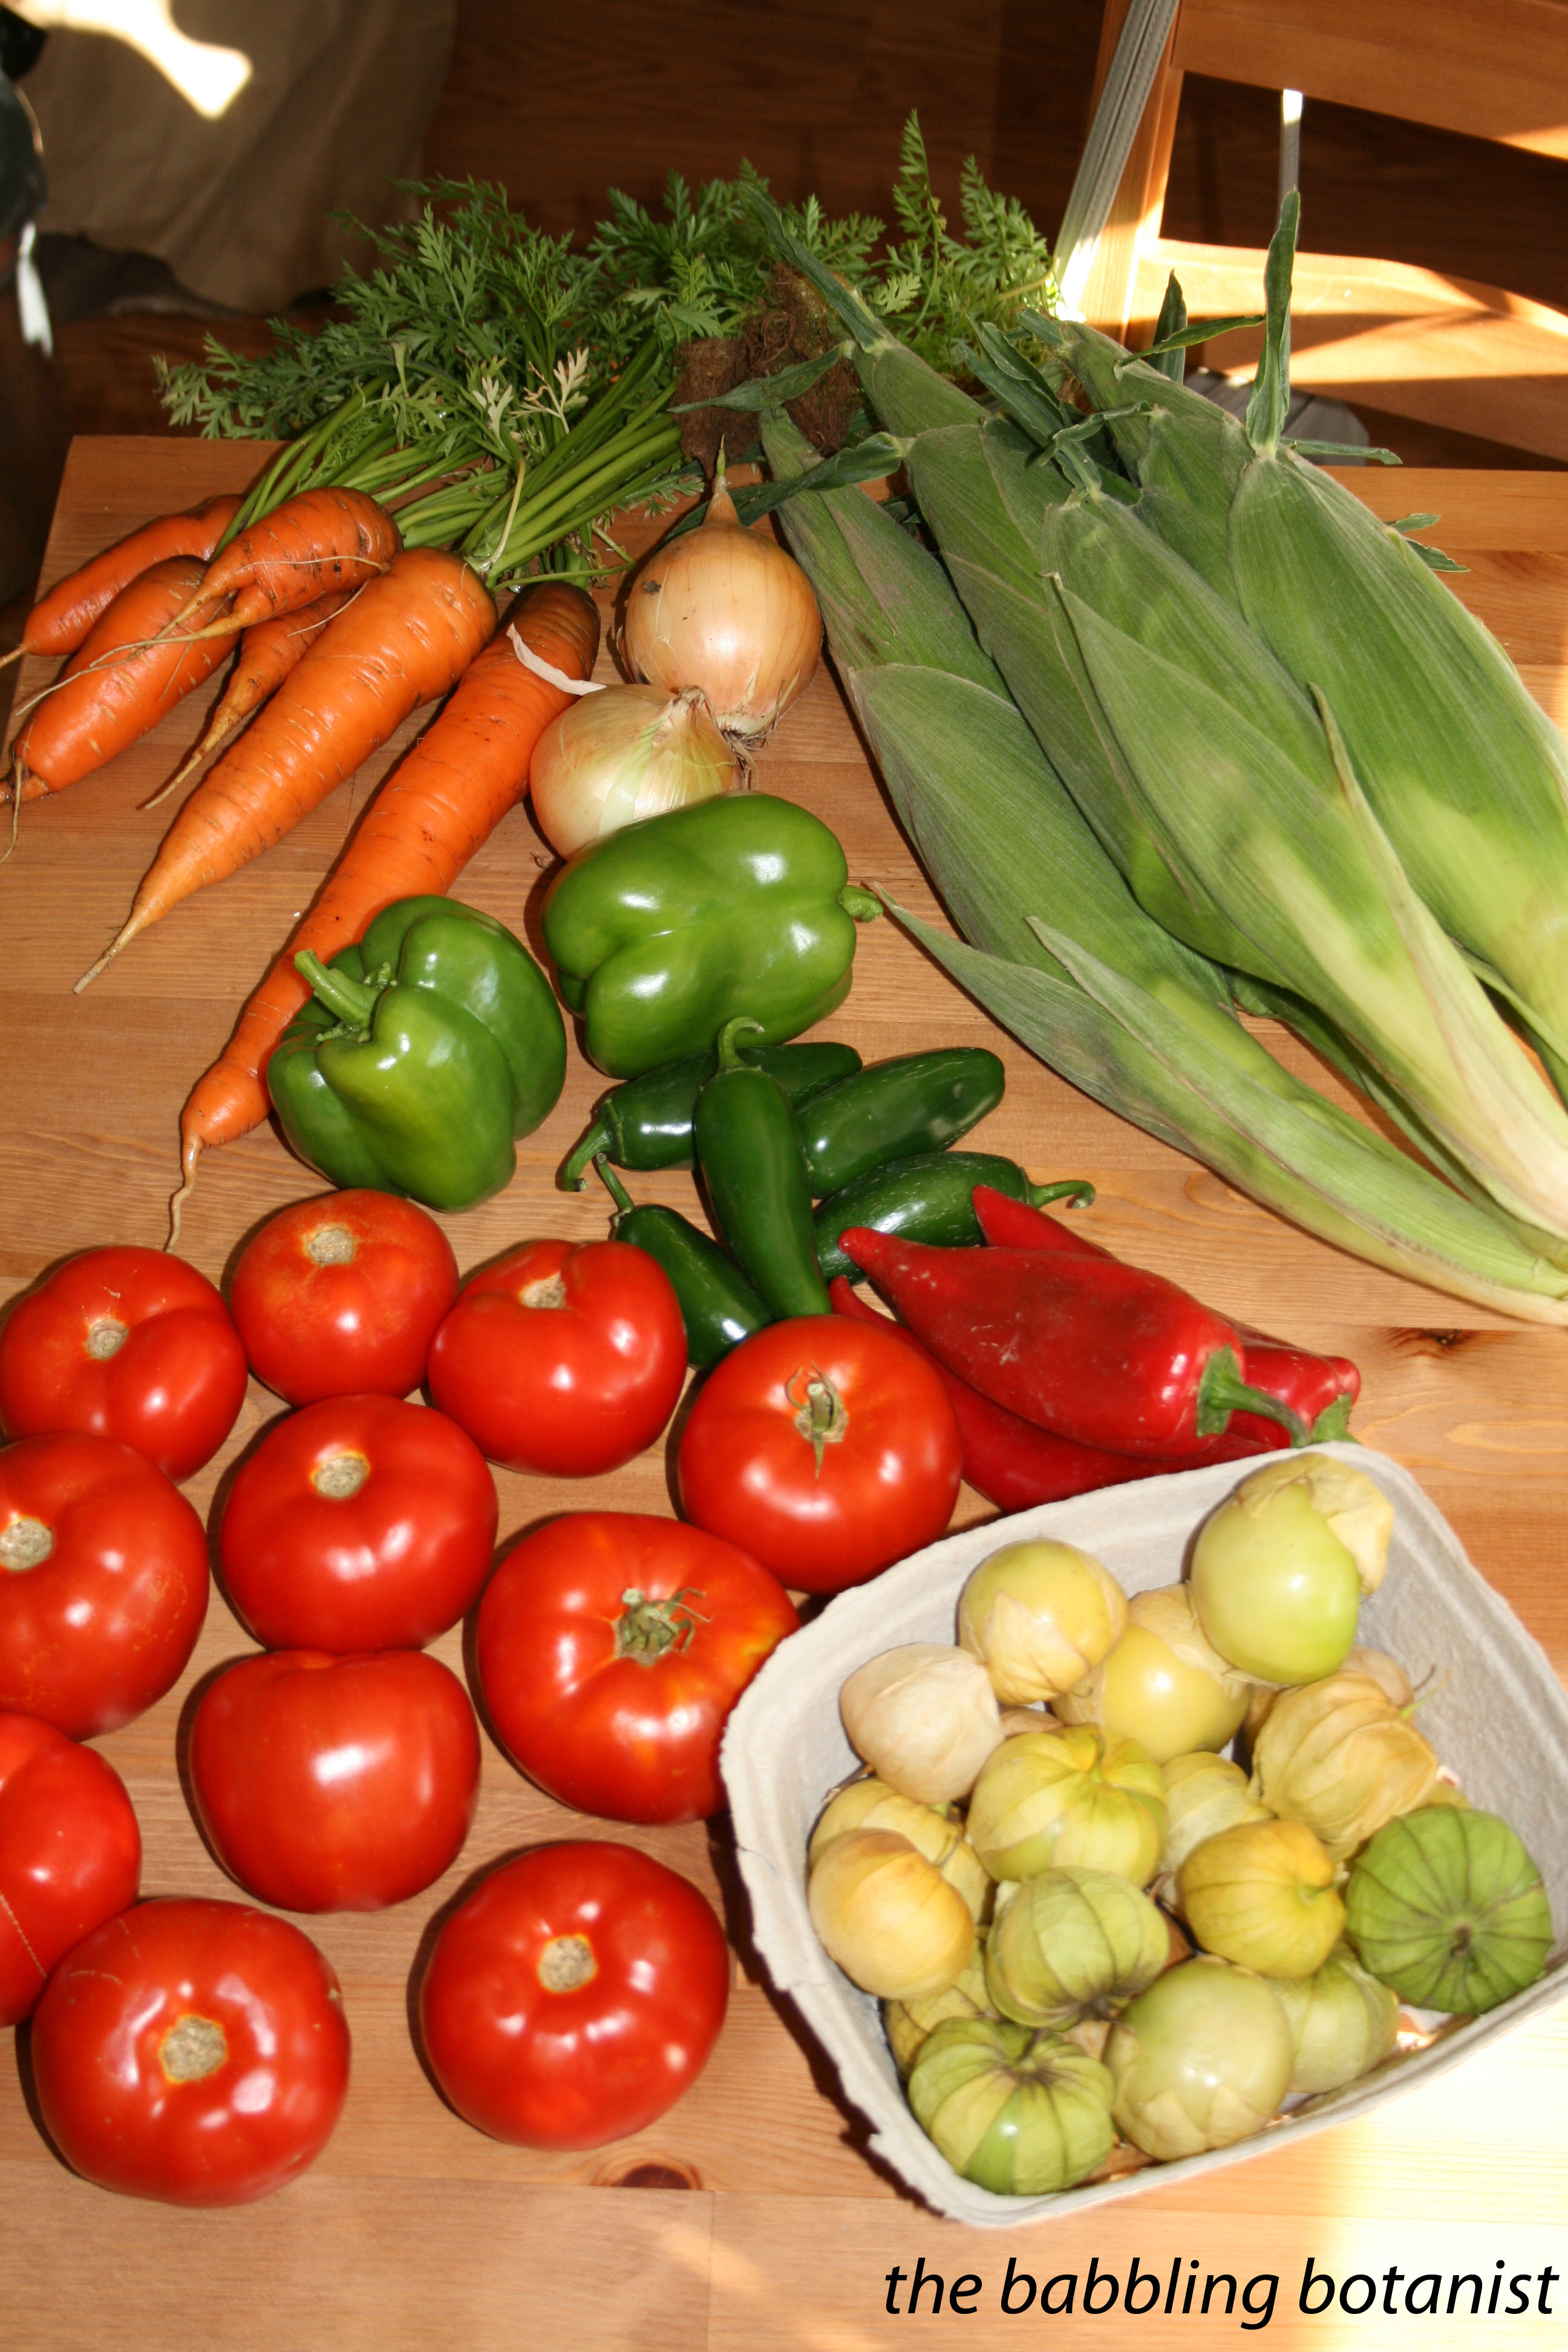
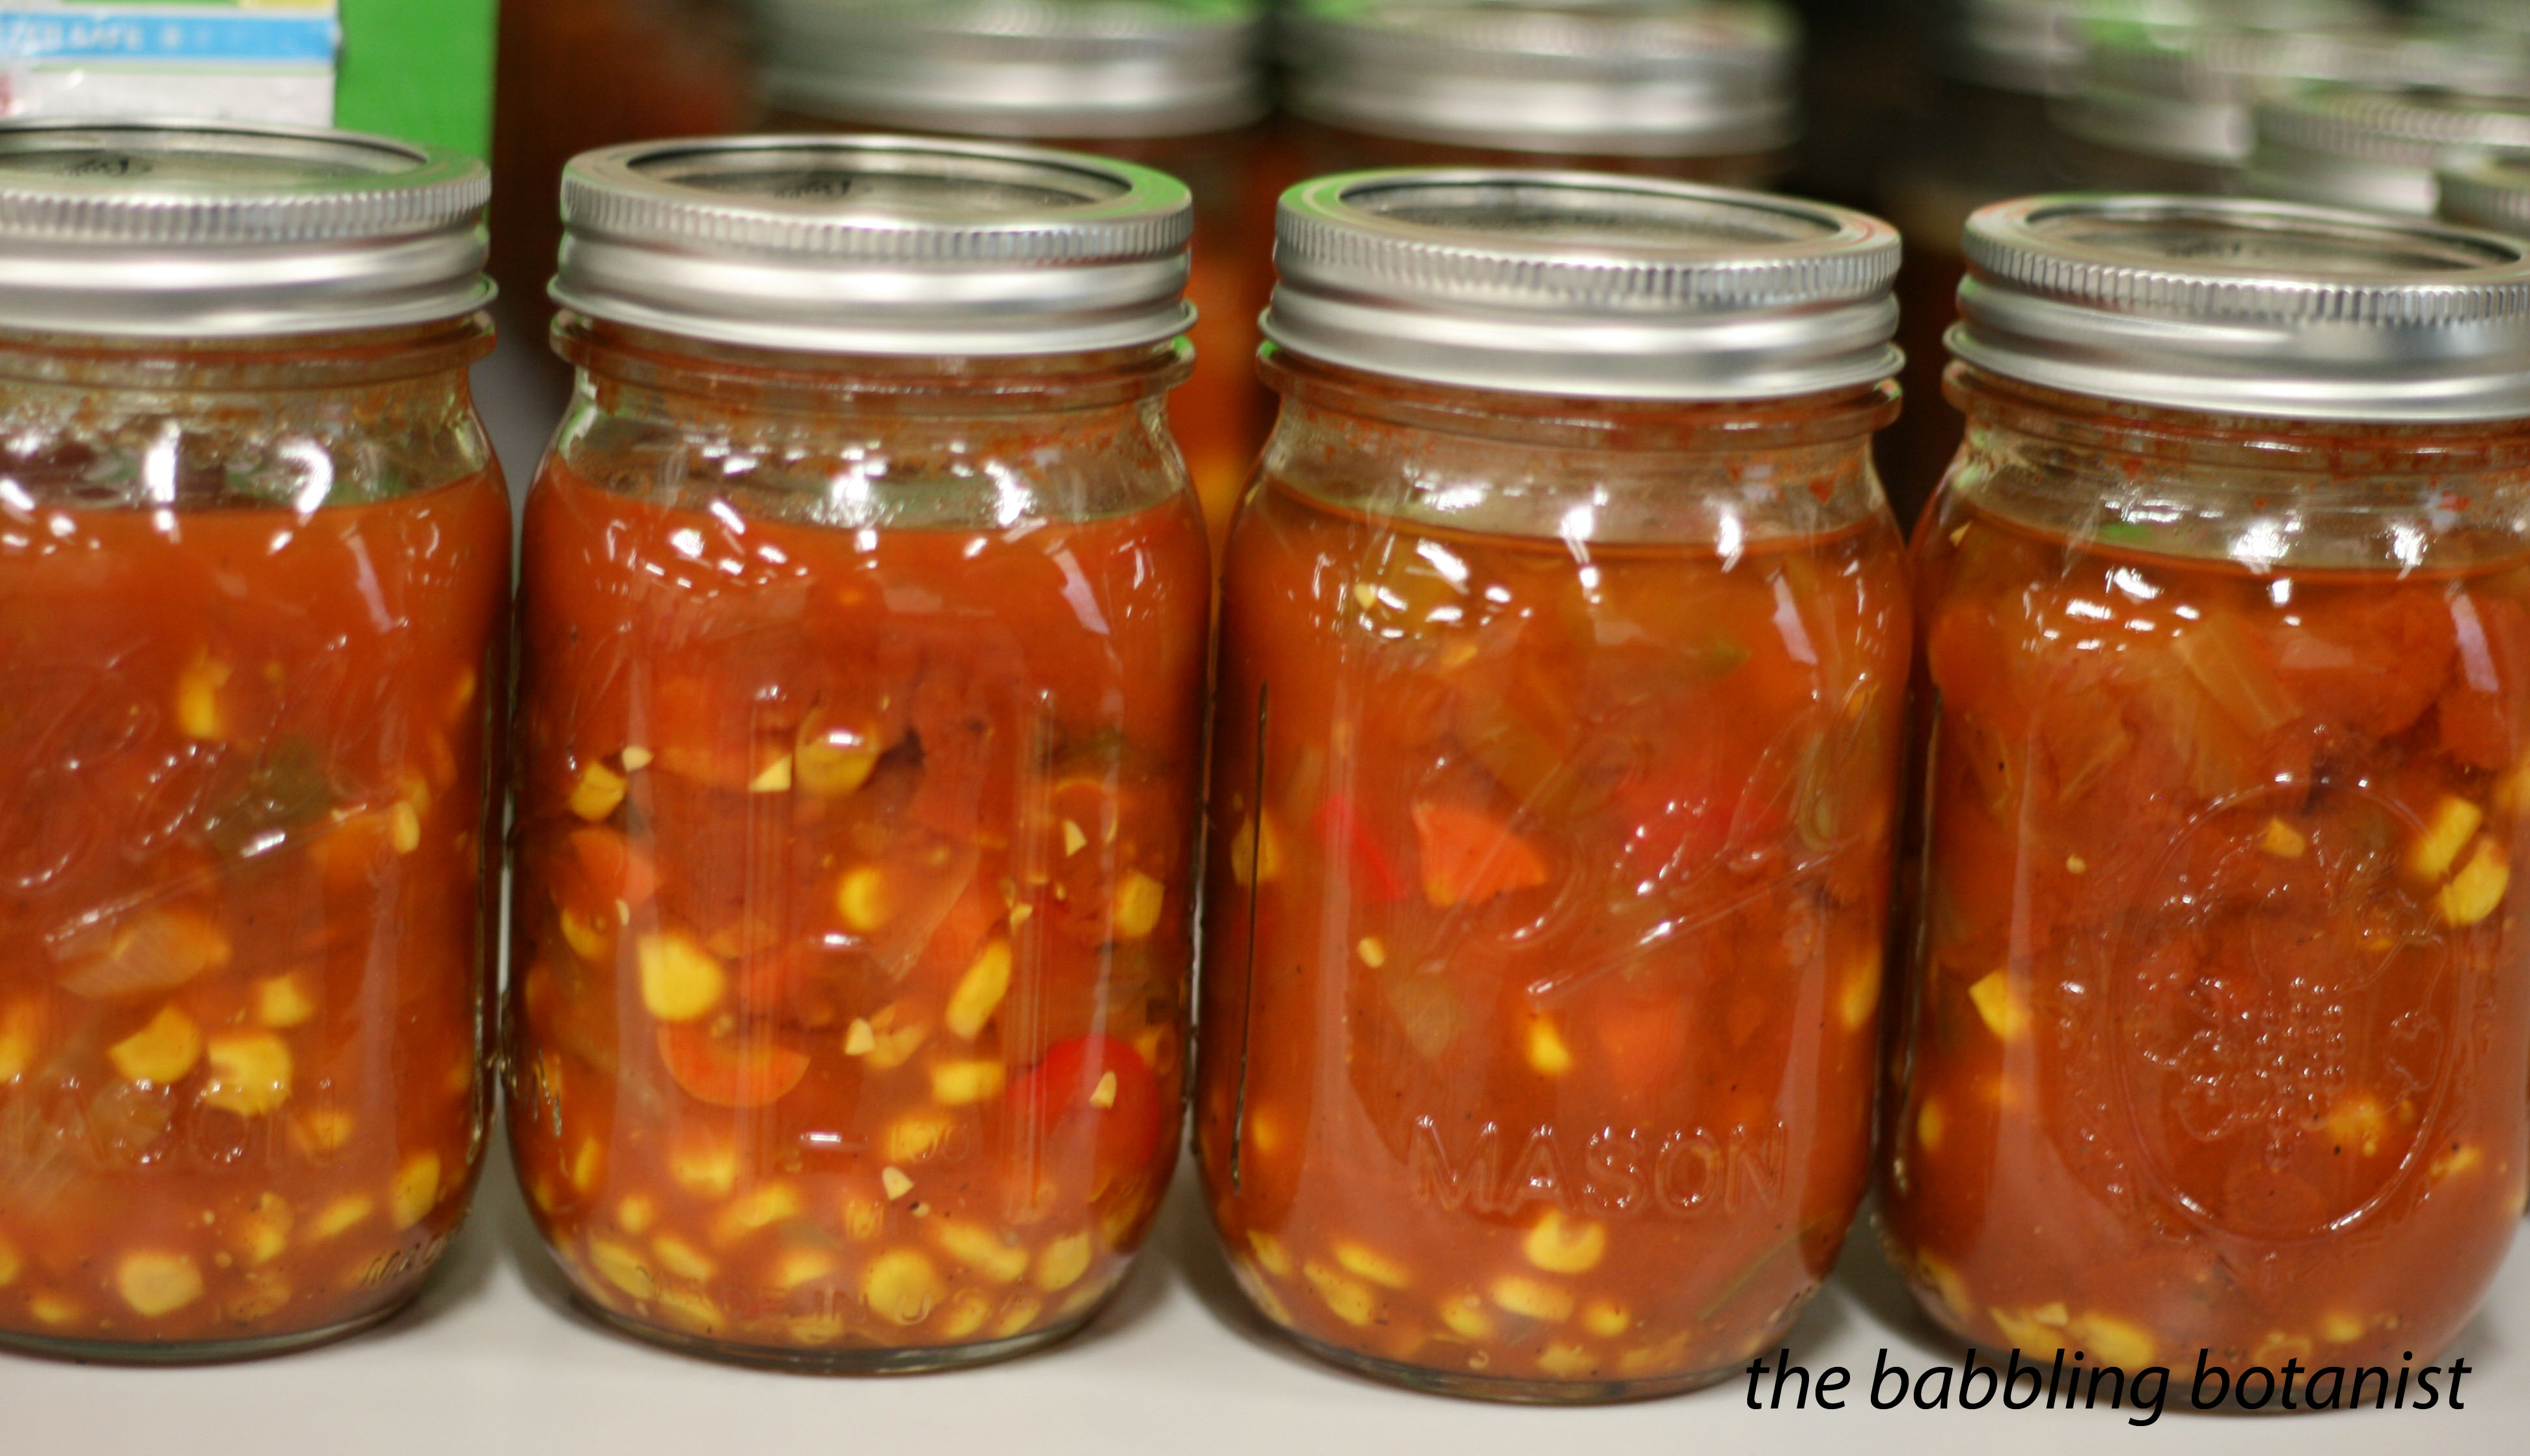
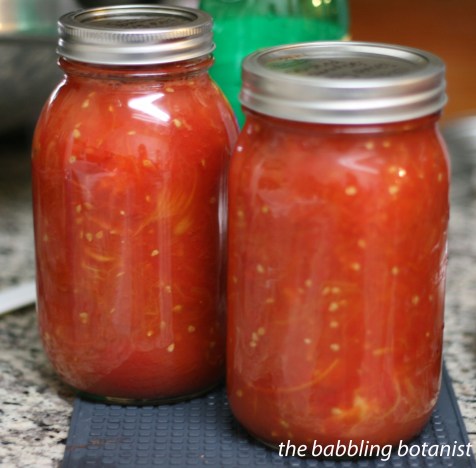
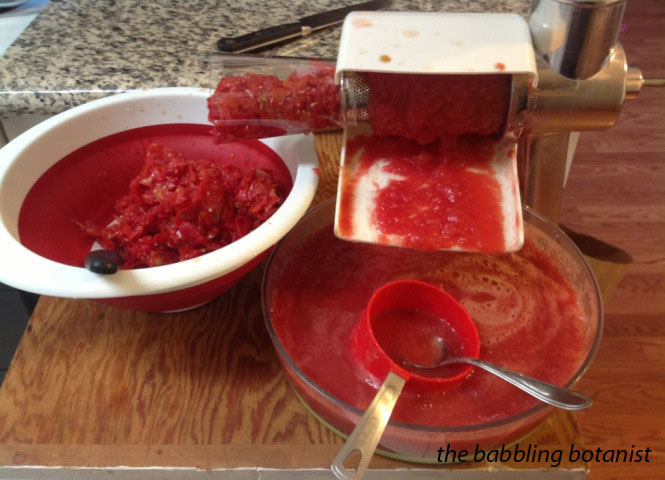
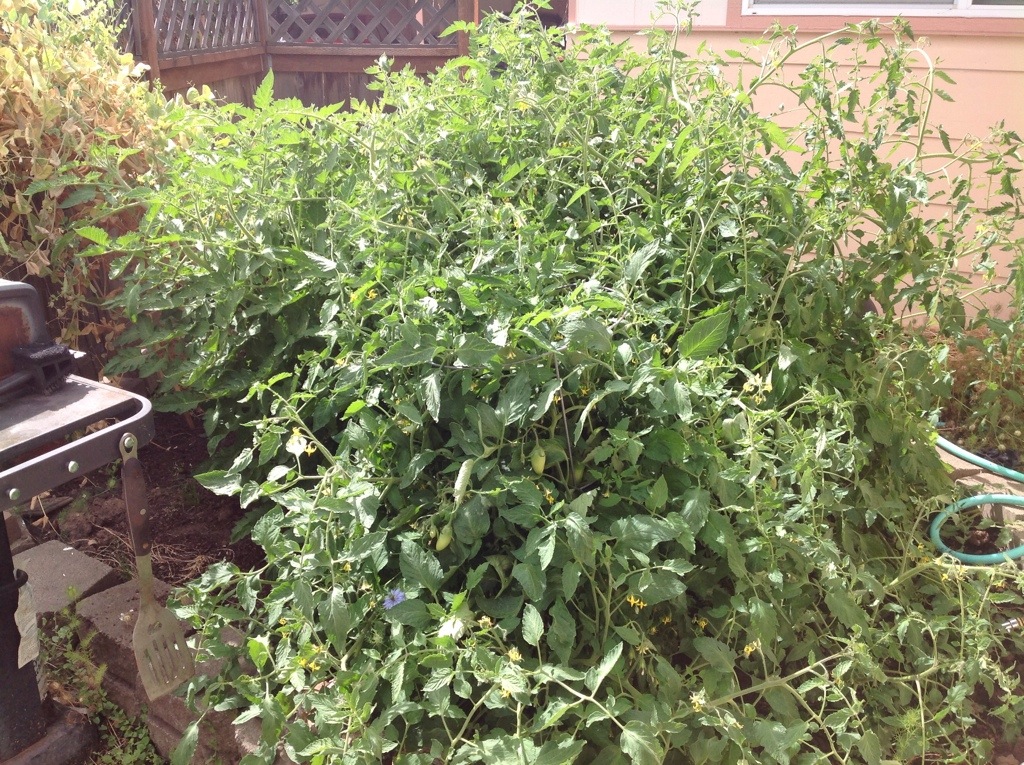
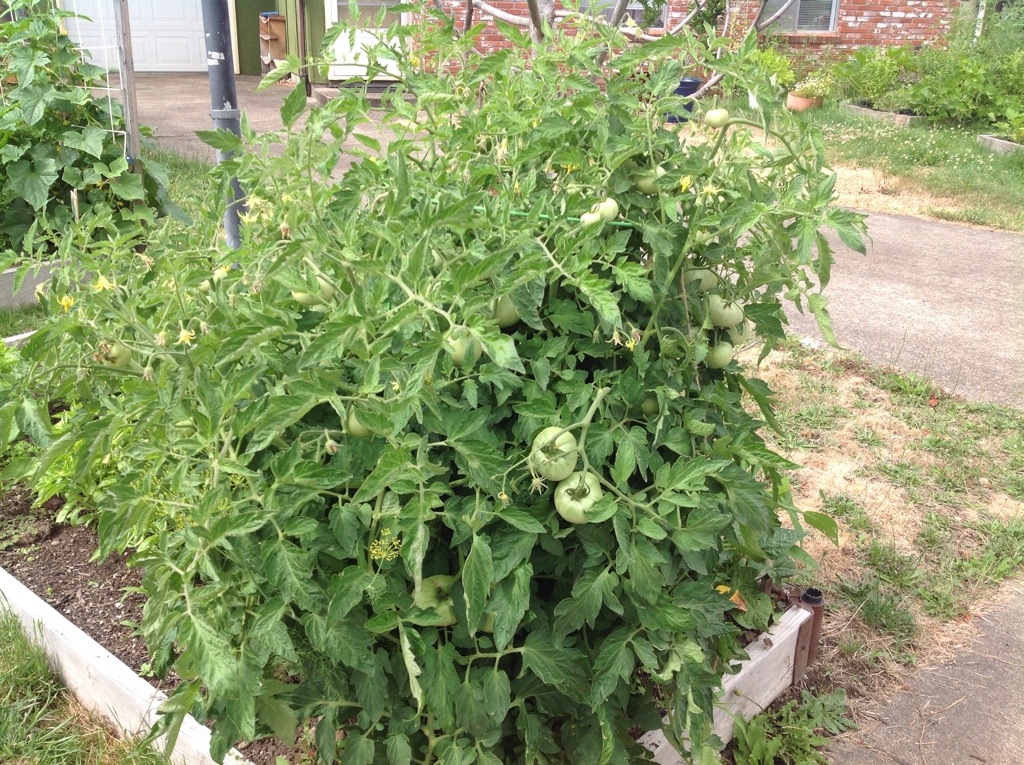
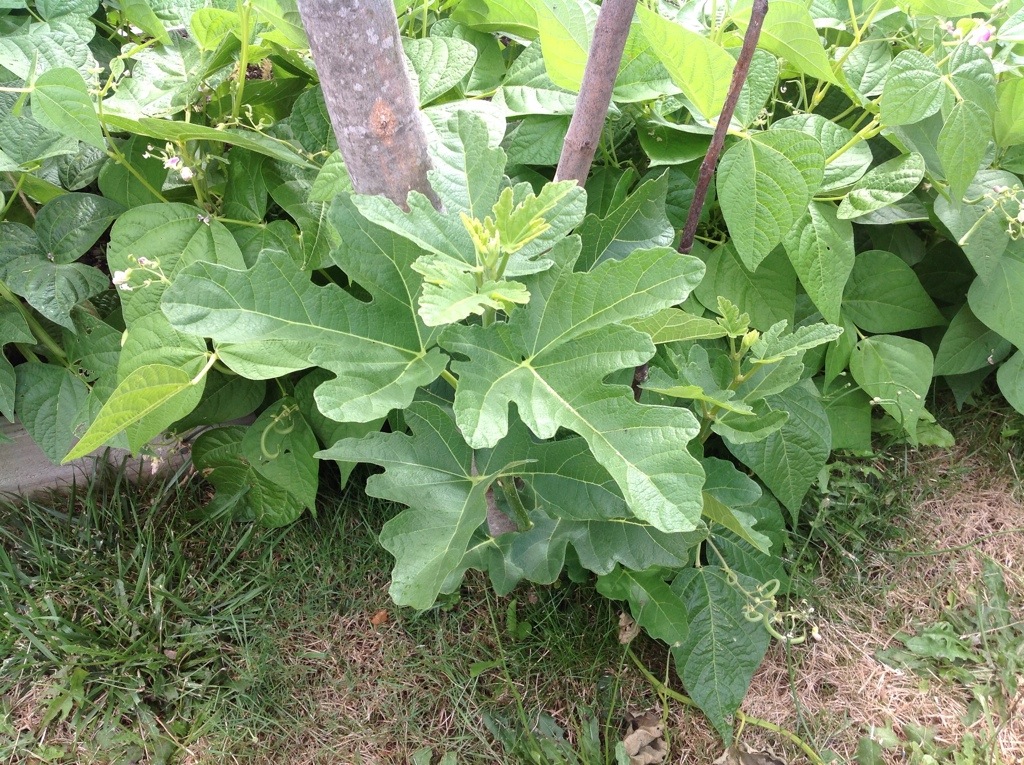
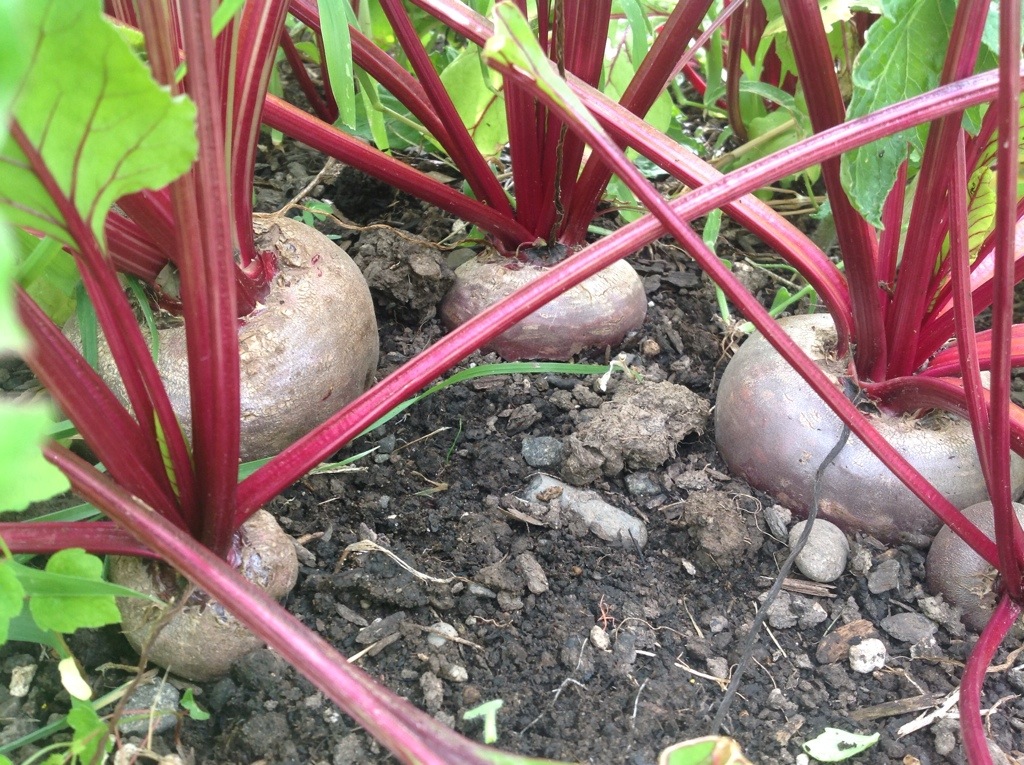
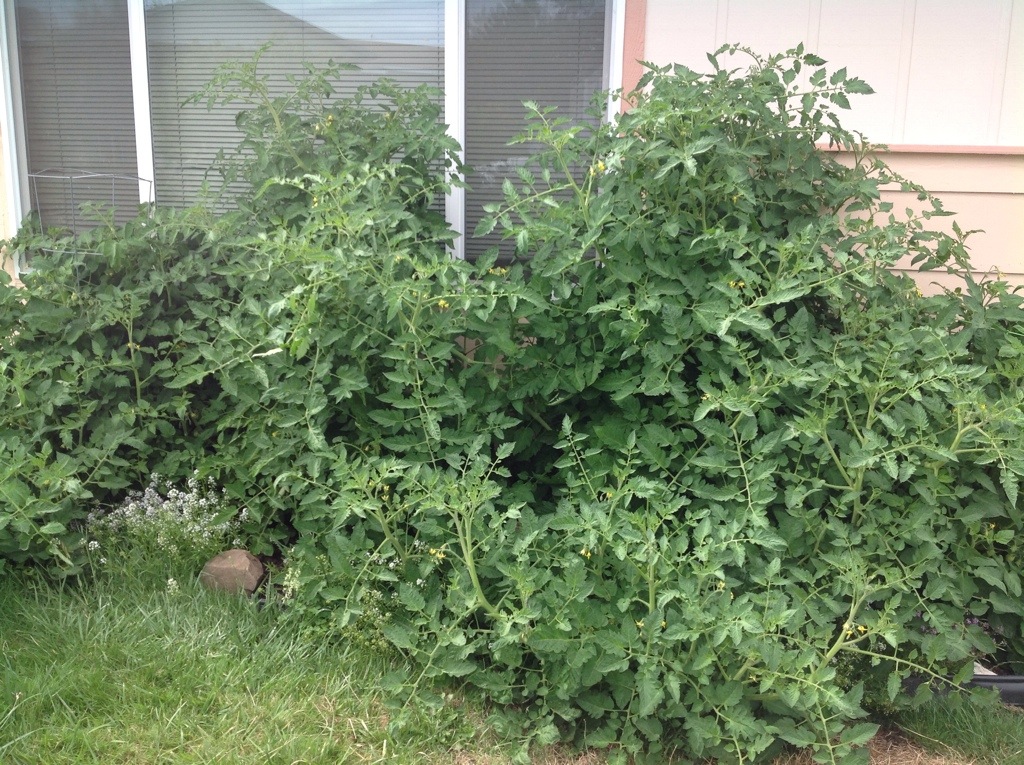
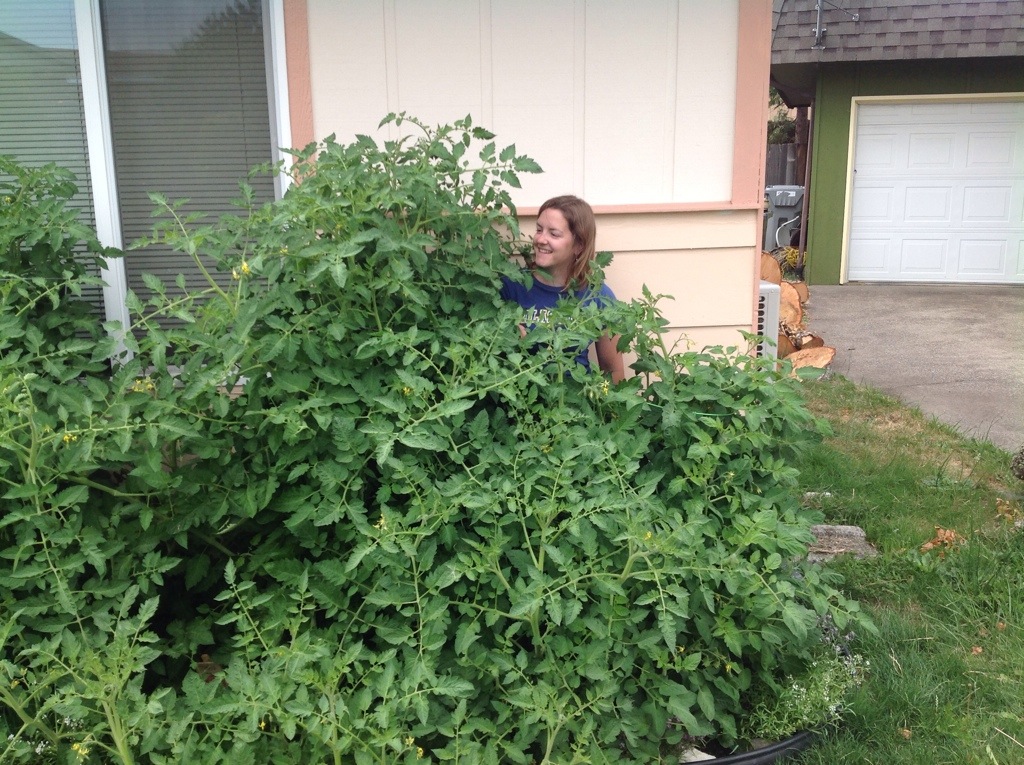
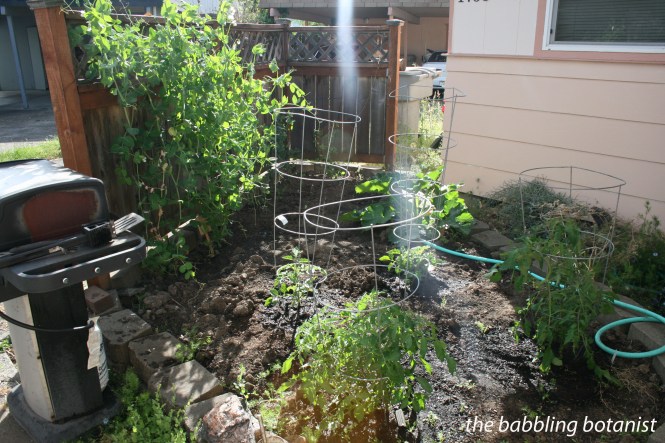
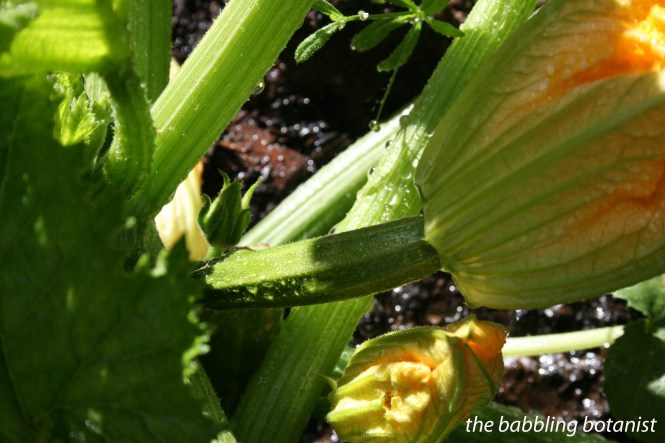
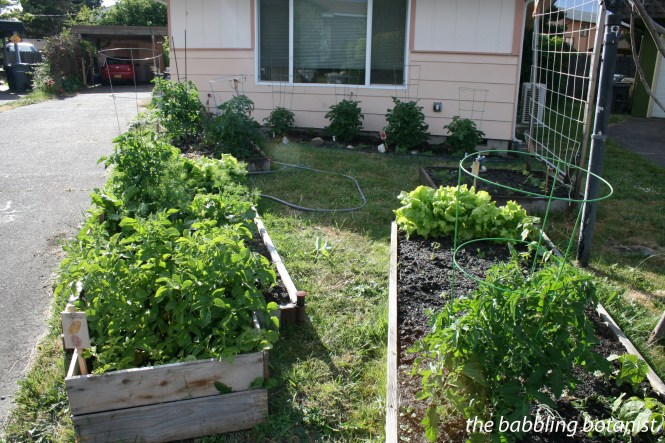
Yes indeeeedy, you did read the title of the post correctly! Today we’re talking about making wine from tomatoes. Turns out that you can ferment pretty much anything. My tomato wine adventure actually took place last year, but now that I’ve had a chance to try it I’m ready to share. Last year when I had so so many tomatoes in late summer/early fall (over 300 pounds from my little garden!) I was looking for ideas on what else to do with them. I made so much sauce and salsa and wanted to try some new ideas. Of course I thought to myself, “I bet I could make wine out of these.” Turns out there is a guy that commercially makes it (as I found on this blog), and I also found a smattering of recipes online on how to make it. So here’s what I ended up trying based on a few things I saw, and based on my experiences with fruit wines. It turned out pretty nicely!
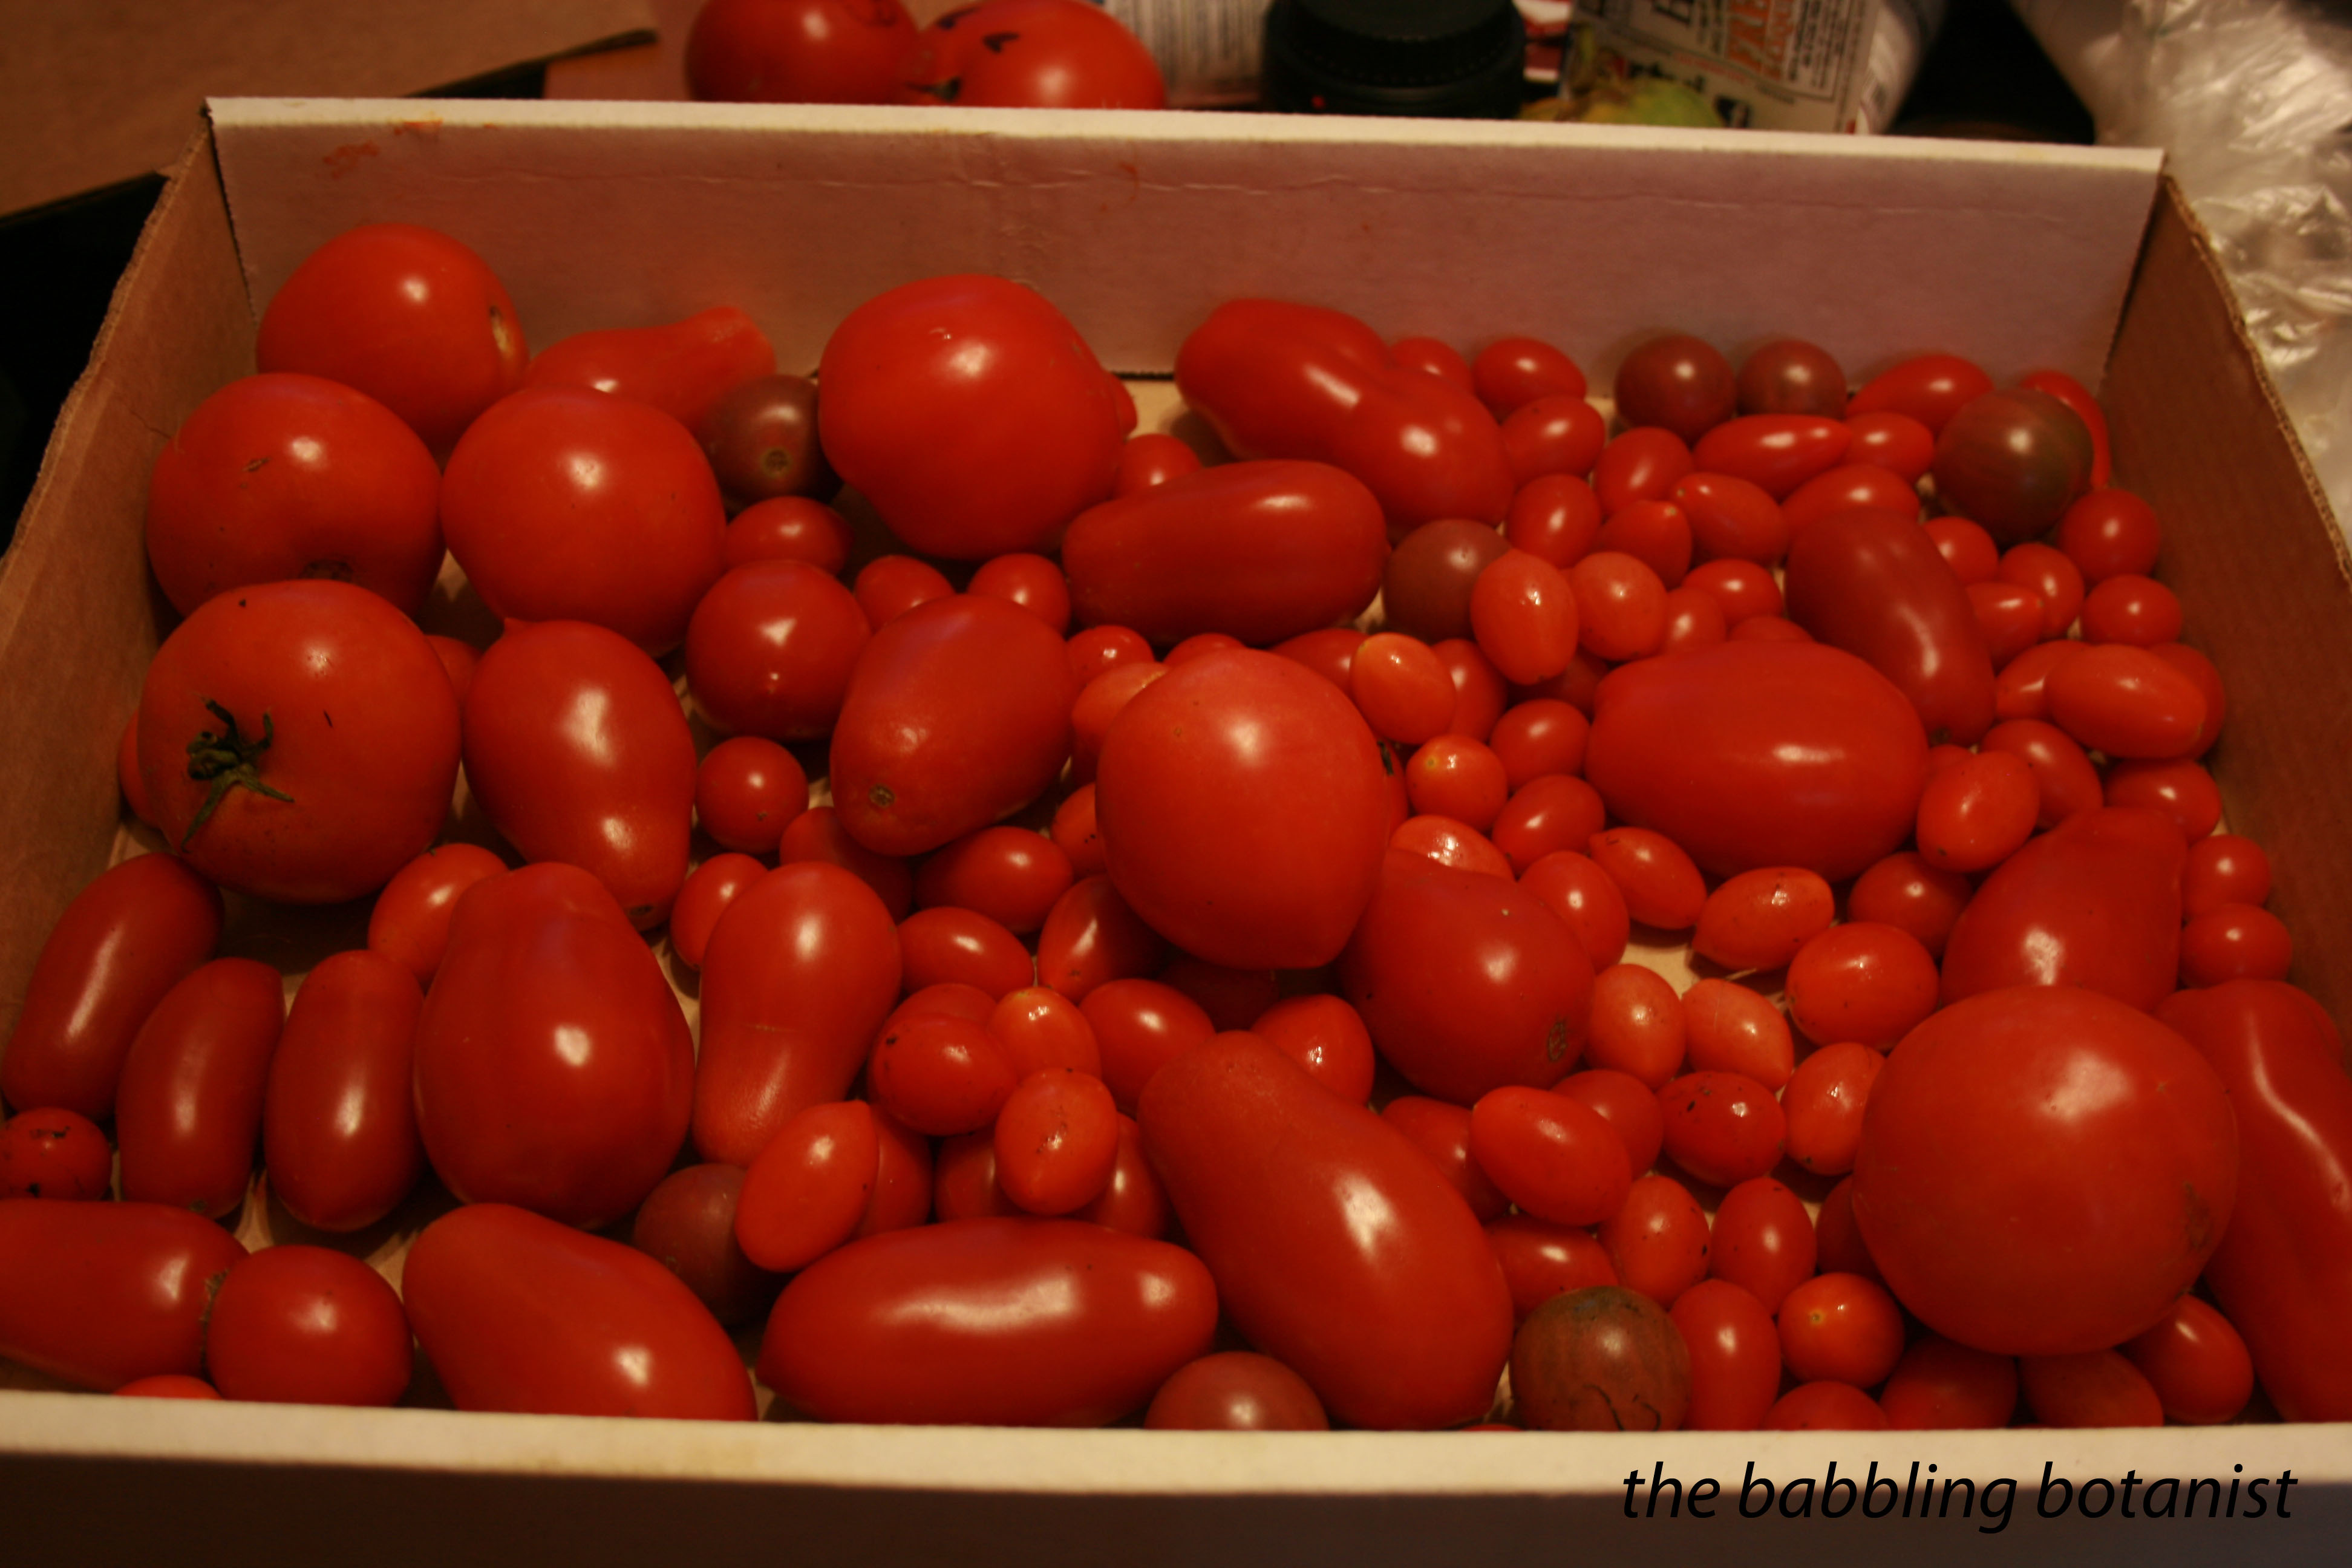
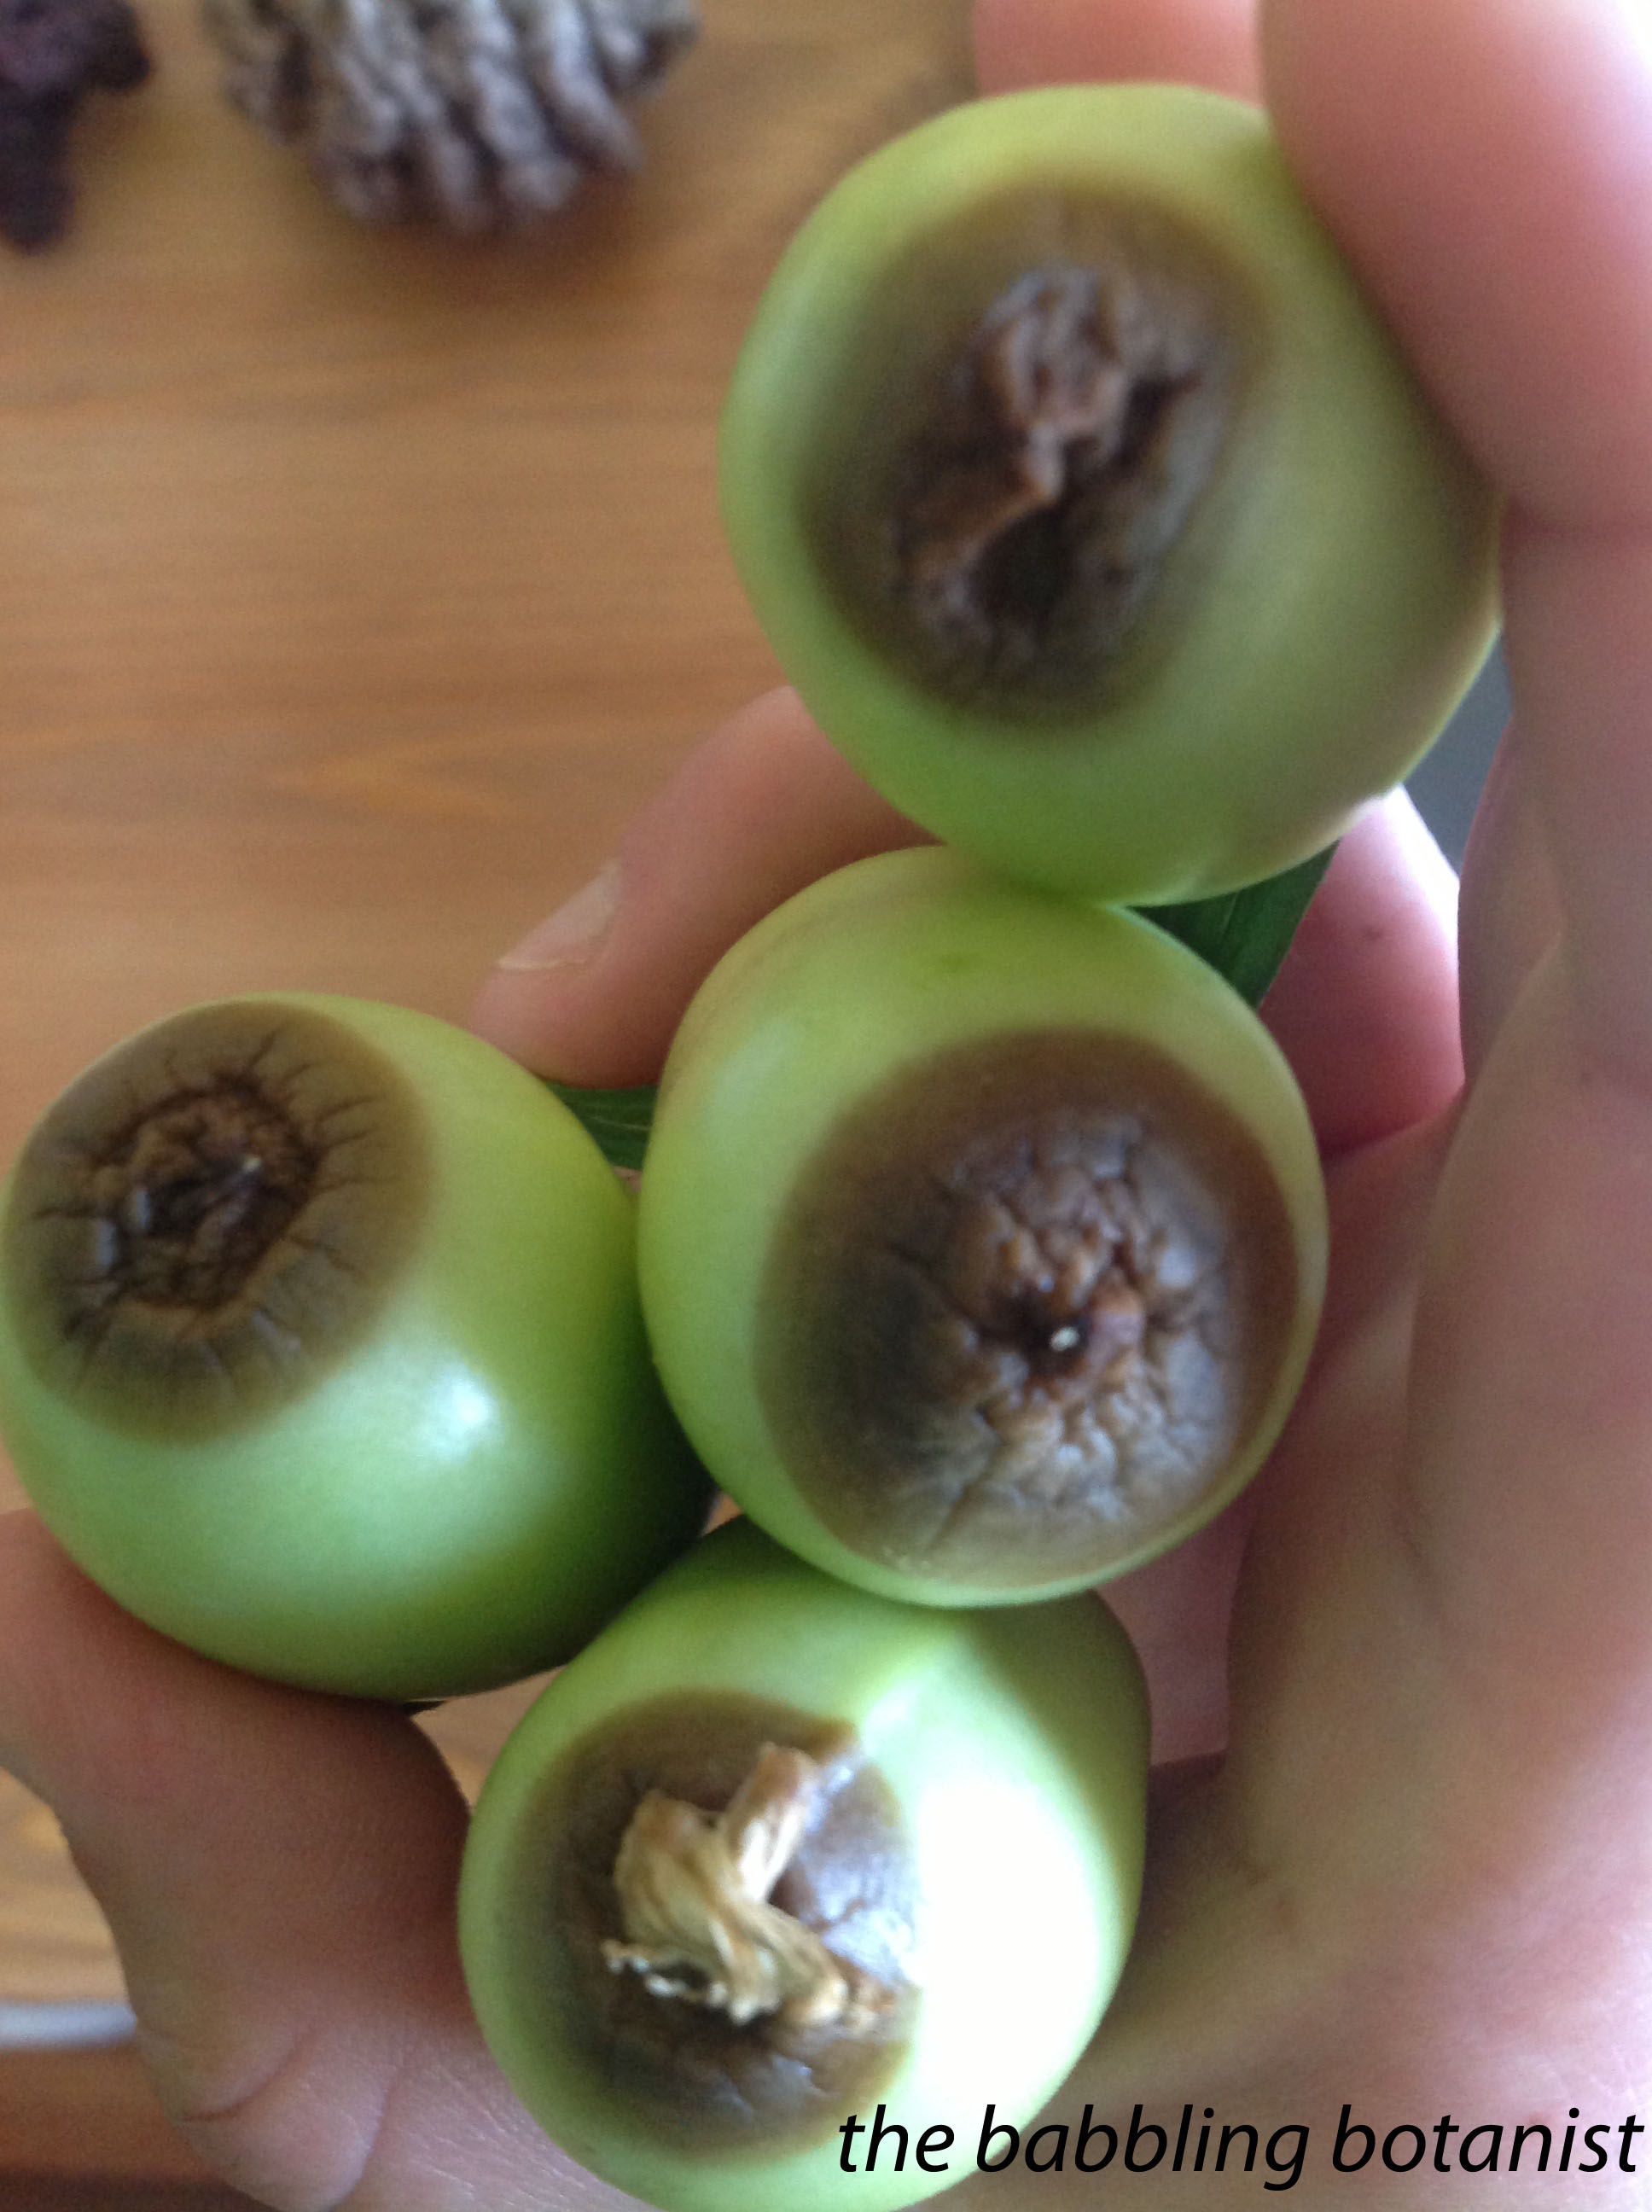
4-5 pounds of tomatoes – the sweeter the variety the better
3 lbs dextrose
2 tsp acid blend
1/2 tsp pectic enzyme
1/2 tsp diammonium phosphate
1 tsp yeast nutrient
2 campden tablets
Lalvin K1-V1116 yeast
For full and complete procedures, see my post on making fruit wine. But here is the short version of what I did to make it.
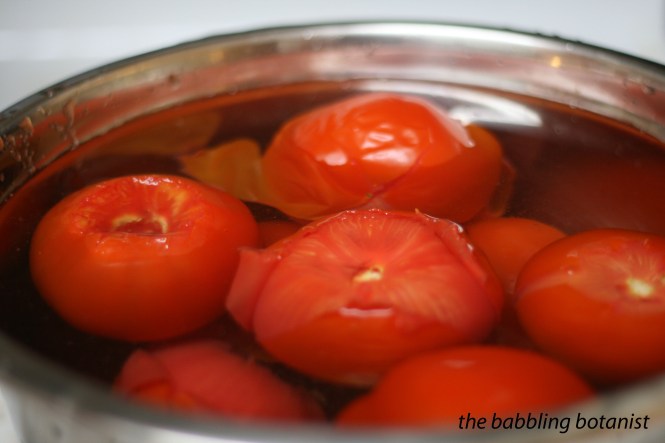
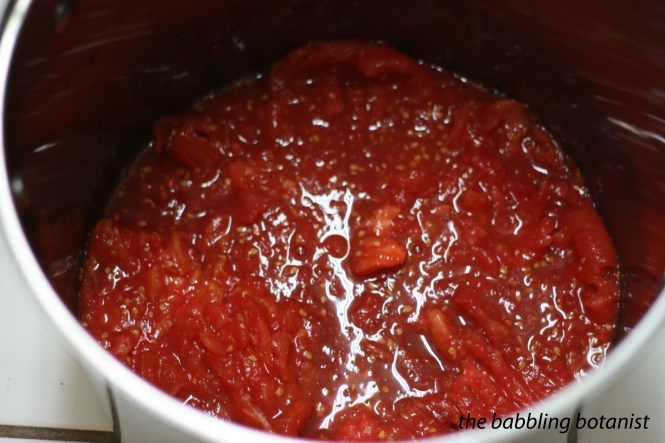
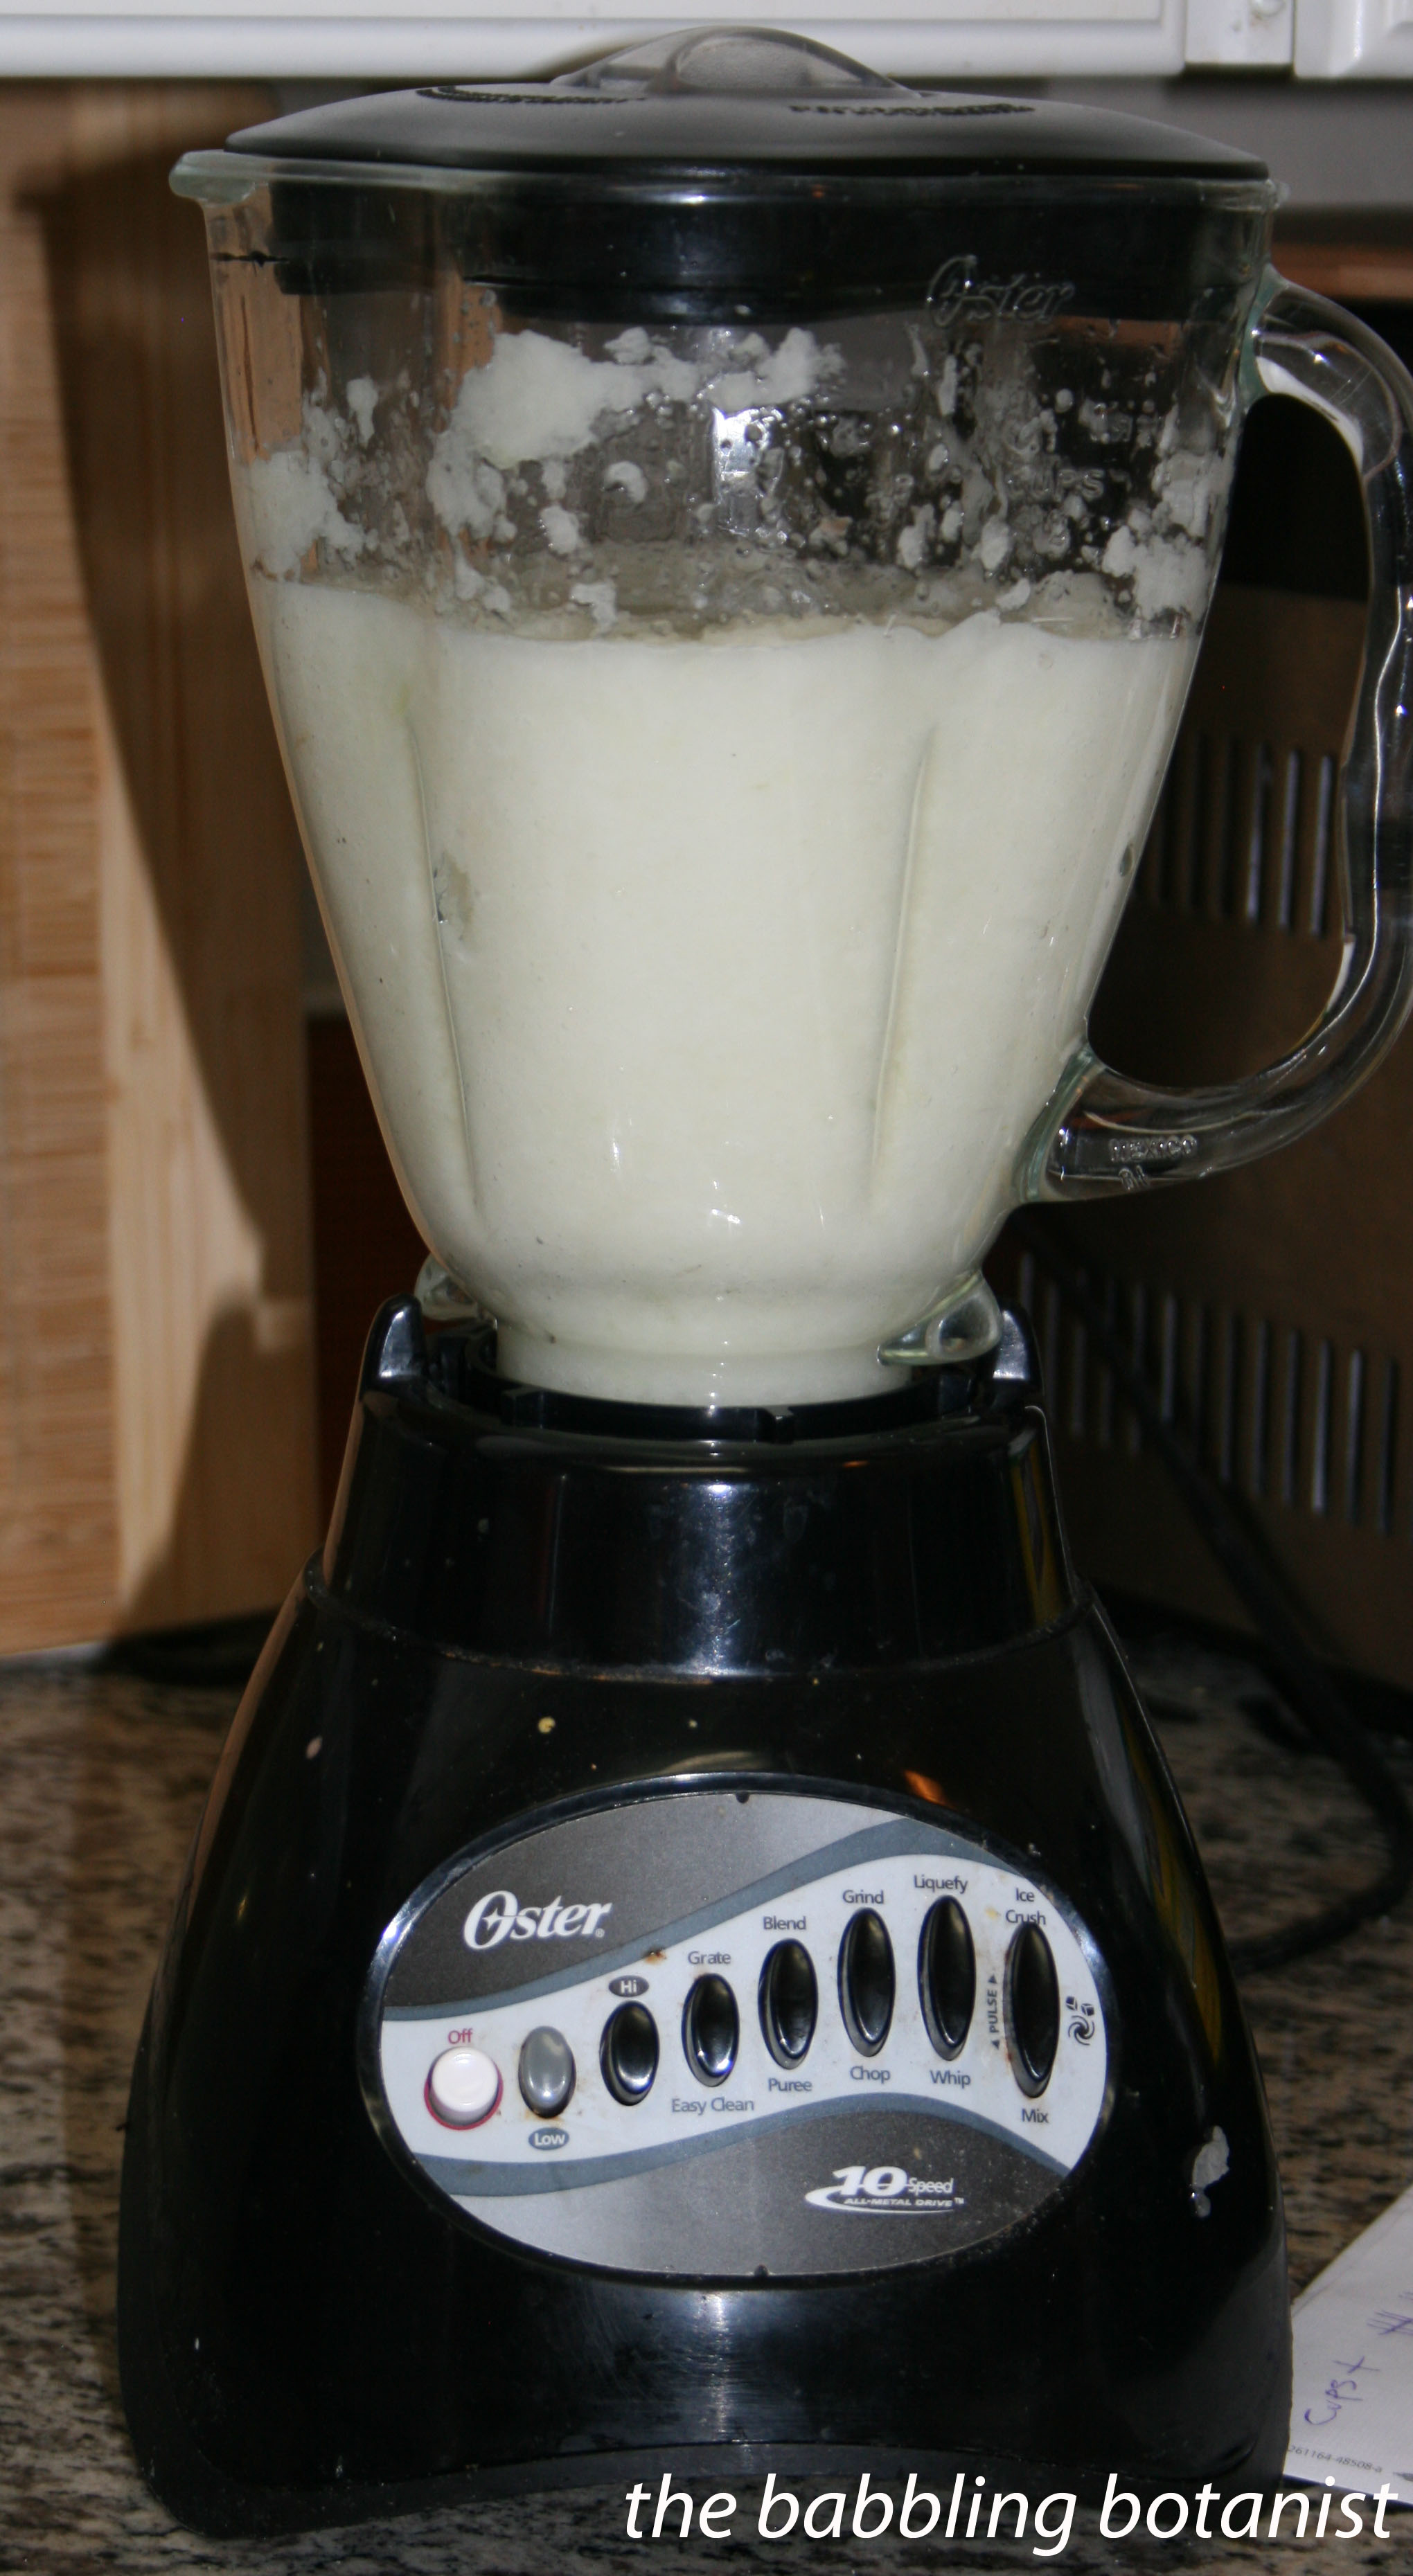
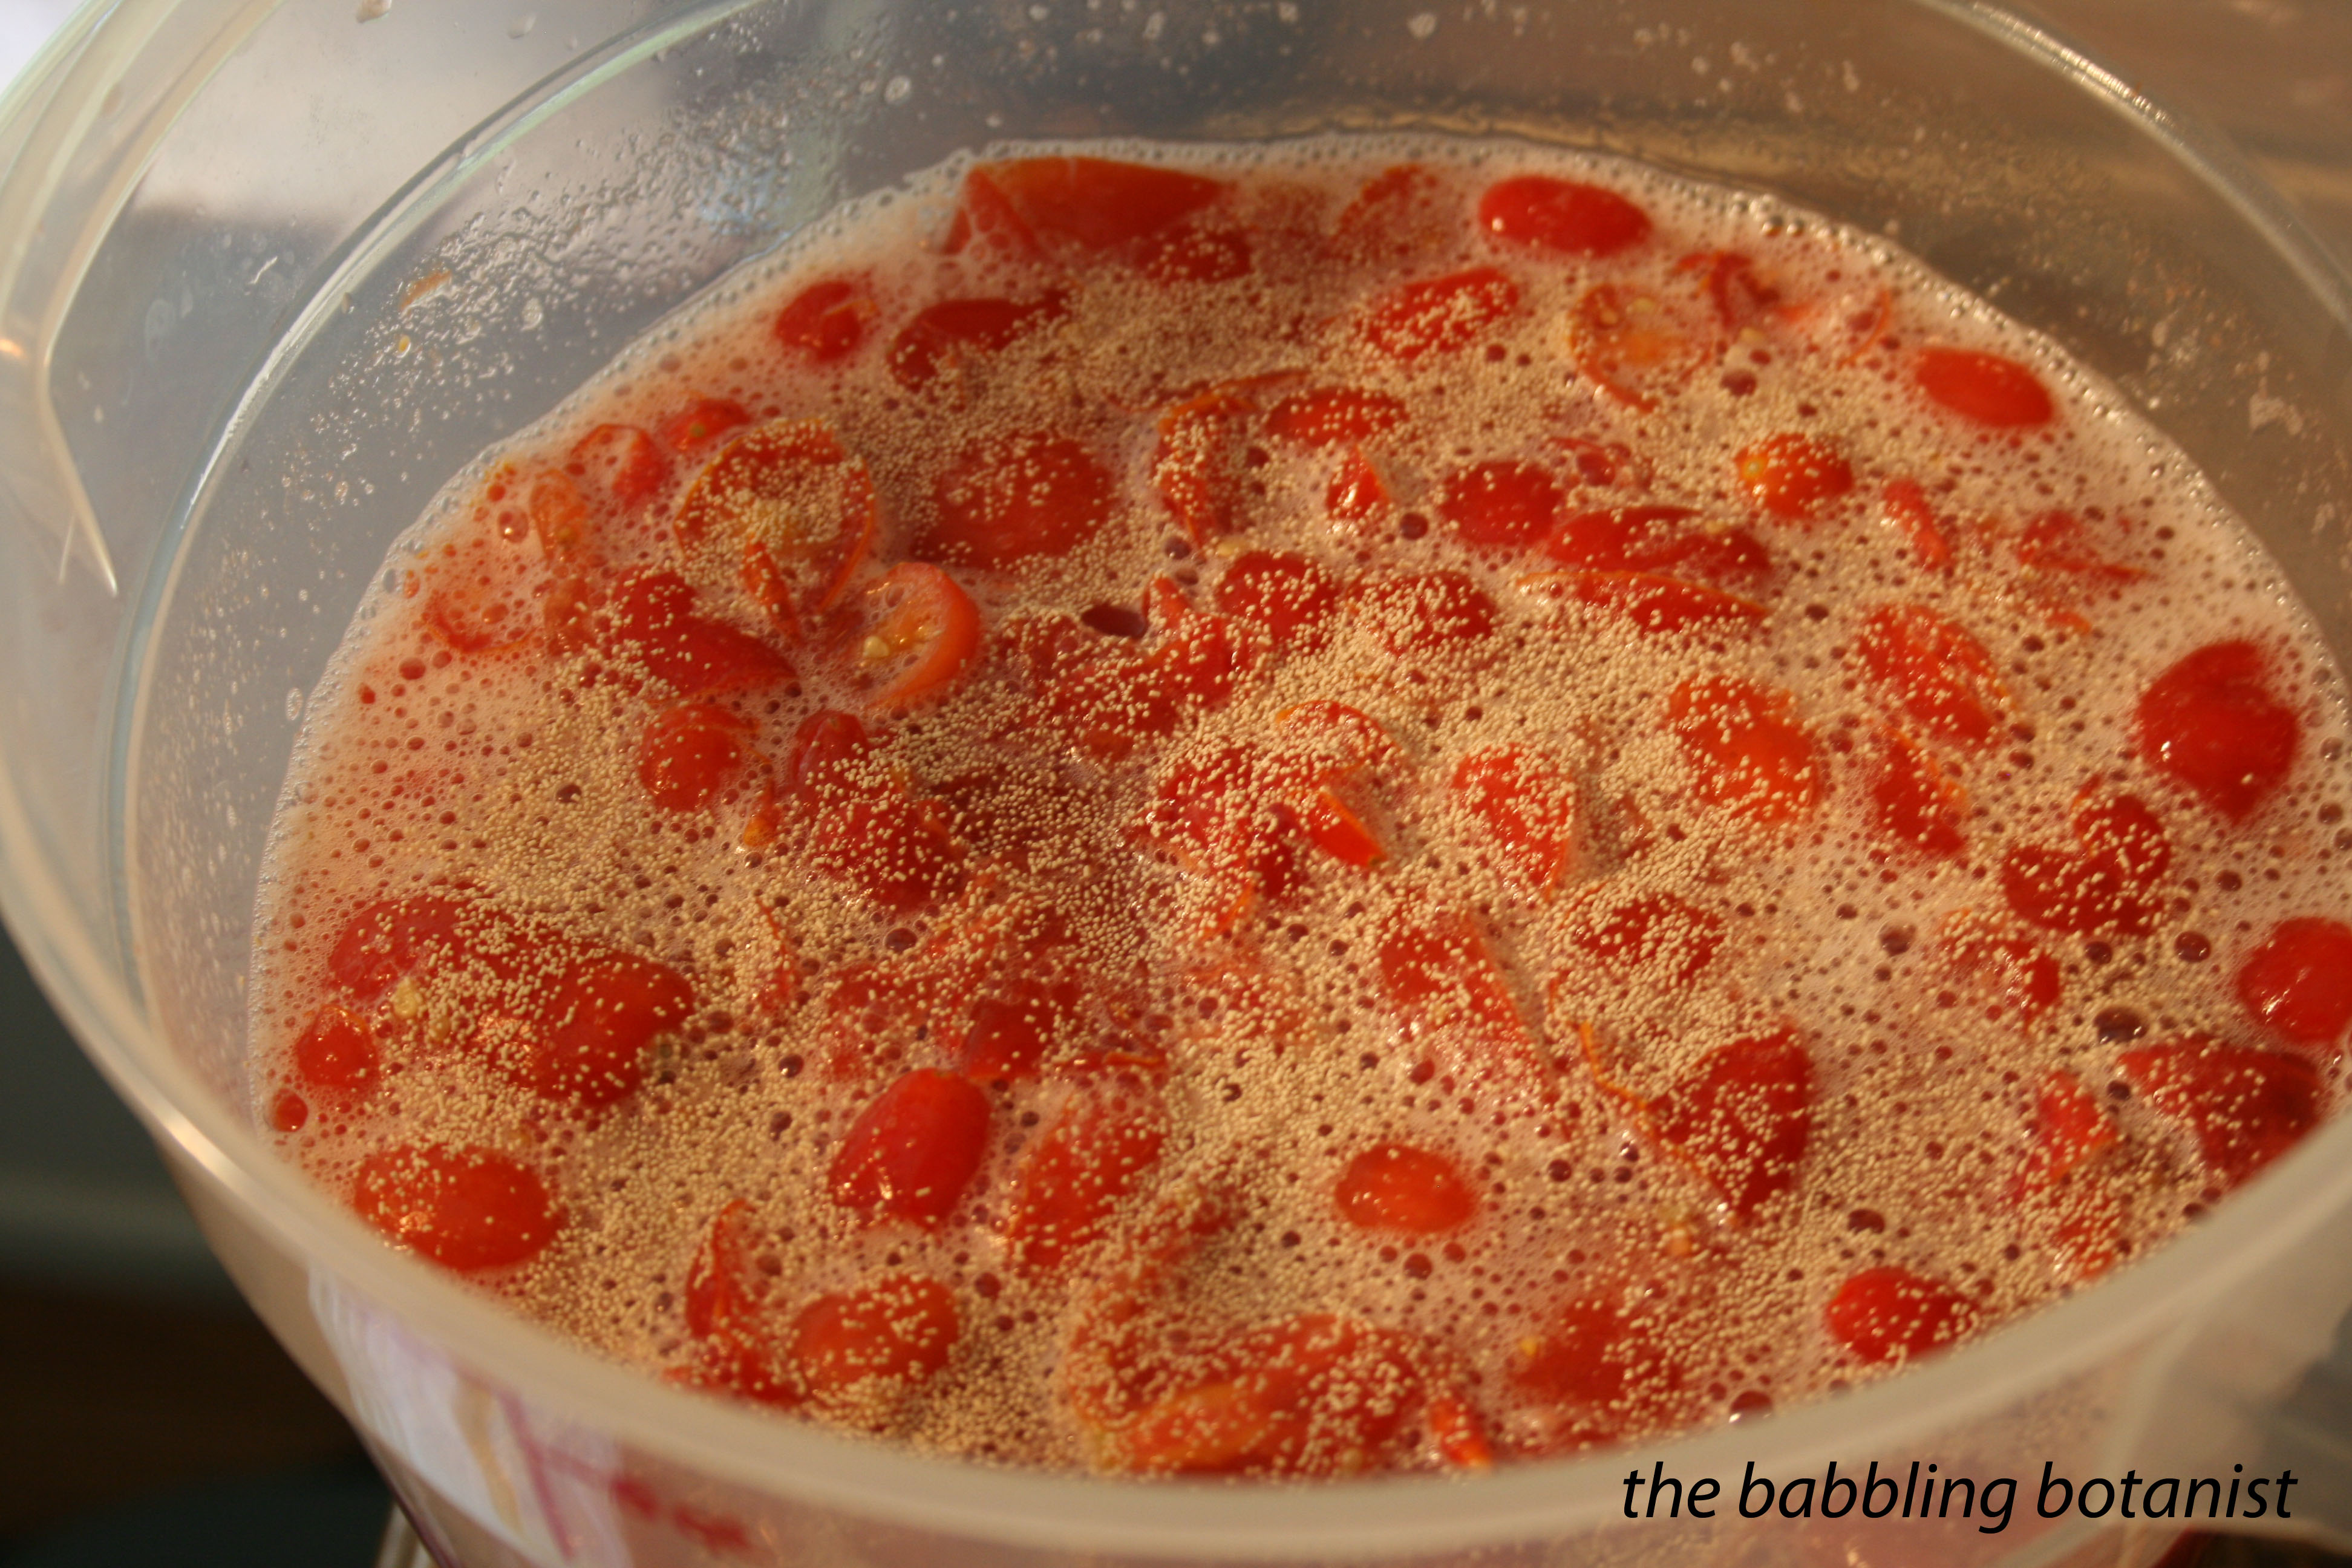
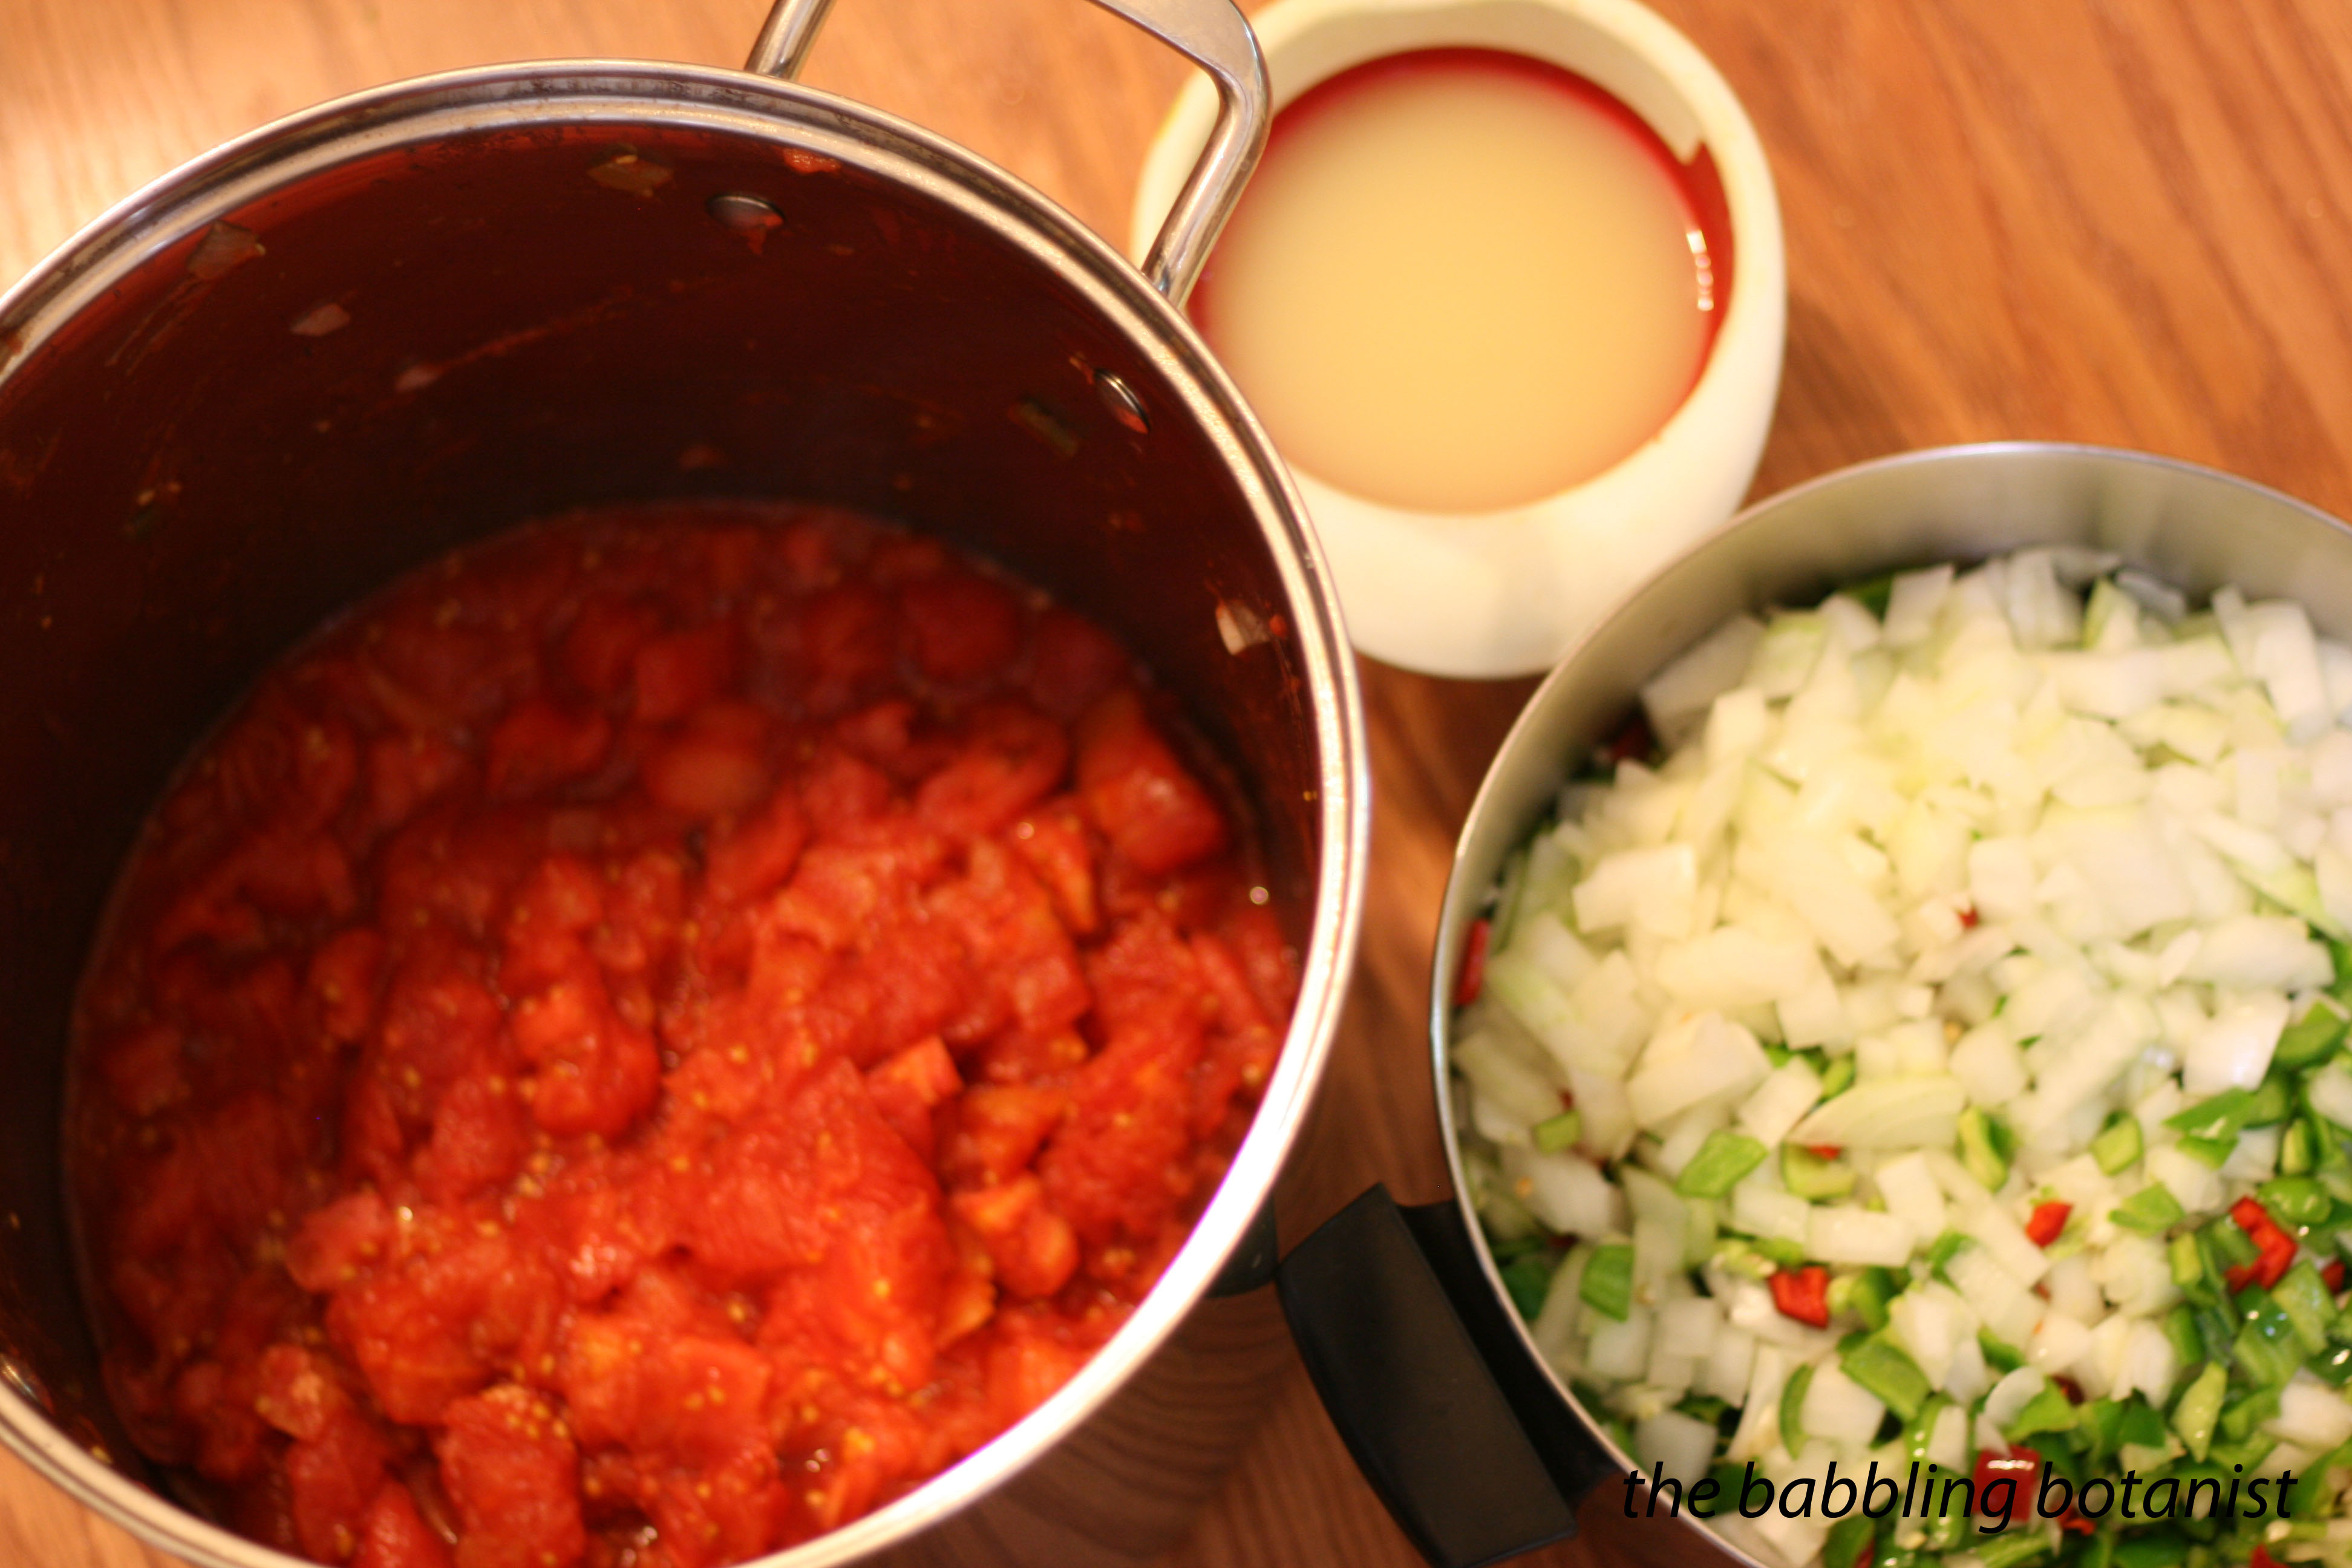
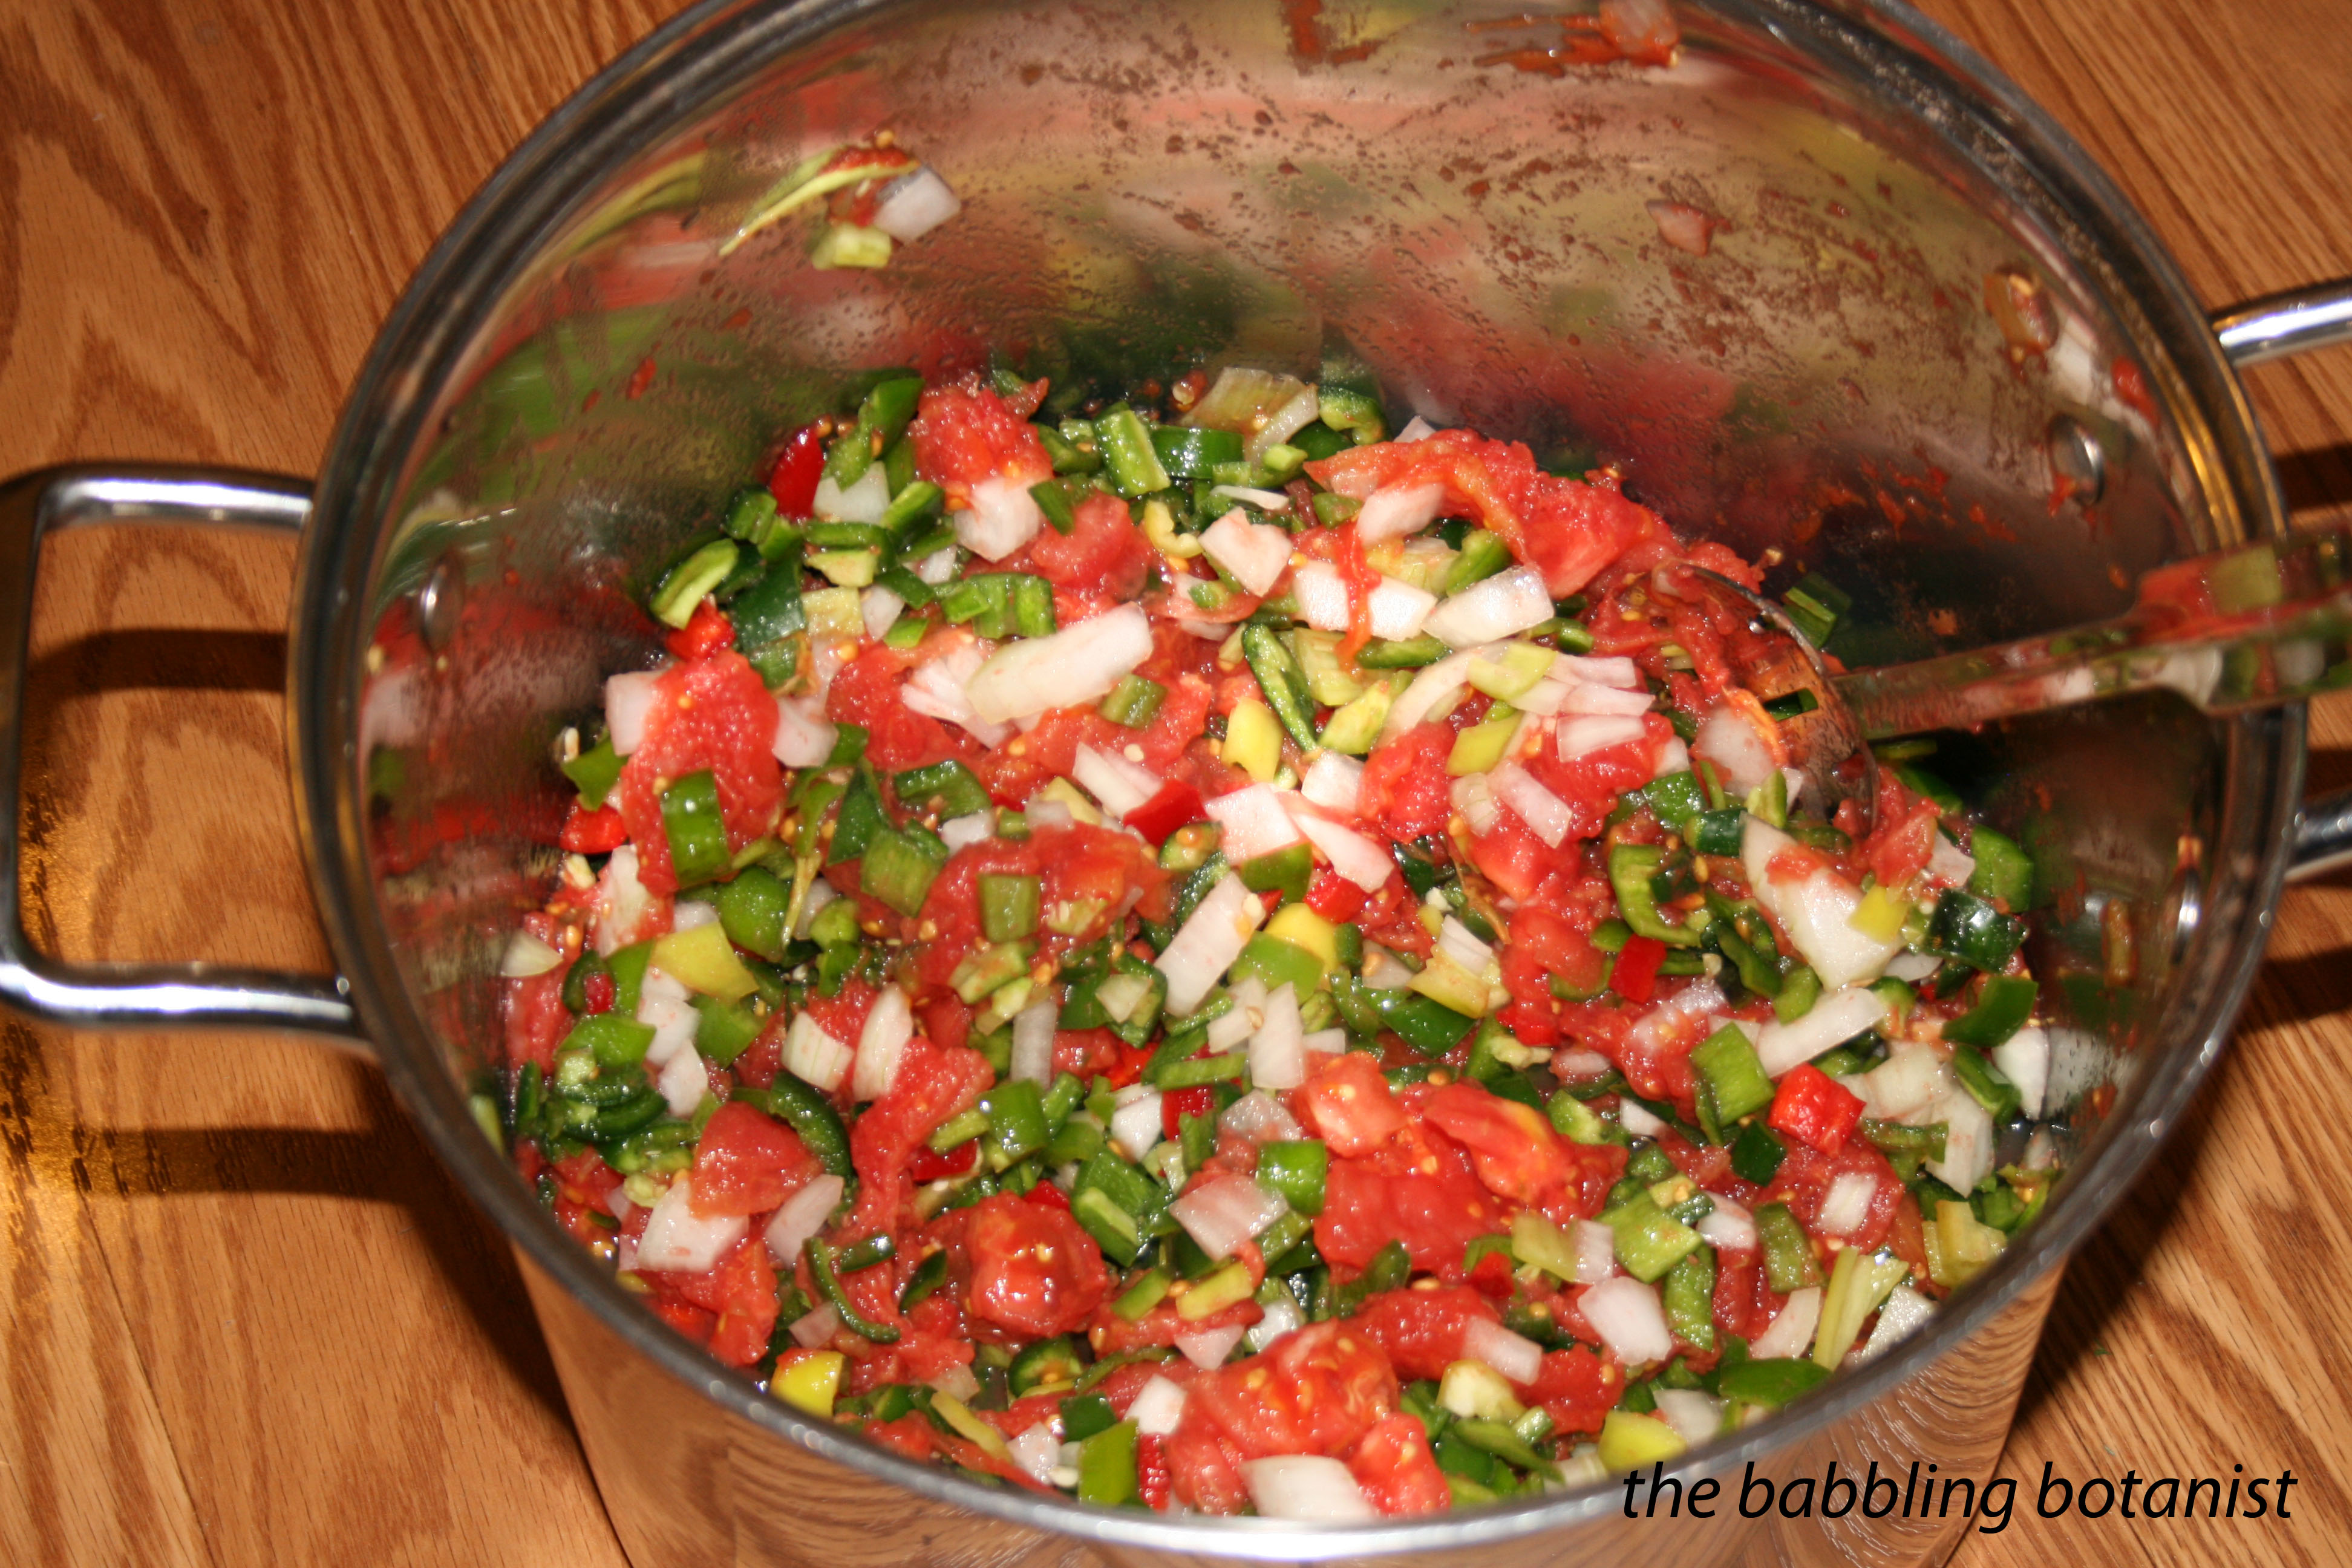
Combine all ingredients except the yeast in a sanitized primary fermenter. Mash up the tomatoes a little bit. Put on the lid and wait a day.
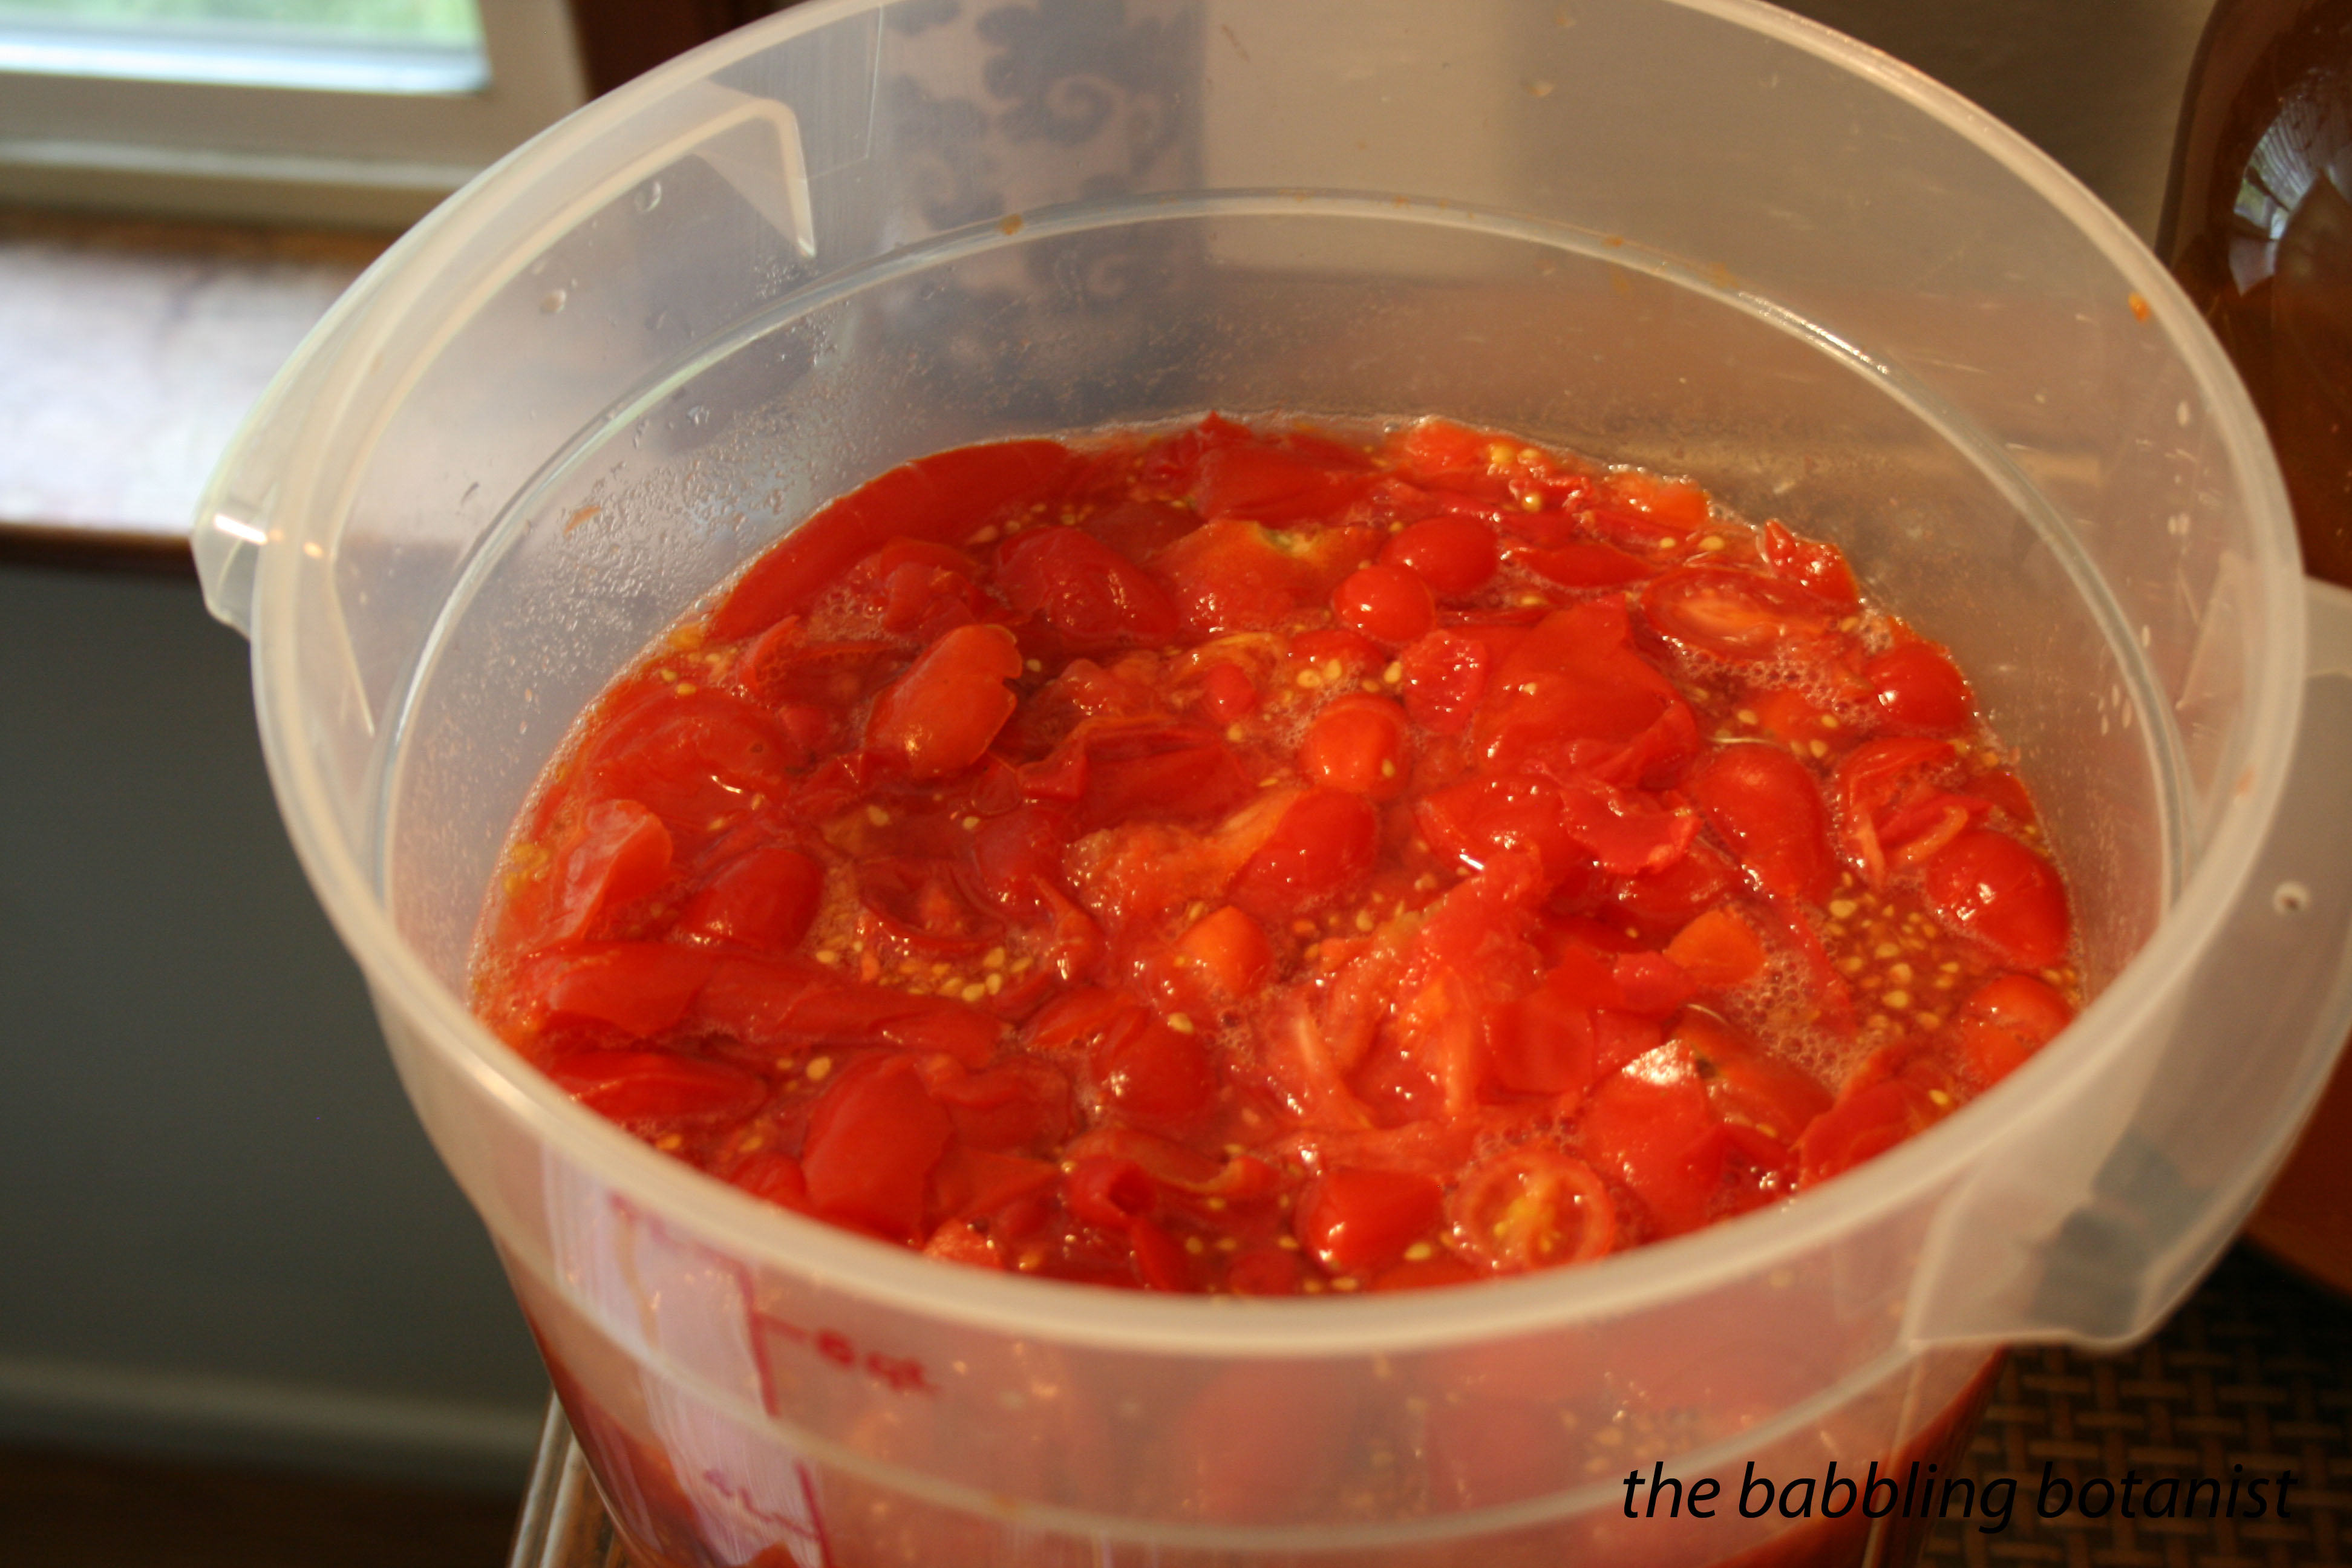
After 24 hours add the yeast. You only need about half the package. Put the lid back on and let it ferment away. Punch the cap daily with a sanitized spoon, and after about 5-7 days when the cap is broken up a lot and fermentation is starting to slow, strain off the solids, and move to secondary fermentation. Allow the wine to sit until all solids settle out and it becomes clear, and fermentation ceases. Bottle, age a few months, and enjoy!
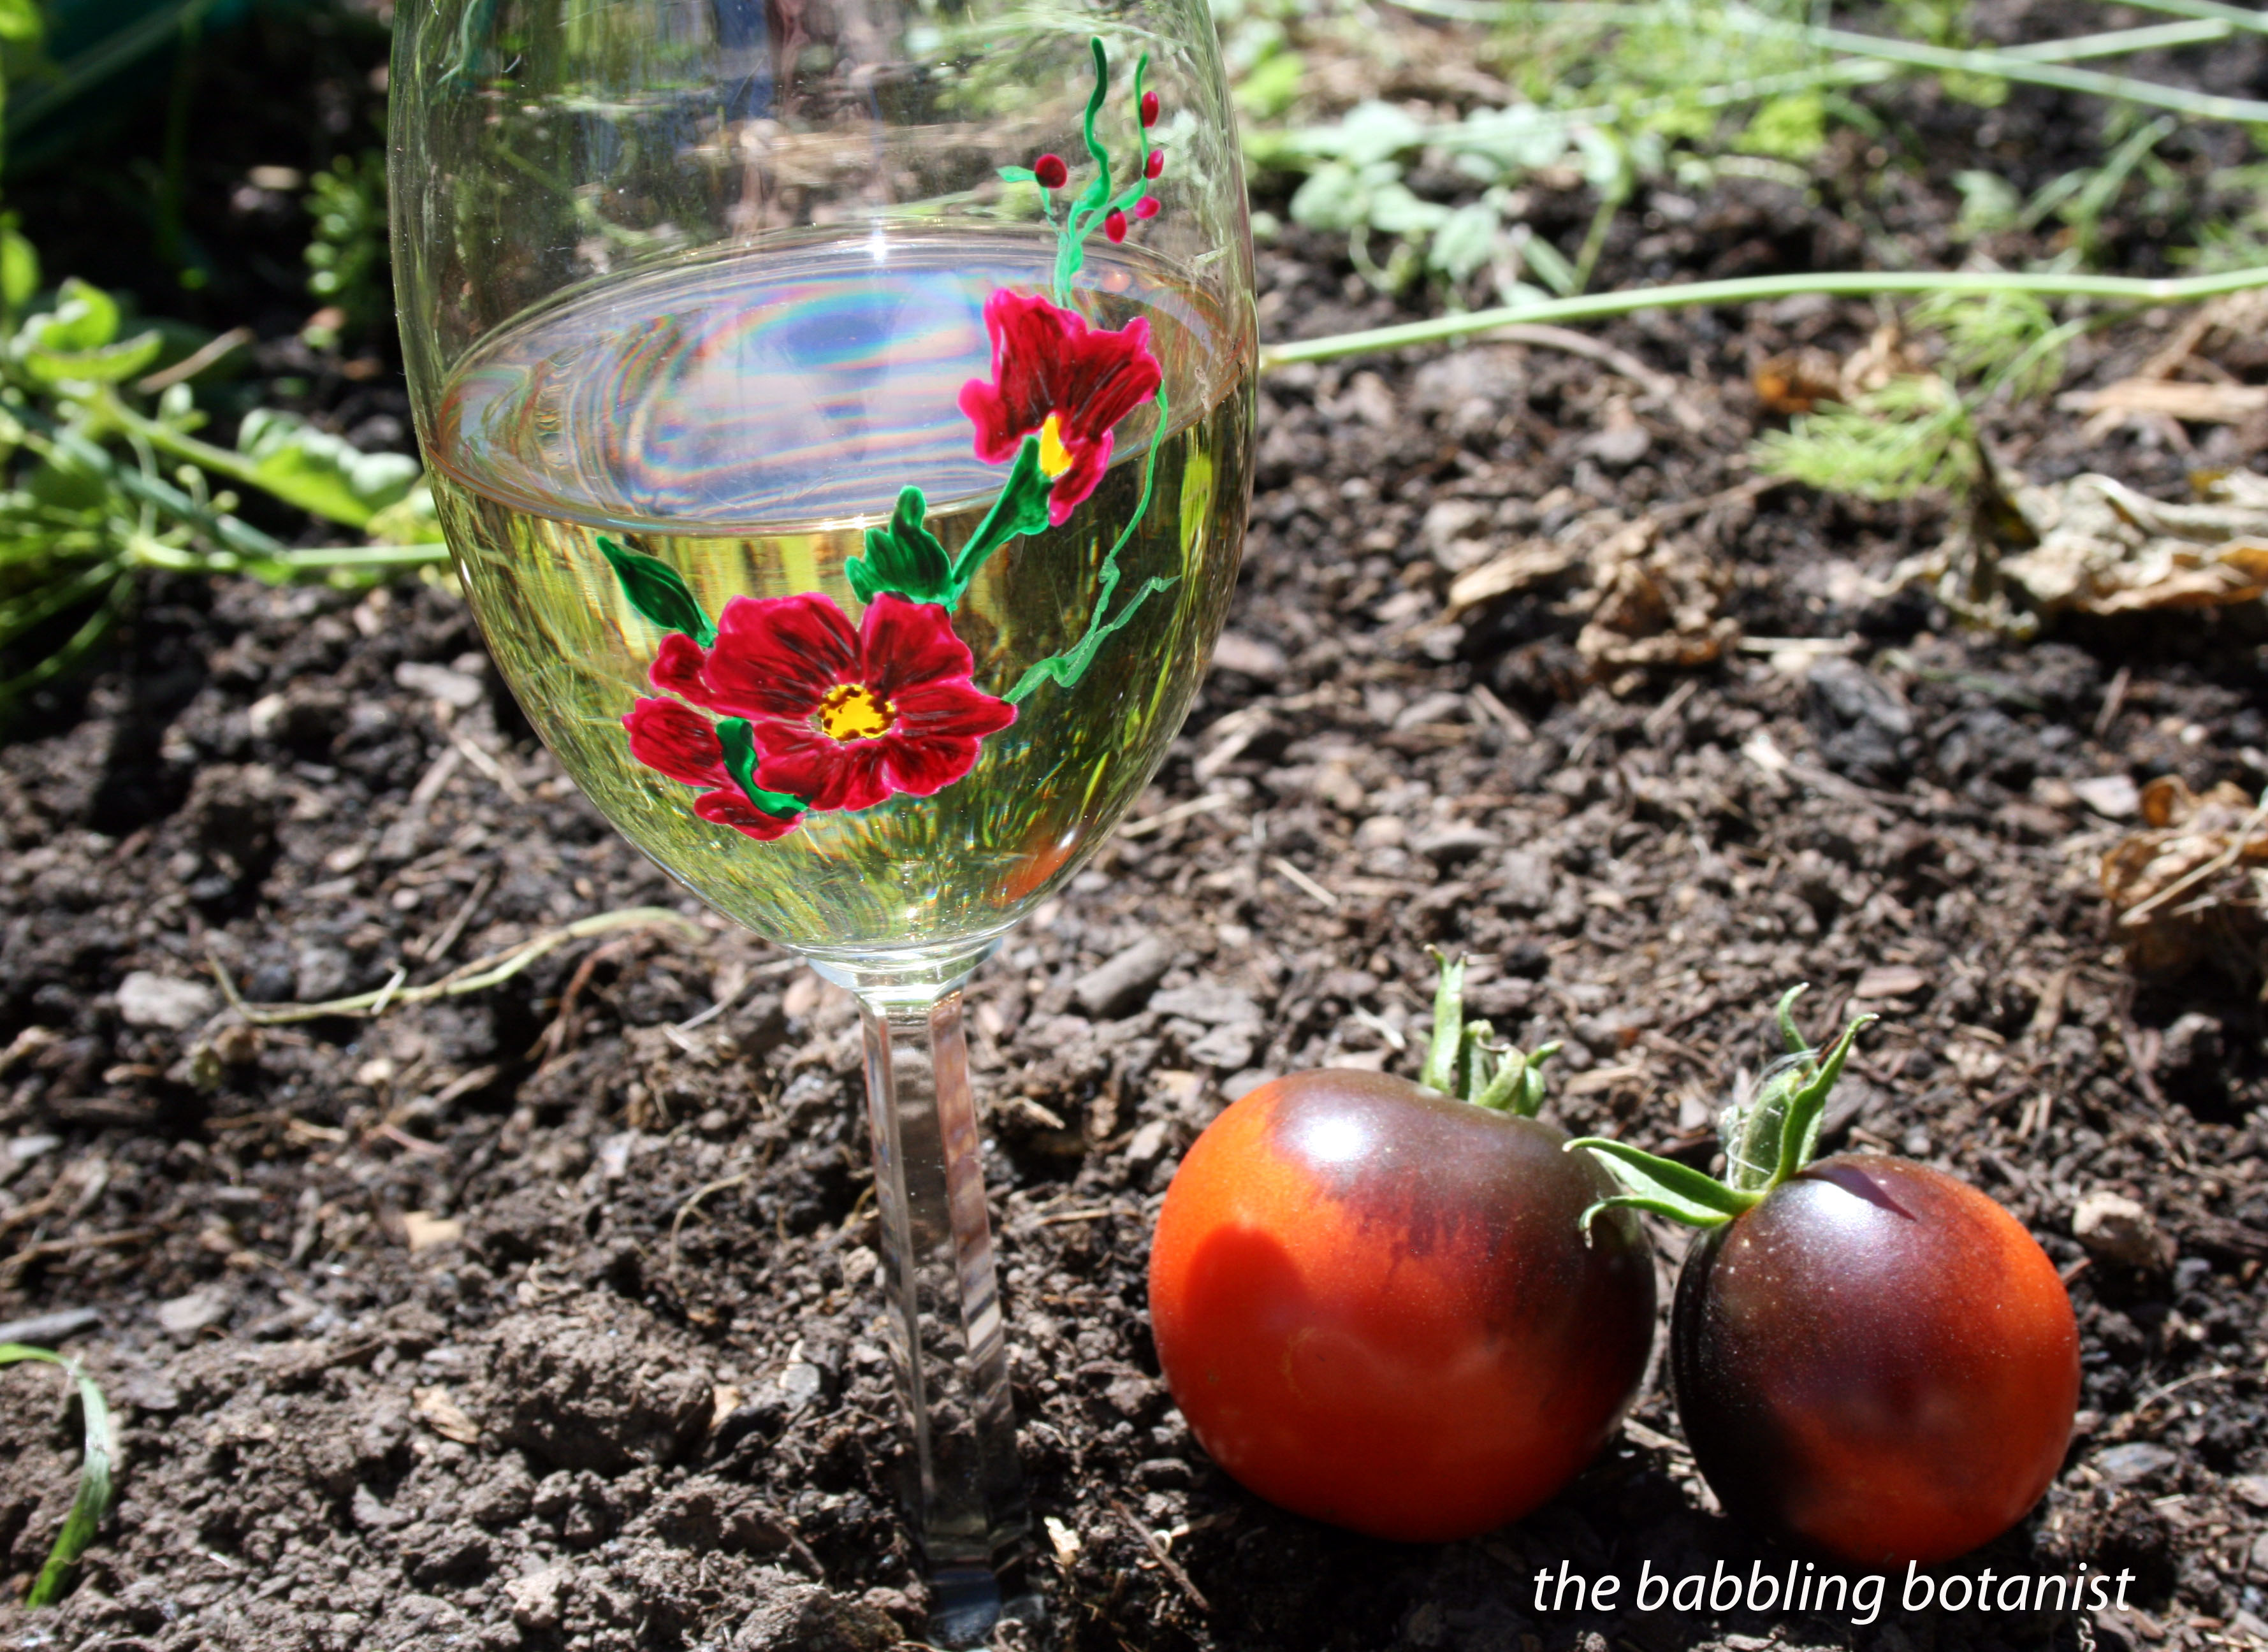
Again, this is the super short version of how to do this, so if you want to try another fruit or get more details, click here. Now, I know what you’re thinking. How does it taste? Will I like it? Well, it’s actually a really interesting flavour. I’ve only had one bottle so far, but basically it tastes like white wine when it first hits your tongue, then you get the tomato flavour after that. Its faint, but is definitely there and tastes mildly like tomato juice. It’s also a bit more acidic than white wine, or at least mine seems that way. The blogger I cited above said she would have just thought it was a white grape wine, but I can’t say I fully agree with that. However, the flavour would also vary depending on what variety of tomato you used, and that wine maker was a professional. It’s not the kind of wine where you would probably want to drink a few big glasses of it, or maybe it will be, but it’s a nice compliment to a tomato based meal, and could also be used in cooking in place of white wine.
Are you going to try it?
*this post contains affiliate links, please see the “About the Blogger” page for more information


![IMG_4481[1]](https://thebabblingbotanist.com/wp-content/uploads/2014/09/img_44811.jpg)
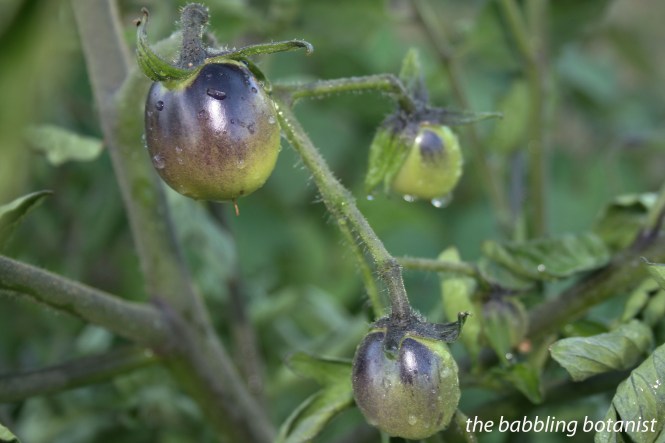
![IMG_4494[1]](https://thebabblingbotanist.com/wp-content/uploads/2014/09/img_44941.jpg)