Coconut, carrot, date, and sesame seed “cookies” – Go Raw clone recipe

My go to field snack is always granola bars, so last summer I was trying to mix things up and I discovered these delicious Go Raw cookies. They are tasty tasty! And pretty good for you – sprouted sesame seeds, carrots, coconut, dates and no added sugar. However, they are absurdly expensive, so I decided to try and make them myself. I finally got around to it last week when I harvested a bunch of carrots. They only have 5 ingredients, so I figured I could clone the recipe pretty easily. Here is what I came up with!

IMG_5862 copy

Ingredients:
1/2 cup finely shredded carrots
1/2 cup shredded coconut
1/2 cup sesame seeds
1/2 cup chopped dates
1/2 tsp nutmeg

This recipe will fill approximately one dehydrator tray (quite fully), so multiply accordingly. I tried a few different ratios of the ingredients, and this one to one ratio was the one I liked best. I think it might be more dates than the Go Raw recipe, but it’s really tasty, and 1:1:1:1 is easy peasy to remember, to double, etc.

First I shredded the carrots through my food processor, then pulsed them to chop them up even more. For the dates, I pitted them and pulsed them in the food processor as well.

IMG_5829 copy

Measure equal parts of the 4 ingredients and combine in a food processor. Add a bit of nutmeg, 1/4-1/2 tsp or to taste. If you don’t have a food processor do small batches in a blender, or mix it up by hand in a large bowl.

IMG_5831 copy

Nom nom nom. Pretty and tasty!

IMG_5832 copy

For drying you have two options. For option one I spread the mixture out evenly across a fruit leather tray on the dehydrator, then just broke it into pieces once dry.

IMG_5834 copy

Alternatively you can form them into cookies. Mine were pretty large, much larger than the Go Raw cookies I was trying to clone, but you could make them any size. Smaller would of course dry faster. I was thinking that you could also roll this out almost like dough and use cookie cutters or cut it into squares with a knife. I think I’ll try that next time.

IMG_5838 copy

Mine in back, Go Raw in front!

IMG_5856 copy

I dried them for about 16 hours and they still weren’t quite crispy, but  they were a somewhat soft consistency that I liked. I think they might have been a little wetter too because I had more dates than the Go raw recipe. Dry until your desired consistency.

IMG_5859

Enjoy!

Tools I used for these:
My food processor
NESCO dehydrator
Fruit leather sheets

*this post contains affiliate links, please see the “About the Blogger” page for more information

Applesauce Fruit Leather 

IMG_5375 copy

This time of year, when canning season is just beginning, is a great time to inventory what you have left in your pantry from last season. In my inventory one thing I noticed that I still had a lot of was applesauce. I haven’t been cooking with it as much as I thought I would, and I just don’t eat it plain often either. I also had a couple flavoured applesauces that friends gave me, including a blackberry one and a cinnamon one (made with cinnamon candy I think).

IMG_5327

So, I decided to repurpose it as fruit leather. I really enjoyed snacking on strawberry fruit leather last summer in the field, so thought I’d free up some spaces in the pantry and dry a few jars of applesauce.

I spread the applesauce out on my fruit leather trays and dried it at 135 F in my dehydrator. 12 oz was about perfect for one tray; I needed to mix a little extra into the 8 oz jar to cover the whole tray.

Here’s the plain applesauce.

IMG_5356 copy

Cinnamon applesauce.

IMG_5349 copy

Blackberry applesauce.

IMG_5353 copy

I love making this just before I go to bed, because it takes at least 8 hours with a full dehydrator.  It’s nice to just wake up and it’s almost done! After 8 – 10 hours you have fruit leather! The publication says 4-8 hours, but I’m thinking 4 must be with one tray, using their precooked method. You know it’s done when there are no wet spots and peels off but still it’s still slightly tacky. Maybe try it during the day for the first time, but I’ve got the timing down well in my dehydrator and can wake up and it’s done 🙂

IMG_5362 copy

After it is dry, peel it off the trays. If you are having trouble getting it started, I find slipping a butter knife under works well.

IMG_5360 copy

Roll it up and store! You can store a whole sheet, or cut it into smaller pieces. You can roll it up with plastic wrap so it doesn’t stick to itself, but I don’t really like using all that plastic wrap so I usually just deal with a few stuck together pieces.

IMG_5365 copy

So beautiful! For more ideas check out the OSU extension publication linked to below.

IMG_5382 copy

*this post contains affiliate links, please see the “About the Blogger” page for more information

Used for this project:
Nesco dehydrator
Extra trays
Applesauce
Fruit leather publication

Teriyaki Beef Jerky

As promised, here is the longer version of my about.com post on making beef jerky at home. Why make jerky? I like making jerky because I can buy beef in bulk, buy the good stuff, and choose my favourite flavours and still make it cheaper than the store-bought jerky – plus it doesn’t have any of those mystery ingredients in it. Or maybe you are a hunter and have some meat you’d like to use up in creative ways, jerky is a great option. Just make sure you follow the safety instructions here to kill anything that could potentially make you sick.

This recipe is for teriyaki beef jerky, but the same procedures may be used for the marinade of your choice. For a couple other marinade options and another detailed look at making jerky, check out Northwest Edible Life, one of my favourite blogs. Also, check out the publication that I refer to for safe jerky making linked here – PNW 632.

Beef jerky

Ingredients
1.5-2 pounds of lean beef
1 cup soy sauce
1/3 cup brown sugar
1 tablespoon minced (or dry) garlic
1 tablespoon powdered ginger (or use fresh)

For the beef, I used a flank steak, but any lean cut is good. Chuck, flank, round, rump and sirloin are all good options, and most cuts of game meat are lean so it all works pretty well.

Partially freeze the beef to make it easier to cut. Wrap it in moisture-proof paper or plastic wrap and freeze until firm but not frozen solid. Trim off any excess fat. Slice the meat into long thin strips, an eighth to quarter-inch thick and about an inch wide. You can decide here whether to cut with the grain of the meat or across it. I prefer to slice with the grain because it’s easier to cut, holds together better and makes a chewier, less crumbly jerky. But try a few of each and see what you like best.

IMG_4923 copy

Prepare the marinade by combining everything except the beef.

IMG_4956 copy

So, here is the safety part. To ensure jerky is free of bacteria, it must be heated either before or after it is dried. There are three options for doing this:

1. Dry the jerky, and then heat it in the oven at 275°F for 10 minutes when it’s done

2. Preheat the meat in the oven at 325°F until an internal temperature of 160°F is reached before drying.

3. Preheat the meat in boiling marinade before drying.

Let’s look first at options 1 and 2 because for each of these options you will marinate the meat. Combine marinade and slices of meat in a plastic bag or glass dish and marinate in the refrigerator for 6-12 hours, turning the meat occasionally.

IMG_4944 copy

Once marinated, you have two options, dry, then heat; or heat, then dry. Option 1, the post-dry heat is probably the easiest one to do. In this case, remove the meat from the marinade and arrange your strips of meat on the dehydrator tray close together but not touching. You can pat them dry a bit if you like to speed up the drying time. Dry them until they are dry (duh – but I’ll explain how to tell in a minute).

IMG_4985 copy

Once the jerky is dry (sorry, the flash totally makes them still look wet), you’ll transfer them to a baking sheet and heat for 10 minutes in an oven preheated to 275°F. At this point your jerky is done. Cool it on a paper towel to absorb any excess fat and then store.

IMG_5005 copy

If you chose door number 2, you are precooking the meat basically. The oven needs to be a little hotter (325°F), and the meat needs to reach an internal temperature of 160°F. The disadvantage of this is that you really need a thin tipped thermometer to measure such a thin strip of meat. But if you already have one, or would use it for other purposes then great! This method also means less dehydrator time, and since you precooked you don’t have to worry about overcooking it with the 10 minutes at the end which I have felt I did with some ground meat jerky.

IMG_5002 copy

After your precook, dry the strips the same as above. (Yes, this picture is of raw jerky – didn’t have a precooked pic).

IMG_4988 copy

For the third option, do not marinate the meat. Instead, heat the marinade to boiling and add the beef strips a few at a time. Allow the marinade to return to a gentle boil and stir for about two minutes. Remove and repeat until all meat has been precooked, then immediately dry the meat. This precook method also has the advantage of a shorter dry time, and it was actually my MFP teacher’s favourite method, but I find it doesn’t have quite as strong a flavour as the marinade methods, and makes the meat a bit crumbly. But again, try all three and see what you like.

IMG_4941 copy

For all options, dry the meat either in a dehydrator or in the oven. Set the dehydrator to it’s highest setting (mine says 160°F, somewhere 145-155°F is what’s called for). Now I can’t vouch for how well it works in the oven because I have always used my dehydrator, but here’s how you do it. Arrange the meat on a baking sheet, and dry with the door propped open for airflow. Dry at 144-155°F. Now some ovens can’t maintain that low temperature, so make sure that your oven can maintain 145-155°F using an oven thermometer before even attempting jerky. Set the temperature, prop open the door , and monitor it for one hour. If it cannot maintain temperature, use a dehydrator. Trying to dry the meat with the temperature too high can result in the meat drying on the outside, but maintaining pockets of moisture on the inside. Moisture=bad!

Dry for at least 4 hours (oven drying takes longer and marinated jerky takes longer, and a fuller dehydrator takes longer) until the pieces of meat are dry. When dry, jerky should bend and feel leathery, but not snap. Remove a piece from the dehydrator, let it cool, and then bend it to test for dryness. If there are still moisture pockets, or if you are unsure, dry it a little longer. Most people judge it as done before it really is (including me last time I made this. I had to put them back on the dehydrator and that’s OK).

Once dry, cool on a paper towel, and then store in a cool, dark place. Since some pieces may be slightly wetter than others, you should also first condition them at room temperature for a couple days. Basically this just means leave them in a jar together and give it the occasional shake. If you notice condensation, you haven’t dried them enough – back to the dehydrator!

IMG_4968 copy

Jerky will keep for 2 weeks at room temperature, 3-6 months in the refrigerator or up to a year in the freezer. I usually don’t make a ton at a time so keep it in the fridge, but if you do a massive batch it’s nice to freeze some and take it out as needed.

For a comparison of the methods, I tried my best to capture how they came out. Between the two marinaded ones, I couldn’t tell a huge difference, but I could with the boiling marinade version. Here, the left picture is method 1, marinade and post-dry heat, and the right is method 3, boiling marinade. The boiled ones were a bit drier and more crumbly, and less strongly flavoured. But when I added spice on the outside they were very delicious. And Janice loves this method, so you decide! If you try multiple methods, let me know what you like best!

IMG_5036 copy

*this post contains affiliate links, please see the “About the Blogger” page for more information


Gifts from the Kitchen

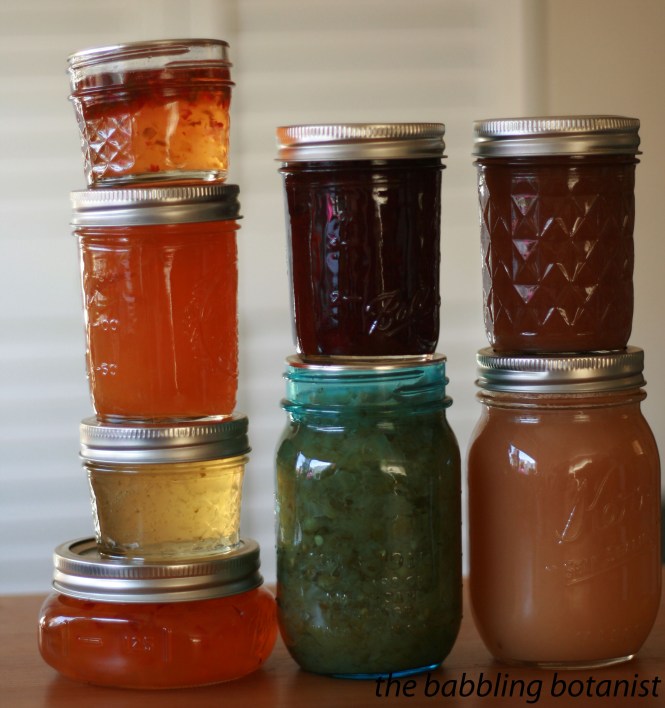
If you love food preservation as much as I do, you’ve probably given some food related gifts to family and friends in the past. Mostly I’ve given people things like jams, jellies and pickled goods I’ve made, and decorated cutely as below, but there are so many other gifts that we can give from the kitchen! So, with the holiday season coming up, the Master Food Preservers offered a class called “Gifts from the Kitchen” offering some inspiration and ideas for gifts for the various people in your lives. Teaching this class was a blast and people really had a good time so I wanted to share some of the ideas here that we talked about, and hopefully inspire you to get thinking about some gifts you might like to make in the next month. I thought I would get this post up today in honour of “cyber Monday”, so that maybe we can also be thinking of some homemade gifts on this massive shopping day. Maybe you could make something to accompany or replace a purchased gift, and I’ll offer a couple ideas here to pair a purchased gift with a homemade one.

IMG_1510

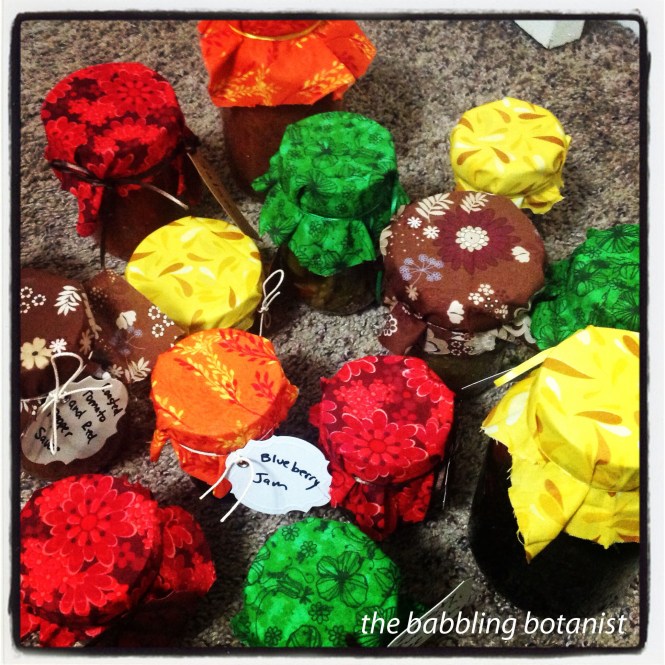
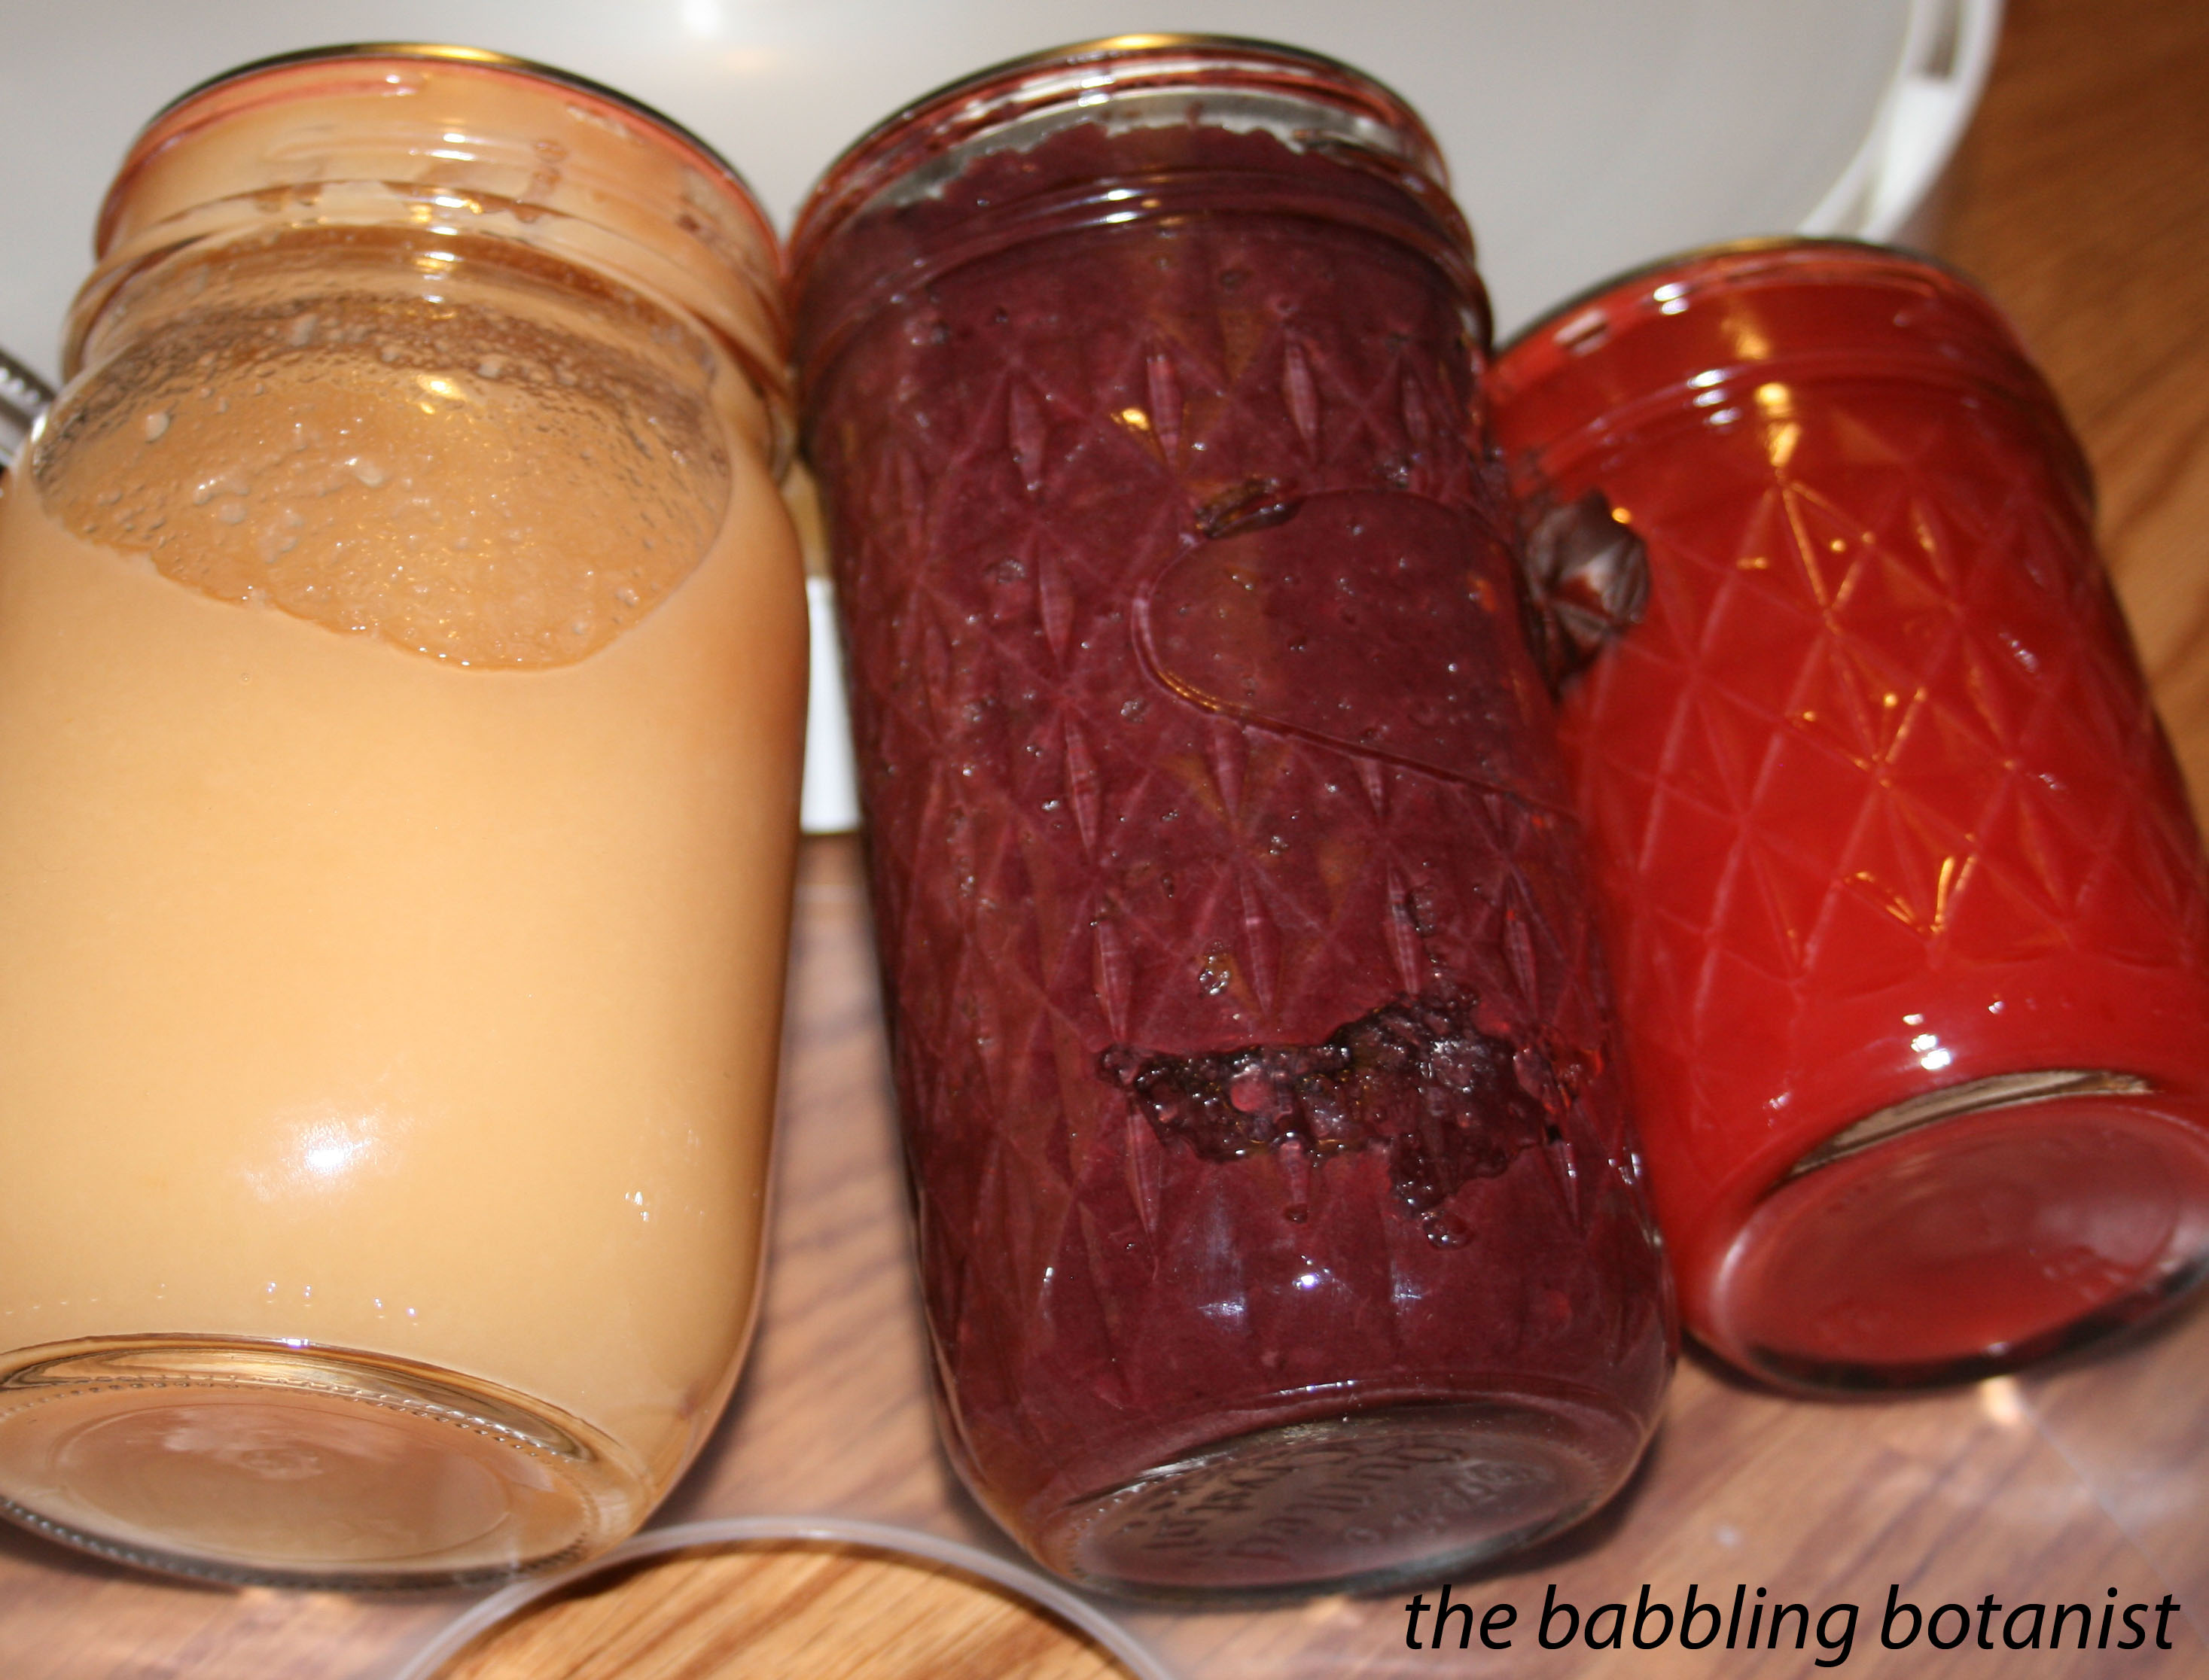
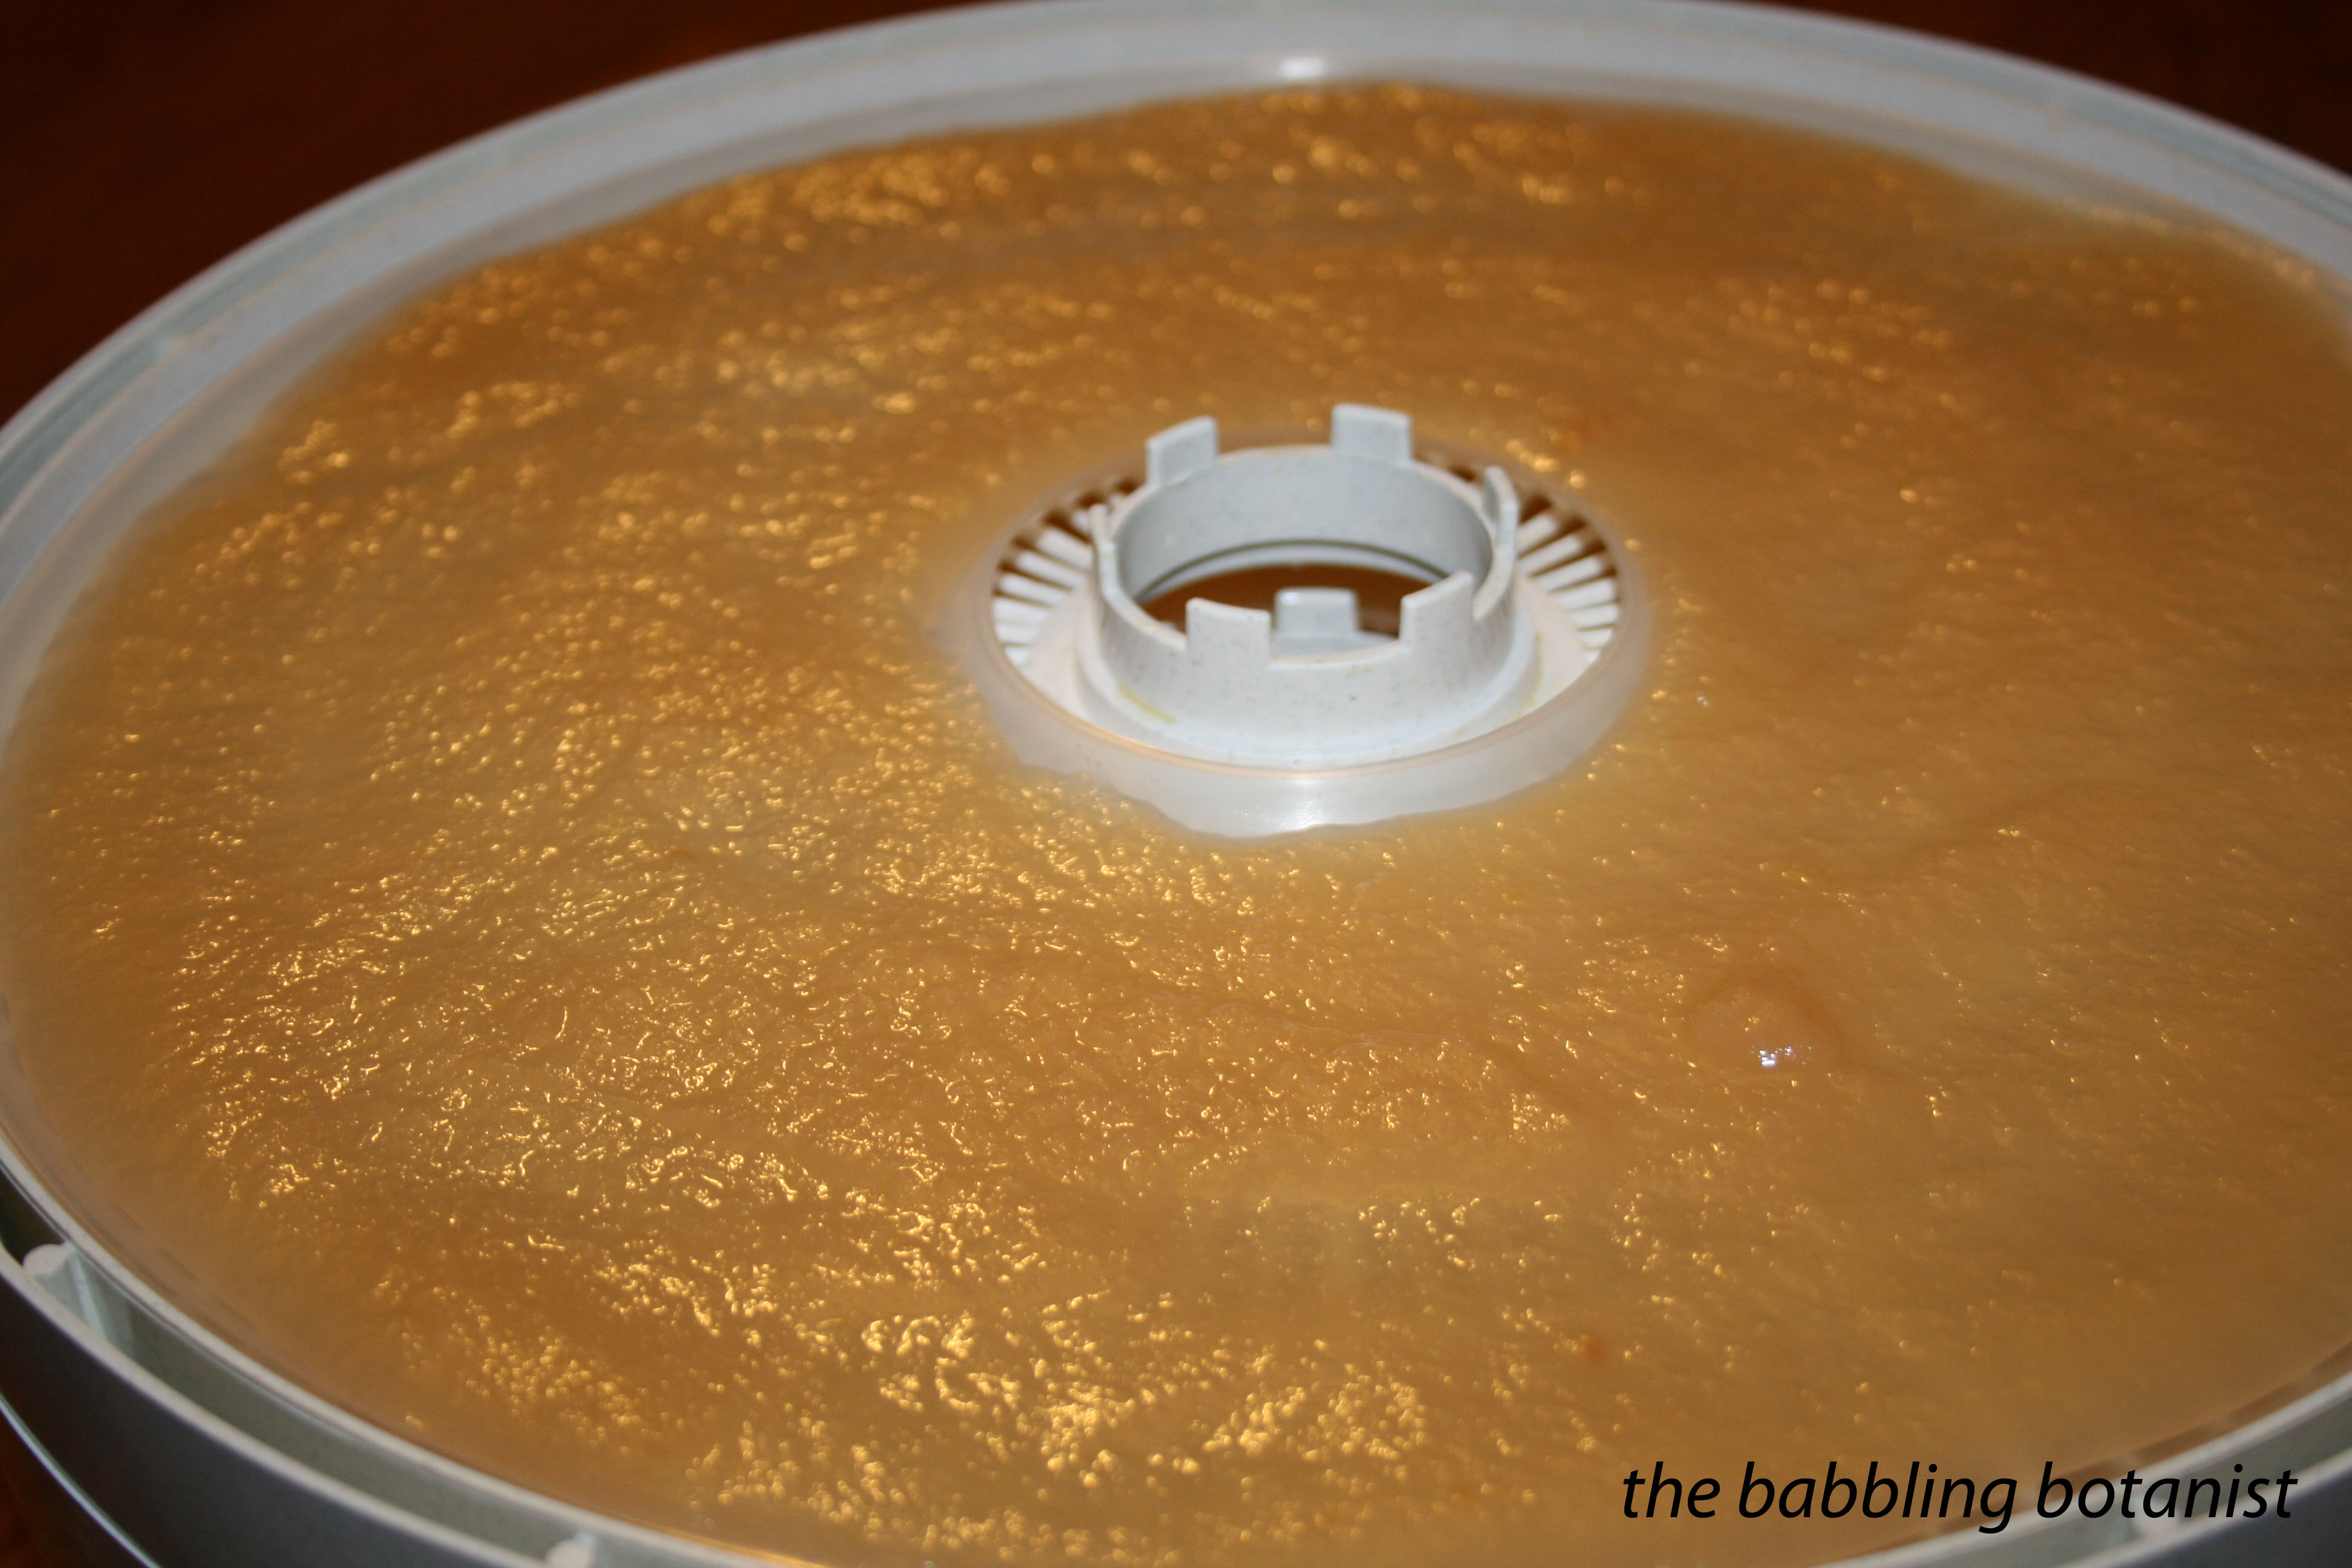
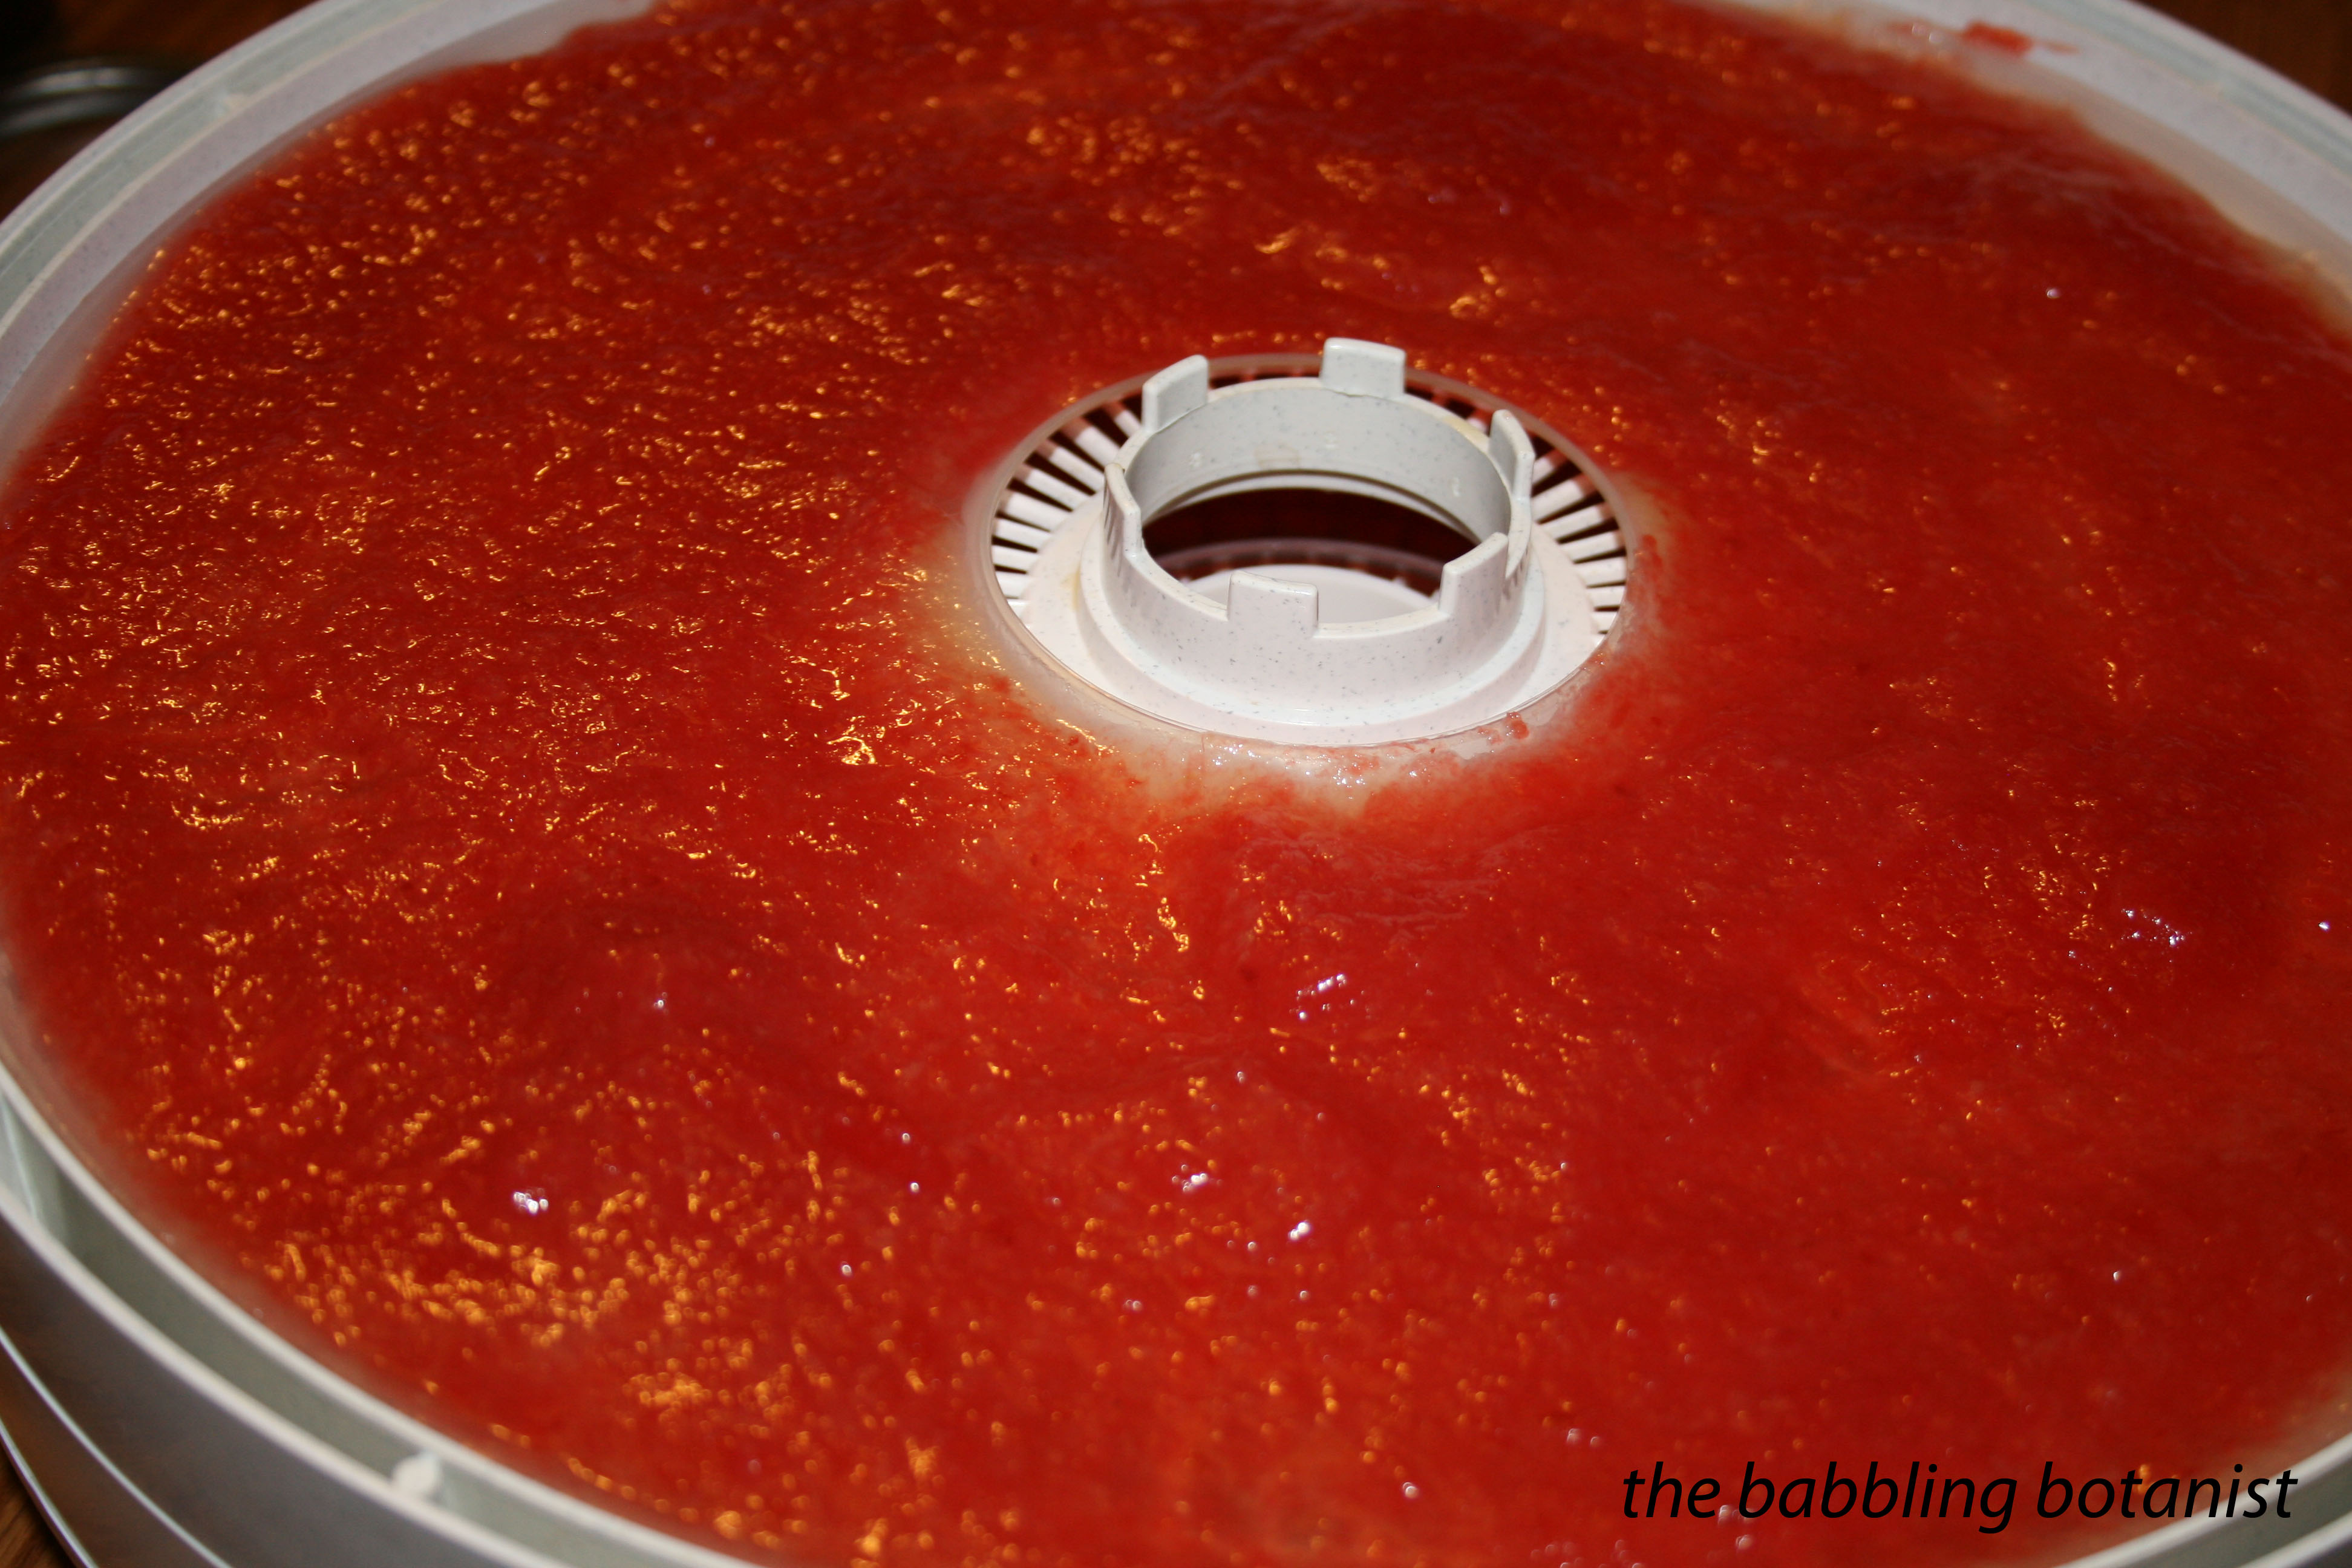
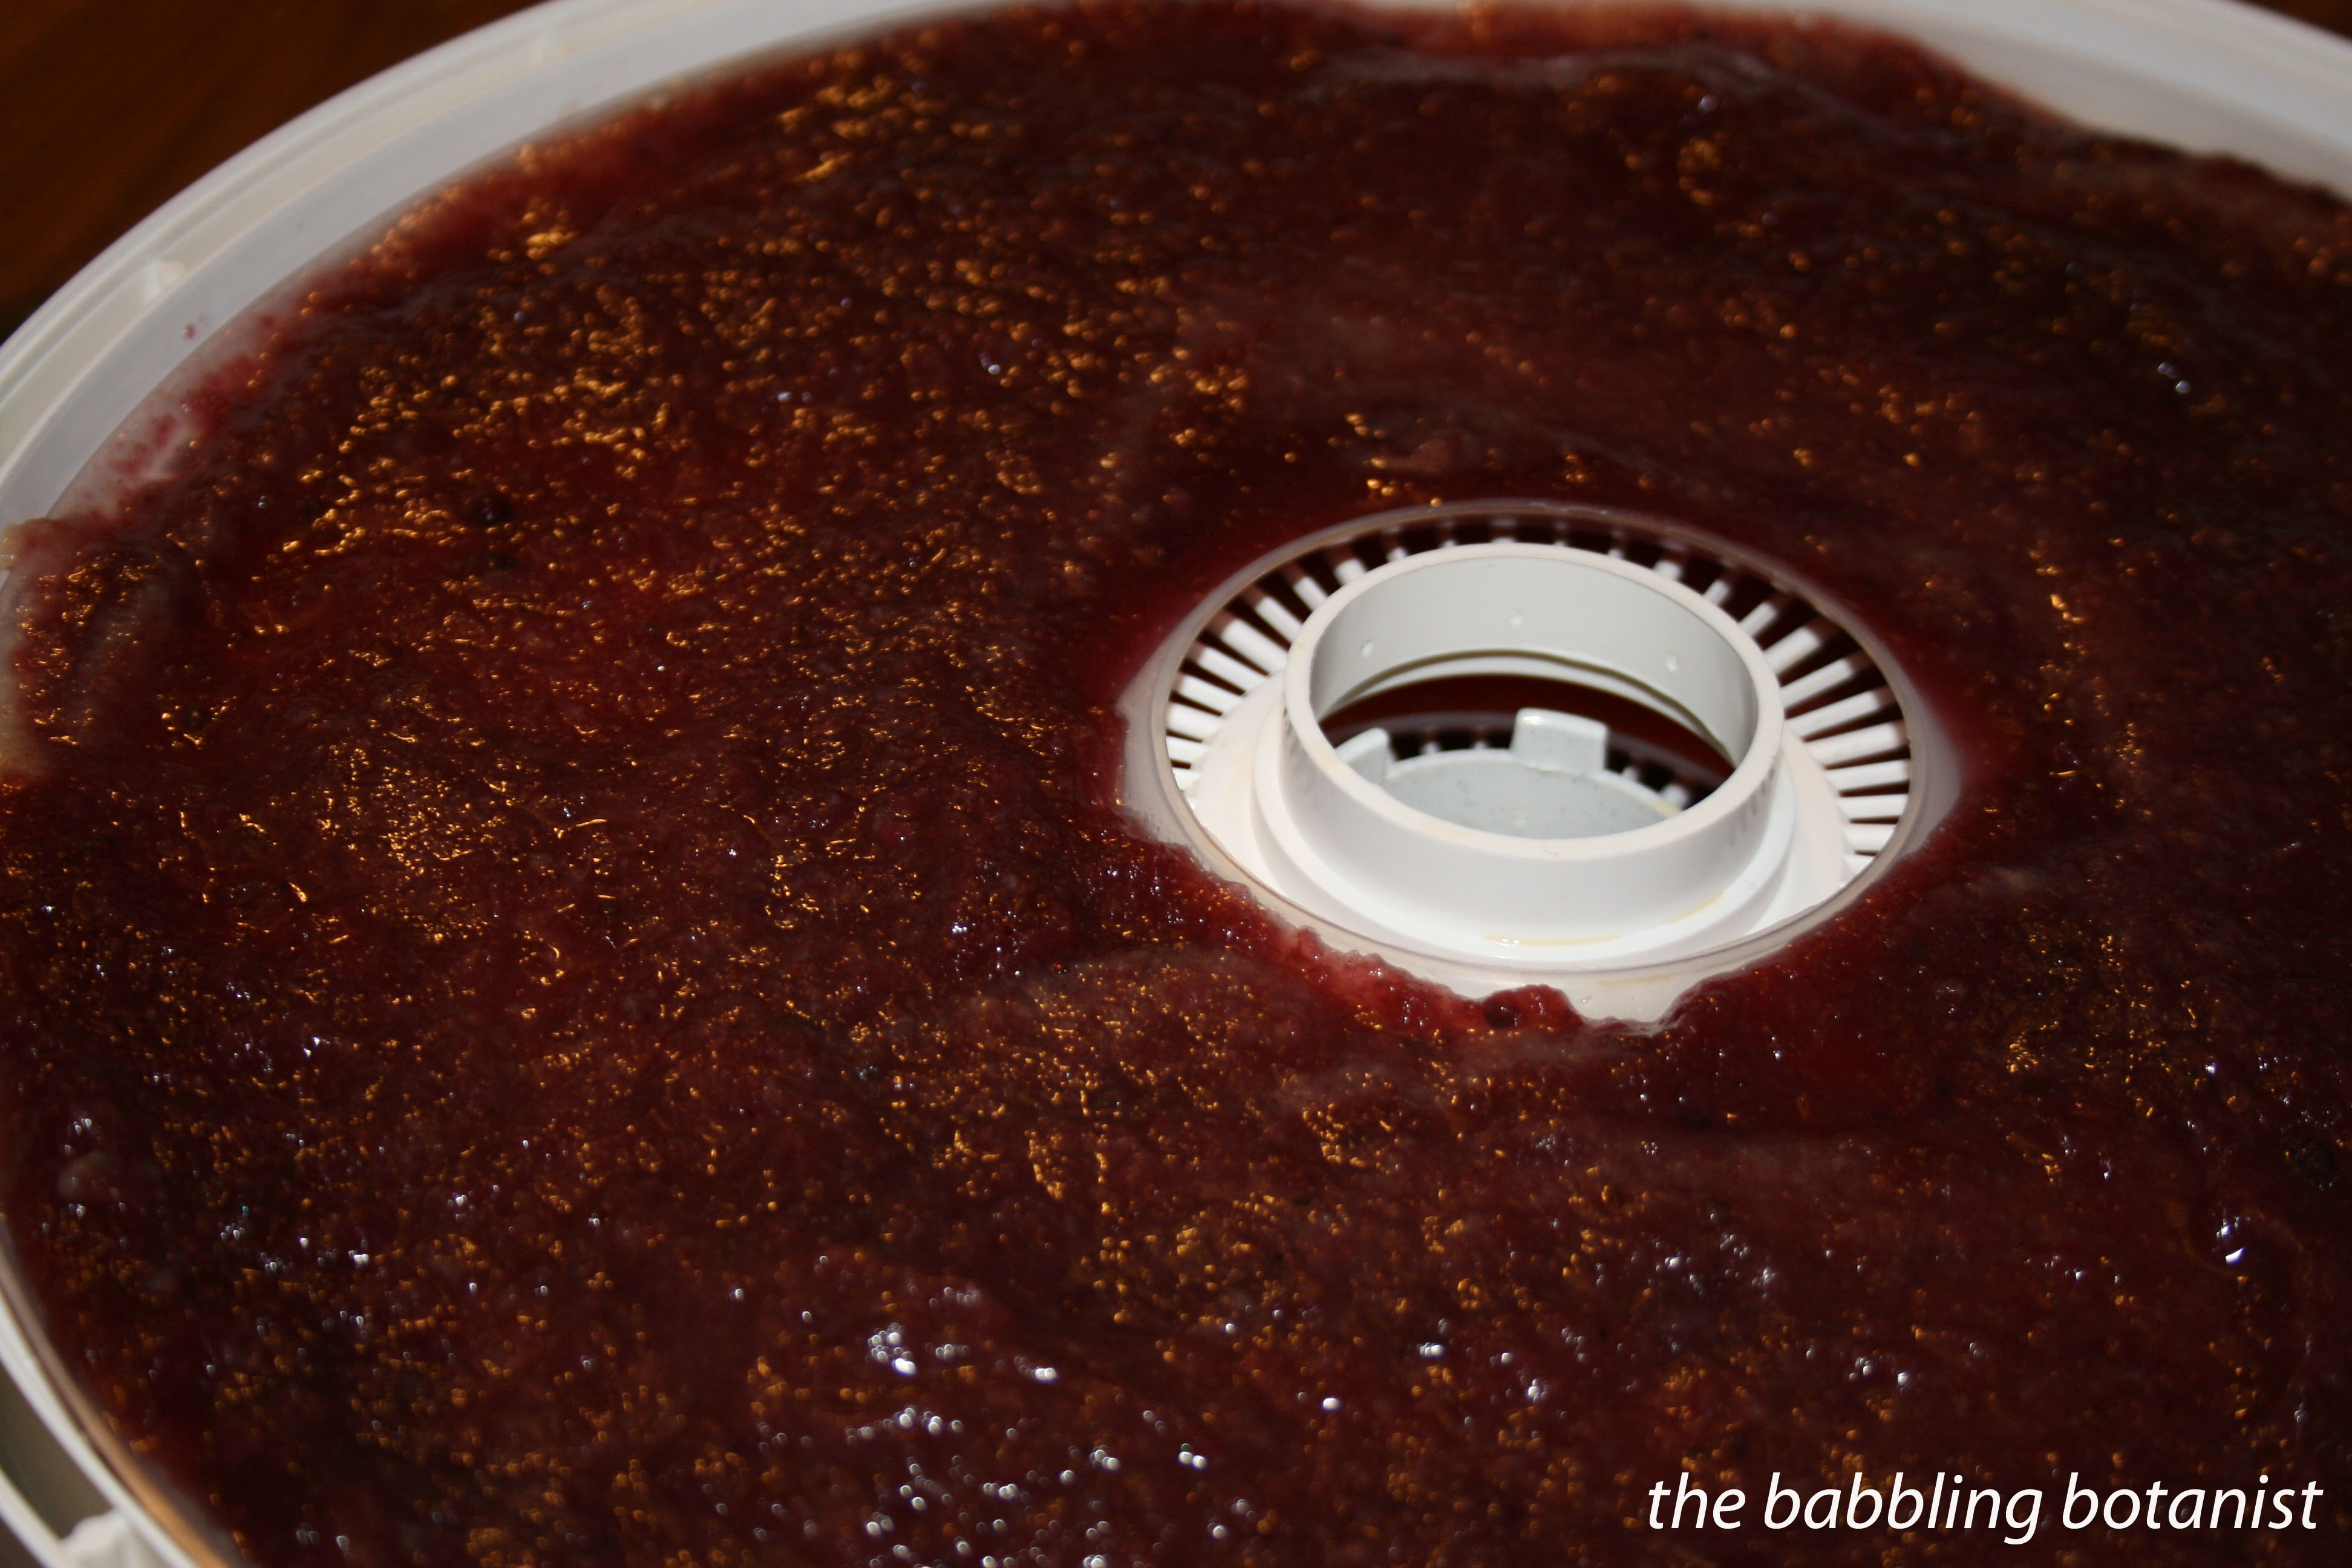
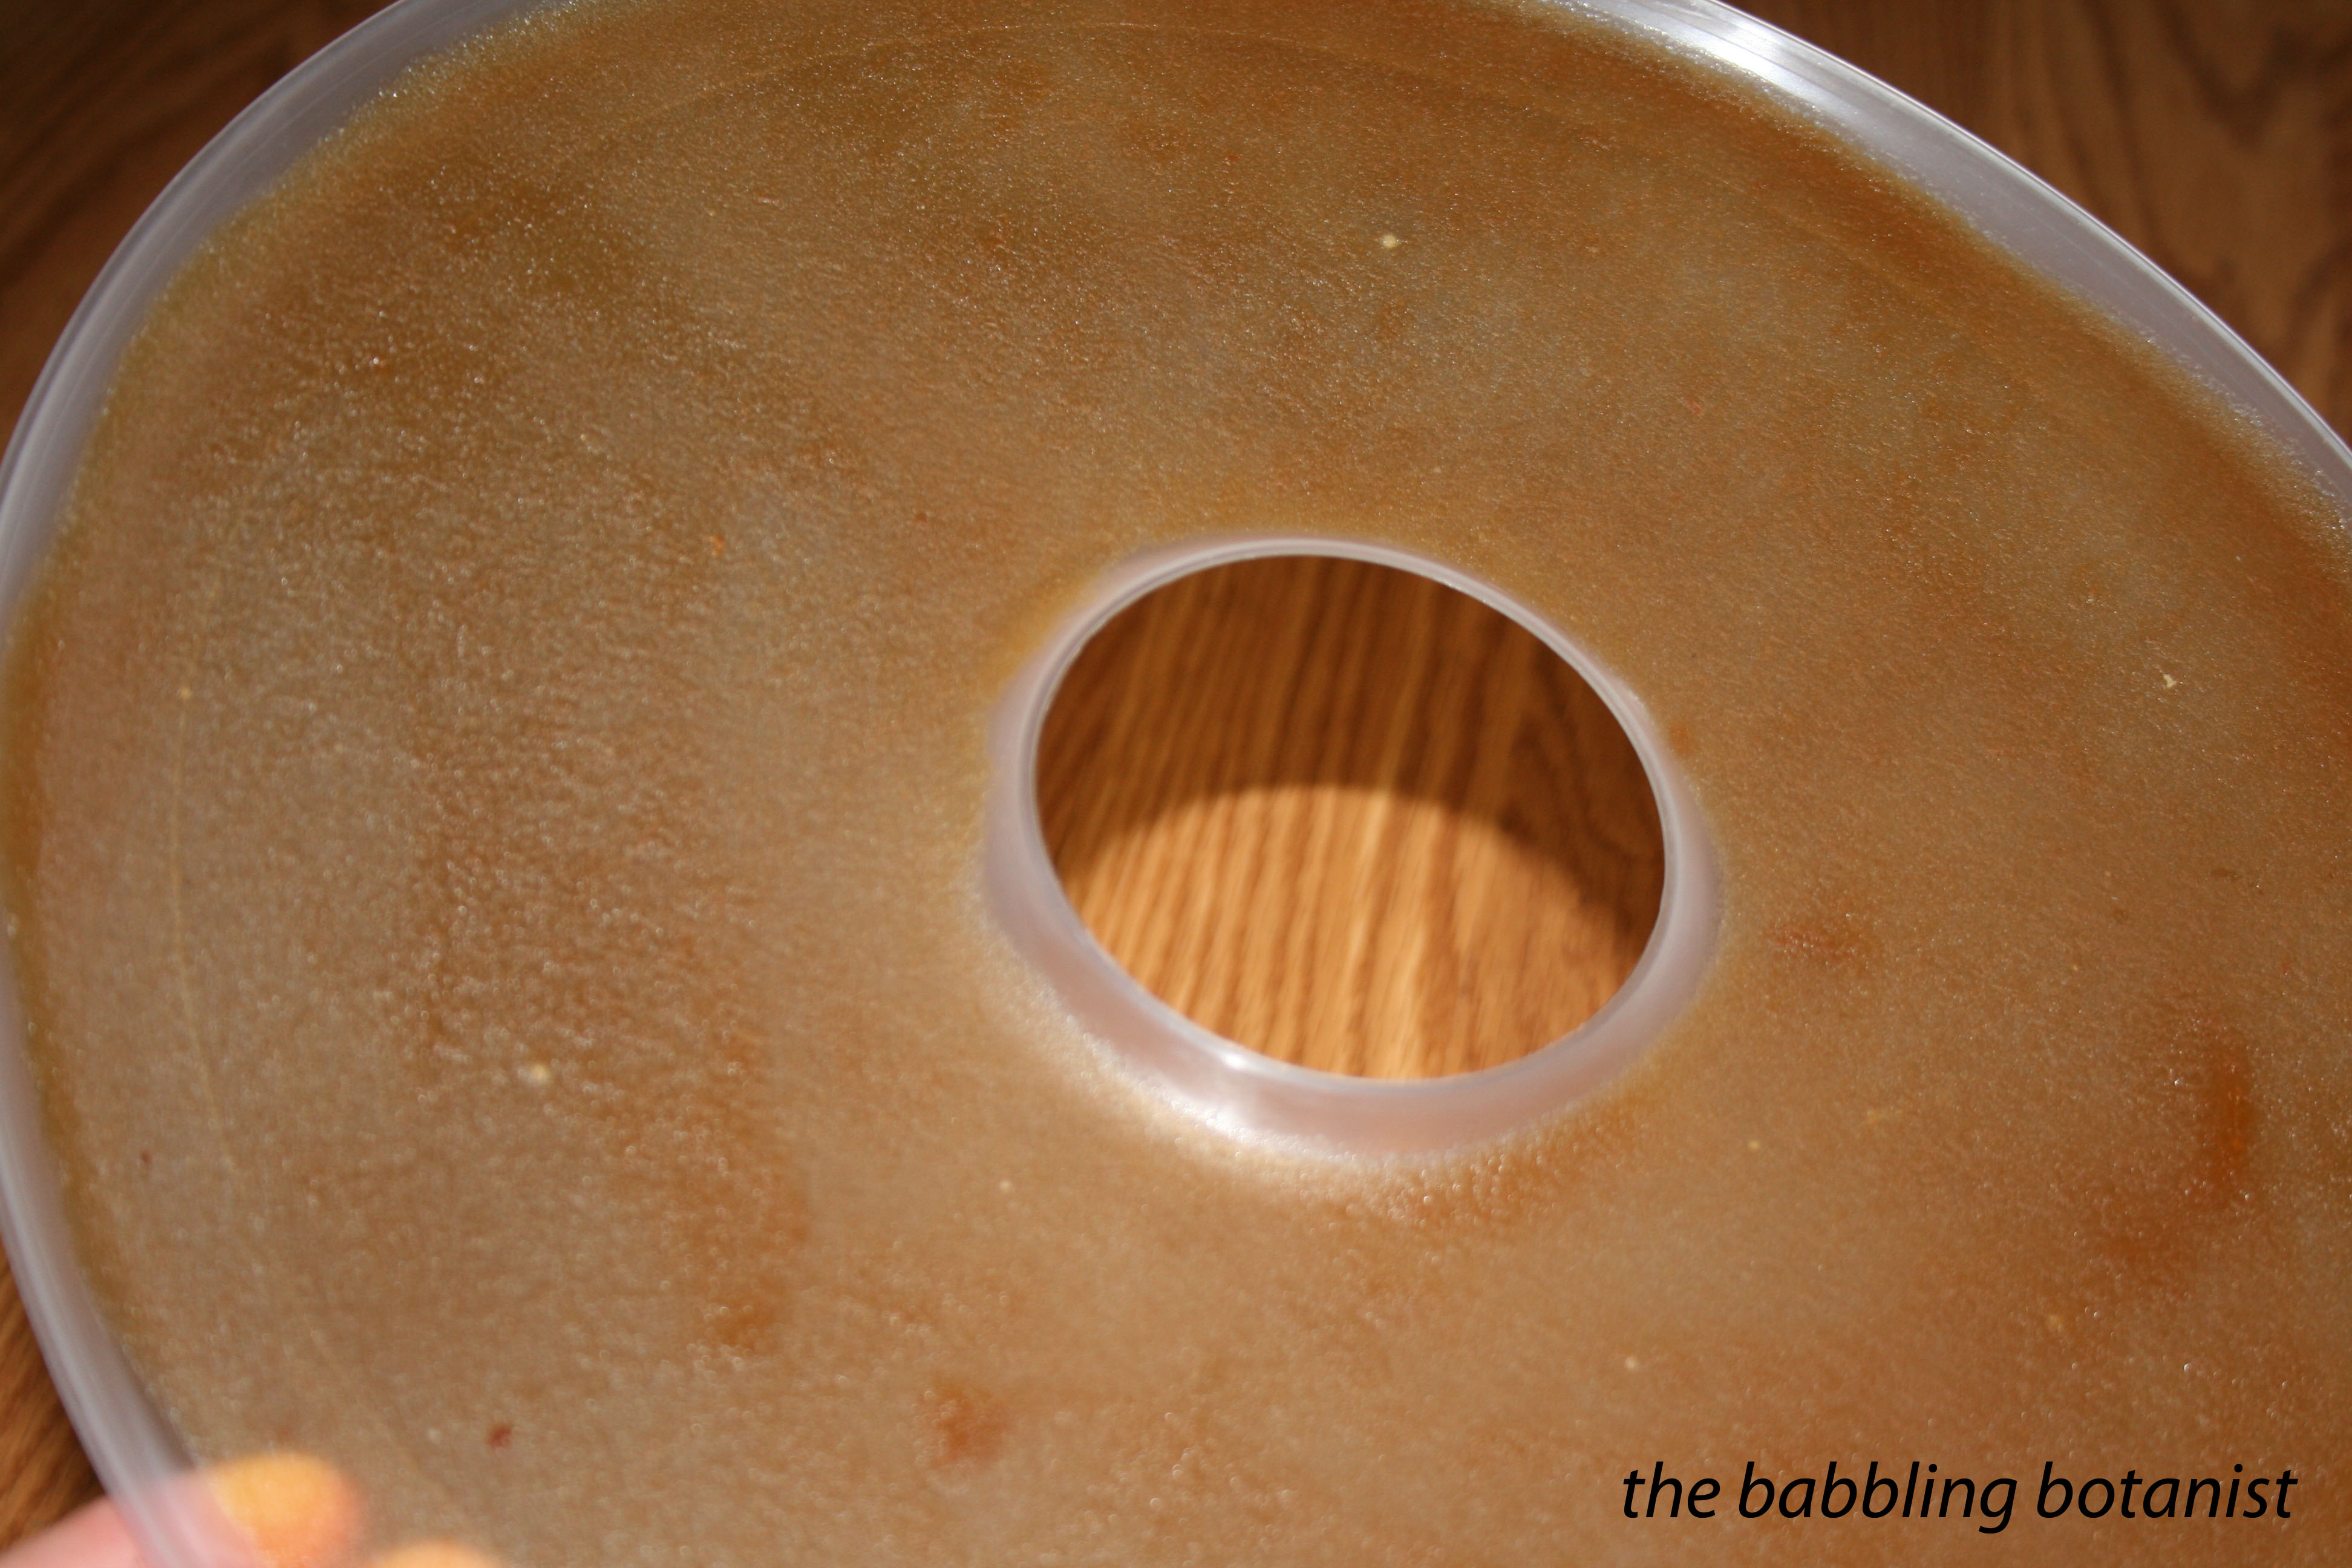
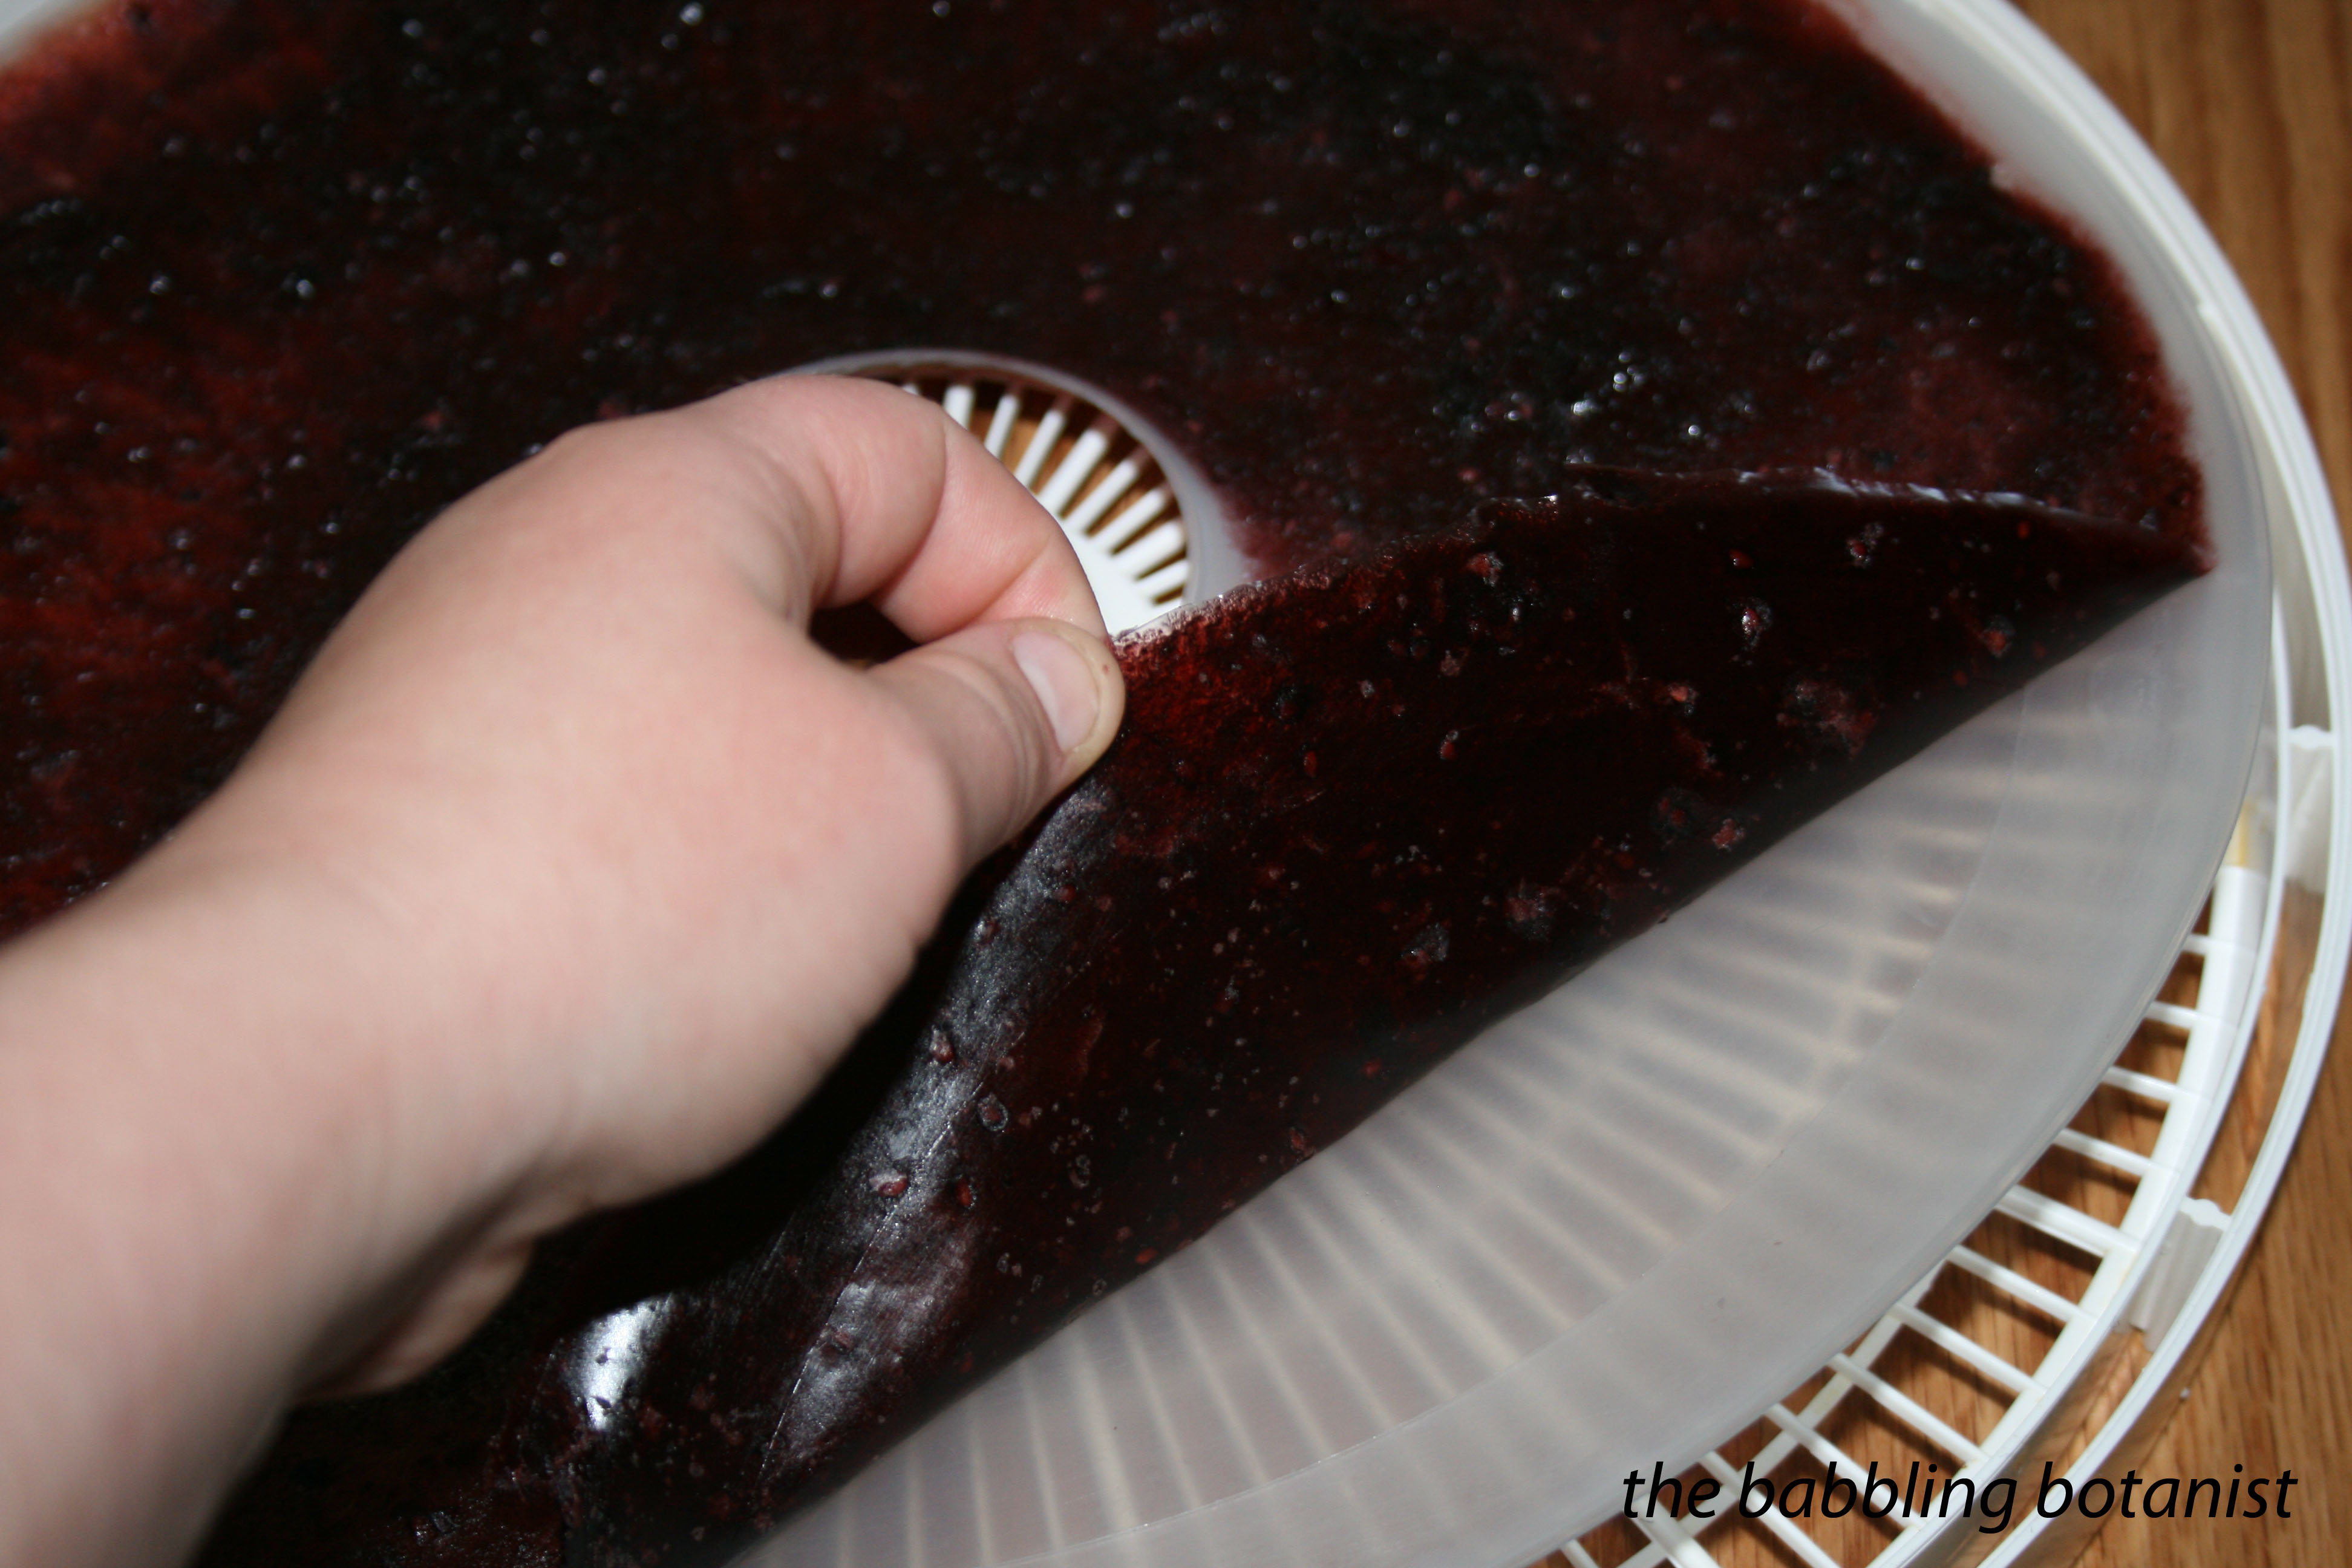
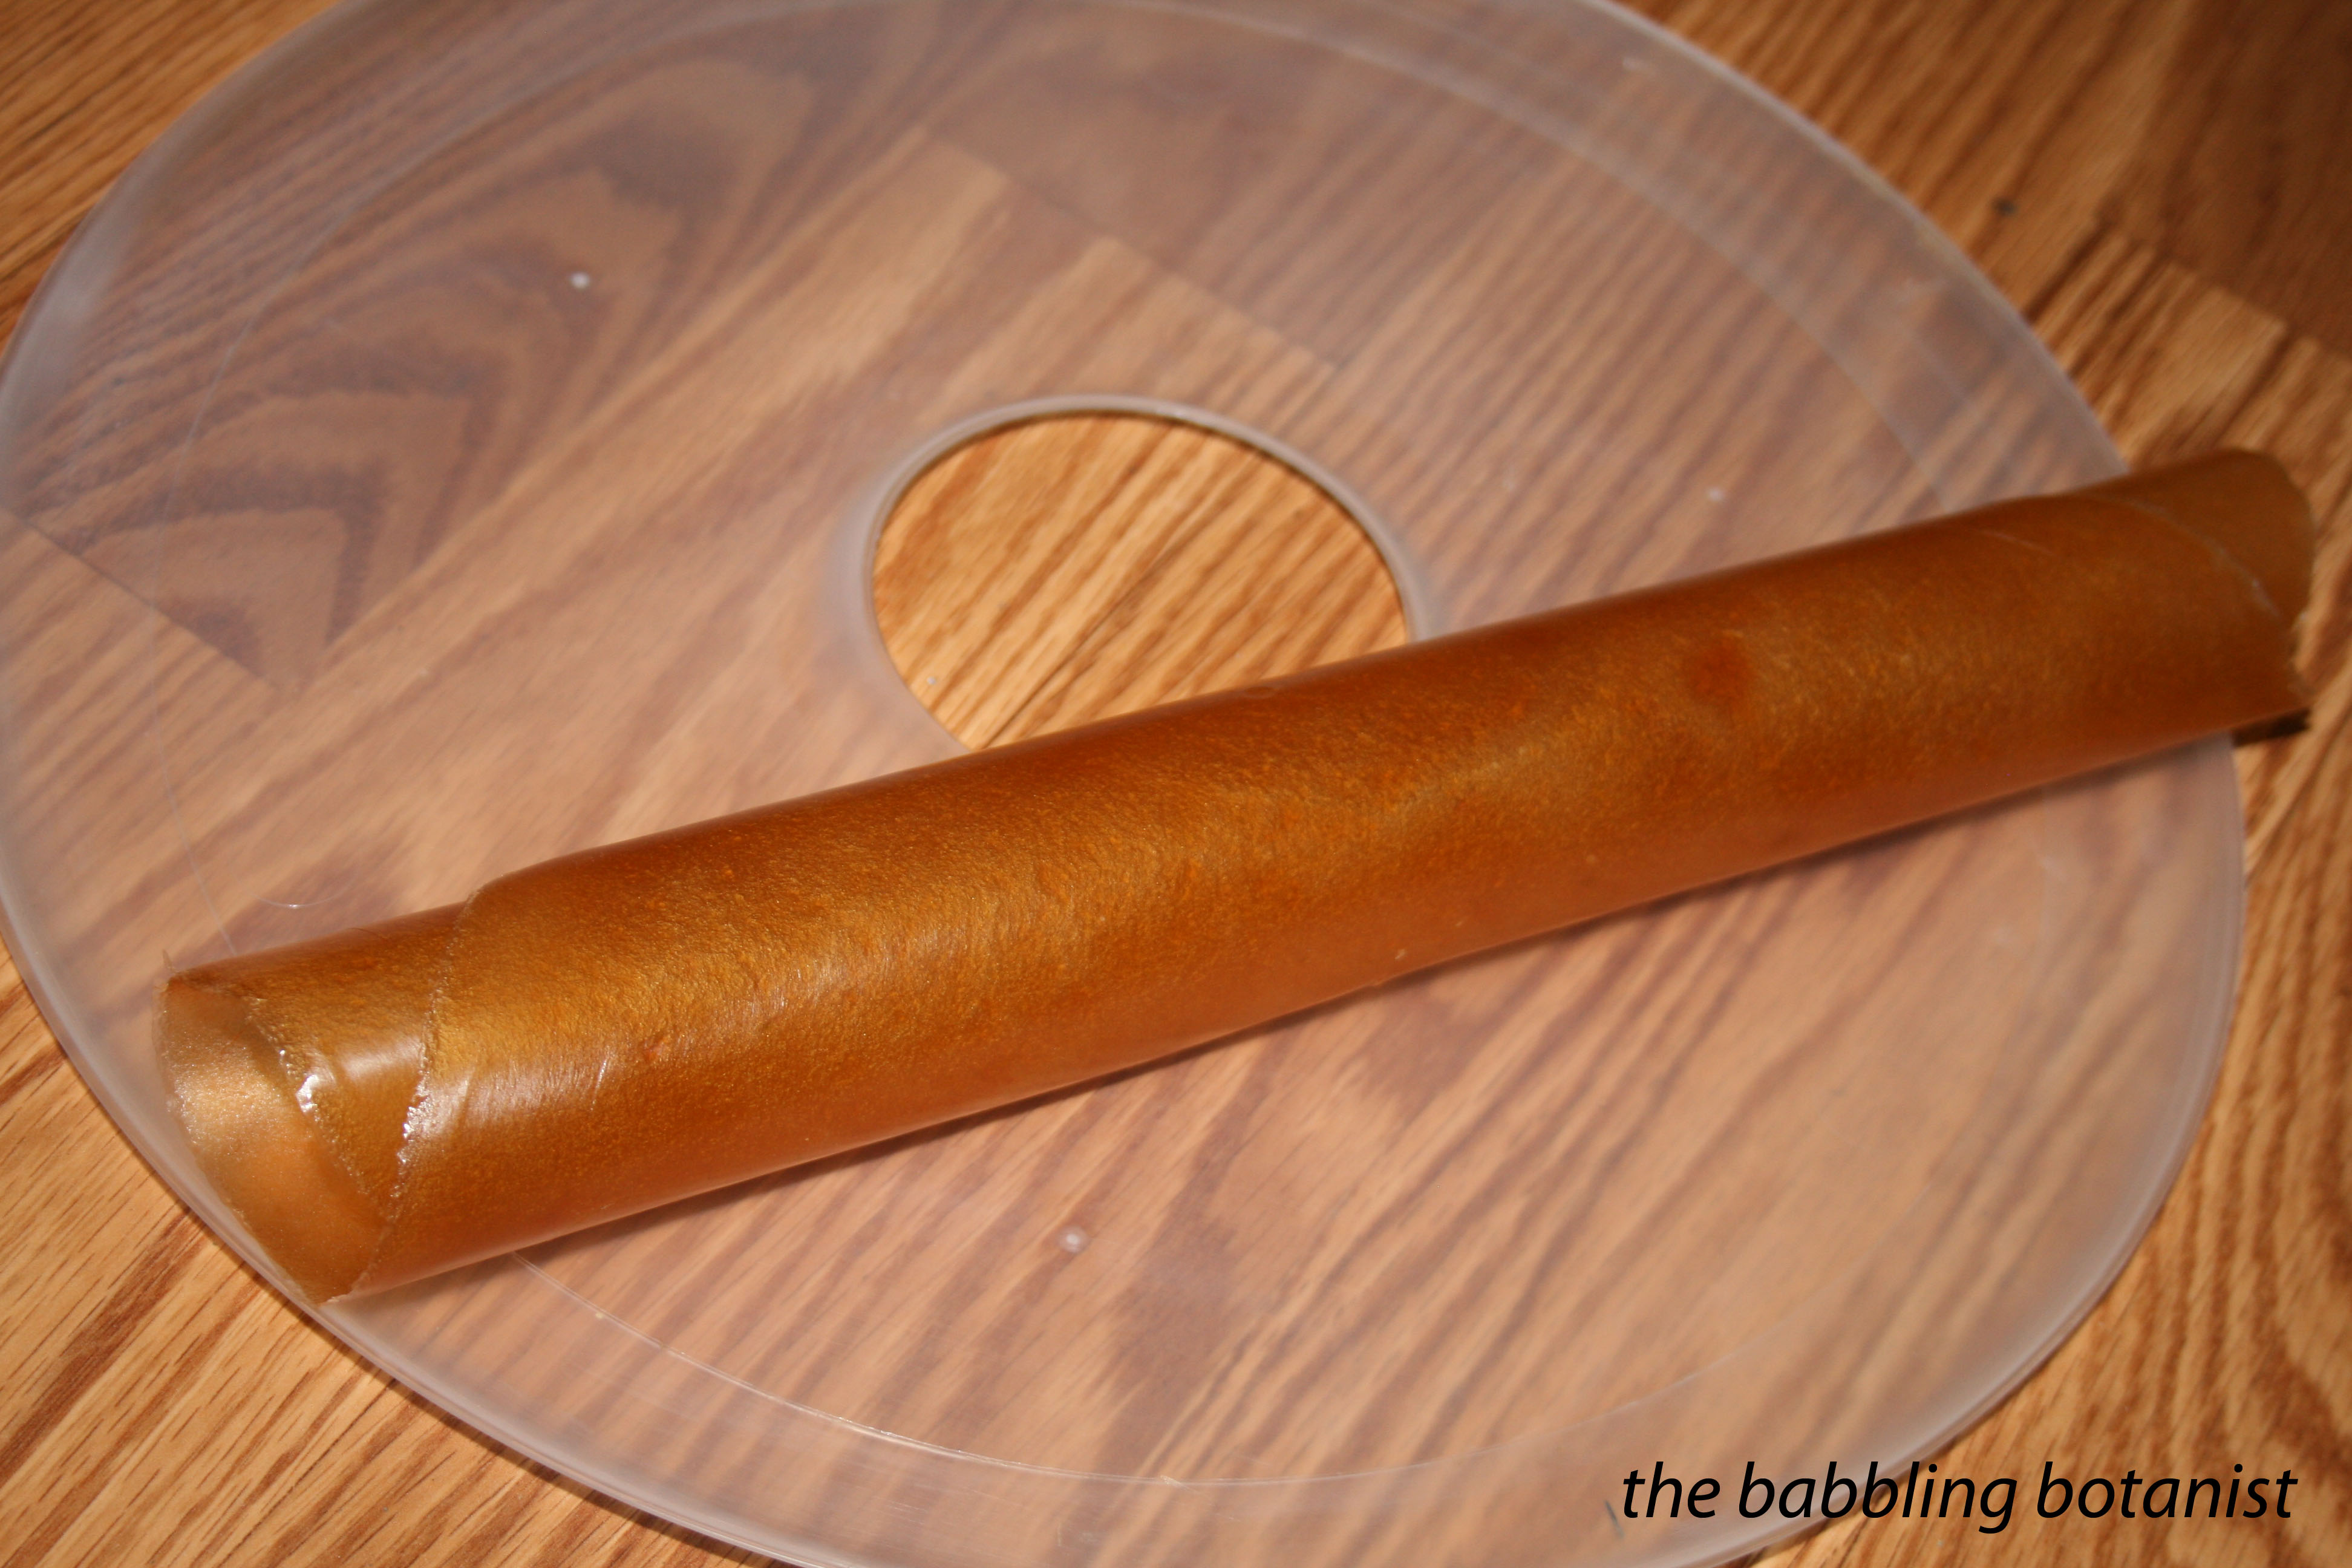
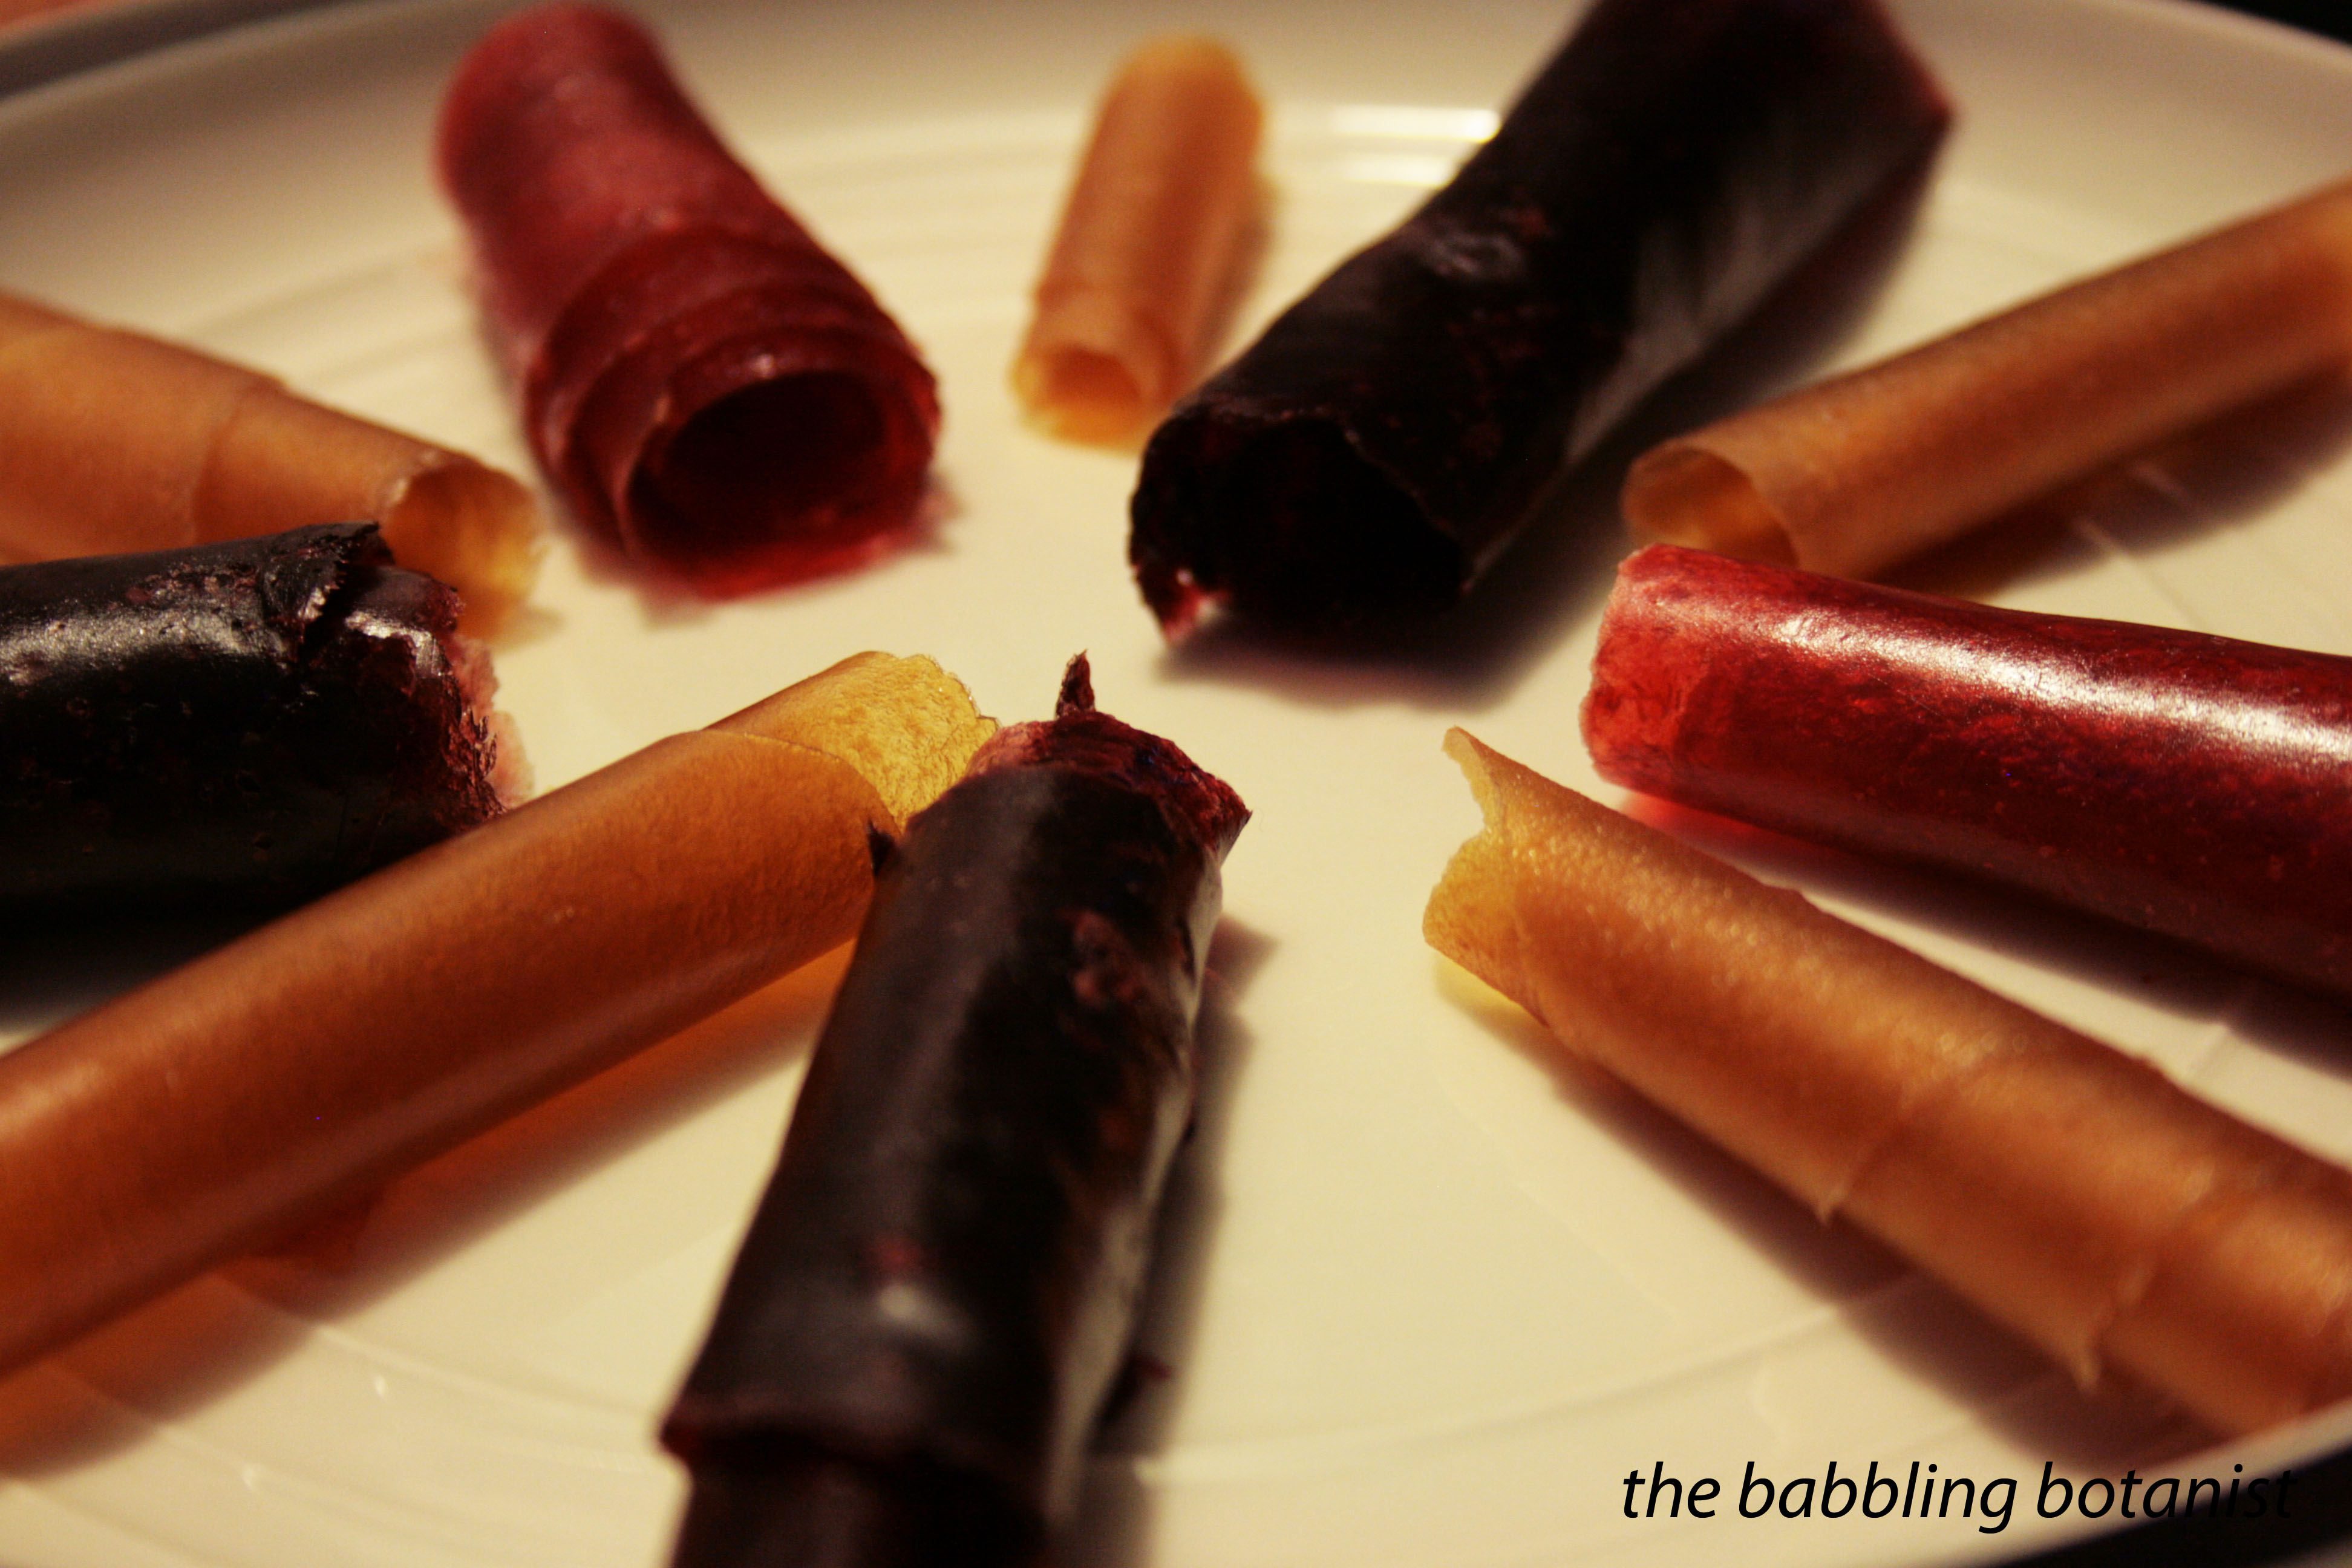
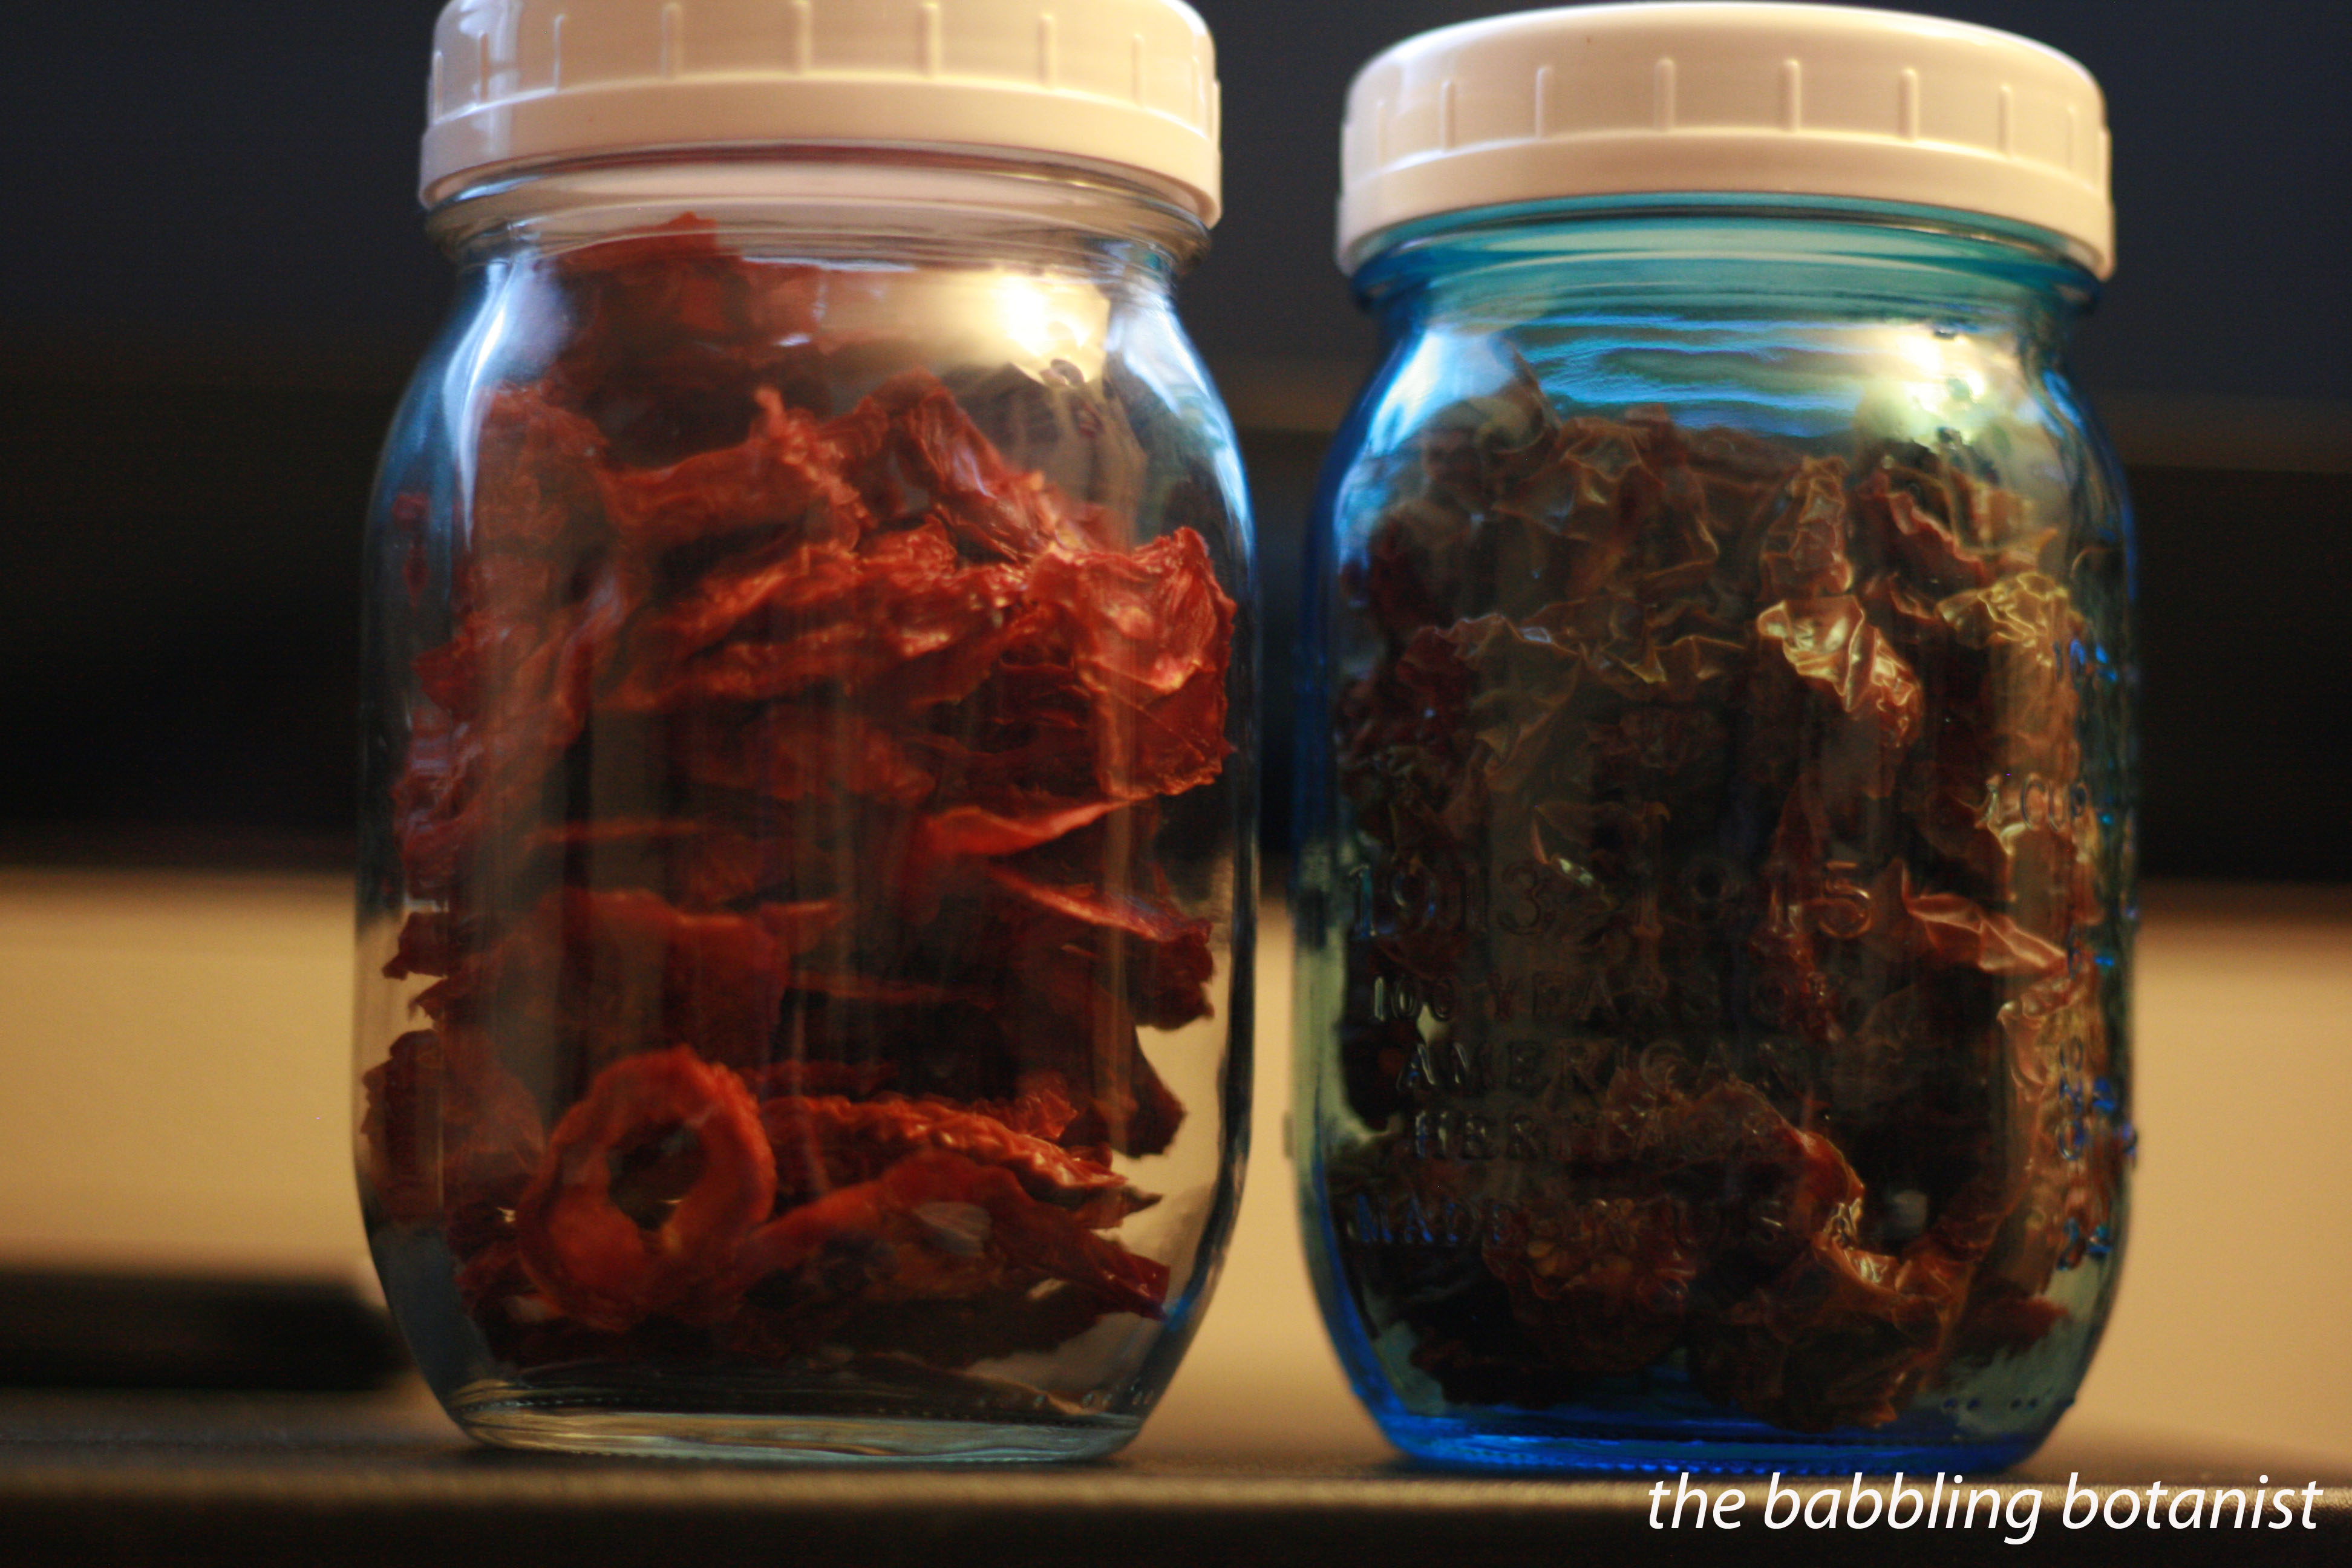
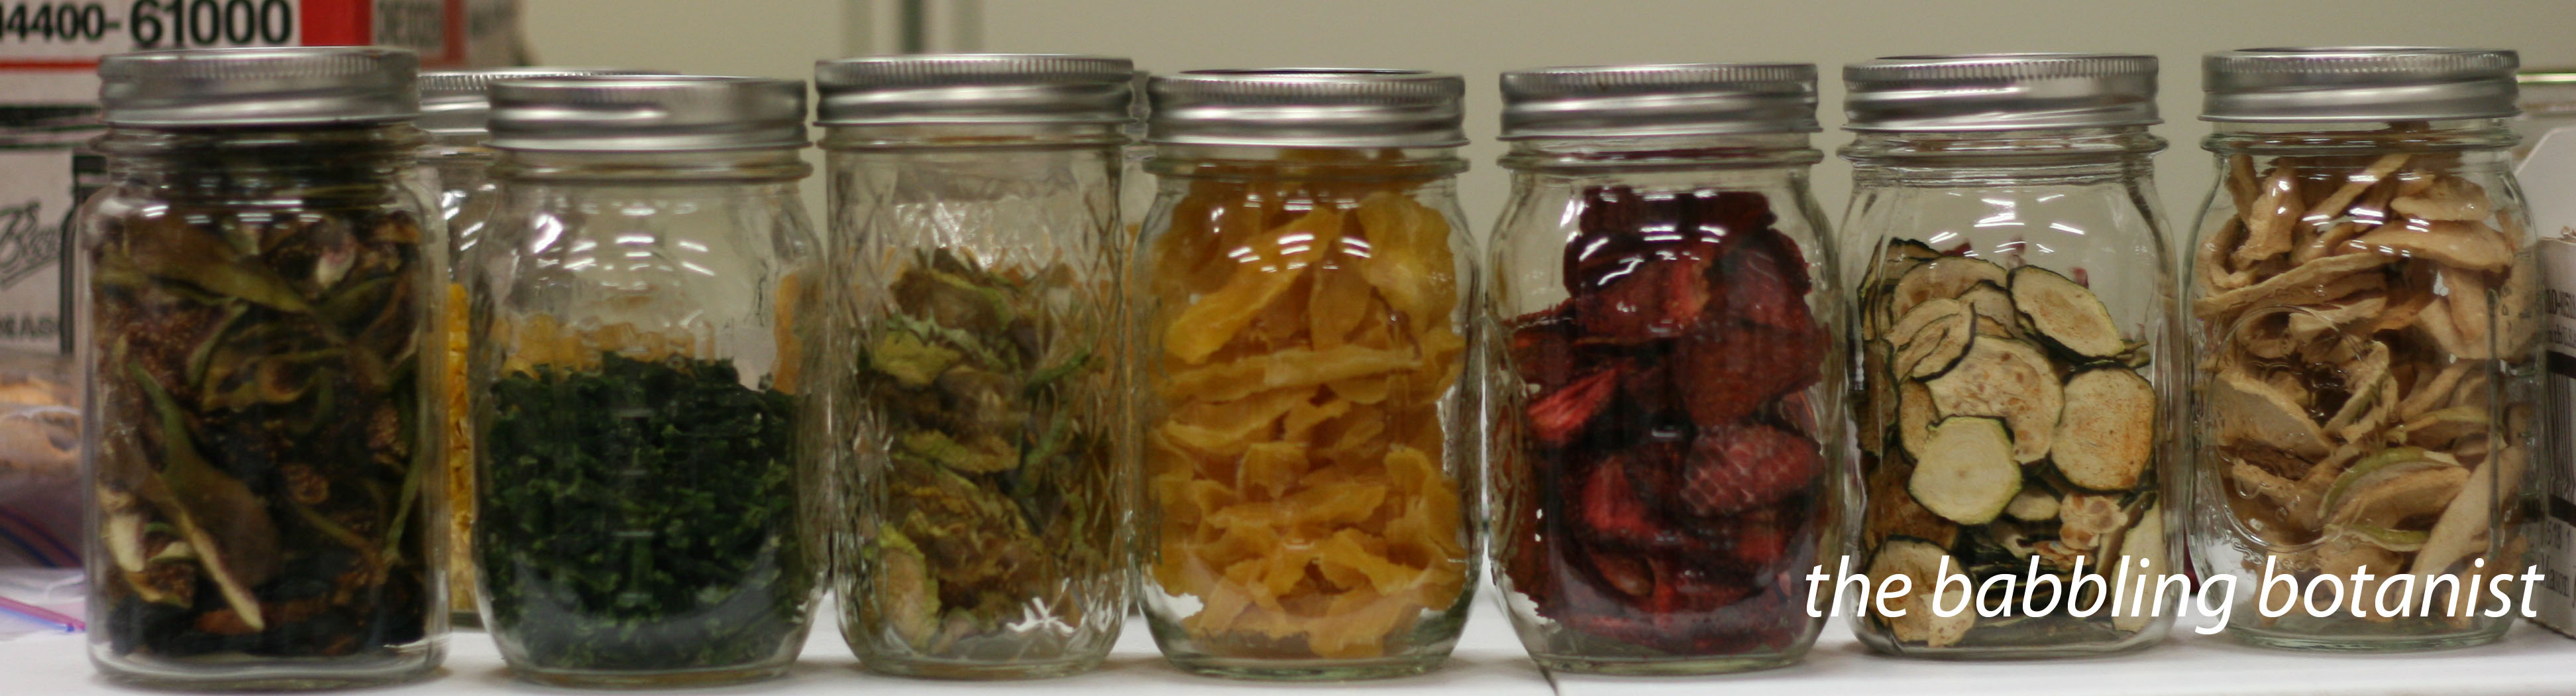
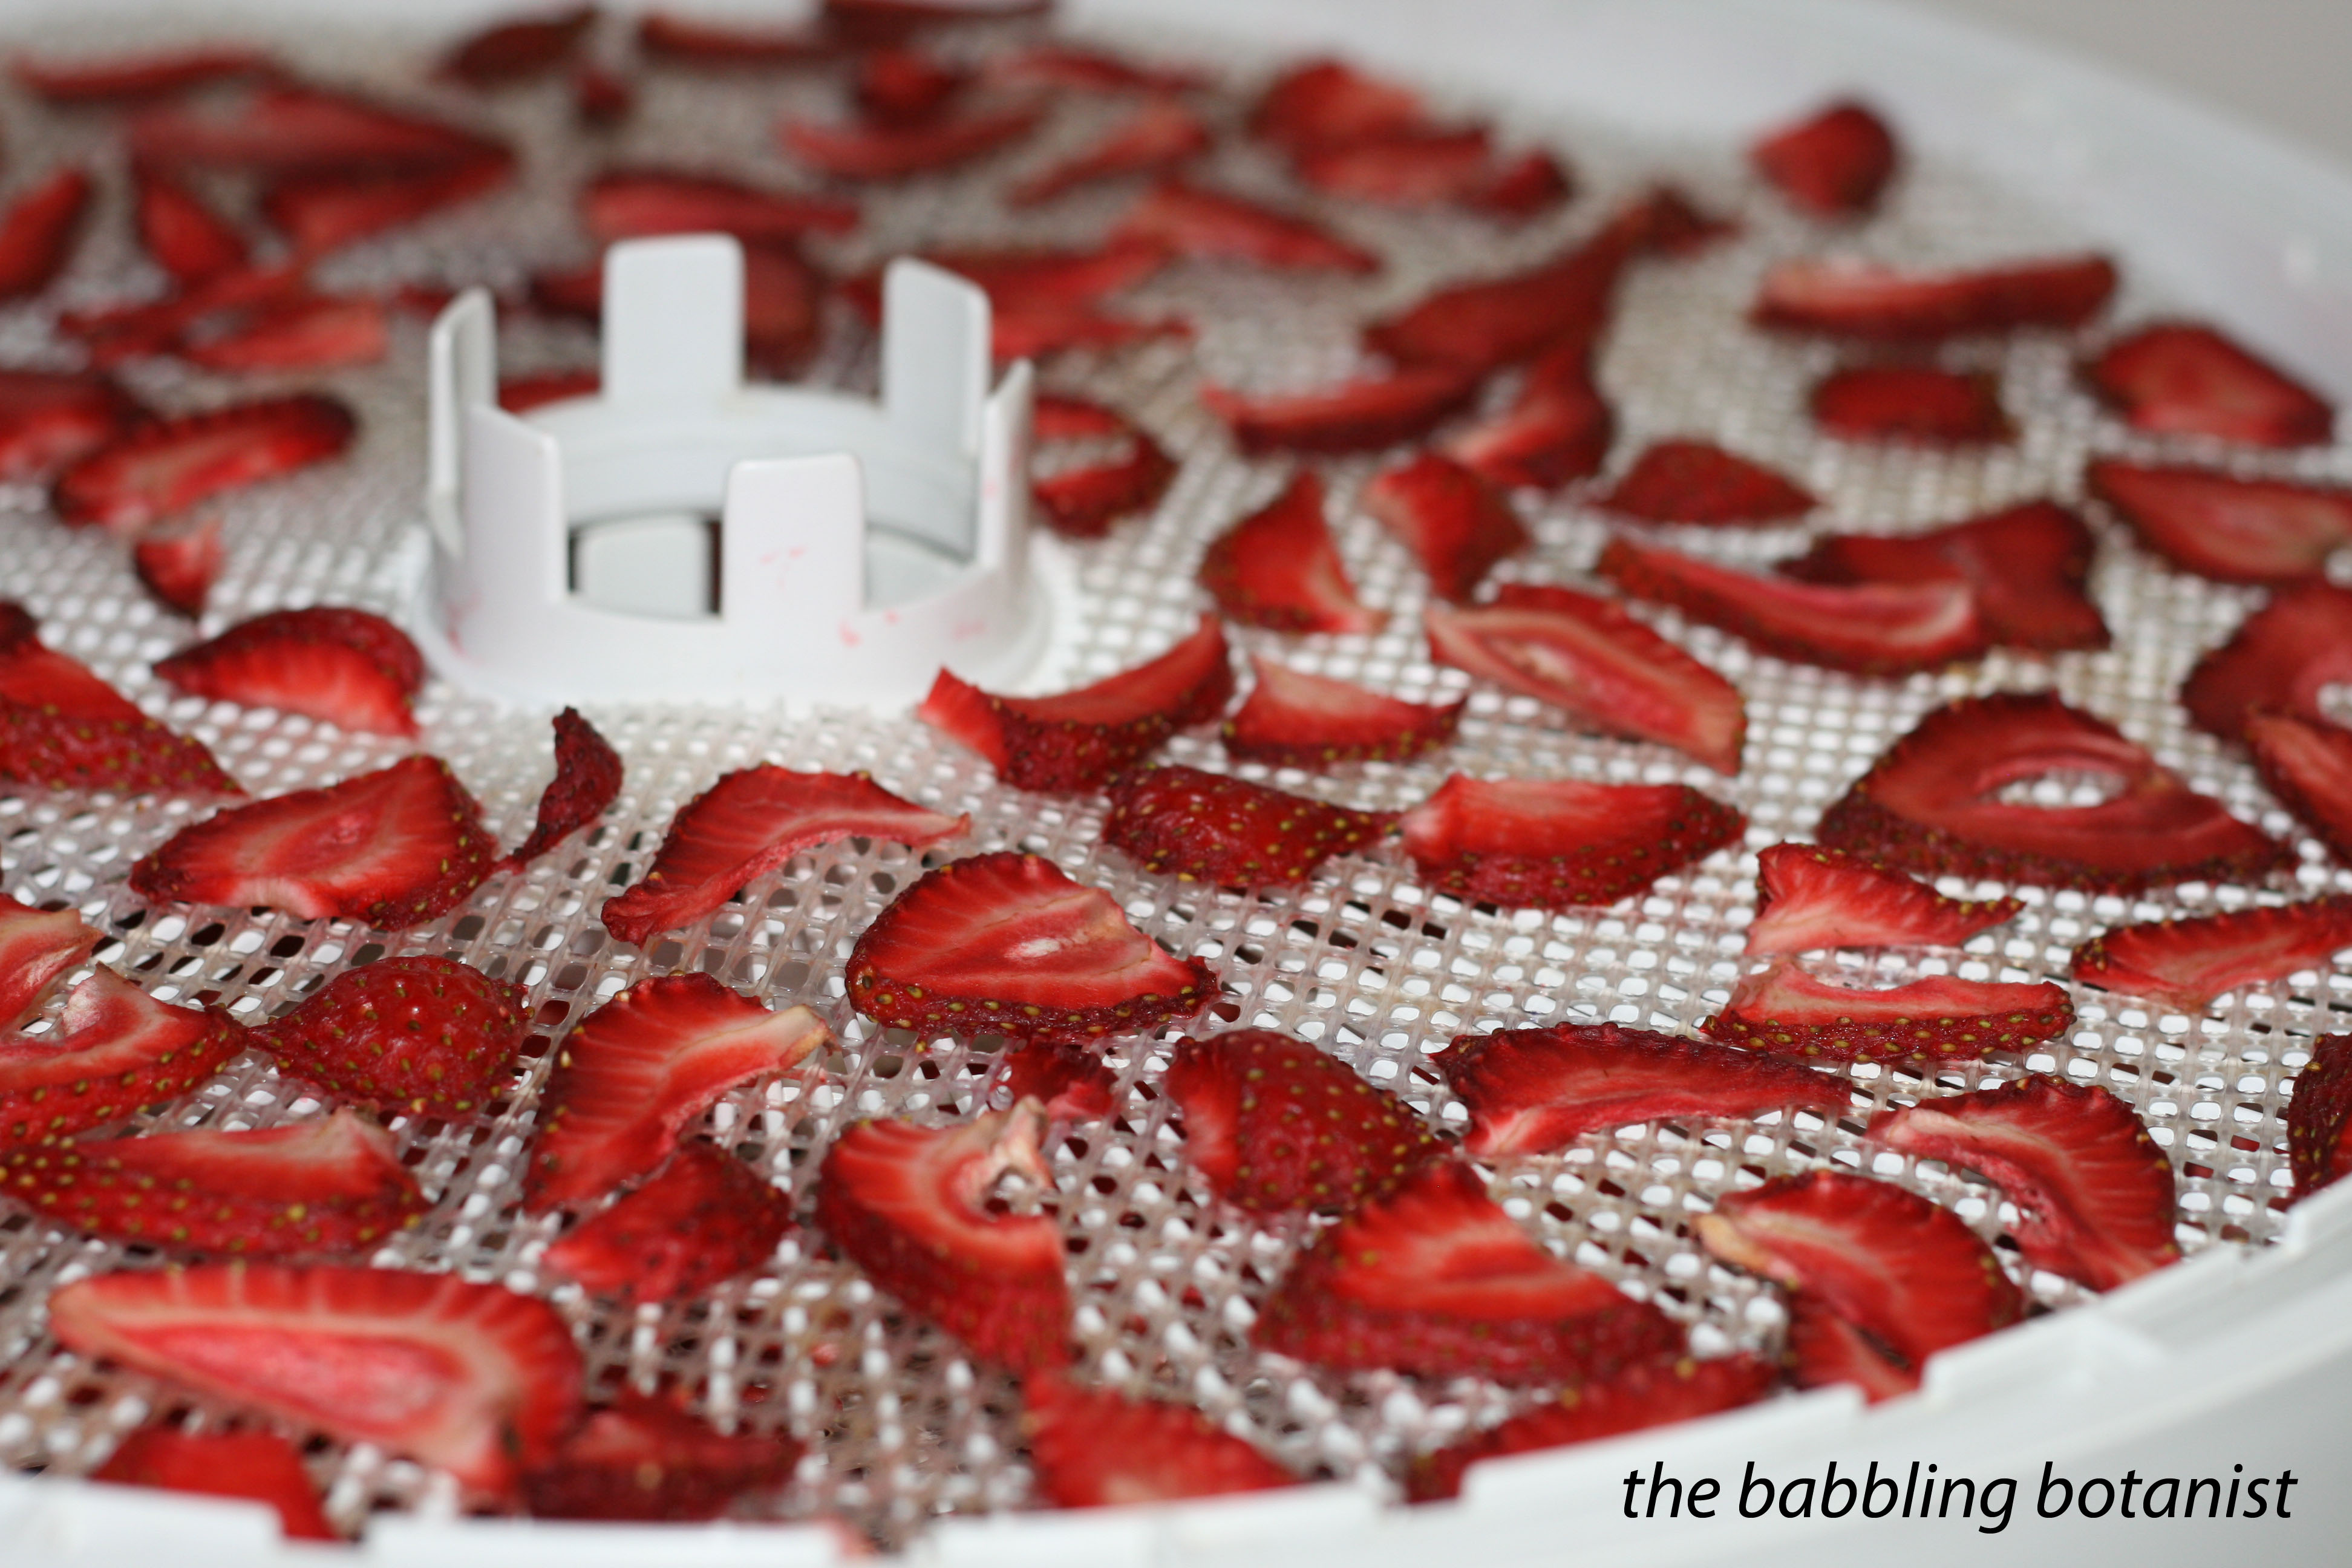
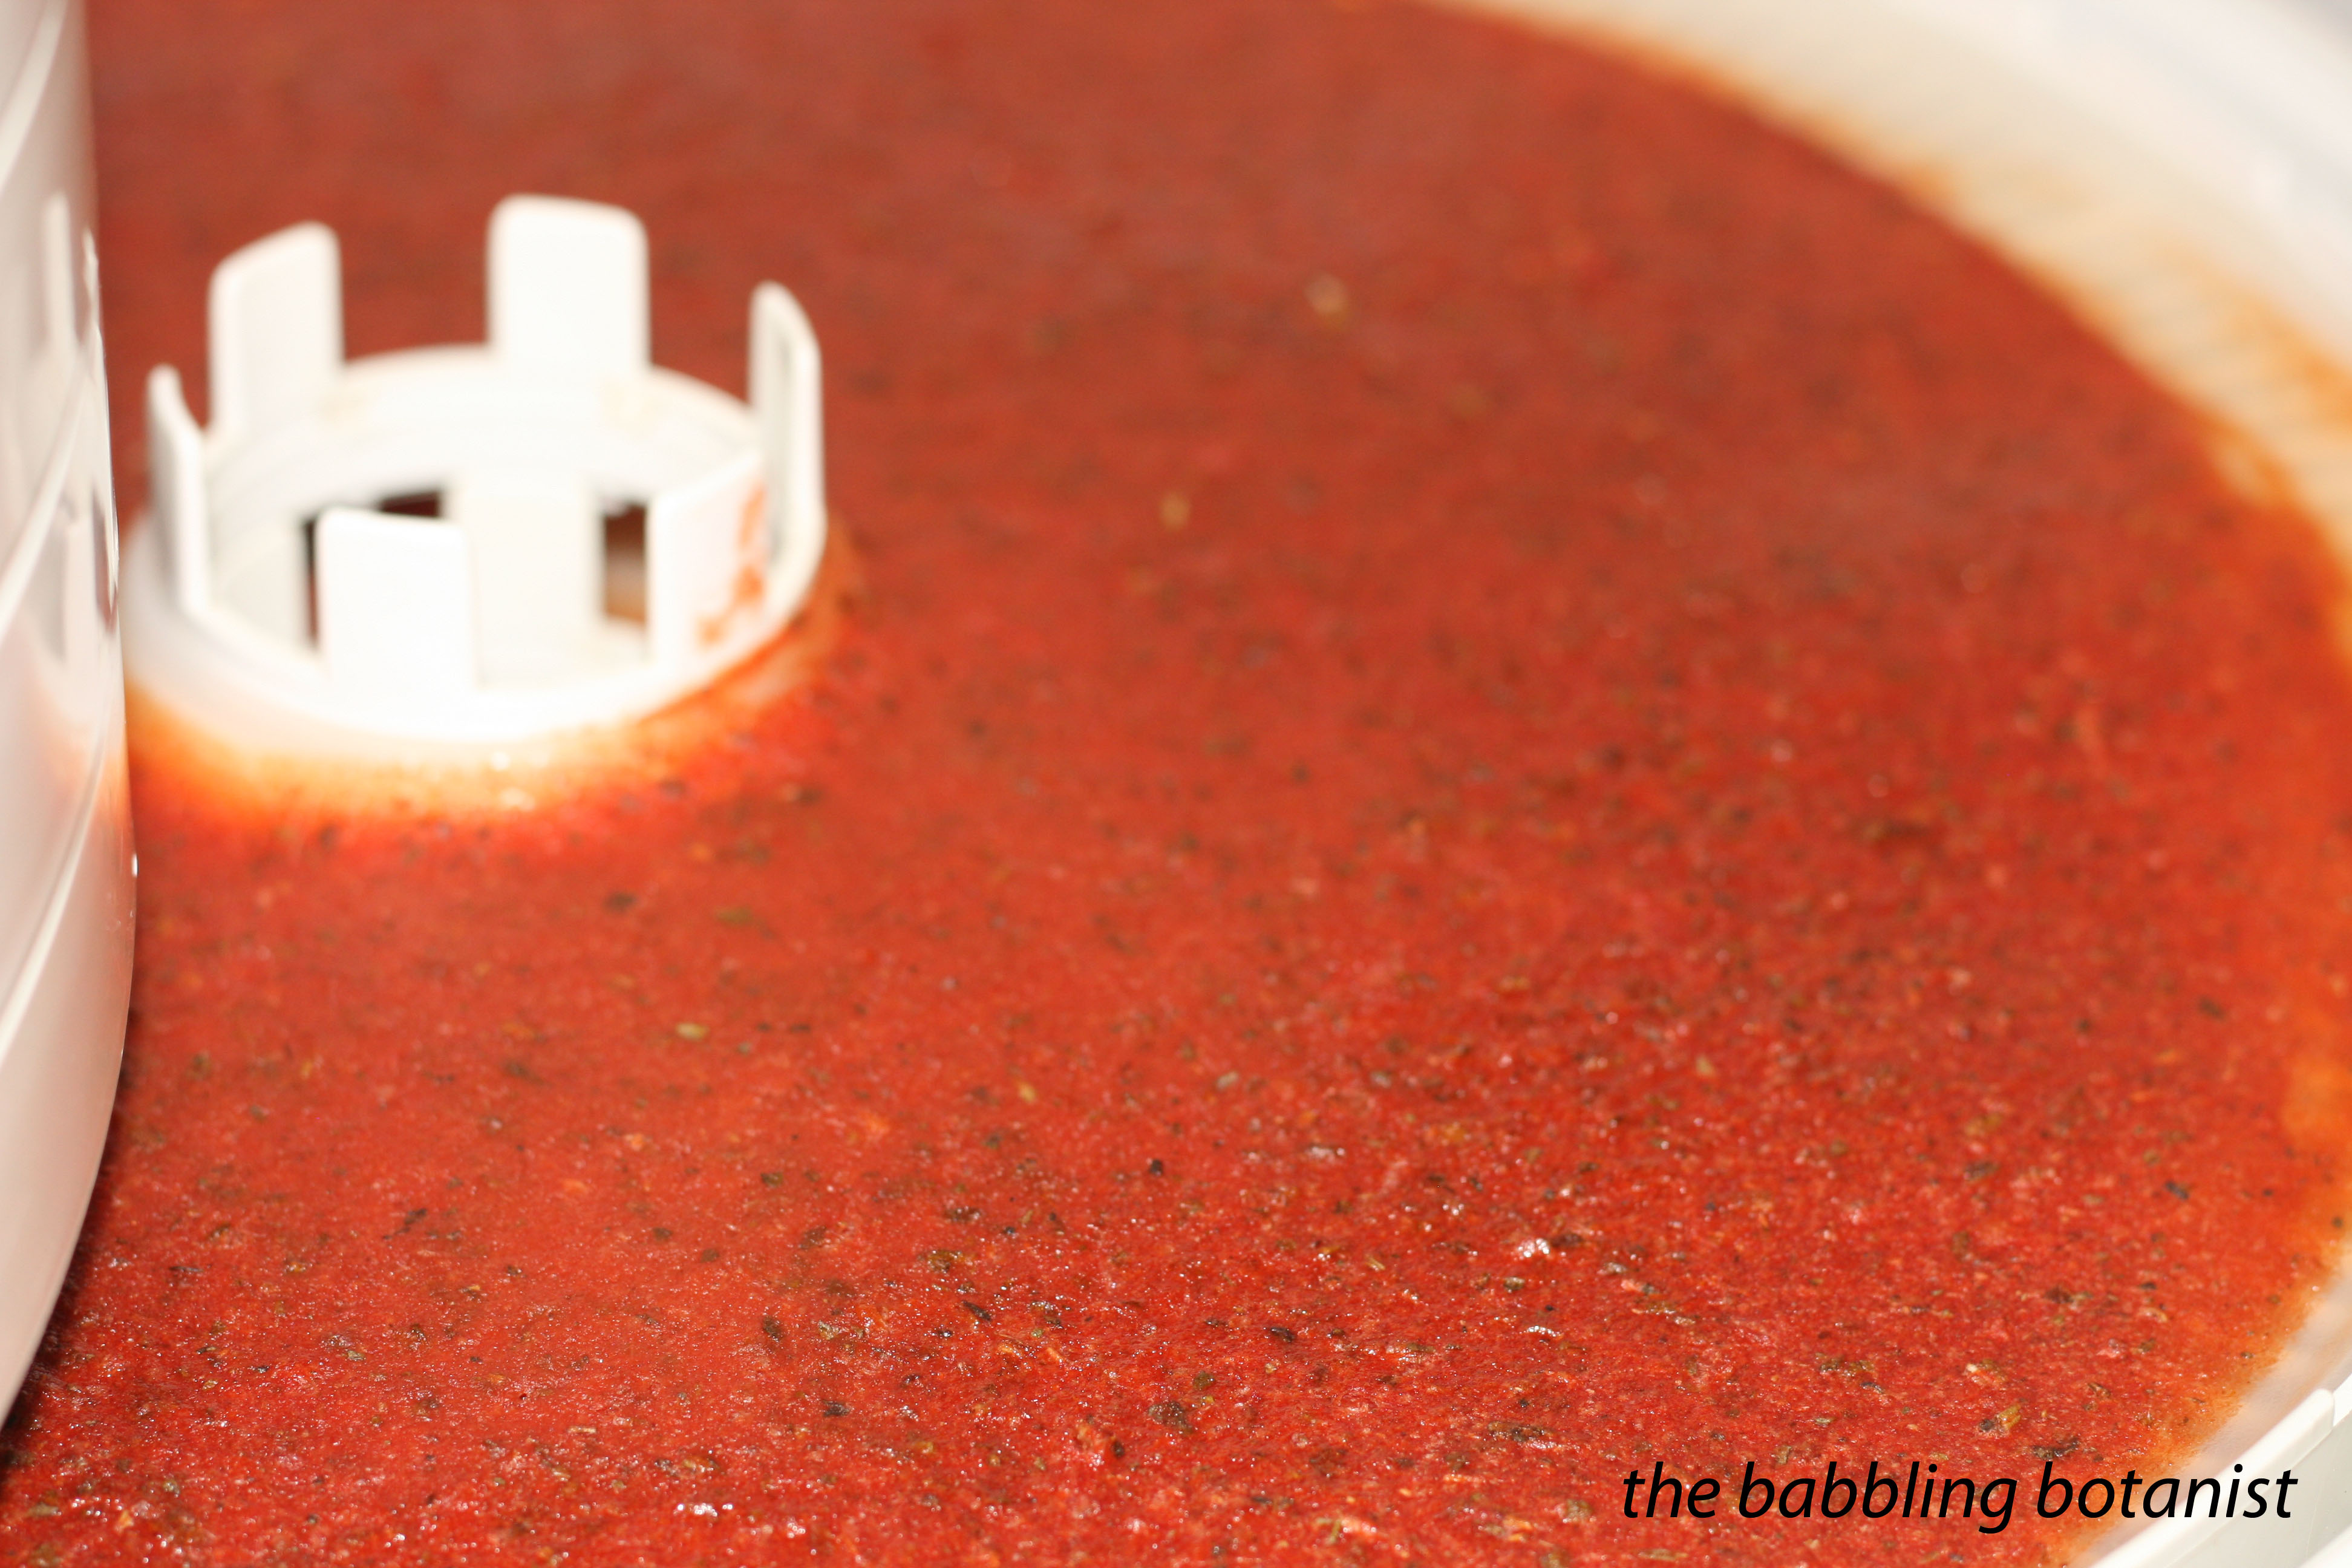
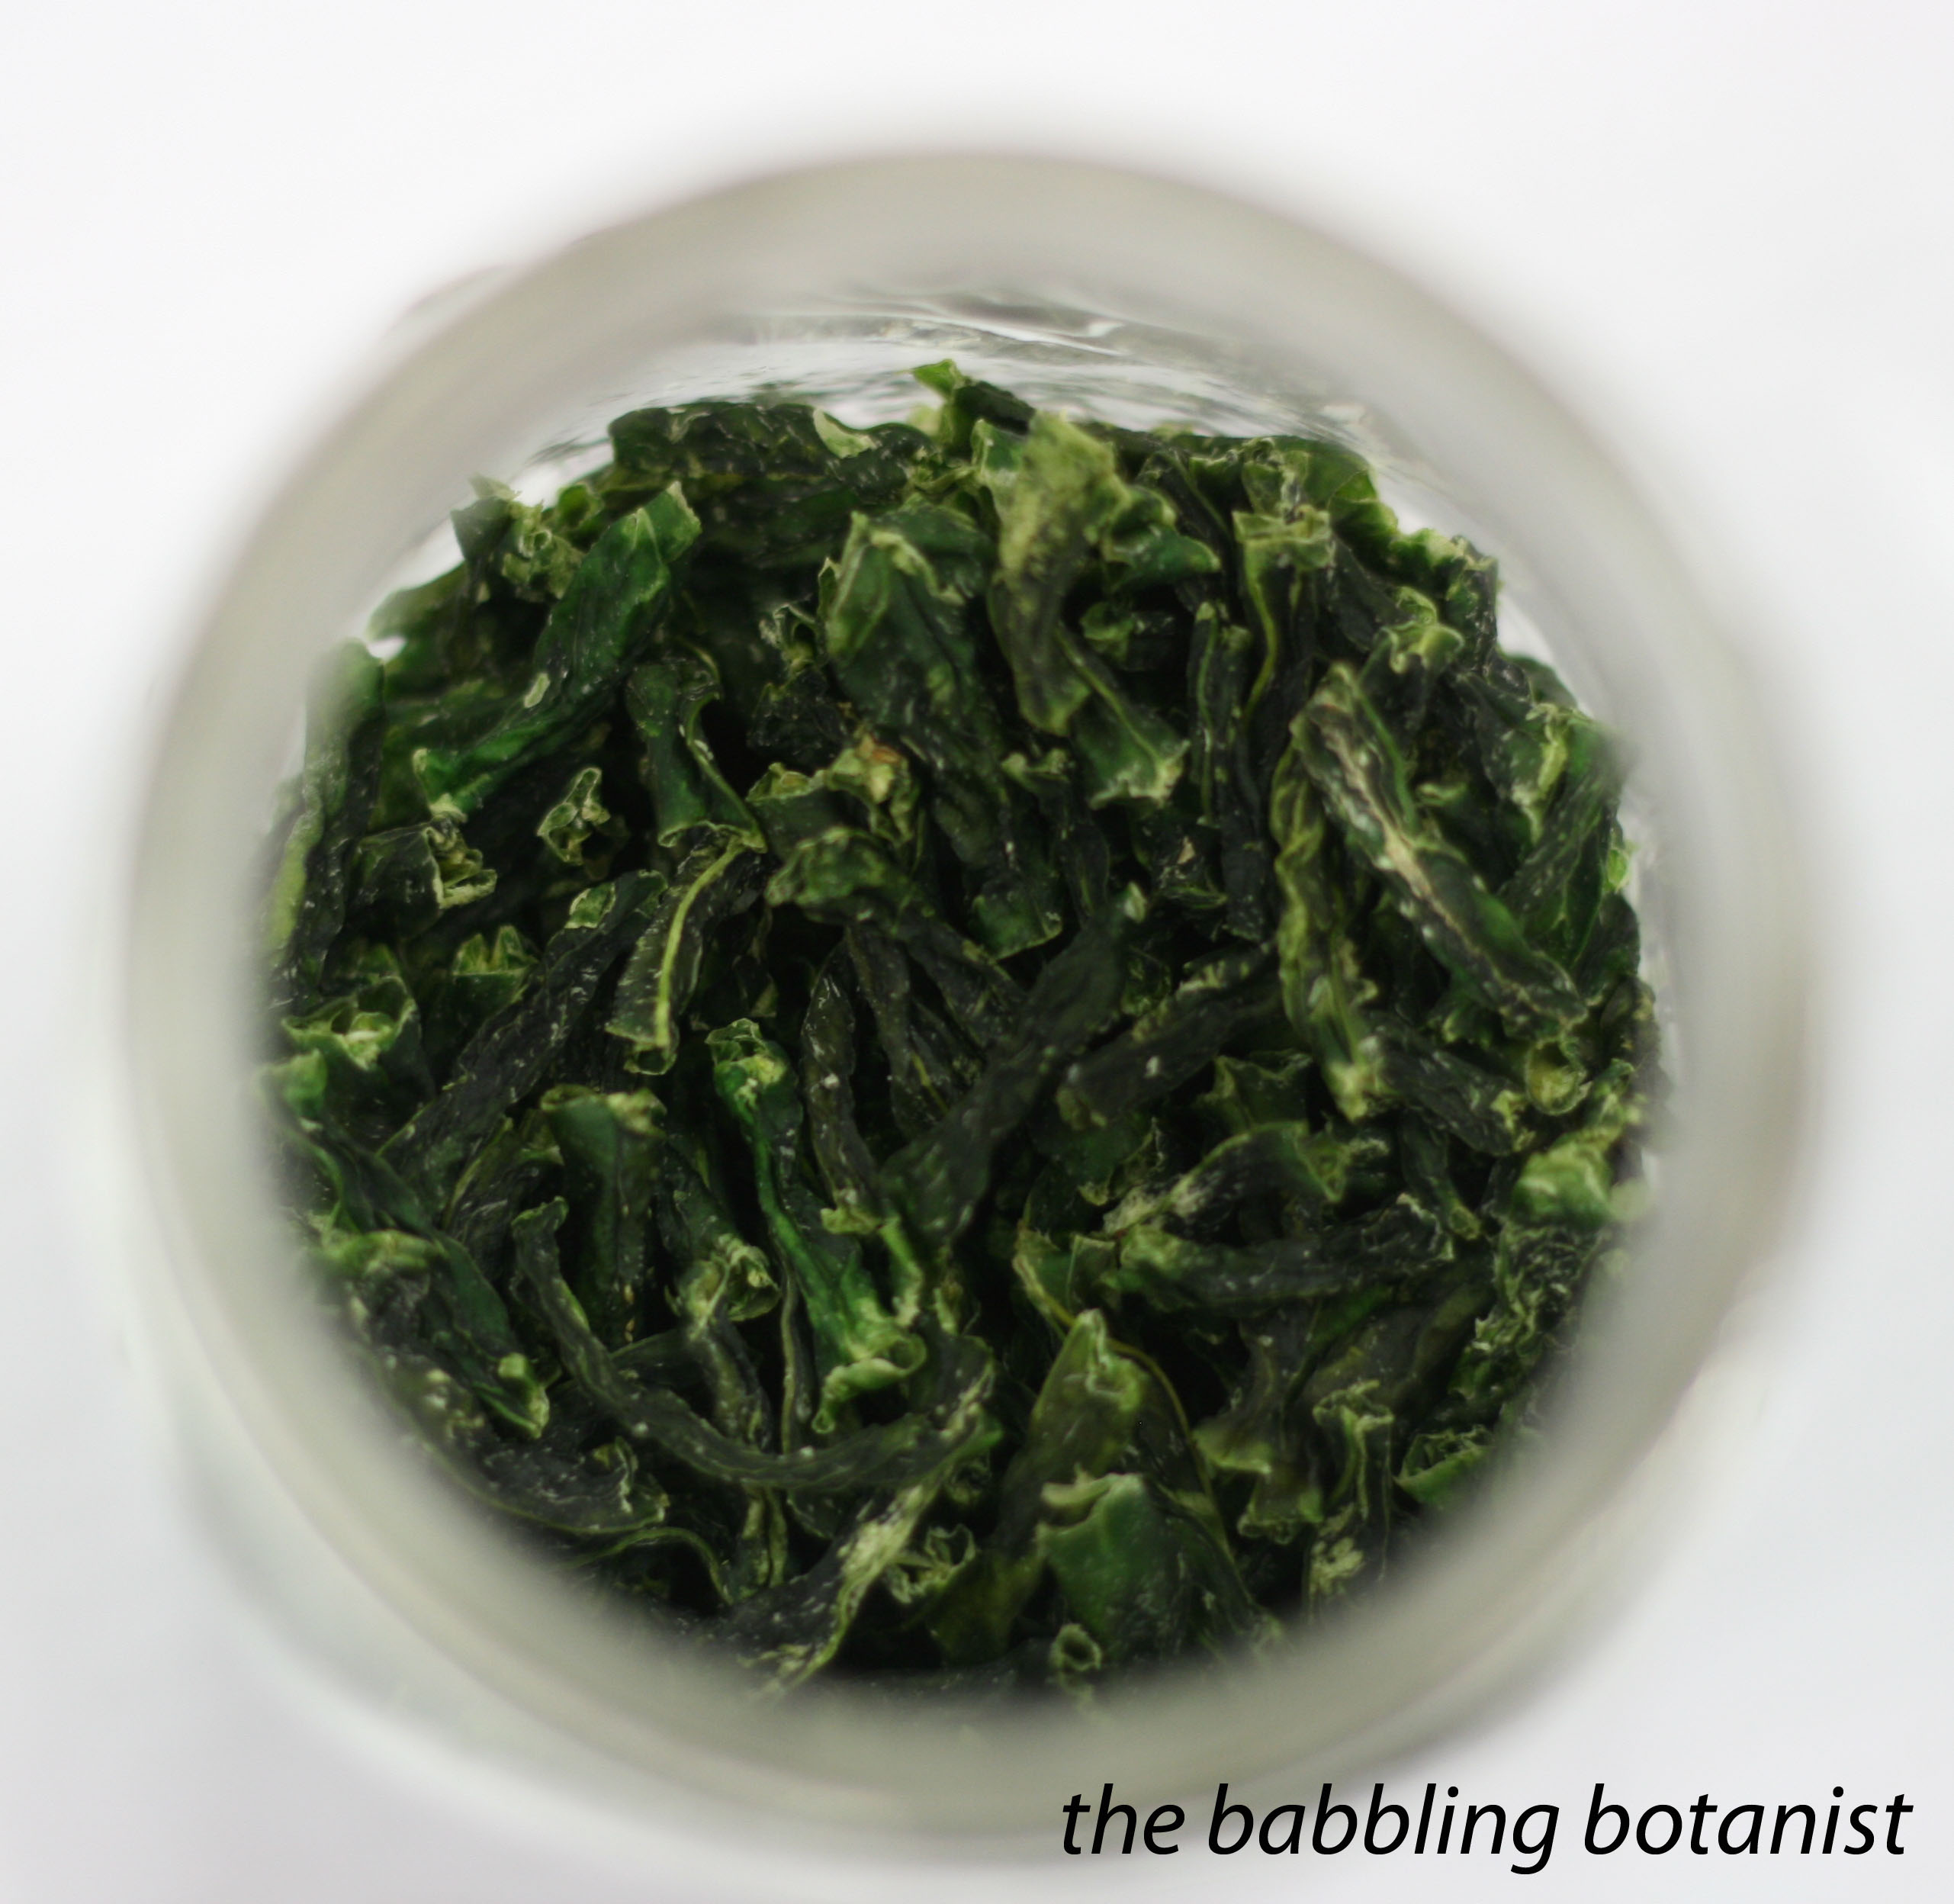
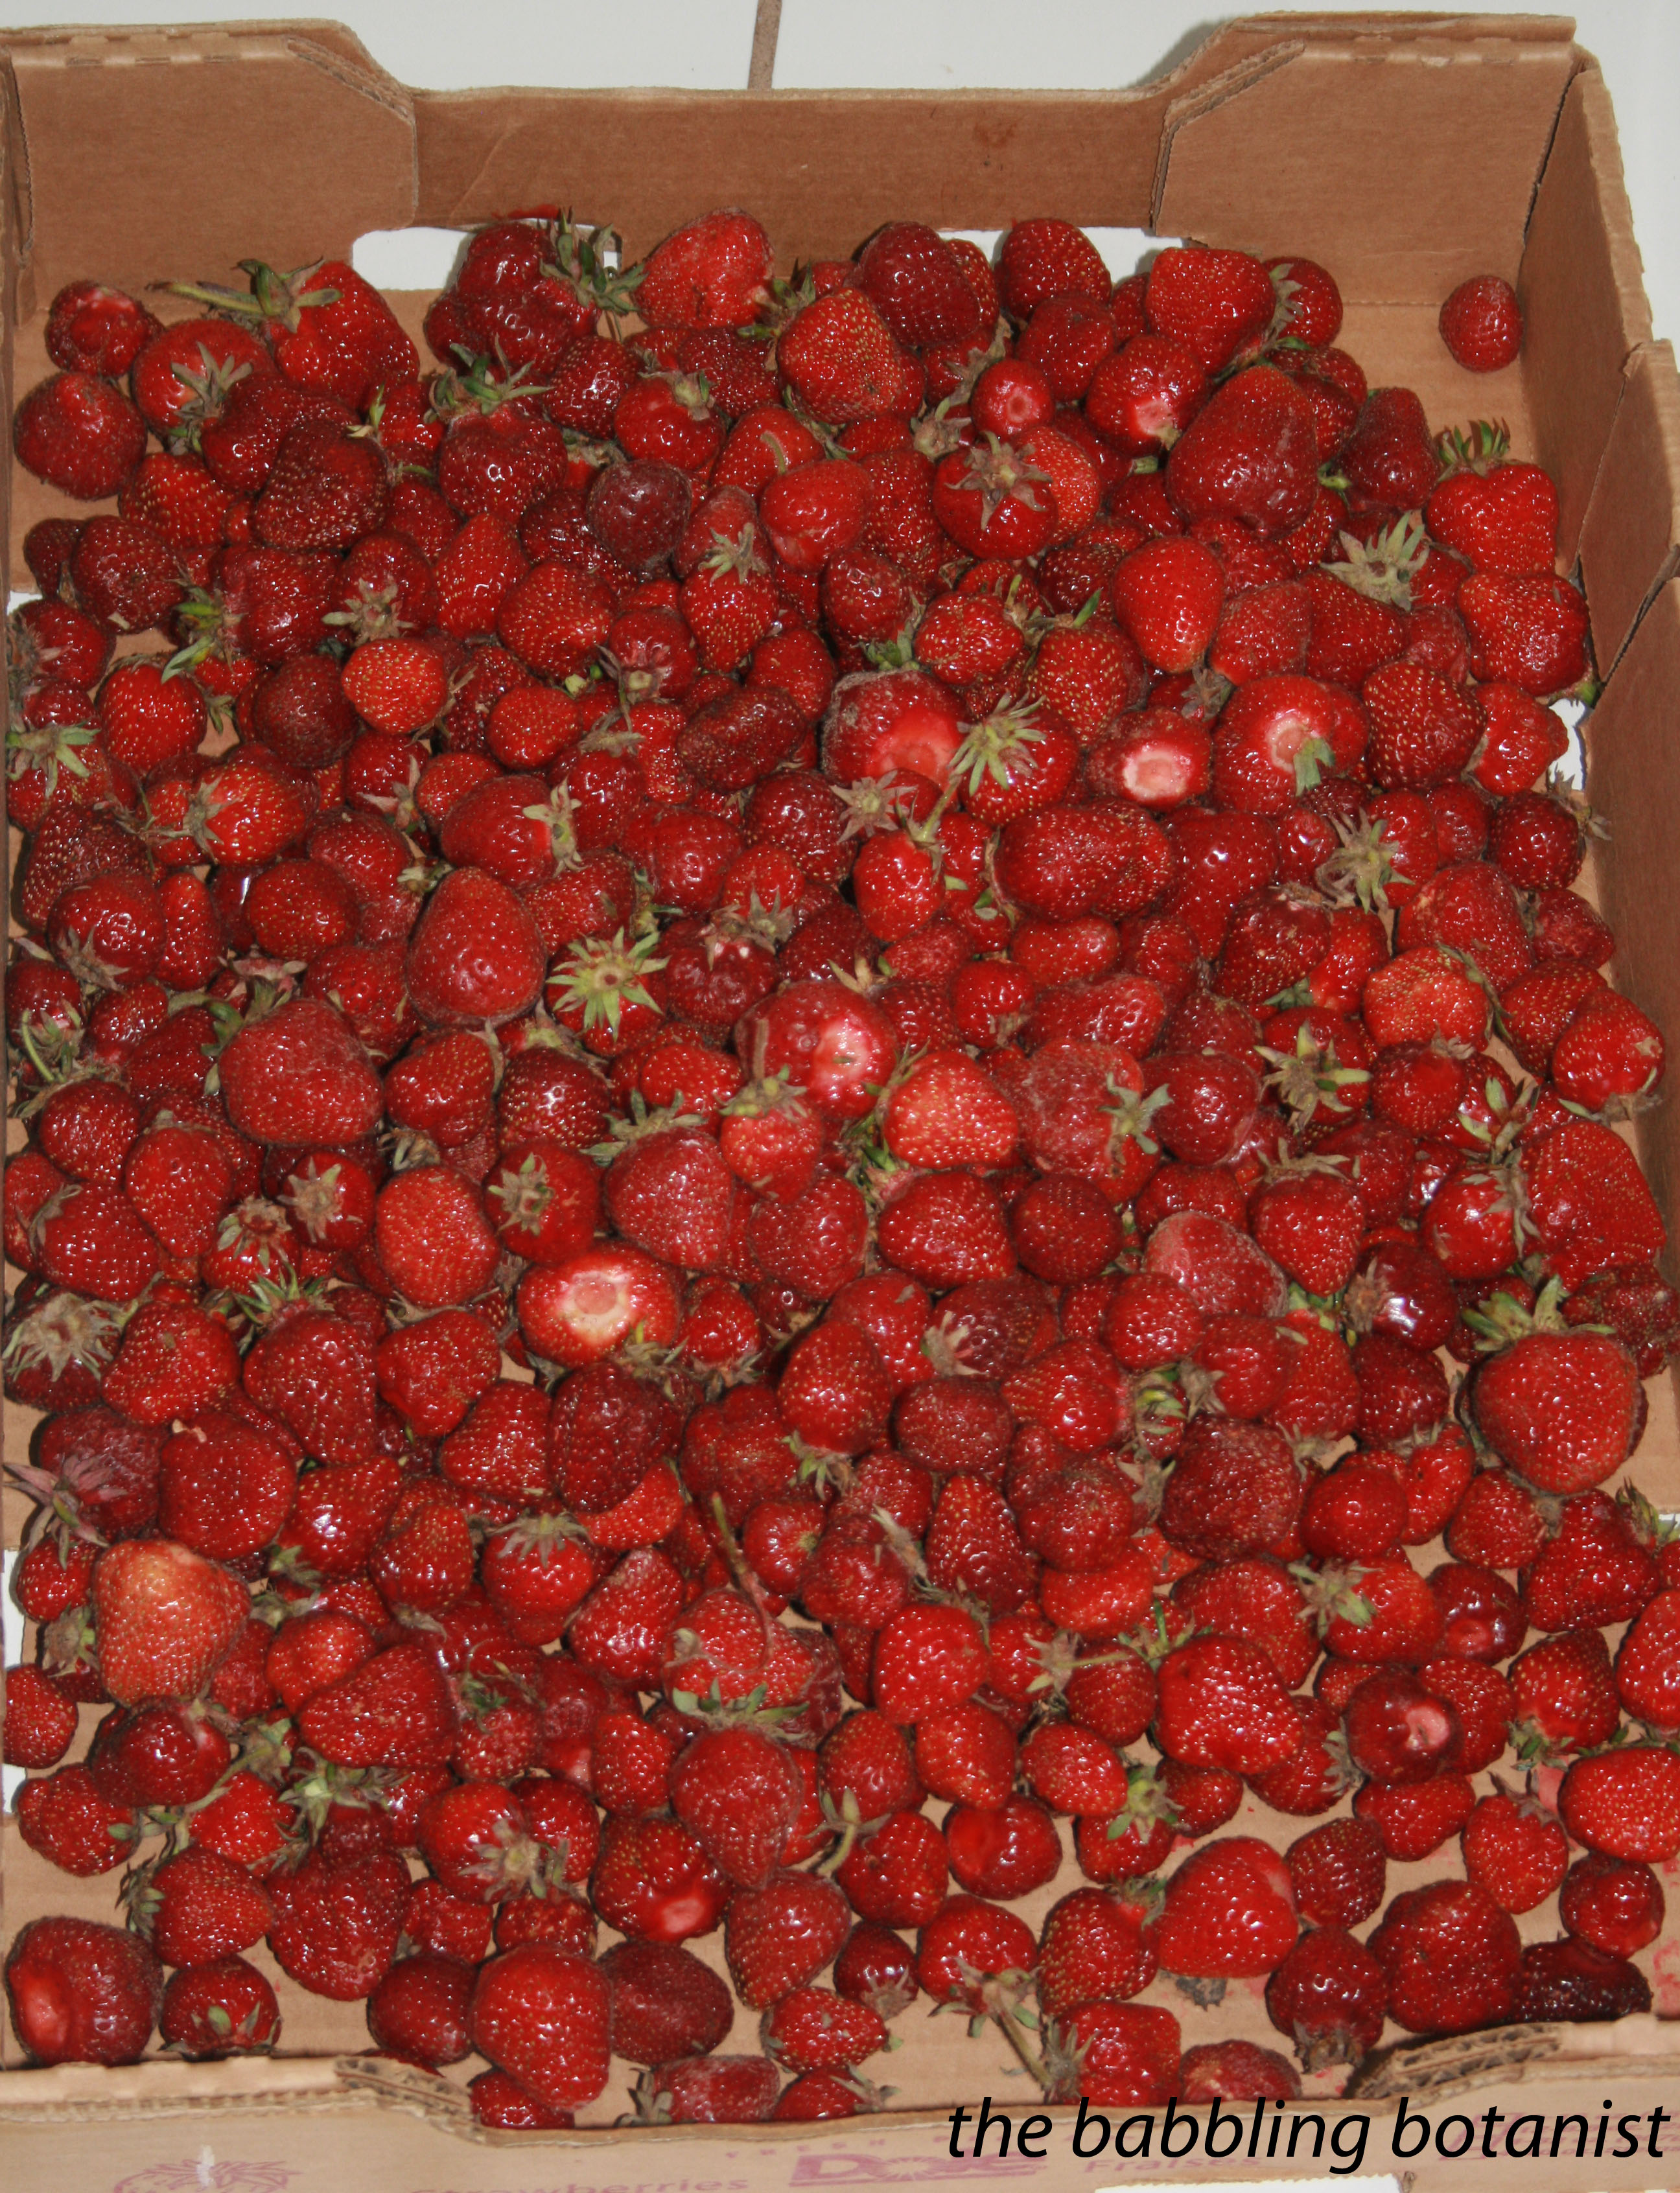
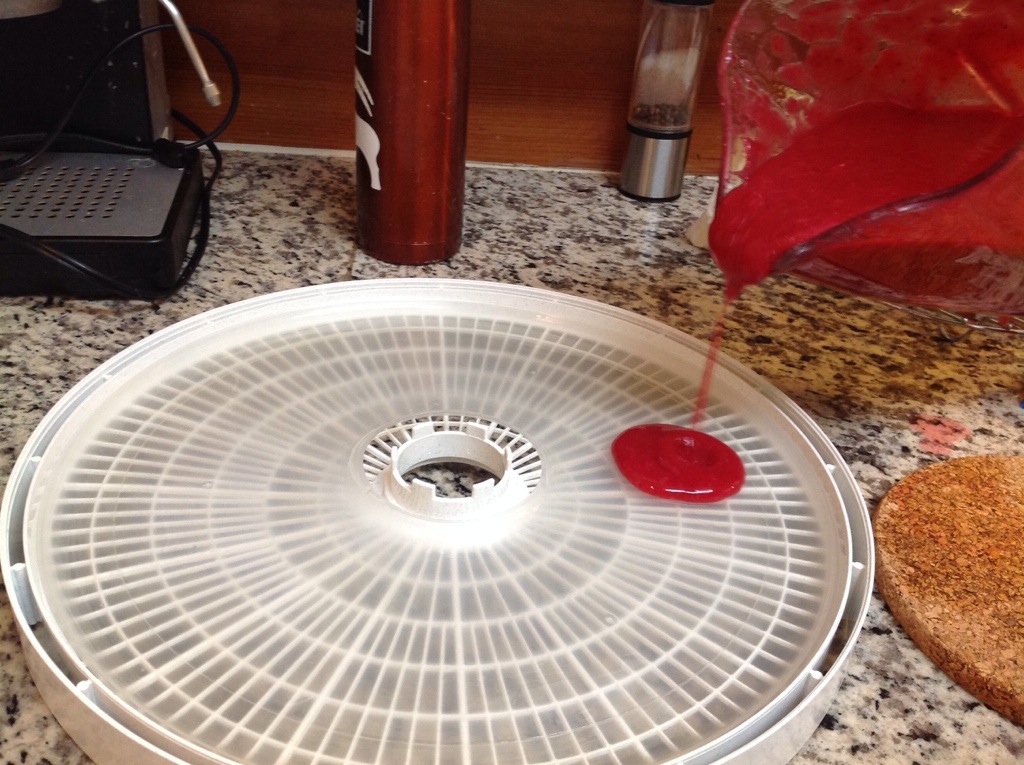
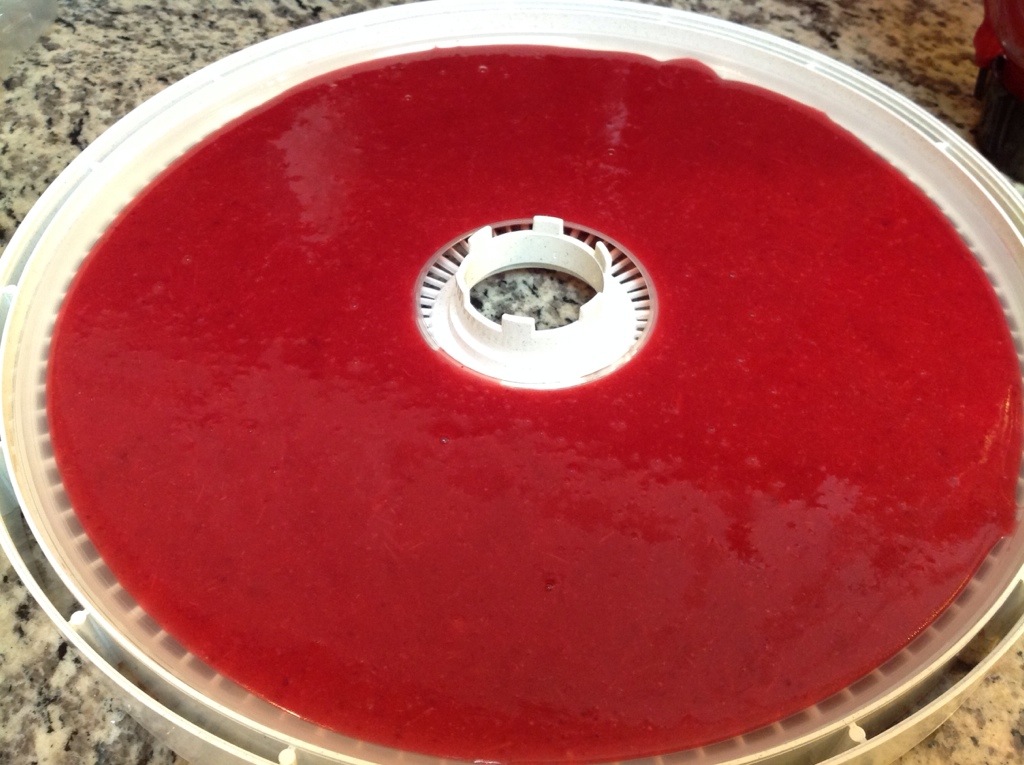
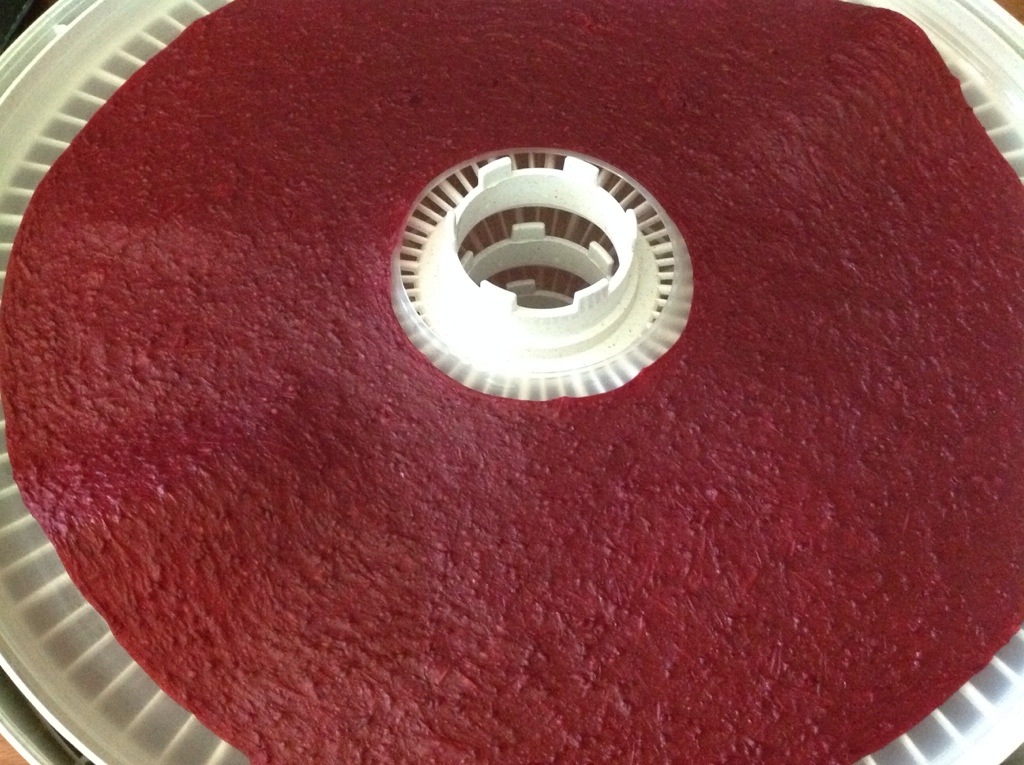
The most common gifts from the kitchen of course are canned goodies that you’ve made with love. I like to decorate them with little pieces of cloth, which are actually just quilting cloth squares or scraps from the craft store. Tie a cute ribbon around it and grab some cute tags, and presto gifto! However, when gifting preserved items there are a few other things you should remember. Of course always make sure you are following safe, tested recipes. If you want to play with things not tested that’s your own business, but always be safe when gifting items. It’s a nice touch to add an ingredient list and any information you think people may be interested in knowing, such as when the food was canned, how it was canned, whether it’s low sugar, things like that. It can be nice to put your initials on there or something too so people remember who it’s from (I know people trust my canned goods but maybe not everyone’s). If you want to give canned gifts but don’t have anything on hand, we talked about a few different things that you can still preserve now, which are pictured below. These include, pepper jellies, citrus jellies, jams or marmalade, cranberry jams or jellies (or check out the cranberry mustard I just posted), apple butters and applesauce. The green tomatoes are probably done for most of you now, but green tomato salsa is also an option if you still have some kicking around. There are also a number of other mustard recipes in the Ball Complete Book of Home Preserving that look really intriguing and can be prepared at basically any time of year, so I plan to try out some more of those soon too. I think it would be really nice to give a couple different ones. The 4 oz jars get harder to find in some areas this time of year, but luckily they are still online here for about the same price.

IMG_4812 copy

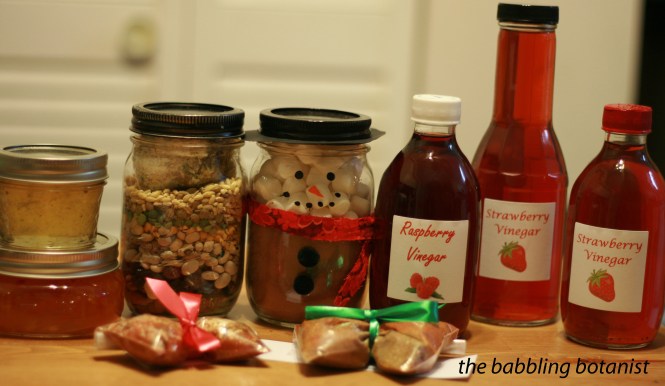
Great! What else can we gift? Here is a sampling of some of the things we talked about or made in class, and I’ll talk in a bit more detail below about each of these. Here we have, from left to right, lime jelly and pepper jelly, a dry bean soup mix, a snowman of hot cocoa, flavoured vinegars and two different spice rubs in the front.

IMG_4791 copy

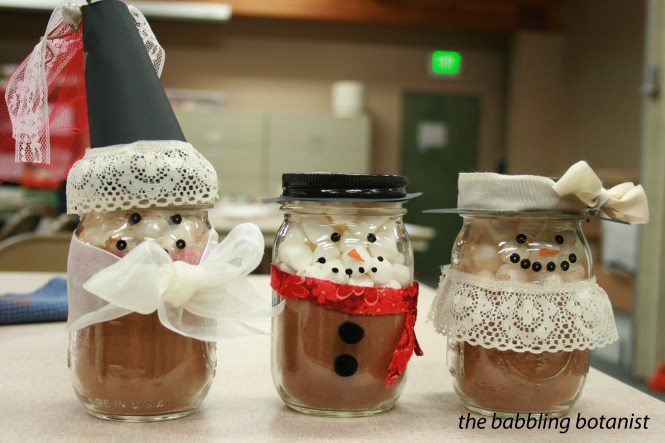
We had a number of stations where people got to make items to take home, and my station was hot cocoa. You had a couple options on how to arrange your cocoa into the jar, but if you search the internet there are a ton of other ways to do it too, and they are so cute and creative!

IMG_4731 copy

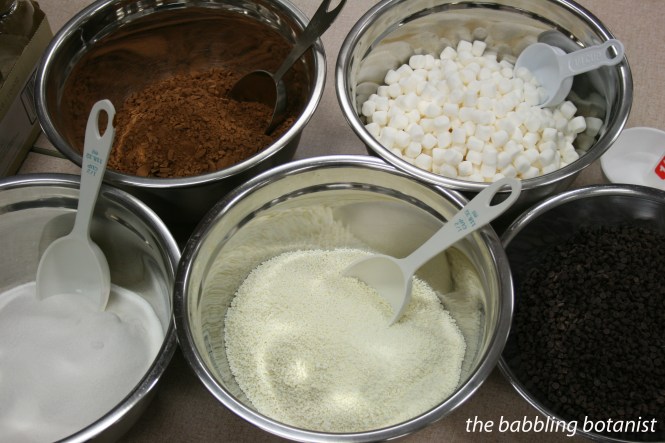
I did mine as a snowman (the guy on the left). I got this idea from my nana, who made them a number of years ago for Christmas gifts, but I made mine a little differently, using just one canning jar. All I did for mine was mix 1 part cocoa powder to 2 parts sugar, but you can also follow other recipes with dried milk in them as well. The one we did in class was 1/2 cup cocoa powder, 1/2 cup dried milk, 1/2 cup sugar, pinch of salt, 1/4 cup chocolate chips and 1/4 cup (or to fill the jar) mini marshmallows. Then, make a head out of marshmallows and decorate the jar with a scarf, face and hat made of cut out construction paper and a painted band and lid. Adorable. One of the girls in the class made this girl snowman who became buddies with mine.

IMG_4762 copy

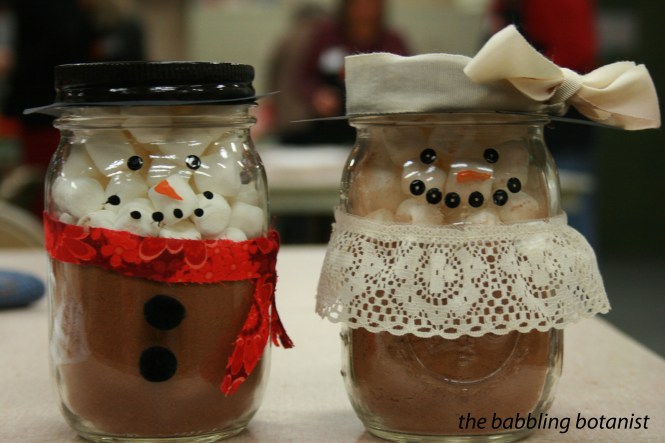
Get creative and have fun with it! All I did was spray paint lids and bands black, draw on a face and glue on some buttons and a scarf and he turned out adorable.

IMG_4765 copy

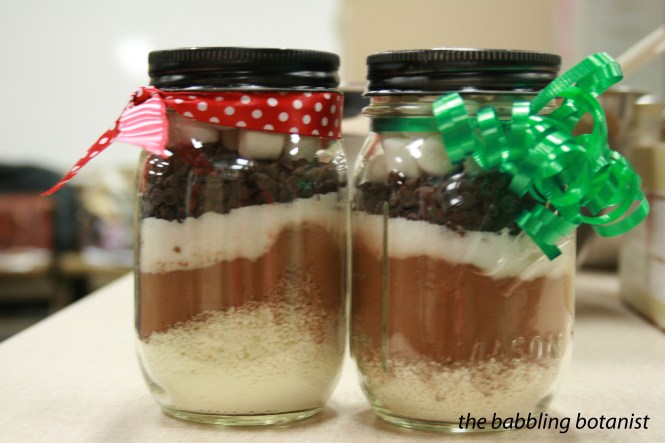
Alternatively, you can make some cute layers in the jar or bag you put it in.

IMG_4740 copy

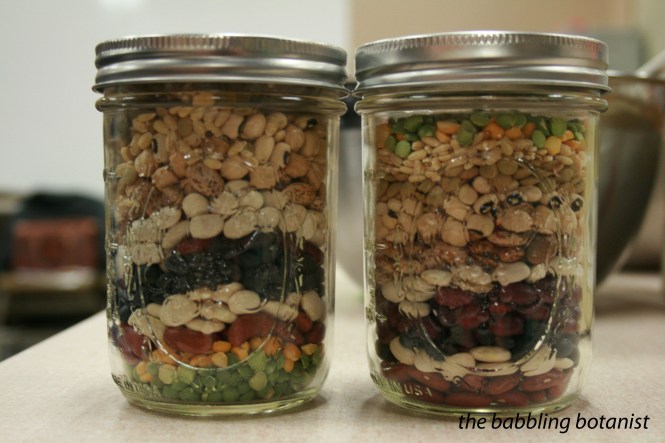
Another station that we did was a dried soup mix. Simply layer a variety of beans in a jar. We did equal parts kidney beans, white lima beans, black beans, garbanzo beans, pinto beans, great northern beans, small red beans, black eyed peas, barley, and then half as much of the split peas and lentils. To fit in one pint jar, you need 1/4 cup of each (about 1/8 for the lentils and split peas). We then also included a spice packet, and here’s an example of what it could contain: 1/4 cup minced dried onion, 2 tbsp dried celery (we dried our own to be even more homemade), 1 tbsp bouillon (vegetable, beef, or chicken), 2 tsp dried basil, 1 tsp dried oregano, 1 tsp ground red pepper, 1 bay leaf, 1 tsp salt, 1/2 tsp black pepper.

IMG_4724

If giving a gift like this, it would also be nice to include some sort of recipe on how you would recommend preparing the soup. Including a recipe such as this one would work great. I prepared the spice packet to match the spices in this soup, but adjust this however you enjoy your bean soup, and share a family recipe or something. Additionally, a nice pairing to a gift like this could be your favourite cookbook. They turn out quite pretty when layered in the jars rather than blended.

IMG_4744 copy

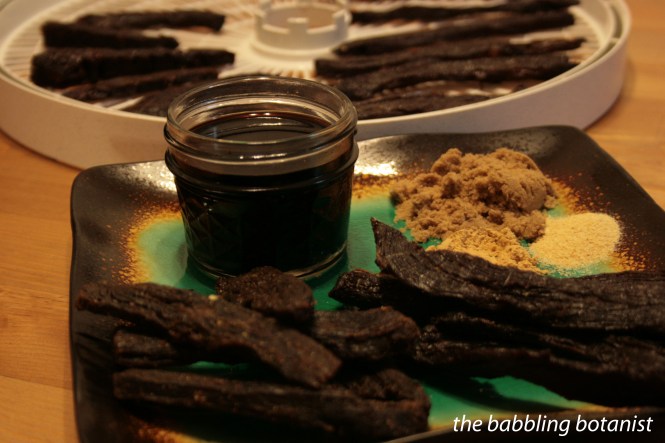
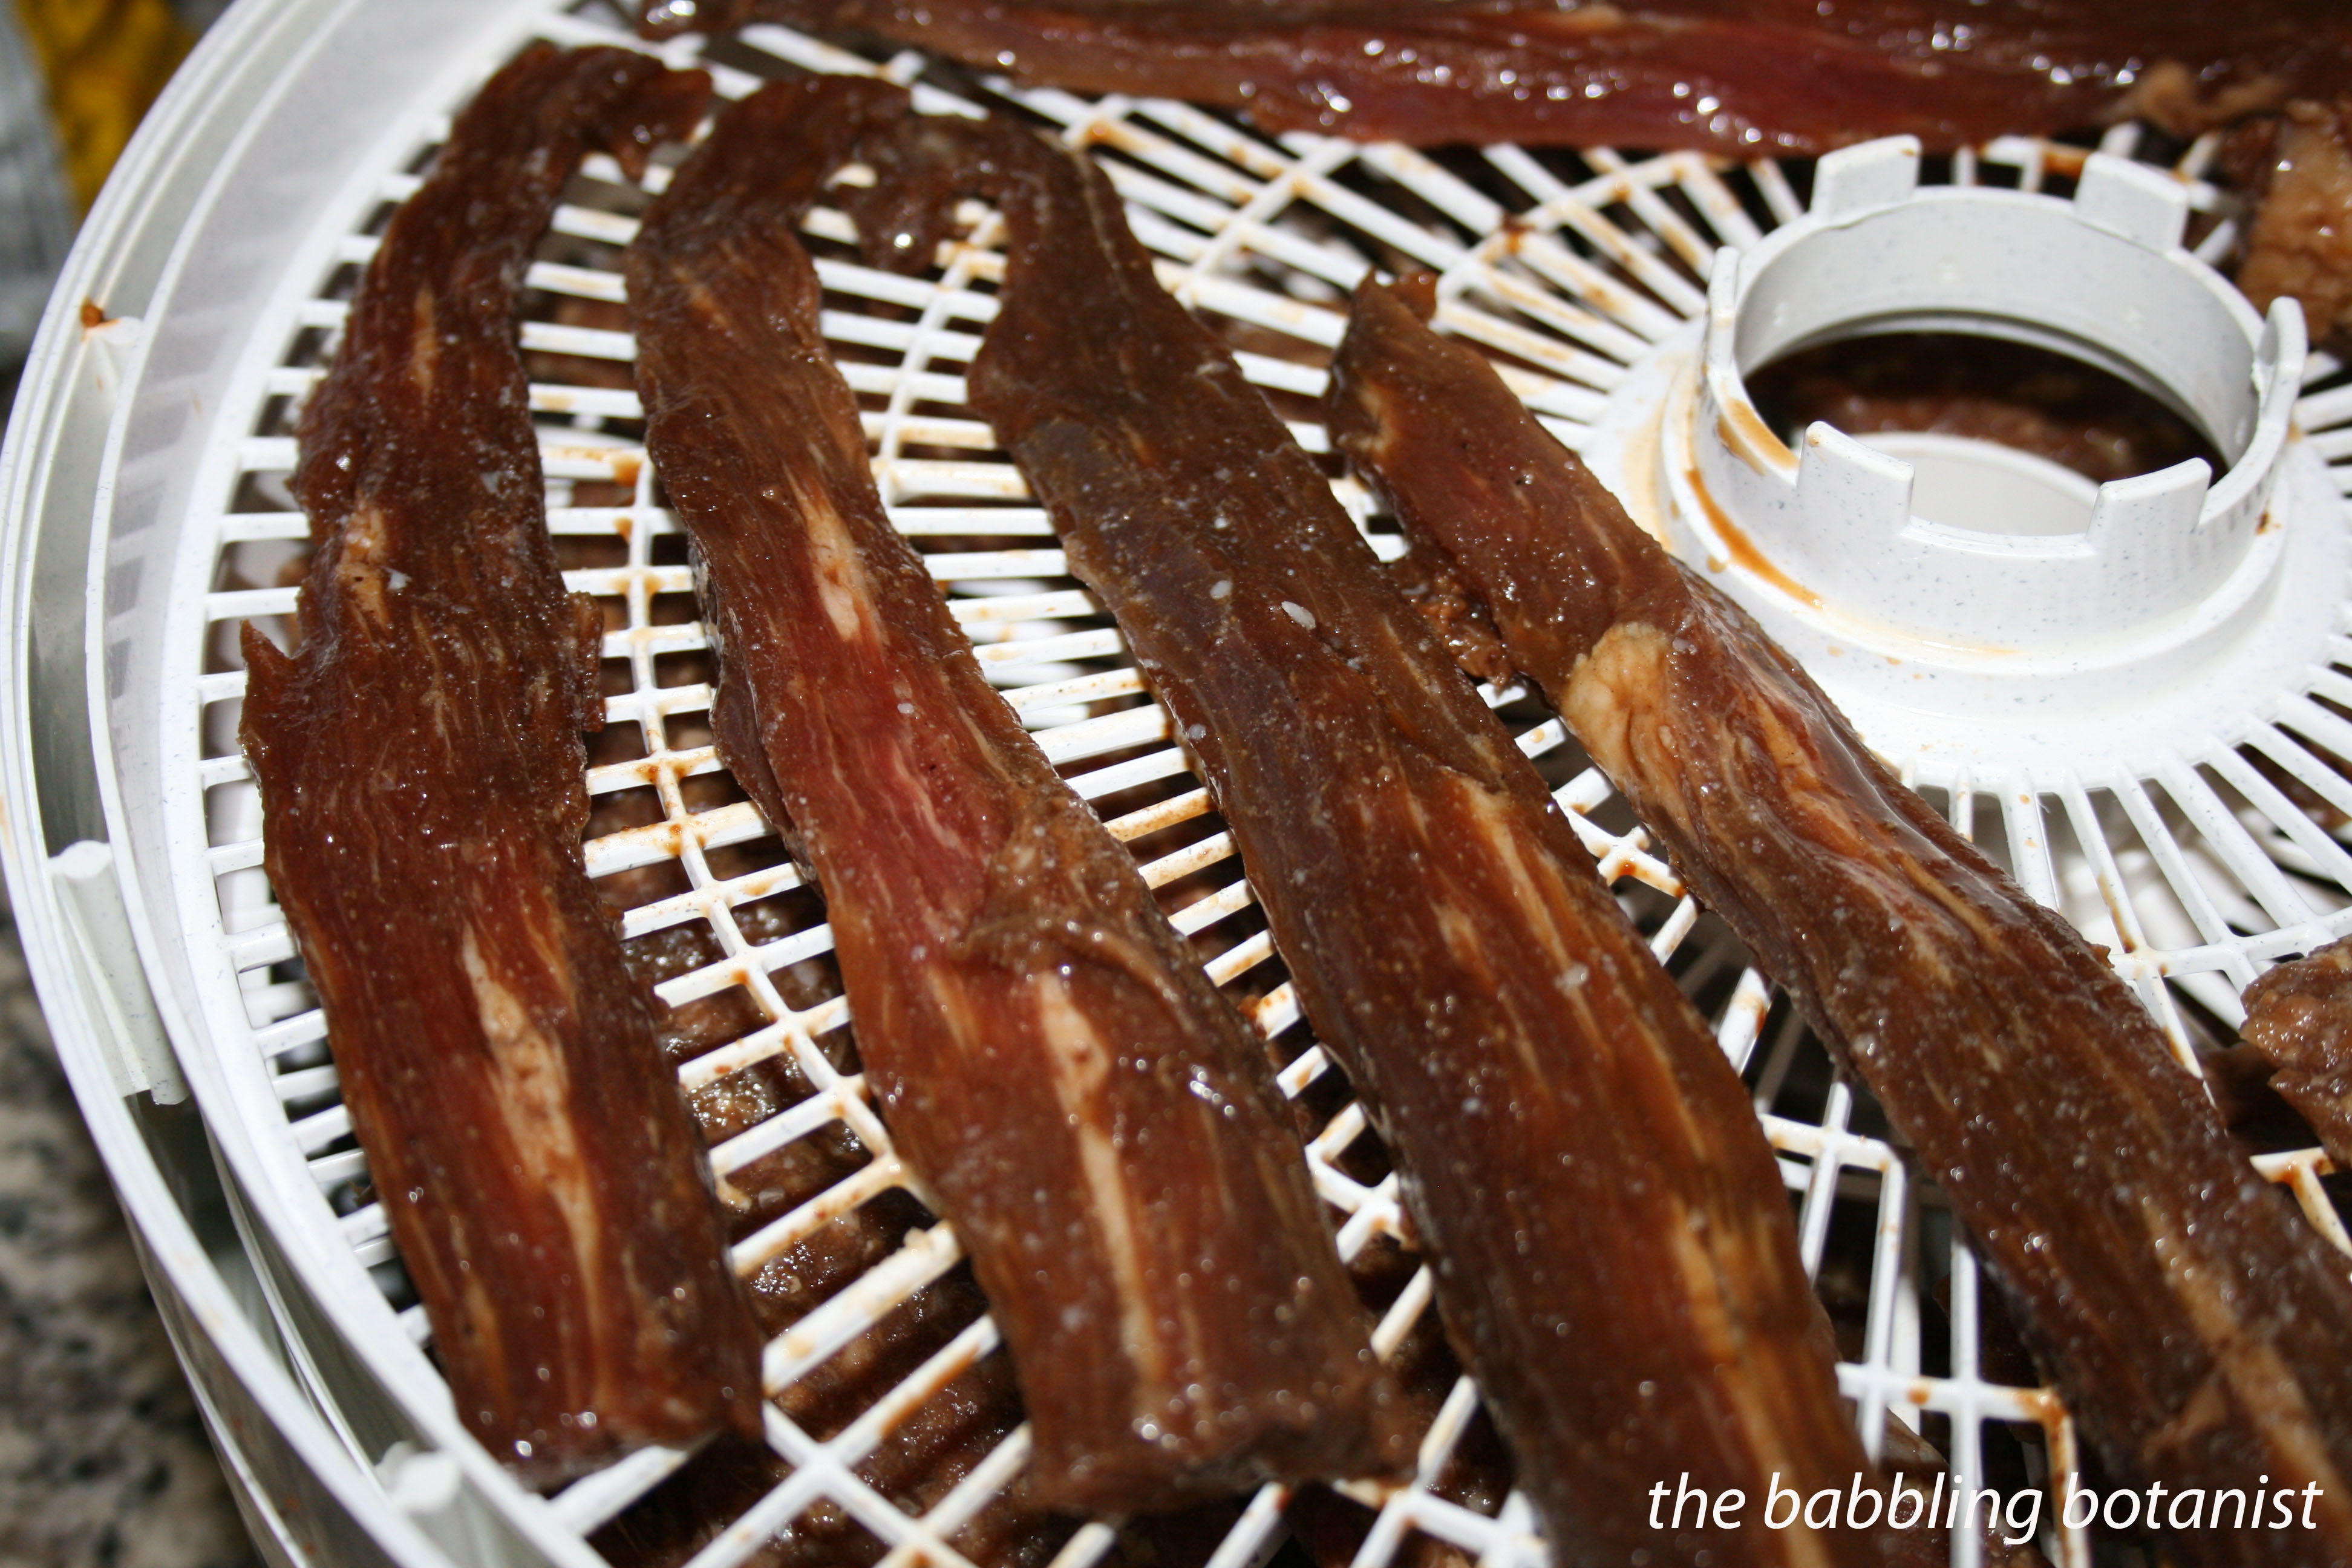
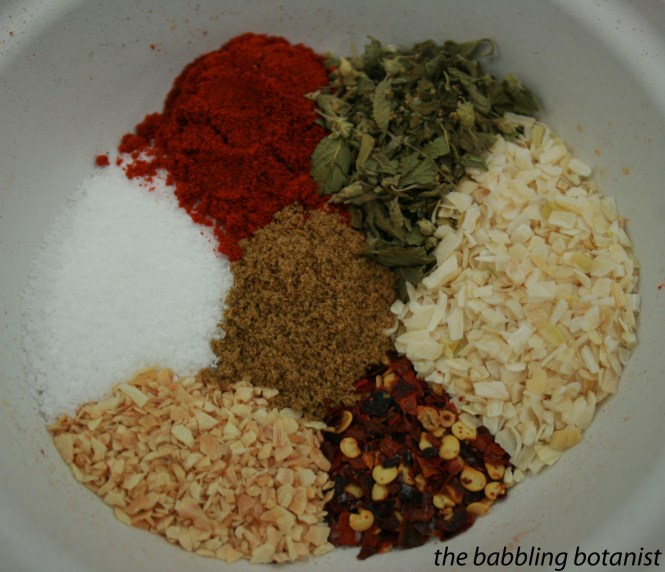
Another station we did was preparing spice rubs. The one pictured is a steak rub adapted from Family Circle Magazine (November 2012). It contains 1 tbsp kosher salt, 2 tsp smoked paprika, 2 tsp dried oregano, 1.5 tsp dried minced onion, 1 tsp dried minced garlic, 1/2 tsp ground cumin, 1/2 tsp red pepper flakes.

IMG_4759

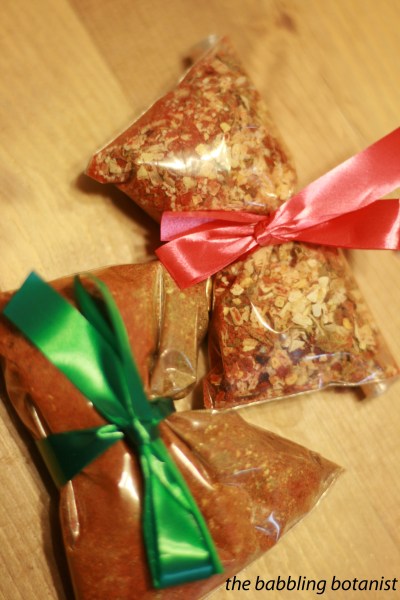
Simply stir all the ingredients together and package it in a cute way, such as in a little baggie or jar with a bow. Be sure to include the ingredient list, and perhaps a suggested usage. For example, Steak rub: rub 1 tsp spice mix onto both sides of a 1.5 pound steak and grill or broil as desired. A great idea for gifting this might be give it to someone who loves grilling, and include a book on grilling along with the homemade spice rubs.

IMG_4757 copy

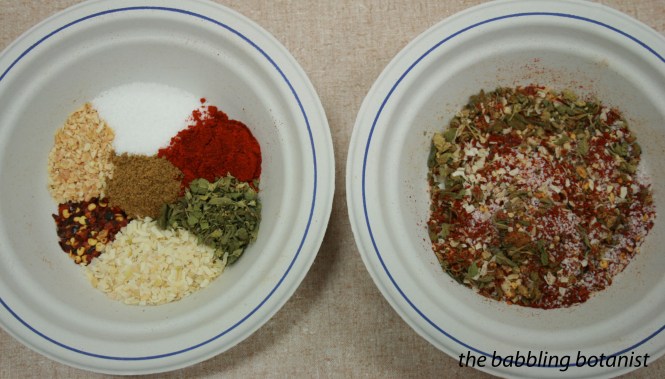
Another rub that we did that is really delicious is a lemon cumin rub. It contained: 1/4 cup ground cumin, 2 tbsp grated lemon peel, 2 tbsp paprika, 2 tbsp ground cardamom, 1 tbsp ground cinnamon, 1 tbsp coarse ground black pepper, 1 tbsp cayenne pepper and 2 tbsp dried oregano. This rub is great on chicken. To prepare, dip meat in a mixture of 1 tbsp brown sugar to 2 tbsp water, then apply 1 tbsp of the rub. Let it stand in the fridge for 4-6 hours, then grill. If you are going to do spice rubs though, it can get a little spendy, so buying in bulk is always a great idea. Use home dried herbs too where you can for an added homemade touch. Some things you won’t have though, and they can be hard to find cheap (or at all) so I really like to get things from Mountain Rose Herbs. They have a huge herb selection and they also have bulk discounts if you are buying a ton. They also have some really fun salts and peppers which could also by themselves make fun gifts. Fill a few different 4 oz or 8 oz jars with a variety of different salts and peppers and decorate them for someone who loves to cook.

IMG_4797 copy

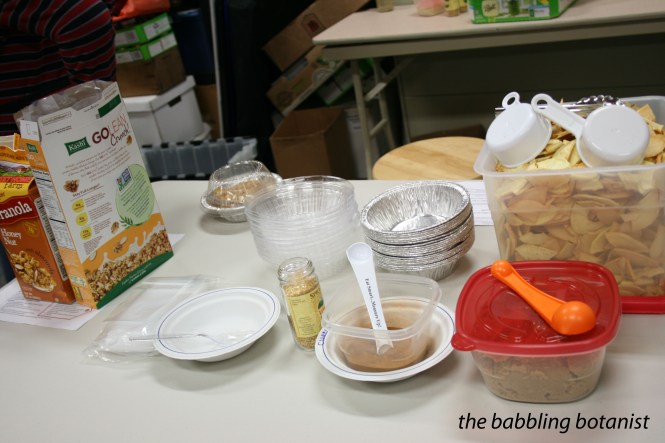
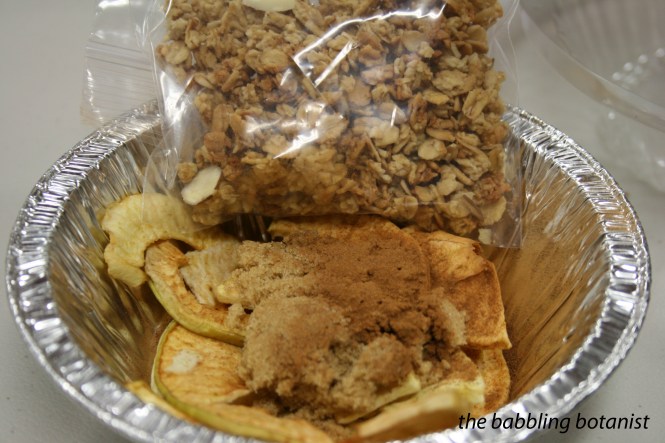
The final station was an apple crumble recipe from The Dehydrator Bible (which itself is a great gift). This is a great gift for a camper and includes 1/2 cup dried apple slices (dry your own at home in your dehydrator), 1 tbsp brown sugar, 1/4 tsp dried lemon zest (optional), 1/4 tsp ground cinnamon, 1/2 cup crumbled oatmeal cookie (or we used granola cereal). Place the oatmeal in one bag and the rest in another, and place in a foil tin for campfire baking. This one only stores well for a month or so, so keep that in mind. To include serving instructions, add a tag that says to serve you will add 3/4 cup of water to the apple mixture, and let stand for 15 minutes. Cook for about 10 minutes over the fire (or on the stove on low) and once apple reach the desired softness, add the cookie crumble and serve. 

IMG_4727 copy

All prepared in its tin.

IMG_4729 copy

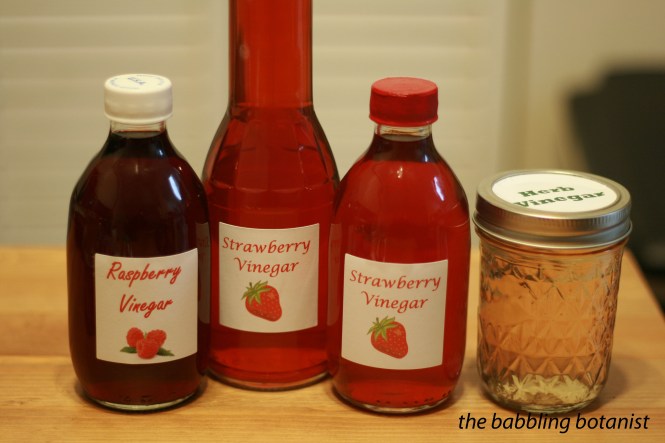
Those are all the gifts from the kitchen that we made in class, but there are numerous other things that you could gift. One example I posted earlier was flavoured vinegar. A lovely pairing to this would be a salad dressing mixer. I have a very similar one to the one linked here (couldn’t find the exact one) and I love it. When I try and mix salad dressing by hand I often find I get too much oil onto my salad and not enough vinegar, so this is one of those silly toys I once bought myself. There are also some fun bottles with recipes on them, but I can’t vouch for the recipes so much because I always make my own with a lot less sugar. 

IMG_4798 copy

Another thing I did last year to give some of my favourite things (with a jar theme of course) was to give people my favourite teas in a ball jar. Pick up some different loose leaf teas from Mountain Rose Herbs, or your favourite local tea shop, and perhaps include a little tea ball with it. OK, that’s all I have for now, and I need to get to bed, so I hope you are feeling inspired! I just wanted to end with a couple of final thoughts for purchasable gifts for the culinarily (ya that’s not a word) inclined people in your life. I really enjoy The Flavor Bible, which is a book full of tons of inspiring flavor combinations. It’s not recipes, but basically a fun index of the best flavor combinations for every type of food out there. It’s inspired a number of great recipes for me and was a great birthday gift last year. Of course for the canners in your life I am always a fan of the classics for safe and tested recipes, which are also of course delicious and amazing: The Ball Complete Book of Home Preserving, or the smaller Ball Blue Book. Or the newly released (I just got it finally yay!) So Easy to Preserve. Last but not least, my second favourite way to preserve is dehydrating, so I would recommend both dehydrators and The Dehydrator Bible as excellent gifts. Happy gifting, thanks for reading, and enjoy your cyber Monday! Remember as always if you purchase something from one of my links I’ll receive a small amount of commission in return (see “About the Blogger” for more info), but as always I only link to products I love and truly recommend so I thank you in advance if you decide to invest in any of these items.

Dehydrating Tomatoes

This year has been amazing for tomatoes in the Pacific Northwest. I am really sad for those of you who haven’t had a great season, but here we certainly have. Come visit and I’ll share with you. 🙂 One thing that I love to do with my tomatoes when they are coming in faster than I can process them for canned goods is to dehydrate them. This is great for tomatoes that are getting pretty ripe and you won’t be able to can, and I really love doing grape or cherry tomatoes. They require very little preparation and make a delicious and nutritious snack.

IMG_4258 copy

To dehydrate your tomatoes, you are welcome to blanch and peel them if you like, but I really don’t see it being worth the time and effort. Peels are delicious too. My favourites to dehydrate are romas and cherry tomatoes. For the cherry tomatoes all I do is wash them, cut a tiny sliver off the core end, then cut them in half. I like to place them cut side up, peel side down, so that they make less of a mess on the trays. For romas I wash them, core them, and cut them in 1/2 to 3/4 inch slices and place them on the tray. And again, if you don’t have a dehydrator, this one is the one I have, and I really have enjoyed it so far.

IMG_4262 copy

Tomatoes should be done at 135 – 140 F in the dehydrator, and will take between 10 -18 hours to dehydrate. I have been cutting them up a few hours before bed and letting them go over night, which is working out quite well. In about 14 hours they are about where I like them, with 4 full trays. They should be a bit leathery but not moist at all.

IMG_4268 copy

Four full trays when dehydrated will make a little less than a quart of delicious little snackies! I find the best way to store them is in a mason jar with a reusable lid. They don’t last long, so I’ll be making a few more batches! mmm mmm good.

IMG_4274 copy

*this post contains affiliate links, please see the “About the Blogger” page for more information

Zucchini Chips

Are your zucchini exploding out of control? Are you overwhelmed? Need a solution? Try making dehydrated zucchini chips!

Haha. Yes, I meant for that to sound like an infomercial.

Making zucchini chips is so easy and it really makes a great use of your excess, because they keep for a long time once they are dry and compress down a lot for storage. All you need to do is cut them up in evenish slices, which is much easier with a mandolin. Arrange them on your dehydrator trays without overlapping.

IMG_4059 copy

For this, I used two medium large zucchini to fill 4 dehydrator trays. Spice the zucchini if you would like. Here I salted them and added cayenne. Don’t add too much though, they are really hot the way I made them! I’ve also seen people toss the slices in a bowl with a bit of olive oil, salt and pepper before drying, which would be super delicious also.

IMG_4061 copy

Dry the zucchini at 135-140F. I like to dry them until they are pretty dry and crispy but some people like to leave them a little moister, so it’s really up to personal preference. Dried until the are still slightly pliable is most people’s preference.

IMG_4063 copy

Store in an airtight container. This is two zucchini, four fully loaded trays and they don’t even fill one quart jar. Eat and enjoy!

IMG_4100

Want to make this but need a dehydrator? I have this one and love it.

*this post contains affiliate links, please see the “About the Blogger” page for more information

Master Food Preserver Class – Week 6

I was a little sad that by week 6 of my Master Food Preserver class we were done with canning. Maybe that’s why it’s taken me so long to write this post 😉 But actually, I learned a lot about dehydrating fruits and vegetables, which was great because it is something I have a little less experience with doing at home.  Some of the fun things we either made in class or they had for demos are pictured below. From left to right we have: figs, green beans, tomatillos, canned apples that were dried, strawberries, zucchini, and regular apples.

IMG_3235

One awesome thing about dehydrating is there are not too many safety concerns, as with canning. Things are more flexible, such as how large you want to cut pieces of food and how long you want to dry them. Now they should be sufficiently dry, but there is still a bit of flexibility there. Microorganisms and enzymes require water, so when you dehydrate food, you make conditions that are not favourable for food spoilage. It has been shown that pathogens can survive the food drying process, but there are actually no documented cases of people becoming ill from home dried foods, so it is a pretty safe preservation technique. You can also pretreat fruits with either an acid solution (citric or ascorbic acid), or sodium metabisulfite, and blanch vegetables to reduce this risk even further. Also, let’s keep meat in the back of our heads as a side note. Today I’m referring to drying fruits and veggies, and week 7 we talked more about drying meats, which have a couple safety steps that you need to remember.

Fruits and veggies can be dried using a dehydrator, your oven, solar dehydrators, or many things like herbs can simply be air dried. Commercial dehydrators, like this one which I have, can be a worthwhile investment if you are going to do a lot of drying. Using your oven often creates a lower quality product, partially because ovens are not really designed for the low temperatures at which you normally would dry things. The oven will also take longer and use more energy than a dehydrator.

Here are a few things we made in class.

Strawberries.

IMG_3246 copy

Tomatillos.

IMG_3232 copy

And what they look like after they’ve been dried. Janice described them as a tart, sweet surprise. Perfect description!

IMG_3230

So how does the nutrition of dried foods compare to fresh? One of the things that does become diminished in drying is the vitamin C, and this is because it is a water soluble vitamin, and drying eliminates much of the water content of the food. Doing pretreatments of fruit, such as the ascorbic acid dip, helps to reduce nutrient loss, preserves colour and flavour and increases the quality and storage life of dried foods. As an example of these pretreatments, fruits can be dipped for 10 minutes into pure pineapple, orange or lemon juice, or a mixture of 1/2 teaspoon ascorbic acid per quart of water. To destroy more of the pathogens and be extra safe, this can be increased to 8 teaspoons of ascorbic acid per quart of water. Be sure not to over soak the foods, or nutrients can end up being lost, and drying time will increase. For many vegetables, you should blanch as a pretreatment, just like when freezing, to destroy enzymes. Different vegetables should be blanched for differing amounts of time, but in general they should remain firm but still be tender. That can be hard to gauge, so look up blanching times and other awesome information in this great extension service publication found here

One of my favourite ways to dehydrate is by making fruit leather, such as this strawberry fruit leather I posted recently. Fruit leathers have a few advantages. First, I love the reduced amount of chopping. Slicing strawberries, like pictured above, and drying those, is a heck of a lot more effort than pureeing in a blender and pouring on a tray. You do need the extra trays, however, but I think they are worth the investment. I prefer the texture somewhat as well, because fruit leathers are done when they are still a bit tacky, and not brittle.

In class we made “pizza leather” which is 15oz of stewed tomatoes, 8 oz of tomato sauce, and dried herbs on top. It is a pretty tasty snack.

Spreading tomato sauce out for the pizza leather.

IMG_3217 copy

And once it is done. I think it would be delicious slapped on a toasted English muffin with some mozzarella cheese. mmmmmm.

IMG_3248 copy

Vegetables can be great to dehydrate to later use in things like soups. For these, we pretreated the celery by blanching for about a minute, but we did not treat the zucchini or onions.

When you want to use dehydrated vegetables, some times you will want to rehydrate them first. Soak them in 1.5-2 cups of water per cup of dried vegetables, and add more if needed. They should plump to the size before they were dehydrated. They can also just be put straight into soup or stew and rehydrate in the broth.

IMG_3220 copy

Zucchini chips are a great way to use up excess zucchini. You know that you will be rolling in it soon! My first one is about ready to harvest.

IMG_3224 copy

Dried green beans. Yup, just randomly inserted here because they were pretty.

IMG_3226

Dried foods should be stored in air tight, food grade storage containers. Canning jars are pretty great for this if you already have a lot on hand. Some times though, little critters can still get in there. Ewwww. Obviously, discard something this nasty.

IMG_3244 copy

And finally, our bounty of dried foods. It’s crazy how much things shrivel down. OK, now I am hungry. Time for some lunch.

IMG_3558 copy

*this post contains affiliate links, please see the “About the Blogger” page for more information


Strawberry Fruit Leather

Lately in the field I have been eating basically peanut butter and jam sandwiches and granola bars, so I needed some new snacks to mix it up a bit. With strawberry season in full force, this strawberry fruit leather did just the trick. All I did for this leather was puree strawberries in a blender. No added sugar, no added nothing. You can certainly sweeten to taste with a bit of sugar or honey if you like, but I don’t really think it’s necessary.

IMG_2916 copy

How to make it! First, wash, hull and puree the berries.

IMG_2925 copy

Pour the puree onto the fruit leather trays. Unfortunately most dehydrators come with either none or one of the fruit leather trays. But they aren’t too expensive, so I bought 4 more.

IMG_2926 copy

Deydrate the fruit leather at 135-140F. My manual says it should take 4 – 8 hours. I’ve done a couple batches now with 5 full trays and it took about 8 – 10 hours. The only real issue I had was a bit of cracking. Around the crack I had a bit of “case hardening,” which is when you get the outer layer drying, but the middle is still wet. I just kind of punctured it and smeared it into the crack. I think this could be avoided by not pouring such a quite thick layer of puree. Perhaps.

IMG_2937 copy

Almost dry but a titch cracked.

IMG_2935 copy

You can tell that it’s done when it is a bit tacky still and not yet brittle. Watch carefully when it is almost done so that you don’t over cook it. It will also be a little more brittle once it cools, so if it seems nearly done it might be, so cool it and check that it’s ready. Once it’s ready, tear it or cut it into pieces. Deeeelish.

IMG_2941 copy

Store in a plastic bag or whatever you like at room temperature. It will keep quite a while, but I bet you will gobble it up pretty quickly.

IMG_2943 copy

*this post contains affiliate links, please see the “About the Blogger” page for more information

Carrot pulp crackers – save that juice waste!

For all you juicers out there who feel like you should be using that leftover pulp for something after you drink your delicious juice, this post is for you! Or, if you are just looking for a healthy cracker but don’t juice, shred up some carrots or other veggie for this recipe.

One thing that I hadn’t done yet with my juicing was to use the leftover pulp for something. I compost it, but it always seems kind of nasty and unappealing to me. Especially when I juice a bunch of things that are all mixed in there together, with chunks of peel and celery string that got caught. Eww. So I decided to brave just using the carrots first for crackers. I juiced all my carrots, set the pulp aside, and then juiced the rest. I recently had talked to a friend about making crackers from the pulp using flax or chia seeds, so I did a quick google search, found a few somewhat similar to what I was thinking, and made up a recipe – so here is what I came up with. Feel free to use whatever type of seed you like or whatever type of flour. Chia seeds are super good for you, so this seemed like a great way to eat them. Make these crackers gluten free if you want by blending up flax seeds, or using quinoa flour or something! Enjoy!

IMG_1826

Ingredients:
3 cups carrot pulp
1/3 cup flour
2 tablespoons chia seed
2 tablespoons sesame seed
1-2 tablespoons olive oil
1 or more teaspoons garlic powder
1/2 teaspoon salt
1/2 teaspoon pepper
1/2 teaspoon paprika

Here’s what I did:
Juice a bunch of carrots and save the pulp. Mix it with all the other ingredients. Definitely spice it to taste with whatever you like, I think it could use more salt or more garlic powder.

IMG_1752 copy

Spread it out on a plastic dehydrator tray. Flatten down with the back of a spoon.

IMG_1759 copy

Dry at 135 F for 6 or so hours, until it is dry. I think it was around 6 hours for me with only one tray full, so it will be longer if you make a thicker layer or do multiple trays. I think the best way to do these would be to buy more dehydrator trays (those plastic inserts for fruit leather and what have you) then save a few days of pulp in the freezer and make a bigger batch. I have this dehydrator, which I am super happy with, but if you don’t have one, try this on the lowest setting in your oven.

IMG_1791 copy

Mmmm crispy crackers. Break them up into pieces and eat. They are good with hummus as in the first picture above 🙂 Next up I’d like to try some different spice mixes and maybe make them with beet pulp for a pretty purple cracker!!

IMG_1792 copy

Do you use your pulp when you juice? I’d love to hear about more ideas!


Cranberry Fruit Leather

For anyone who read the cranberry juice post and was wondering, “did she just throw out the cranberries?” Here is your answer: no! I made fruit leather!

Step one: blend the leftover cranberries with a little water. This can of course be made of other pureed fruits and berries as well – be adventurous!! You can add a little sweetener if you like too.

20131025-225013.jpg

Grease a fruit leather tray a little and pour on the fruit puree.

20131025-225036.jpg

Place in the dehydrator at 135F for 4 or so hours (until it is dry enough to lift up but still a little tacky to the touch).

20131025-225102.jpg

This example is a little overdone but still tasty, check it frequently when it’s near done. Peel off pieces and eat! So tasty!

20131025-225202.jpg