Ball FreshTech Canner – Not Just for Canning Anymore

IMG_2902

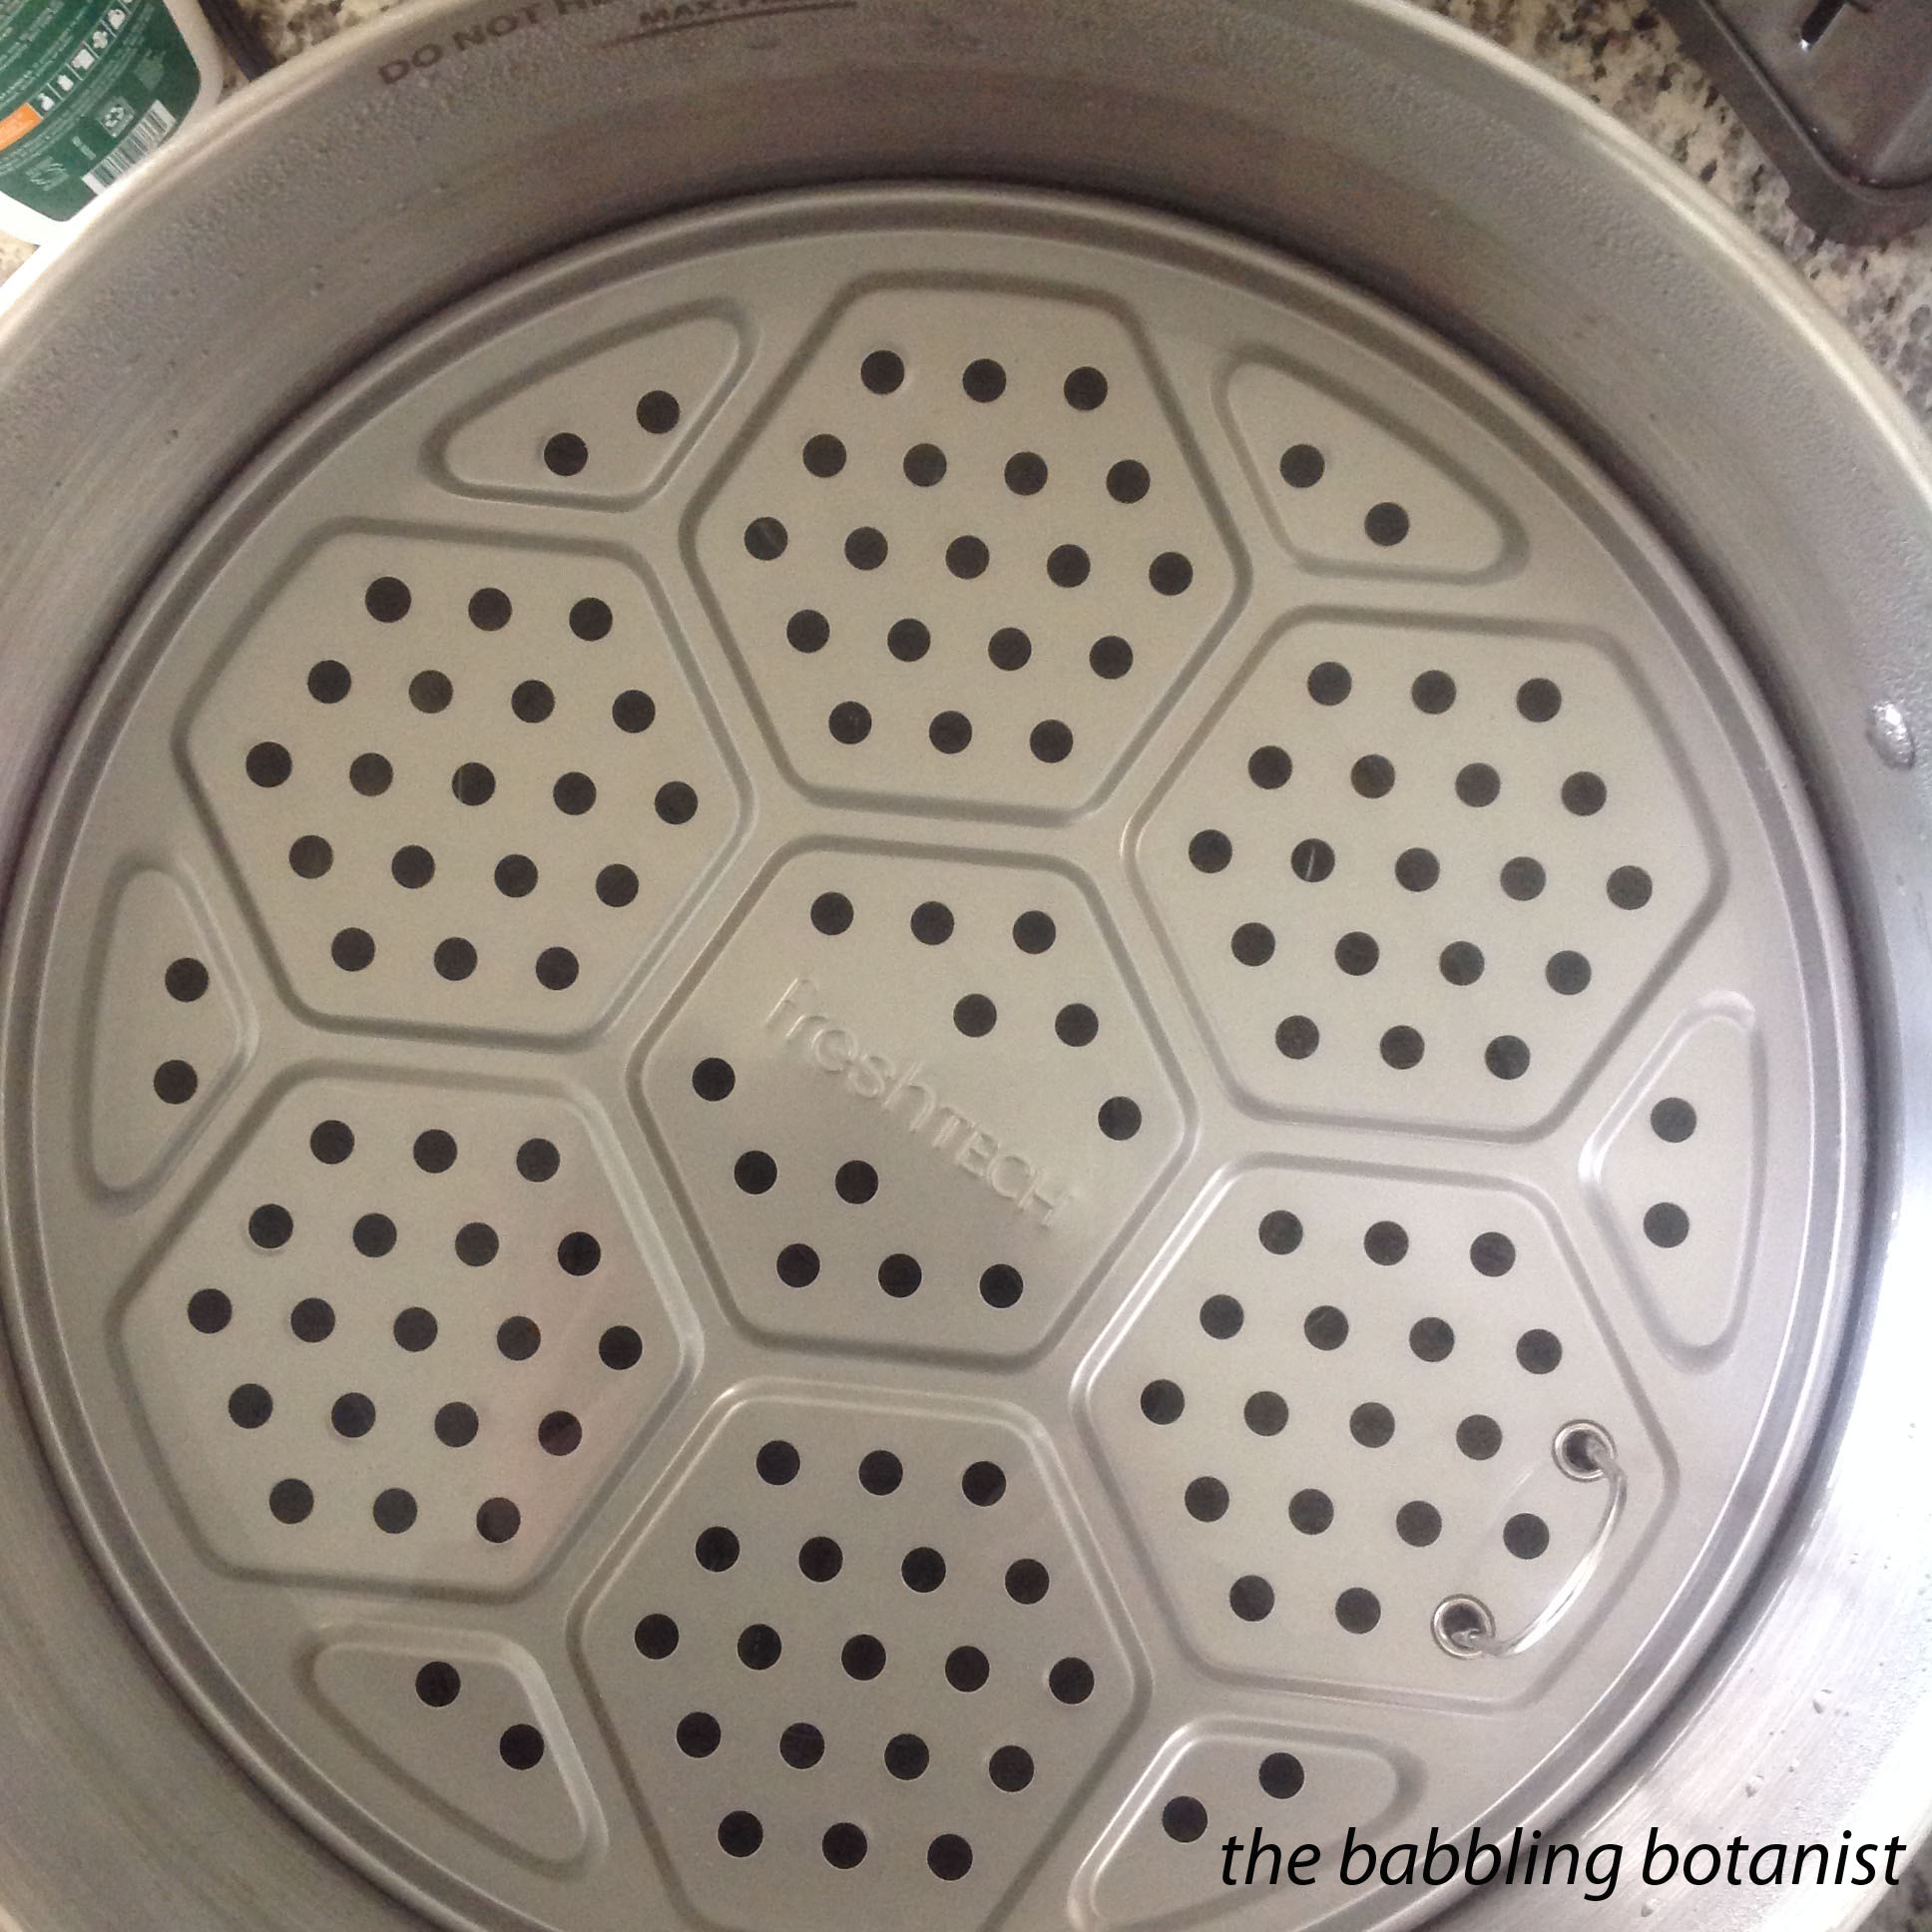
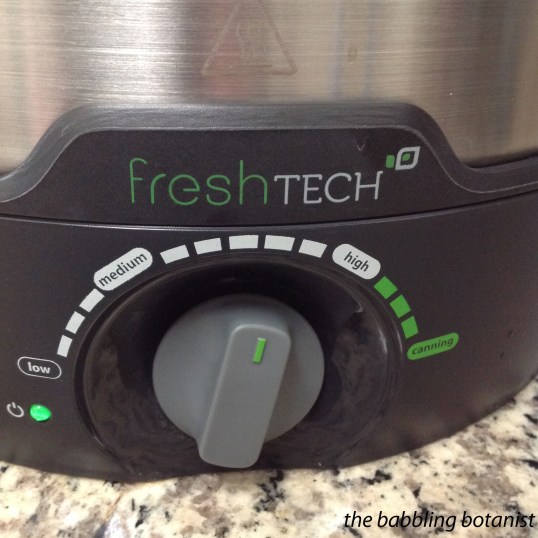
When Ball put out their FreshTech electric water bath canner this year, which I previously reviewed here, they also advertised it with some additional uses, beyond just using it as a canner. I thought I would probably just use it for canning, and those other uses were just a good marketing idea, but I’ve actually come to use it for quite a few other things so thought I’d share some of them with you in case you’ve been on the fence about buying one. Ball’s suggestions mostly revolve around making a big batch of something – which makes sense, a lot of us don’t have another pot this big, so it is good for a big batch of whatever you are making. It also comes with a steaming rack for steaming vegetables, but to me unless you are steaming a whole lot, using this giant pot maybe isn’t ideal. My ideas for it mostly revolve around the fact that it’s very easy to get the canner to stay at a set temperature. Unfortunately the dial doesn’t have temperatures on it, so if you want to know the exact temp you need a thermometer (this is the one I use most often), but it does maintain pretty much whatever temperature you are interested in. So here are some of my uses for it!

ball-canner-dial1

BEER!

Now if you are a pro, making all grain beer and being all fancy like, you probably won’t agree with this one, but I think the canner is awesome for making beer. Why? Well if you are making beer from malt extracts and a smaller amount of specialty grains, usually what you do is first steep some grains at around 170 F, then add the extract and bring your wort to a boil. Using my electric stove top, I often find myself overshooting the steeping temperatures, but using the canner has been much easier. Why? Because of the way the canner burner pulses on and off to maintain the temperature. Additionally, I just left the canning rack in the canner, and set my grain bag full of grain on top of it so I didn’t have to worry about it touching the bottom and melting or burning. Once you get your wort to your steeping temperature, turn the heat down until you hear the burner turn off, then it will just come back on in short bursts necessary to maintain that temperature. Worked like a charm. Then you have two options when you are done steeping. Either boil the wort also in the canning pot, or if you want to use your larger brew pot simply put it under the spout of the canner, open the spout and sparge your grains. Either way works great! And many of the “mini-mash” recipes that I have followed actually only tell you to boil about 3 gallons of the wort and top it off at the end anyways, so this is a great option for those recipes and for beginners not ready to invest in more equipment. Last time we brewed, we actually made one batch in the brew pot we have, and one in the canner because there is very little active time involved it was great – two brews in the same amount of time as one!
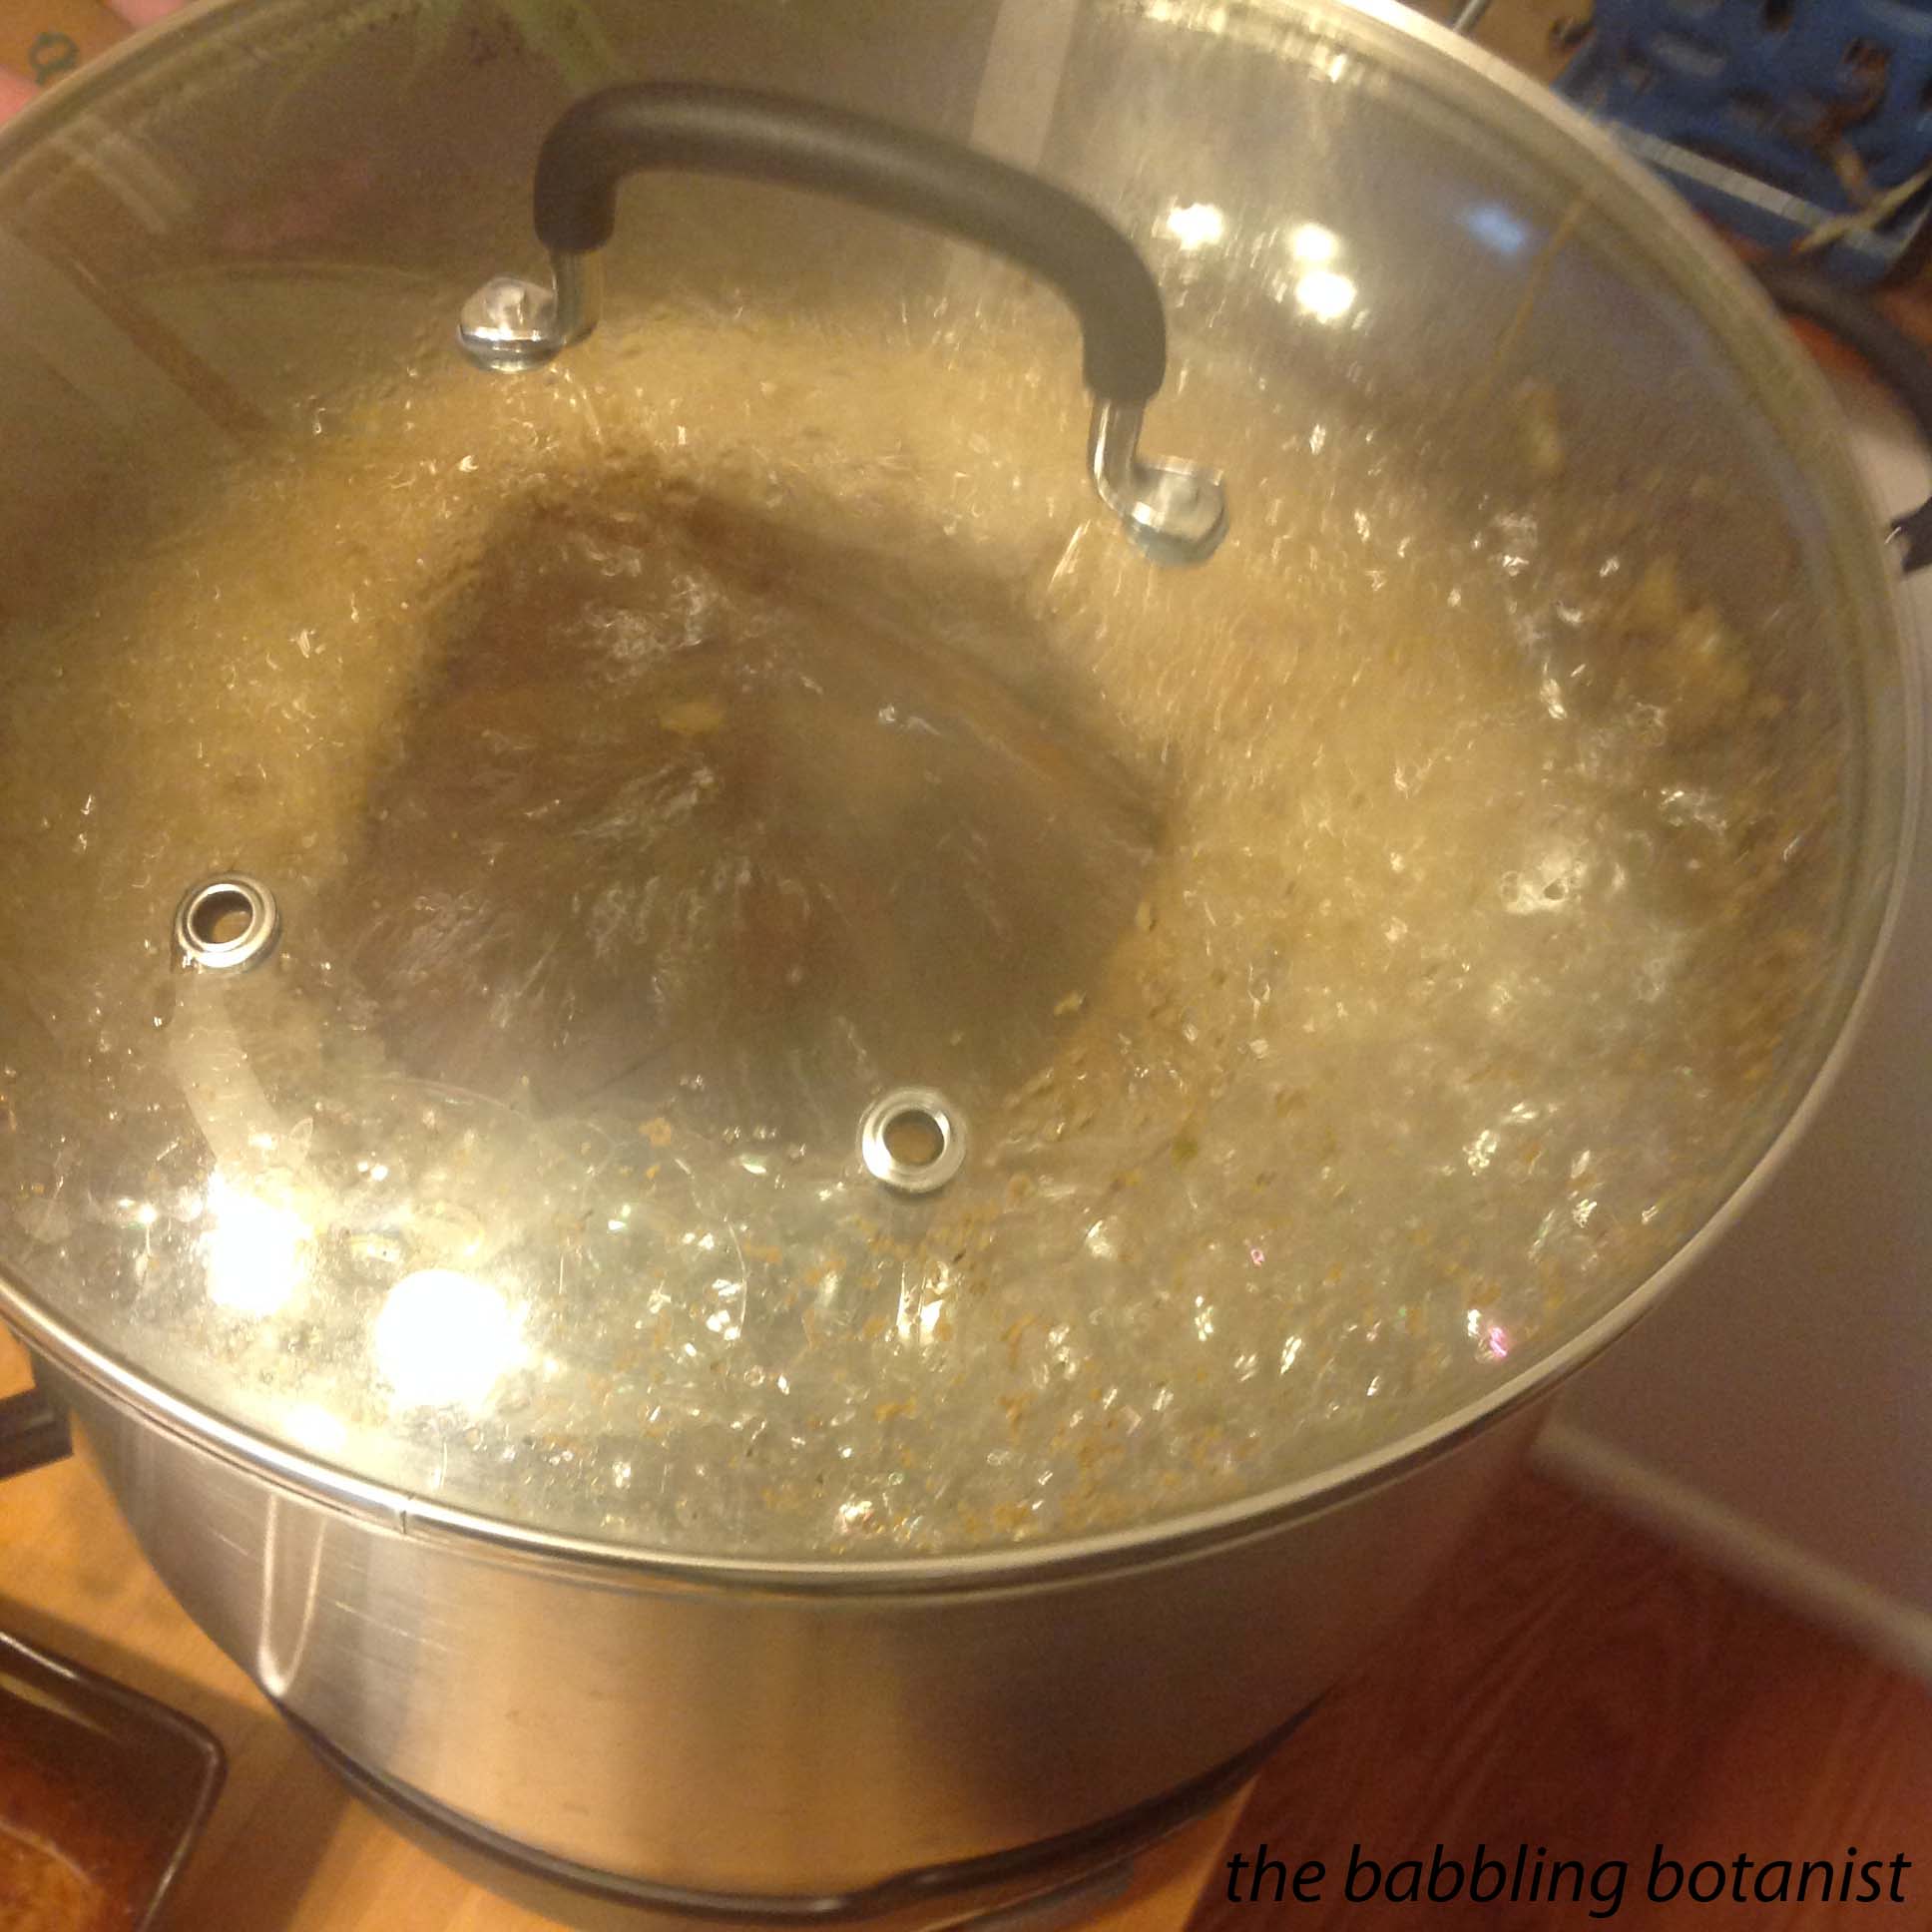
IMG_3062

Mmmm wort.

IMG_3206

 Making Stock

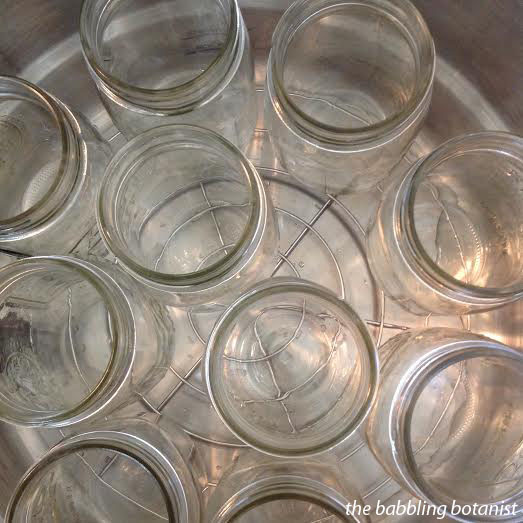
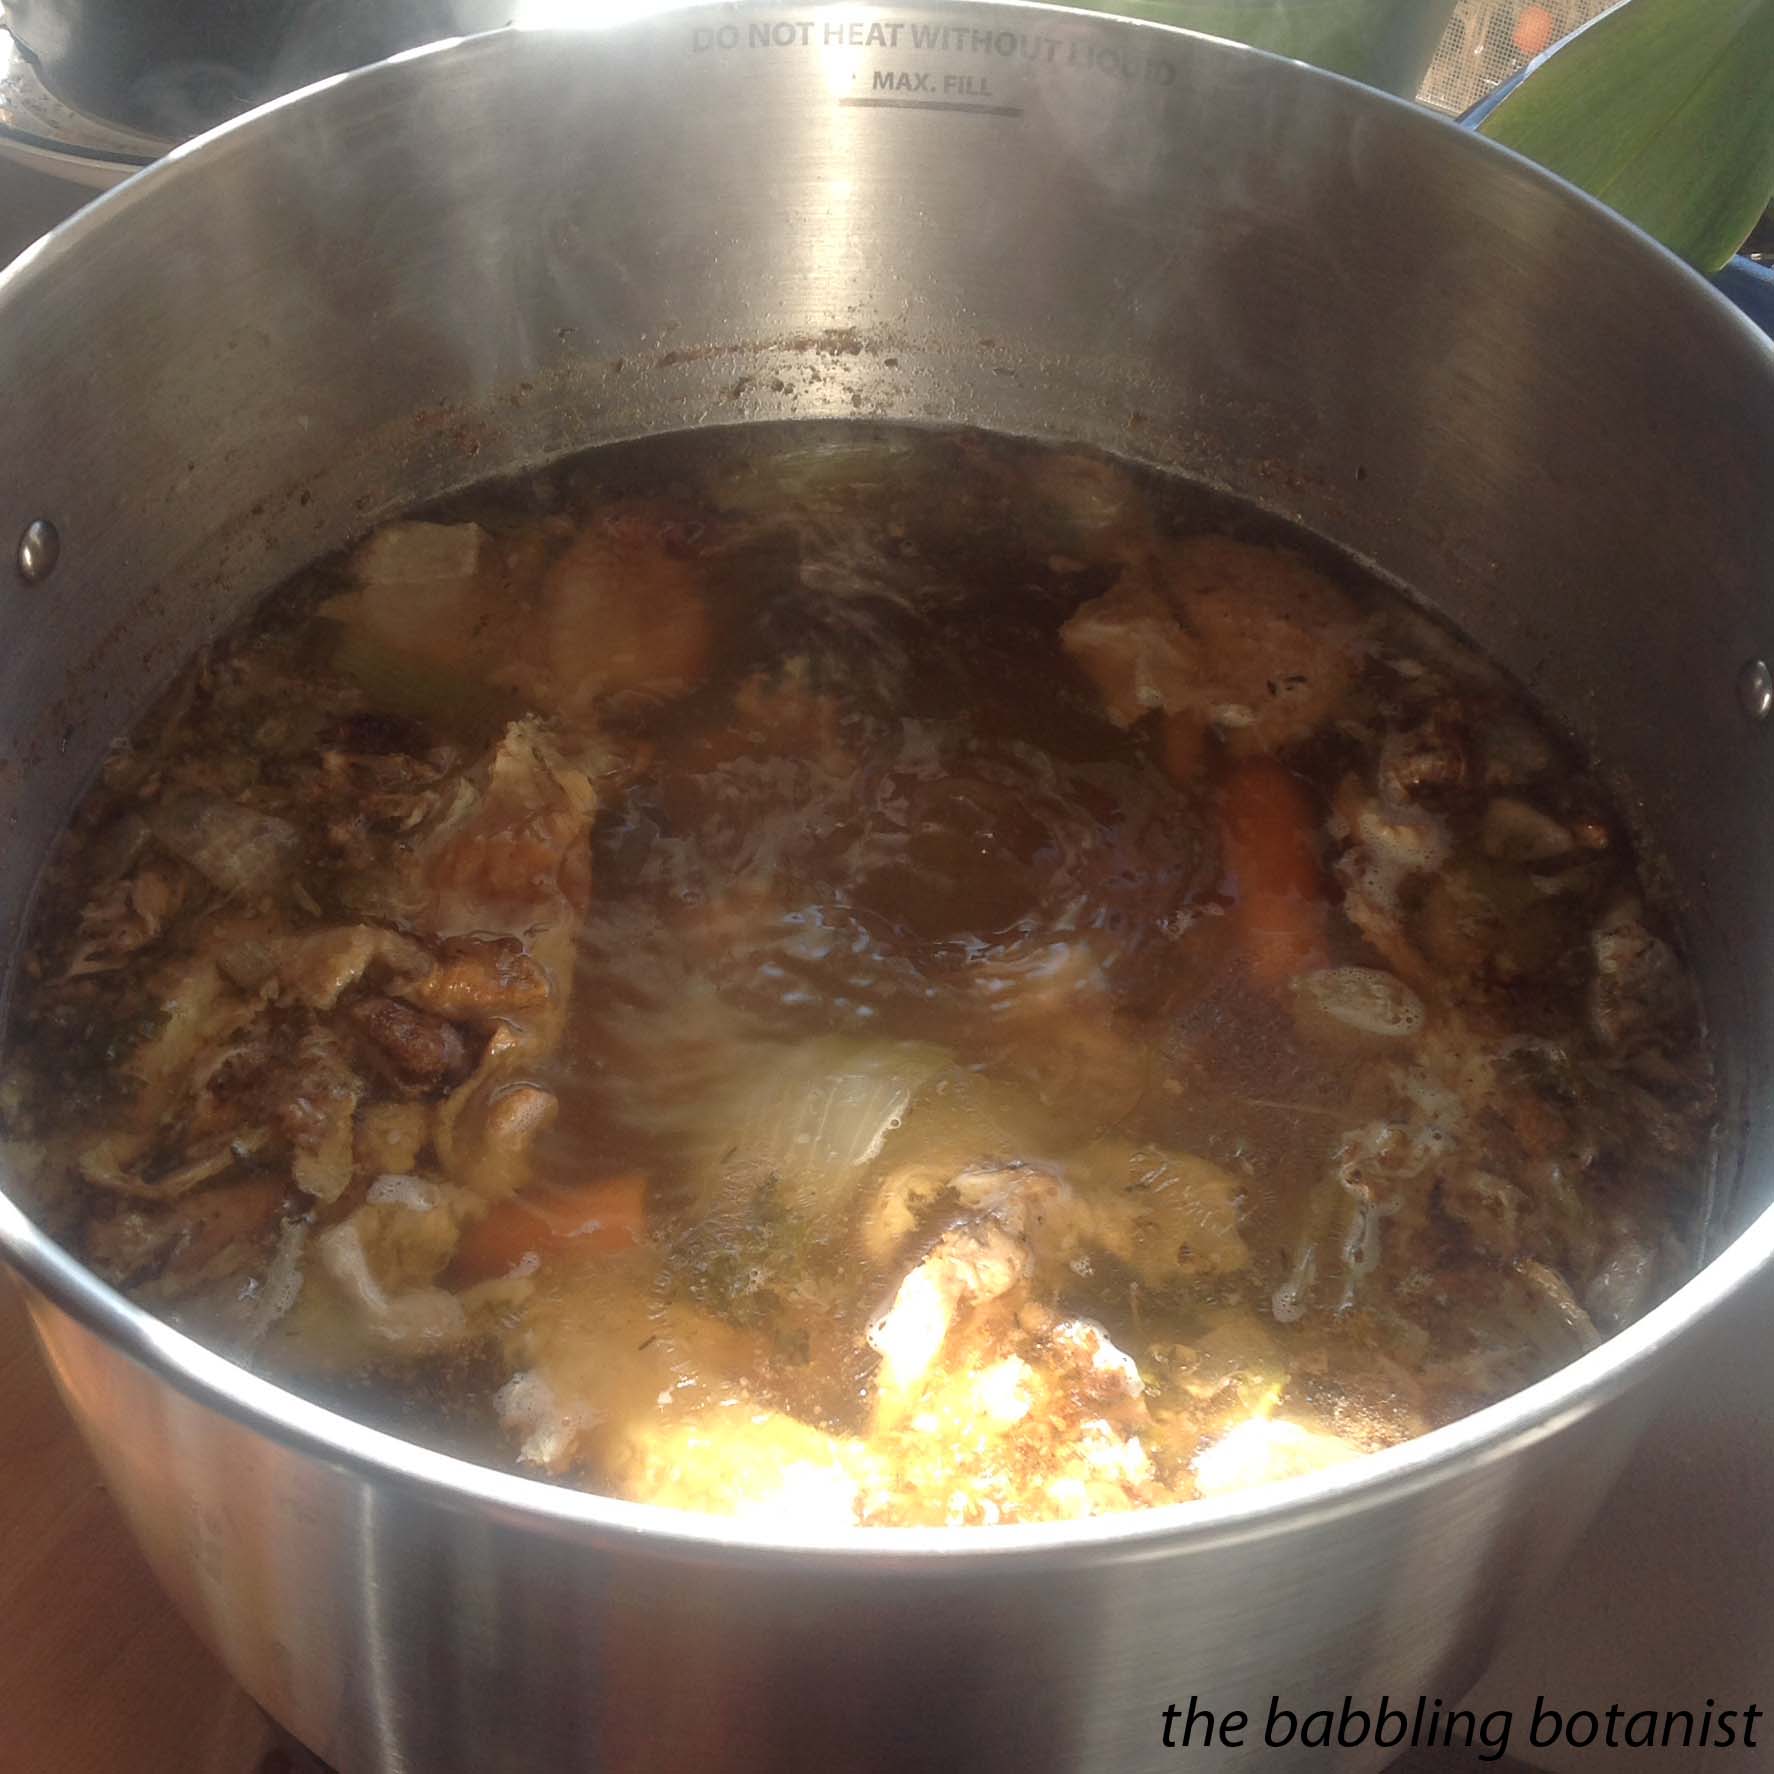
After thanksgiving I froze the turkey carcass to make stock with, and decided to do it with the canner this year. I am quite happy with how it turned out! I was a little concerned with whether anything would burn to the bottom (which it didn’t at all) so to be safe I actually left the rack in the canner, filled it with my bones and bits of meat, carrots, onions, celery and spices, and covered with water. Similarly to the way I’ve made stock in the crock pot before, I actually didn’t boil a ton of the water off, but rather let it just cook on a hot but not boiling temperature. I made sure that there was a ton of water in there so there was no chance of it cooking all off, and left it cooking for a full 24 hours. Turned out super well!
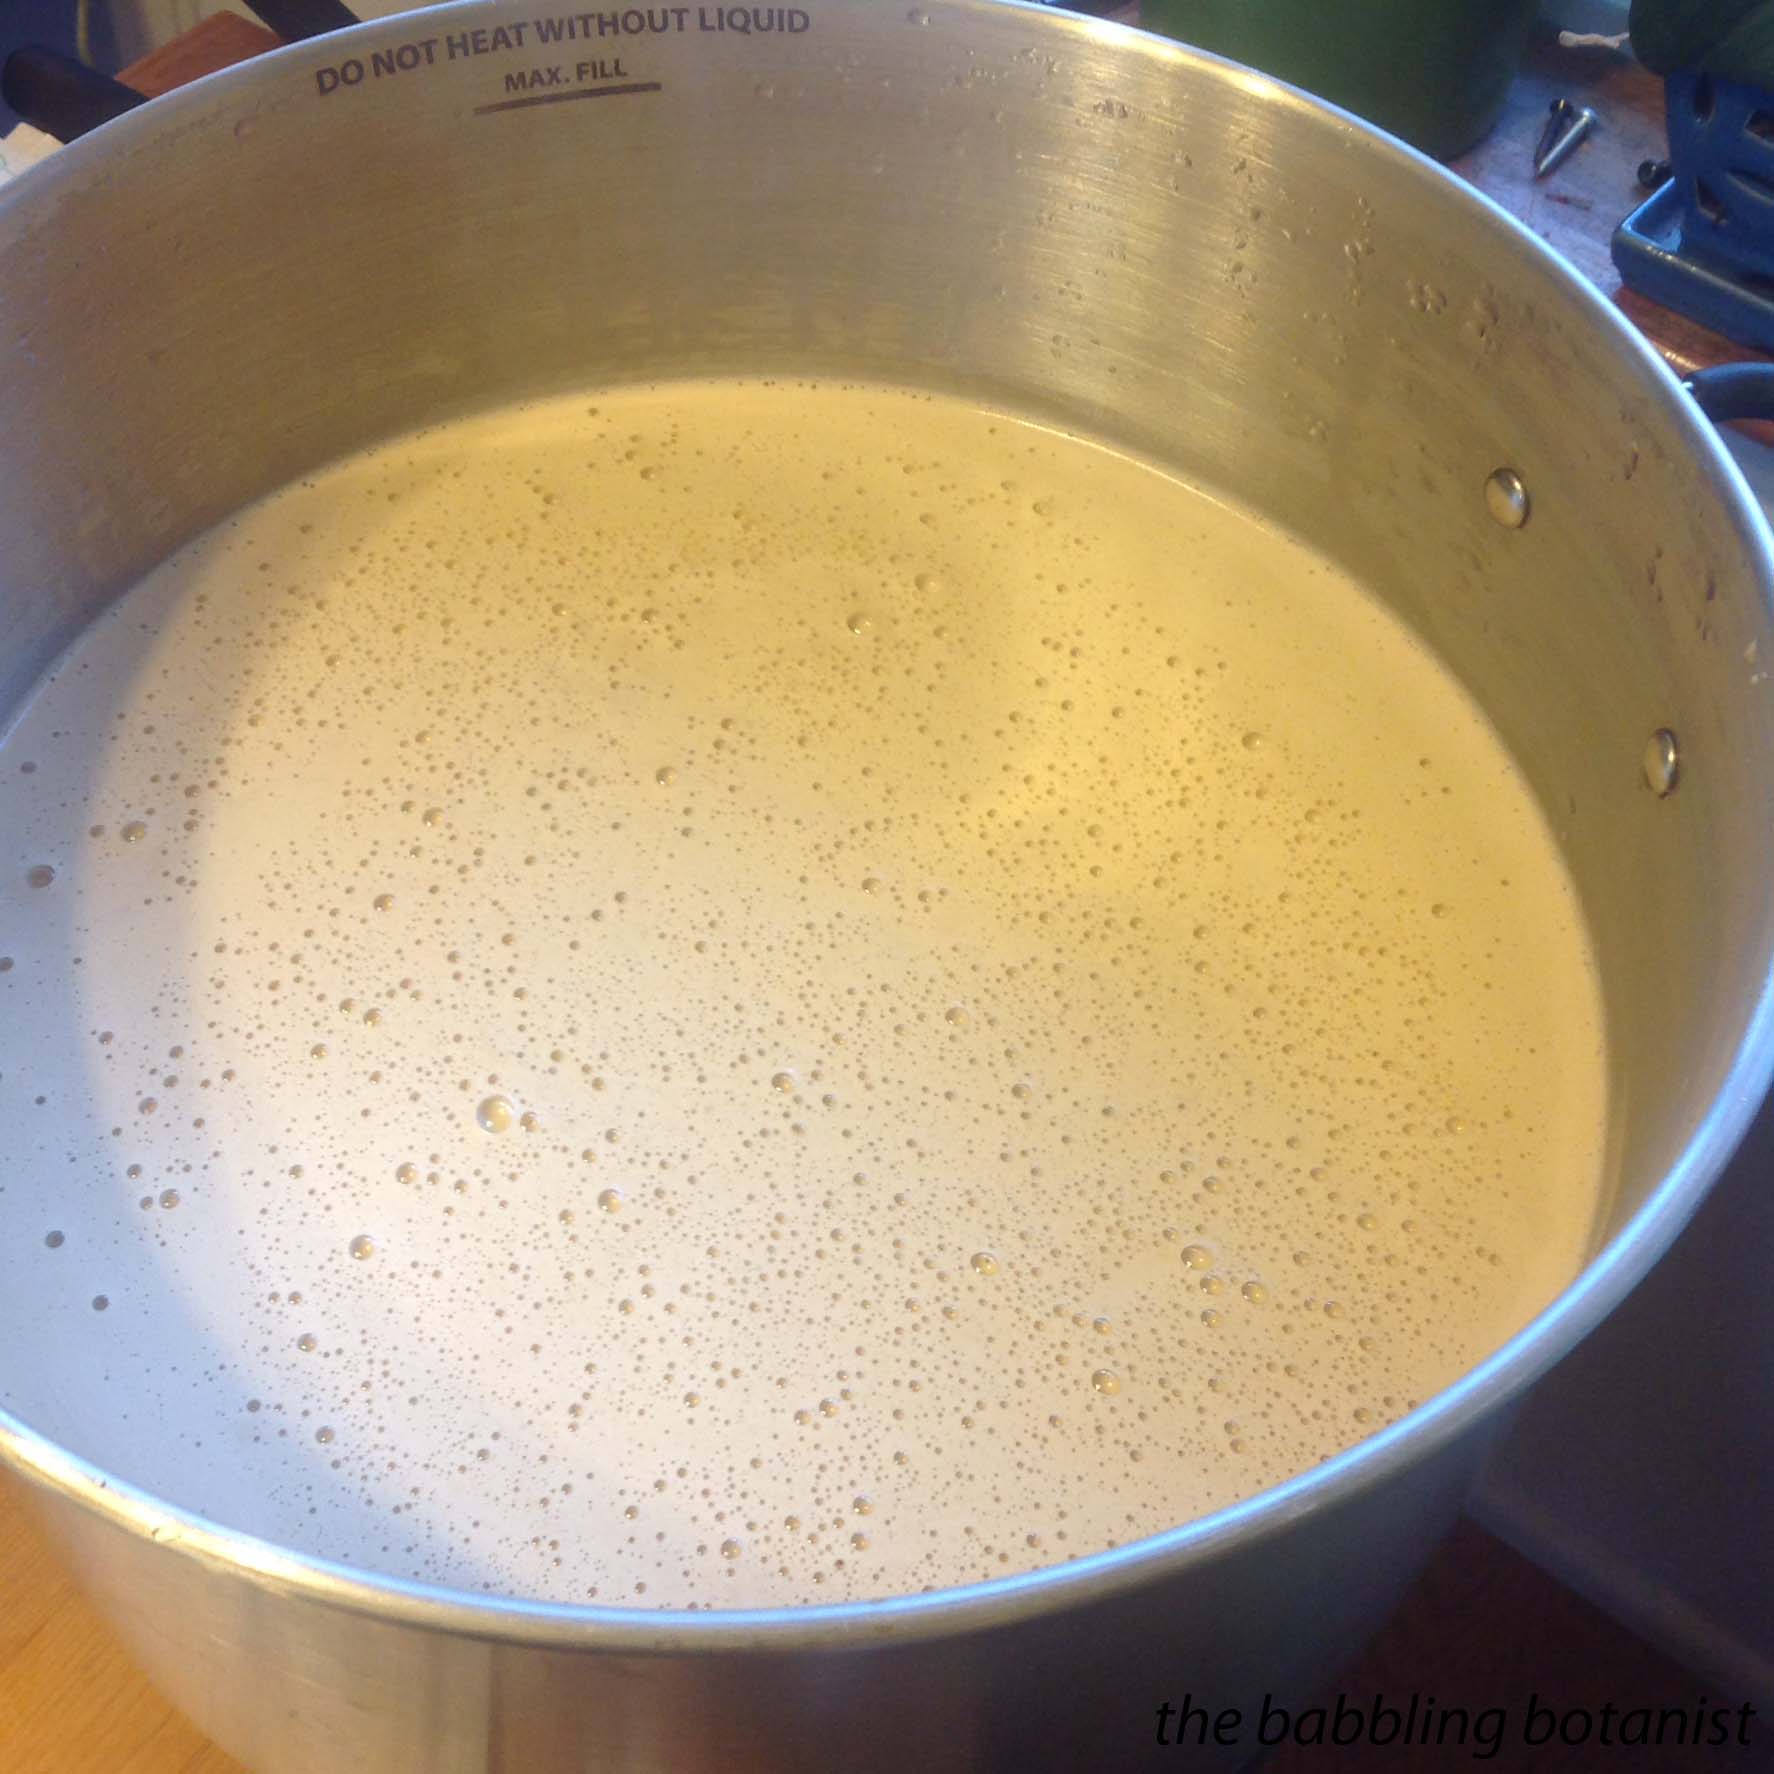
IMG_3234

Pasteurizing milk

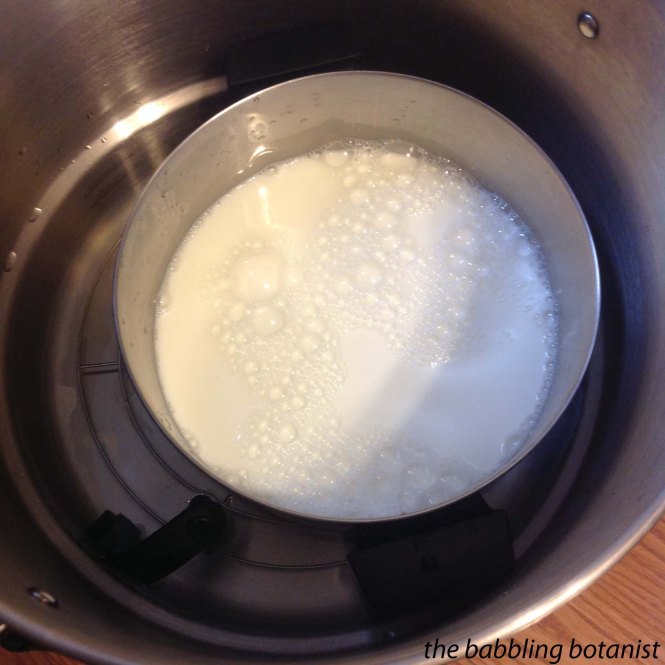
Another possible use for the canner is pasteurizing milk. Weck actually markets their canner as a “pasteurizer.” If you have access to raw milk, and want to pasteurize it at home, you could do a nice big batch in the canner. Again, the pro here of the canner is the same as many of the other uses – I find it much easier not to overshoot the temperature. Use your canner as a double boiler with your largest pot. For pasteurization,  you want to either heat to 145 F for 30 minutes (reference here) or to 165 F for 15 seconds (reference here). The canner is large enough that you could easily use it as a double boiler for most sizes of large pot. Pictured is my 4.5 quart pot, but my larger stock pot is the same diameter and fits nicely also if I wanted to do a larger batch.

IMG_3156

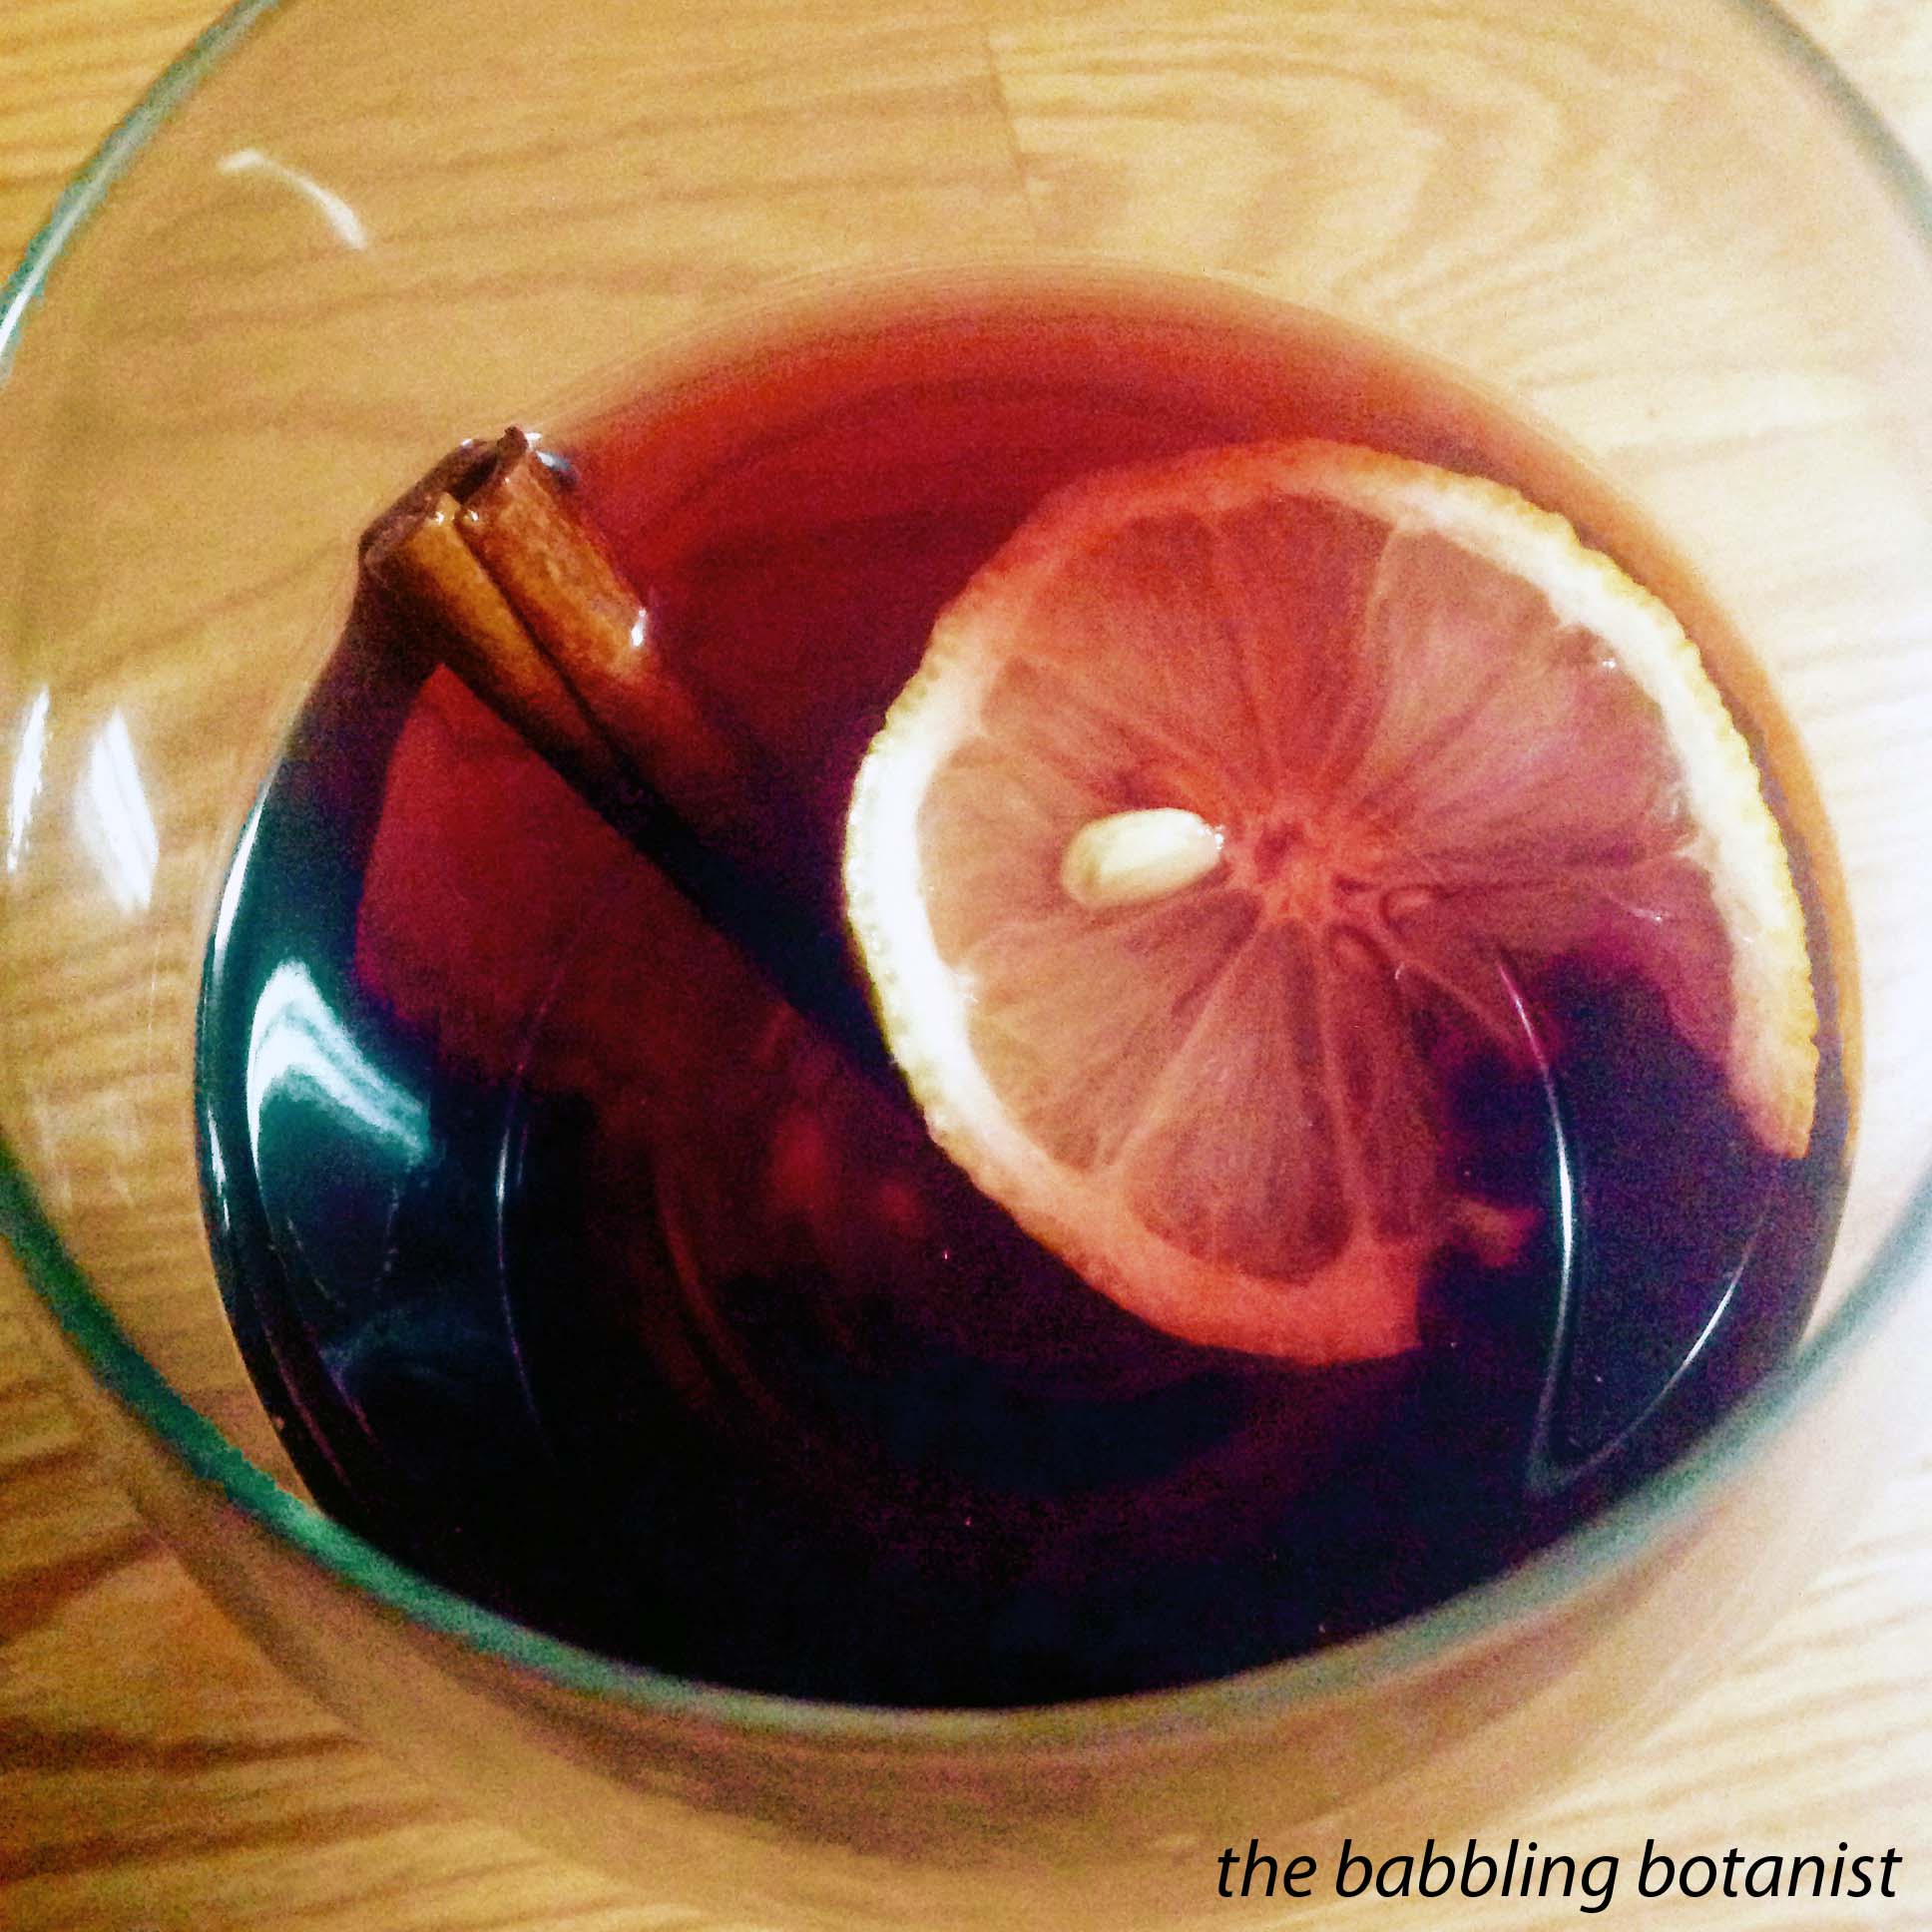
Mulled Wine (and other hot beverages)

This one was inspired by Ball’s suggestion of apple cider, but the canner can be used for mulled wine too. The thing I like again is that you can just leave it on low and it will keep the wine warm, and you don’t have to worry about having a burner on. Plus it has a spout for serving!

FullSizeRender

Do you have the new Ball canner? What creative ways have you used it? Interested in purchasing one? – They have had a couple sales on amazon so keep your eyes peeled for after Christmas sales, or buy one for the canning junky in your life!

*this post contains affiliate links, please see the “About the Blogger” page for more information (Yes, if you buy the canner from amazon I will receive a small profit, but I would never recommend a product I don’t love just because of that!!)


Product Review – Ball FreshTech Electric Water Bath Canner

I am super excited that my new electric water bath canner is here and I get to tell you all about it! You heard it here first people! If you haven’t seen this yet, Ball just came out with this new product, the FreshTech Electric Water Bath Canner. I got mine yesterday via preorder, and they are now in stock on amazon! Now, this is not to be confused with their other electric canner the Ball freshTECH Automatic Home Canning System, which in my opinion (although I actually haven’t used it), is not nearly as exciting of a product. It’s got half the capacity and is twice the price. And you’re restricted in many ways by their recipes. No thank you. But that’s not what we’re here for. So, let’s talk about this new electric water bath canner. Full disclosure, yes, if you buy it through the link above I will make a few bucks, but this is my honest to goodness review of the product.

Yes, it has some obvious pros, but I had a few other things in mind I also wanted to test, and I wanted to make some comparisons between it and a regular water bath canner, and also the Weck water bath canner (which I have not successfully been able to find for sale, but if you can it’s typically more expensive than the Ball one by nearly double).

ball canner

OK so let’s start with the obvious pros:
– You free up a burner (definitely a huge pro in my books – I am a notoriously large batch canner)
– There is a spout for draining the hot water
– Good capacity of 8 pints/ 7 quarts (more on this is a minute)
– Pretty light
– Nice heat resistant handles (including the lid handle)
– Supposedly more energy efficient, but I can neither confirm nor deny that
– Can be used for other things than canning (but of course so can a pot)

ball canner spout

So those things are all well and good, but there are a few other things I was curious about. For one, I wanted to know if it heats up as fast as the canner does on the burner. Sadly, the short answer is no. But I’m not terribly upset about it, because I’ll just get it going sooner than I would the normal water bath canner. If you’re interested though, this is what I did. I filled each canner with jars, 95 F water, and turned them to high. My canner on the burner was at a full rolling boil in 36 minutes and the Ball canner took a full 57 minutes. So I was a bit bummed by that. Then I reread the instructions and they said that you were supposed to put the “steaming rack” (pictured below) on top of the jars and that actually helped it boil faster. Hmm OK if you say so, let’s try that. So I decided to try from “raw pack” temperature (140 F) to boil, and see how long that took, since I wasn’t spending another hour on this test. Luckily, I had also recorded the temperatures at 5 minute increments in run one so could compare. This time it took the burner canner 22 minutes and the Ball canner 36 minutes to go from 140 F to a full rolling boil. In comparison 140 to boil took 39 minutes without the “steaming rack” in there. Not sure that’s significantly better but I guess in theory it could help a bit. If you are hot packing (which I usually am), your water is around 180 F to begin with. To compare there, the burner canner went from 180 F to boil in 12 minutes, and the Ball canner too 21 minutes. So, take it or leave it, at least compared to my burner, the Ball was slower. However, if you have gas or a flat top range, I can’t be sure how it will compare. One time I canned on my neighbours flat top range and it took FOREVER to boil.

ball canner tray

My next question was: can I maintain a specific temperature? Most specifically I wanted to know whether I could maintain 180-185 F for low temperature pasteurization of pickles. More on that here. I was a bit bummed that they weren’t actual temperatures on there, but if it maintains something pretty constant that’s OK in my books too. So I tested what it maintains at low, medium, and high (the canning setting is for a full boil), and I tested if I could get it to maintain 180 F easily. This experiment I’m pretty pleased with. For my unit (of course yours could differ), it maintains temperatures of 120 – 125 F at low, 145 – 150 F at medium, and 190 – 195 F at high. I was able to maintain 180 F about one and a half “ticks” below high, as in the picture below. Of course, I’m at sea level and other things could affect where your 180 F is, but this is going to make low temp pickling AWESOME. Big win on this one I’d say. You certainly still need a thermometer to be sure of the temperature, but this was so much easier than finagling with the burner setting. It can be very easy to overshoot 185 on the burner, which kind of defeats the purpose of low temp processing. The beauty of this canner is the heat turns off and on to maintain the temperature. You can hear it come on too, so if you were trying to find 180 you could easily turn it to high, and then turn it down when you were getting close. You’d hear the burner turn on and off so you could find that sweet spot. So excited for pickling now!

ball canner dial

Another thing I was happy with was capacity. Like I mentioned, the other Ball autocanner has quite a small capacity. They list this one as 8 pints or 7 quarts, and they do mention in the manual that you can fit more than 8 pints, but they call the capacity 8 to allow for adequate water circulation around the jars. Pictured below I have 10 pints in there, and they didn’t seem super snug, so take it or leave it. I think that I will can with 9 in there on occasion – if I can fit 10, I’d say 9 have adequate circulation. It’s partially the nub from the spigot that’s the issue. The Weck does fit more, but like I said, good luck finding it, and it’s more $$.

ball canner jars

Overall, despite the slower heating time, I am happy with the purchase of this canner. I think that heating time may be the only real downside. The only other thing was that the rack on the bottom seemed like it could have been a tiny bit larger, but perhaps that would have made it harder to fit it past the nub for the spout. Not sure. But especially for me having a small kitchen, it’s going to be awesome to not have the canner on the stove. Or if I’m doing huge batches I can have one on the stove, rather than two. I may even use it on the kitchen table, and although that means I still have to lift it to the sink, I could drain some water into a pot or something, and I think it will be worth it. Thanks Ball, good invention, I’ve been waiting for something like this!

Think you’ll ditch your old canner for an electric one? Any burning questions about it before you invest? I am happy to answer.


*this post contains affiliate links, please see the “About the Blogger” page for more information


The botanist is back!

Wow – I have not written a real blog post in over two months! The last few months are honestly a bit of a blur with finishing up my degree, but I am happy to say that I’ve now defended my MS thesis in Botany and Plant Pathology and I am ready to be back with some new and exciting posts. Thank you for not forgetting about me and thanks to those of you that have still been referring to many of my old posts in my absence, you guys are the best!

In other good news, as a present for passing my mama bought me Ball’s newest invention, pictured below, the FreshTECH Electric Water Bath Canner and Multi-Cooker. This is their picture however, as I don’t actually have it yet (it’s only available for pre-order right now). If you want one, I’d recommend clicking on the link above to amazon since I got free shipping through amazon prime and Ball wants $23 for shipping directly from their site. But anyways – I am super excited about this beast. For one, it’s electric so it frees up one of your burners, and still has the same capacity as a normal full sized canner. This is also a great thing if you have a glass top stove that can be a problem for canning. Also it has a temperature control, so this saves so much headache when you want to do low temperature pasteurization of your pickles! SO AWESOME! However, it doesn’t look to me like it’s actually got temperatures on there, only low, medium, and high, so that’s a bit of a bummer. I’m thinking though that using a thermometer I should be able to pretty easily figure out where to turn it to to keep it at 180-185 F. Then I can mark it on there for the future; but I’ll have to update you on that when it arrives. The electric canner I’ve used for canning class has actual temperatures on it, but no where can I find it for sale (and Janice said it was twice the price of Ball’s when she got them too). See this post for more info on low temp processing of pickles. Finally, it has a spout on the bottom which means no more almost killing yourself dumping out the hot water from the canner. This thing is way cooler than Ball’s last invention, the auto canner. It has a 3 quart capacity – no thank you! For half the price of that thing, which frankly I think is a dumb invention, you can have this awesome canner with a normal capacity and not be limited to only their specific recipes. Note though, this is just hot water bath, not a pressure canner.

Electric Canner

So now that I’m back, I wanted to let you in on what I’m planning for the blog. One thing I’m working on is a new resources tab, which will include things like extension service publications and other resources for safe recipes. I’ve found that it can be hard to find these things online and in one place. Each university extension service often only has their pubs, but there are always valuable and interesting resources missing. Each time I refer to a new publication or tool I use, I’ll add it to that page so that these great resources are easy to find and access.

Anyways, there are many fun new posts coming at you soon. I can’t wait for spring and to get back into canning and gardening (although it’s actually starting to feel like spring here already!) The early spring crops will probably be starting soon!

Is there anything you’d like to see from the blog this season?

An obsolete tool due to new recommendations

There is big news in the canning world people, hot off the presses! This comes straight from my Master Food Preserver meeting this month, and you’ll start to see the recommendations coming out on the packaging soon. What packaging? Your canning lids! The tool you are looking at pictured below will never be needed again. Yep, that fun lid magnet that is either barely magnetic enough to pick up a hot lid, or so magnetic it picks up 4 (like the one in MFP class) is no longer a necessary tool in your canning kit. We no longer need to preheat our jar lids people!

IMG_4014 copy

According to new recommendations by the makers of Ball and Kerr lids, there is no need to heat your lids anymore. This is the last picture you’ll see on my blog of jar lids warming before they are put on the jars. They’ve been testing the lids, and with the sealing compound they make these days, they don’t seal any better if they are heated before going on the jar. So, you can start skipping that step. Wooohoooo 15 seconds saved! But really, I am quite happy to hear this because it always seemed unnecessary to me, but being a good little rule follower I usually remembered to do it. Or at least remembered at the last second and dipped my lids for a second into the canner that was warming up and figured that was good enough. Hopefully none of you bought this ridiculous tool recently or you’ll be looking for some other use for it. Good luck. That’s $9.14 well wasted. I guess if you ever needed to sterilize the lids for another purpose you could still use it?? Ha. But anyways, the official ruling is to just wash the lids as you would the jars, and use them. Remember, as always, they are still meant for single use. Happy canning!

IMG_2487 copy