Strawberry Lemonade Concentrate

This recipe is one I’ve made every year since I started canning, from the Ball Complete Book of Home Preserving. I’ve never made the rhubarb drink on the next page, but am really excited to try that one too. Stay tuned. When I got really excited to make the rhubarb one as well, saying it would be excellent with gin, Kiki called me out, saying we can’t make things just because they taste good with gin. Or can we? My favourite way to use this concentrate is actually with just a couple tablespoons in my gin and tonic. I swear, I really don’t drink that much gin. Of course you can just drink it as lemonade by adding water, tonic water, or ginger ale. I bet this would be amazing if you used a soda stream for some carbonation! Mix 1:1 or 2:1 water to concentrate, although I usually make it even weaker since it is really quite flavourful.

IMG_3736 copy

Ingredients:
6 cups hulled strawberries
4 cups freshly squeezed lemon juice
6 cups granulated sugar (or much less if you like it the way I do!)

Here’s how we made it:

First, prepare the berries. Ball tells you to simply puree the strawberries in a blender. By all means you can totally do it that way if you like, and I have made this 3 or 4 times that way, but this year I decided to try and get rid of some of the seeds. To make the lemonade seedless, and partially because I just love an excuse to use it, I cracked out the Victorio food strainer. I ran my 6 cups of berries through multiple times, to get rid of the seeds. It’s kind of nice not having those pesky seeds in a beverage. I don’t mind them in jam, which is why we just used the extra poop you see coming out the left there in the jam we were making.

IMG_3597 copy

Next juice a bagillion lemons. OK maybe not a bagillion. We found that 4 large lemons were pretty close to a cup of juice. A fun tip to get more juice out of them is to microwave them for 20-30 seconds. It really did seem to help.

IMG_3605

Combine your lemon juice, strawberry puree and sugar. We actually decided to do 1/4 of the sugar in this recipe. You can certainly adjust it to taste, or maybe try sweetening with honey or something. That could be really good. It definitely decreased the yield quite a bit, but this actually means you use less jars and lids, and if you decide it’s not sweet enough you can always add more sweetener when you open up the jar later. Heat the lemonade over medium high heat. Don’t boil though, bring it up to 190F.

IMG_3610 copy

Remove from the heat, and fill your jars, leaving a quarter inch head space. Wipe the rims, apply the lids, and tighten the bands finger tip tight.

IMG_3620 copy

Process in a boiling water bath canner for 15 minutes. After 15 minutes, turn off the heat, remove the canner lid, wait 5 minutes and remove the jars to a hot pad or towel. Cool 12-24 hours, check seals, remove bands, clean, label, and store. Enjoy a nice summer treat all winter long! Or just make it and consume immediately!

IMG_3725 copy

*this post contains affiliate links, please see the “About the Blogger” page for more information

30 Day Juice Challenge

Today we are going to talk about juicing. The liquid fruit and vegetable, delicious tasting beverage kind of juicing of course, not the big muscles on steroids kind. Sheesh I know I look good, but how could you think that? OK so seriously what is juicing all about, and why should you try it?

juice4

Ha. OK that’s just a funny post I found while searching for juice recipes, I swear I didn’t live off wine for 30 days, as tasty as that sounds. Here is the real story. My sweet mama got me a juicer this year for Christmas. At first I kind of thought it was a strange gift, but hey I guess I’m hard to buy for? Sorry mama, I jest. Anyways, I took it home and got to juicing and never looked back. I have used it probably 60% of days since I first tried juicing and I’m pretty happy with it now. Mmmm juice. So if you’ve ever thought about trying juicing, been scared to try it, or just thought that juicing referred to steroids, then this is the post for you.

IMG_1431 copy

When I started juicing, I just started scouring the internet and Pinterest for recipes. It’s hard to know what random fruits and vegetables are going to taste good together. Trust me, if you like everything in a recipe, it doesn’t mean you’ll like that juice. However, same goes the other way, don’t poo poo every recipe with beets in it for example. You are crazy for not liking them, but seriously give some a try.

So here is my number one tip, sign up for the 30 day challenge at http://juicerecipes.com/. I restarted the challenge last week so I could show you the sweet “Challendar” they have. And honestly after 40 plus days of looking at it, screen capping it for you was the first time I actually noticed that didn’t just say calendar. But I digress. This challenge is awesome because it starts you out on simpler recipes. For example the first week is mostly various combos of carrots, apples, celery, oranges, lemon and ginger. Not too scary right? We’re not talking beets and kale and spinach yet week one, we’re easing in to it. So what’s on this challendar? If you click on the little shopping cart it will give you a list of all the produce you need to buy for that week (when you sign up, mine is just a picture, I know you tried to click it). Then each day you just click the day and check off the recipe when you finish it. Super easy right! I know you want to try it! So, note, this is not a juice fast, it’s a one quart a day juice. What I did was usually just drink it for breakfast. If you are really active and hungry I’d maybe suggest drinking it with a light meal.

challender

So if you are still scared to try juicing, take a look at the pile of fruit and veggies below. It’s a lot right! But it will turn in to 7 quarts of juice. This is what you will consume week one. Or half this if you split the recipe with a friend like I do most days and just drink a pint. I really found this increased my fruit and veggie intake. Sure, maybe normally you’d be able to eat an apple a day or something, but 2 apples, 2 oranges and 14 carrots? I think not. Juice!!!

IMG_1338 copy

The juicer that I have is Jack Lalanne’s power juicer (click here to check it out on amazon). I am pretty happy with it, with only a couple complaints. Sometimes I do feel like the pulp that it shoots out the garbage end is a little wetter than it could be. Now, this is like a $100 ish juicer, whereas you can buy ones that cost three times that. Maybe they do a better job at getting the pulp really dry, but I’m not sure it’s worth the extra price tag, and this one is available at Costco and Fred Meyer! My only other complaint is if something gets a little stuck it vibrates like crazy and you think you broke it, but usually sending through another carrot clears it right up.

IMG_1321 copy

OK, a few more tips before you get to juicing.

1. Start with “simple” recipes. By that I mean start with only a few ingredients that you are likely to enjoy. Even if you don’t do the challenge, try a recipe with only 3 or 4 ingredients to start. The first juice I tried is pictured below. Sweet potato, gooood, peppers, gooood, beets, heck ya! But all together. Lord almighty don’t start with something like this. Apple, orange, carrot, pepper, beet and sweet potato, what was I thinking. I jumped right in the deep end and it took me all day to finish that juice. And oh boy did I finish it, even if it was mostly just to prove to the boy that it didn’t taste bad. Yikes, learn from my mistake on that one please.

juice5
2. OK that was a long tip 1. This one is simple – ginger is your friend. And lemon. I love the recipes with ginger and lemon, and especially if you are worried it’s a recipe you won’t like.

3. Don’t start in the winter. Well depending where you live. It was expensive and I don’t love buying cucumbers and things all the way from Mexico, so I am super excited that local stuff will be available very soon.

4. Buy in bulk – even though you will have trouble fitting it all in two crispers.

5. Don’t try inventing your own recipes until you’ve completed the challenge. Or at least tried some other people’s recipes if you aren’t doing the challenge.

6. Mix up juicing with smoothie making. Personally I don’t think it’s worth it to juice berries since they are so little and expensive, so I like to mix it up. Have a smoothie some days with bananas, which you can’t really juice, and some delicious berries.

7. Drink up, and enjoy!

IMG_1344

*This post contains affiliate links. Check out the “About the Blogger” page for more information.

Makin’ my Merlot

Wine. Wine. What can I say about wine? The nectar of the gods. Wine is a delicious fermented beverage that people have been making and drinking for thousands of years. While the art of making phenomenal wine may be a skill that takes time to perfect, it’s actually not very hard to make pretty darn good wine at home. And for the cost comparison it can be well worth your while!

If you read my last post you know that we already invested in a beer starter kit, so we bought a few additional things, but mostly the kit will work for both.  Typically the wine kits (the ingredient kits as opposed to the equipment kits), which are a great place to start, make 6 gallons , so you need a 6 gallon carboy rather than 5 with the beer. This starter kit would be enough to get you started. Personally, I’d go for a glass carboy just because I feel like they are easier to clean and I’d prefer my wine to be sitting in glass than plastic for extended periods of time (although the primary buckets are plastic). But some “fancier” wines sit a lot longer. Anyways, start with a wine kit to try your hand at wine, everything you need is included right there in the box! Pictured below is my primary fermenter with everything that came in my first kit! yay!

wine1 copy

The first step for homemade wine is about as easy as it gets. You stir bentonite into warm water. Then add in that big sack o’ grape juice concentrate once it is dissolved. We could not figure out how the heck to pull off the cap without exploding it everywhere so I recommend one person holding it over the fermenter while the other cuts a hole in the corner.

wine2 copy

For this merlot there were also dried grape skins, which you put in a sack and add to the bucket. Then, you top it off to 6 gallons with water. Next, throw in some wood chips. Aging wine in fancy wood barrels, psshhh we just throw the wood in the wine instead of putting the wine in the wood.

wine3 copy

Take a hydrometer reading so you know your starting sugar content and can calculate percent alcohol at the end. Stir it all up, add in the yeast. Presto!

wine4

And then we wait. Put on the lid and watch it bubble away.

wine5

After about 6-8 days this wine was transferred to the secondary fermenter. This is because of the wood and peels in there. We’ve done a second one (Pinot Noir) where it stayed in the primary 14 days, until fermentation was complete, so it varies by wine.

wine6
The next stage for most kit wine occurs after about two weeks when fermentation is complete. At this stage we racked it back into the primary bucket where we added some chemicals for clarifying and stabilizing the wine. Sulphite and potassium sorbate are added as preservatives and kieselsol and chitosan are added as fining/clarifying agents.

wine7
This stage is also about degassing the wine, so after the addition of the different preservatives and clarifying agents you use a sweet drill attachment to stir the wine really vigorously. You could also just stir it really fast, but why not use a drill on your wine if you get the chance!? The chemicals have to go in a certain order to properly clarify the wine, so follow the instructions in your package and stir for the appropriate amount of time in between.

wine8

Once finished we racked the wine back into the cleaned and sterilized secondary fermenter to stabilize for a few more weeks.

Then when the wine is clear, it’s bottling day! For this we transferred it into the primary bucket, then bottled from there, but I’ve since decided that is totally unnecessary. Just bottle from your secondary fermenter. I let it clear at a height though so I didn’t have to disturb it at all bottling day.

wine9

In advance of bottling day you will have cleaned some old bottles and accepted bottle donations from your friends. If you are going to get into wine making, it’s time to stockpile bottles! Don’t buy them, that’s ridiculous. Buy full bottles and drink them and then clean them up 🙂

wine 10 copy

Bottling is easy as pie. Fill each sanitized bottle to right about where the neck of the bottle begins.

wine 11

Then comes the final challenge. Corking. Here is our first attempt at that. We decided it just gives the bottles personality. We did get better after this one though. Corking it kind of a 5 handed job, so if you are two people, well… ya.

wine 12 copy

Ta da! 30 bottles of wine. Leave it upright for a day or so, then store it on its side to keep the cork moist. Kit wine usually recommends aging the wine 2-4 months, so in a few months I’ll let you know how it tastes. The glass we had left over tasted pretty good, and it’s only supposed to get better from here. Total cost – about $2 a bottle!

wine 13 copy

*This post contains affiliate links. Check out the “About the Blogger” page for more information.

First Brews

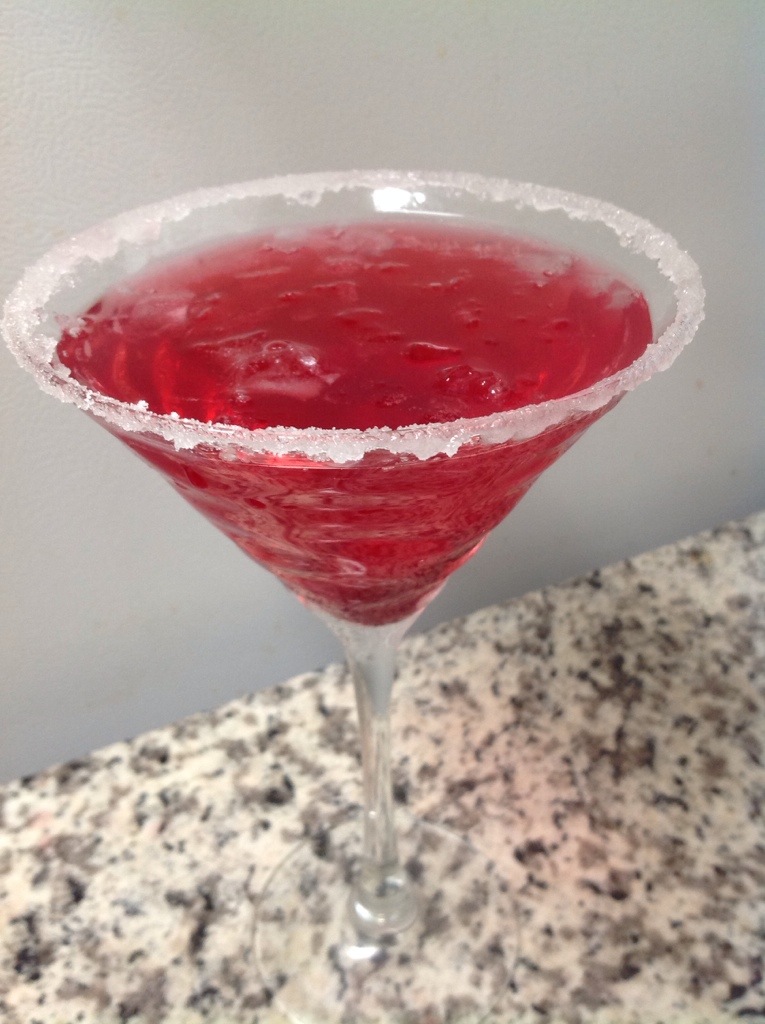
What’s an obsessed canner and babbling botanist to do in the winter when canning opportunities are few and far between? Well take up a new hobby of course. Add some drink to all that food in the pantry! So the next skill I decided to add to my repertoire was beer brewing. Spoiler alert, next up with a post coming soon will be wine! This post is coming a few months after the making of our first brew, in fact we only have about five pints left! But what a perfect time to share it, now that I can reflect on the whole process and the deliciousness of the final product! Making beer is maybe not as difficult as you may think, you should try it! We bought our starter kit at the local brew shop, but this kit is basically what you need to get started if you don’t have a local shop. Just add ingredients and bottles! OK, pull up a chair, I included the whole process in this post so it’s gonna be a long one!

20140217-102056.jpg

I don’t intend on making this a full detailed step by step because I’m not an expert (yet), but I’d like to make this a taste test into the brewing world and share the experiences (good and bad) of a first brew. If you really want to get into this, the best two books are How to Brew by John Palmer and The Complete Joy of Home Brewing by Charlie Papazian. I have both, and once I’ve finished this dang master’s degree will get back to reading them ;). The introductory instructions that we followed are from our local brew store, and can be found here

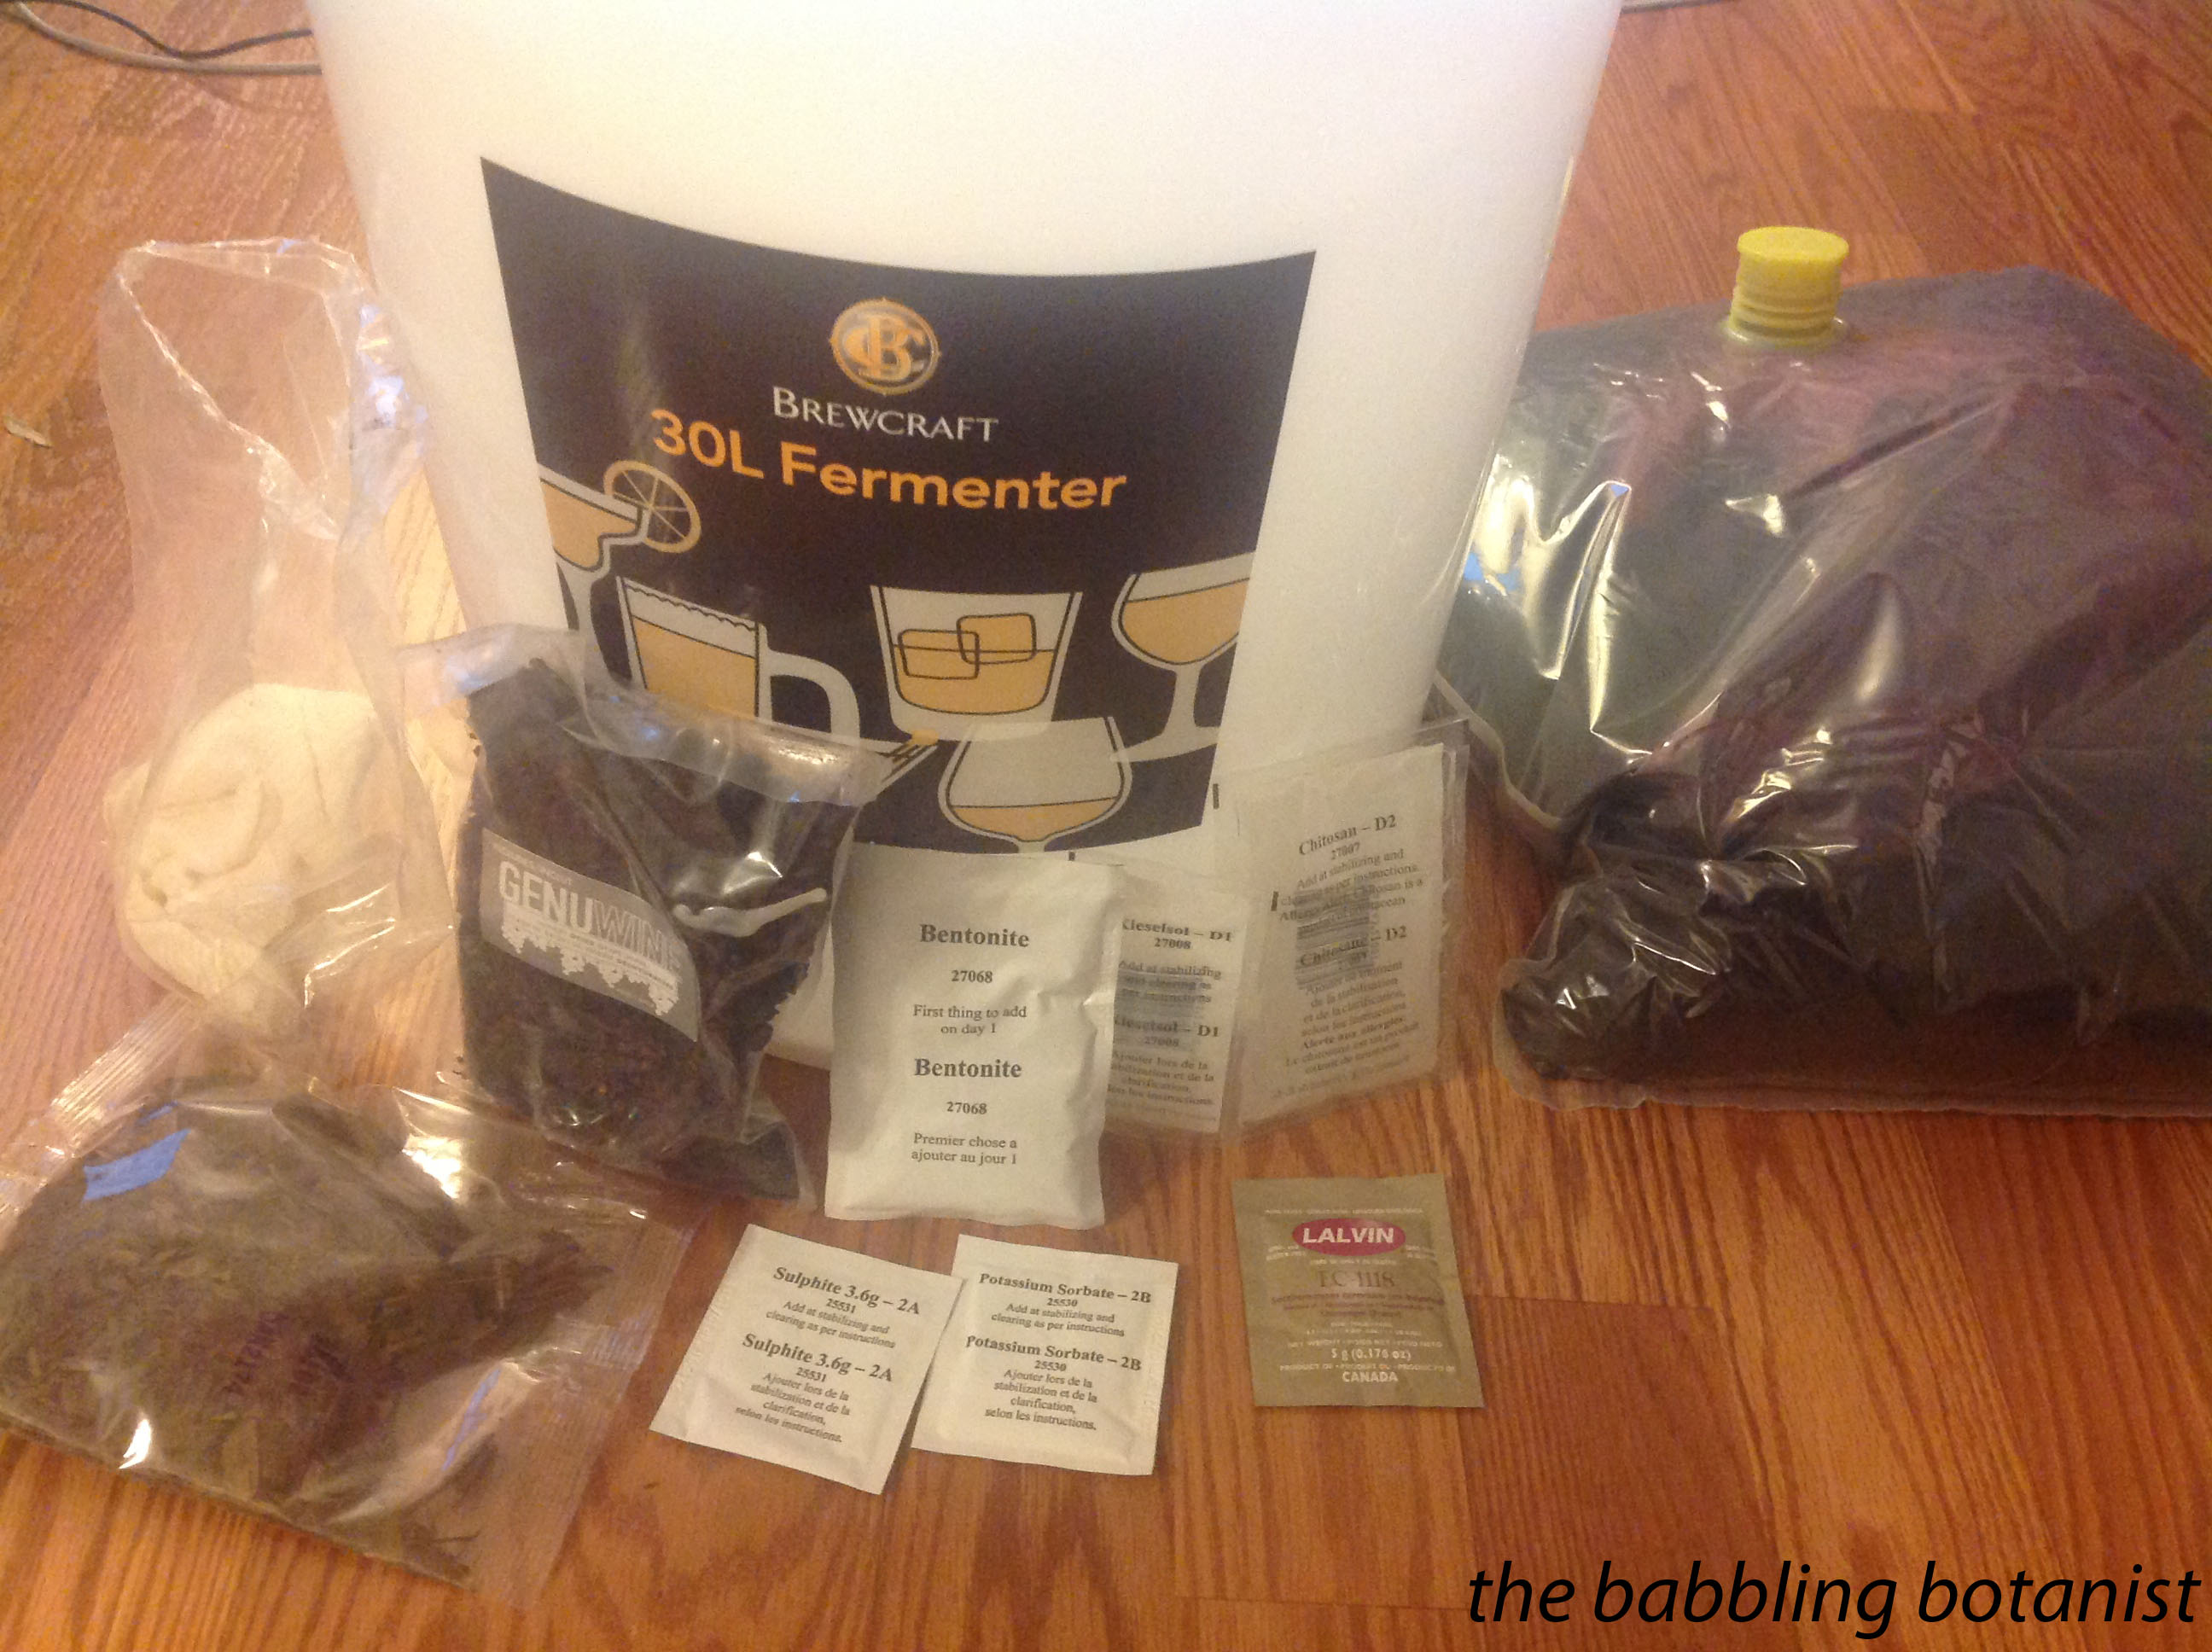
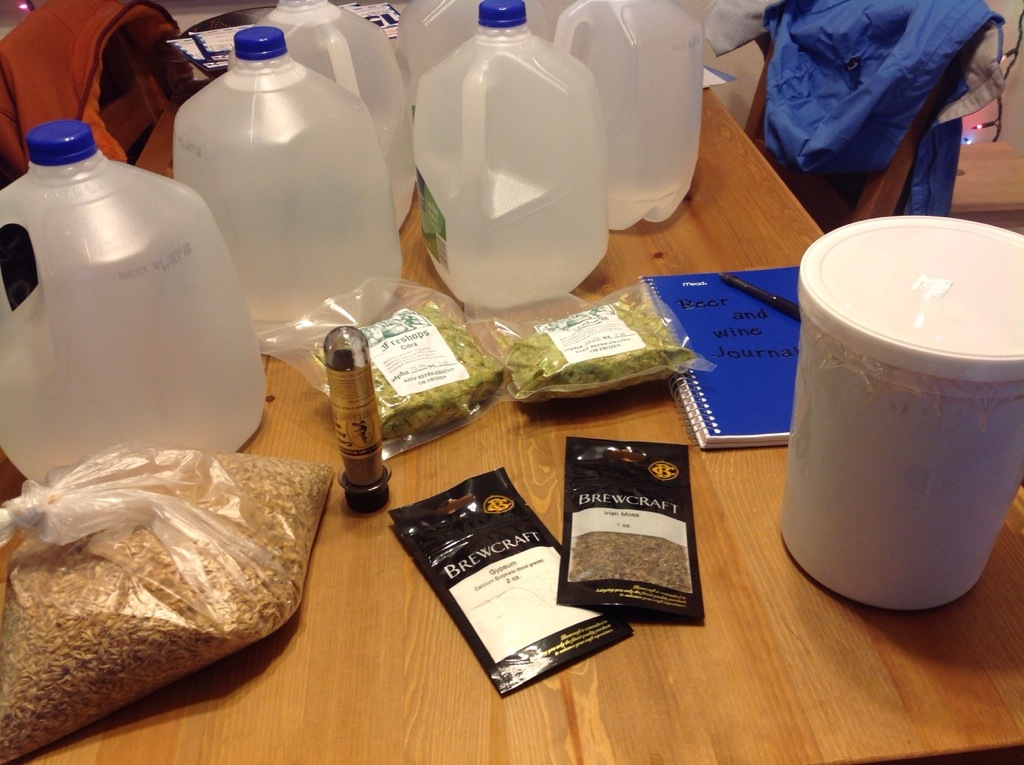
OK let’s dive in. How does one make beer? Everything you need for a first brew is pictured above. We did an IPA so you’ll see above 4 oz. of hops, 8 pounds of pale malt extract in the white tub, caramel steeping malts on the left, yeast, gypsum, and Irish moss (which strangely enough is not moss at all but seaweed) in the middle. And of course water and a notebook to keep track of everything.

Day 1:

The first step on day one is steeping the grains in a few gallons of water and heating to 170 F.
Day 1, lesson 1: Don’t let the grain bag rest on the bottom, it can melt. We did not have this happen luckily, but had read that it can so our solution was to tie it to the fan assembly thing above the stove with twine. Best solution? Probably not.
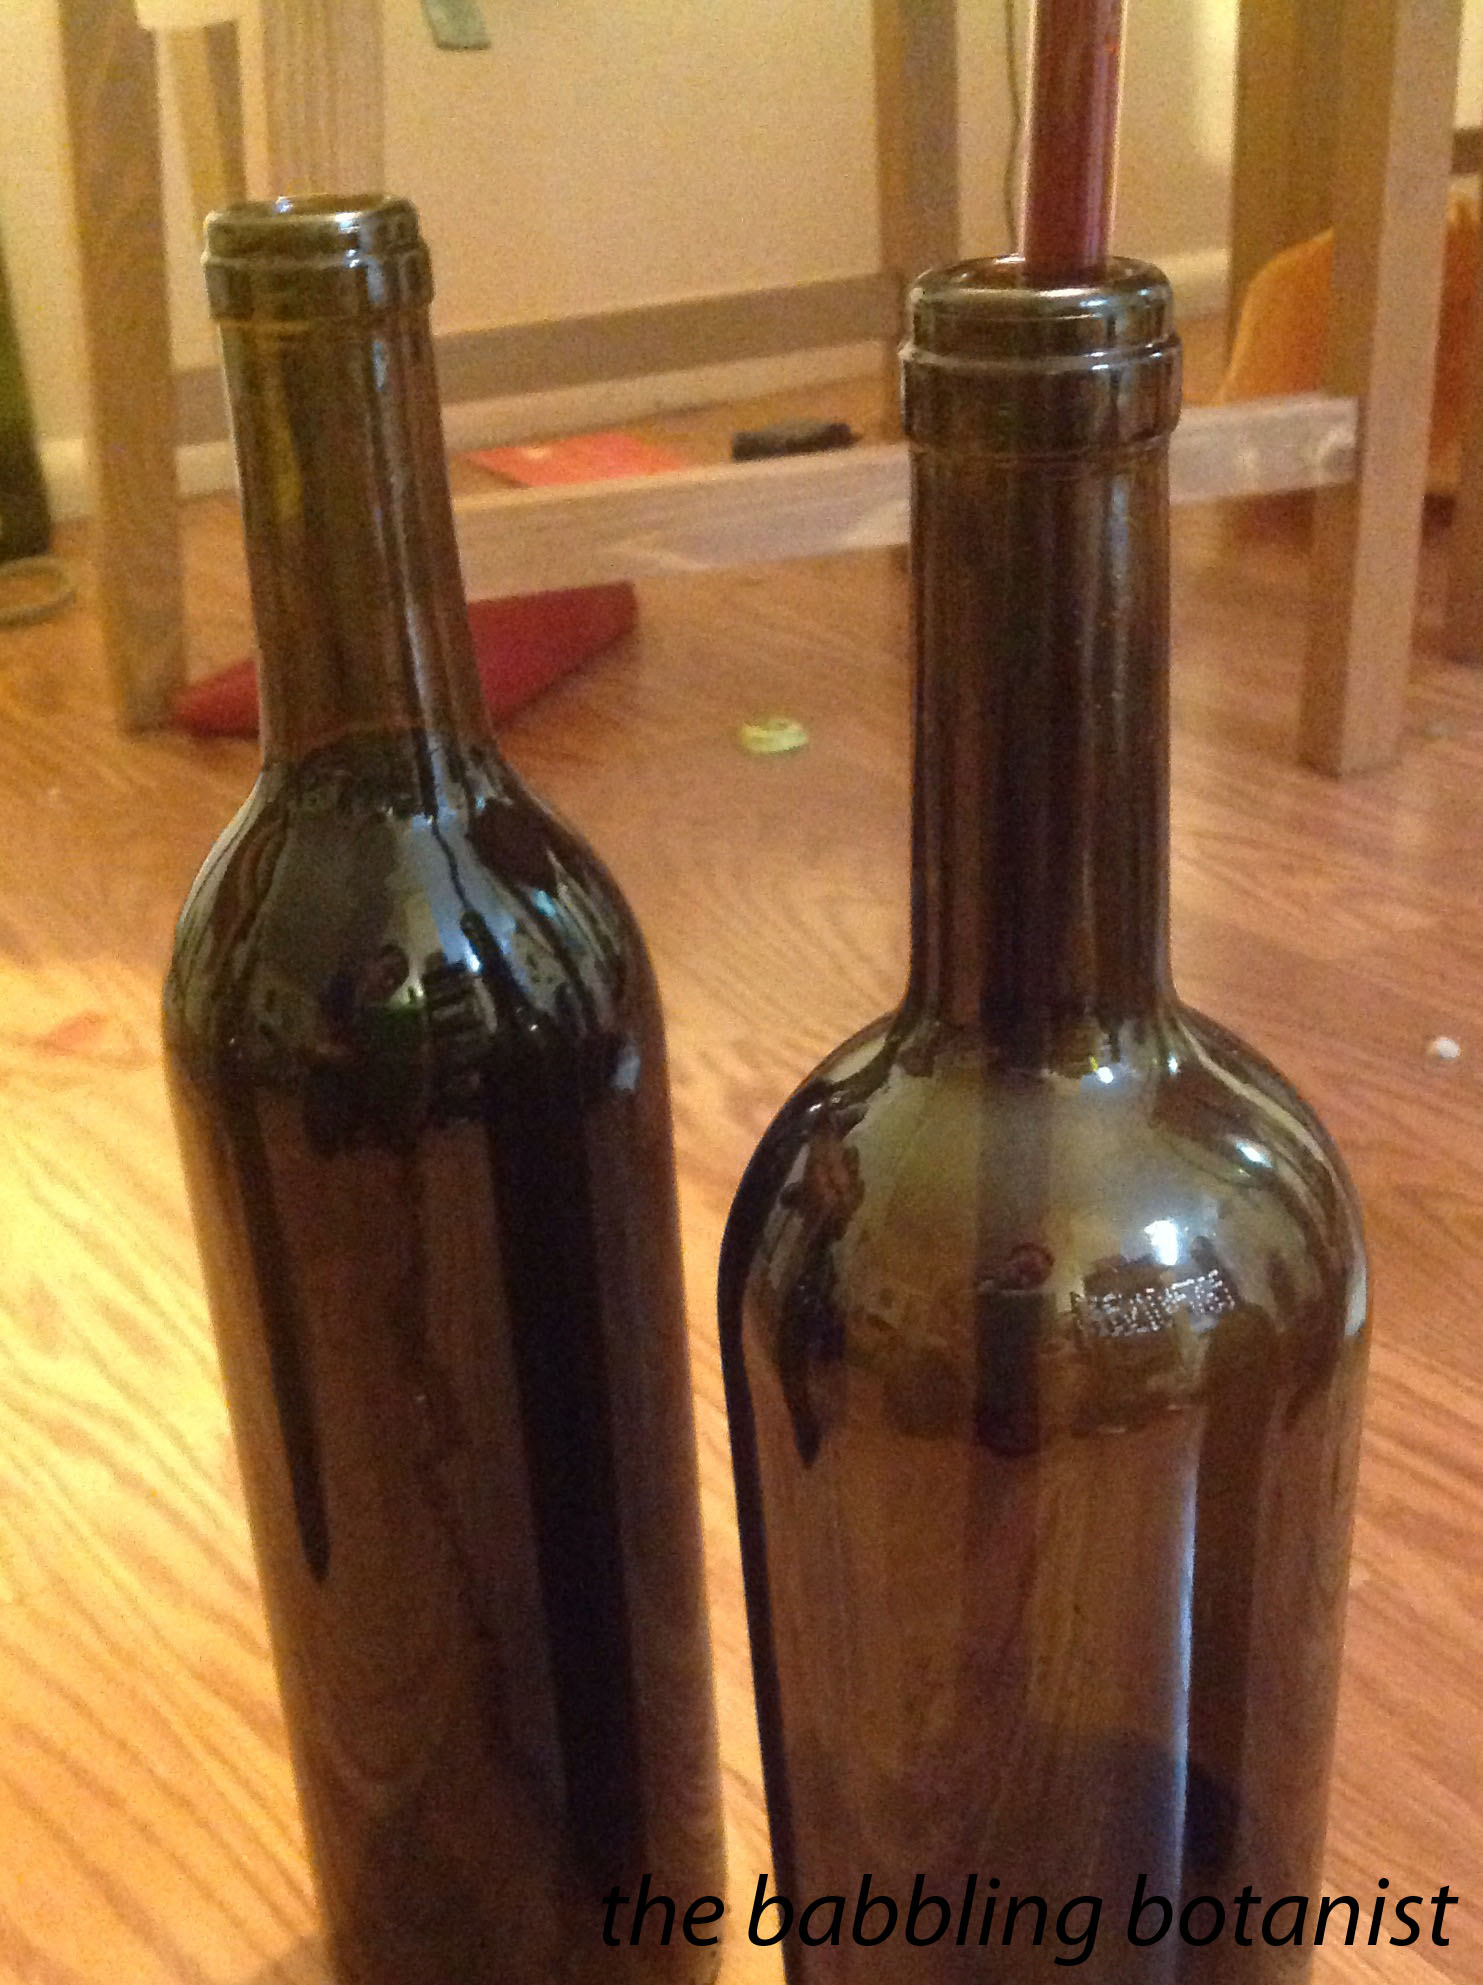
Day 1, lesson 2: See that floating thermometer below? Take a good look because that’s the last you’ll see of it. Those babies are fragile. Don’t drop them on the tile floor.

20140217-102122.jpg

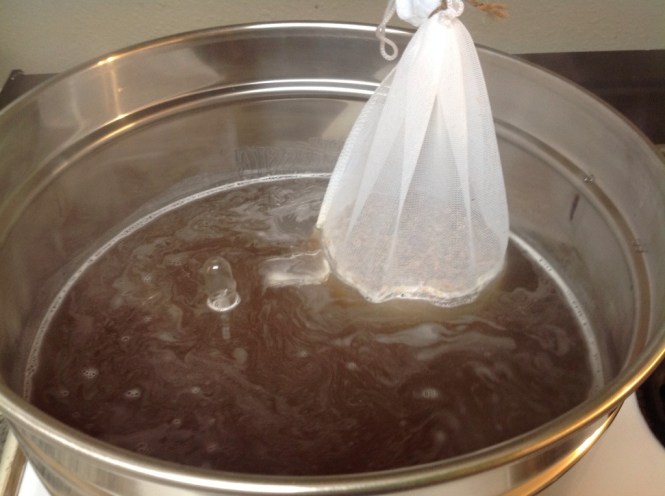
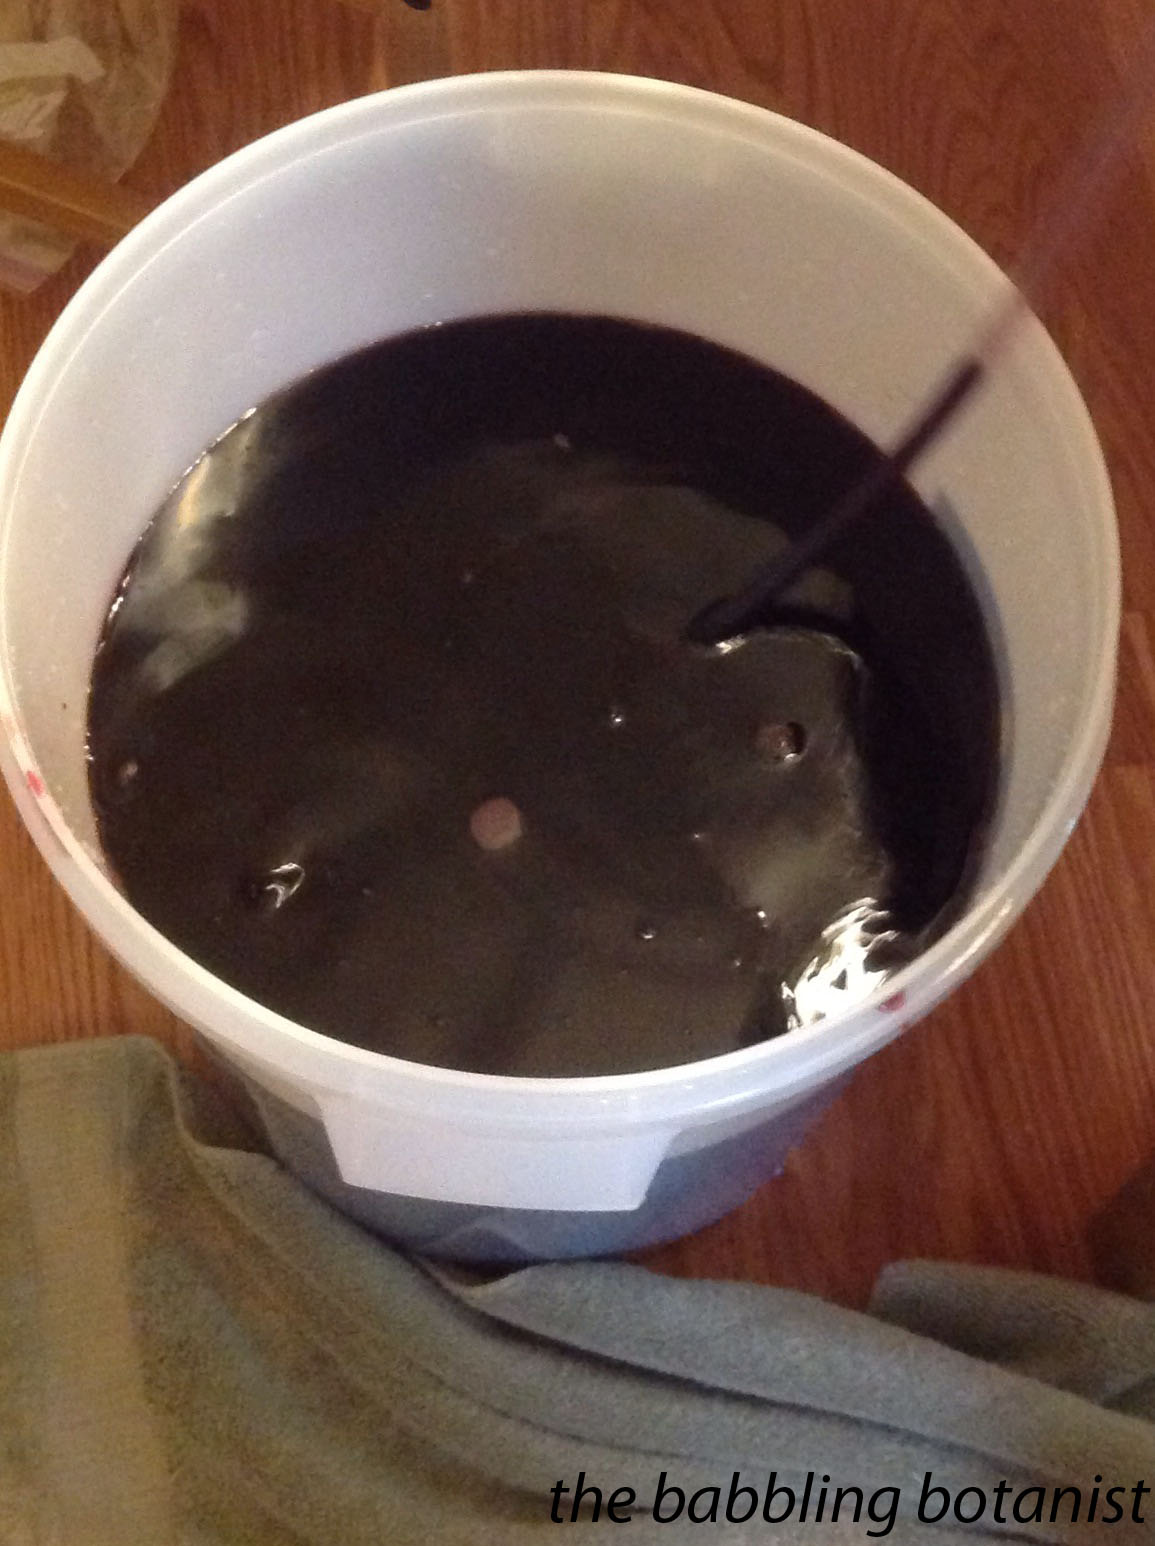
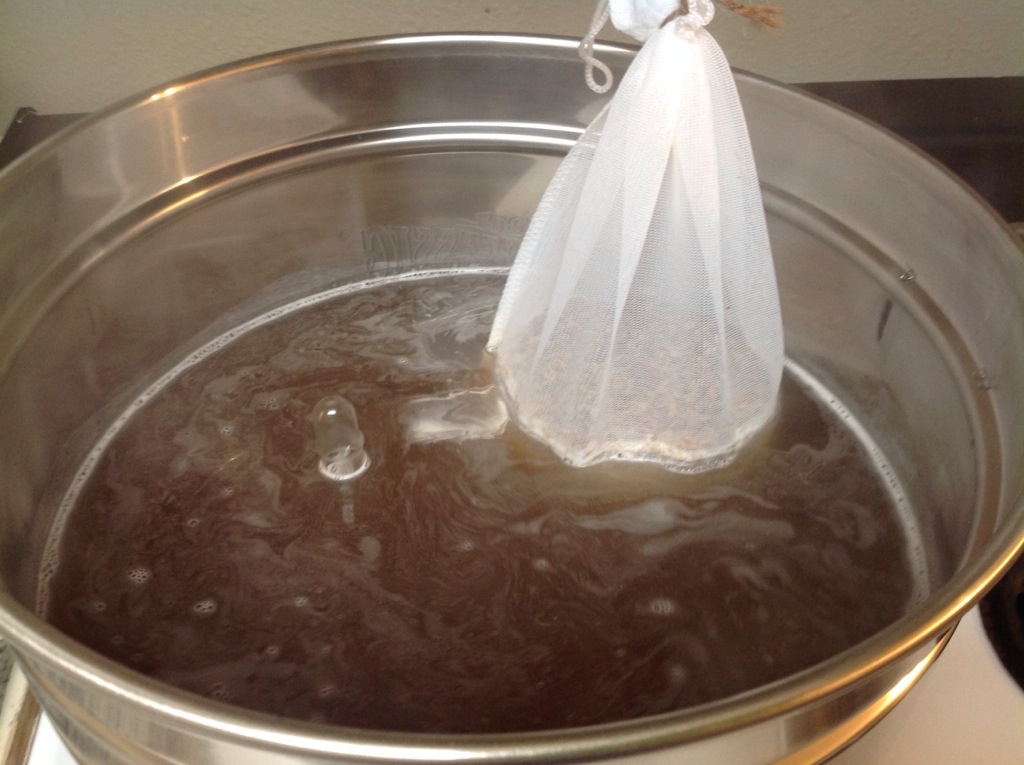
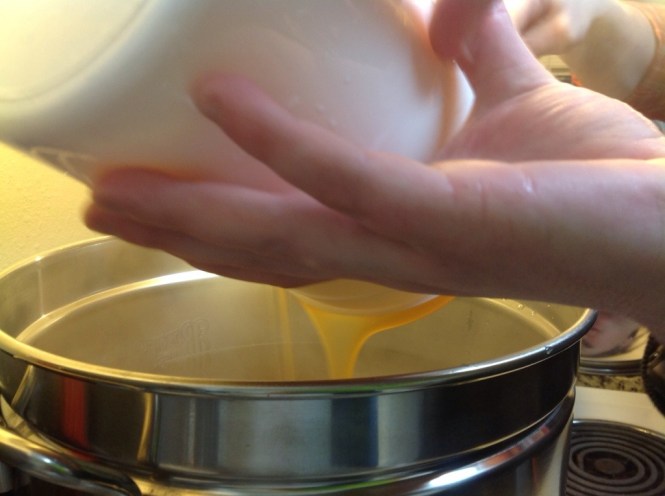
After you’ve reached 170 F and waited 10 more minutes you’ll remove the grain bag, push out as much liquid as you can, turn off the heat, and add the malt extract. Most beginner like us start out with malt extracts. Make sure the heat is off and stir in that gooey deliciousness.

20140217-102155.jpg

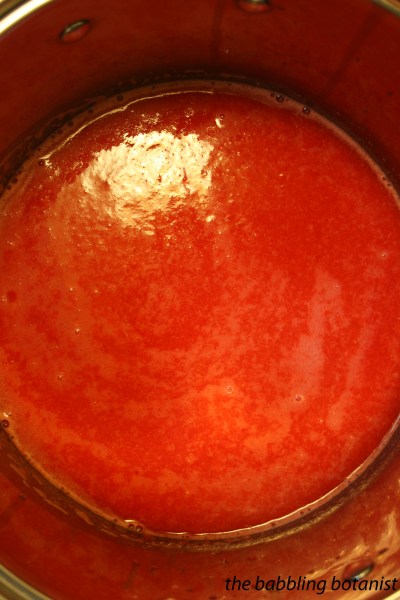
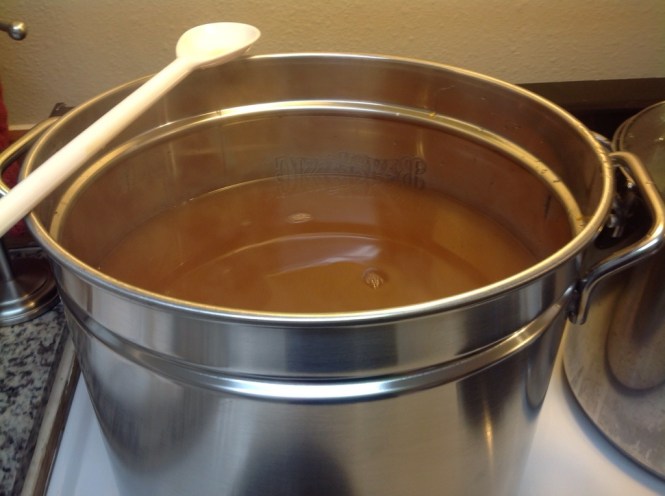
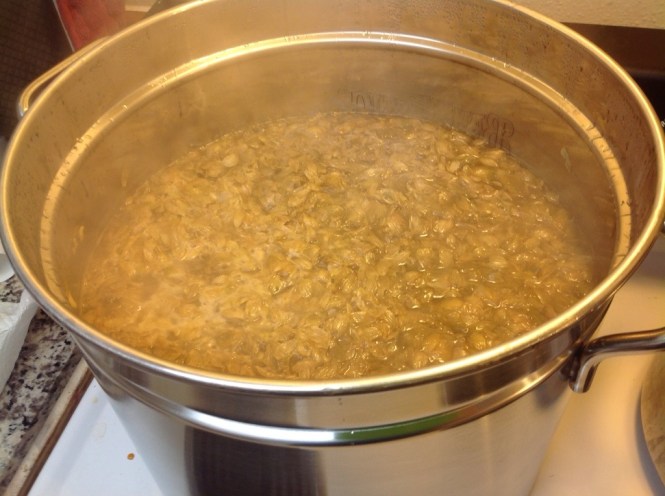
Check it out. Now we have wort! That’s fancy brewspeak for the brown water that will be beer. Turns out brewers like to use a lot of fancy words. Doesn’t look too appetizing just yet. Now we’re going to bring our wort to a boil. A lot of beers boil for an hour, some an hour and a half, and add a few more ingredients along the way.

20140217-102328.jpg

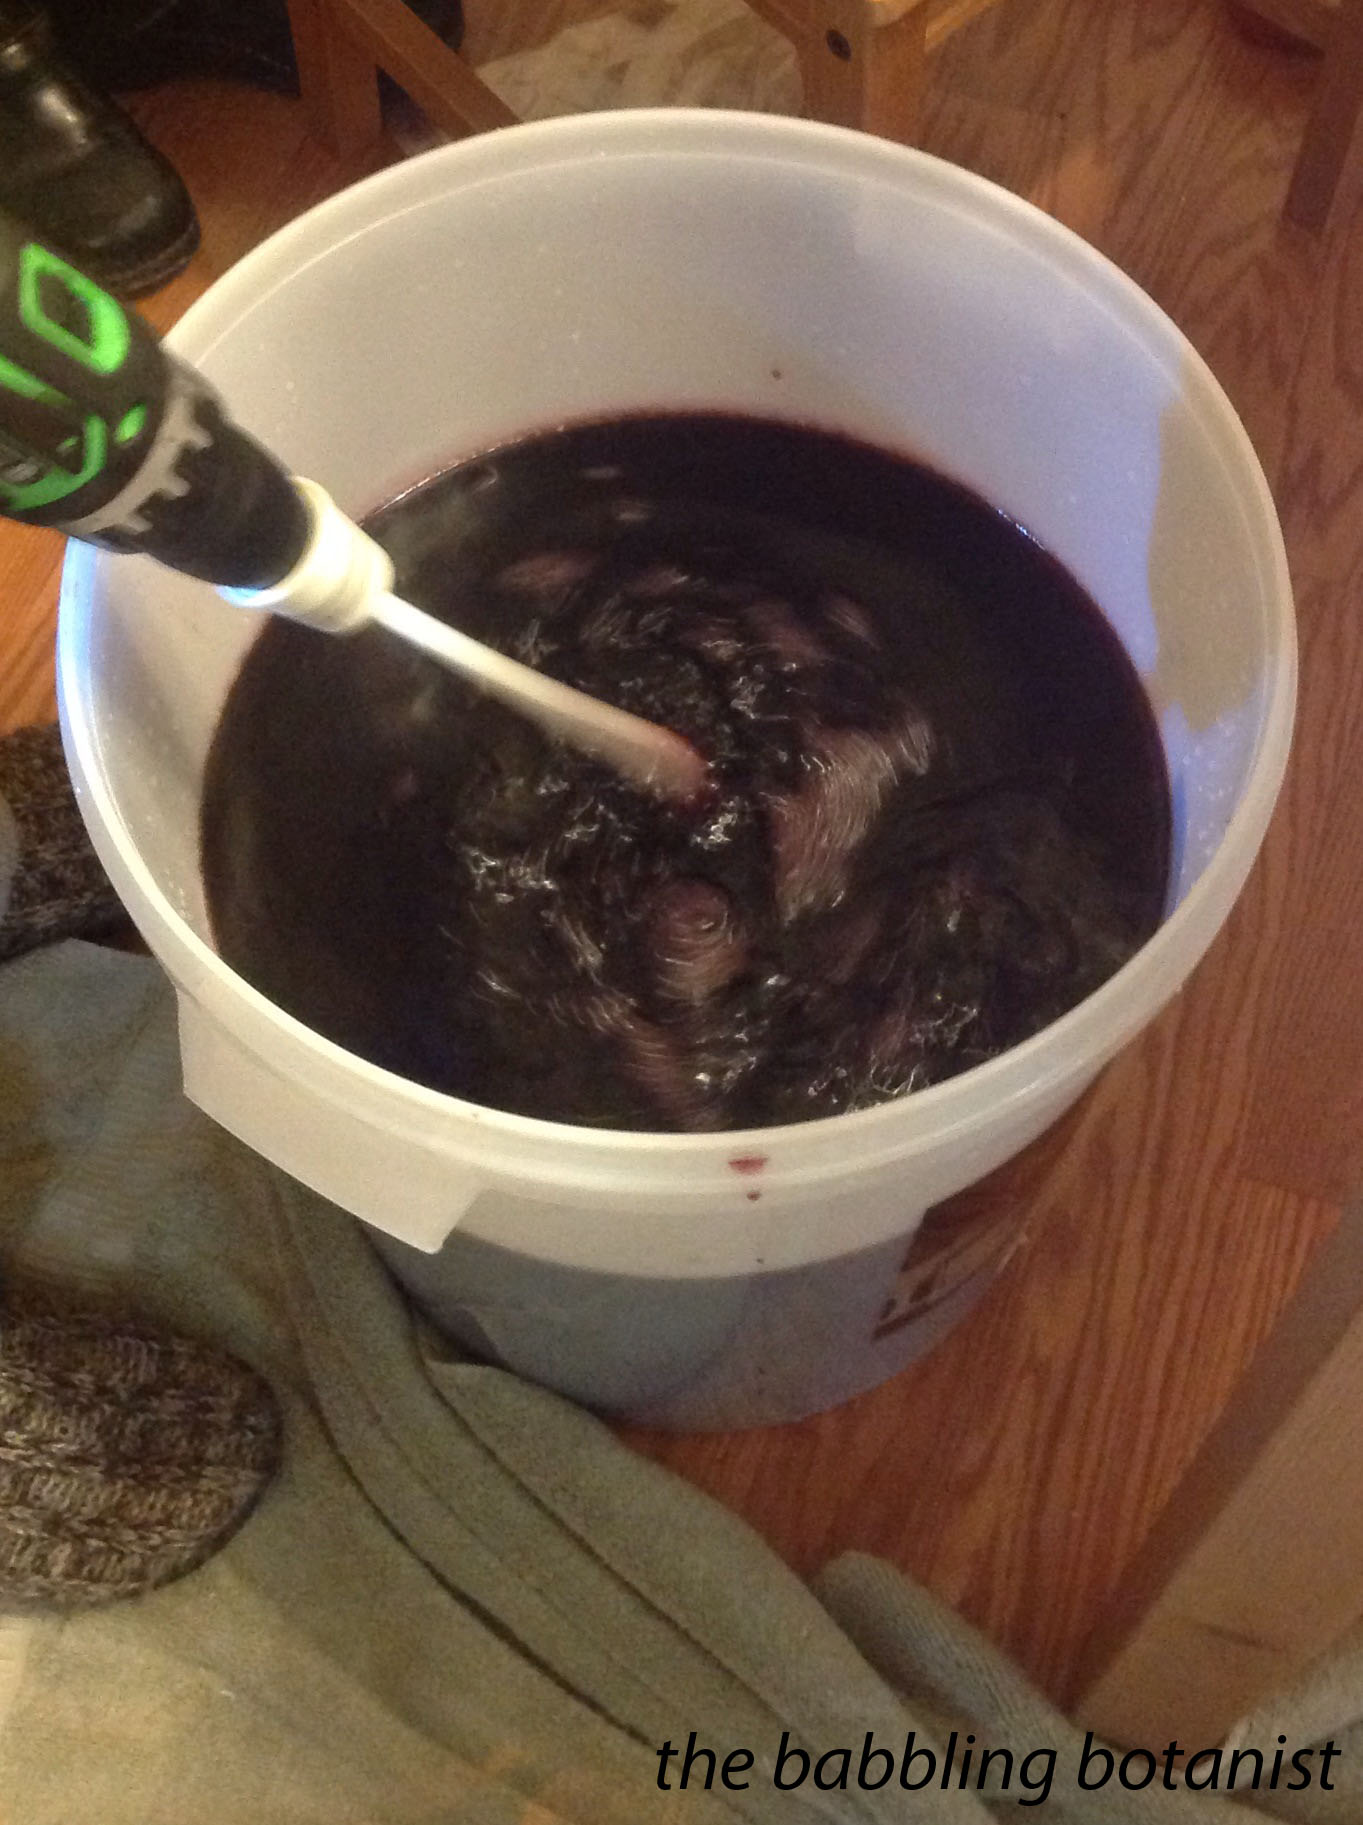
Hops! Once the beer was boiling, it was time for the hops. Hops get added at different times depending on the flavour you are going for. For this recipe, IPA, 2 oz went in a the very beginning. These are the “bittering hops.” Basically, the longer hops boil, the more bitterness is imparted on the beer, and the less flavour and aroma. So to also get the flavour we added an additional half ounce at 20, 15, 5, and 0 minutes (with 60 being your start time and you are counting down). That’s about as tough as it gets! Now you just watch it, make sure it’s not boiling over, and stir so nothing burns to the bottom. Oh, and add some gypsum and Irish moss at about 30 minutes.

Day 1, lesson 3. Have the fan on. If you are brewing on the back burner as we were, watch for condensation on the fan unit that can drip into the wort. Preferably brew on the front larger burner, if yours works, unlike mine….don’t get me started. Anyways, it’s getting boiled so whatever, but it’s gross if steam condenses on there and drips back in your wort. Eww. I don’t even know. Now that’s a solid piece of advice I bet you won’t find in Palmer 😉

20140217-102349.jpg

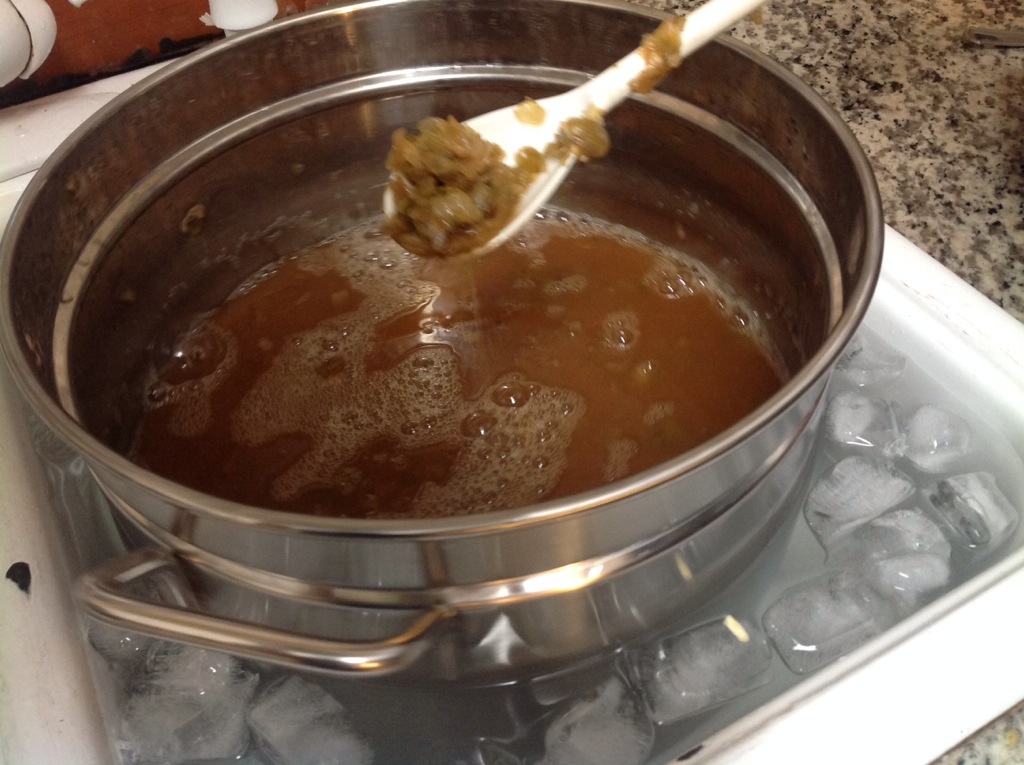
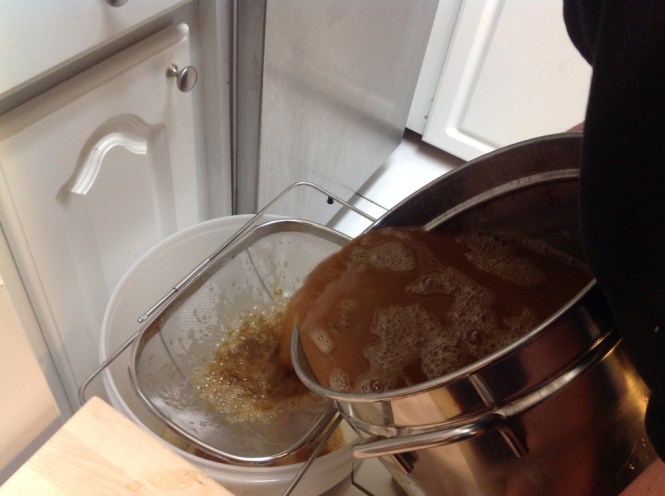
After your hour boil is finished, you need to cool the wort as quickly as possible. The easiest way, without buying extra equipment, is with an ice water bath like this. However, it cools a lot quicker if you send $50 or so on a wort chiller. It seemed silly at first to get one, but we did after a couple more brews and it was well worth it, the beer cools much more quickly. It sucked waiting and waiting and spending a few bucks on ice each time since we only have a couple of trays and it takes a lot of ice.

20140217-102520.jpg

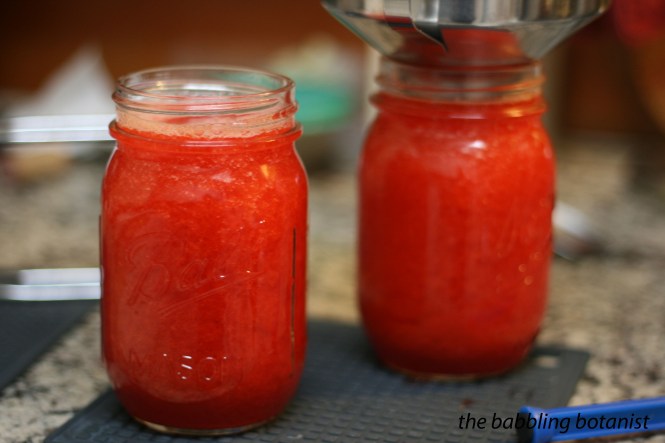
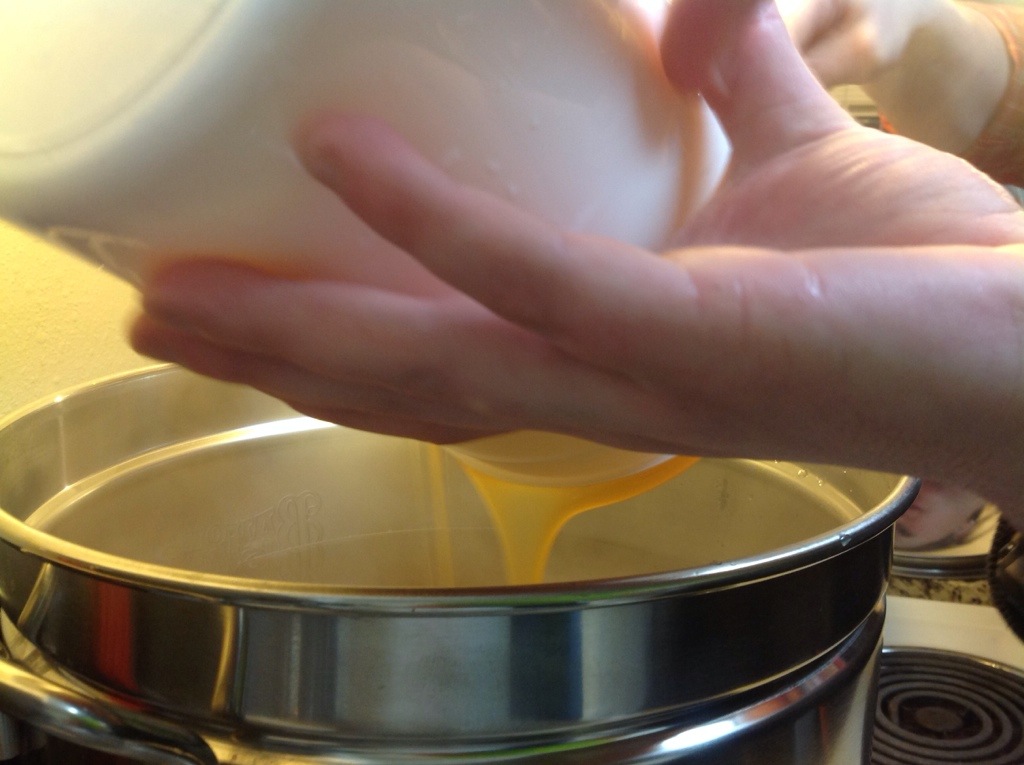
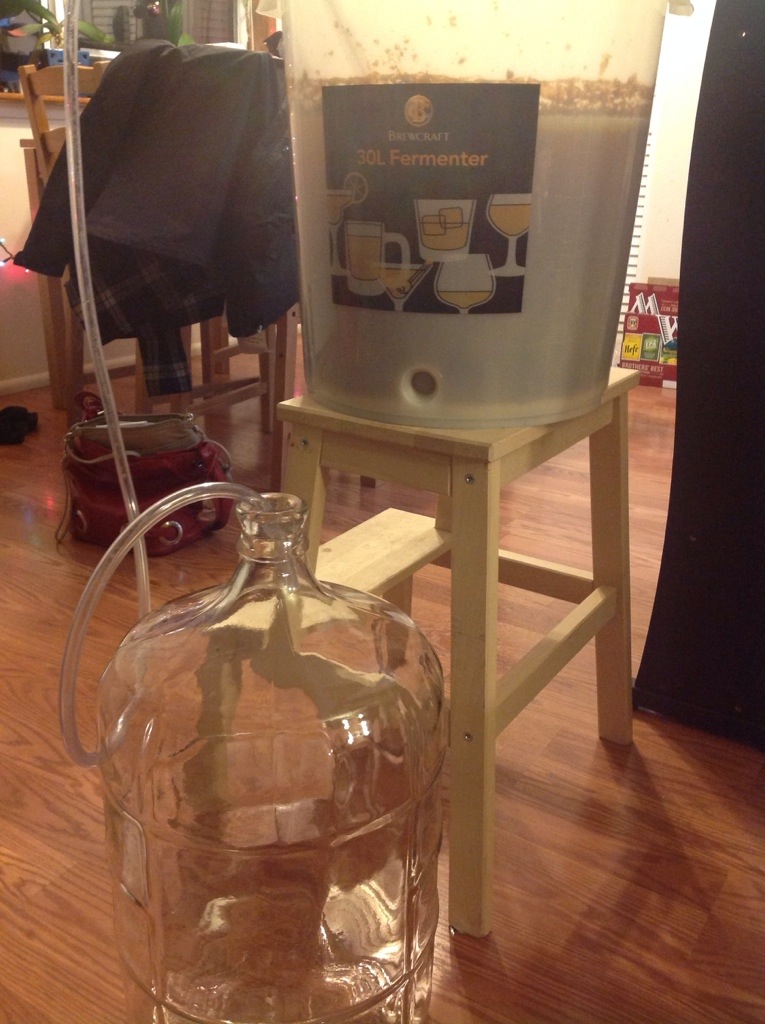
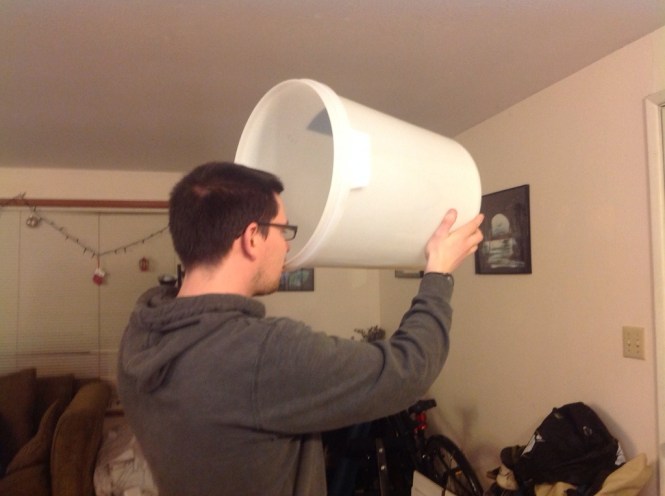
Once it’s cooled to about 70 F, room temp, you’ll dump it into your sanitized primary fermenter. We found this sweet strainer at bed bath and beyond that fits perfectly to catch the hops. You then top it off with water so you have a total 5 gallon volume. It’s ideal to have a huge pot so you don’t have to top it off, but when you first start out this might be how you do it. I can’t say my palette is refined enough to really notice a difference between topping it off and boiling the entire volume. 

20140217-102535.jpg

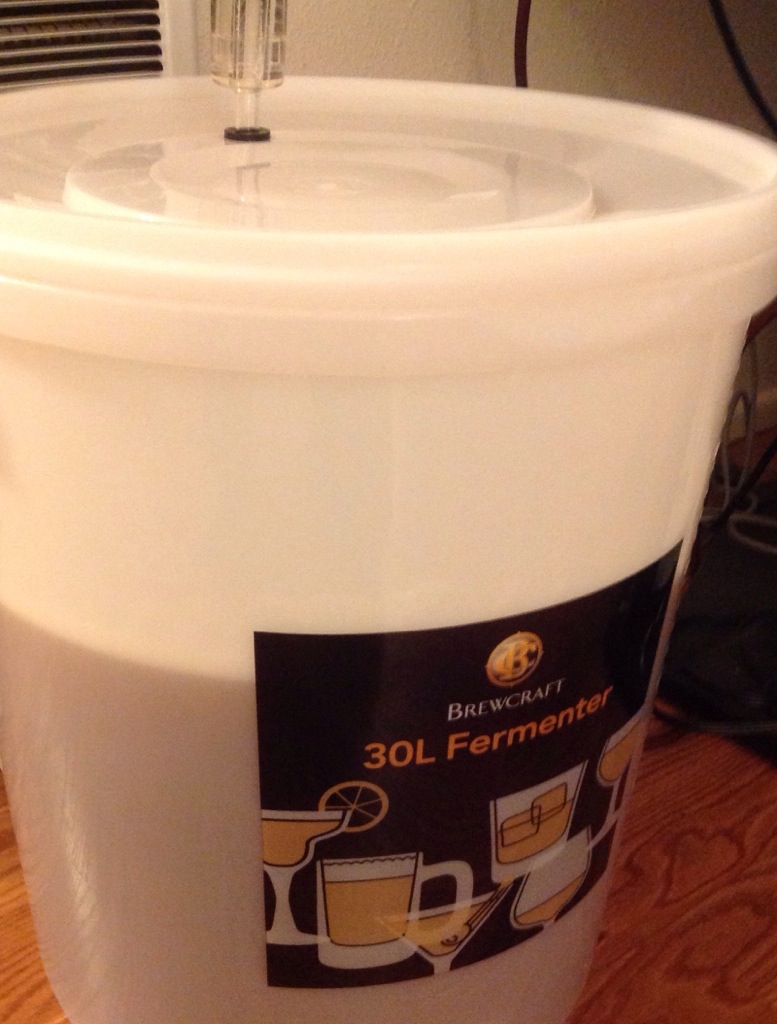
Last thing to do today is take a hydrometer reading. Yay more fancy chemistry terms! Basically a hydrometer is a floaty device that you use to measure how much sugar you have in your wort. The yeast you are about to add will eat the sugar and therefore you need to know how much you have so you can calculate the final alcohol percentage. Lastly, you pitch the yeast! Pitch means, dump that yeast in there. Now we put on the lid and wait.

20140217-102736.jpg

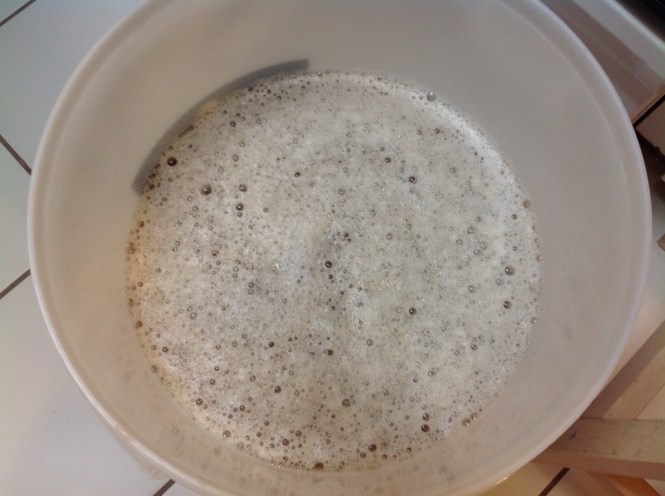
Wooo fermentation! For about 7-10 days it stays in the primary fermenter. After a day or two you see vigorous bubbles in the airlock. That means it’s working! The bubbles are carbon dioxide from the yeast eating up your sugars. nom nom nom.

20140217-102747.jpg

Day 10

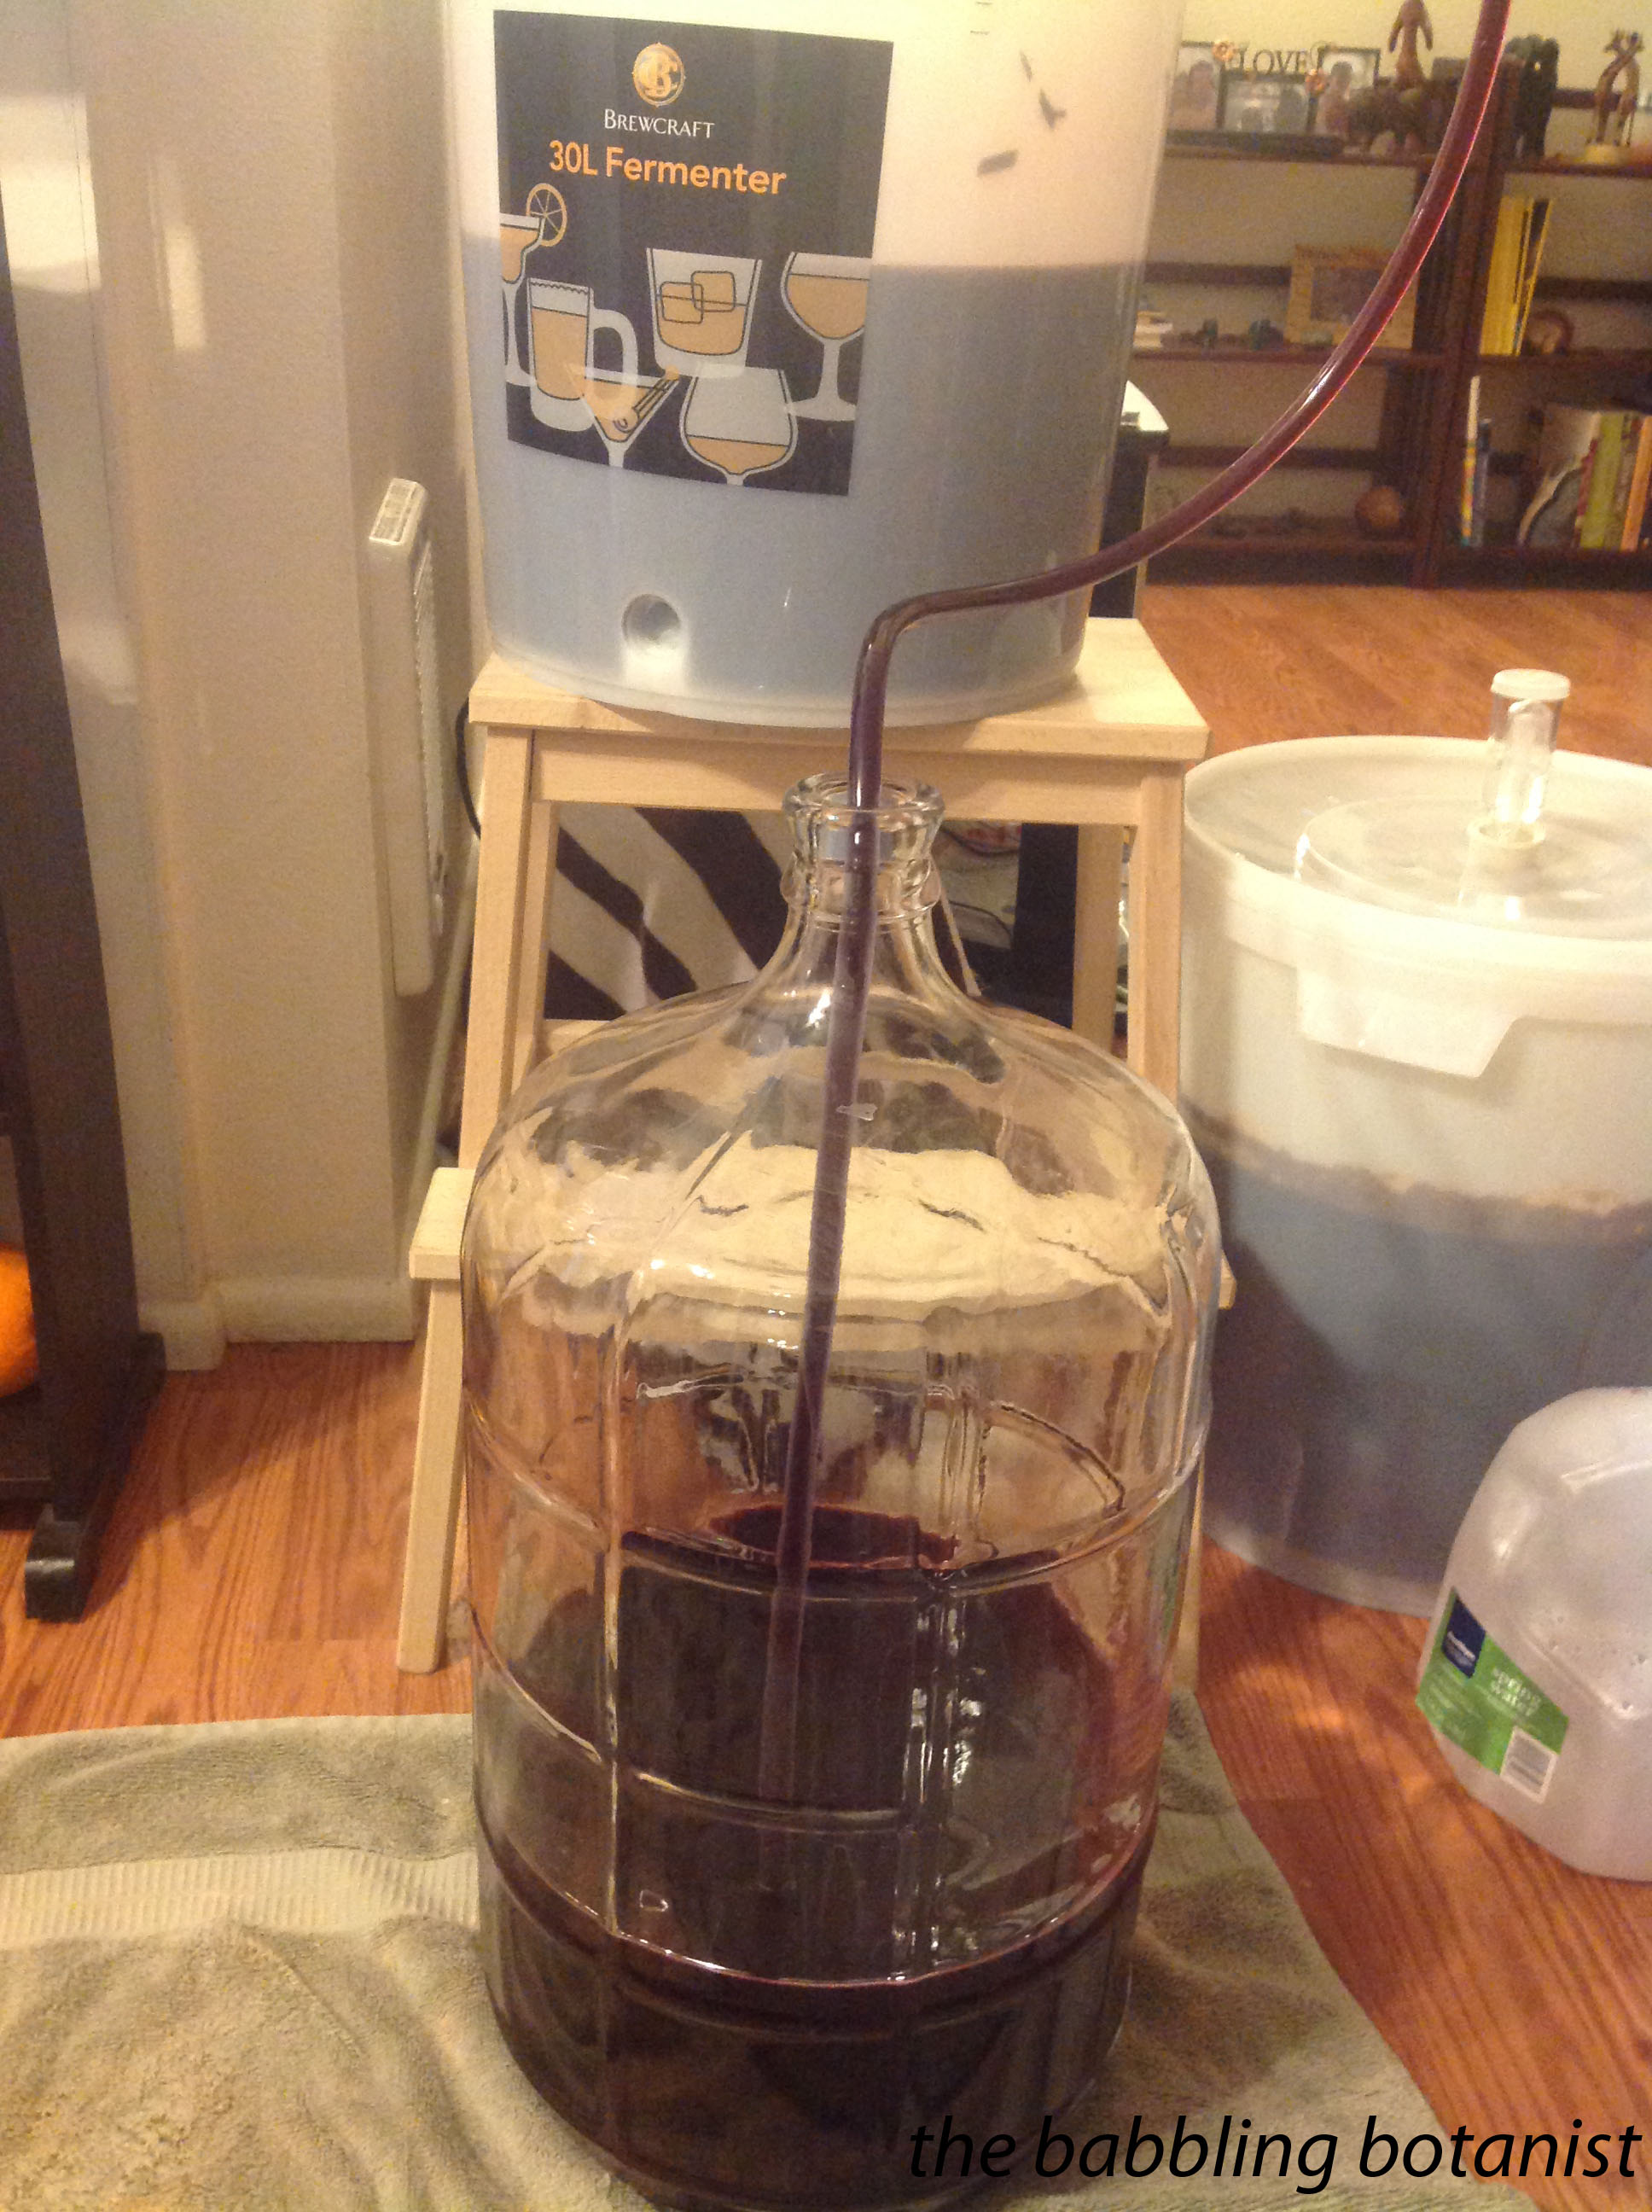
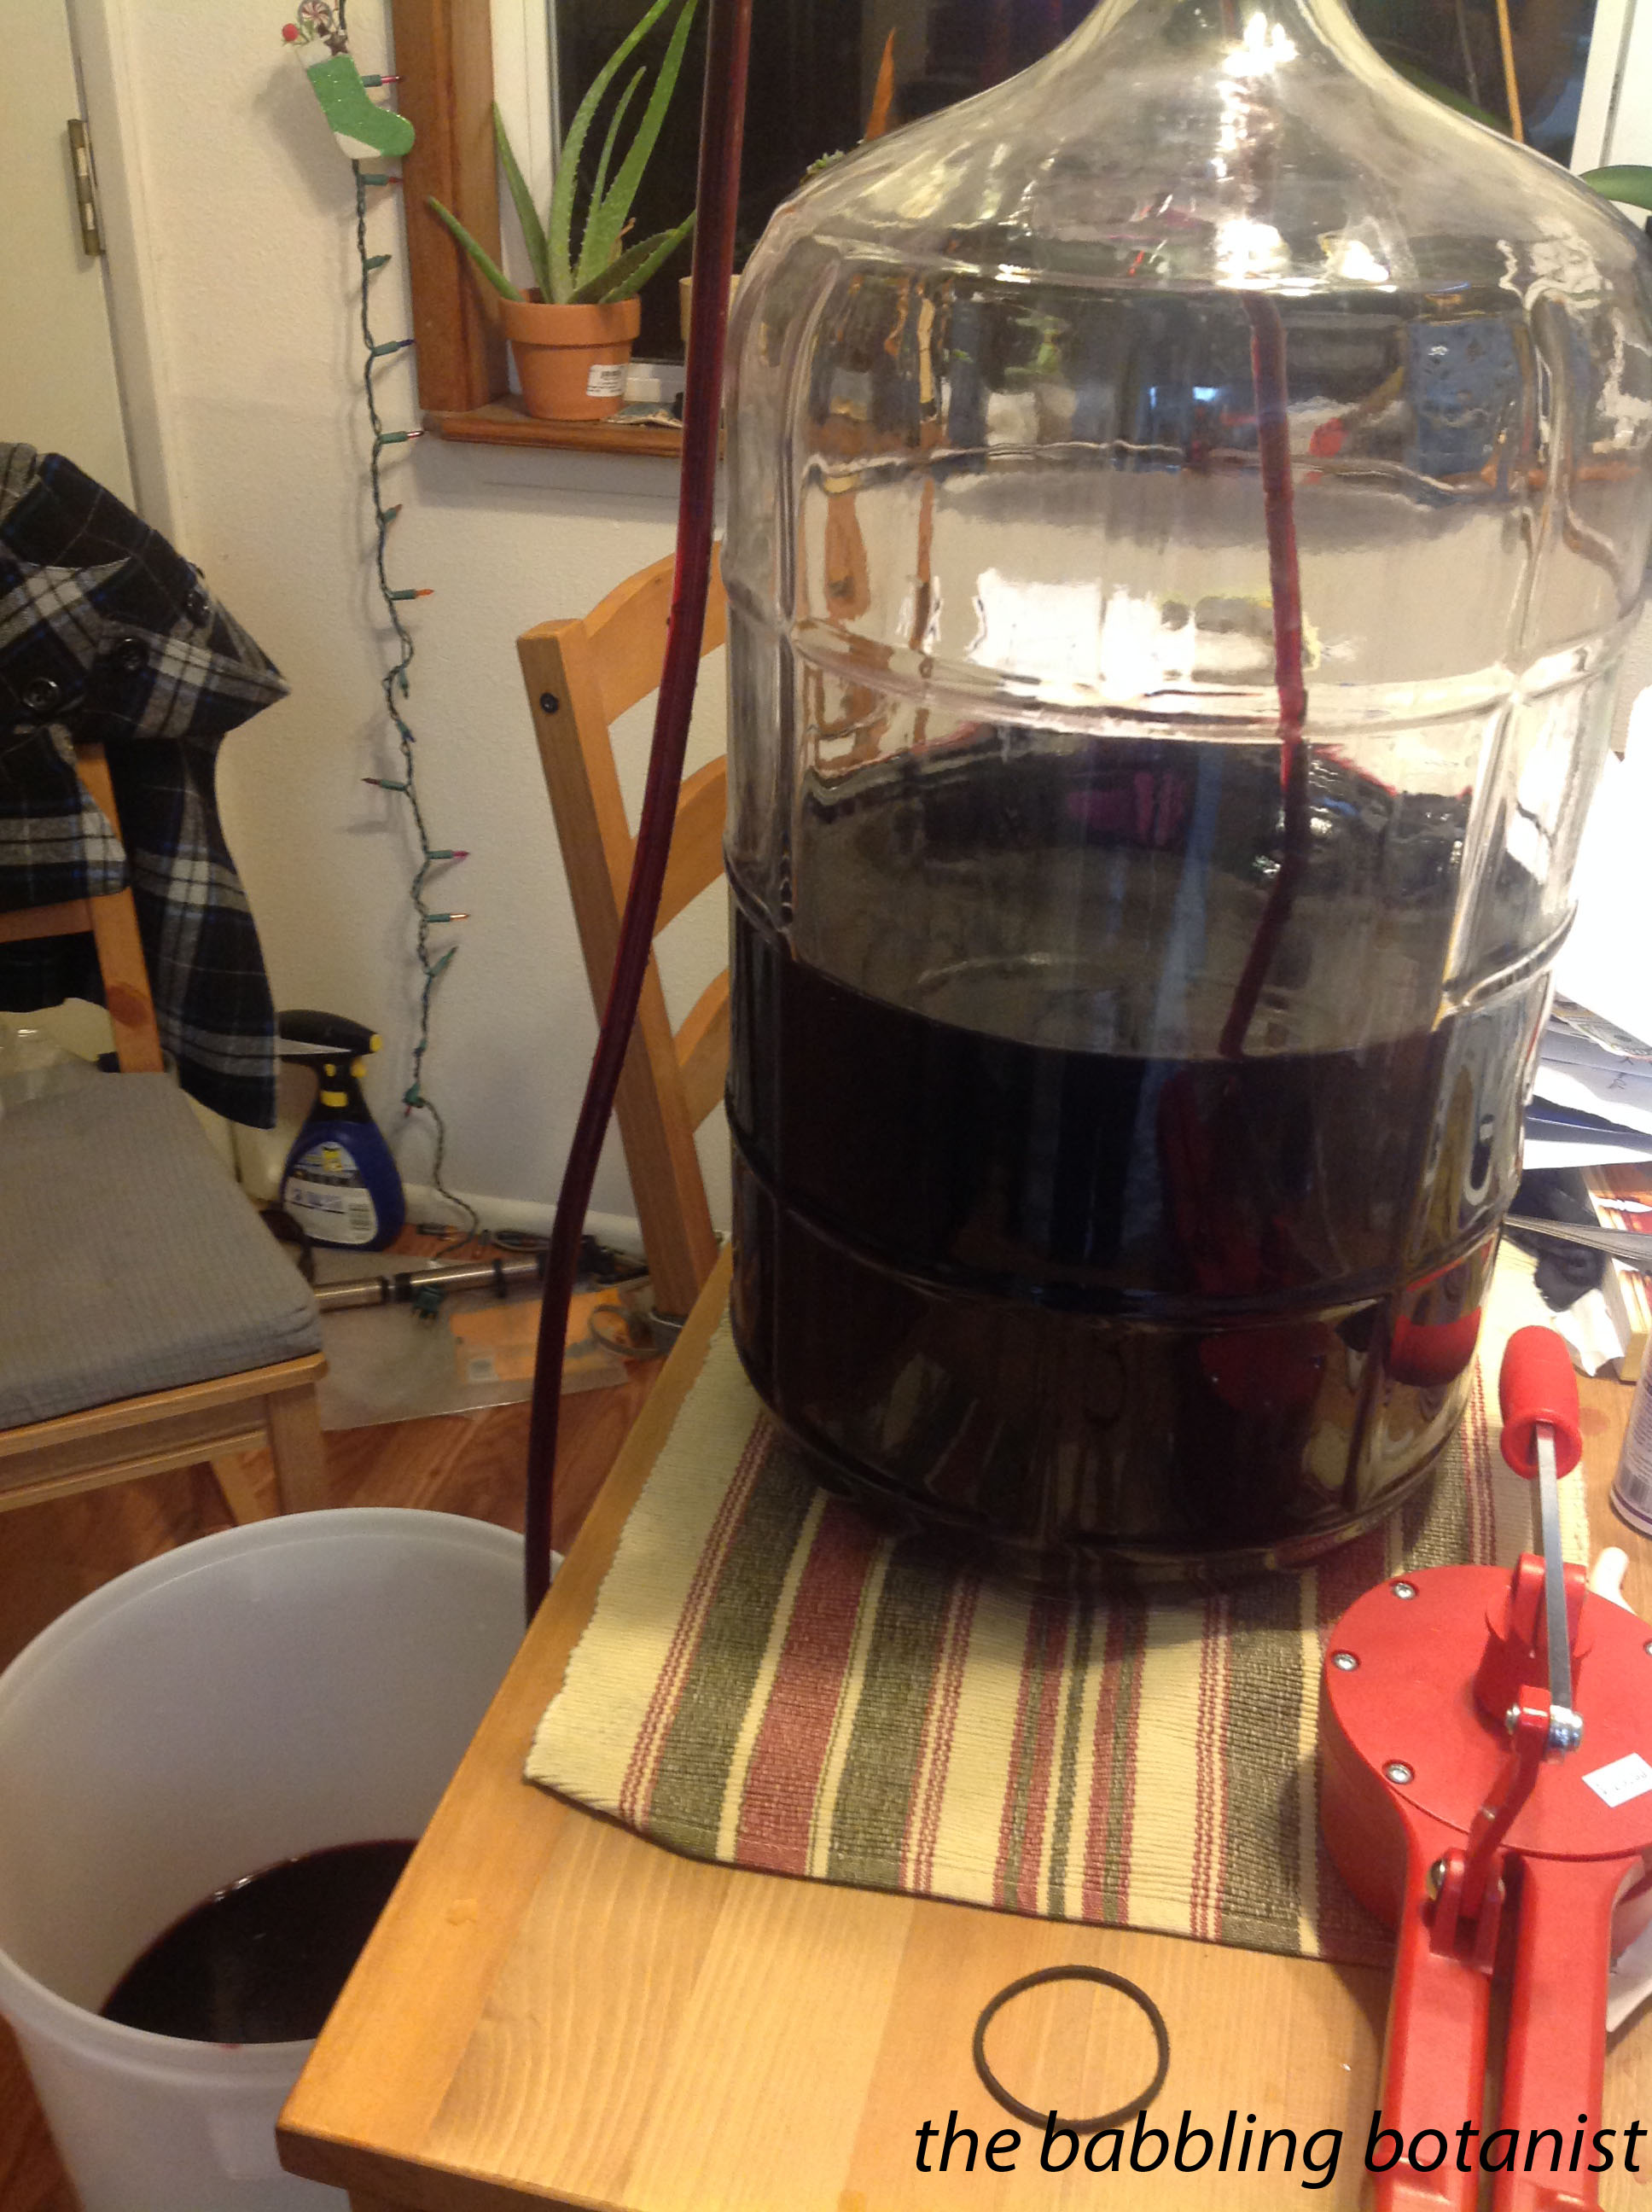
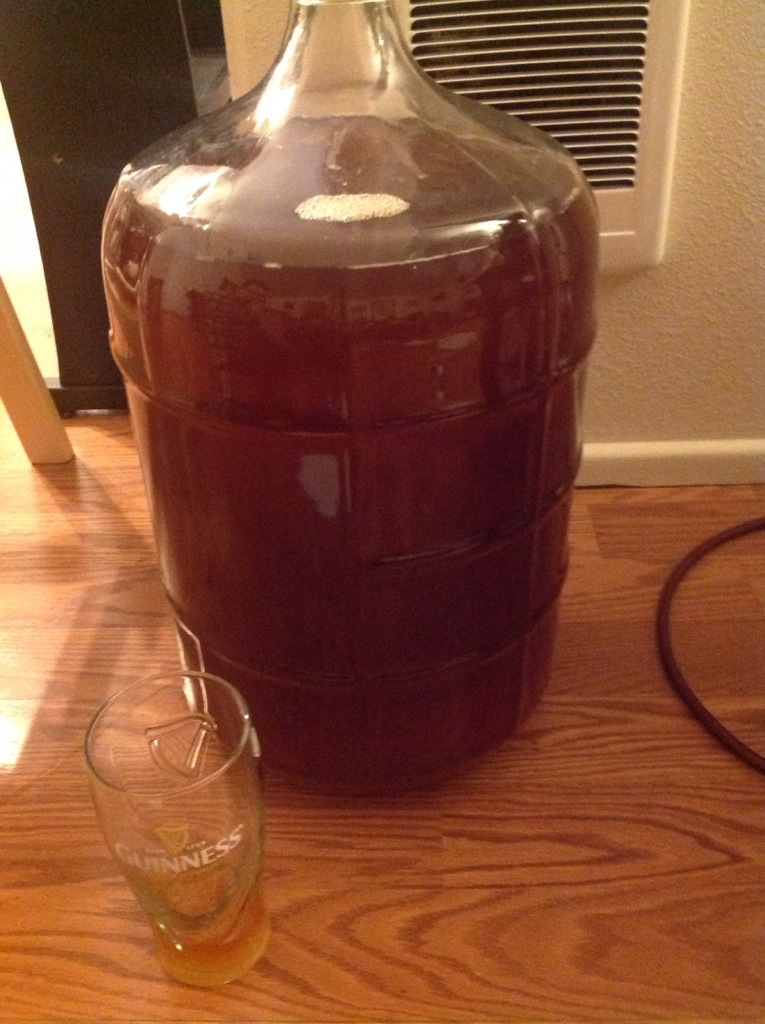
Once you are down to about one bubble every minute, it’s time to transfer containers. Or to use fancy brewspeak, we are racking the beer into the secondary fermenter. Now we’ll take another hydrometer reading to see how much sugar is left.
Day 10, lesson 1. The higher the primary container the better. Gravity people, she can be your friend or your enemy. The table or counter is better than this stool.

20140217-103007.jpg

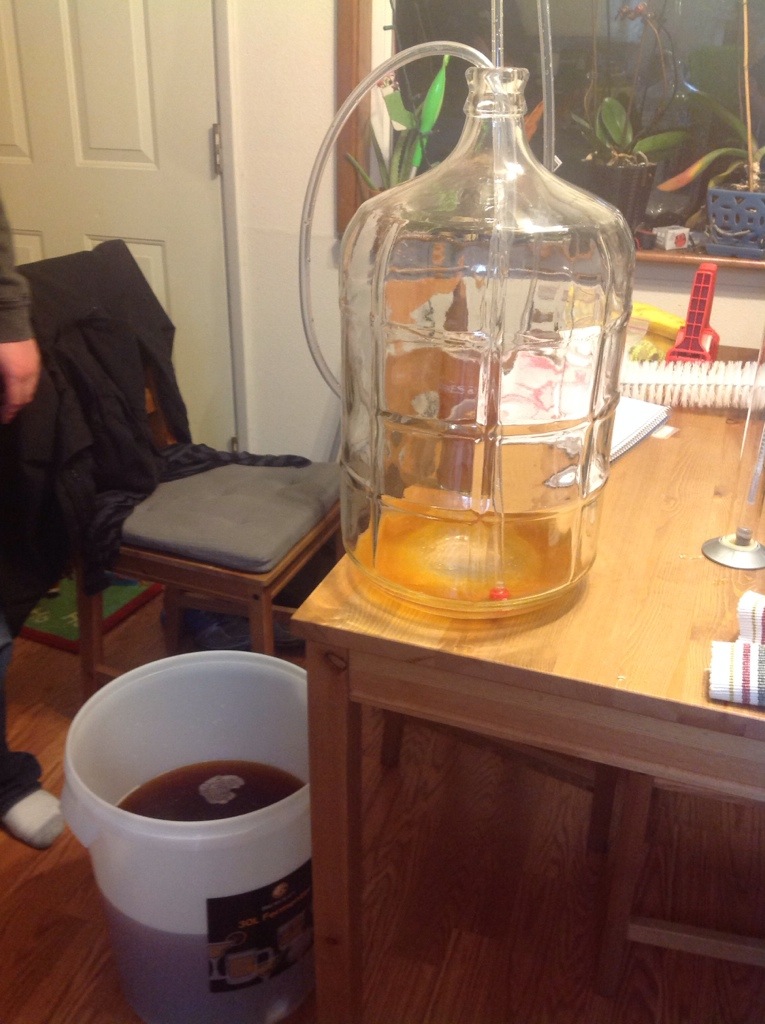
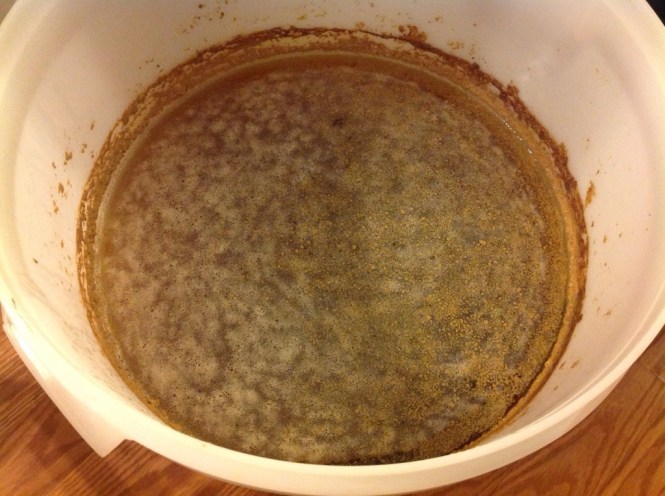
mmm check out that nasty sludge left over.

20140217-102933.jpg

Now we wait some more. 7-10 days again minimum. You basically can bottle once you’ve taken a few hydrometer readings and it hasn’t changed. That means all the yeast food is gone and they will be sad and die. Leaving you with delicious beer though of course. Don’t be sad for them, they lived a very fulfilled life in beer. And a few of them will live on a little longer to carbonate your beer.

Be sure you are giving it a taste test every step of the way! 🙂

20140217-103056.jpg

Day 20 ish

It’s bottling day yipee! The hydrometer readings are now steady and below what is specified in the recipe you followed, so its time to bottle your beer. First you’ll dissolve 3/4 cups of dextrose in water and put that in your sanitized primary bucket. This will be eaten by the yeast to carbonate the beer. Then you will rack the beer into the primary bucket.

20140217-103213.jpg

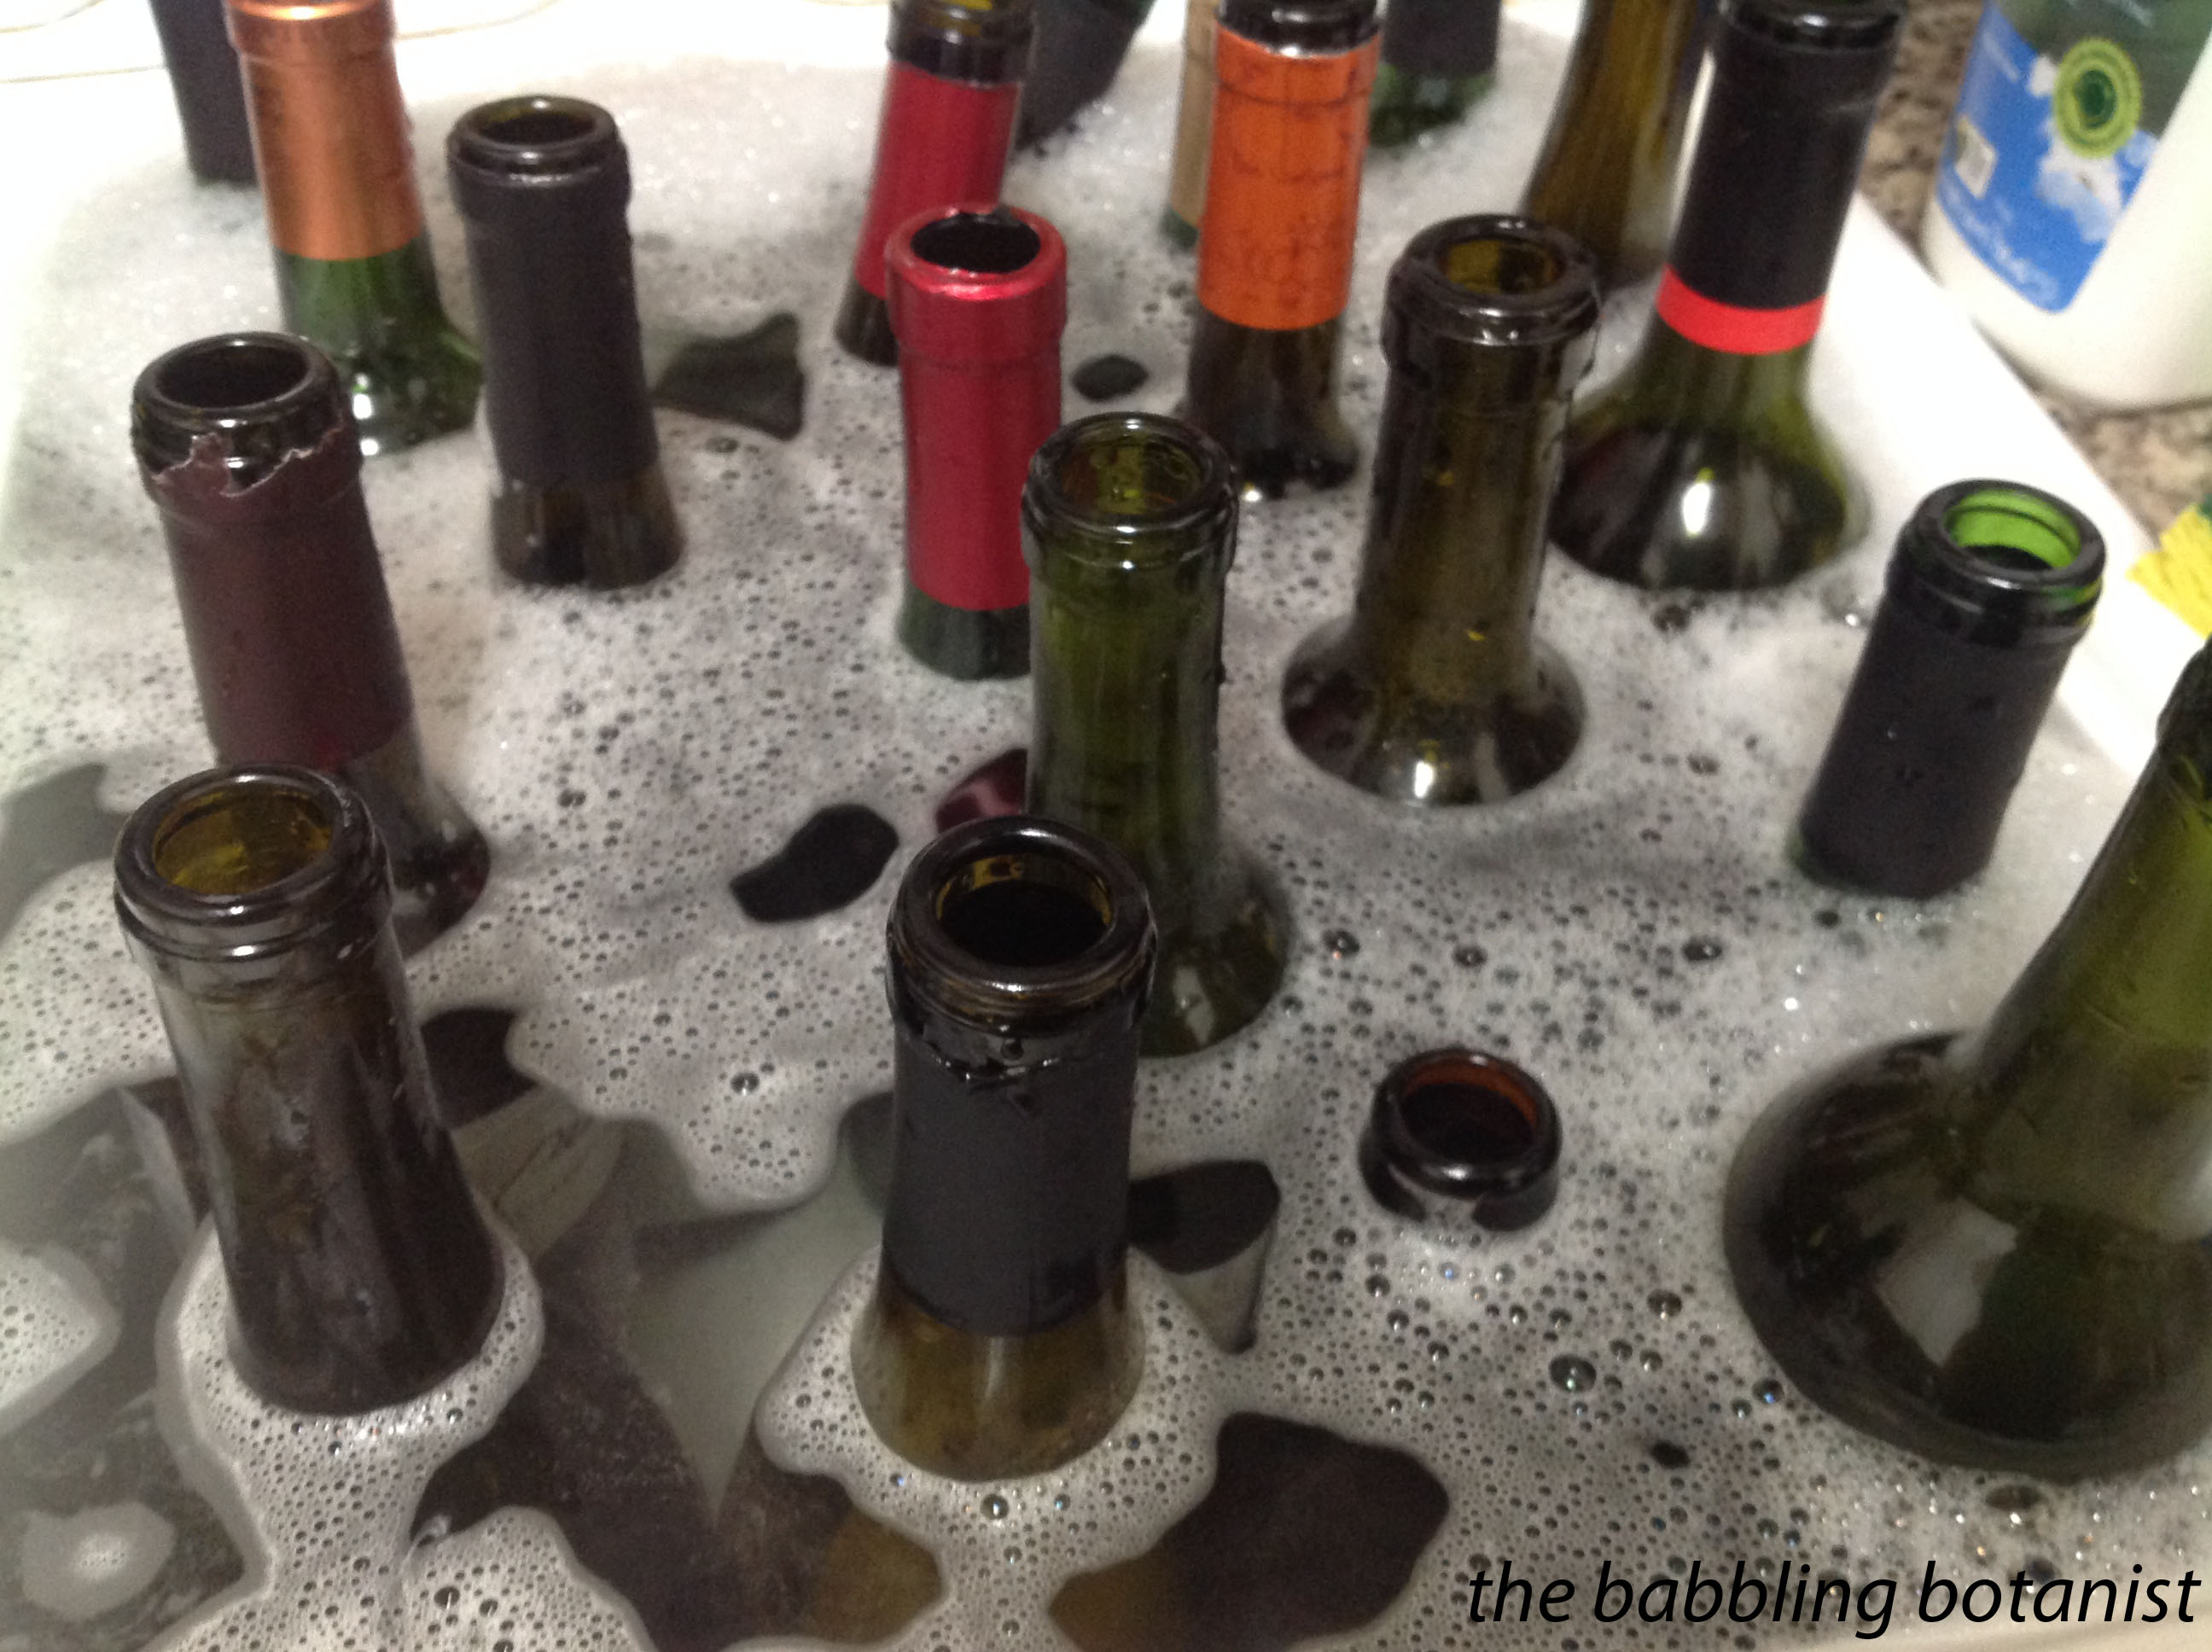
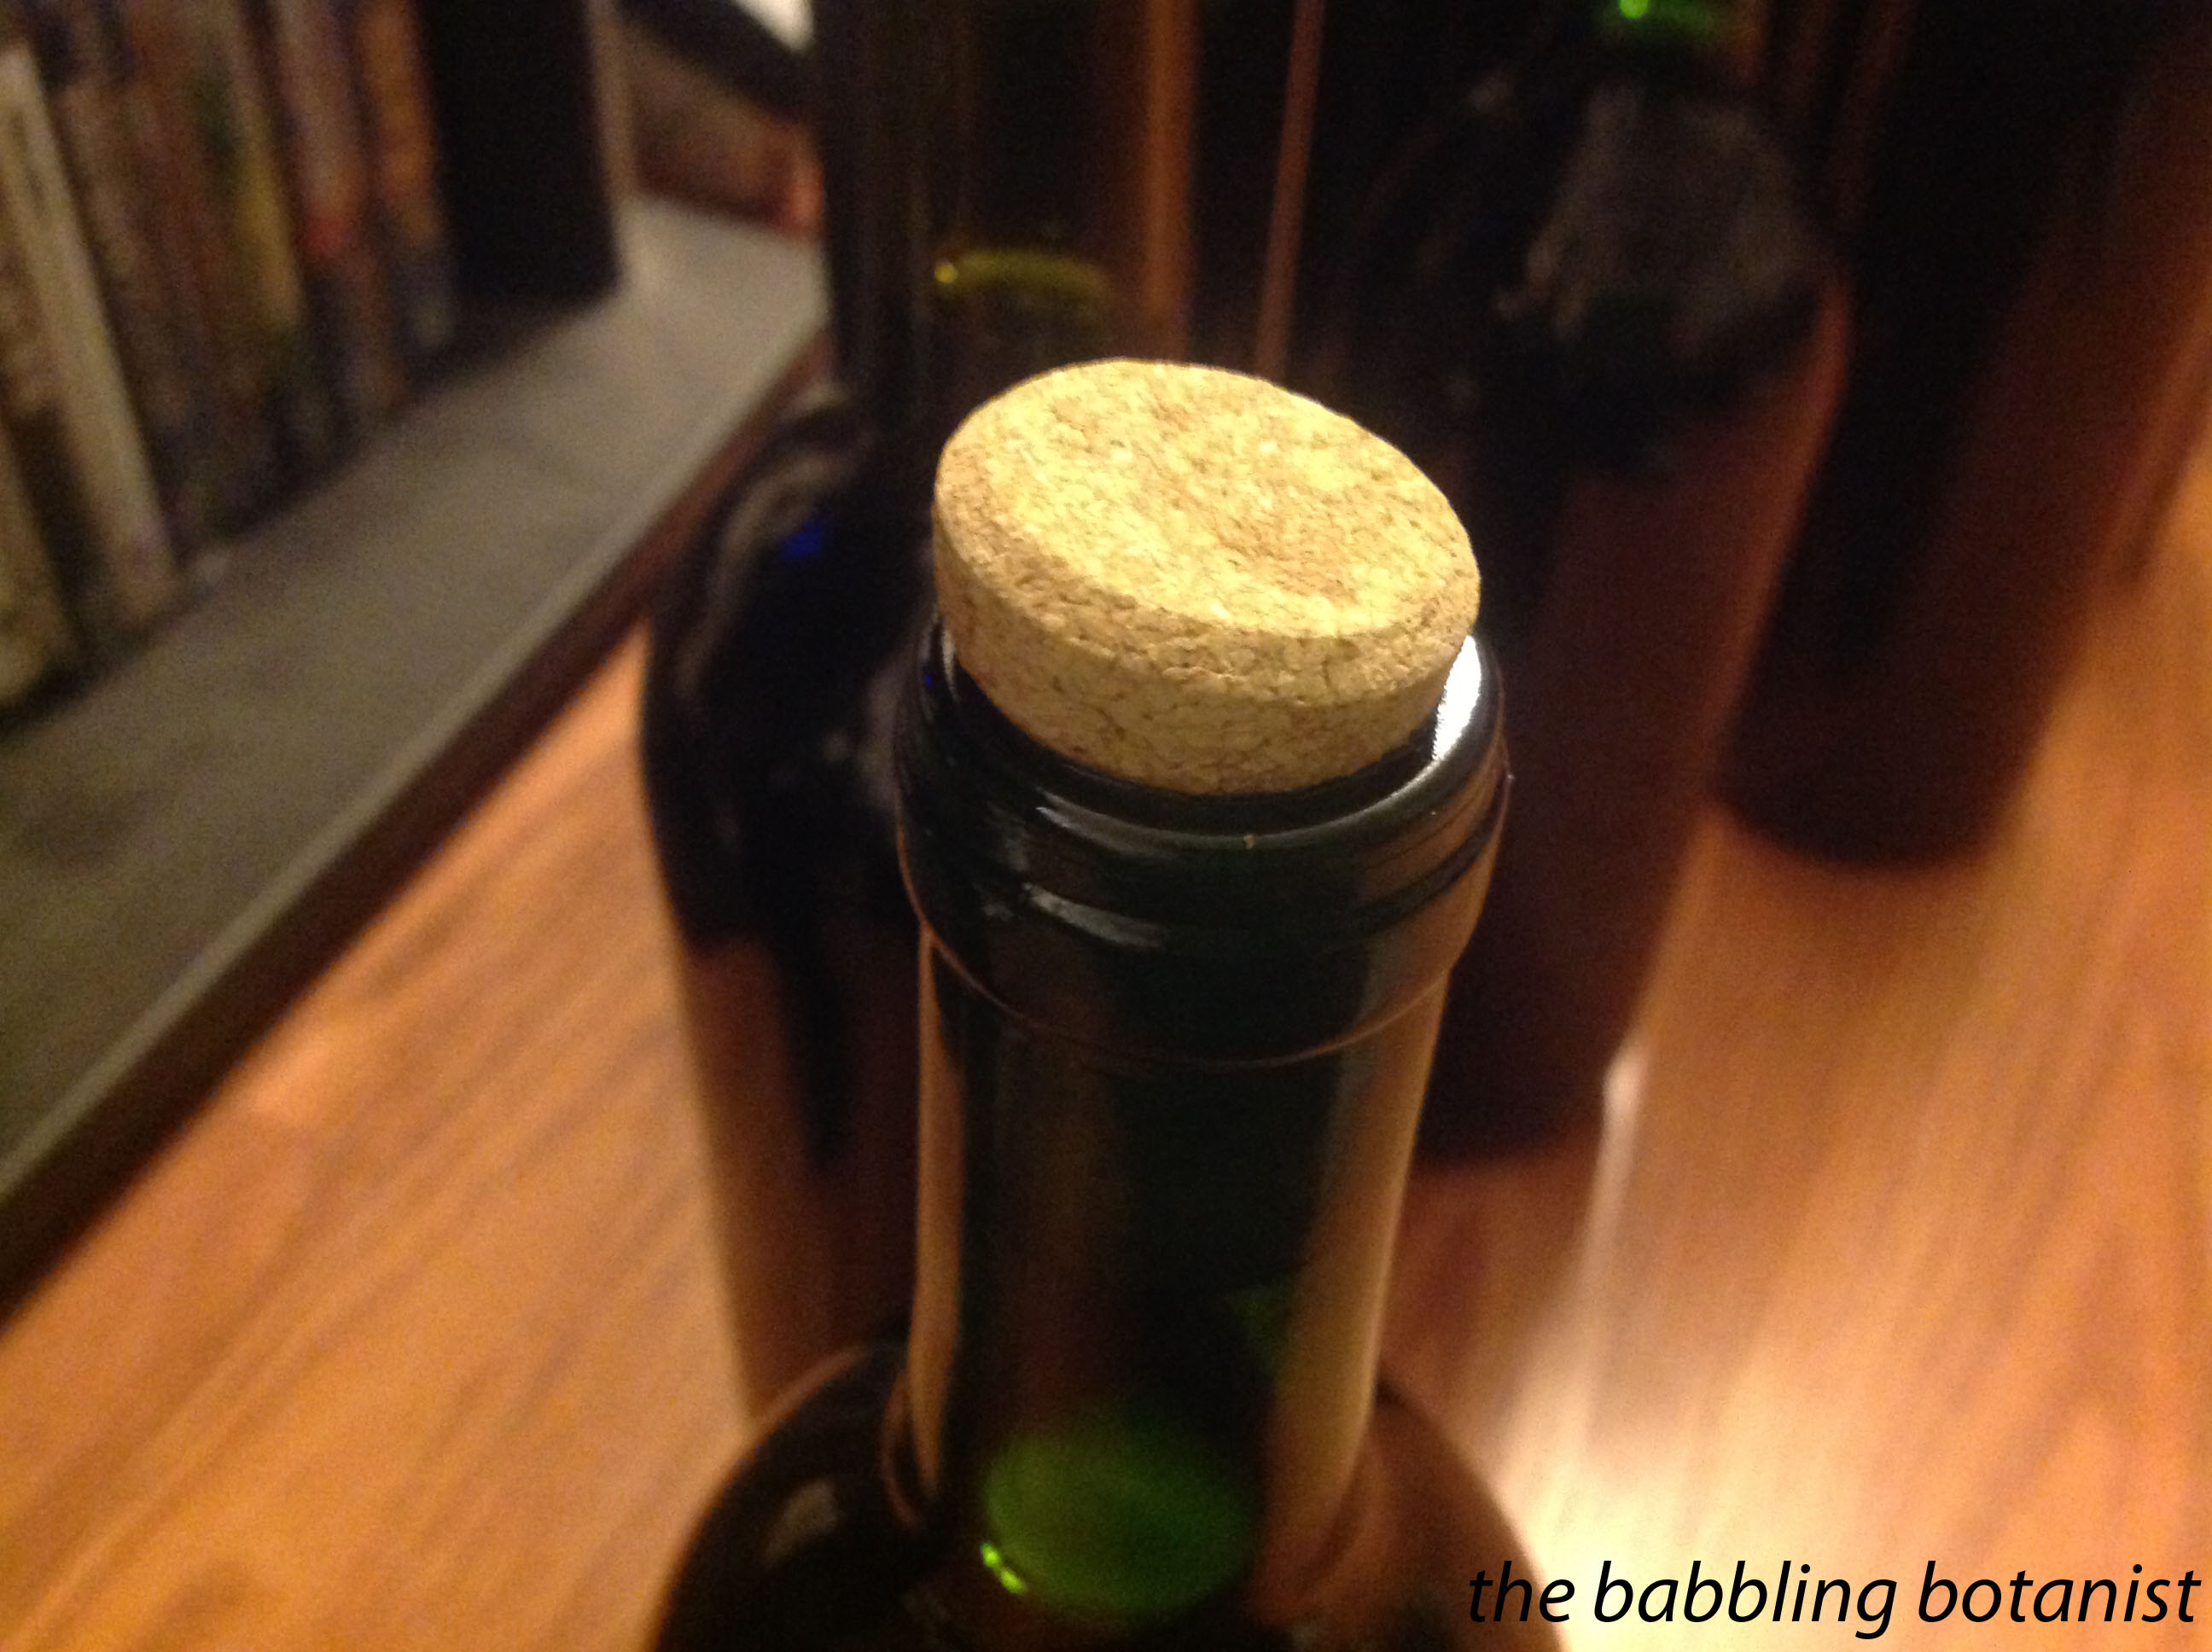
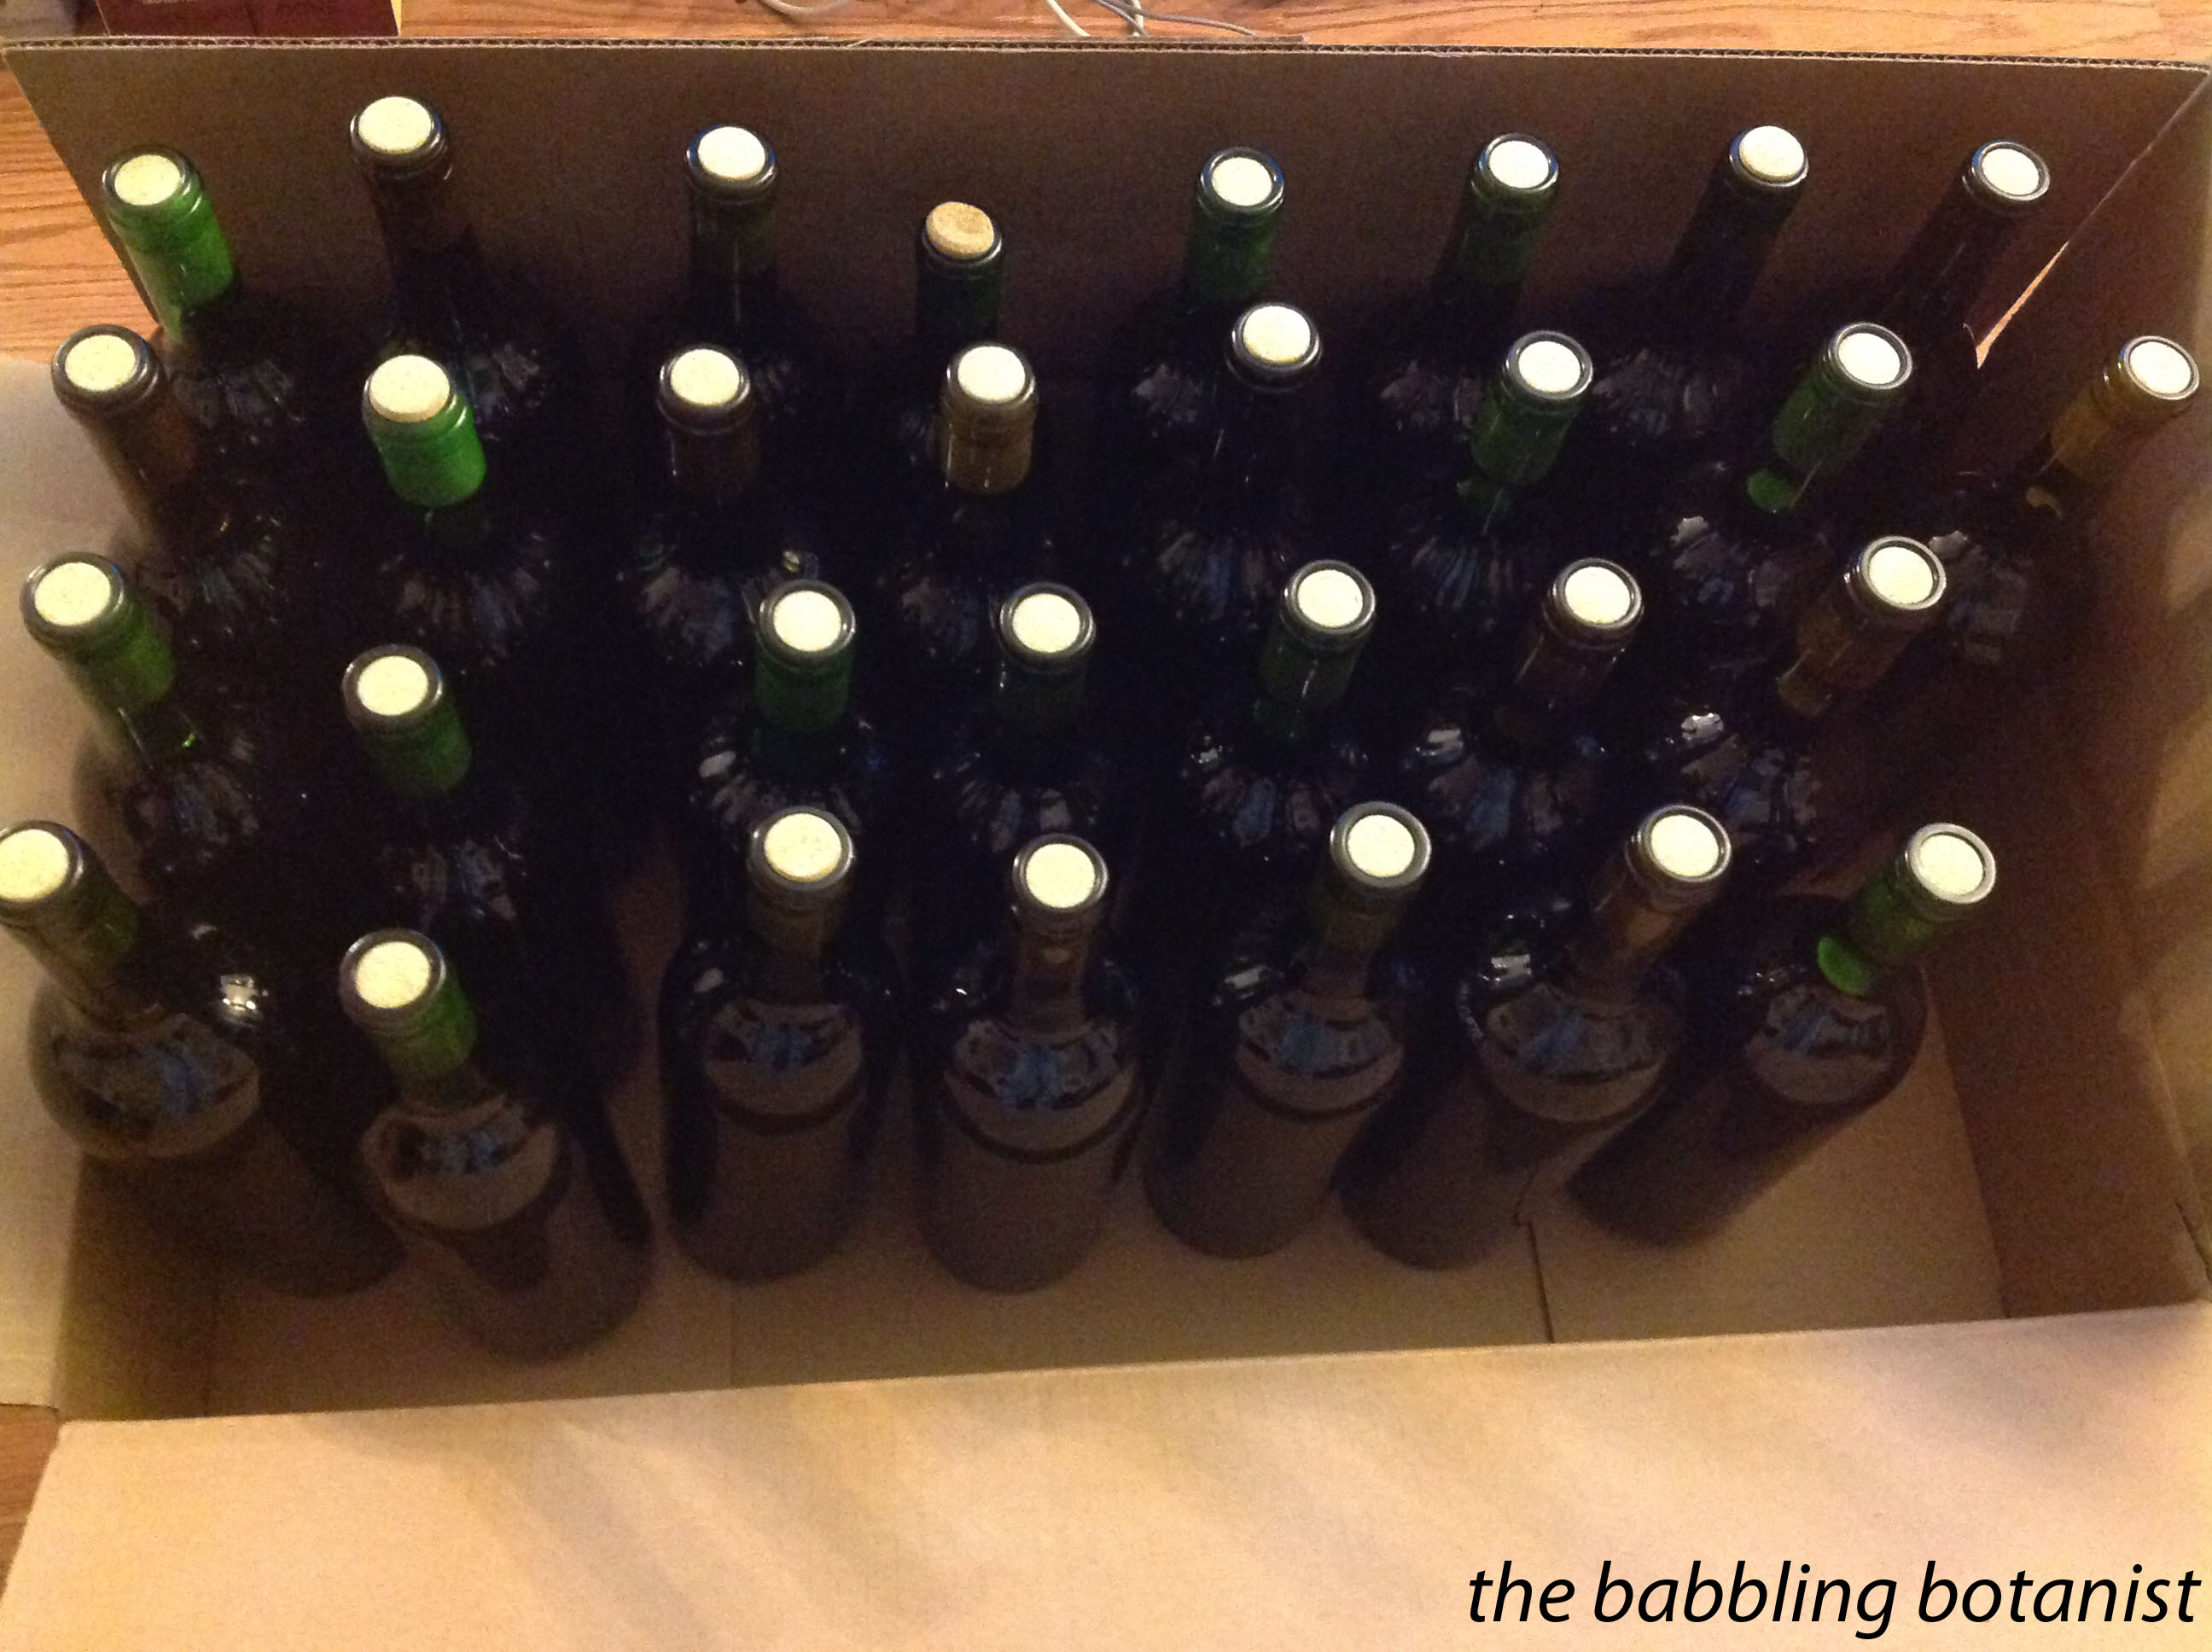
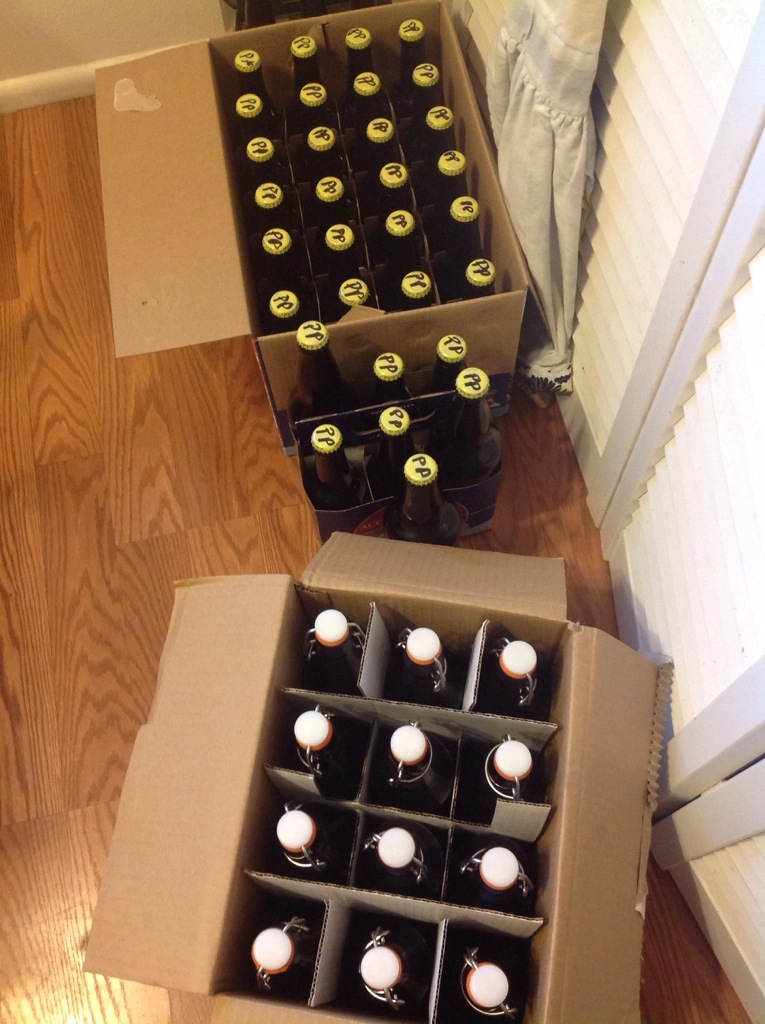
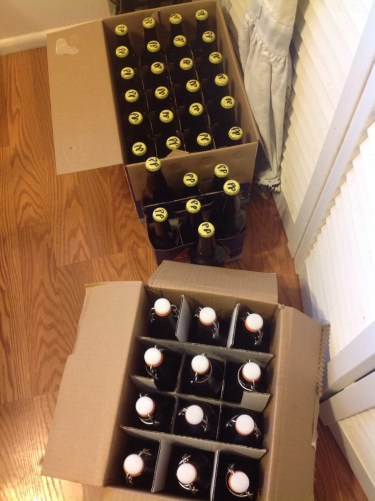
Clean and sanitized bottles ready to be filled. We bought a 12 pack of flip tops for fun but just reused the rest from store-bought beer.

20140217-103554.jpg

Next the primary bucket goes on the table and you fill up your sanitized bottles with beer!

Today’s tip: the cool little bottle filler is totally worth it. It’s got a little valve on the bottom that’s only open when you press it against the bottom of the bottle, so when you lift up the flow of beer stops.

20140217-103339.jpg

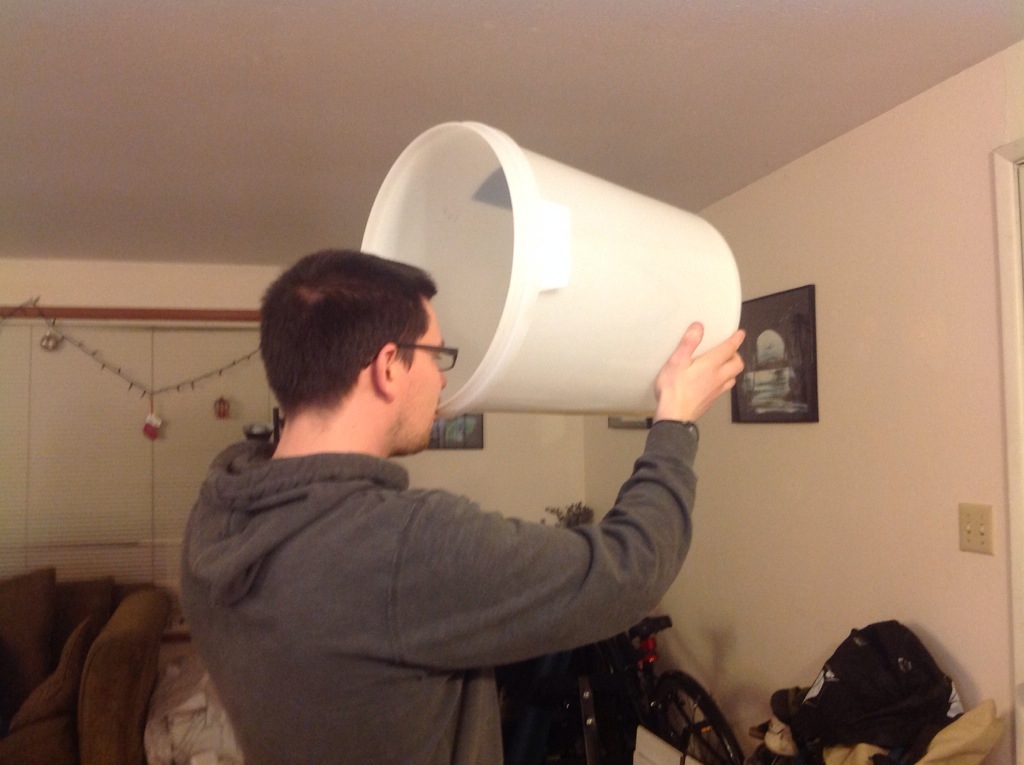
Taking care of a few leftover sips.

20140217-103354.jpg

Cap them and ta da! Store at room temperature until they carbonate (2-3 or so weeks) then enjoy!

20140217-103647.jpg

*This post contains affiliate links. Check out the “About the Blogger” page for more information.

First Brews on Punk Domestics

Cranberry Juice

Making your own cranberry juice is so darn easy – and cranberry season in here! All you need is cranberries and water, and a little sweetener if you desire.

20131025-183932.jpg

First, rinse the cranberries and pick out any yucky ones.

20131025-183959.jpg

Then combine however many cups you have with equal parts of water and bring to a boil over medium high heat. Once boiling, reduce the heat and boil for 5 or so minutes. You want them to start popping and once they mostly all have, it’s time to stain. I like to crush them a little bit too with the back of my stirring spoon to release more flavour.

20131025-184054.jpg

Remove from the heat and strain. If you are fancy enough to have a jelly bag you can use that. If you’re like me just strain into a deep pot using your regular strainer covered with a couple layers of cheese cloth. Let it drip for a couple hours to get all the juices.

20131025-184444.jpg

When it’s been nearly 2 hours, prepare the canner, jars and lids. Then bring the cranberry juice back up to heat. You want to bring it to 190F without boiling it. At this point you can sweeten the juice to taste, if desired. Once you reach 190, sustain it for about 5 minutes and then fill the jars.

20131025-194520.jpg

I went for the blue anniversary jars since it is the end of the season and they FINALLY put them on sale! Woohoo my waiting paid off. Fill jars leaving a 1/4 inch head space. Wipe rims, apply lids and place the jars in the canner covered by at least 1-2 inches of water. Process at a full rolling boil for 15 minutes for both pints and quarts. After 15 minutes, remove canner lid, wait 5 minutes and remove jars. ping. ping. ping!

20131025-184606.jpg

After 12-24 hours, remove bands, label and store. mmmmm home made juice!

20131025-184623.jpg

If you are having a party, or feeling like a twist on your cranberry juice, make a little cranberry martini with it! Sugar the rim, mix vodka, cranberry and ice, and voila!

20131025-194705.jpg