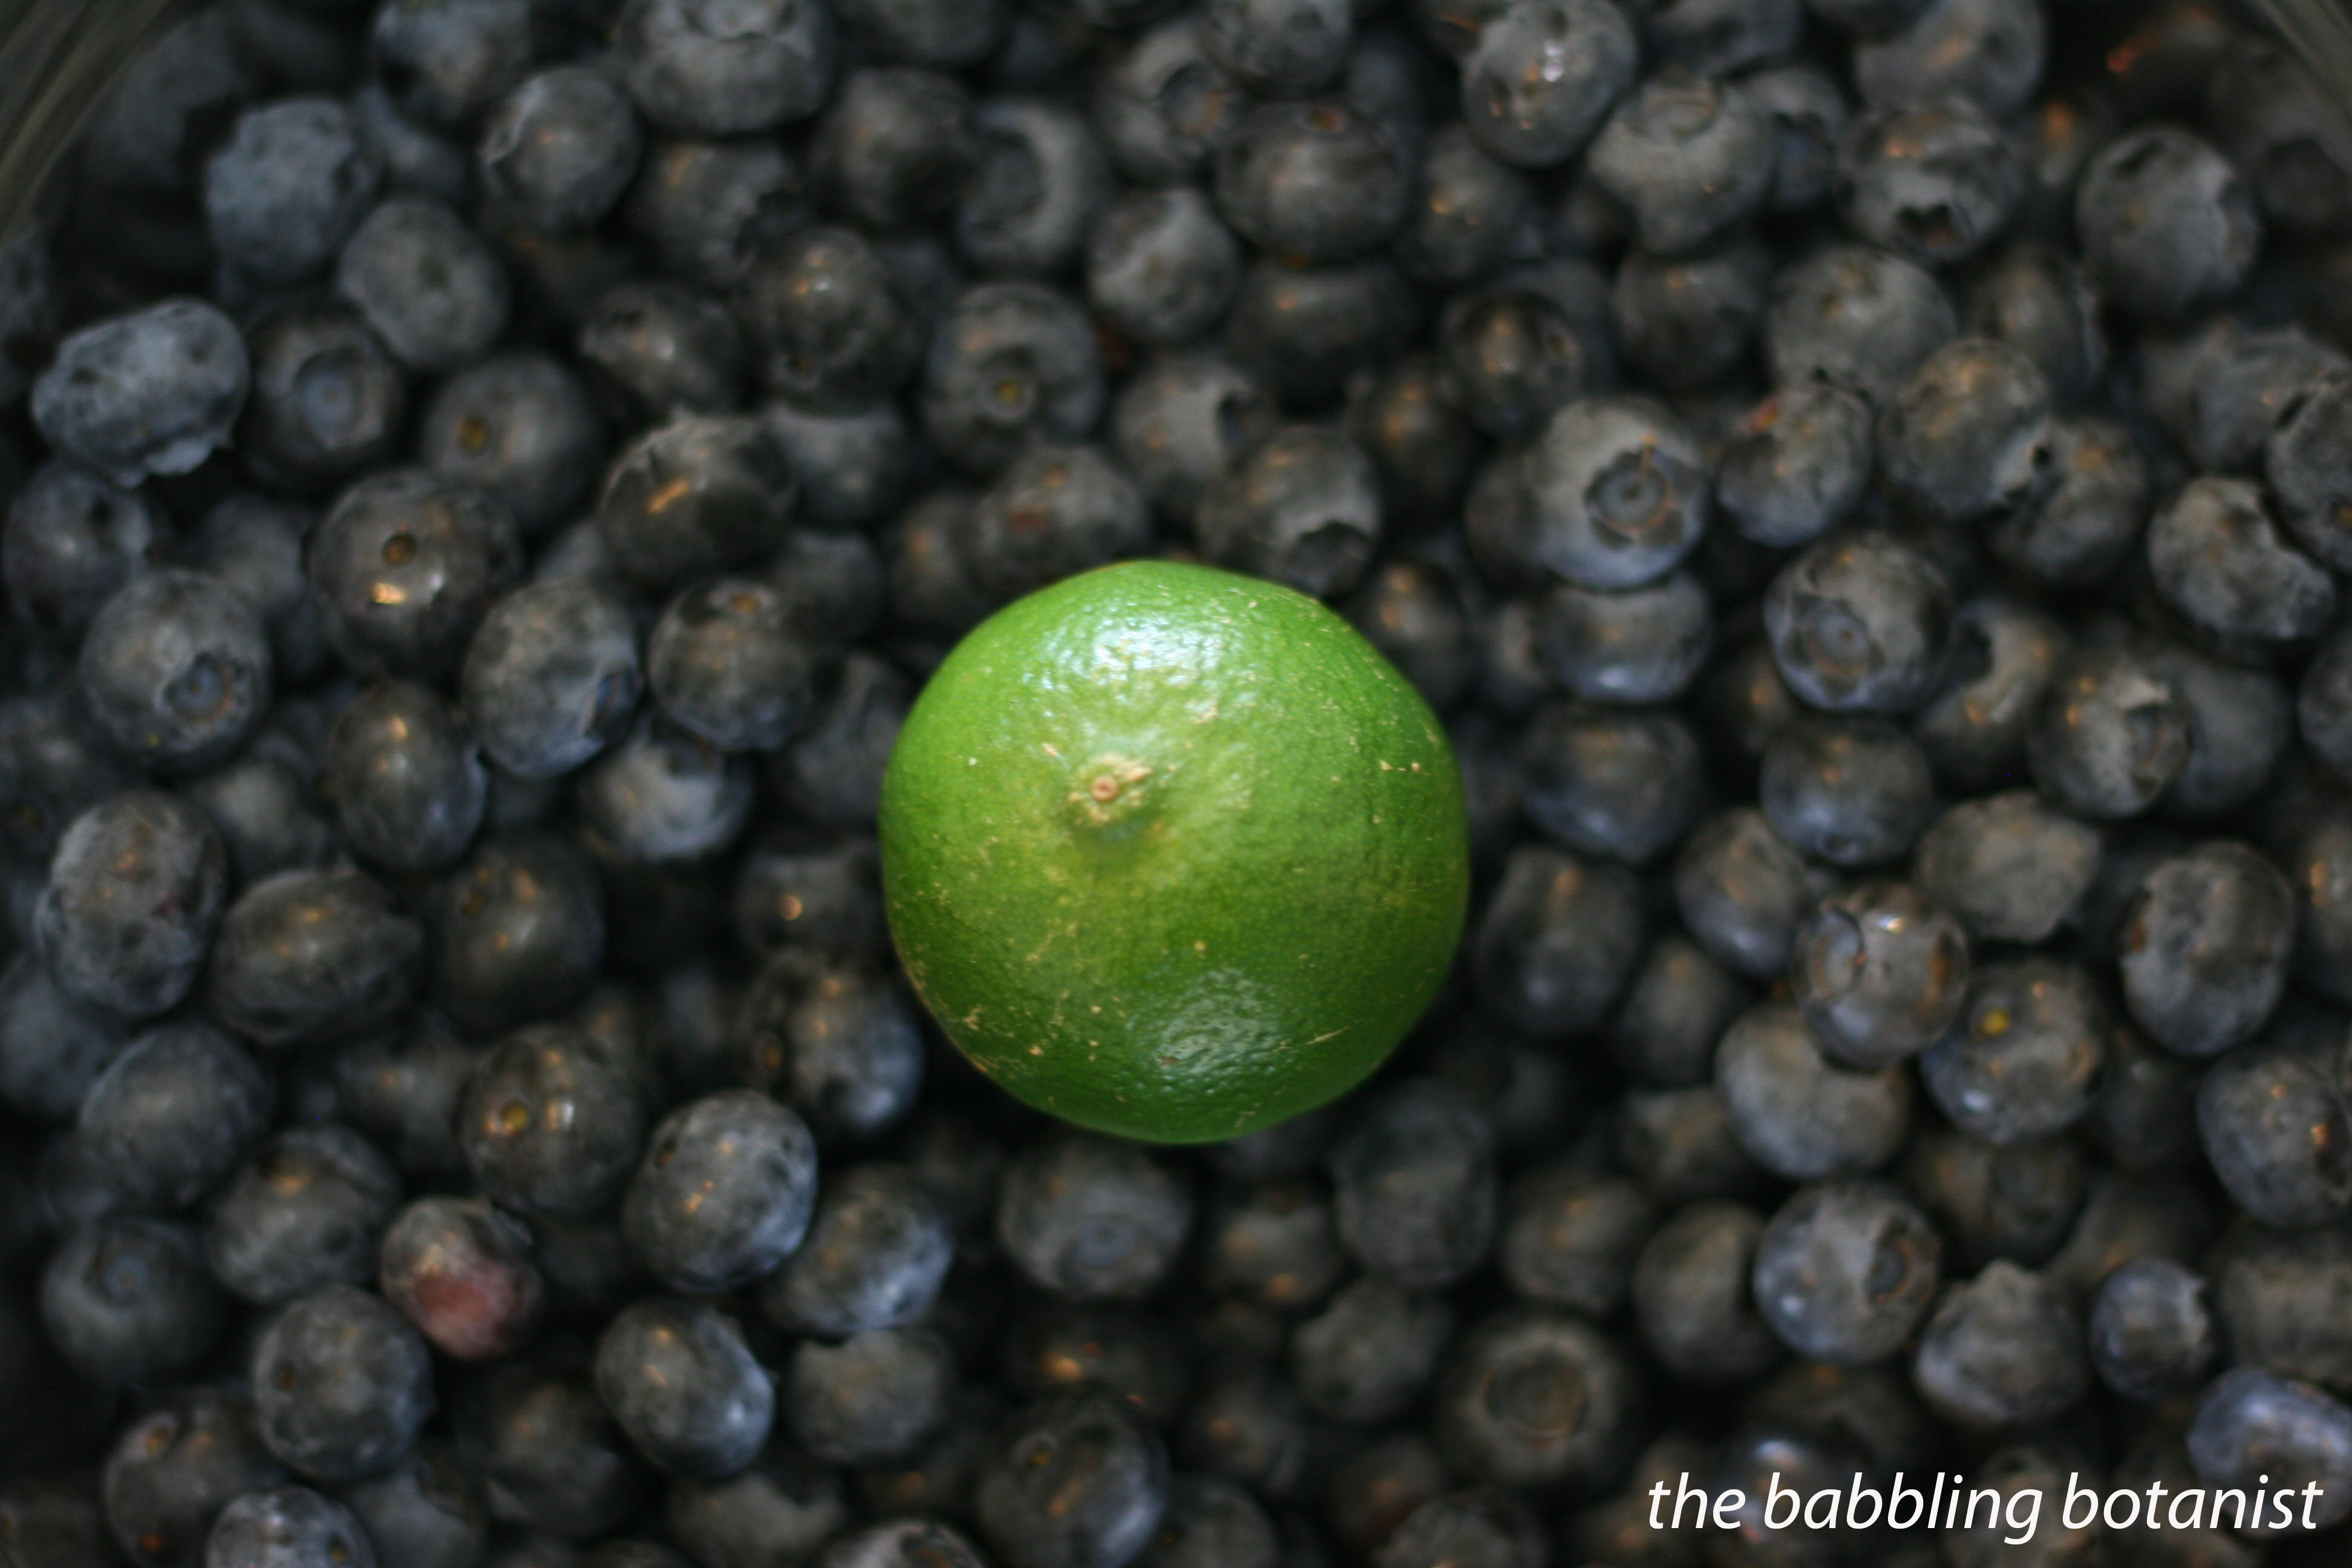
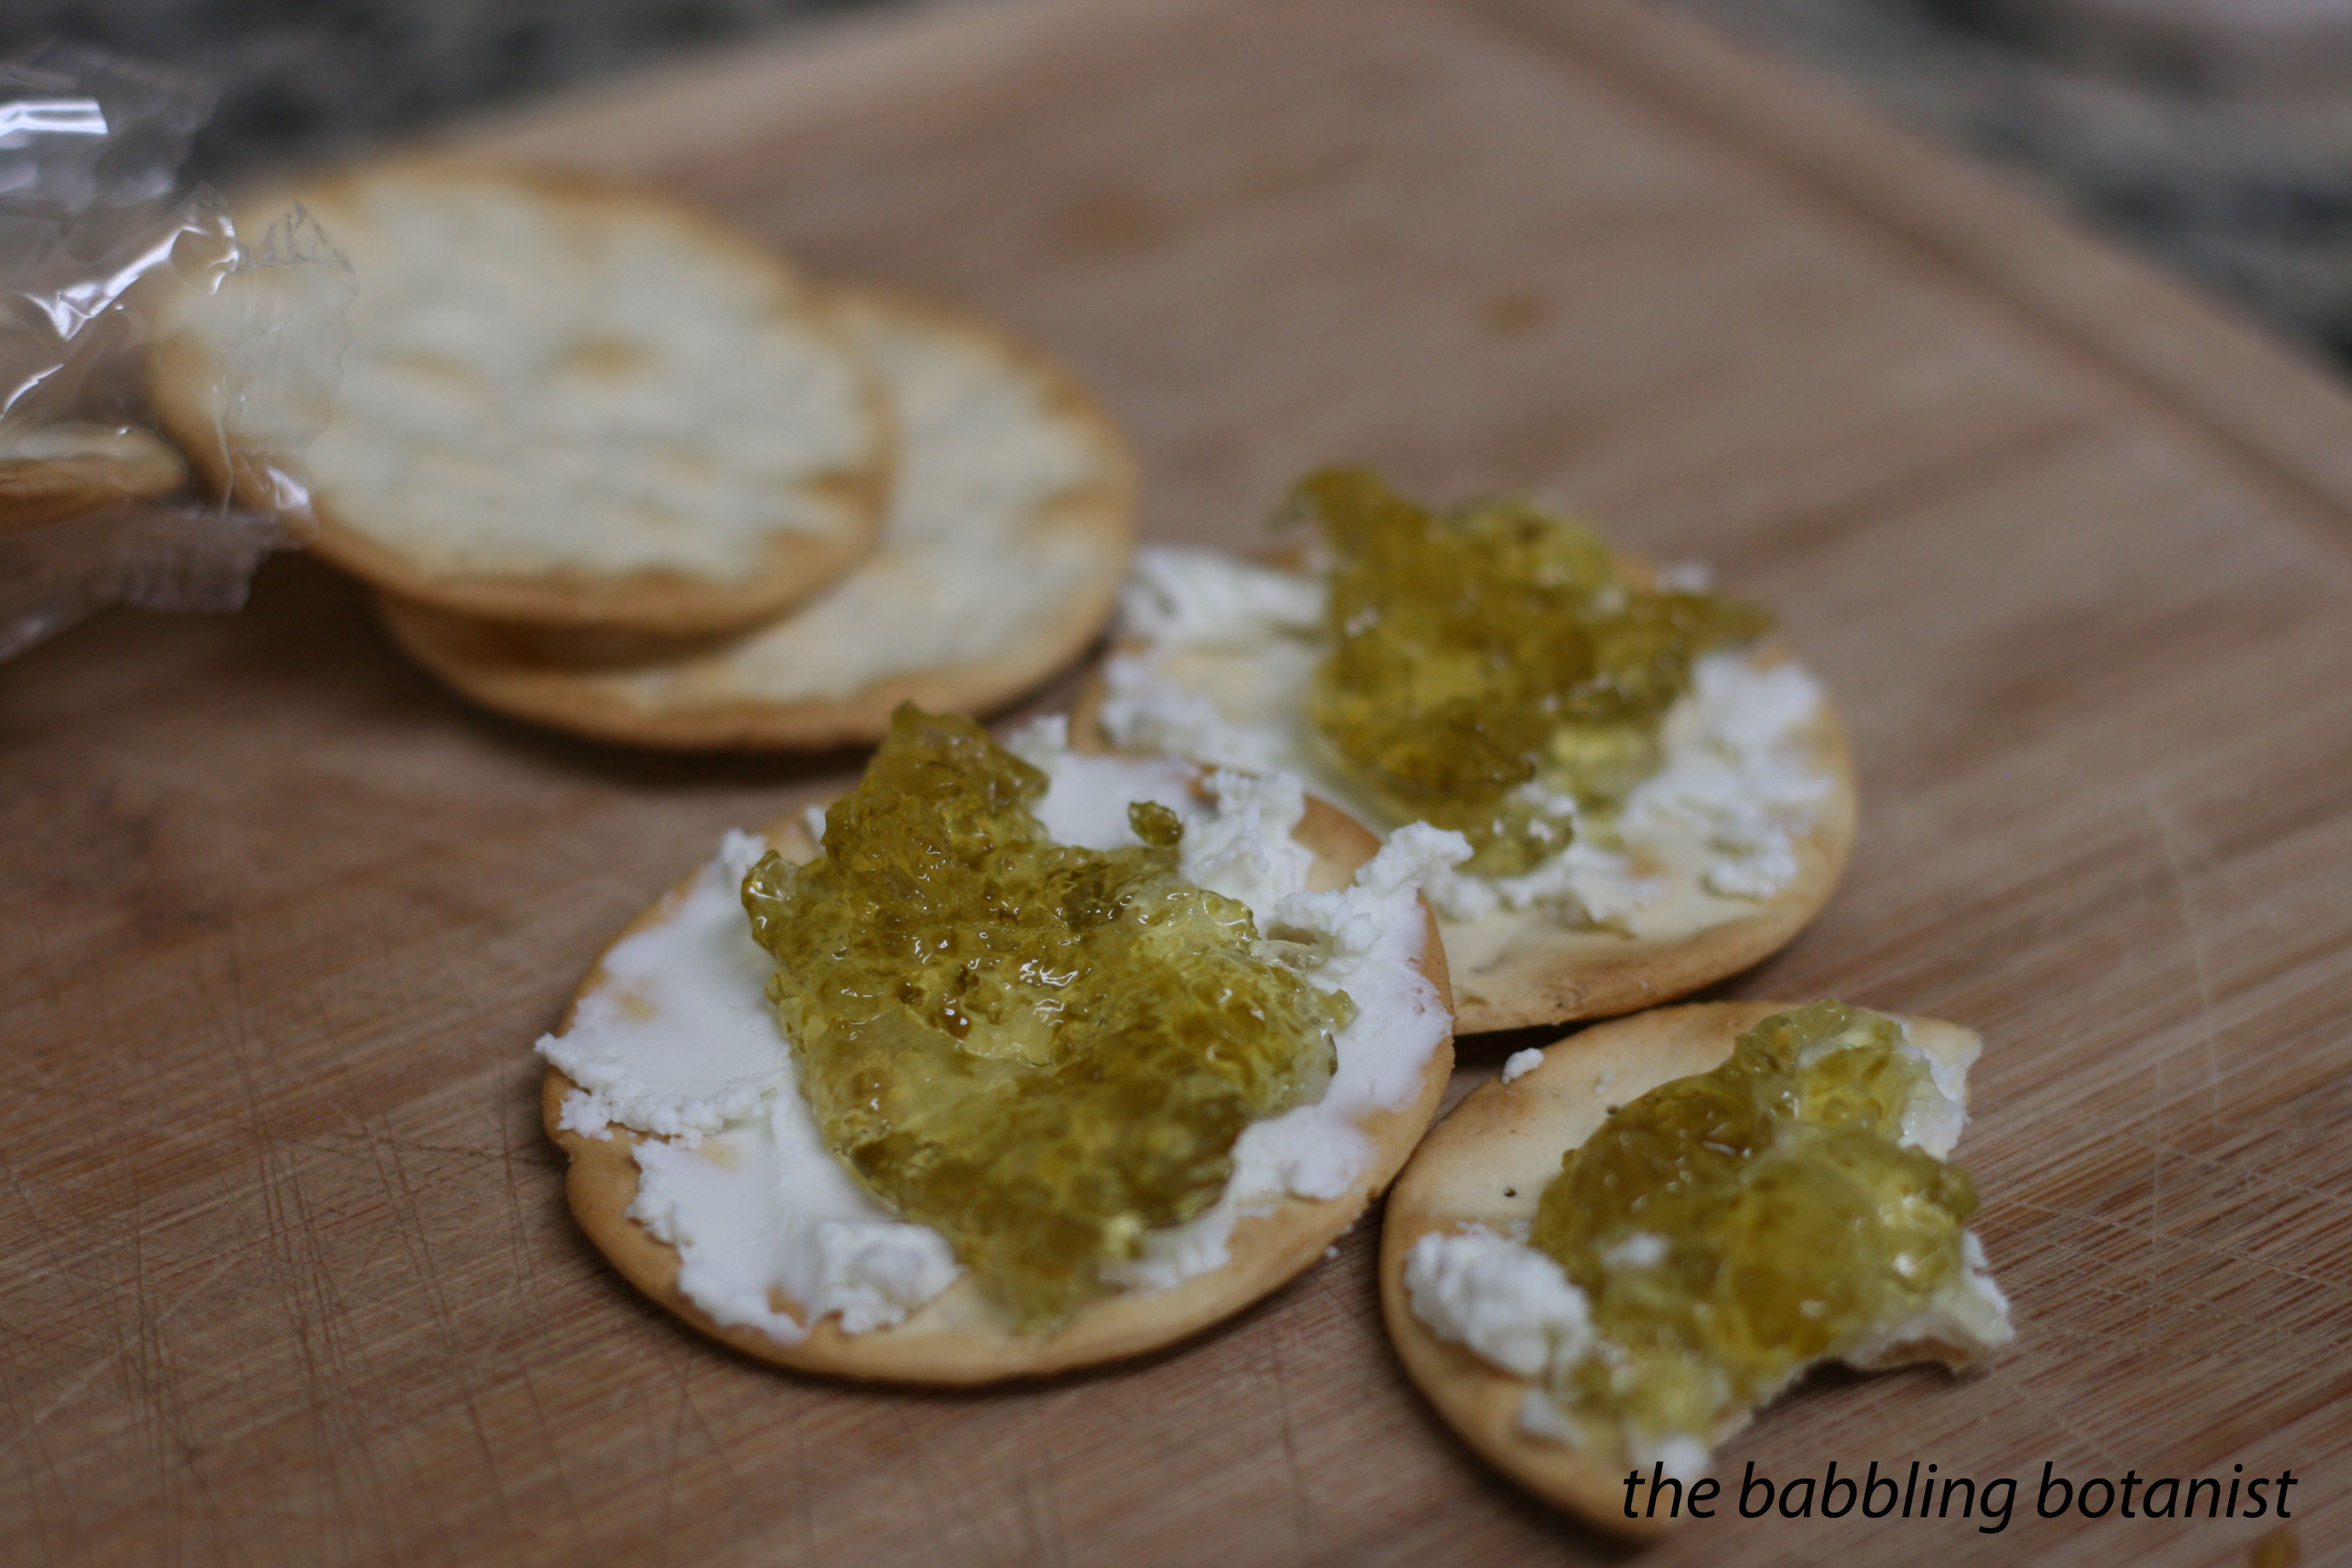
Raspberries are, in the view of many people I know, so precious that it’s hard to even want to preserve them; it’s best to just gorge on them until your tongue hurts, and eat them fresh while they are in season. I can totally understand that perspective since it’s hard to preserve the delicate texture and the amazing fresh taste of raspberries, but since I picked few buckets full two weekends in a row, I wanted to preserve some of them. I made some homemade raspberry ice cream following this recipe from the blog the view from great island, and made this chocolate raspberry sundae topper from the Ball Complete Book of Home Preserving to go on top. It is deeeeelish and a great treat for chocolate lovers.

Ingredients:
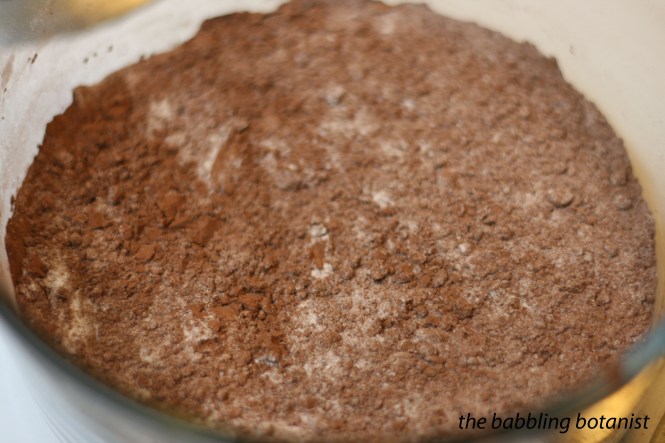
1/2 cup unsweetened cocoa powder
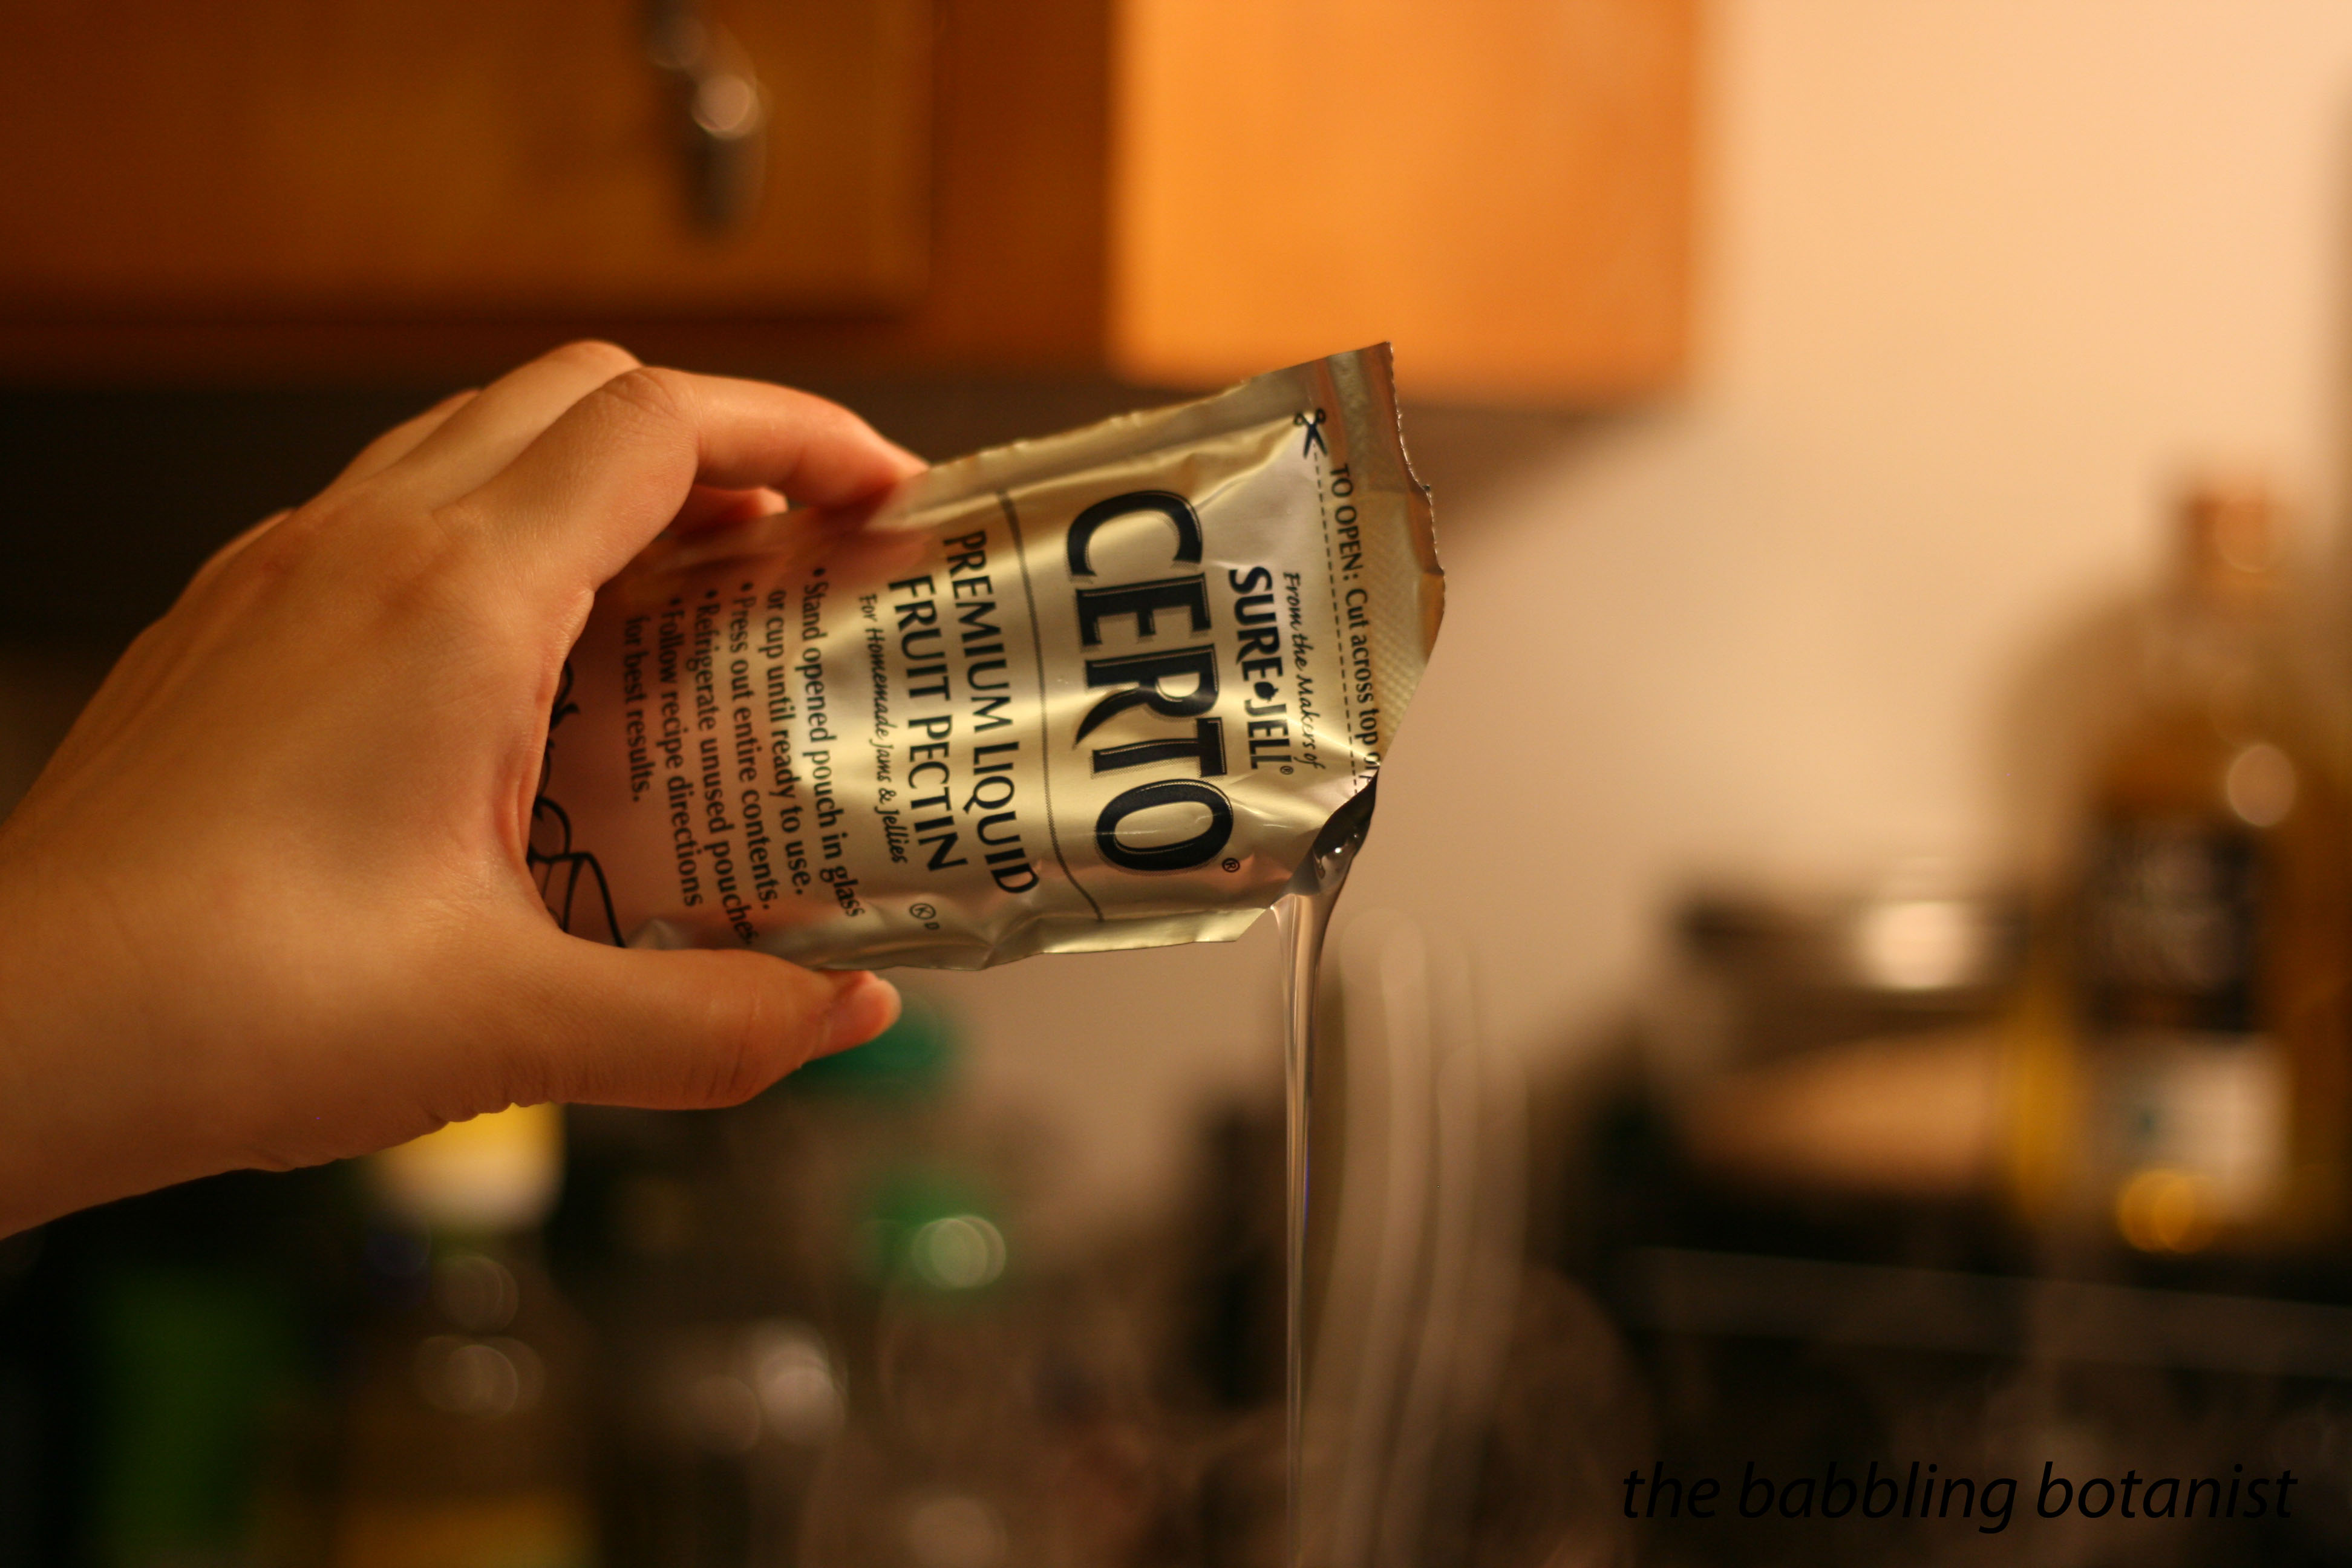
1 package regular fruit pectin
4 1/2 cups crushed raspberries
4 tbsp lemon juice
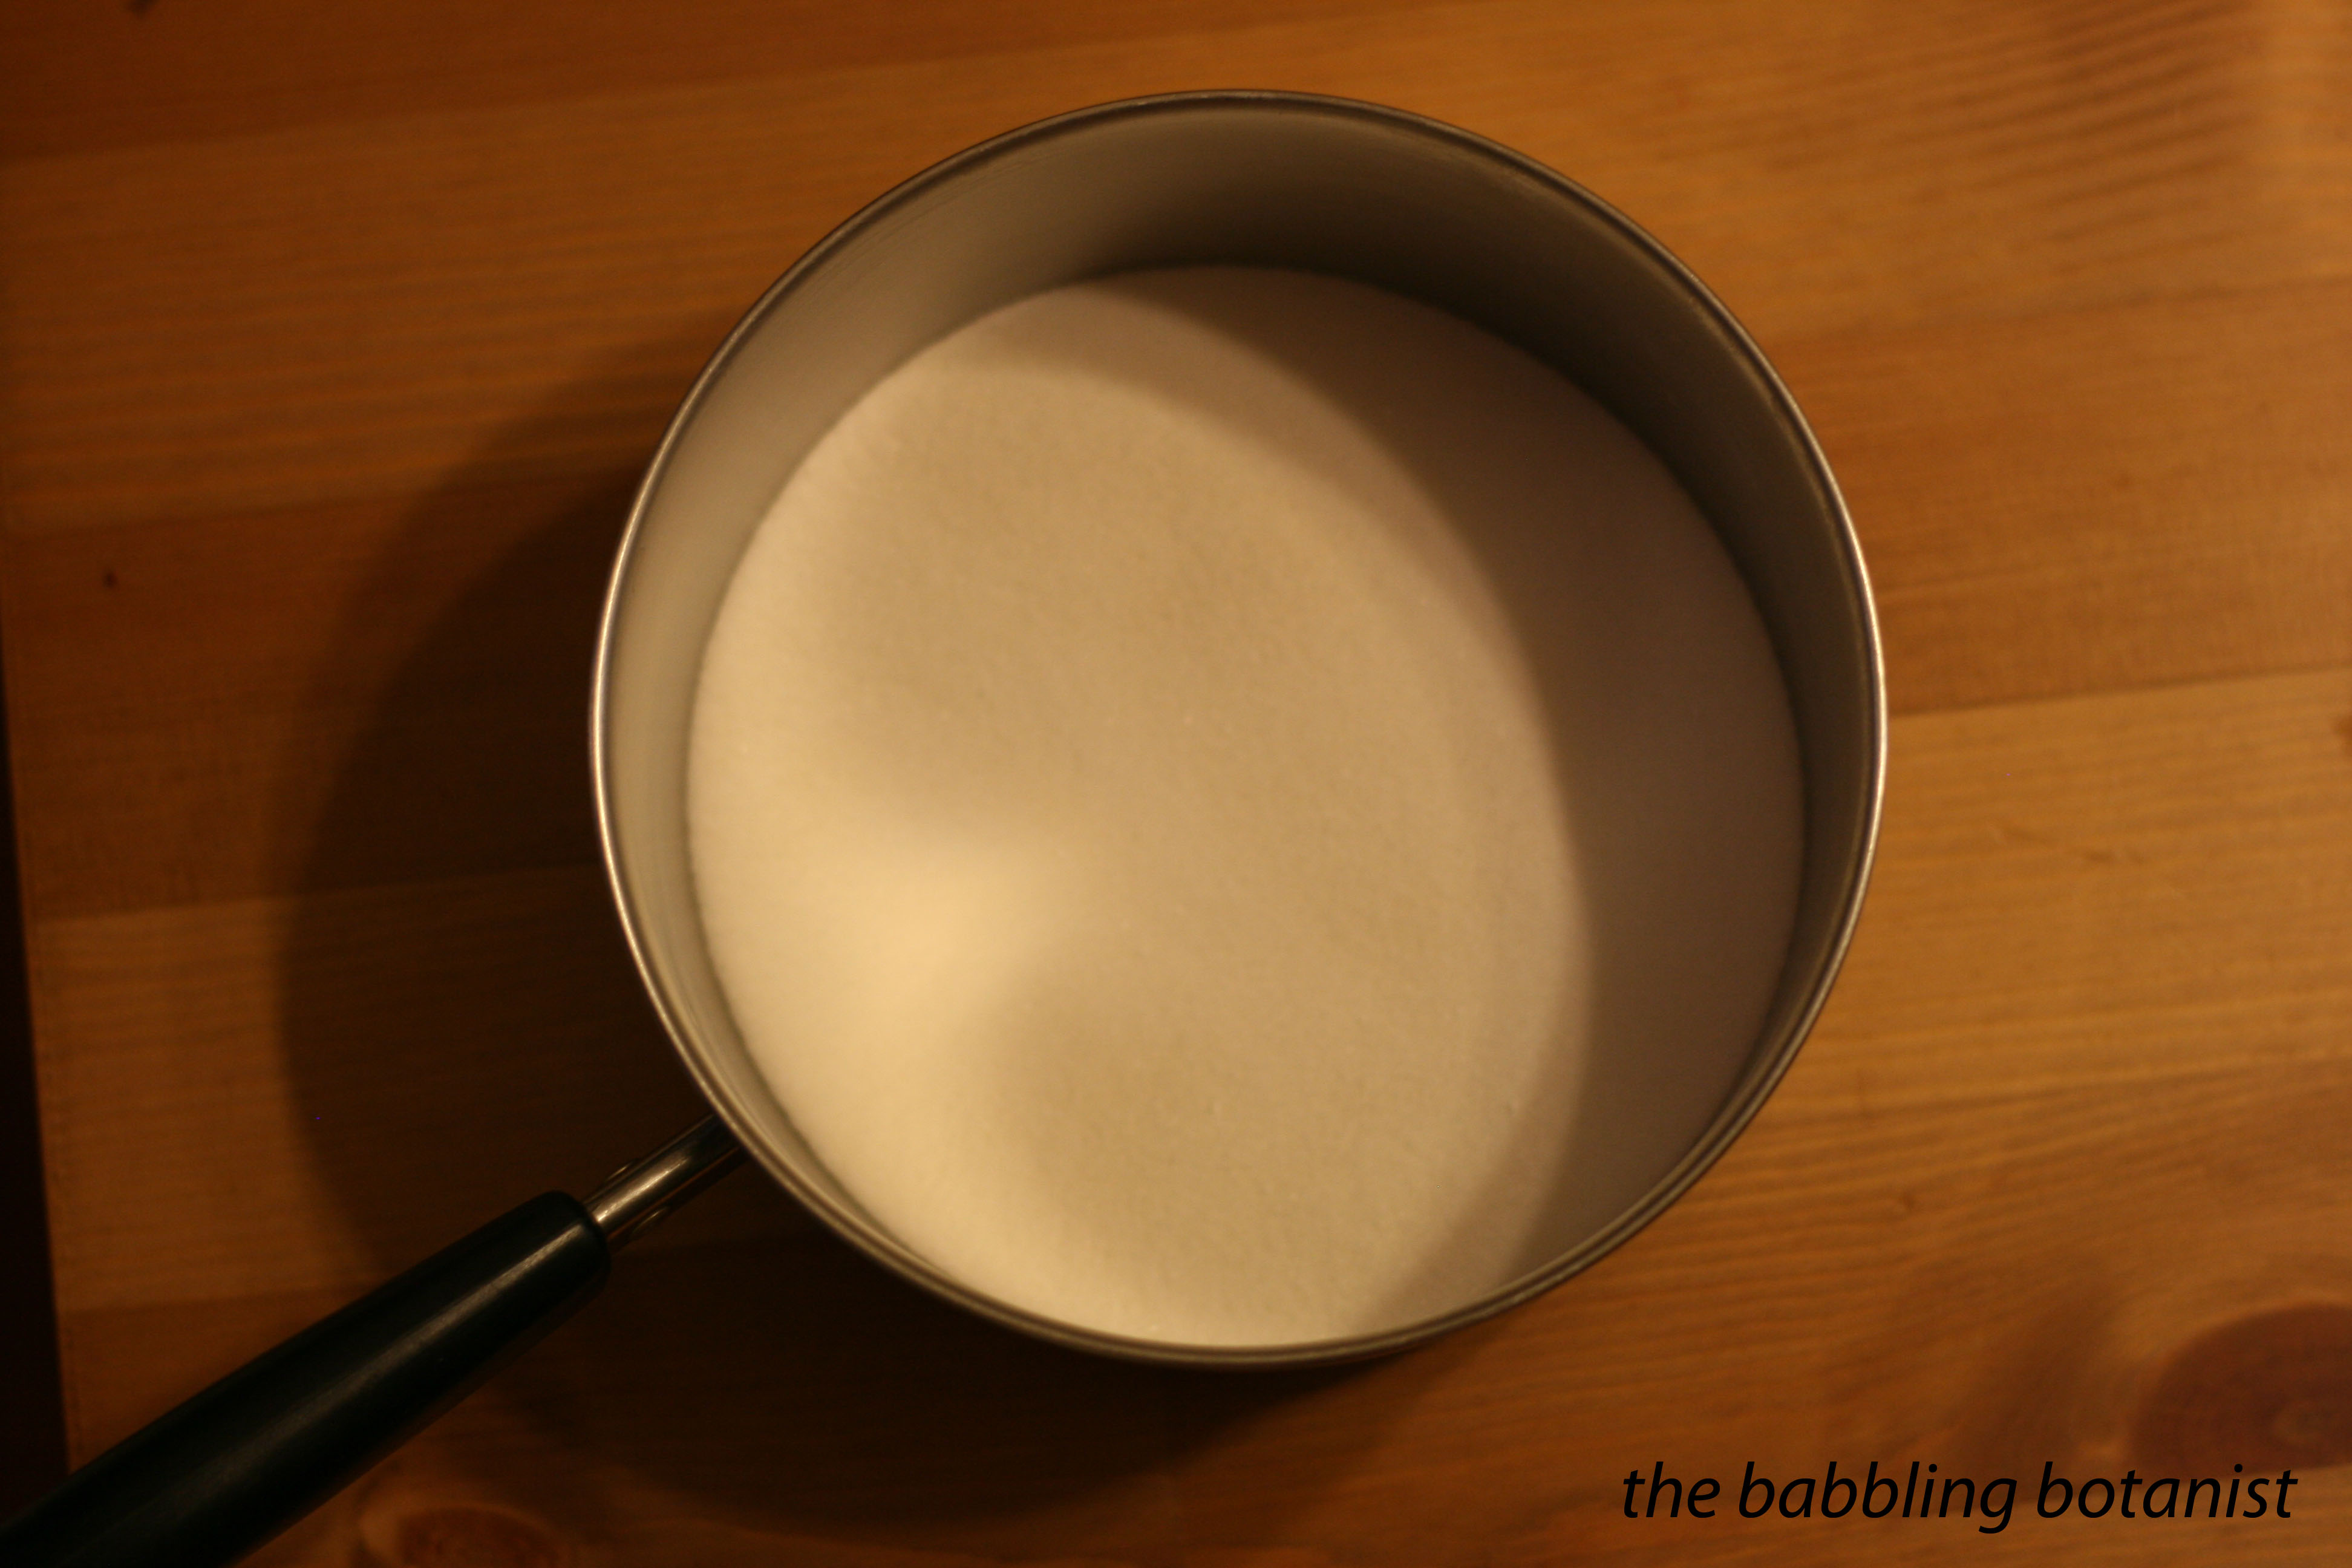
6 3/4 cups sugar
Here’s how it’s made:
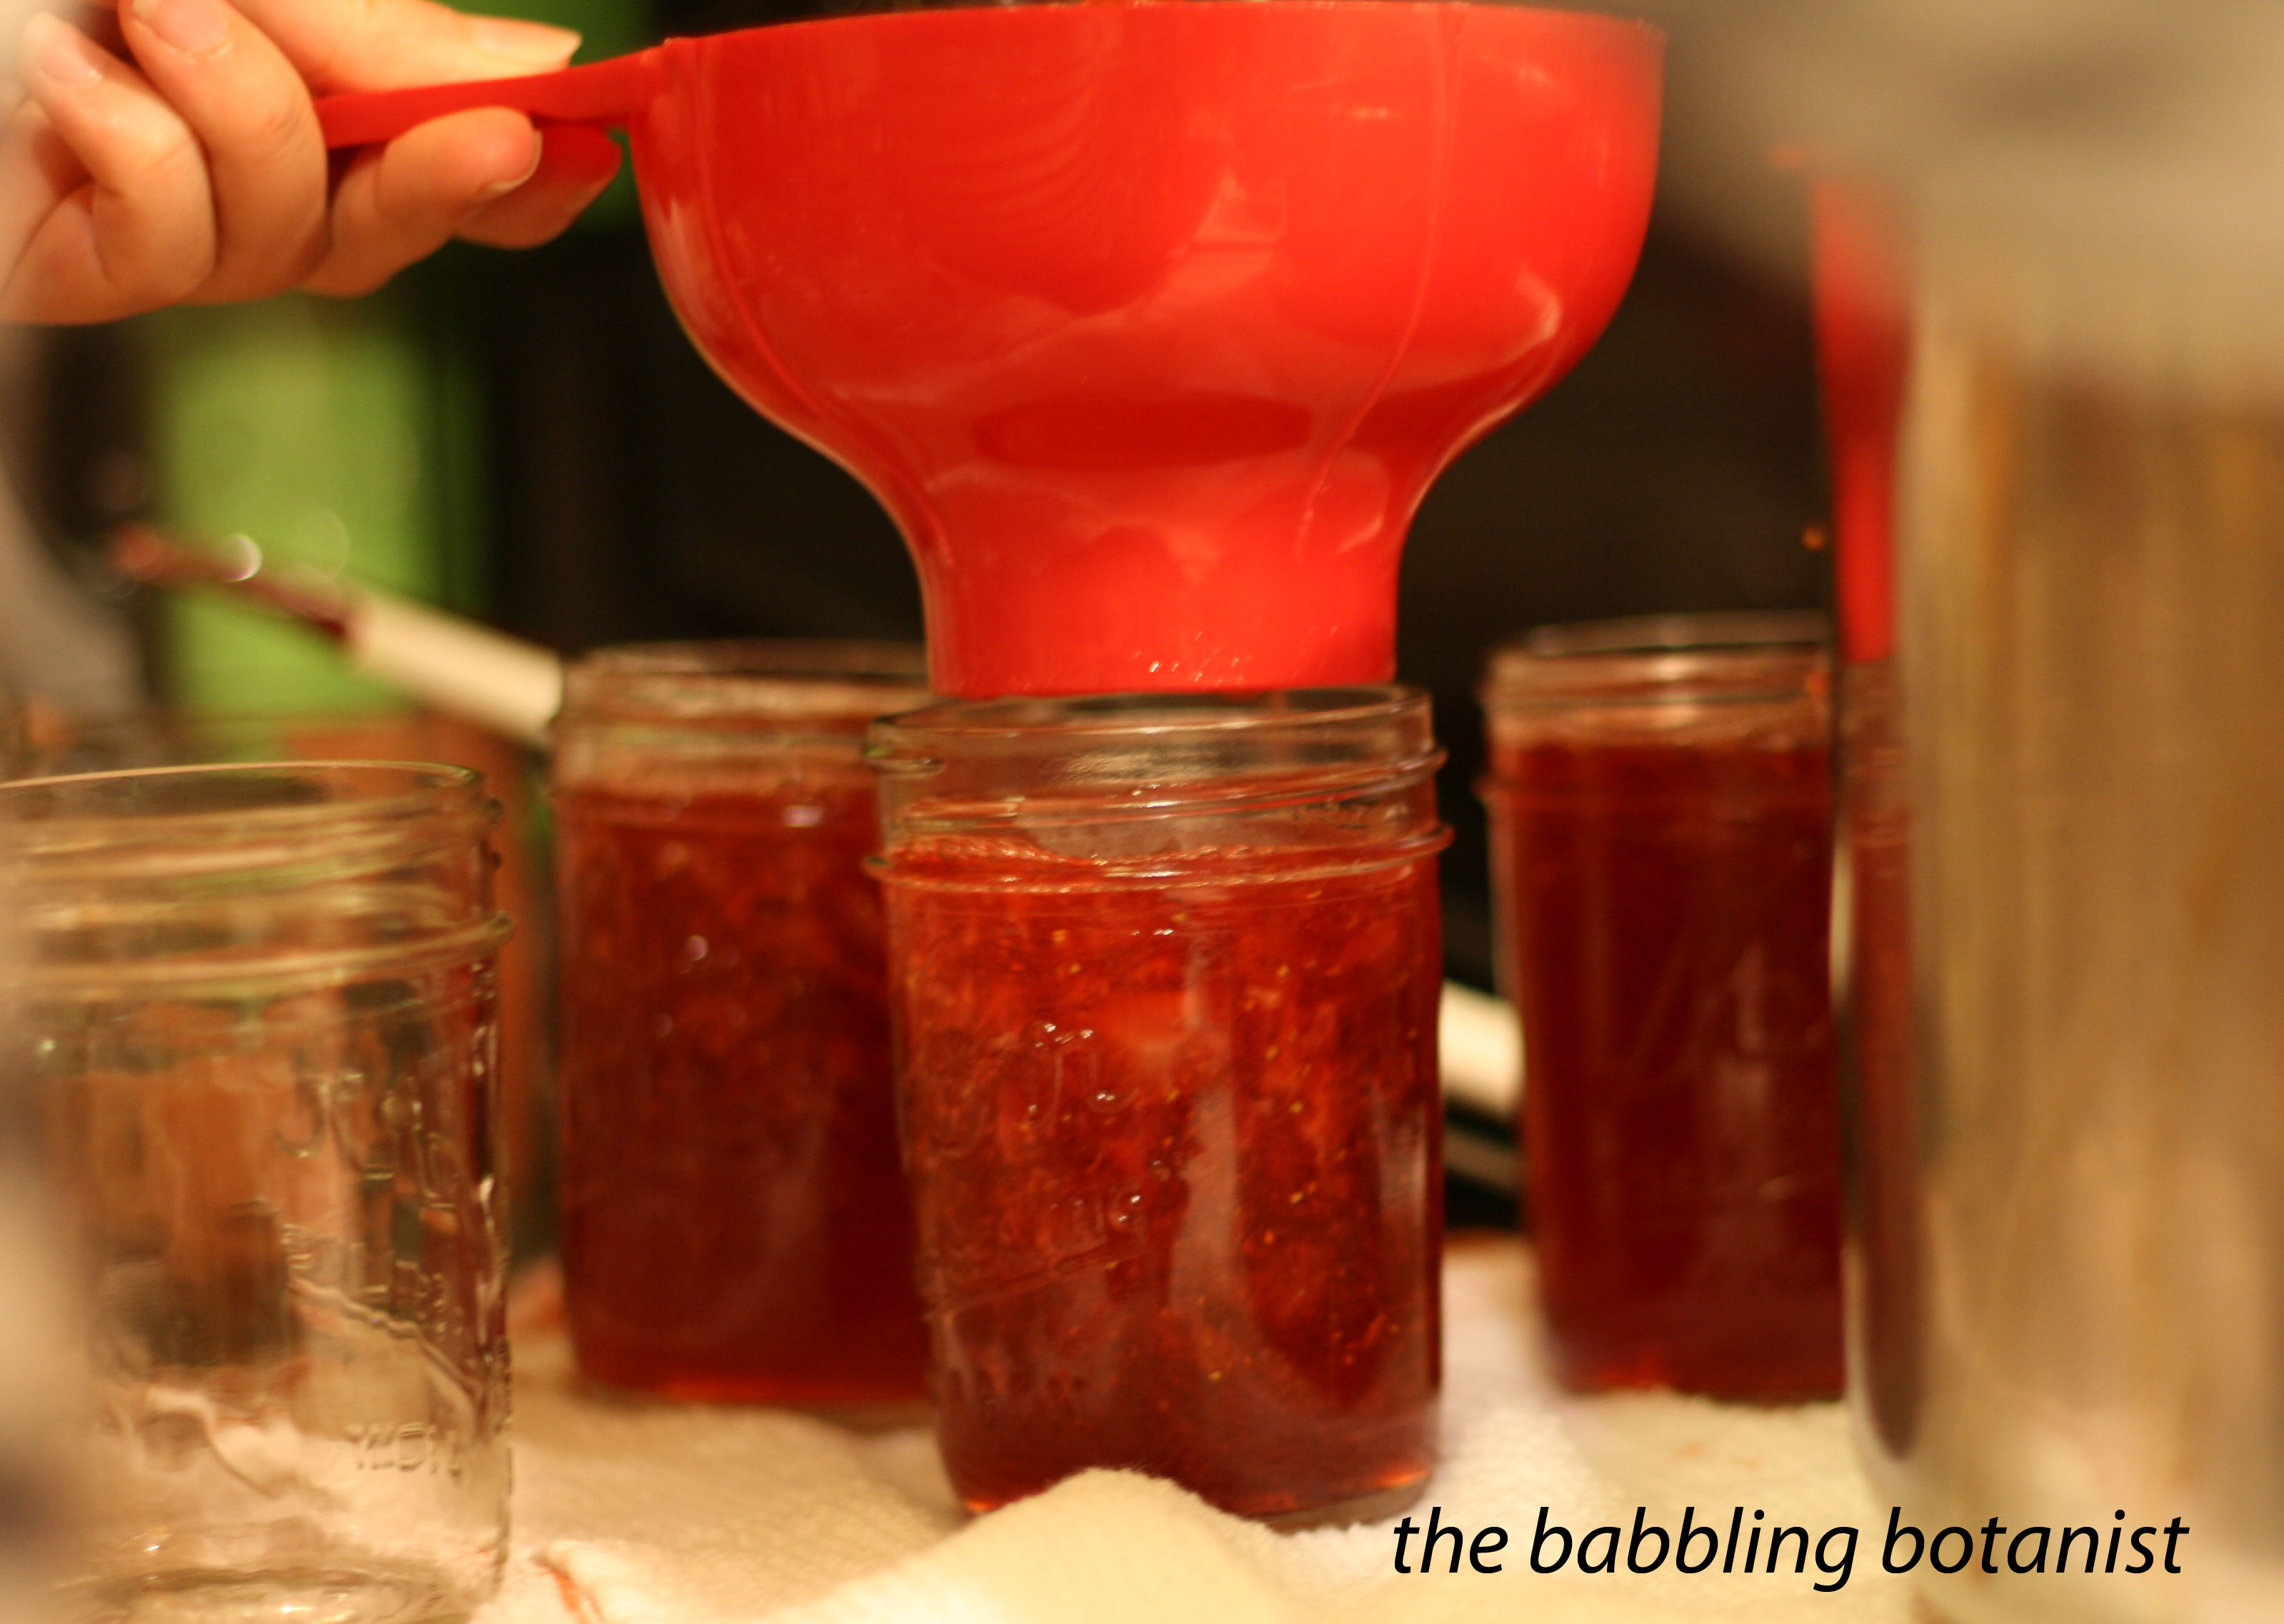
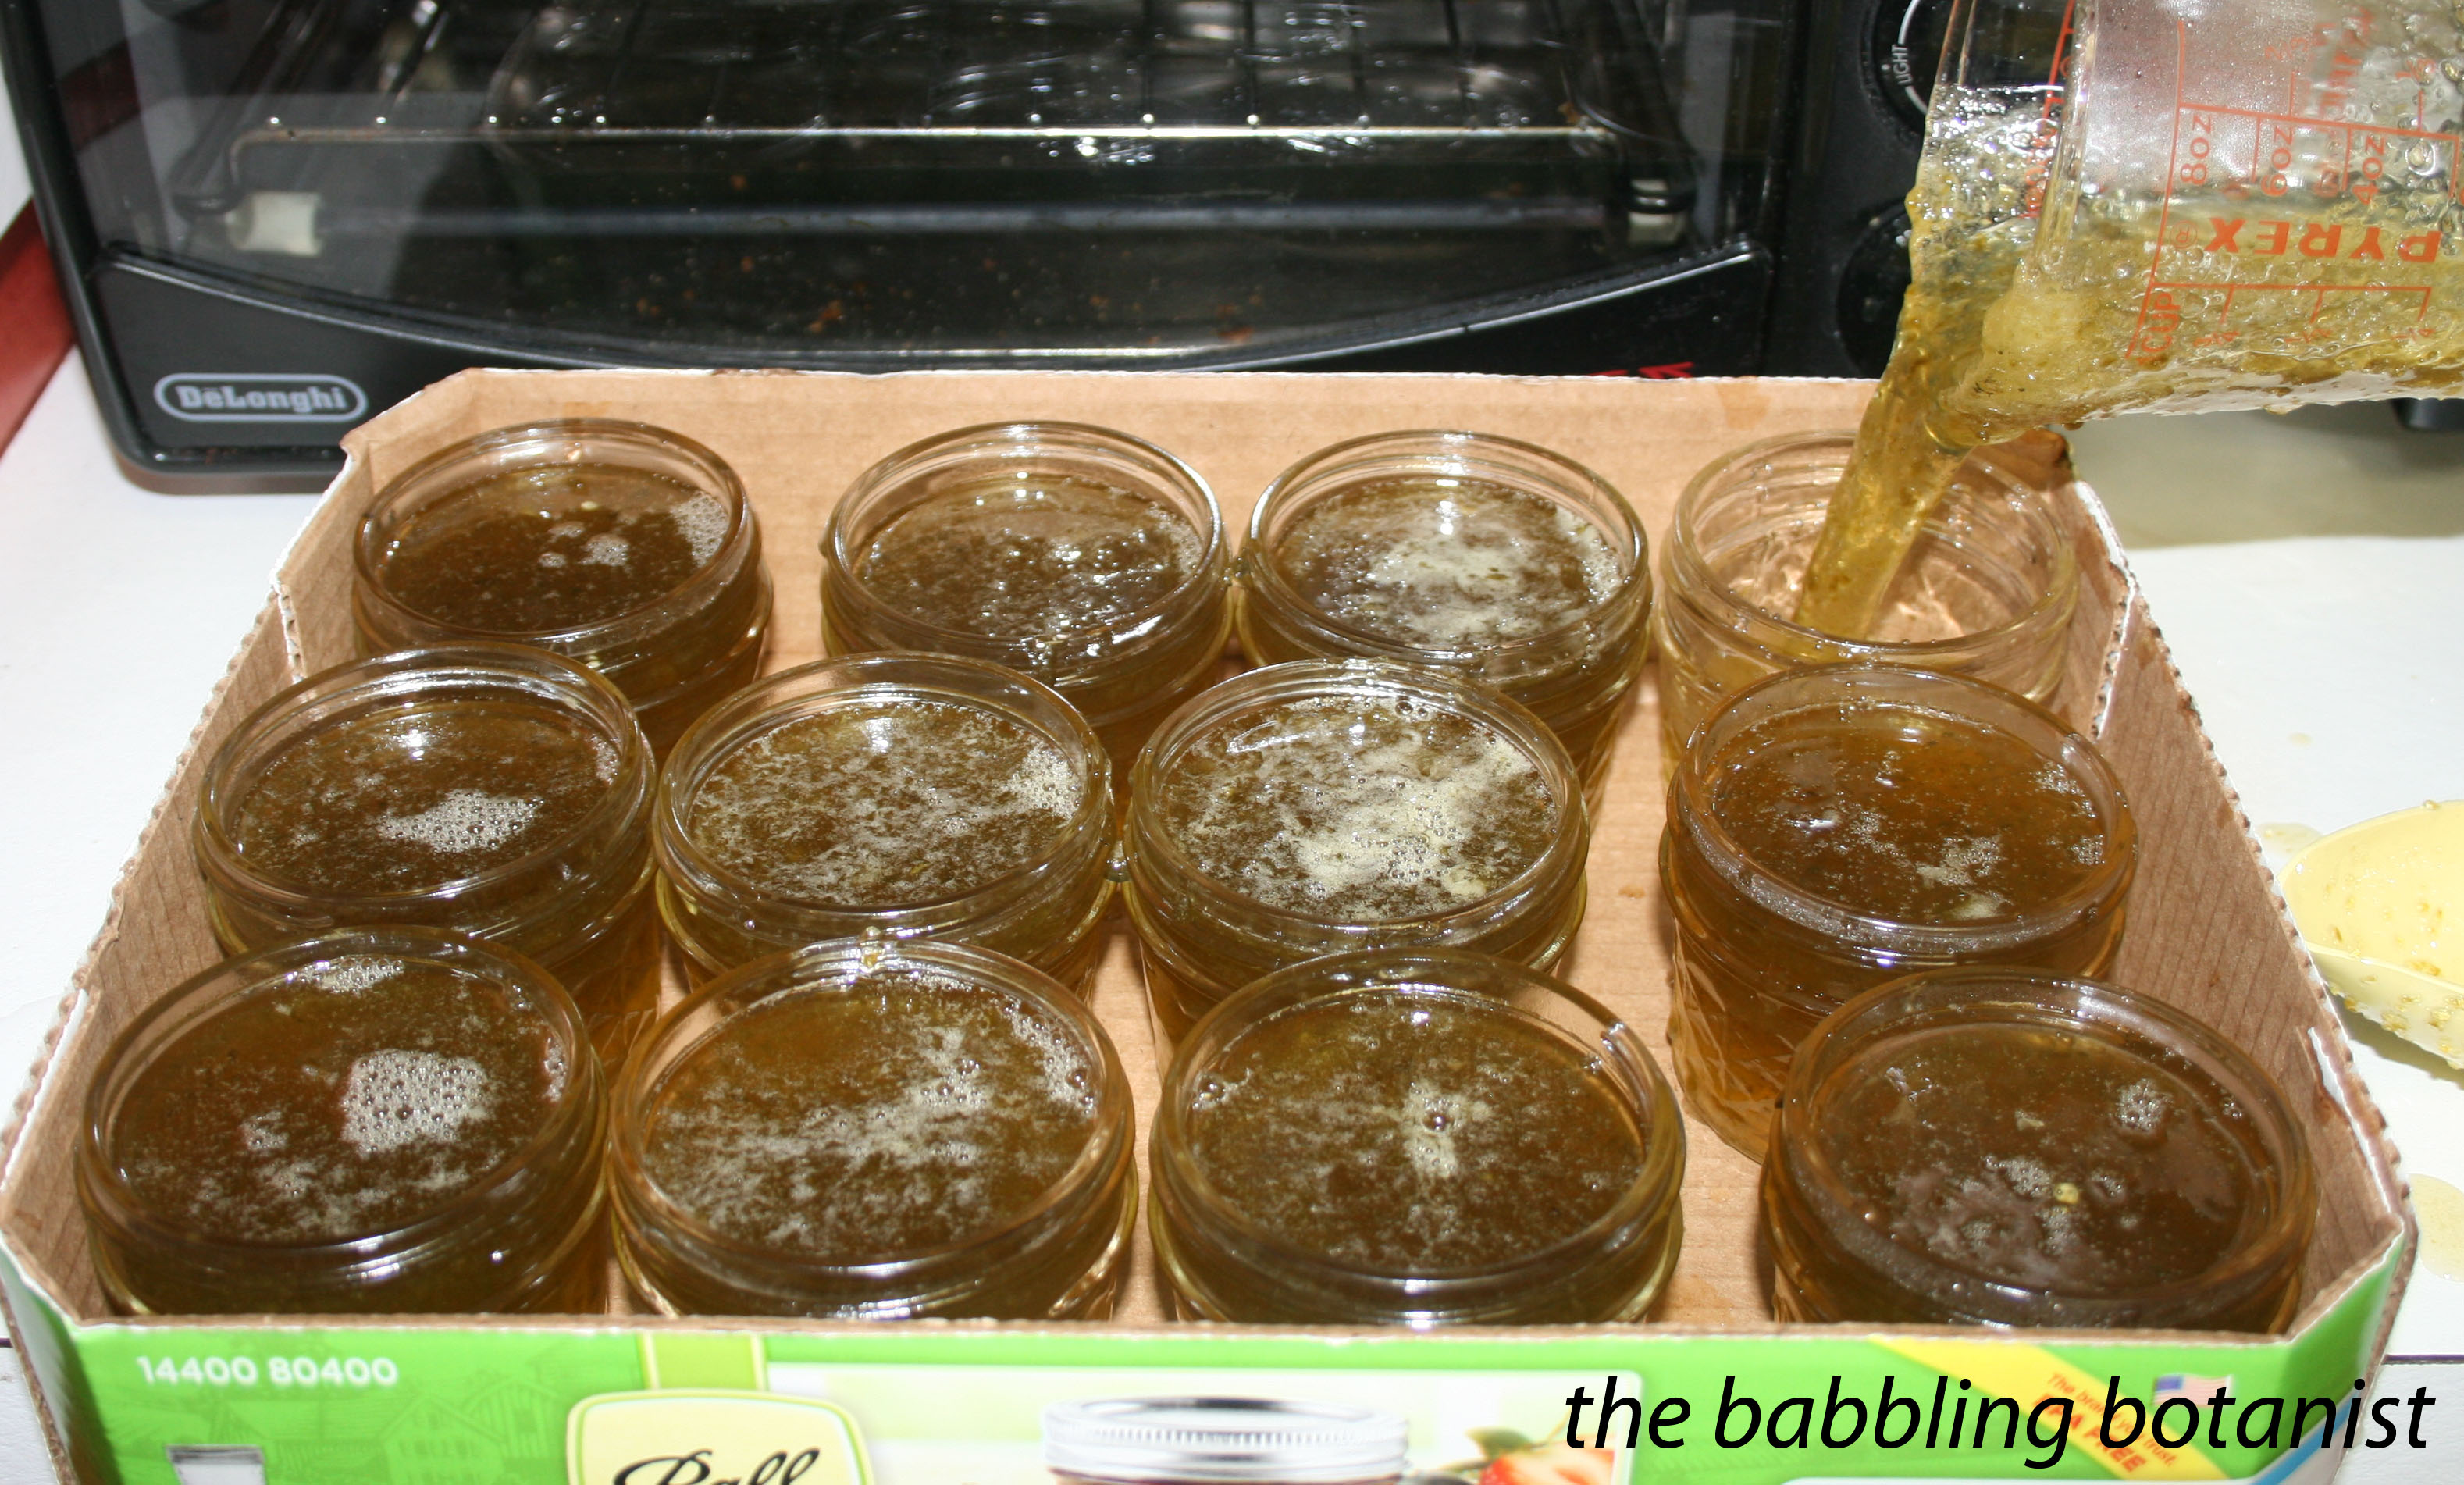
Prepare your canner, jars, and lids. This recipe yields 6-7 half pints. Combine the cocoa powder and pectin in a bowl and set aside.
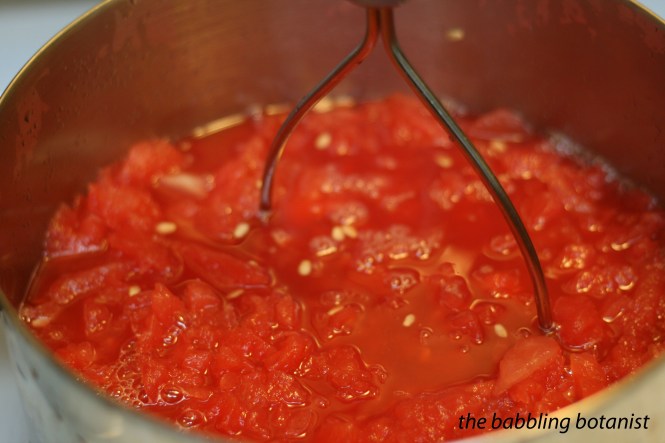
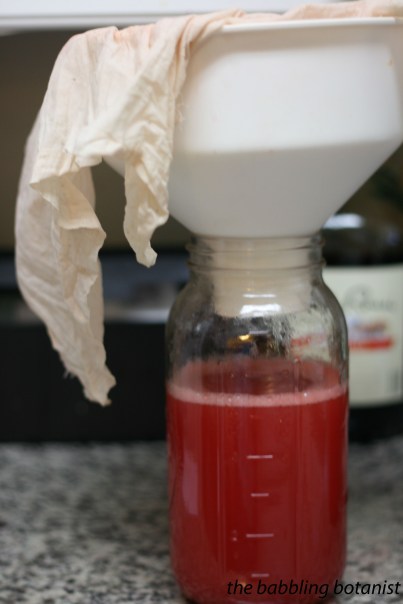
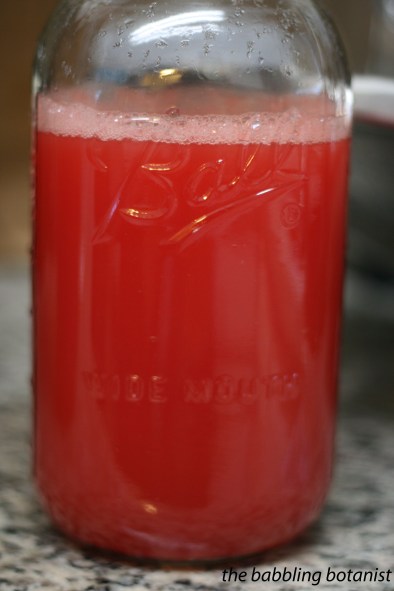
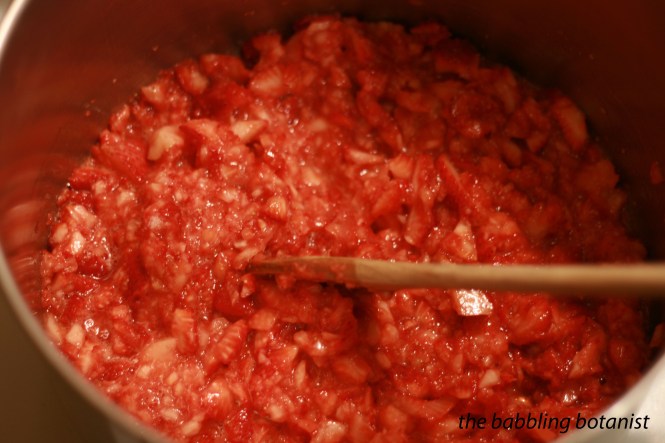
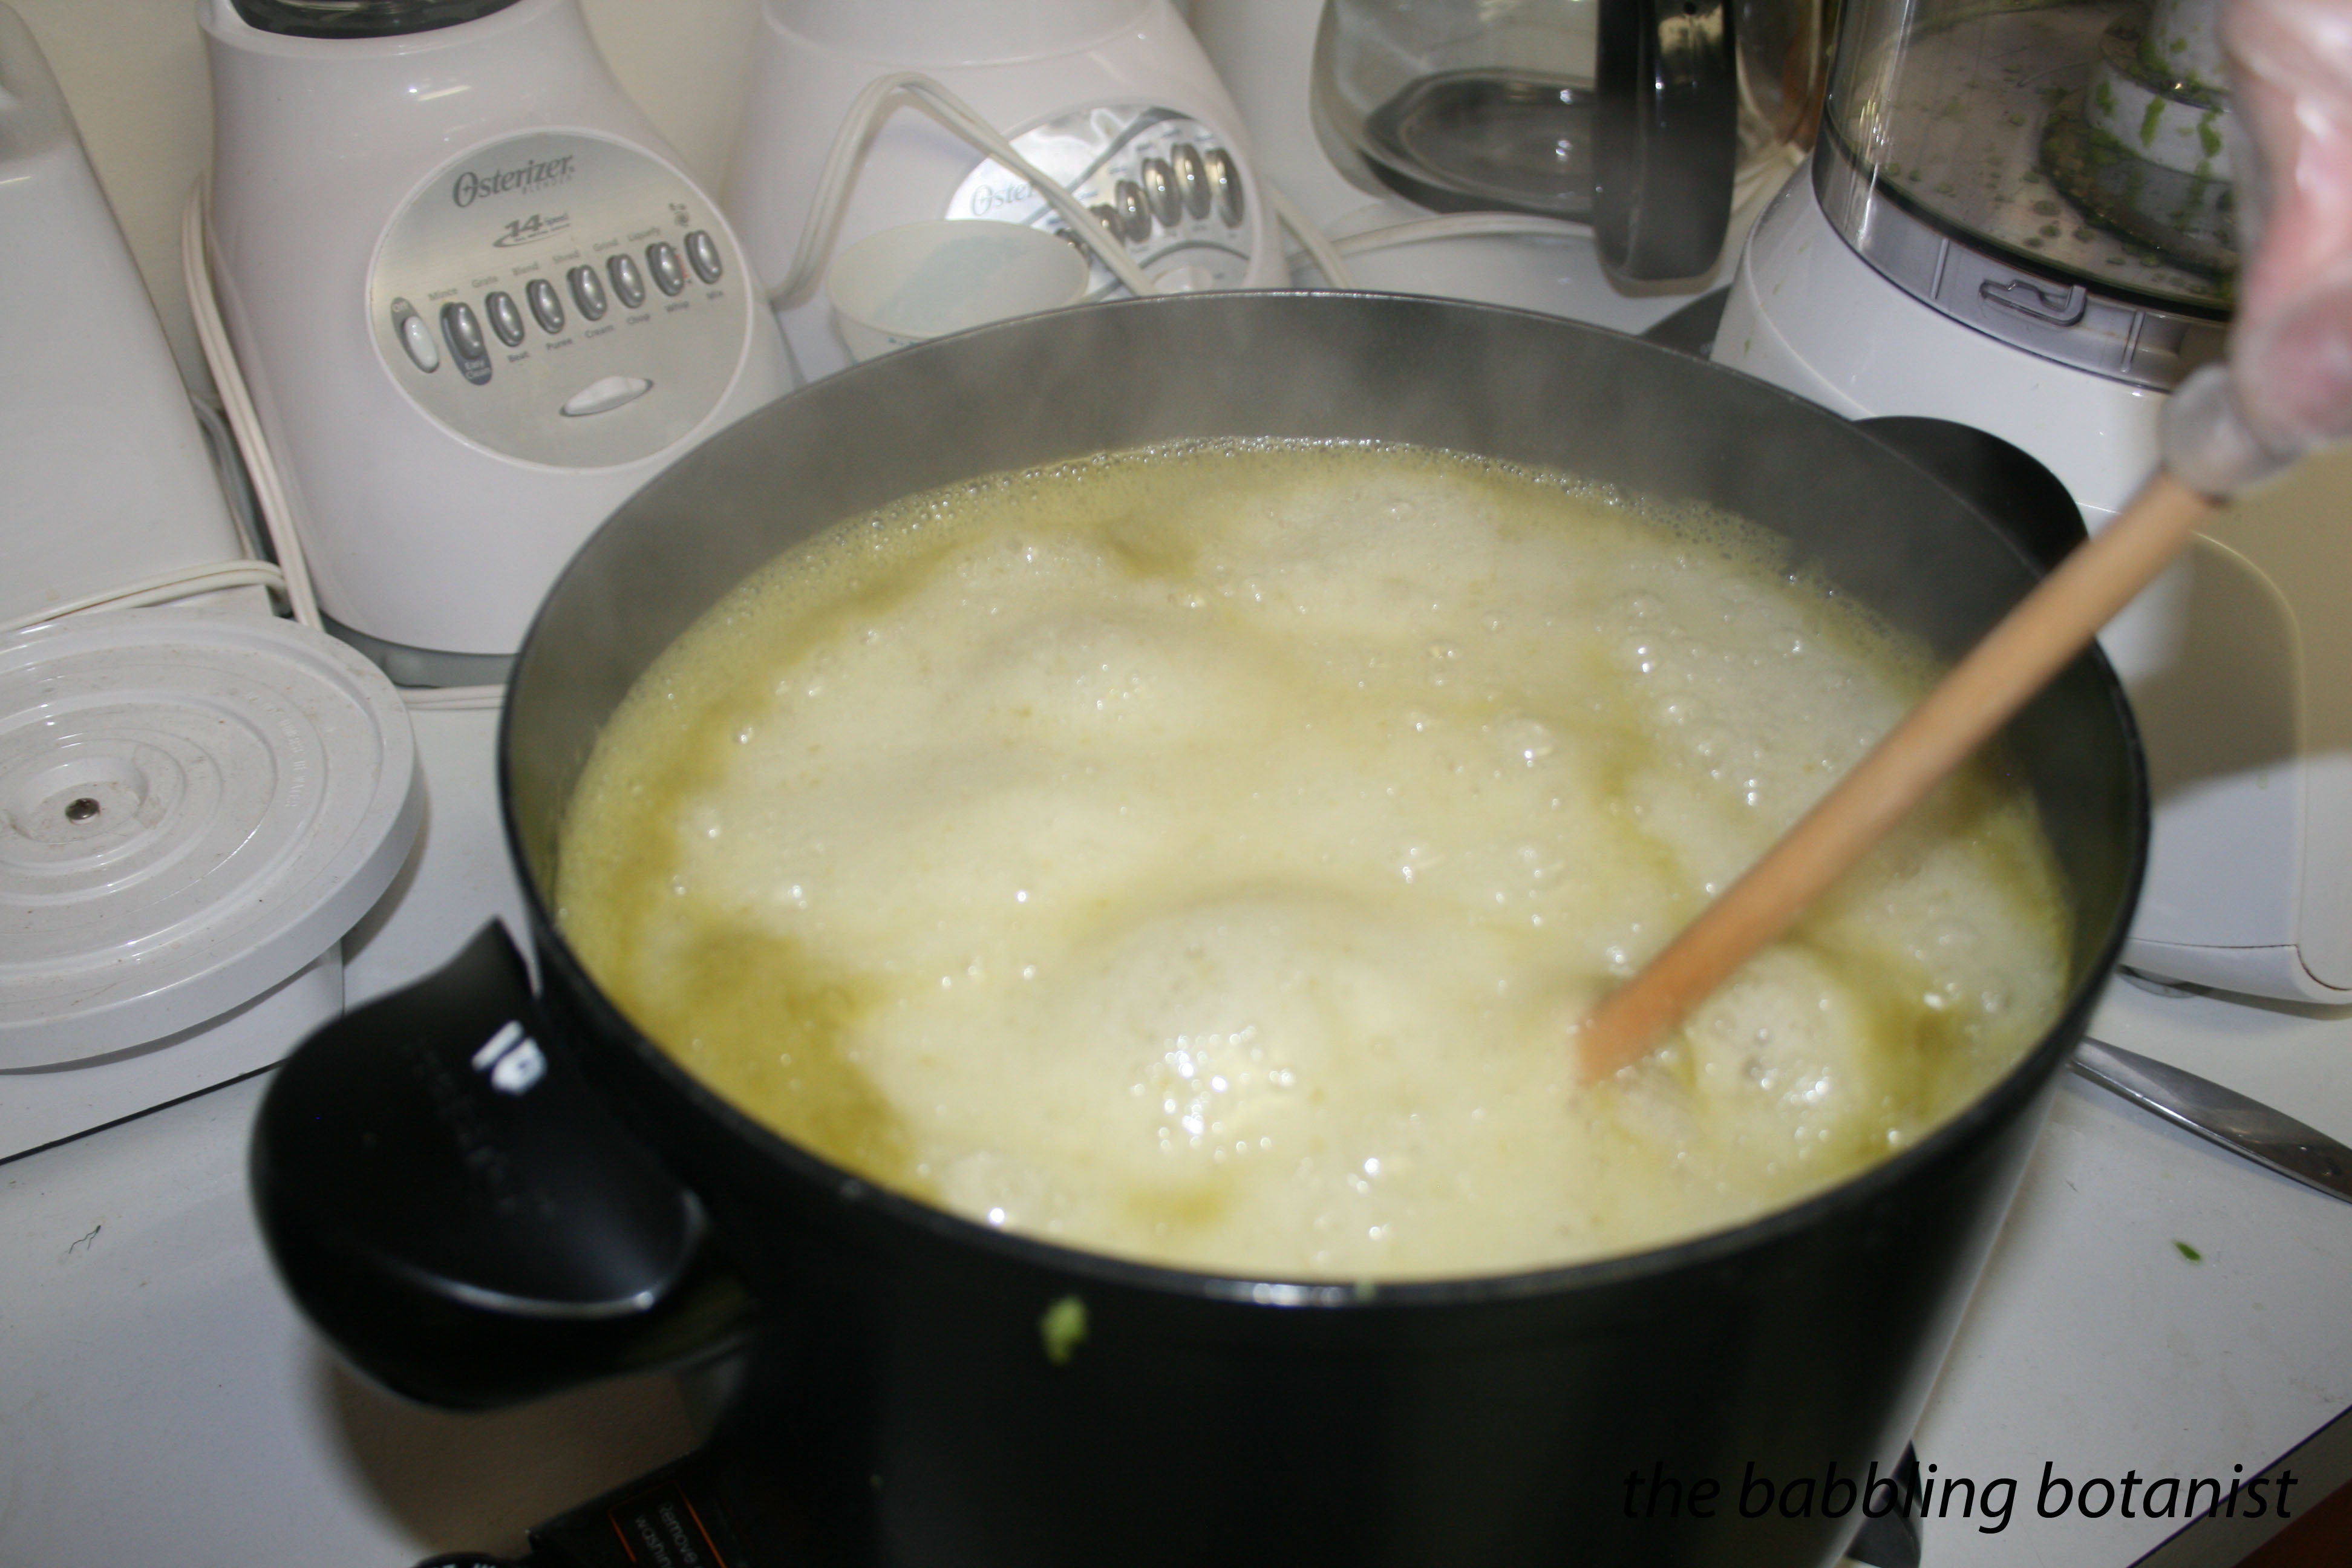
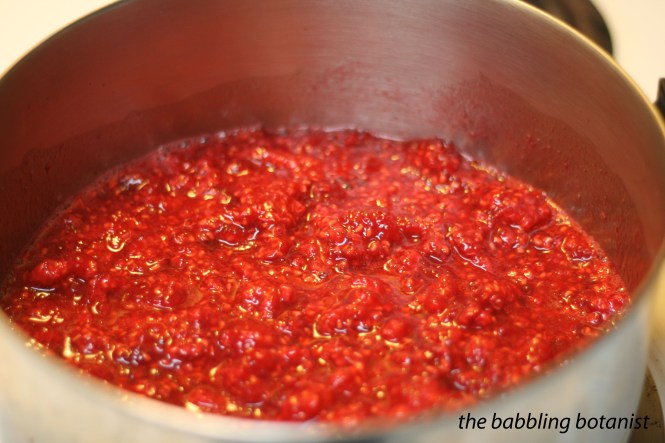
Mash the berries and measure into a large pot. Add the lemon juice and stir.
Whisk in the pectin/cocoa mixture.
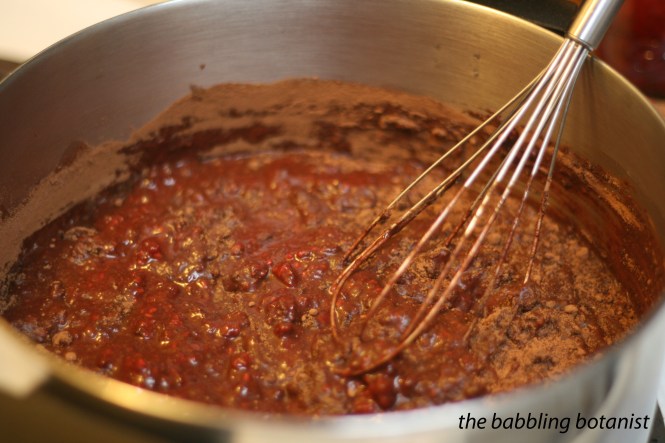
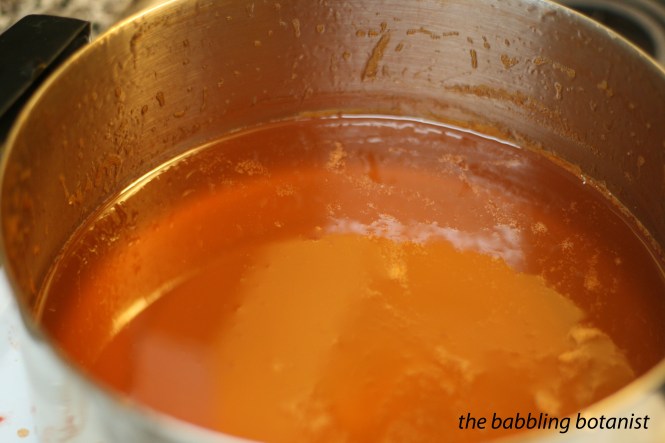
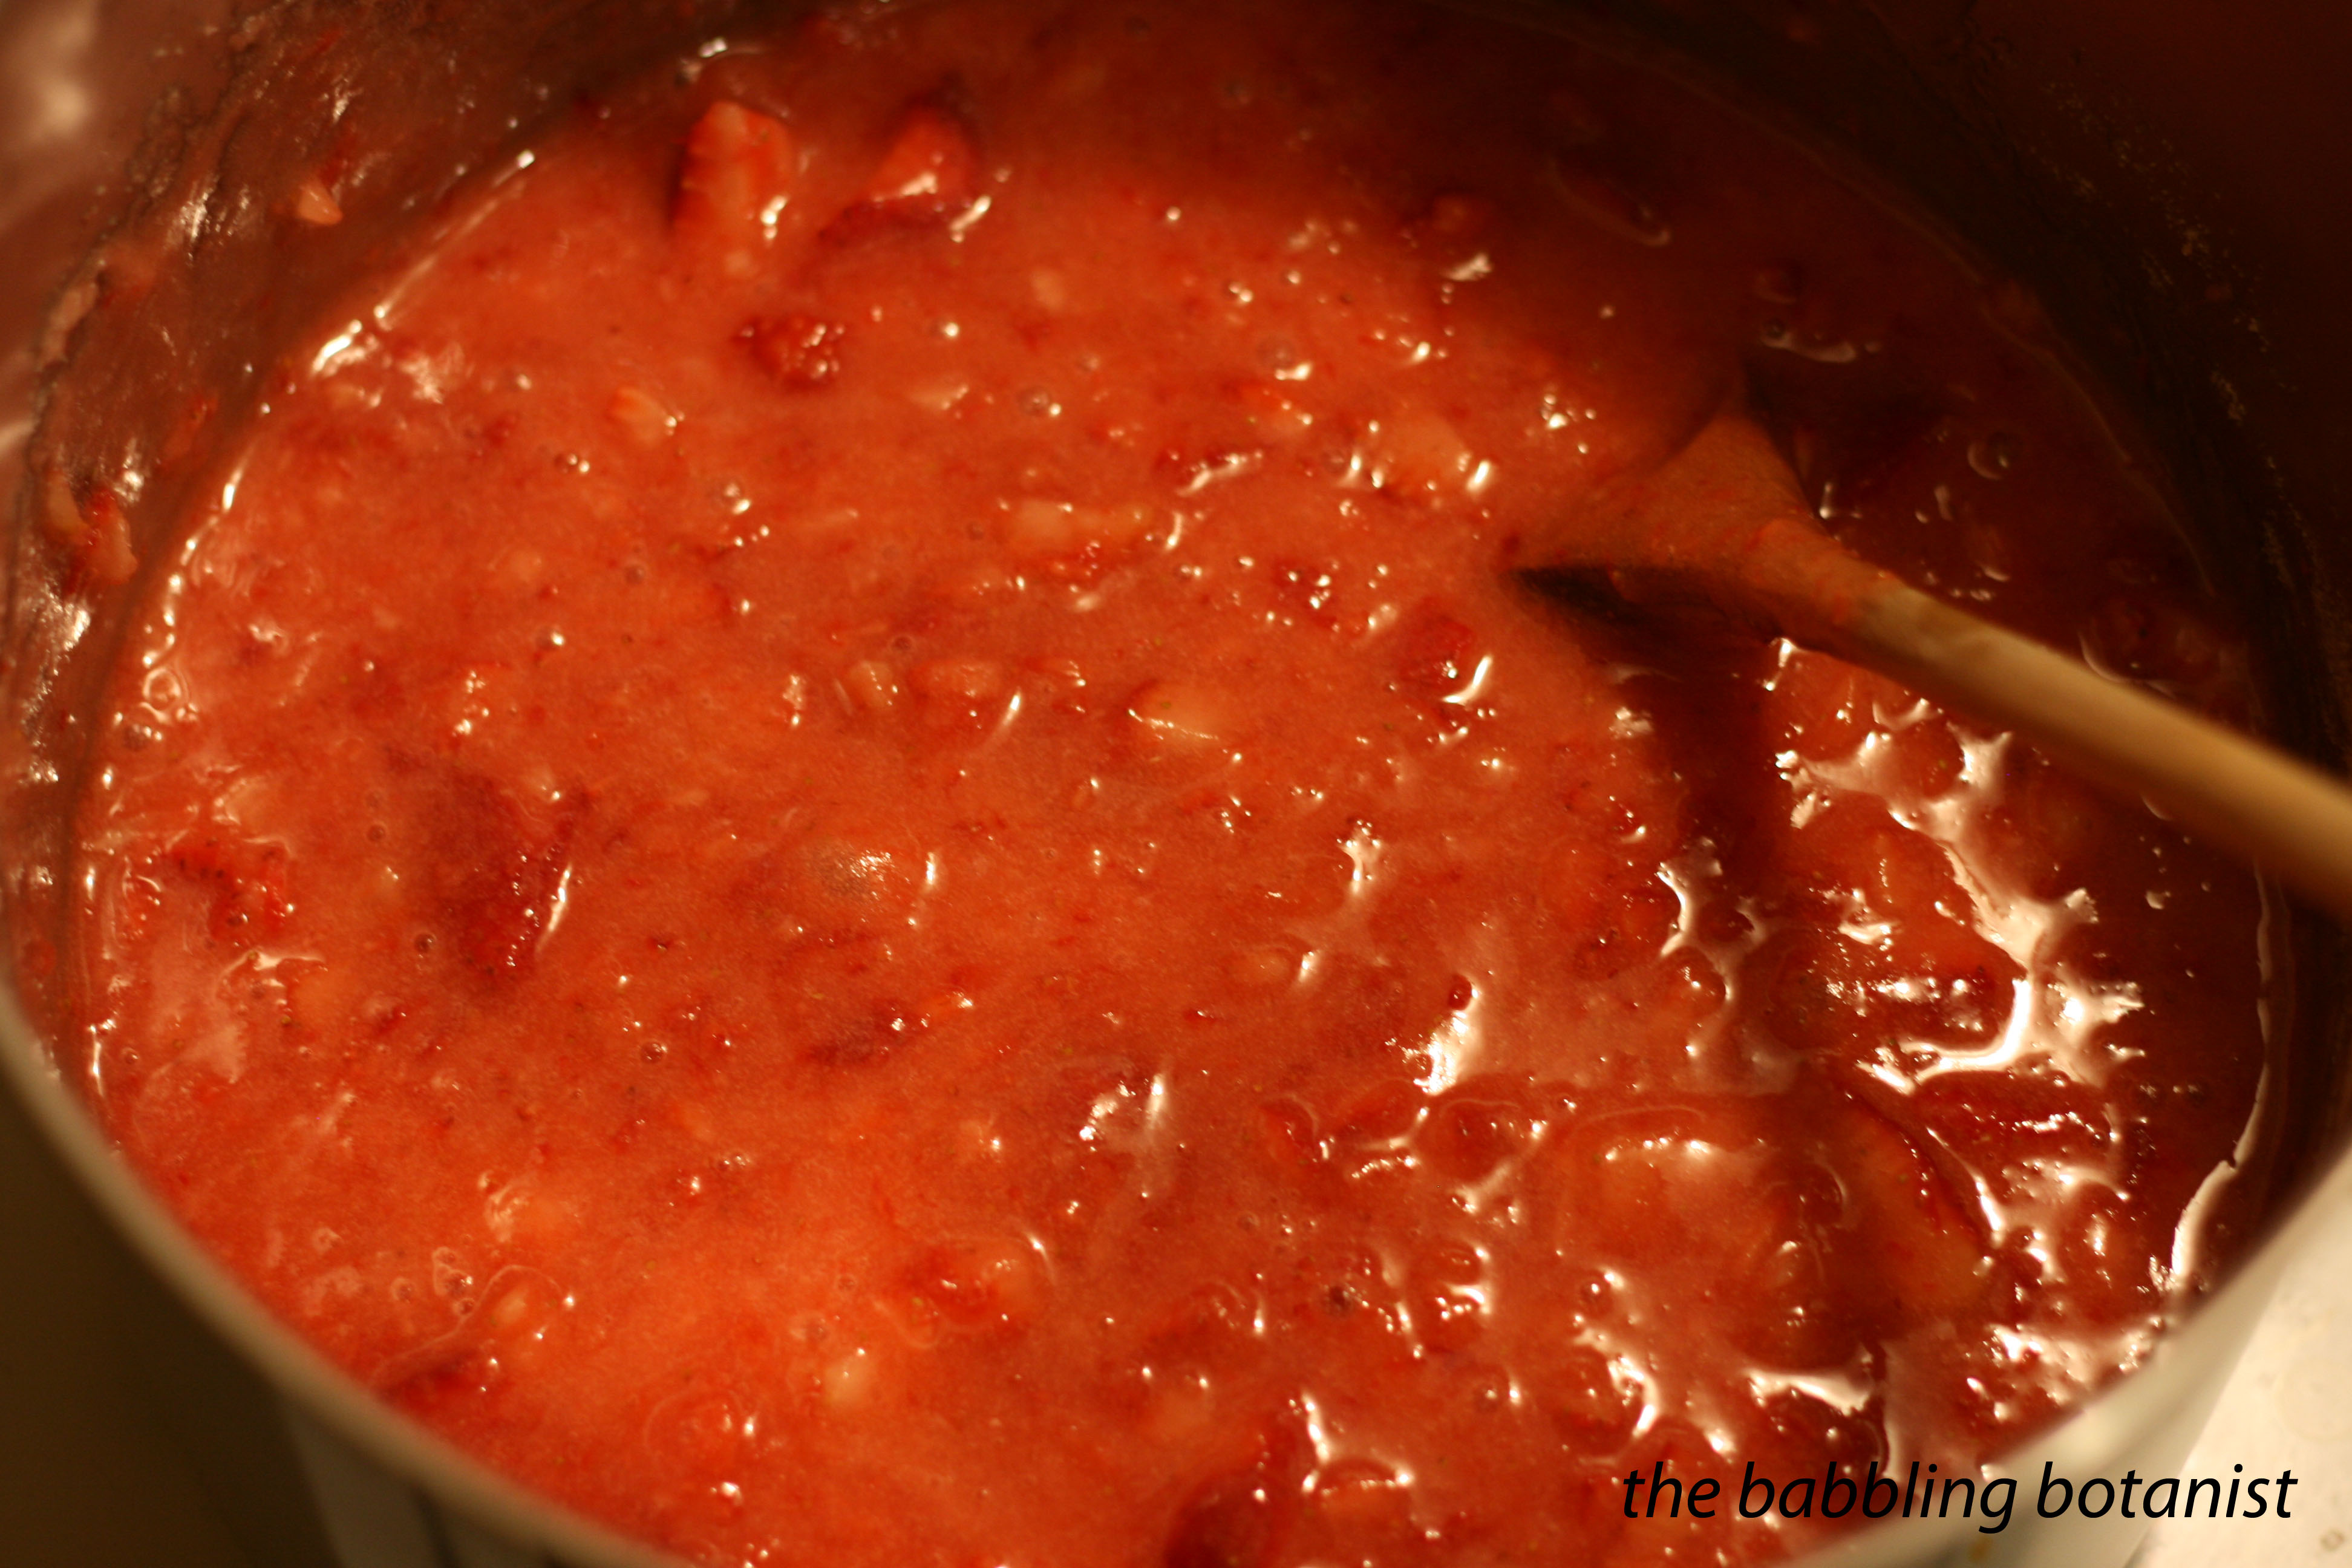
Bring to a boil over high heat, stirring constantly. Once at a full boil, add the sugar all at once, return to a boil, and boil hard for one minute.

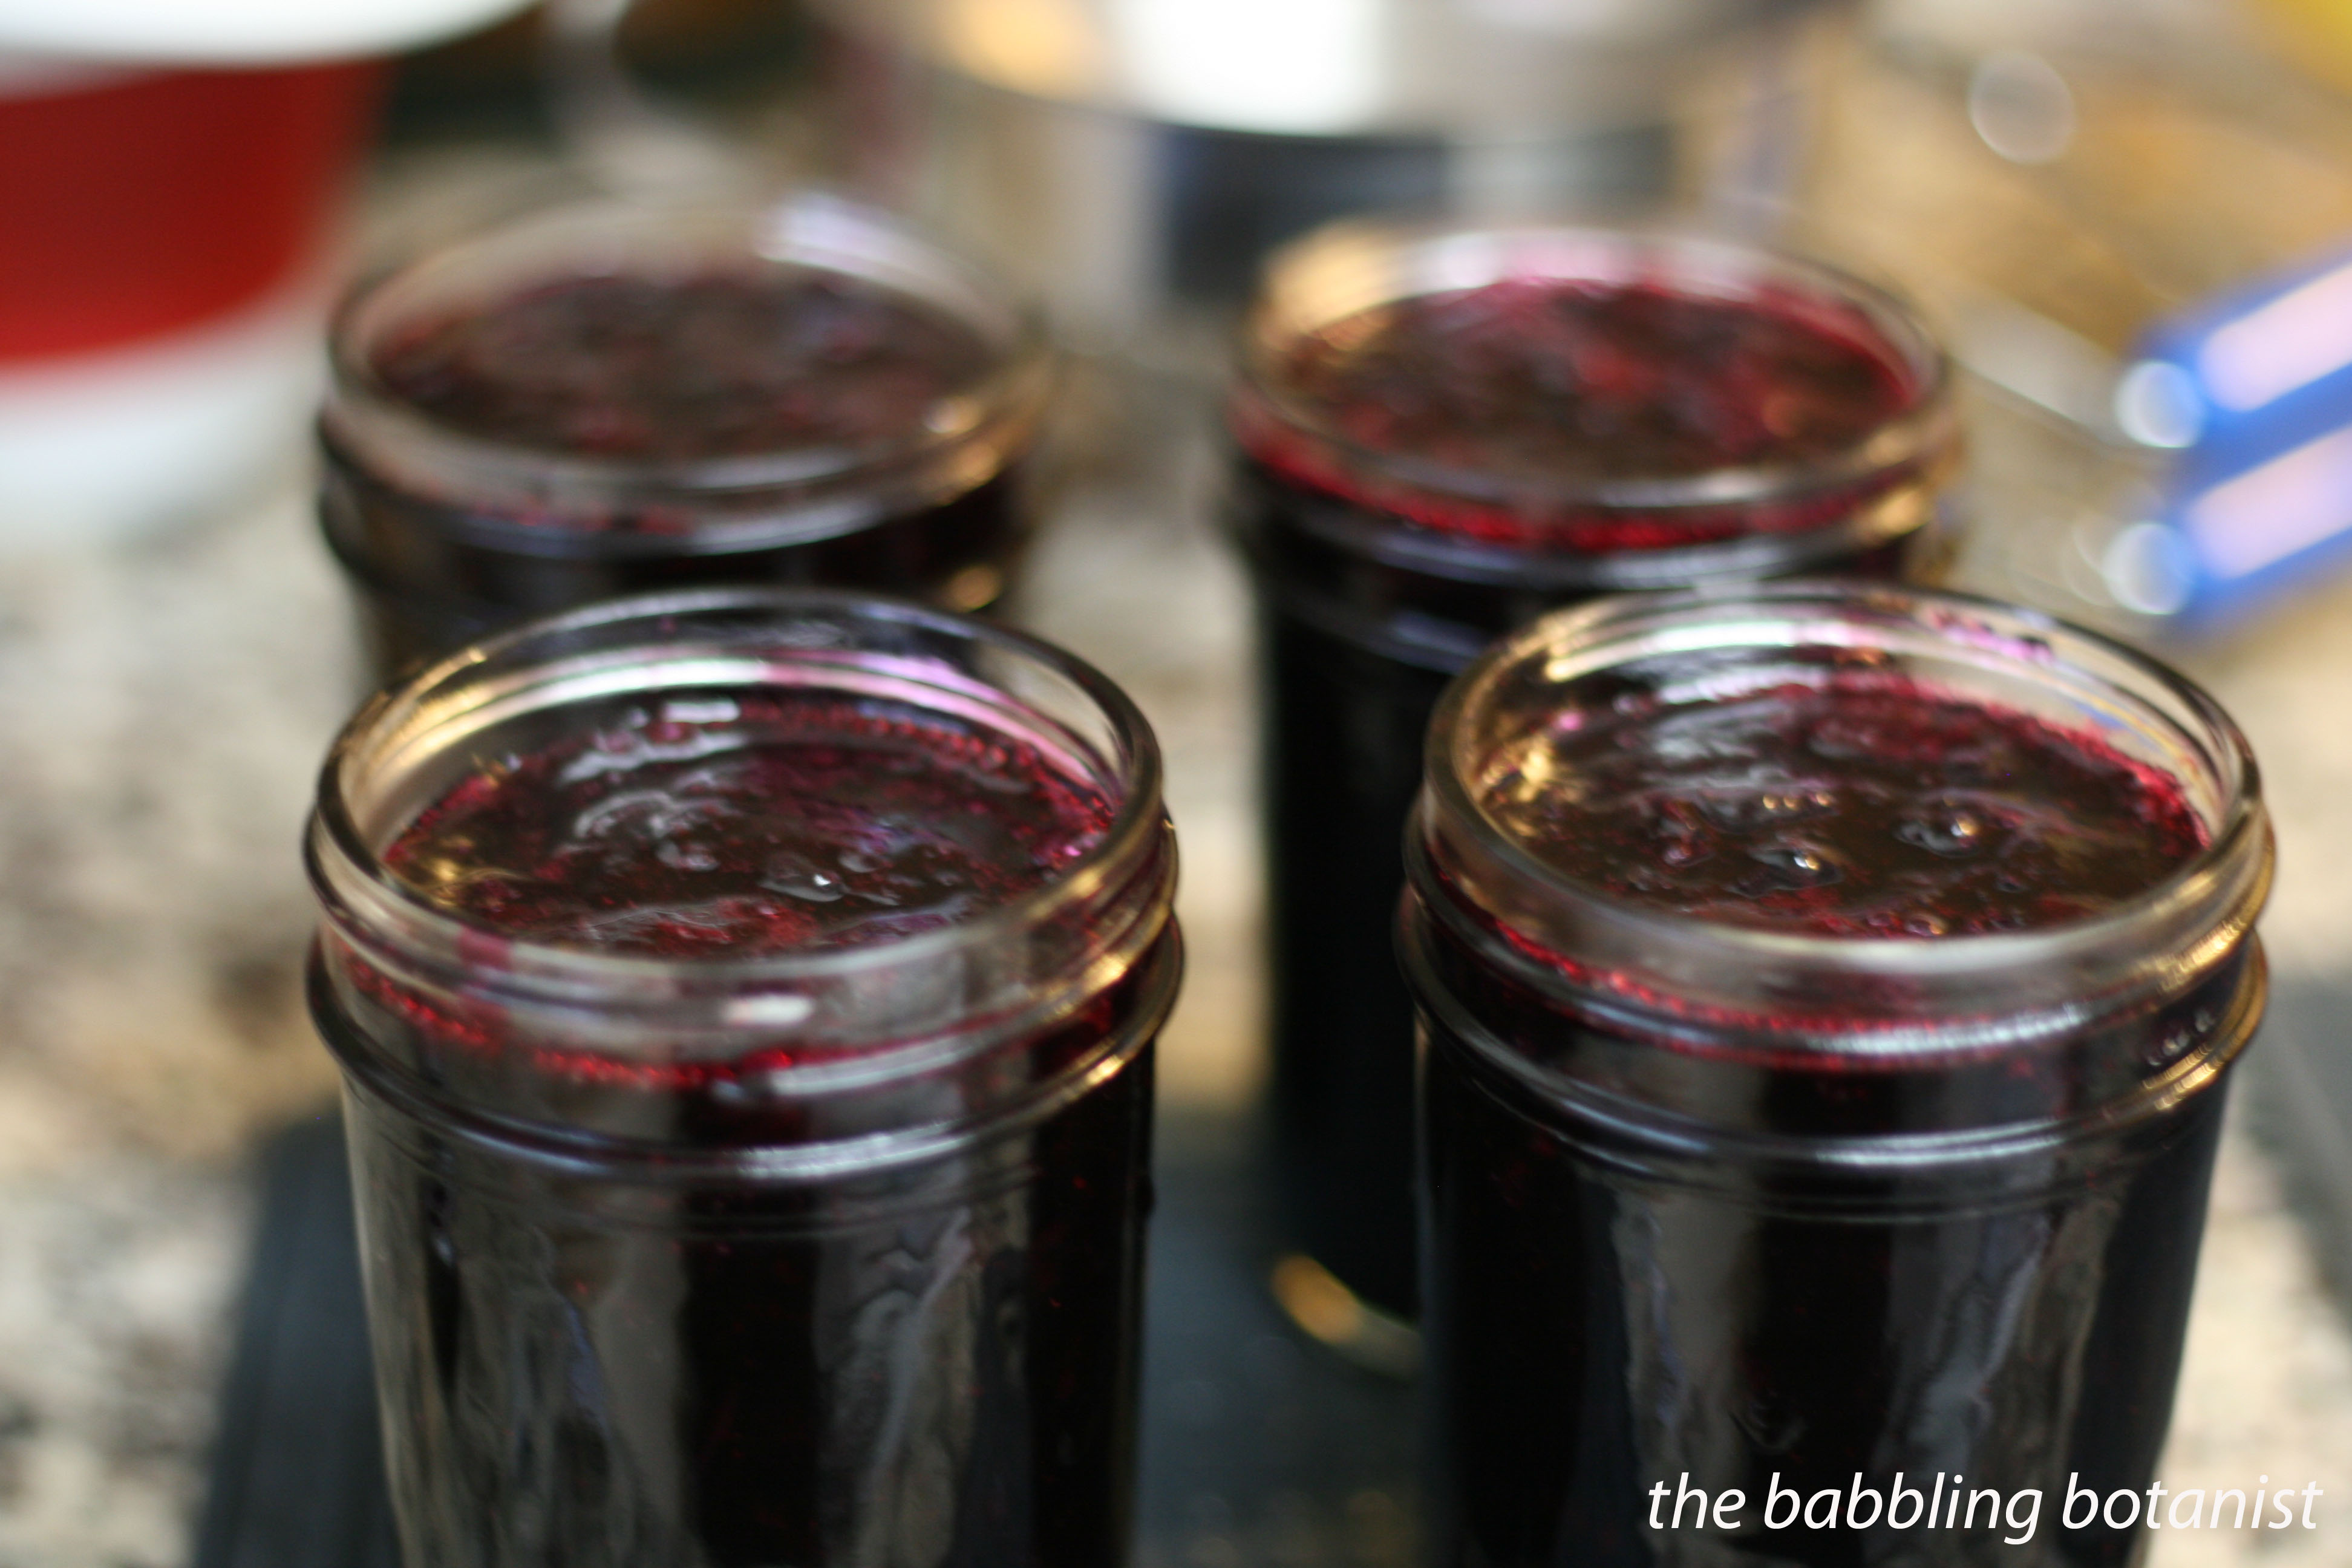
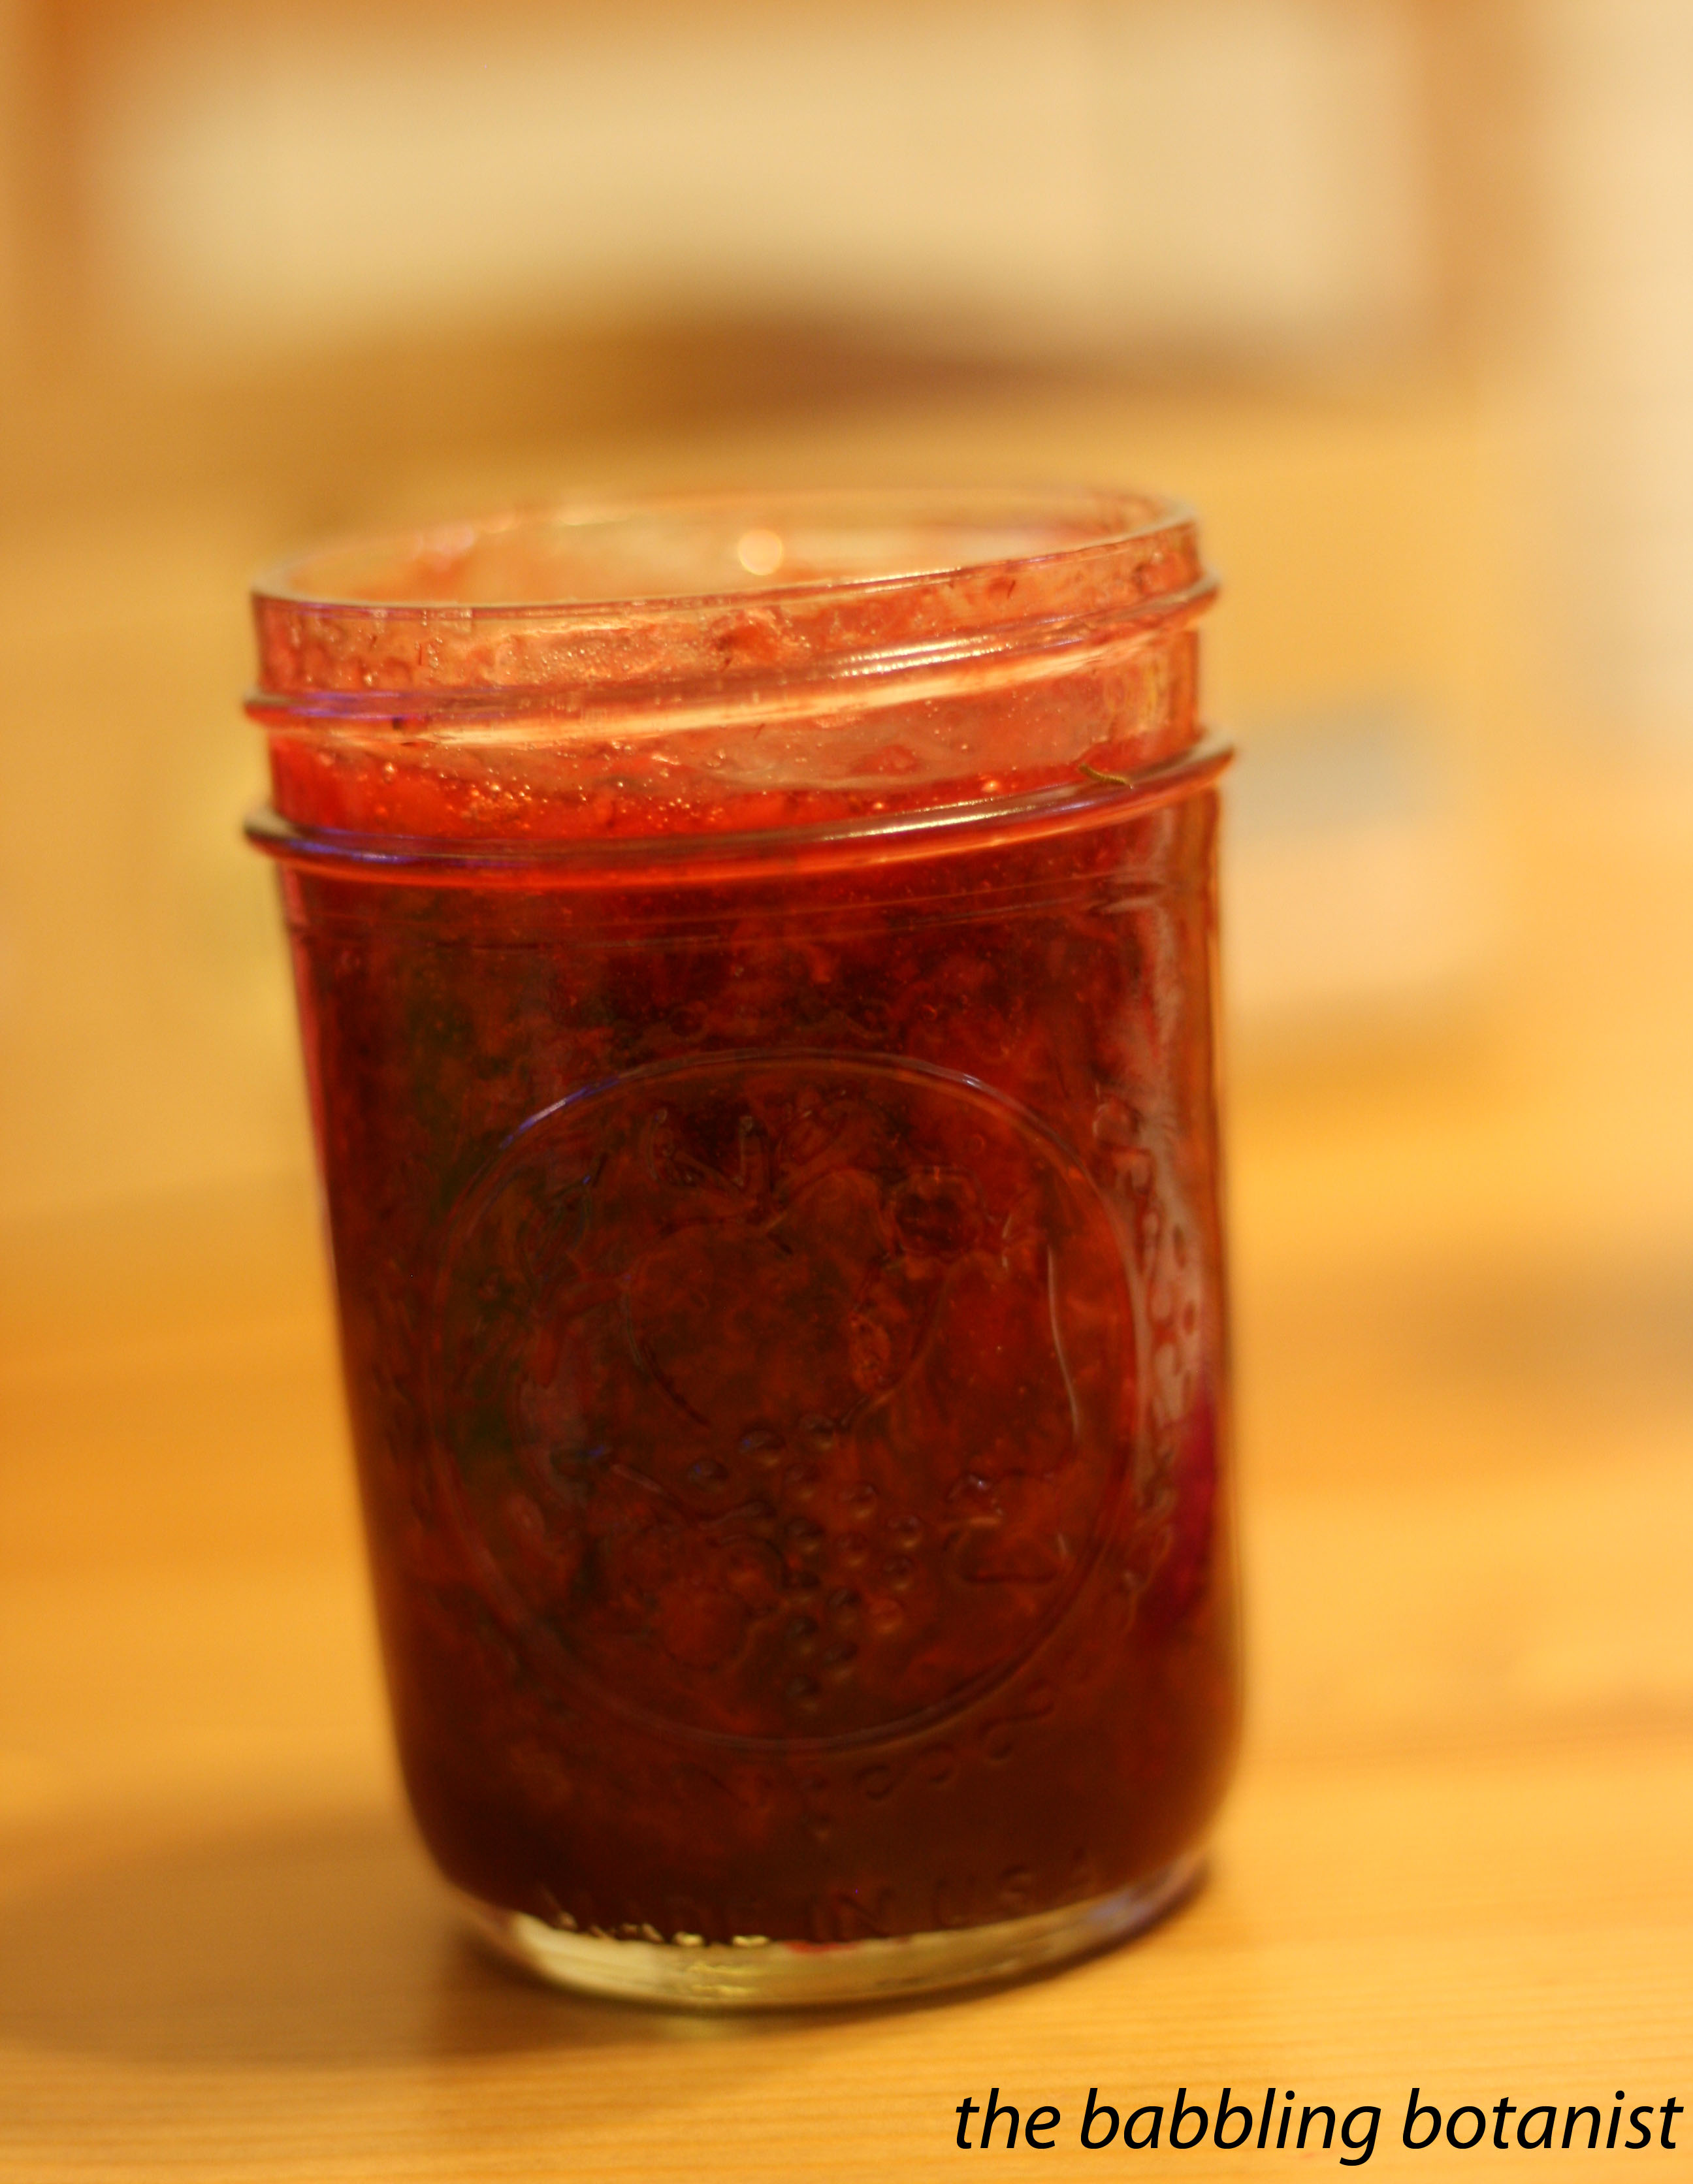
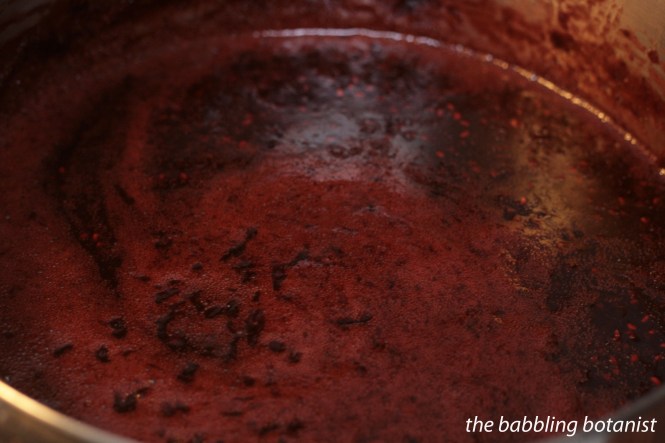
So lovely, and delicious.
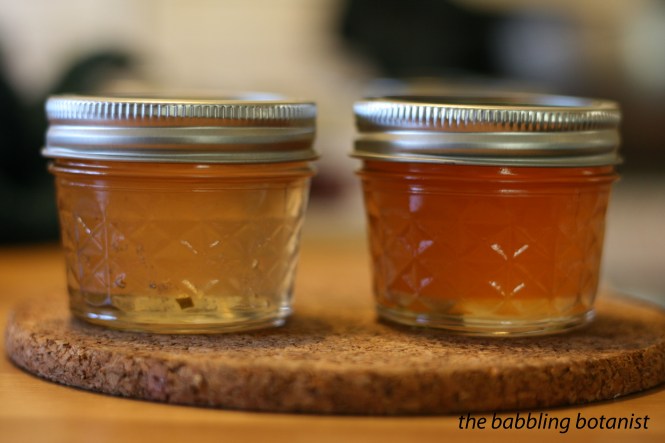
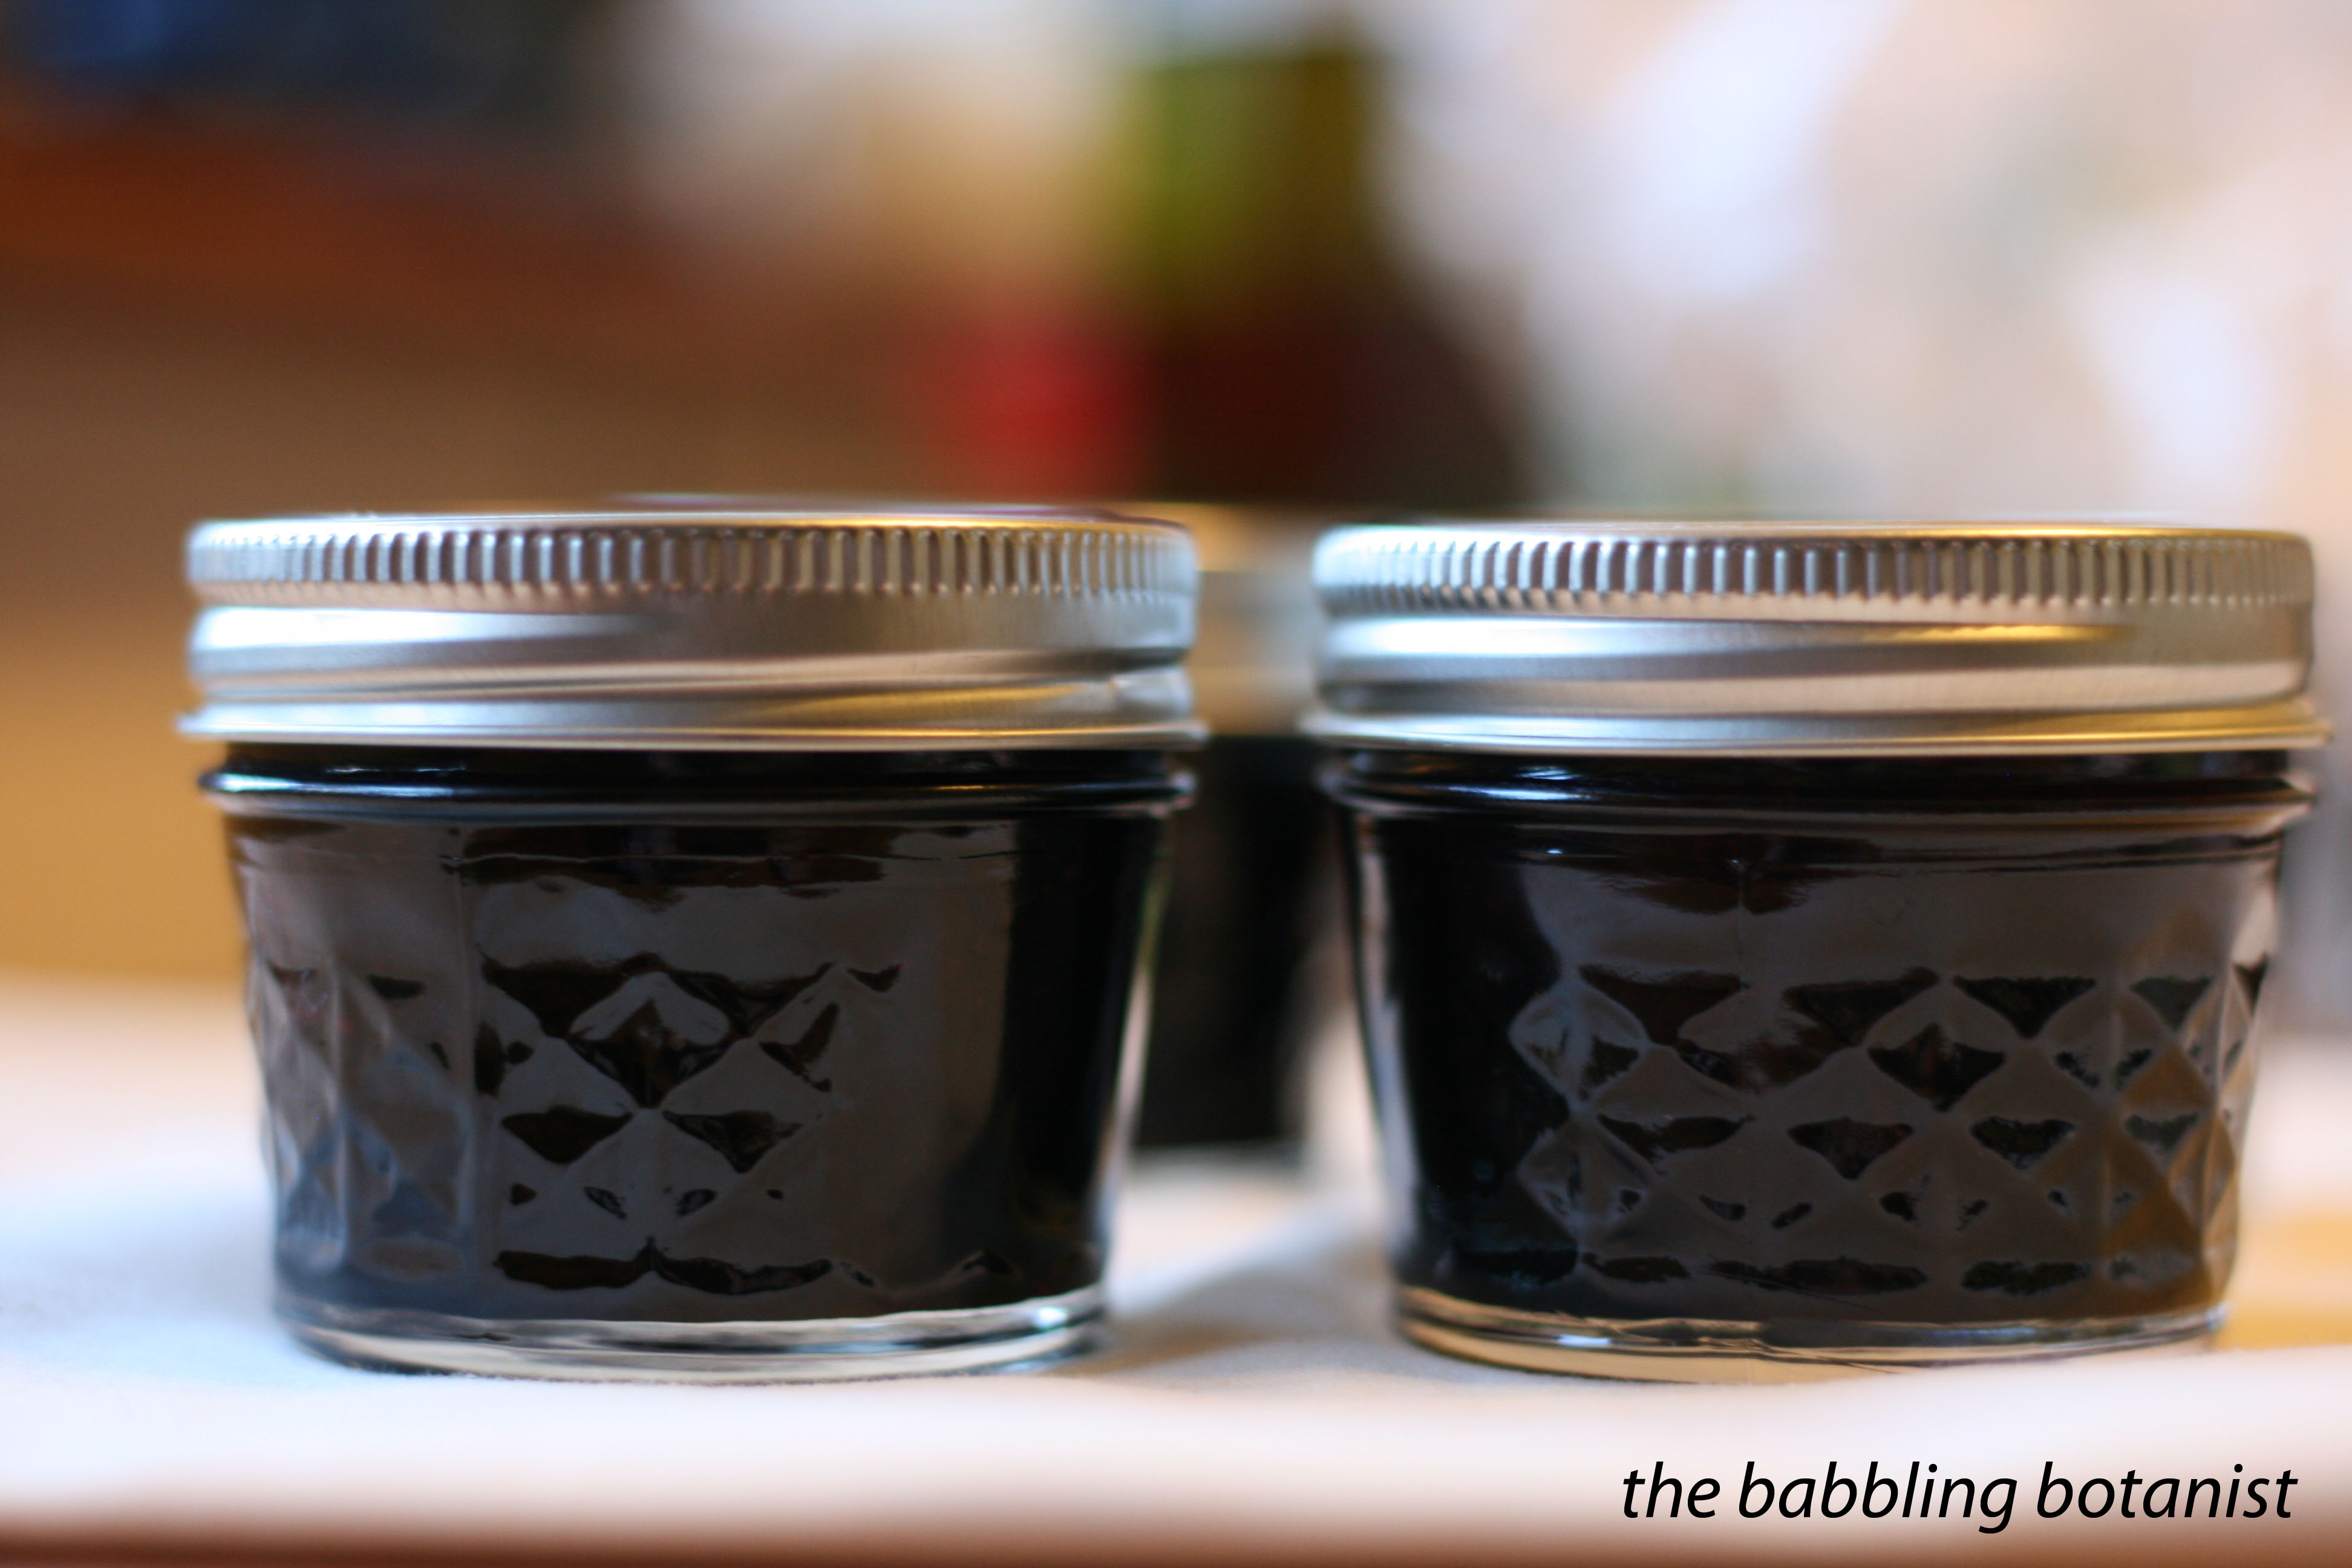
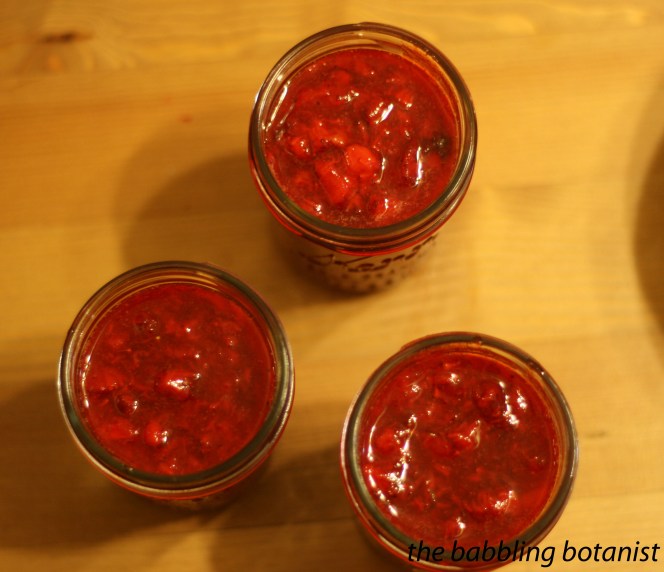
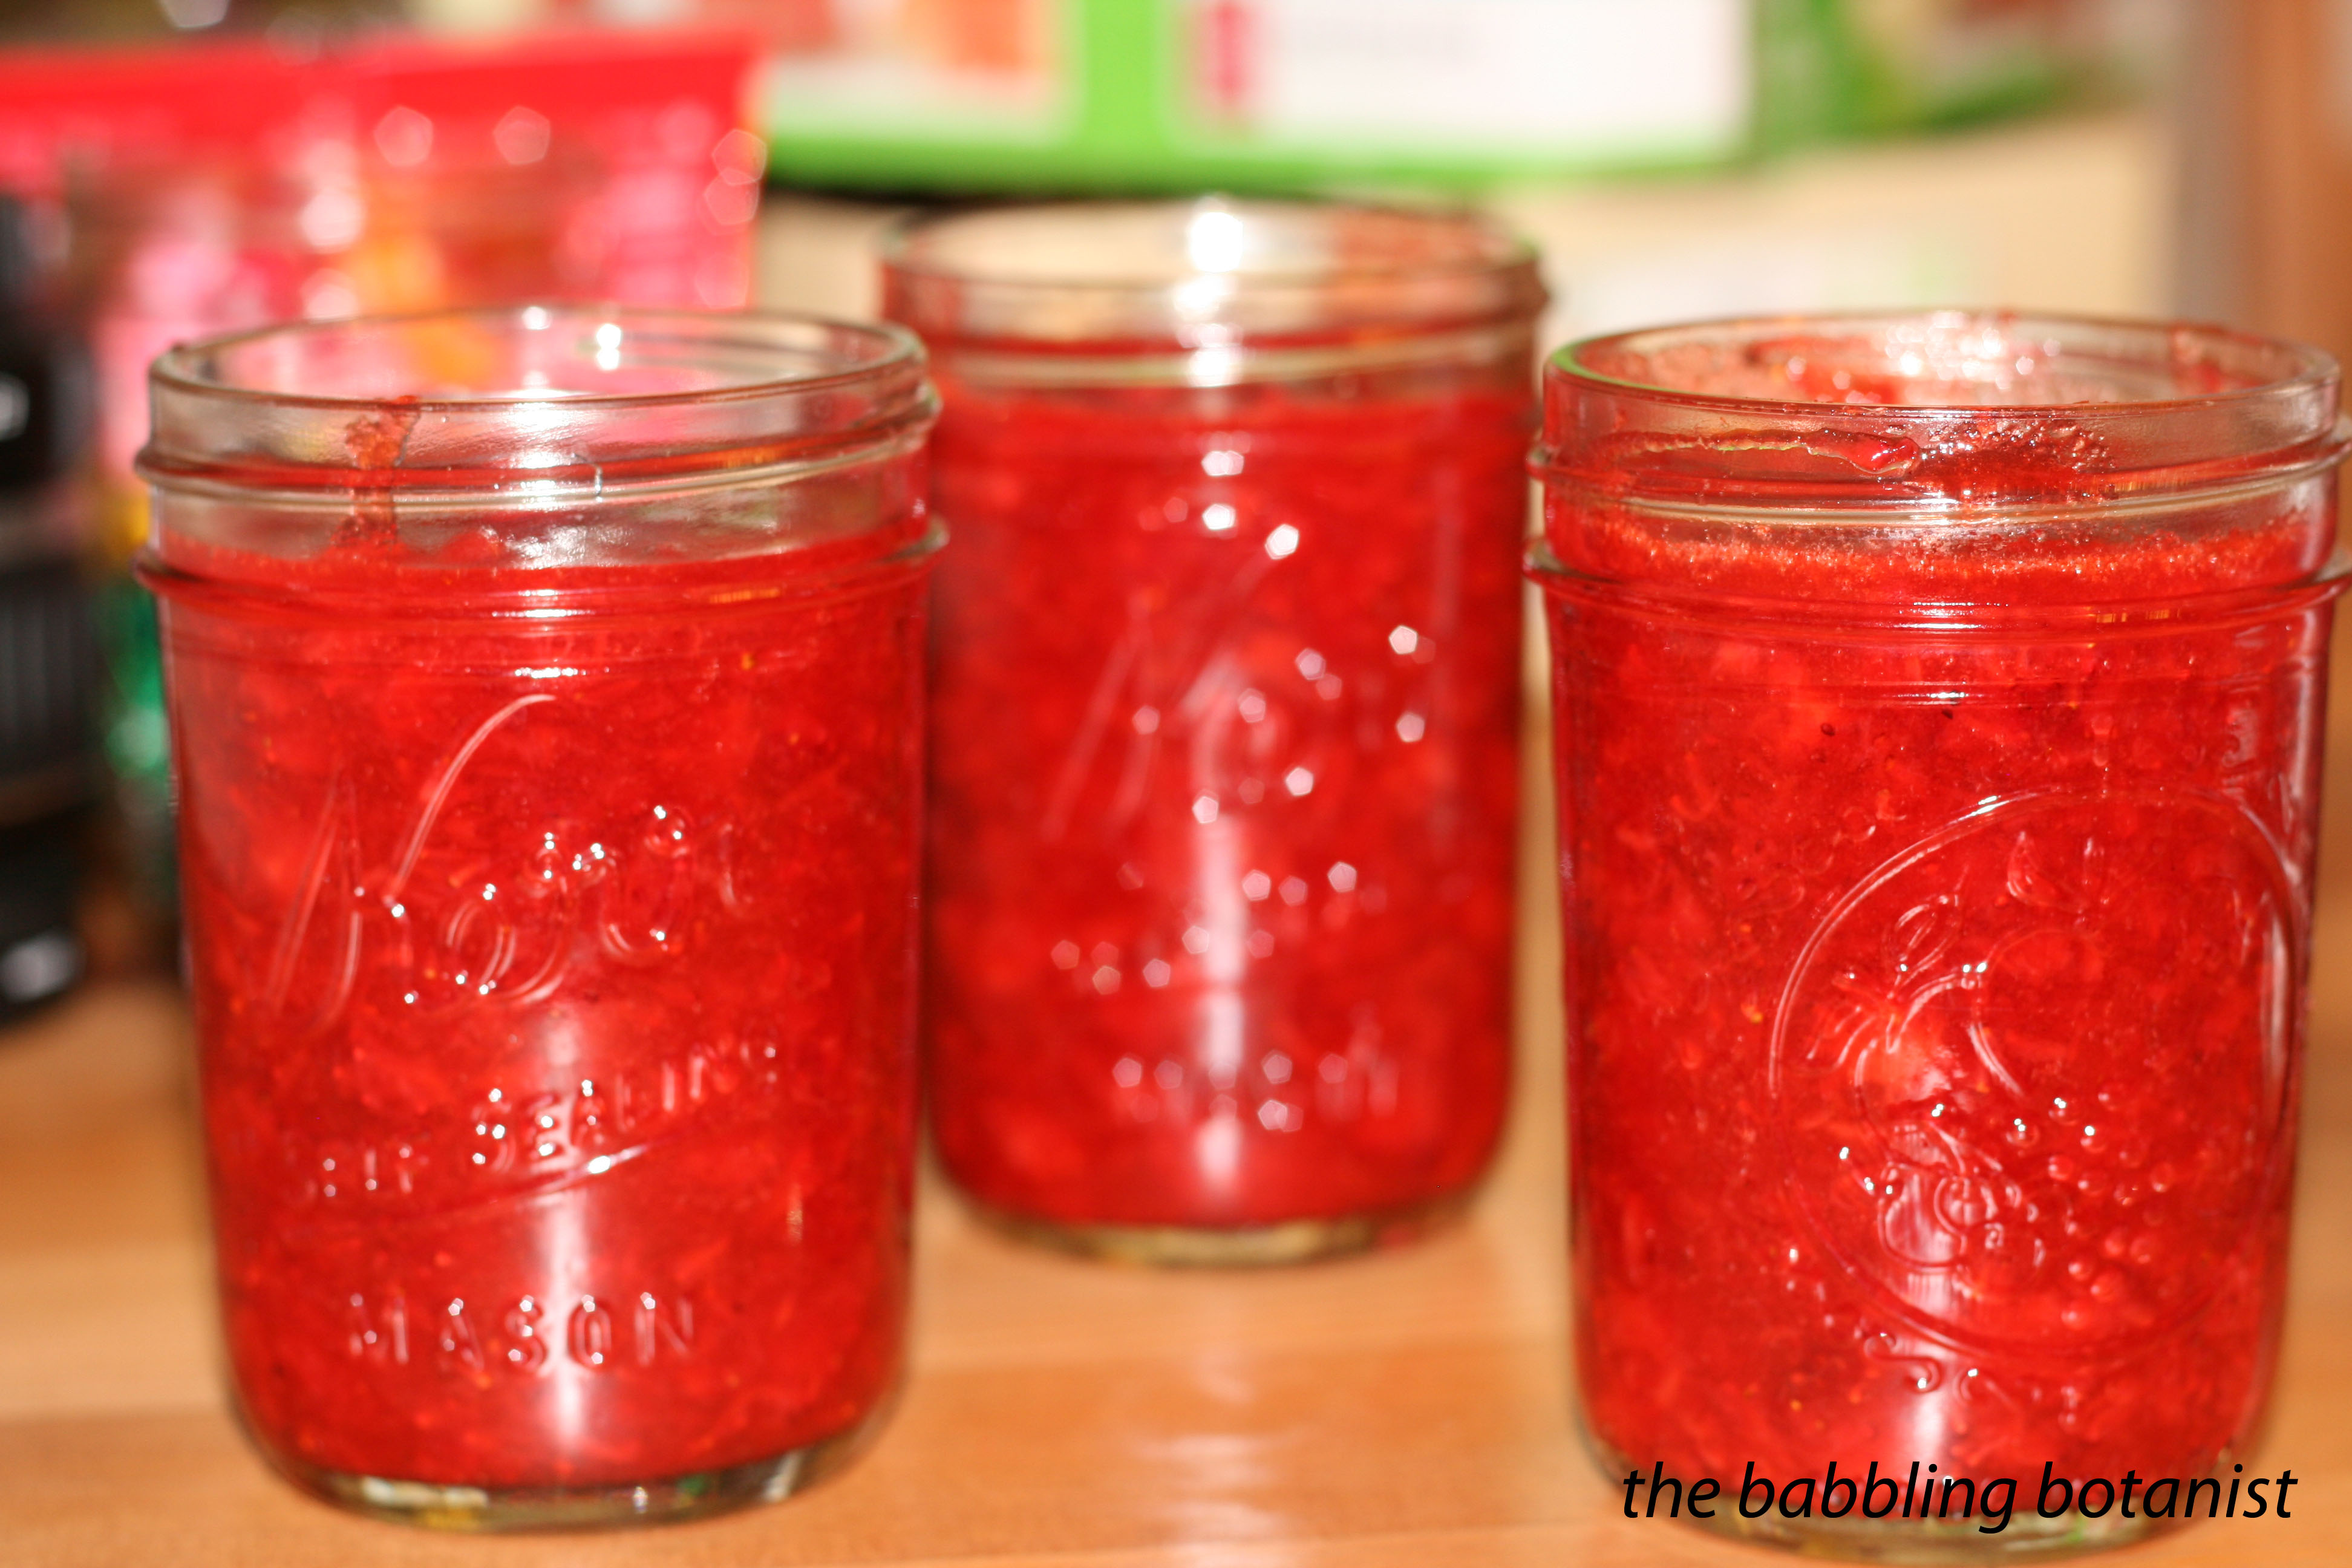
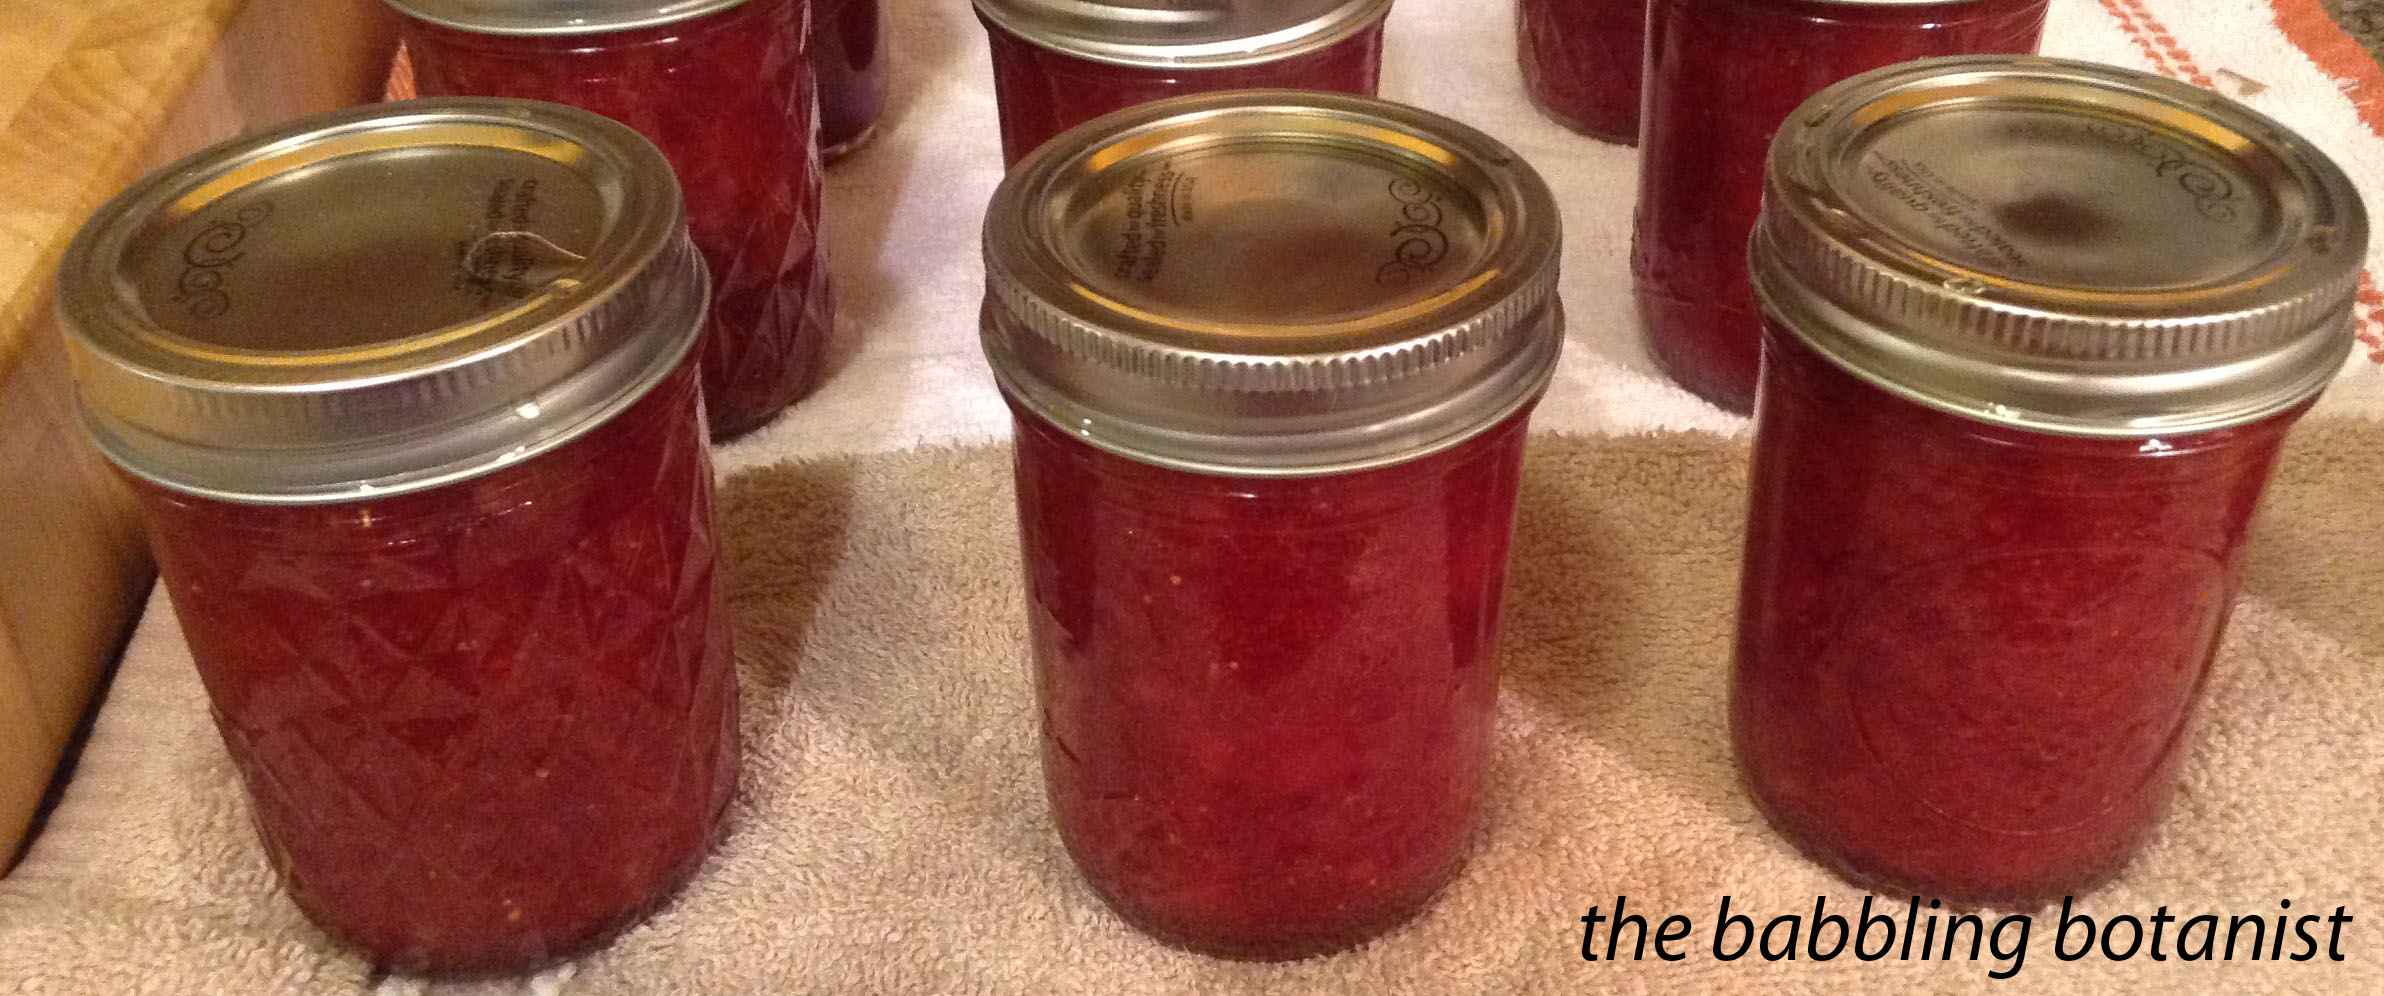
Fill your hot jars, leaving a 1/4 inch head space. Wipe rims, apply lids and bands, and tighten finger tip tight. Process in a boiling water bath canner, covered by at least an inch or two of water for 10 minutes. After 10 minutes, remove canner lid, wait 5 minutes, remove jars, cool, and store.

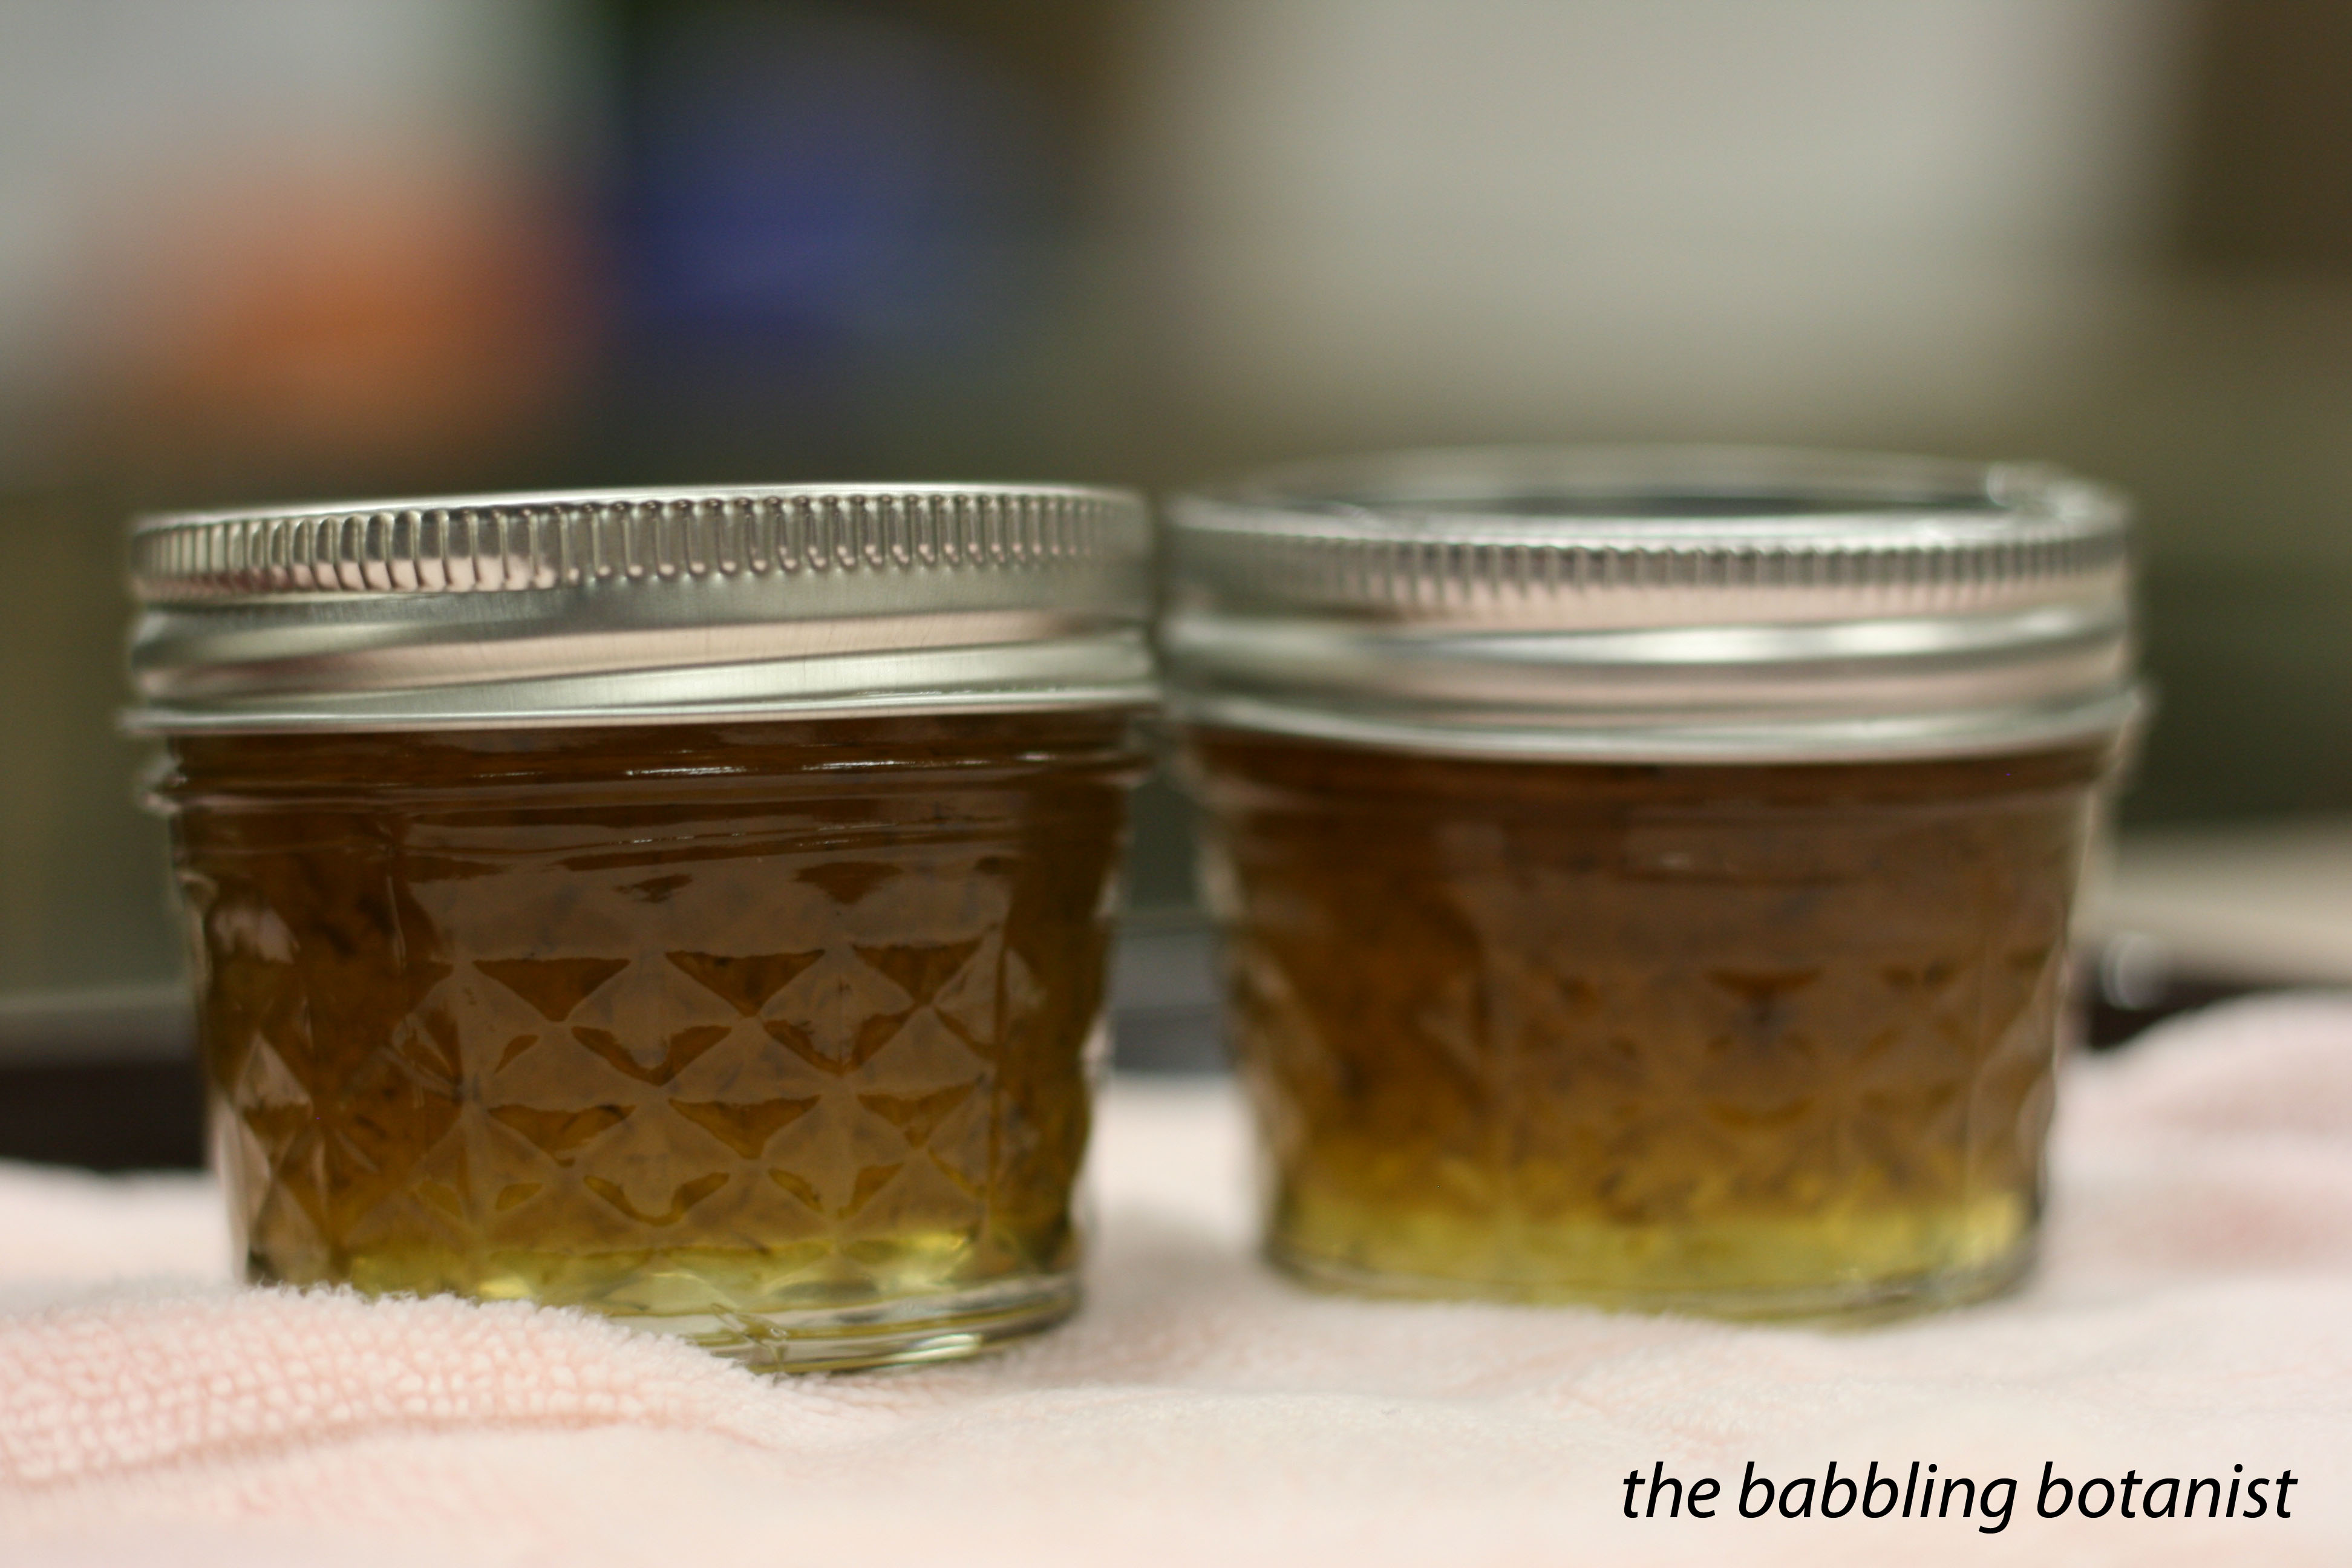
This sundae topper makes a delightful gift for the ice cream lover in your life. I bet it would also be really good on a light cake – I think I need to try it. The only thing I may change if I did this again would be to potentially reduce the pectin. It sets pretty firmly, which for a “sundae topper” seemed sort of unnecessary. Next time I might halve it for a less firm set.
Have any raspberries you’re wanting to preserve in a unique and interesting way? Try this out and let me know what you think!