For the first time in 5+ years, I have made a *new* (to me) canning recipe from the Ball Complete Book of Home Preserving, so naturally, that means I better also blog for the first time in 7 years.🫣
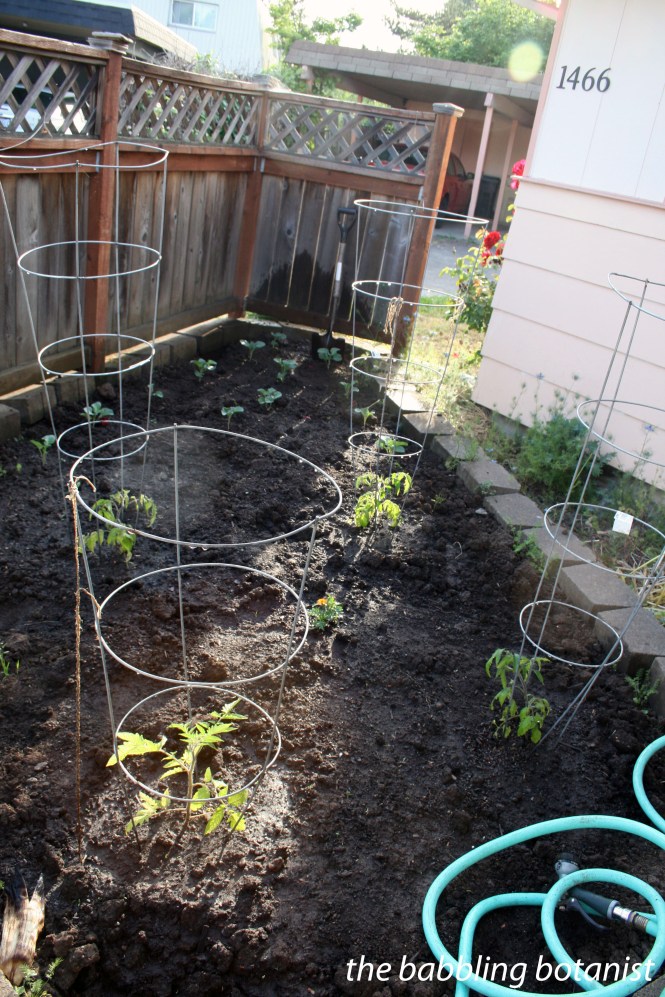
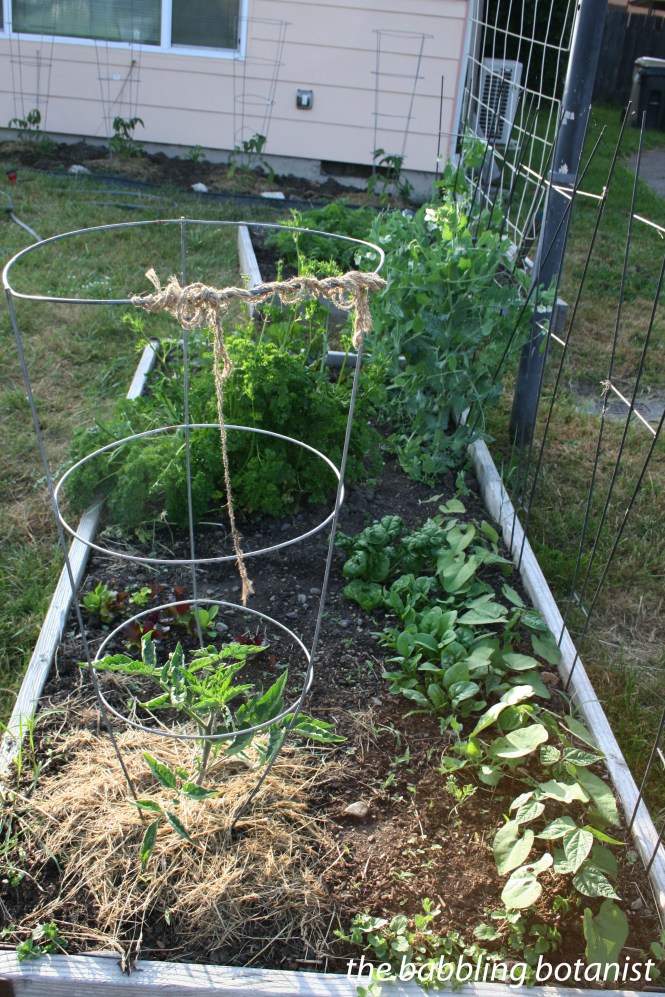
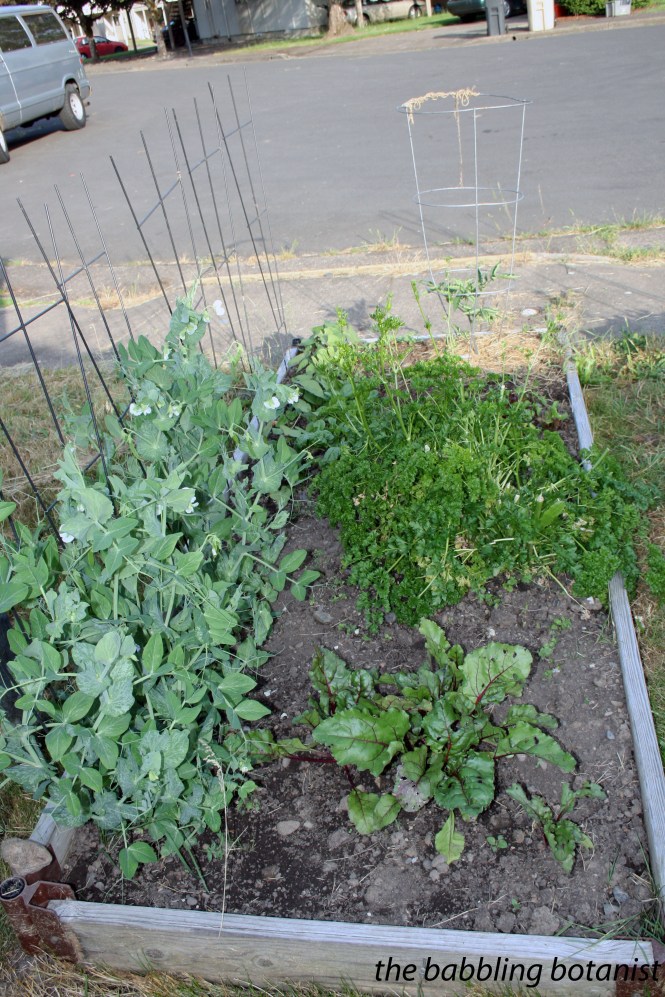
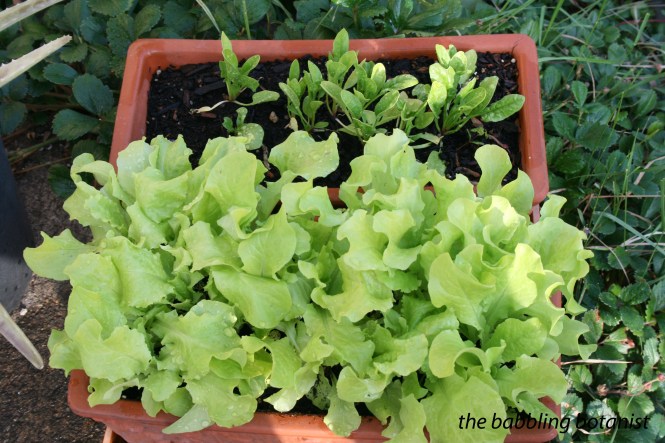
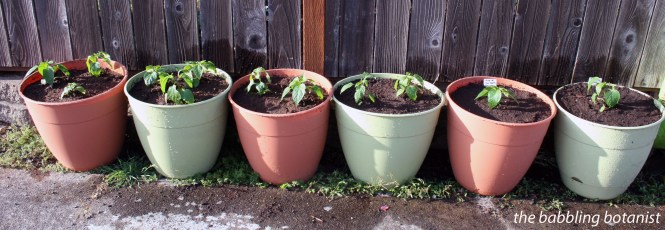
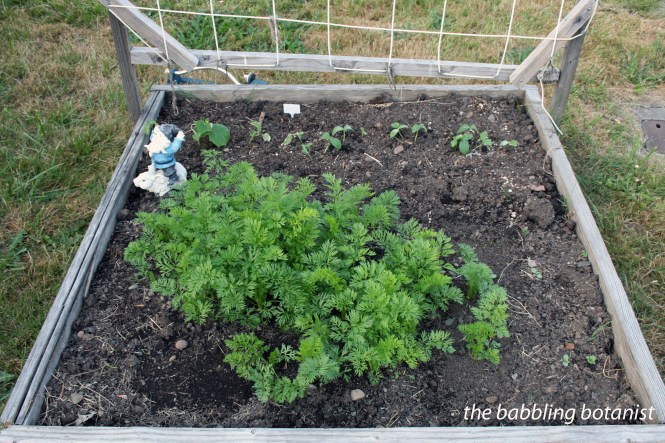
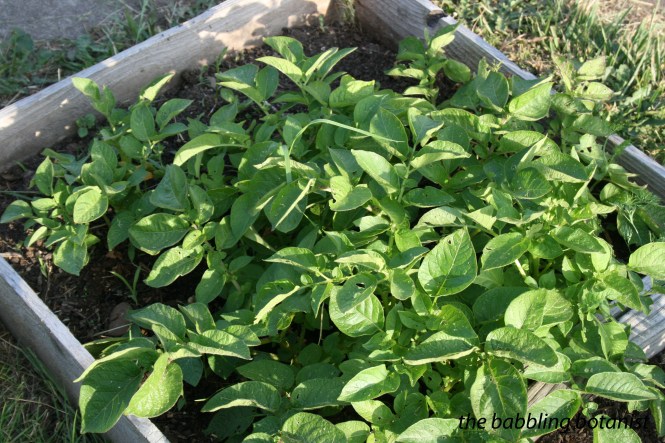
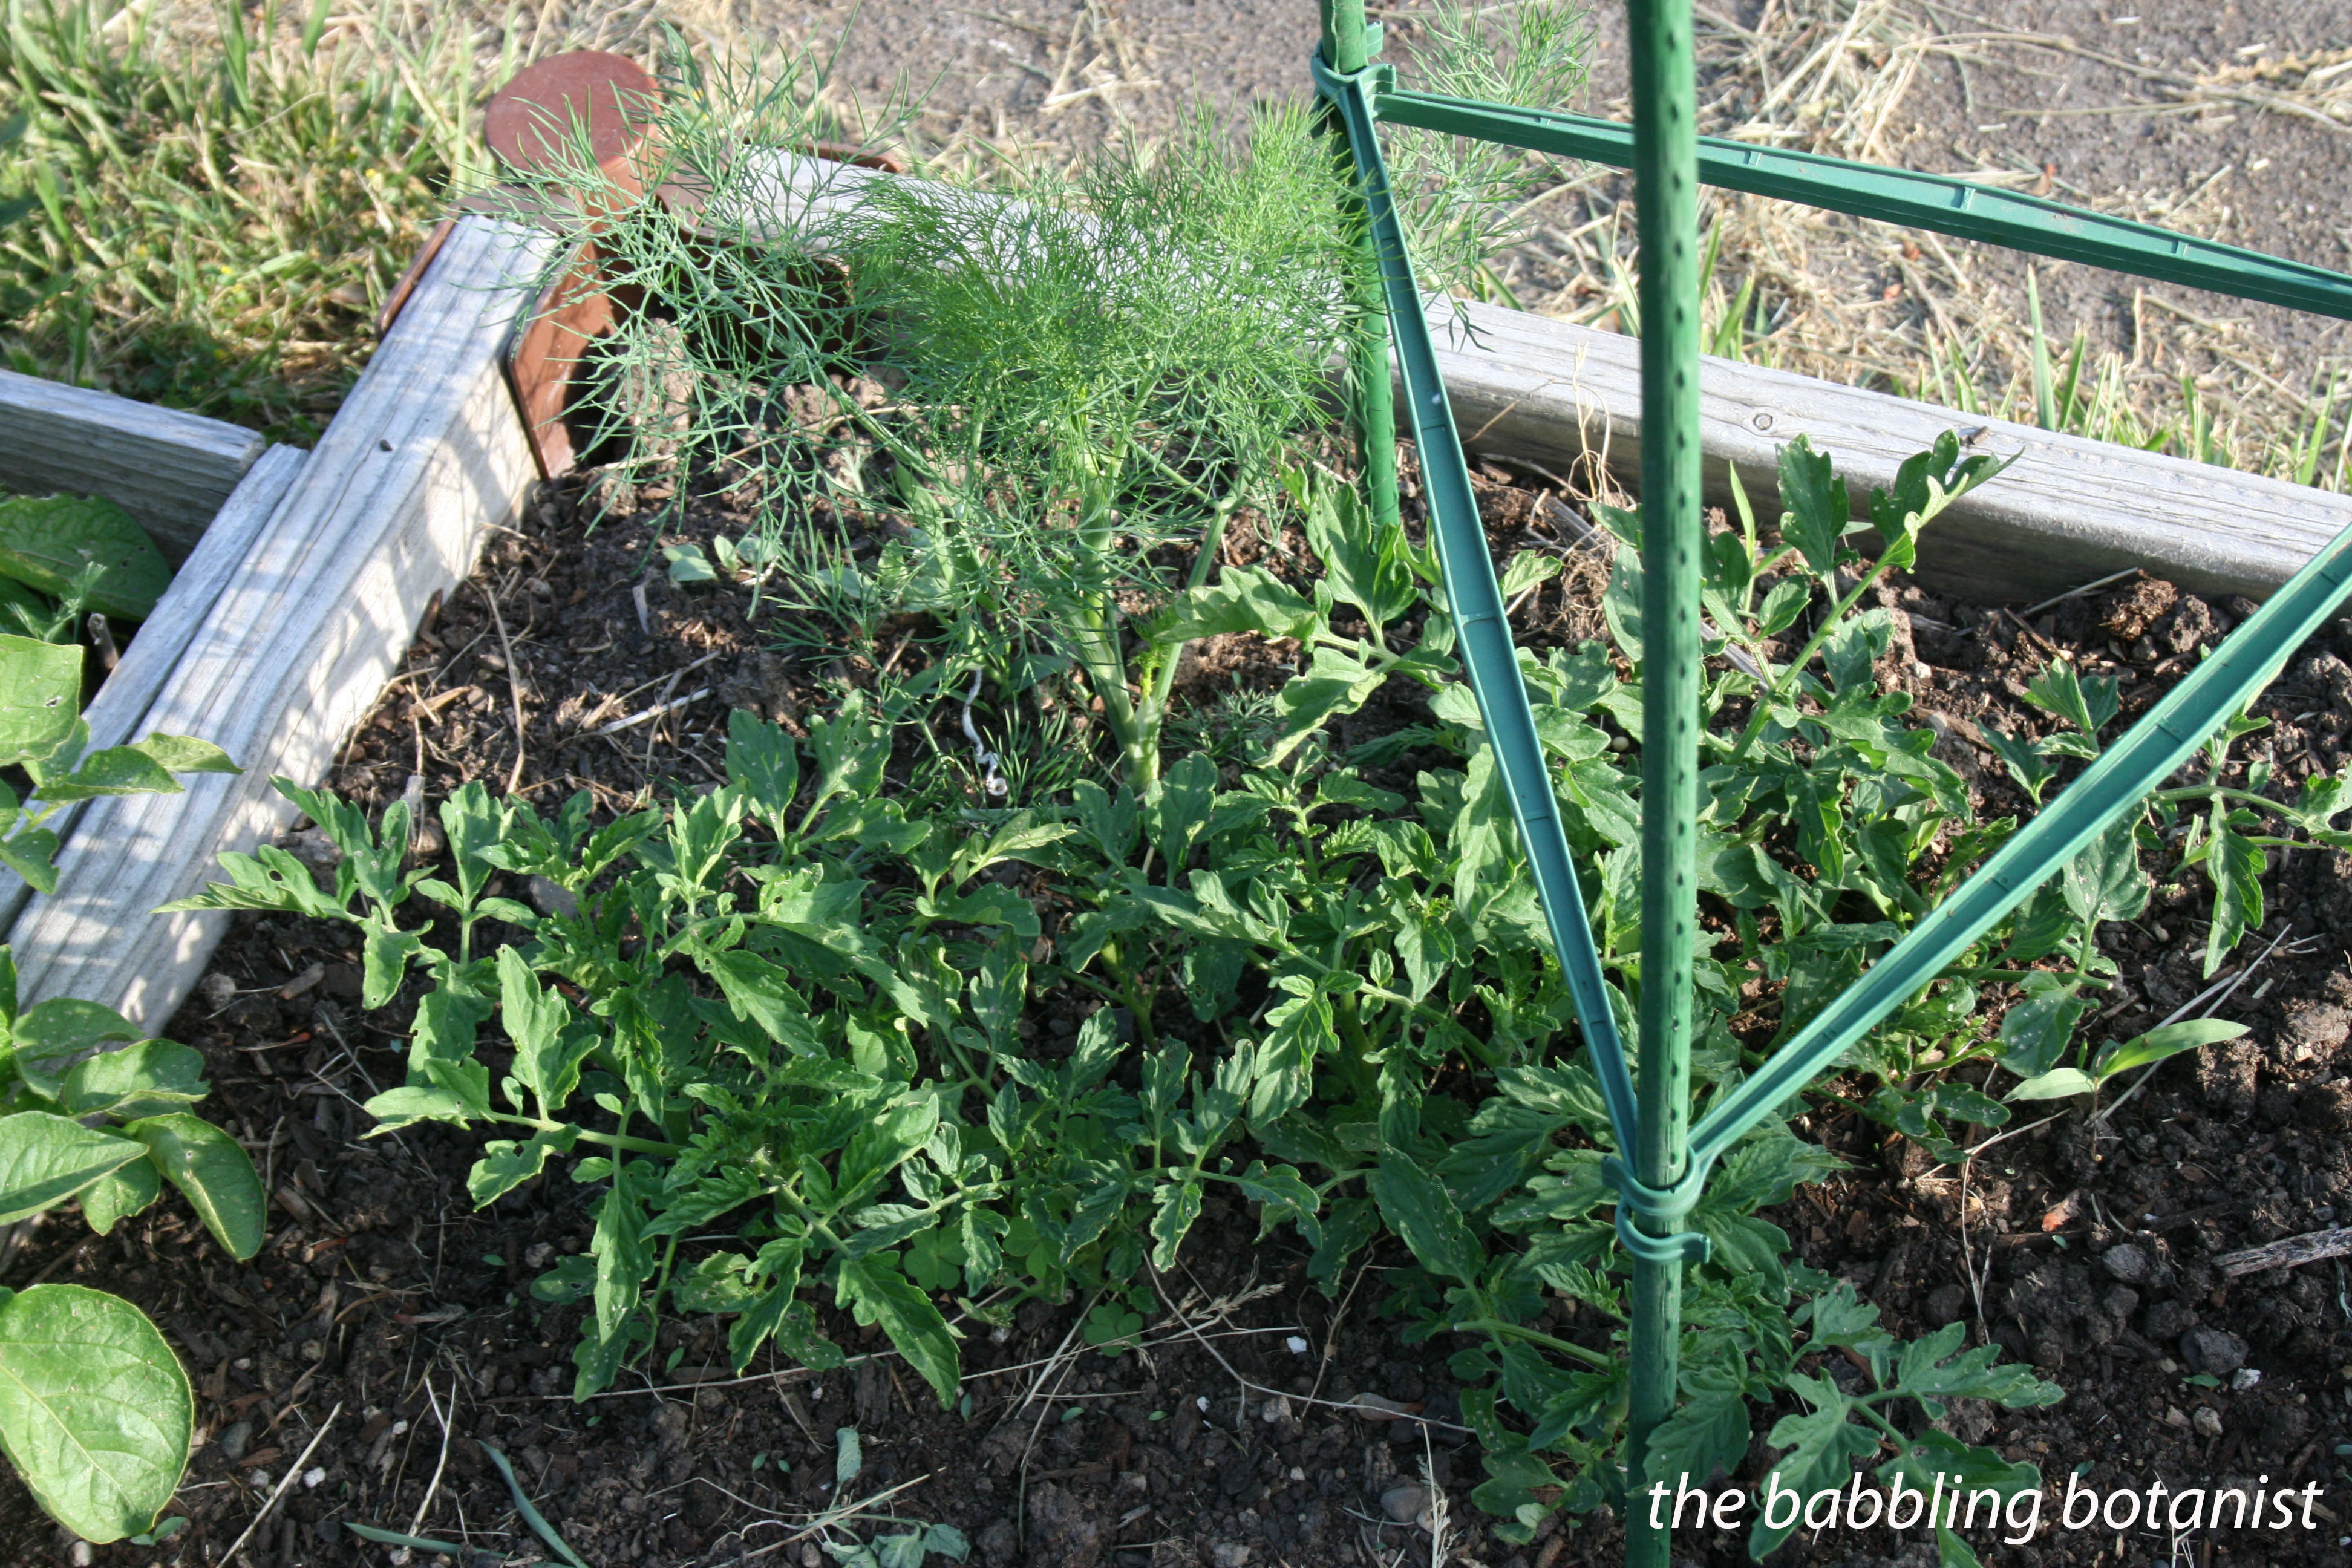
For a quick 30 second update – last summer we moved, finally becoming homeowners (yay!). We have a decent sized yard, have built 6 raised beds so far and had a great garden season, so I am hoping to start posting more about gardening and canning adventures again. We’ve also been up to plenty of outdoor botanical adventures over the past few years as well, so I hope to add some more about backpacking and other adventures to this blog as well.
Today we’ll be talking about a classic pantry stable – vegetable stock. This recipe comes from my personal favorite canning book, the Ball Complete Book of Home preserving. Let’s dive in.
Ingredients:
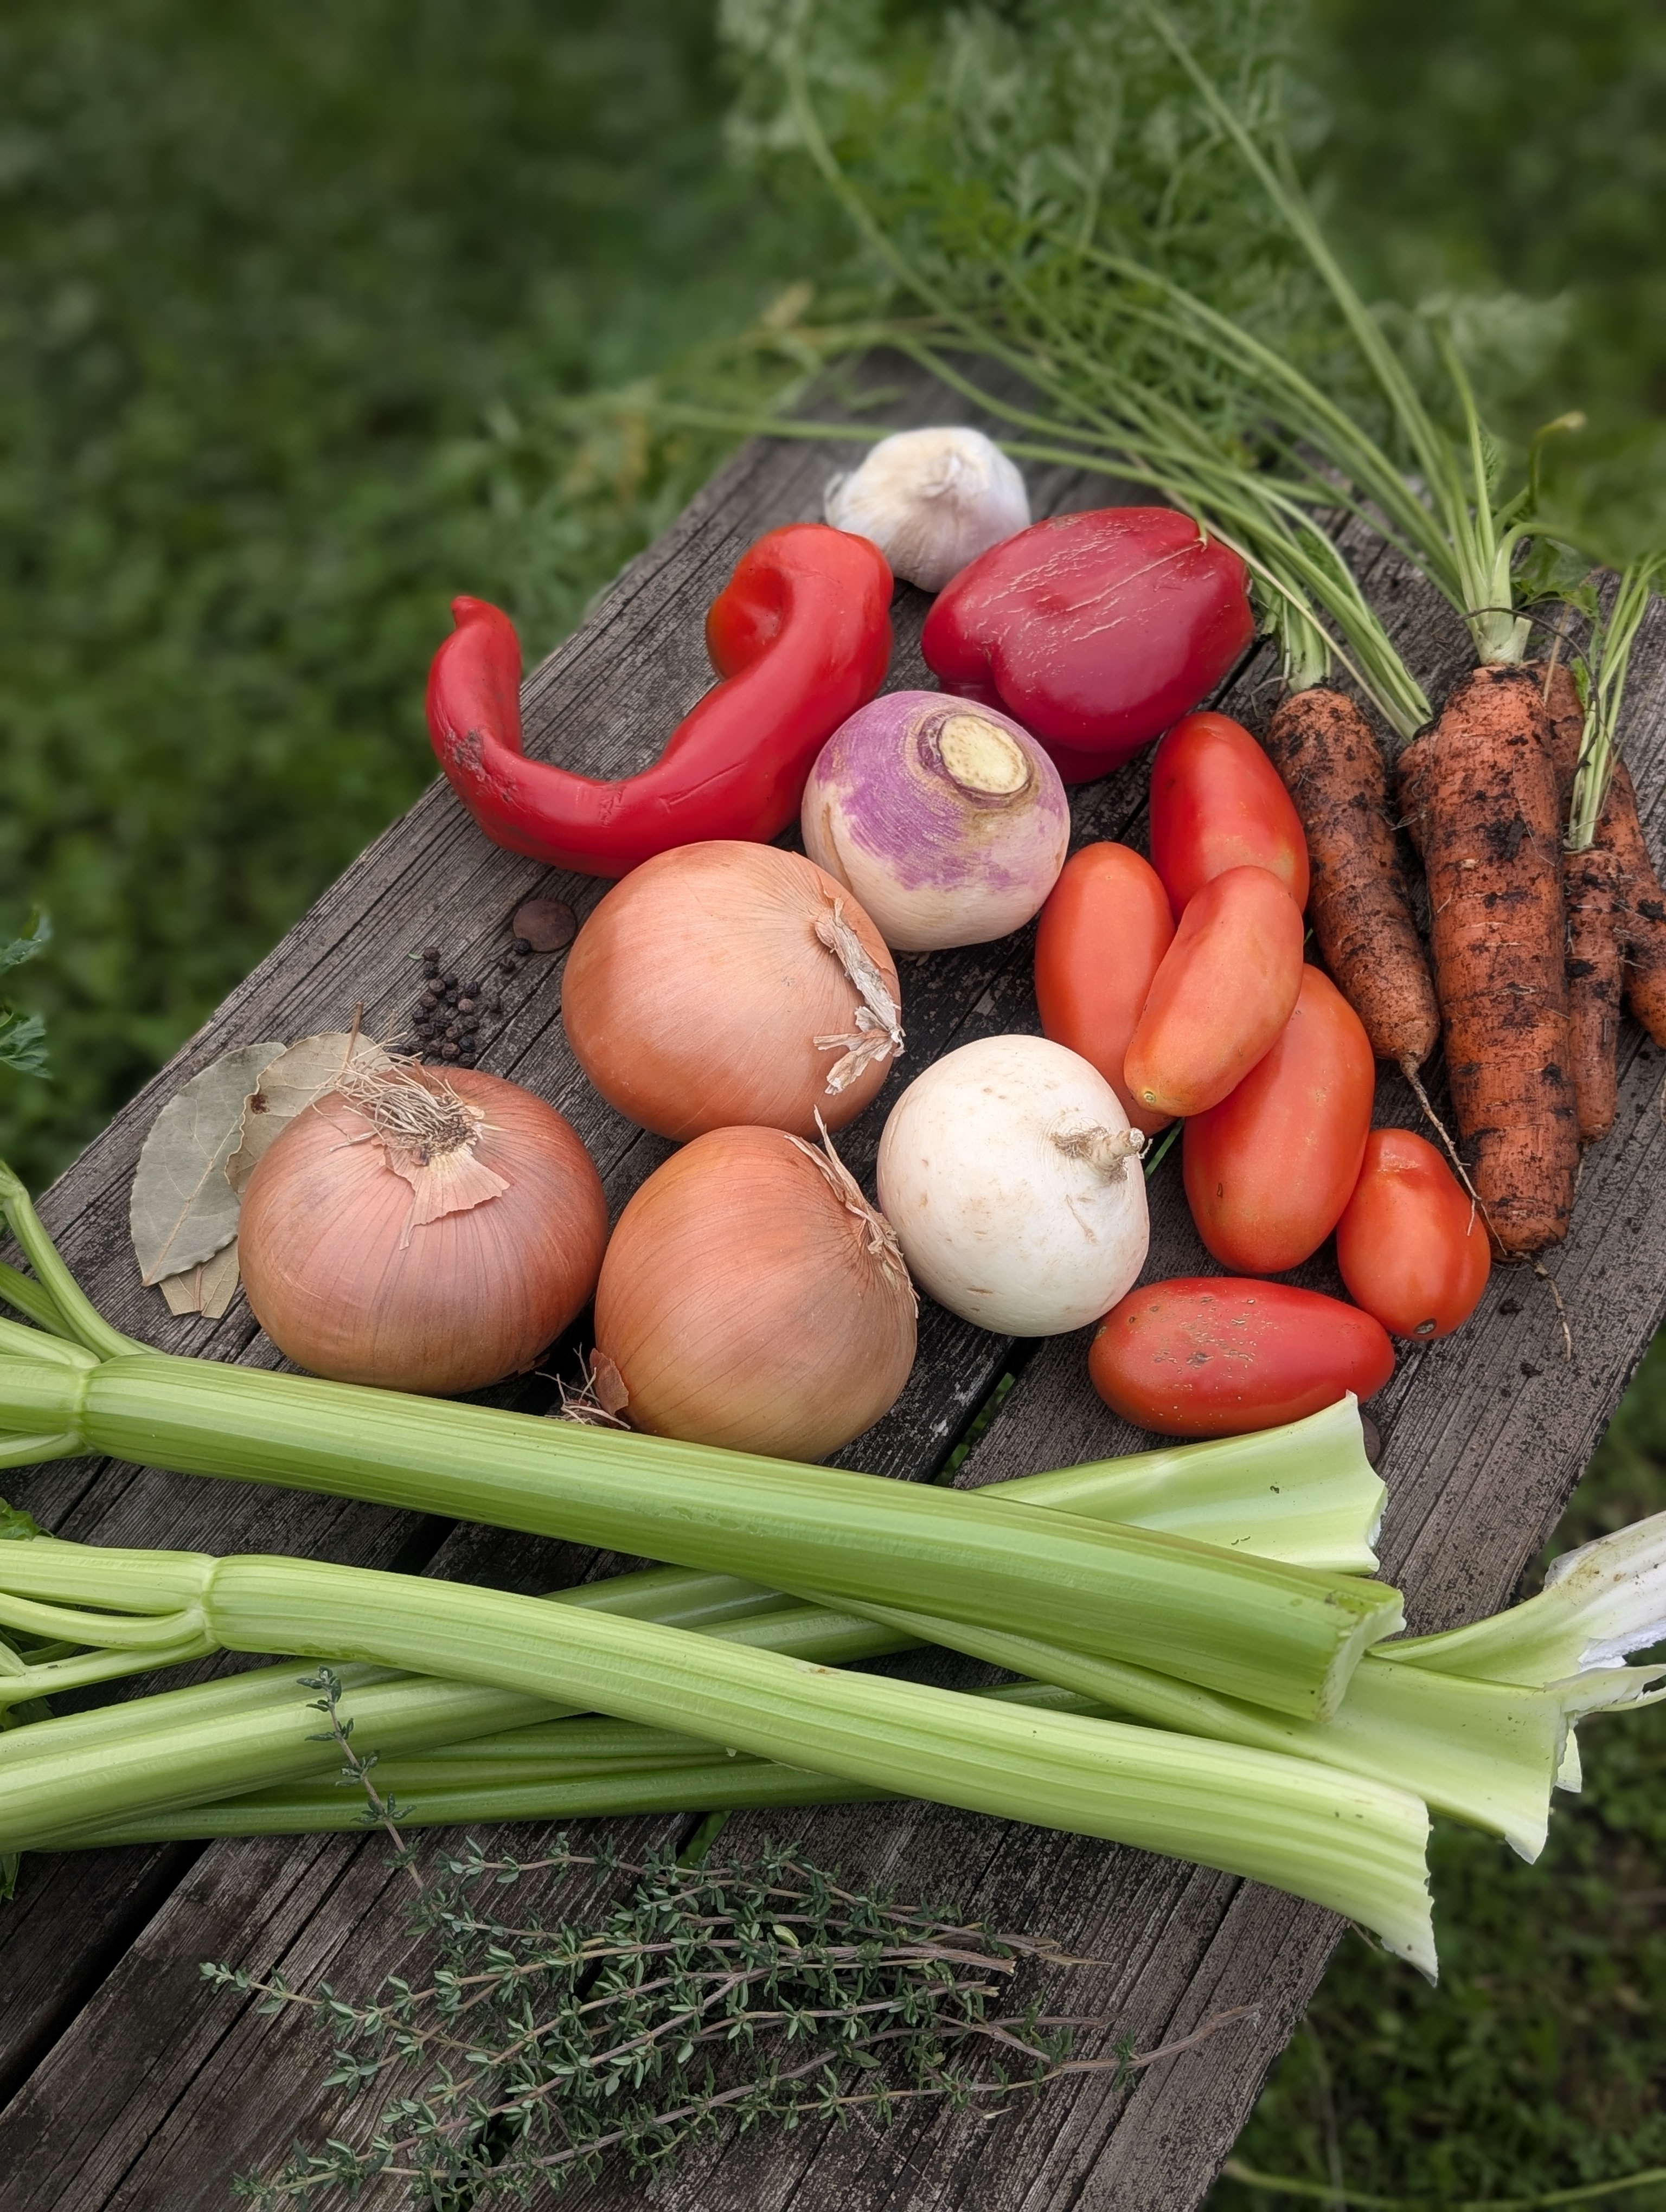
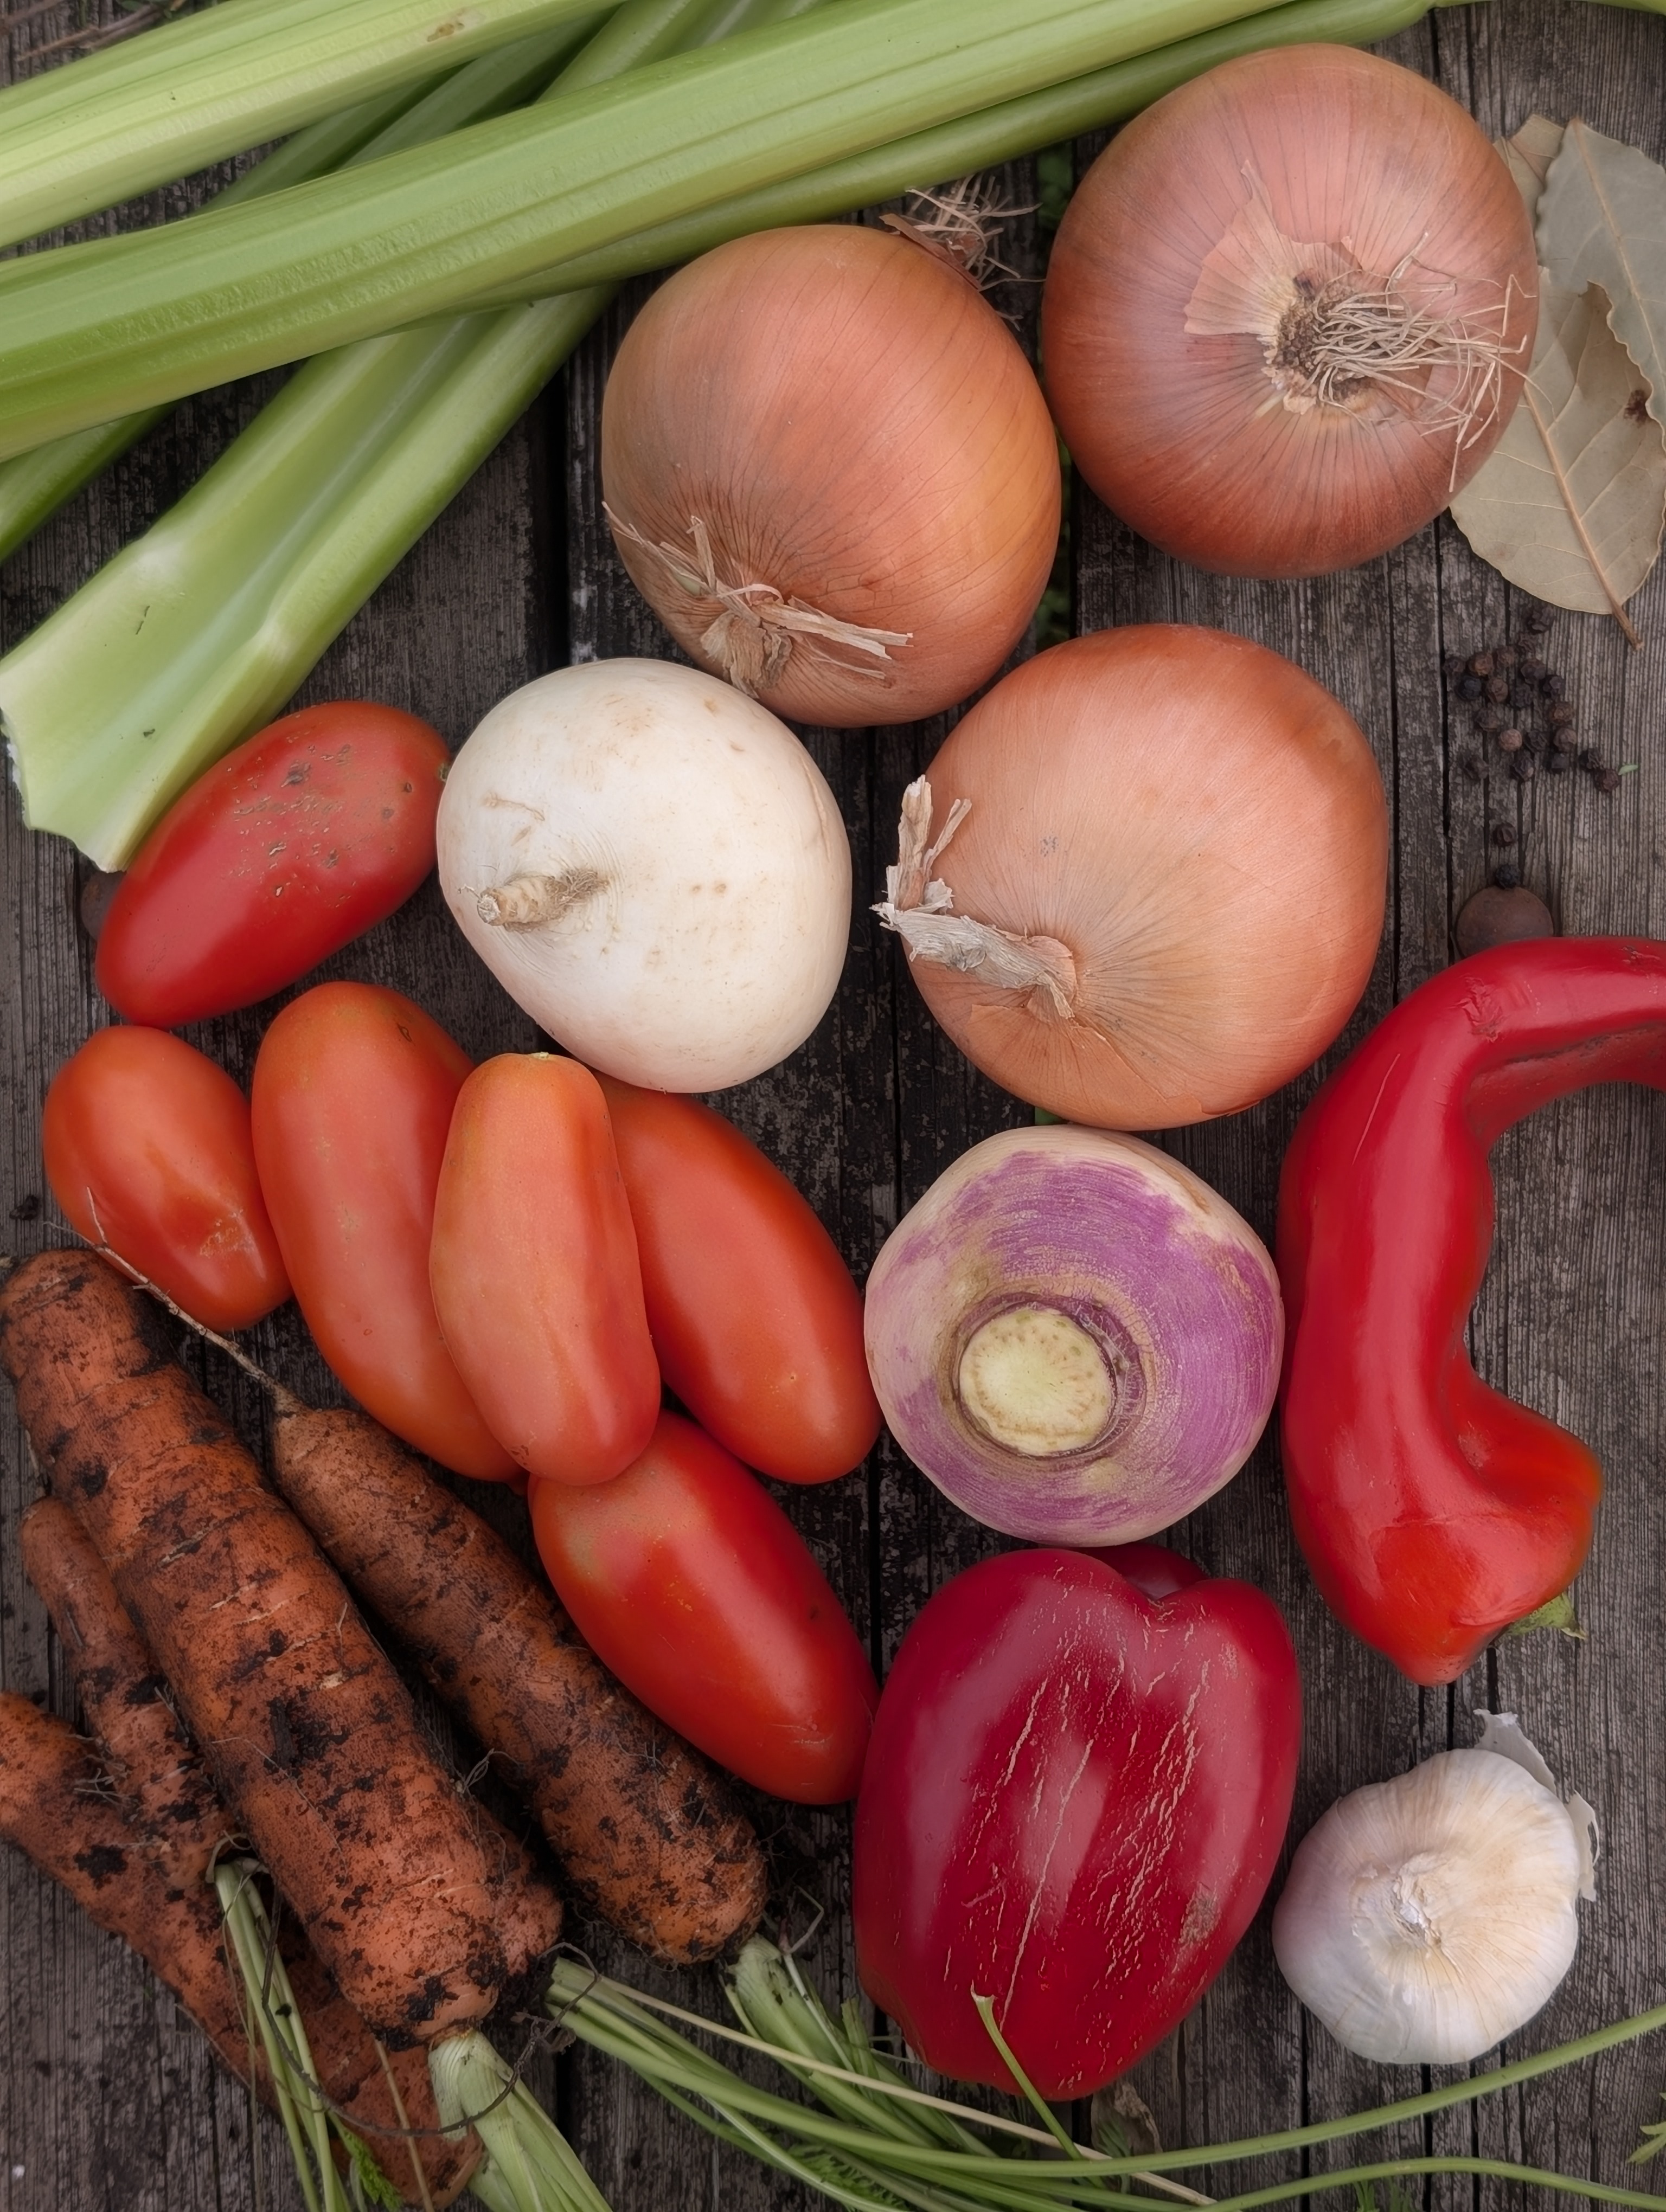
1 lb. carrots
6 stalks celery
3 medium onions
2 red bell peppers
2 large tomatoes
2 medium turnips
3 cloves garlic
3 bay leaves
1 tsp crushed dried thyme
8 whole black peppercorns
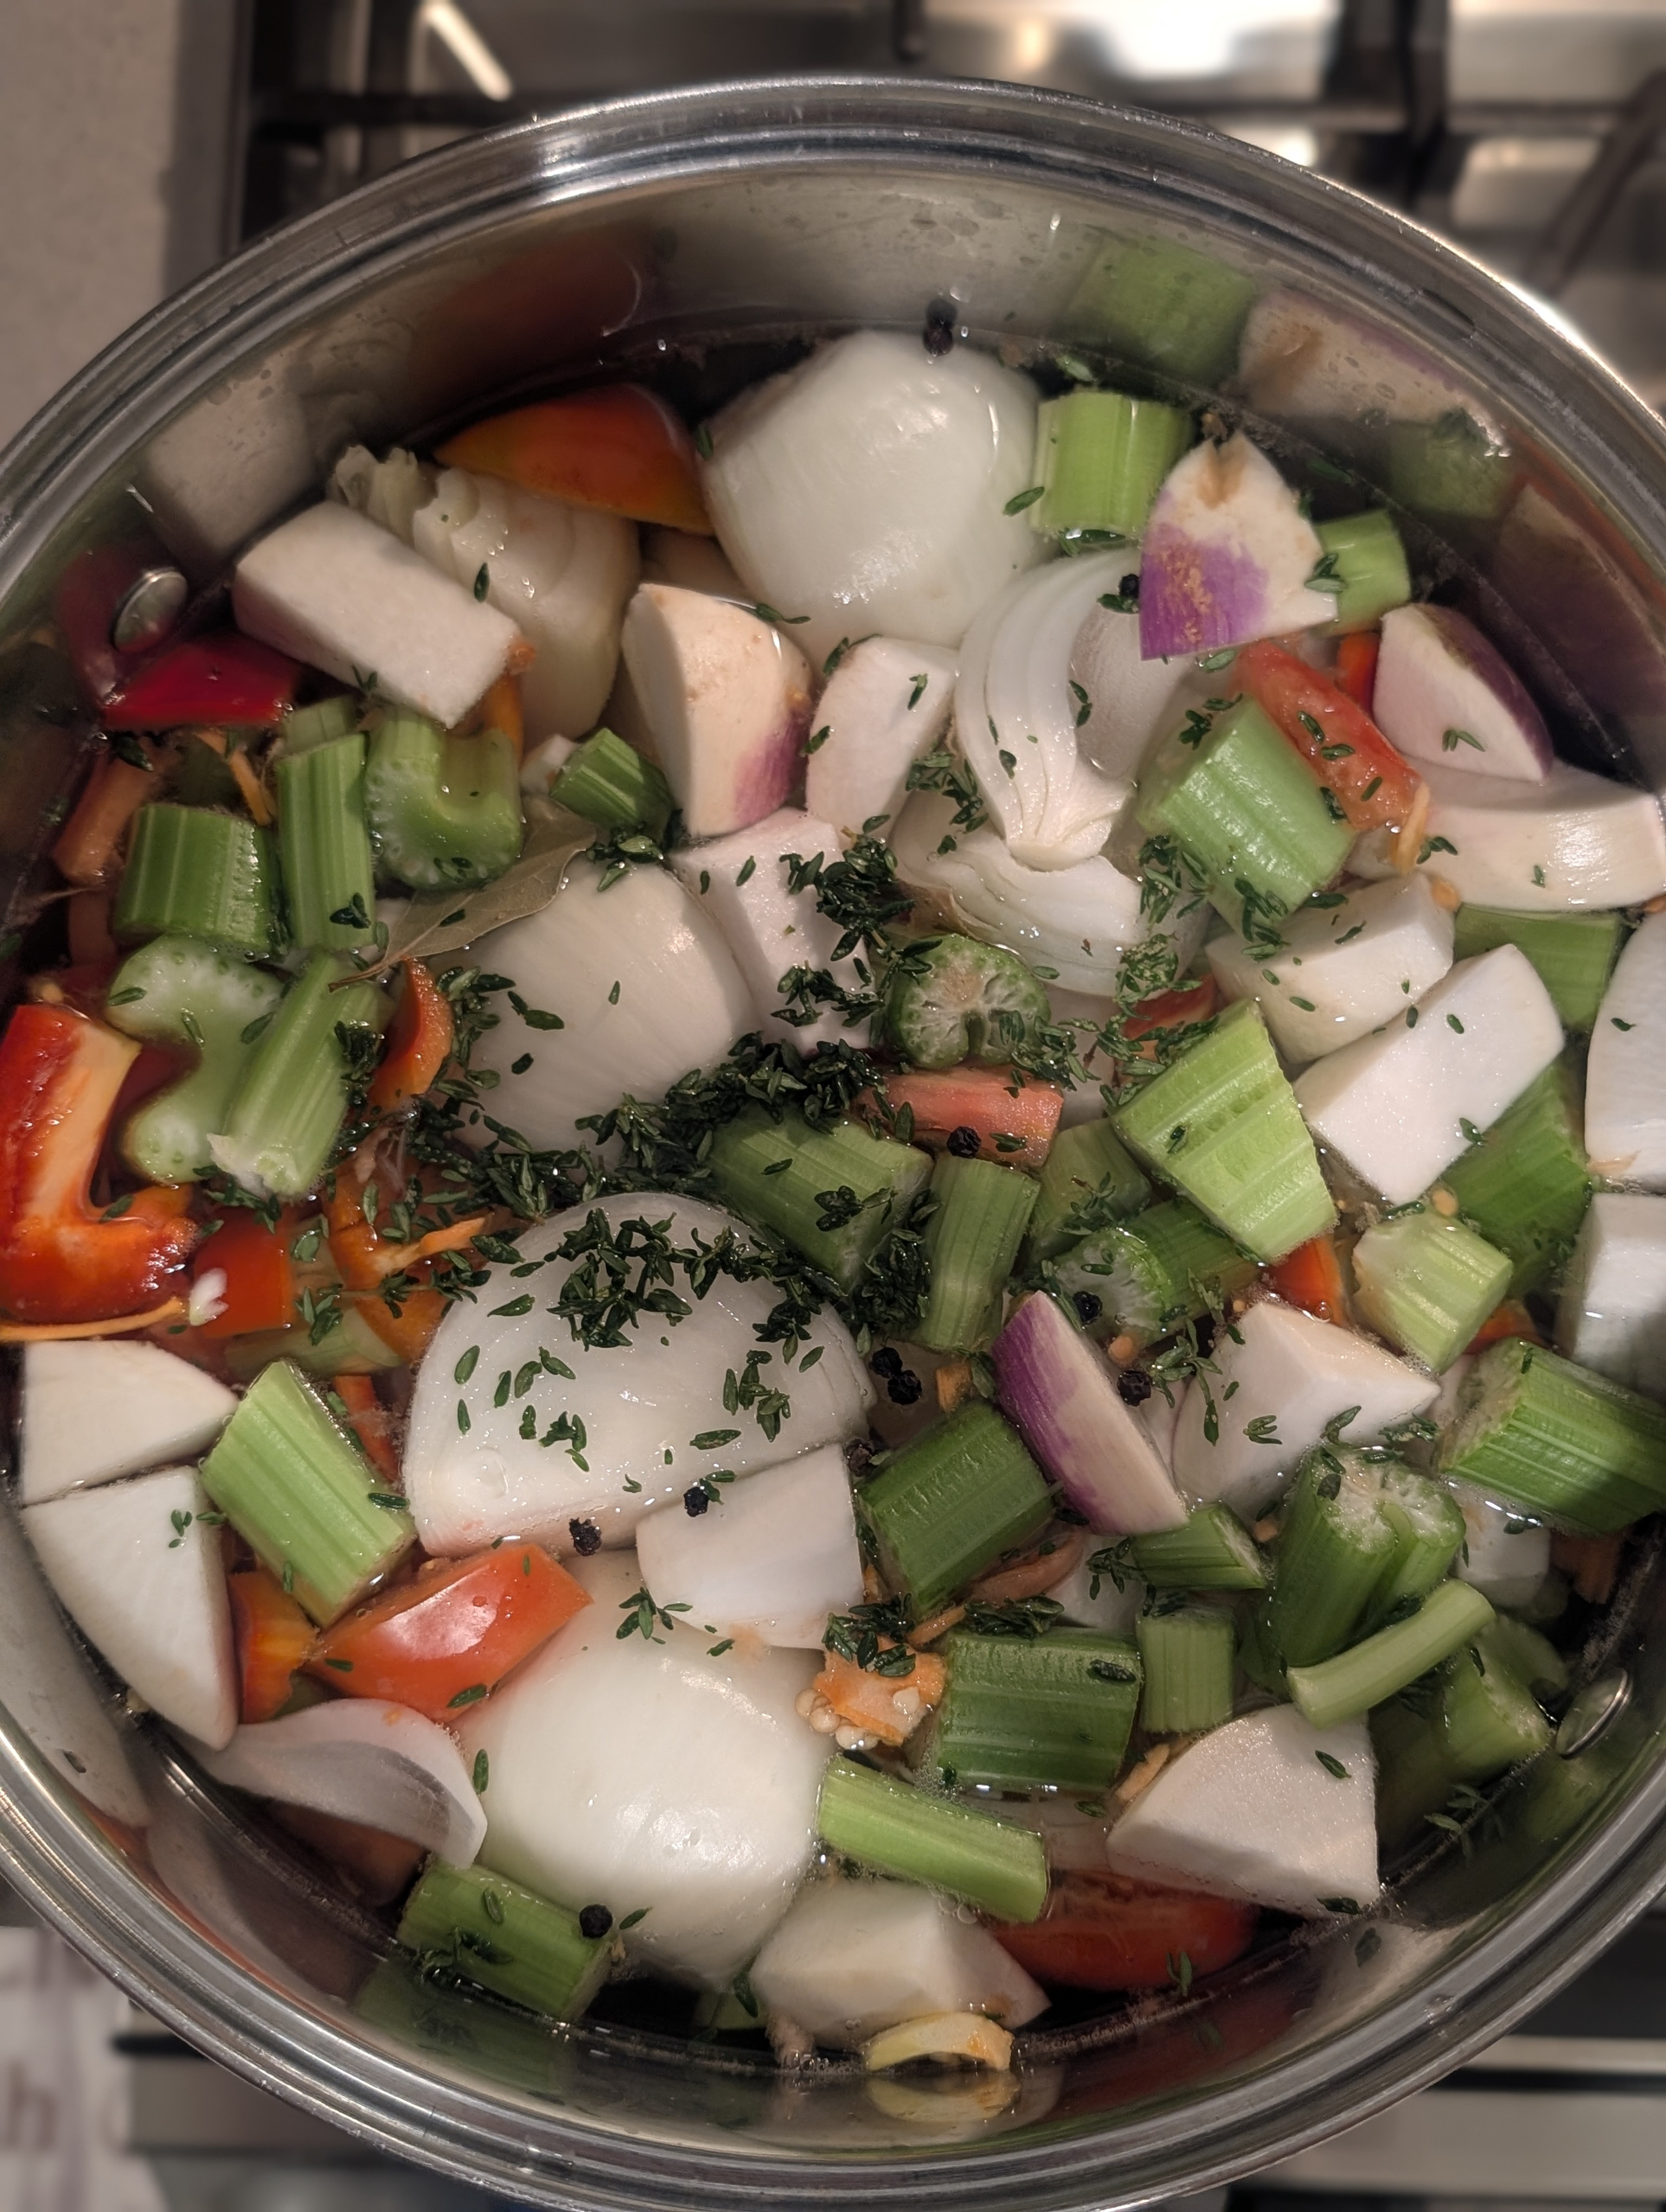
28 cups water
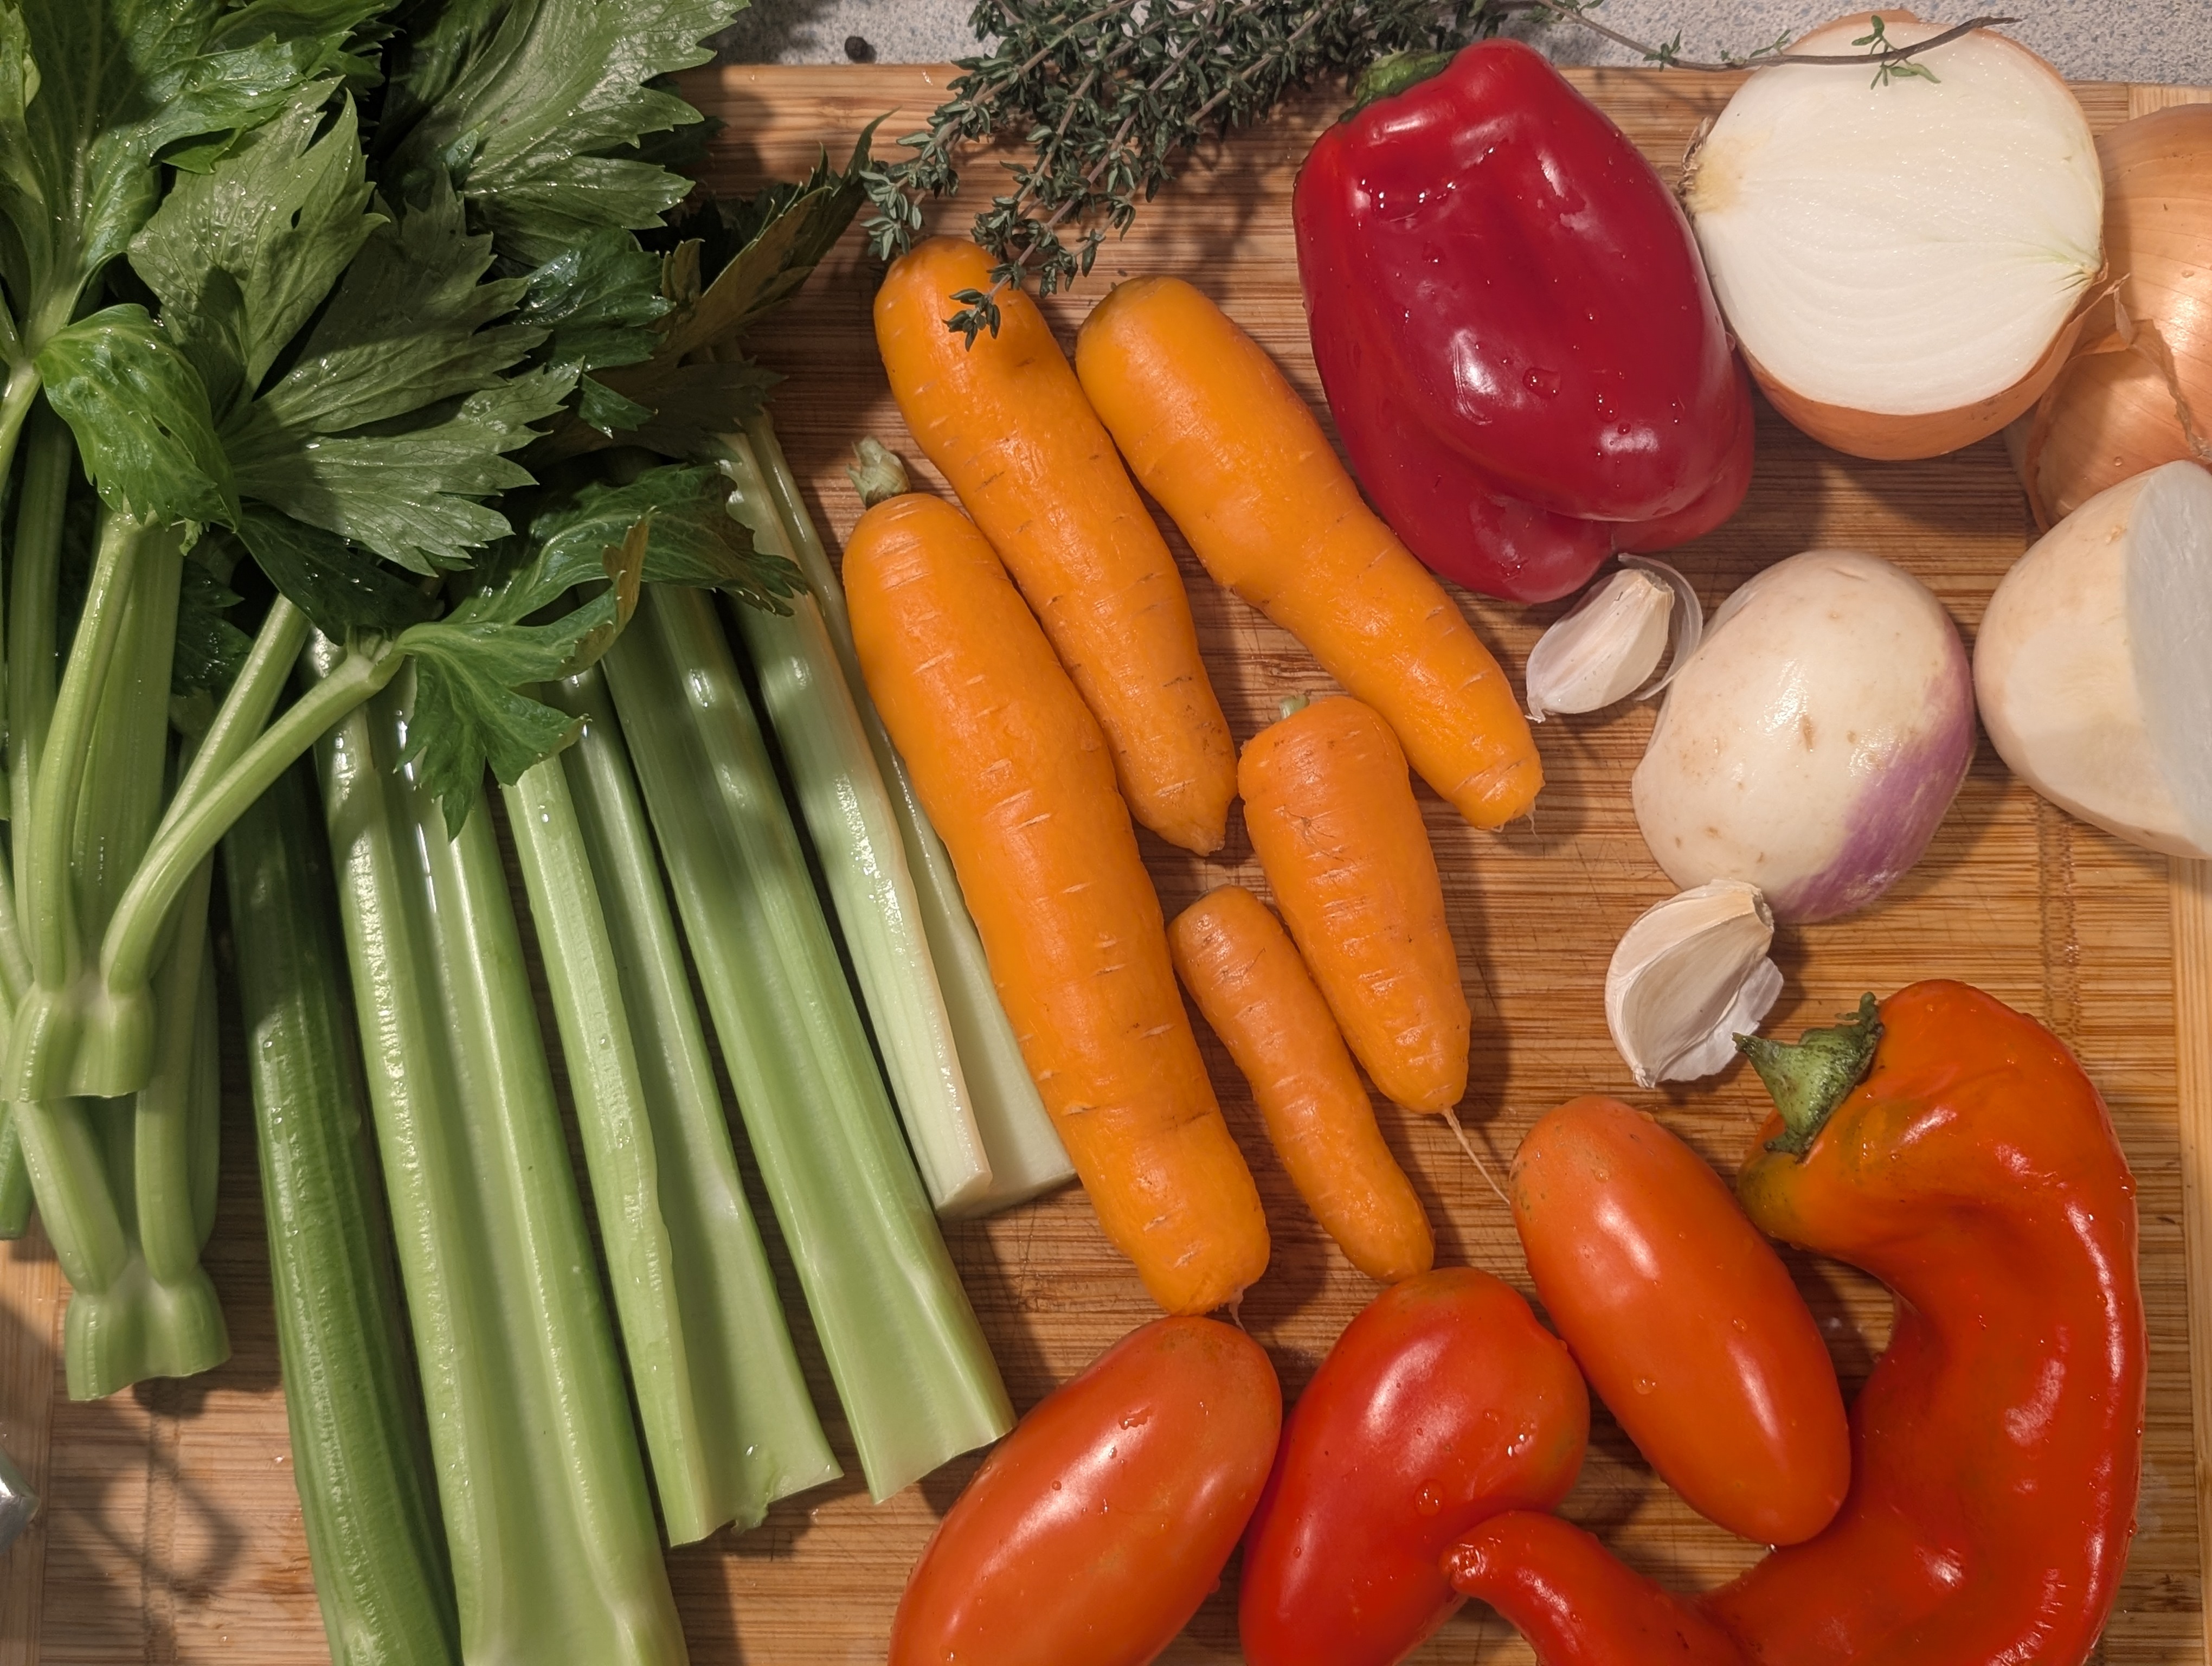
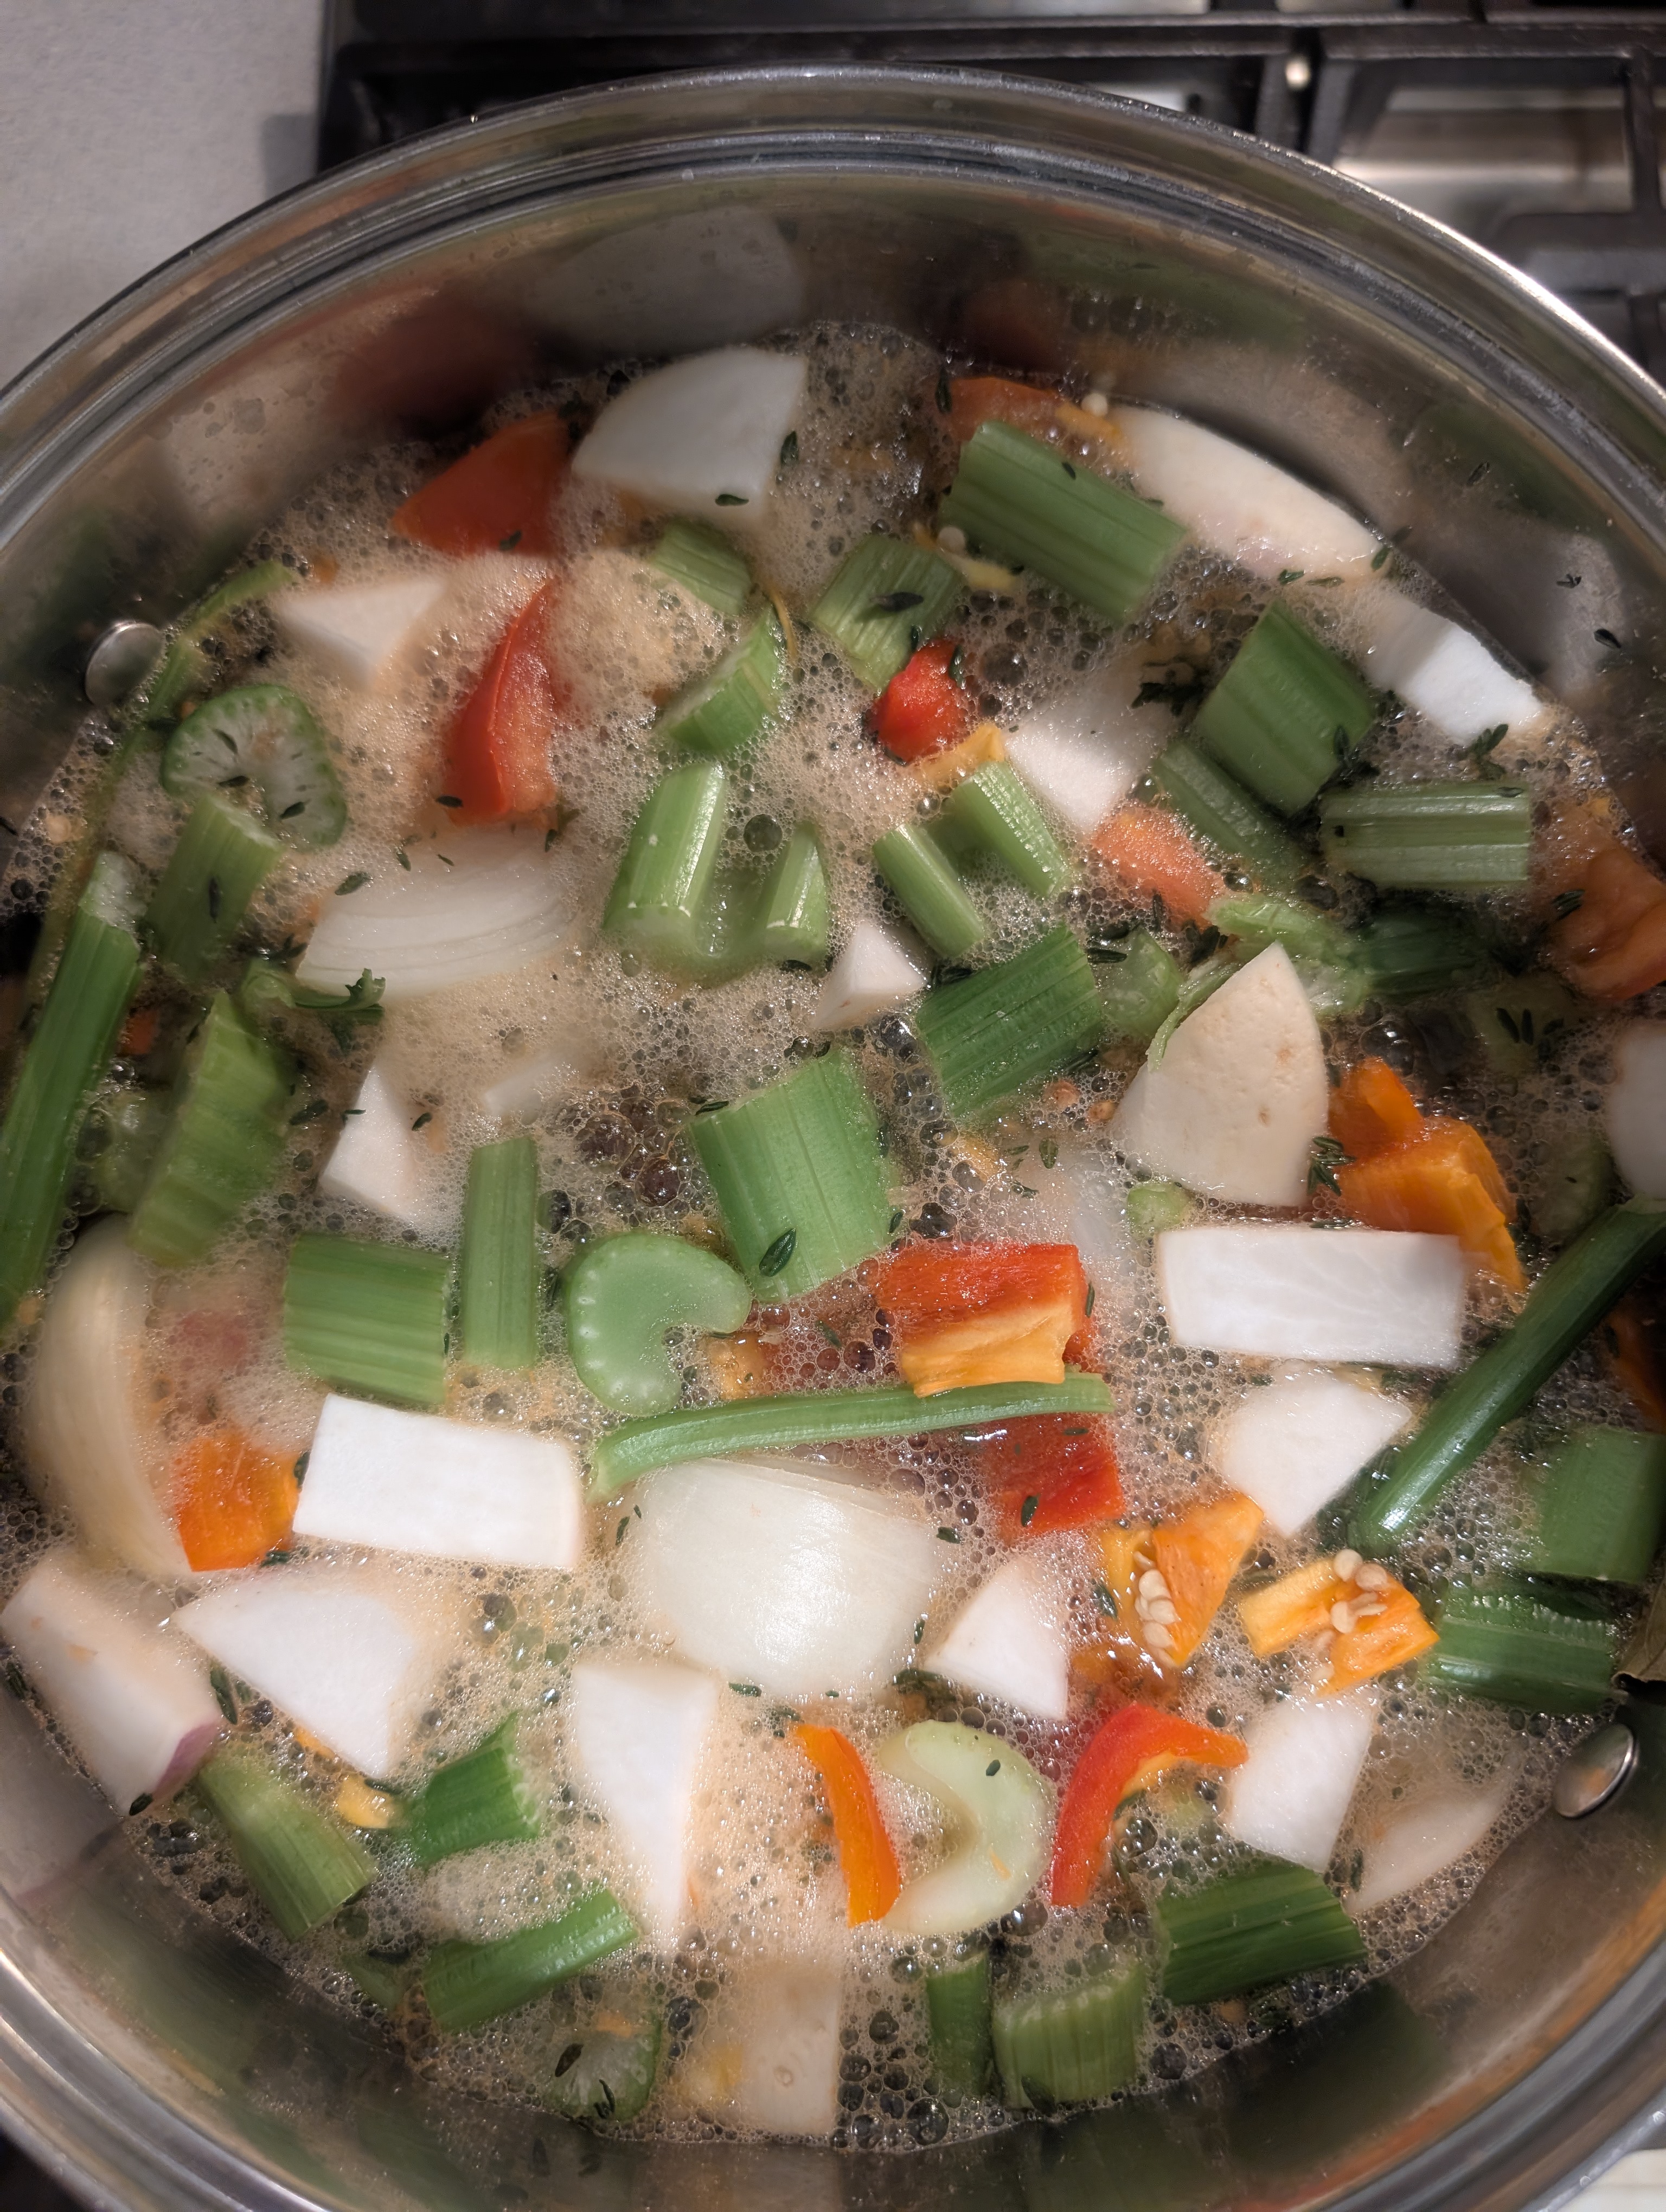
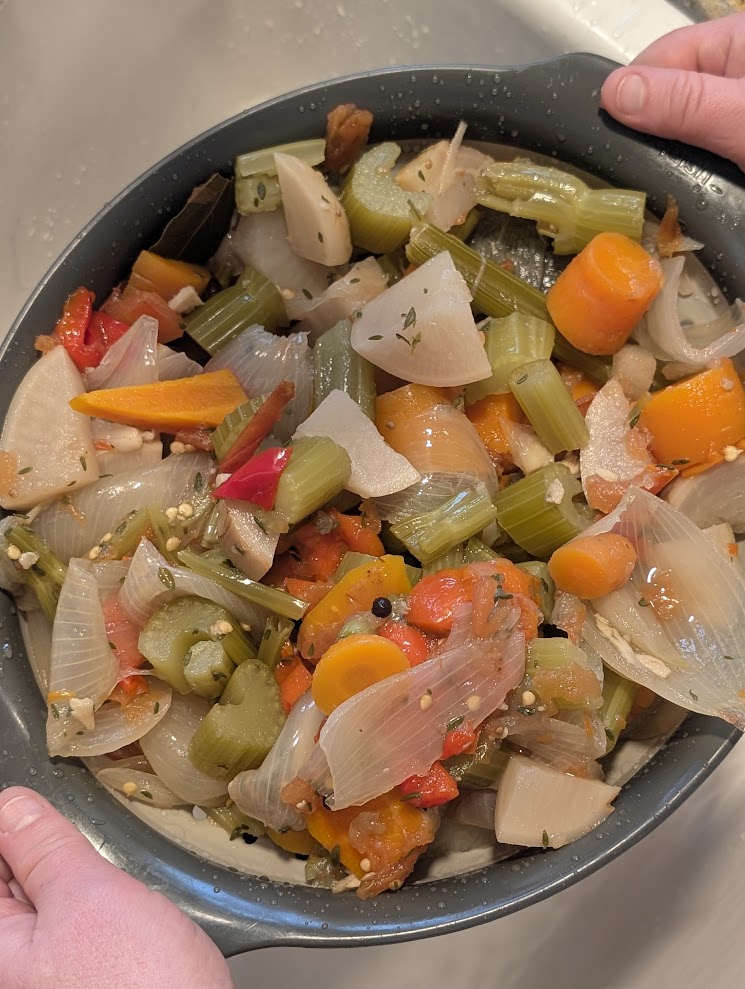
Wash your veggies. Peel and coarsely chop the onions, peel and crush the garlic, and chop up the rest of the vegetables. Combine everything with the water in a large stockpot. Bring to a boil, then reduce and boil covered for 2 hours.
Uncover and continue to boil for another 2 hours.
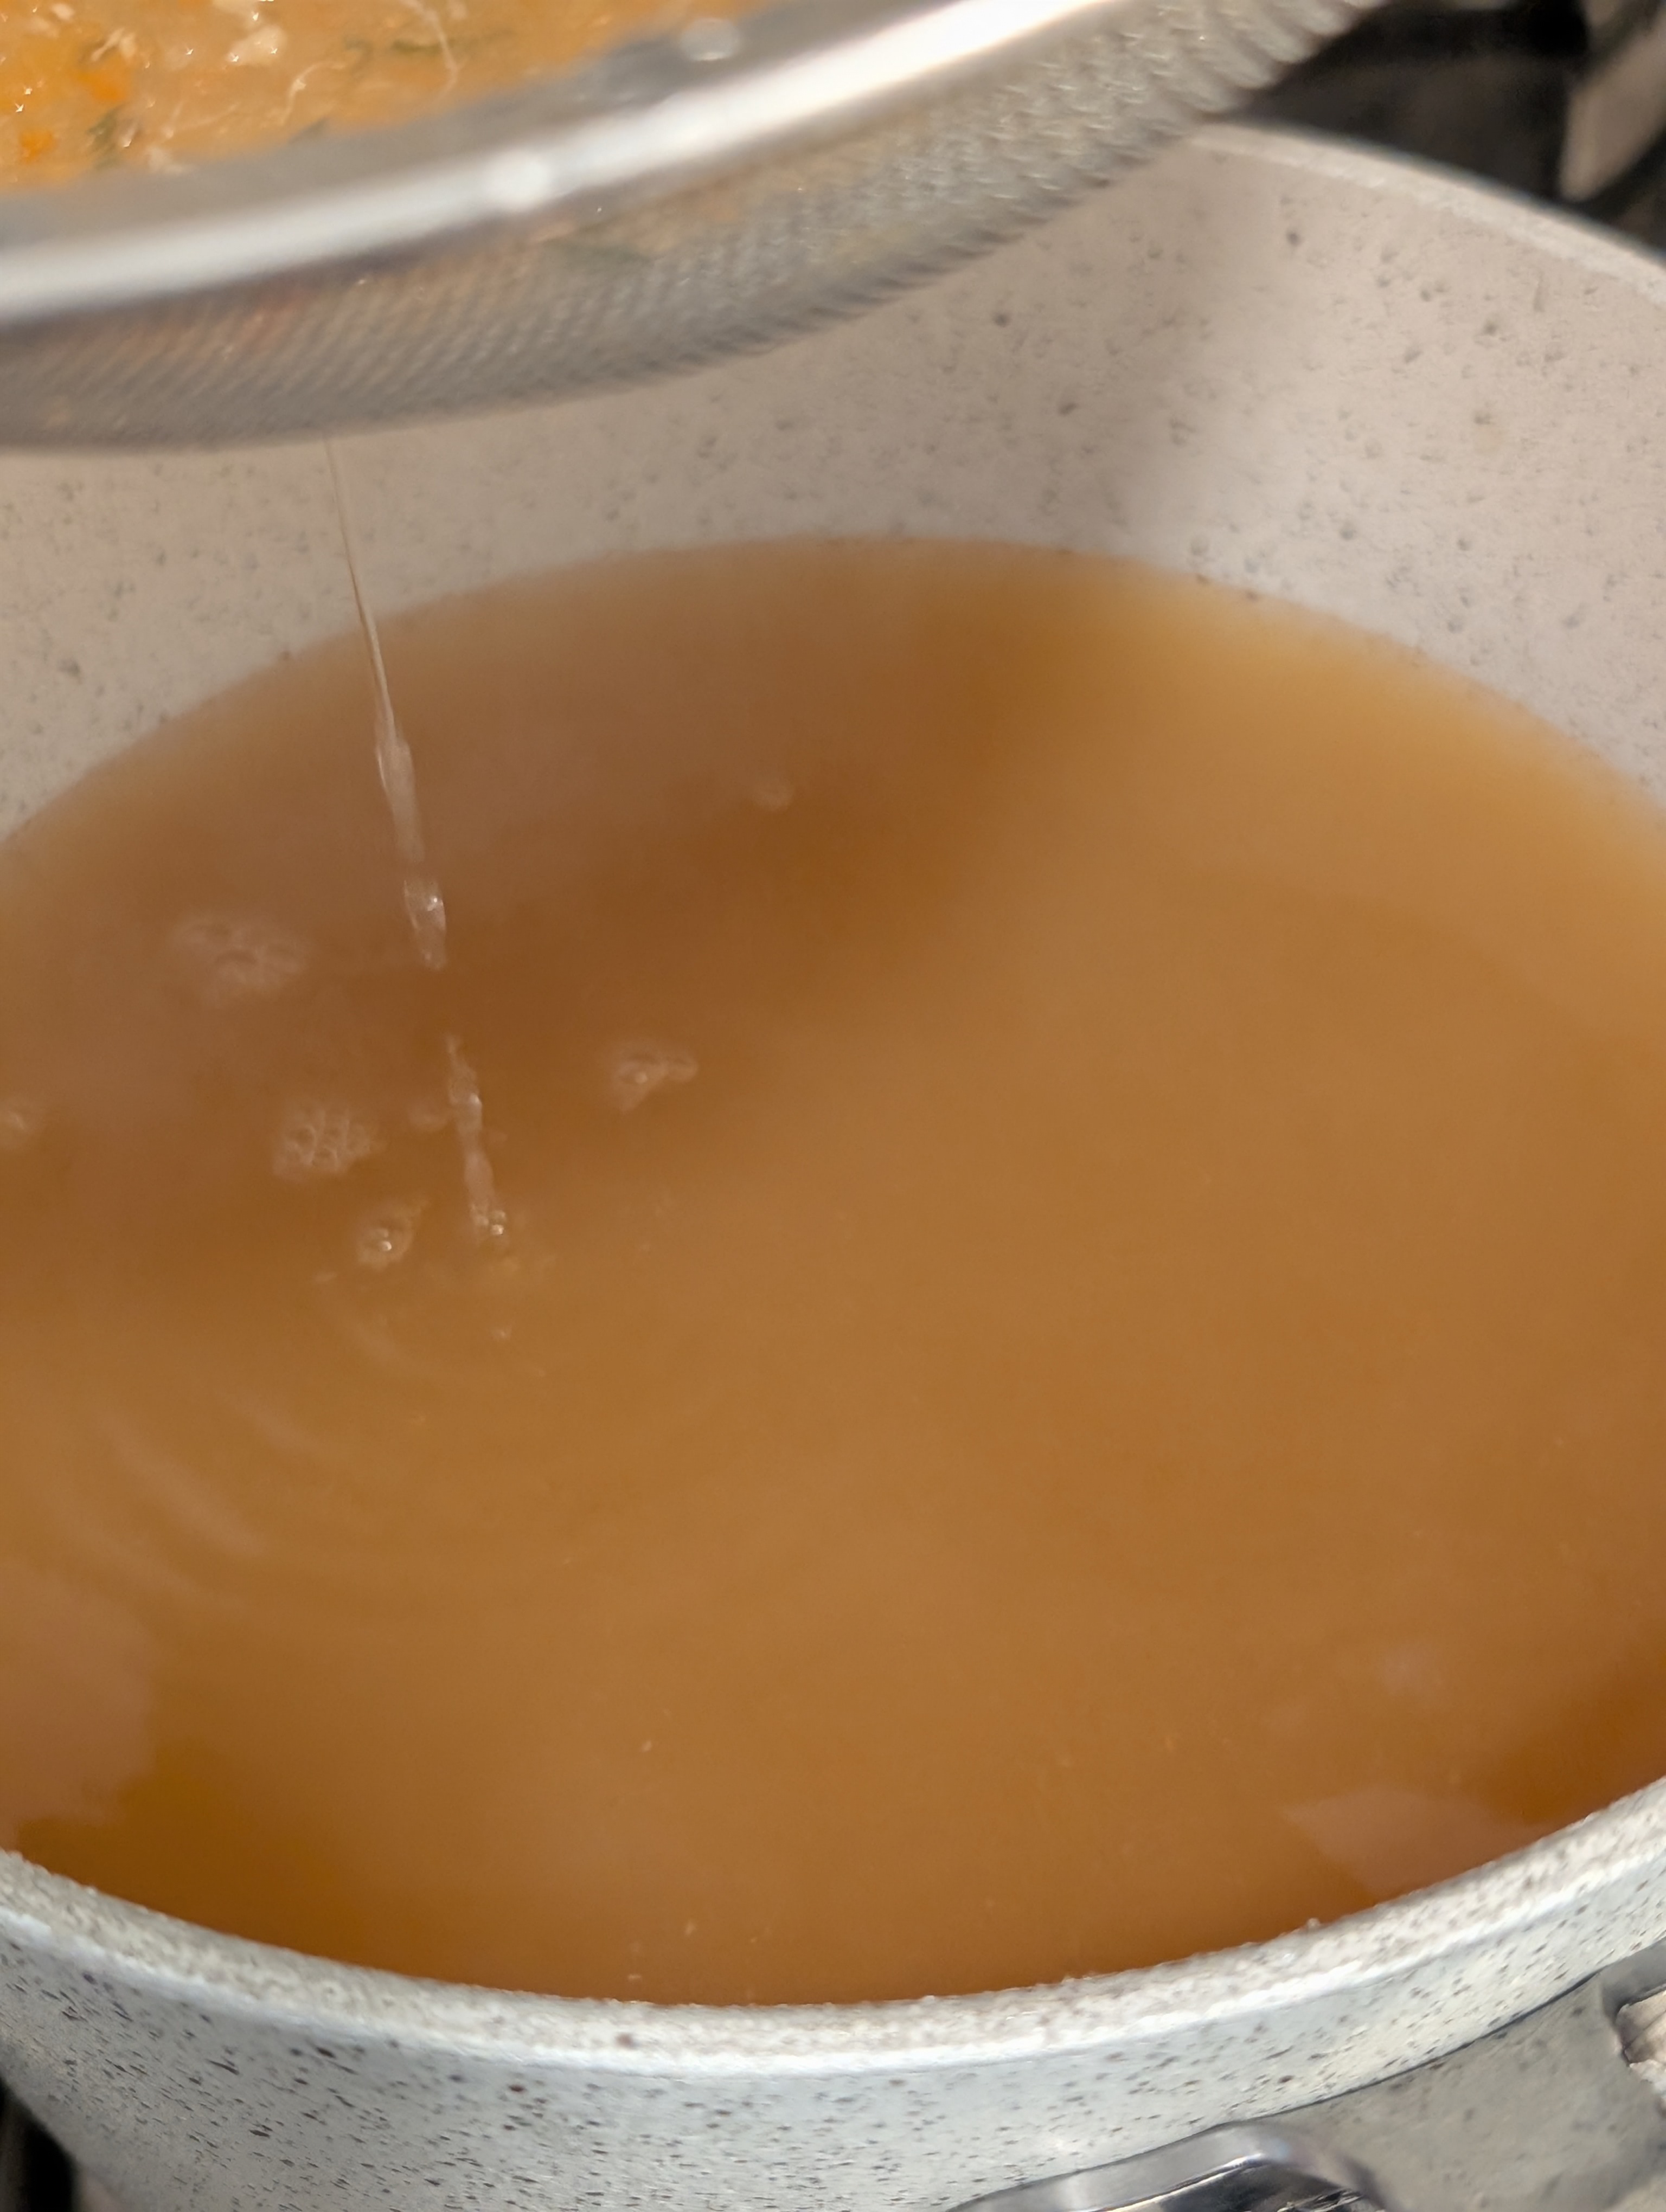
Strain the stock through a fine sieve. I like to do a two stage sieve through a coarse strainer to get out the big pieces, and then a fine strainer for the rest.
Return the strained stock to a boil.
Prepare your pressure canner while you are returning the stock to a boil. Add 3 quarts of water to the canner. Place the rack in the canner and start to simmer the water on low heat.
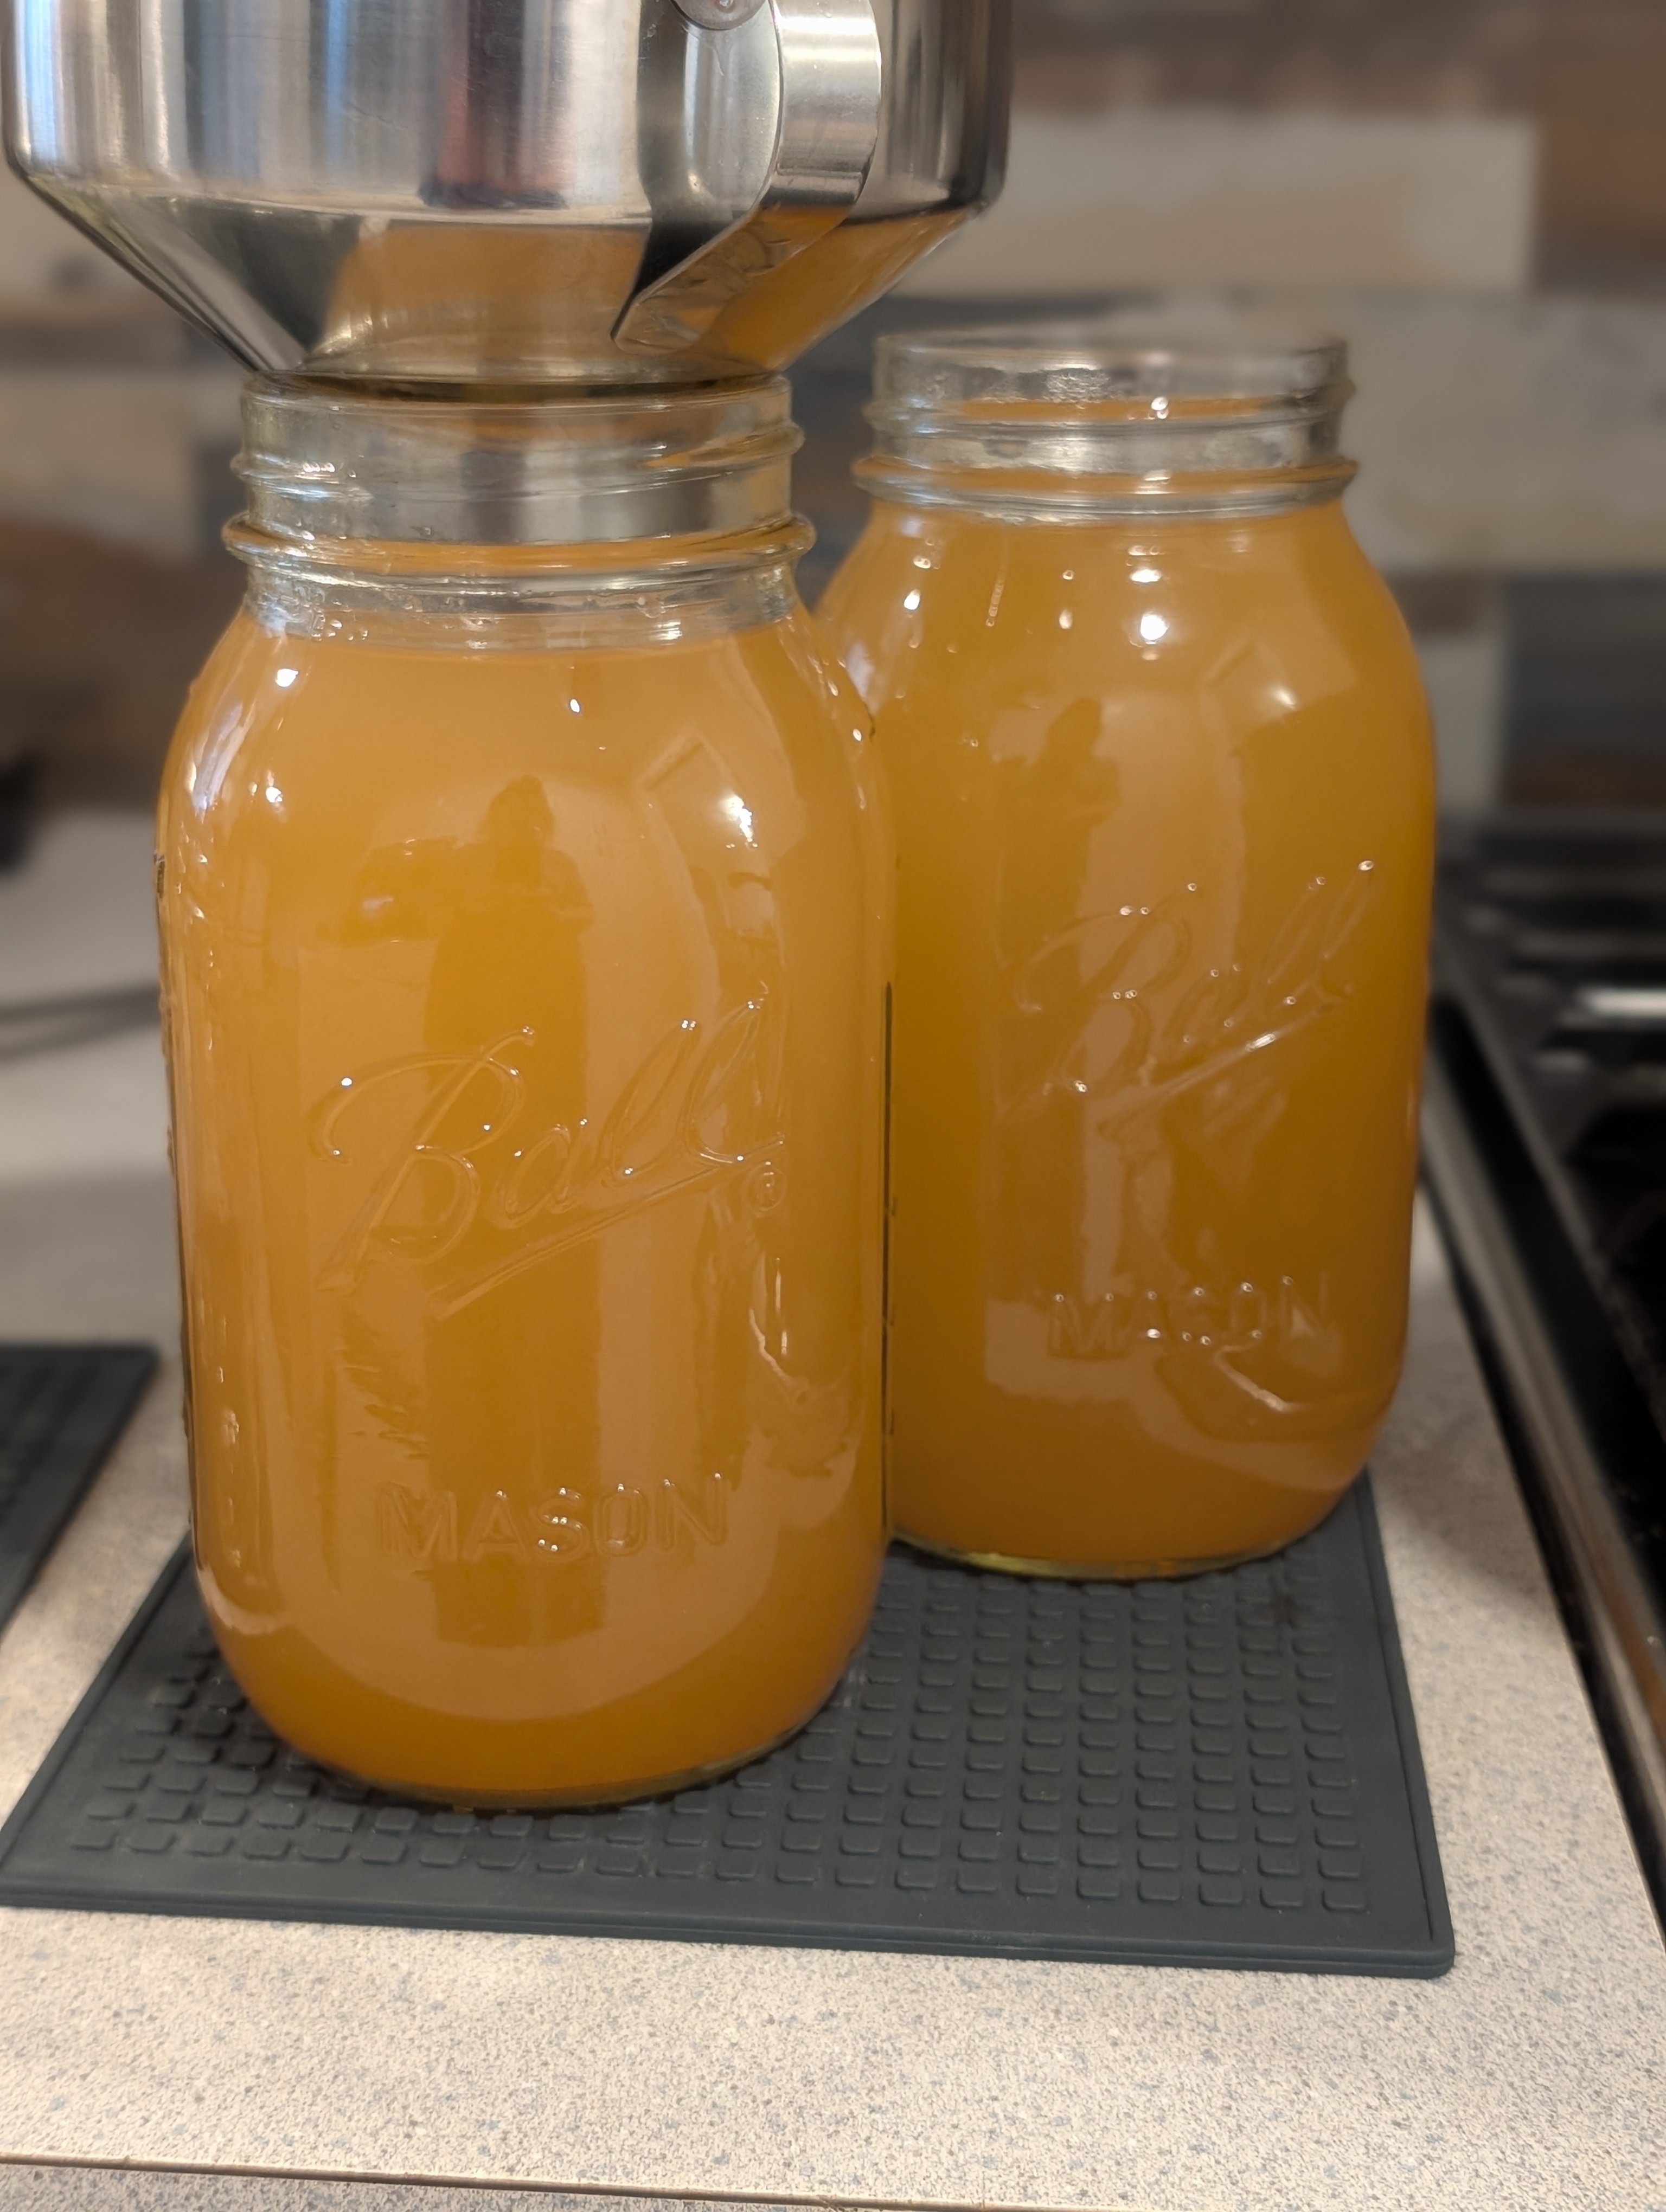
Ladle hot stock into hot jars, leaving 1 inch headspace in your jars. Wipe rims, place lids on jars, and tighten finger tip tight.
Place your jars in the pressure canner, lock the lid and bring to a boil over medium high heat. After venting for 10 minutes, close the vent. Start your time after achieving the appropriate pressure for your elevation (10 lbs at sea level) and process pints for 30 minutes or quarts for 35 minutes. Always remember – if your pressure ever drops below 10 lbs, you need to restart your time!
When the time is up, let the pressure zero naturally, after the safely valve drops wait a few more minutes, then remove the weight. Open the canner, let it cool for 10 minutes, then remove the jars. Let the jars cool for 24 hours, check the seals, wipe down the jars, remove the bands, and store.
My favorite items used in this recipe:
Ball Book (your ultimate canning bible)
Presto pressure canner
Large metal stock pot
Canning funnel – I don’t see my exact one, but I like a good metal, wide mouth one, and this one had a little strainer too
Ladle – I prefer metal, and a hooked one so I can hang it off my pot
*this post contains affiliate links, please see the “About the Blogger” page for more information