Oh the dill pickle. The pickled cucumber is a special enough pickle that we simply call it a pickle. A pickled beet is a pickled beet, and a carrot that has been pickled is a pickled carrot, but a pickled cucumber, well that is just a pickle. Where was I going with this? Oh now I’m in a pickle. Anyways, is there anything better than biting into a pickle and hearing that crunch… aww this is a good one. On the flip side, isn’t it awful to bite into a pickle and find that it’s completely soft? So dissatisfying. I actually was never a huge fan of pickles until recently, but I can remember my grandpa always having a pickle on the side of a grilled cheese sandwich. I wish he was here today to judge in this pickle experiment I am about to tell you about. So how do you achieve the perfect pickle? Well, there are a few options I sought to test.
One way to make pickles is through the process of fermentation, but this type of pickling will be addressed in a later post. The reason for that is because they produce a different product in many ways than making a quick pickle, so for this experiment I wanted to test two of the most common methods of crisping quick pickles – those that are placed in vinegar and processed immediately.
Pickle Crisp
Pickle crisp is a product put out by ball, but I’m sure other brands sell it as well. All it contains is calcium chloride, which is supposed to help maintain the firmness of pickles. You simply add a very small amount to each jar when you are packing them. Quick, easy, and just calcium chloride.
Low temperature pasteurization
Generally, when we process foods in jars to make them shelf stable, we do so in a boiling water bath canner, with the water at a full rolling boil (or of course in a pressure canner for low acid foods). Quick pickles of all types are traditionally made this way, and most canning book instructions will tell you to do it that way. However, when some extension service or food science folks somewhere (I forget the exact details of Janice’s anecdote) started digging deeper into how pickles are processed industrially, they discovered something very interesting. Pickles were being processed at lower temperatures, which can help maintain that crispy, crunchy texture that we all love about pickles. So, it was time for some science! Can we safely process at lower temperatures at home? Yes, it turns out we can. Maintaining the temperature between 180-185F for 30 minutes is a safe way to process certain tested recipes, all of which can be found in PNW 355. To process your pickles at low temperatures, there are a few things that are a bit different. First, you pack them as you would normally, then place the jars in a half filled canner with warm water (120-140F). Then add hot water, until an inch above the jars, and heat the canner to 180F and start the timer. Try not to exceed 185F or it sort of defeats the purpose of low temperature pasteurization. The frustrating part can be that you have to watch it a bit more closely than when you are processing in boiling water, because you don’t want to drop below 180F or go above 185F. Unless you have a sweet electric canner with set temperatures, like the one that OSU extension has for classes (which by the way is impossible to find on sale anywhere), you need a thermometer, like this long one to check the temperature, or this sweet one with an alarm that goes off when you reach the set temperature. Then all you do is process them for 30 minutes, removing them right at the end of 30 minutes will no additional wait time like in boiling water.
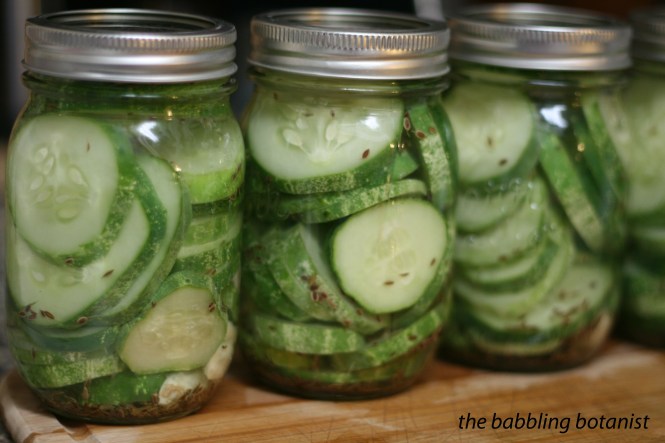
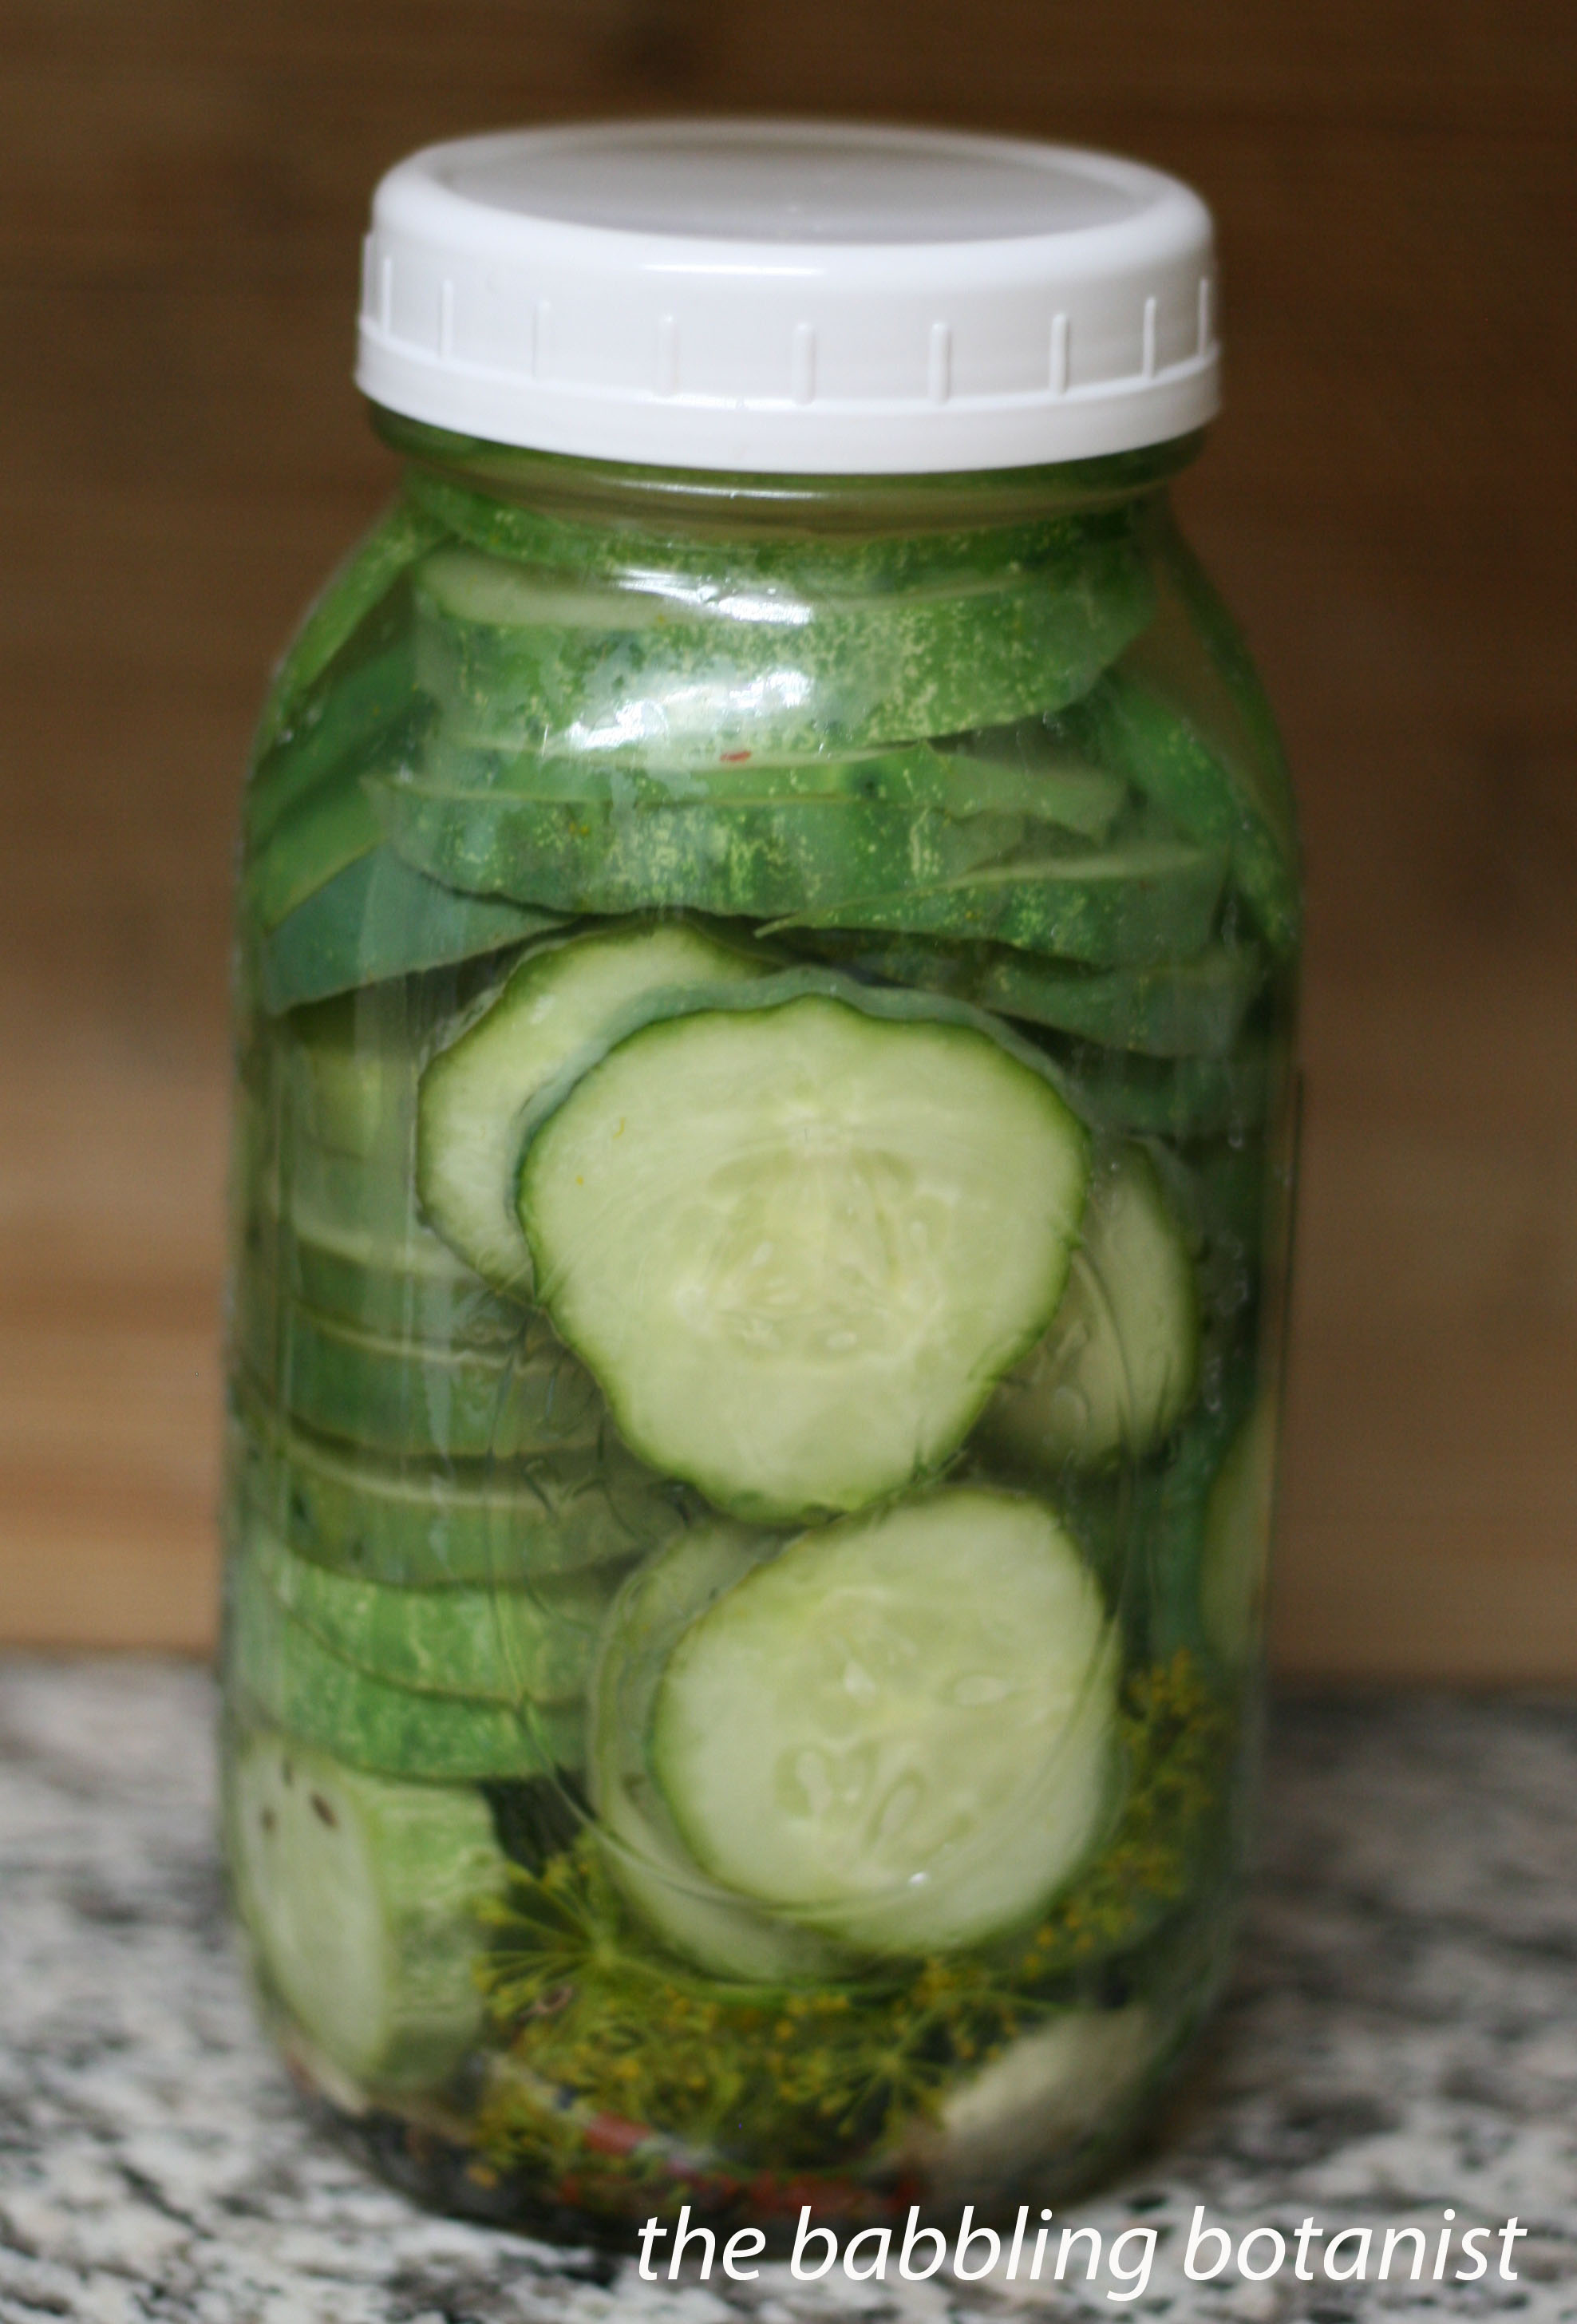
OK, so on to the making of the pickles. These are the ingredients I used in every jar. Then my experiment consisted of processing some of the jars using the traditional boiling water method, and some using low temperature pasteurization. Then some of those jars had pickle crisp and some did not. Finally, I made a jar also of whole pickles to see if they stay crisper than slices.
Ingredients:
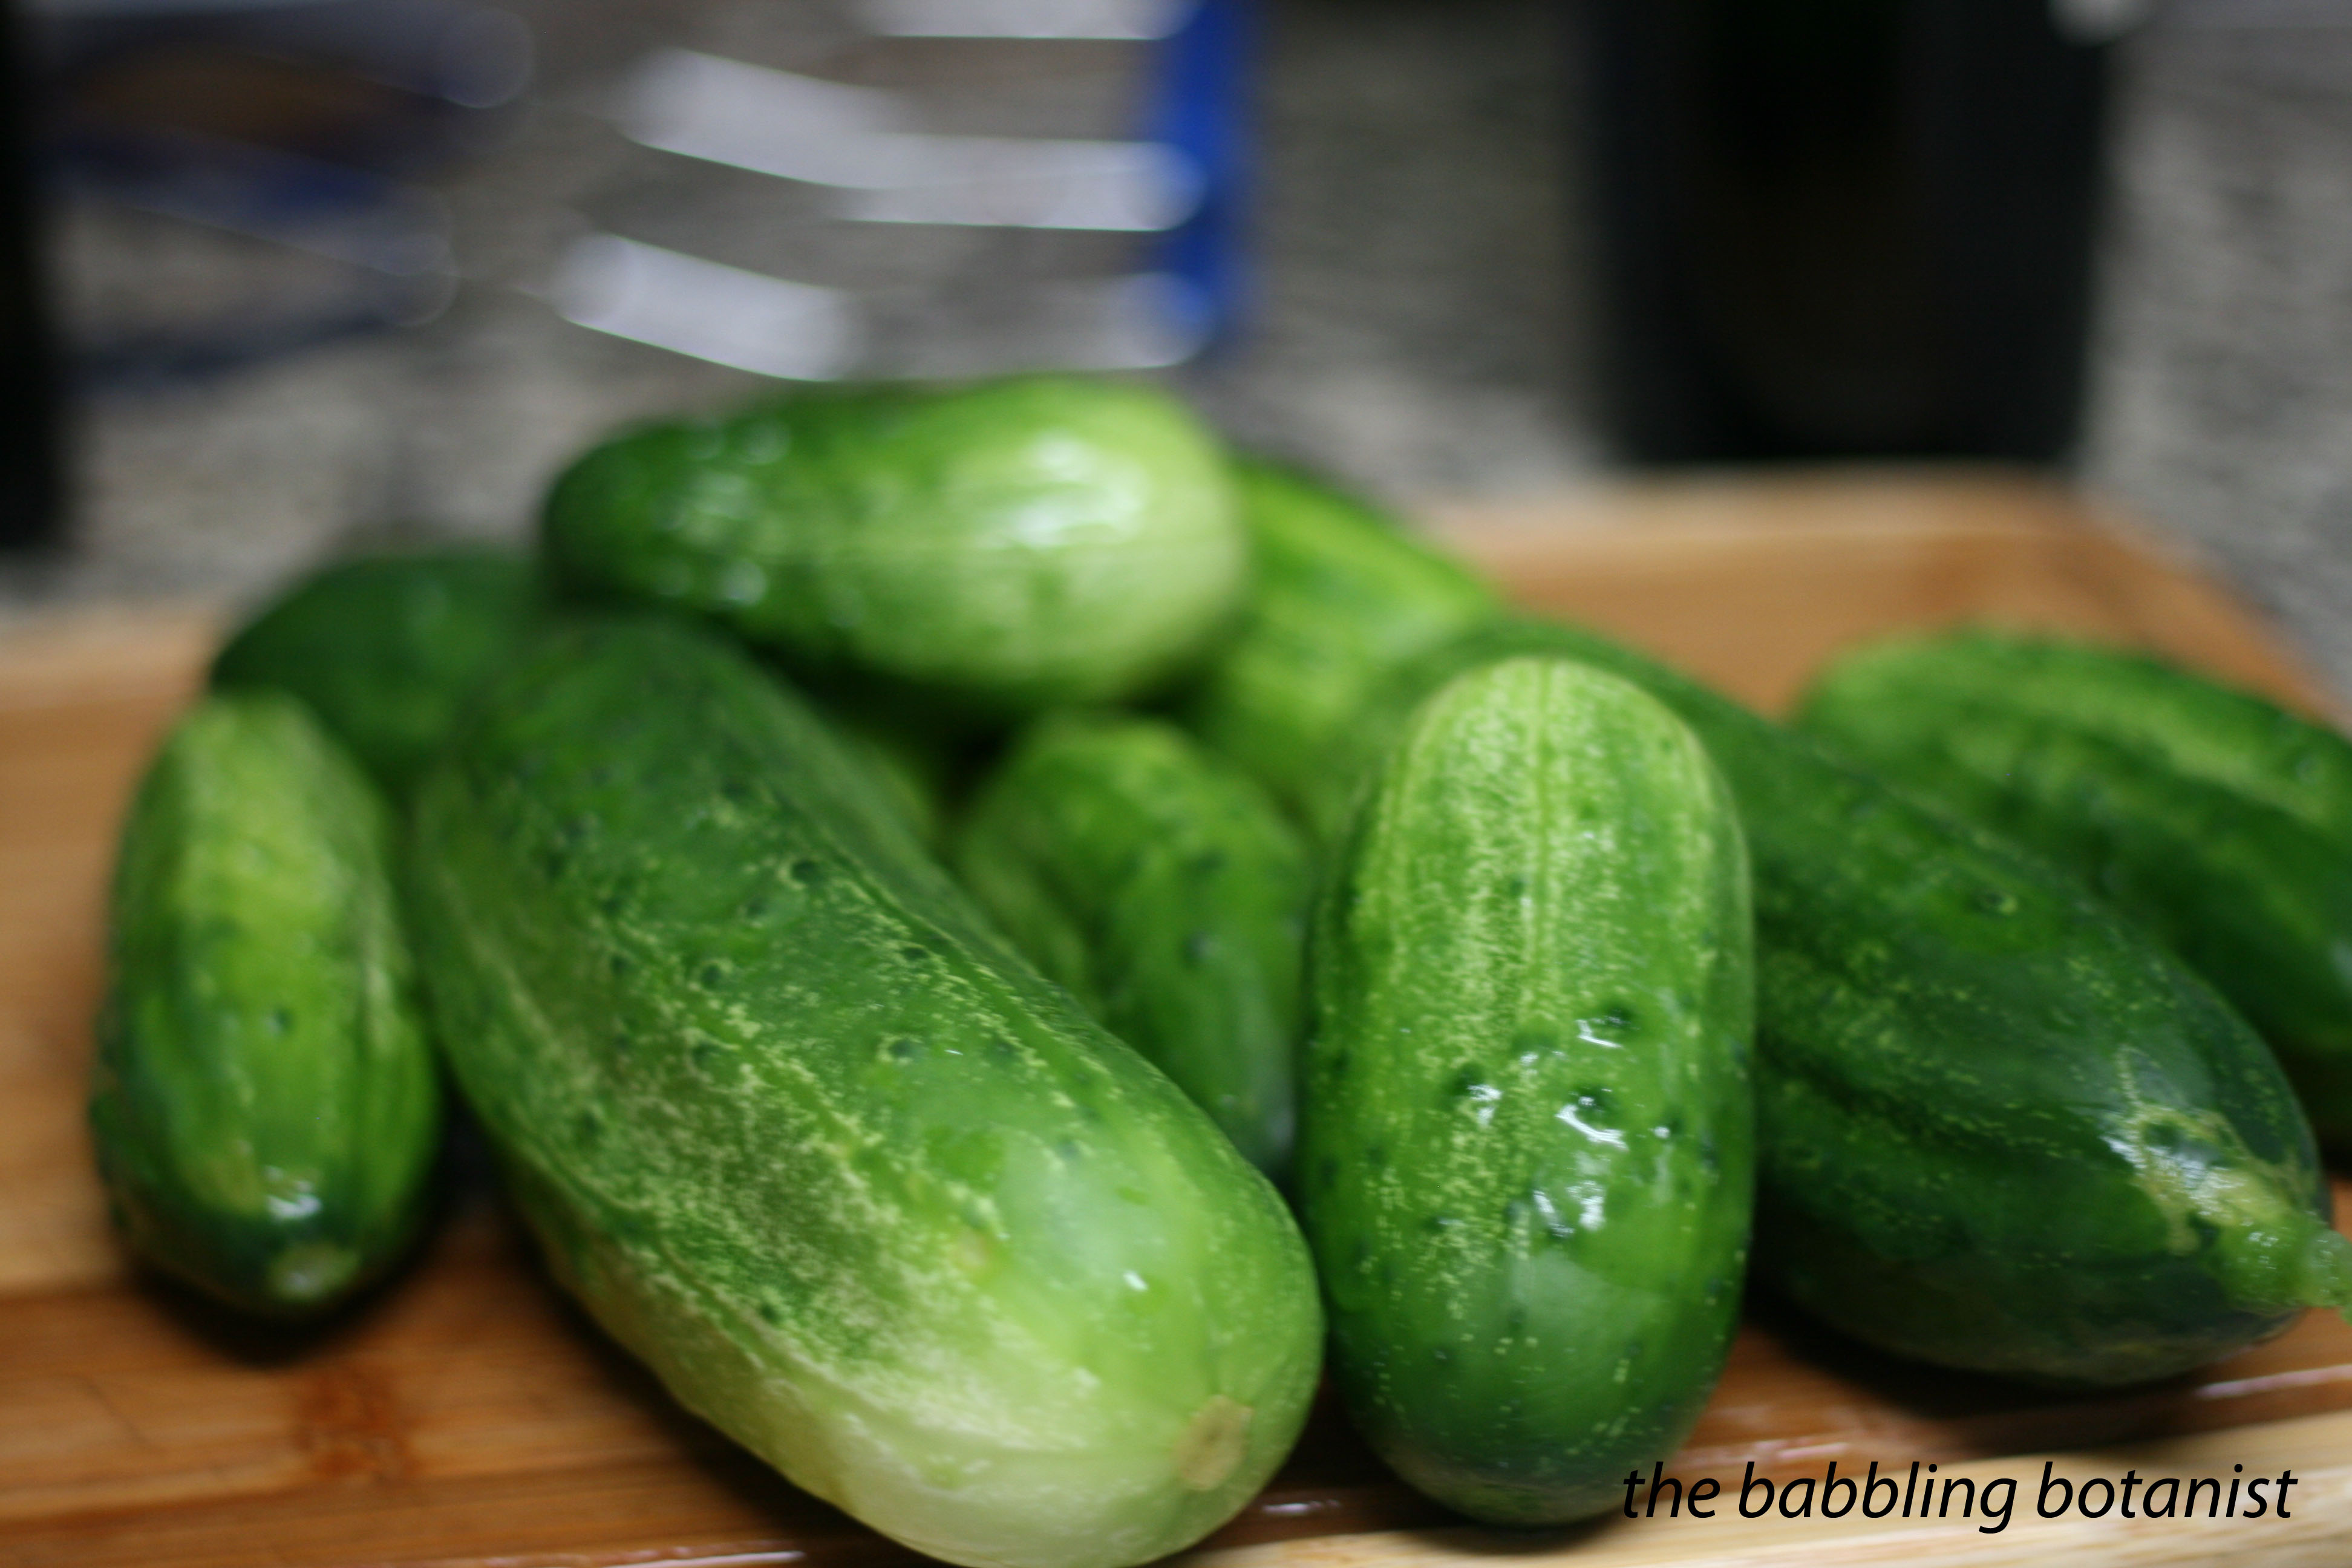
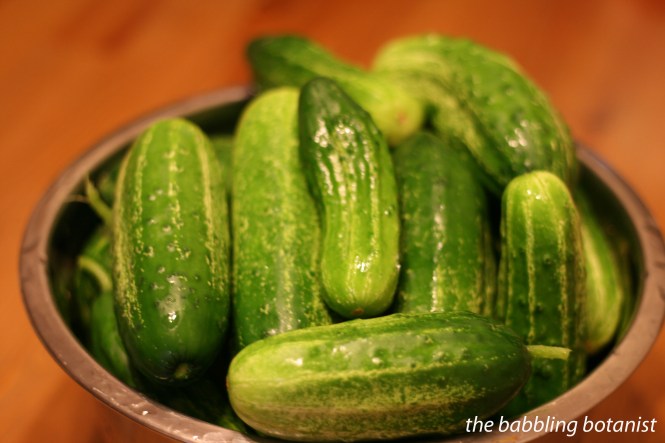
4 lbs pickling cucumbers
14 cloves of garlic
14 heads of dill
28 peppercorns
hot pepper flakes to taste or a dried pepper
3 cups water
3 cups vinegar (5%)
1/4 cup pickling/canning salt
Here’s what I did:
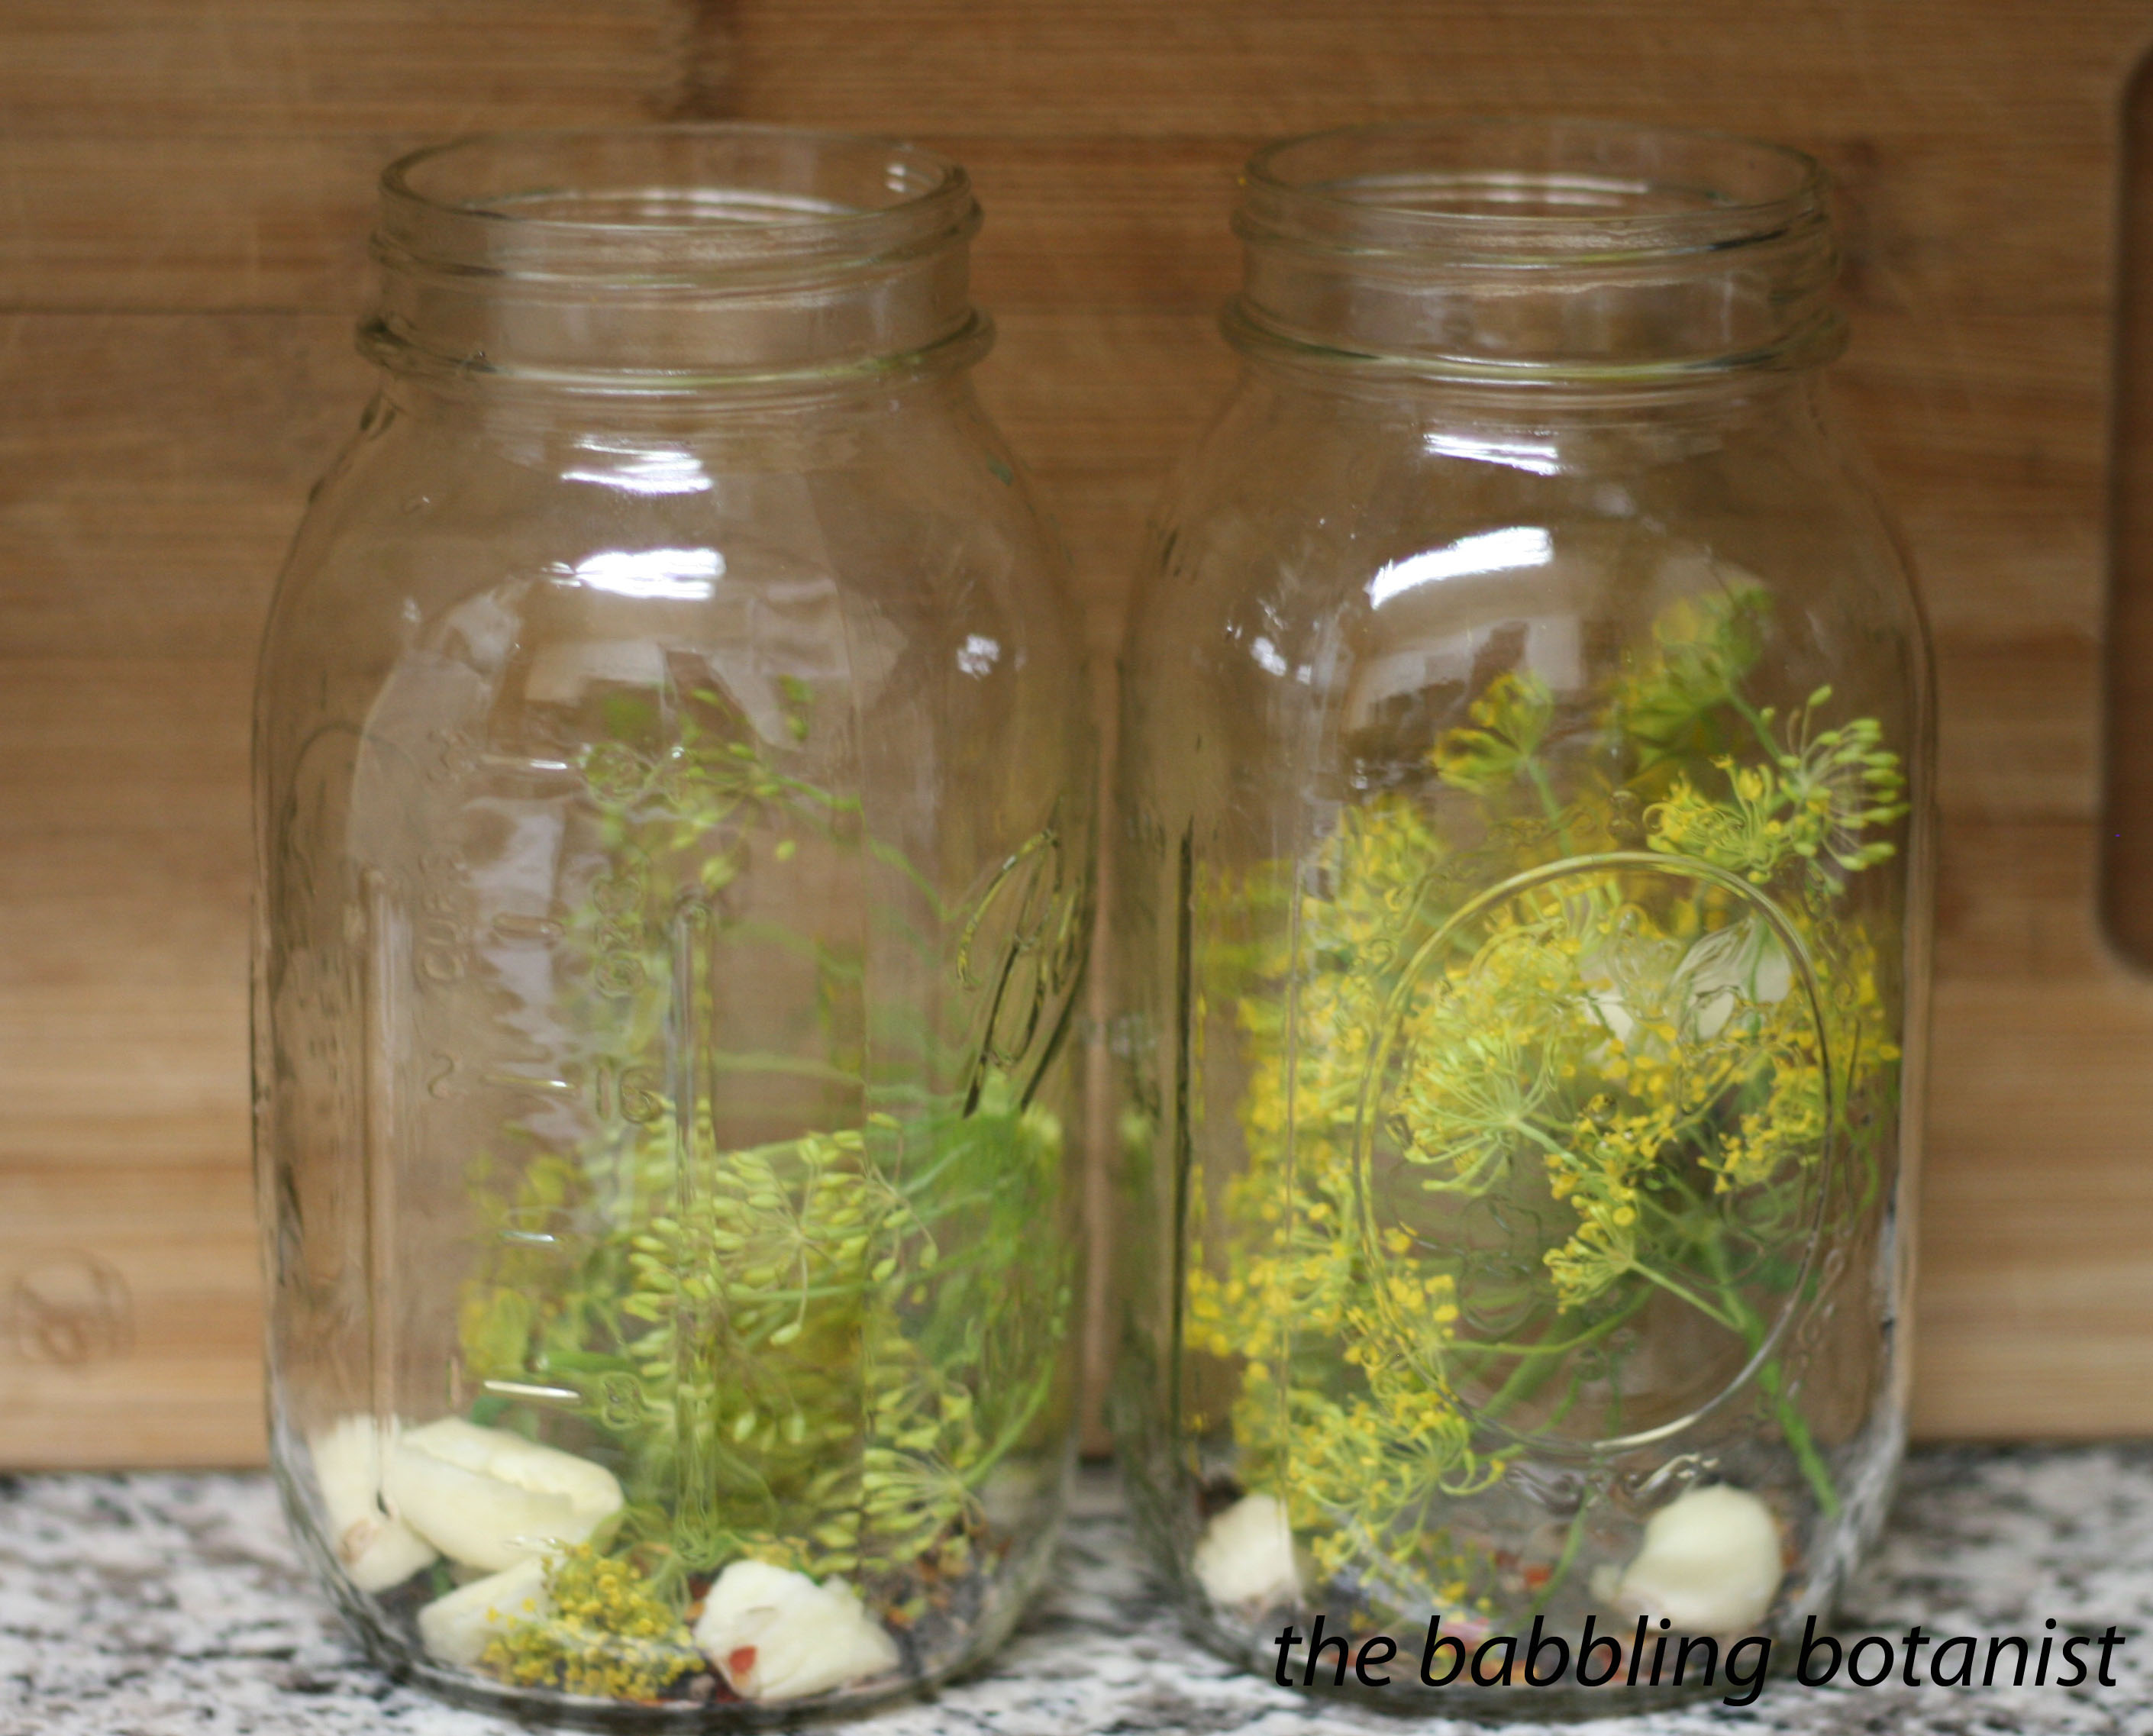
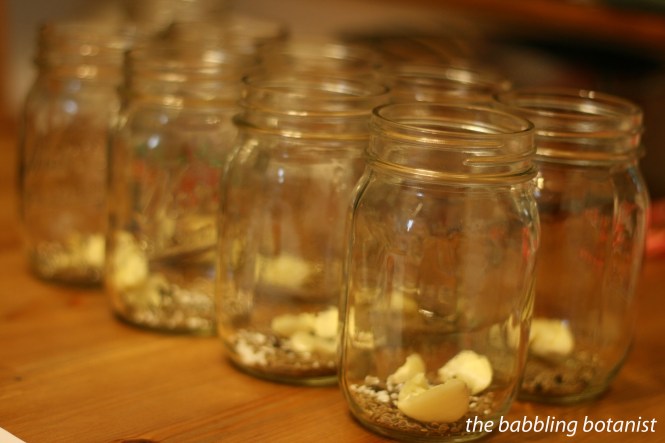
Make the brine by combining the water, salt and vinegar in a saucepan and bringing it to a boil to dissolve the salt. I like to either do this after I see how many jars I filled, or just make a bit extra since I always seem to need more. Place 2 cloves of garlic, 2 heads of dill, 4 or so peppercorns and the red pepper flakes in each jar. To prepare your cucumbers, cut a little slice off the blossom end. This is important for firmness as well, as there is an enzyme in the blossom end that can soften the pickles. Cut them how you like, or leave them whole. Spears, coins, slicers, you decide. I also am doing a comparison with ones that were processed whole versus sliced to see if that makes a difference for crispness. Pack the cucumbers into the jars. Cover with brine, leaving a half inch head space. Remove air bubbles with a plastic or wooden utensil and adjust head space as needed. If adding calcium chloride, add 1/8 tsp per pint jar, or 1/4 tsp per quart jar.
Wipe the rims, apply the lids and bands, and process either for 10 minutes (pints) or 15 minutes (quarts) in a boiling water bath, or for 30 minutes using low temperature pasteurization as described above. After removing the jars from the canner, let them cool 12-24 hours, remove bands, wipe them down, and store for a few weeks before eating them. I took them to canning class a few weeks later and had the students do a blind taste test – read on for the results! Which pickle was the ultimate pickle!?
Have you ever tried low temperature pasteurization? Do you have a different secret to super cripsy pickles? Let us know! Or if you’ve had trouble getting your pickles to stay crispy I’d love to hear stories if any one else wants to replicate this experiment. Make some pickles, have a tasting party in a few weeks, and let us know what your friends liked best. Happy pickling!
September update – experiment results!
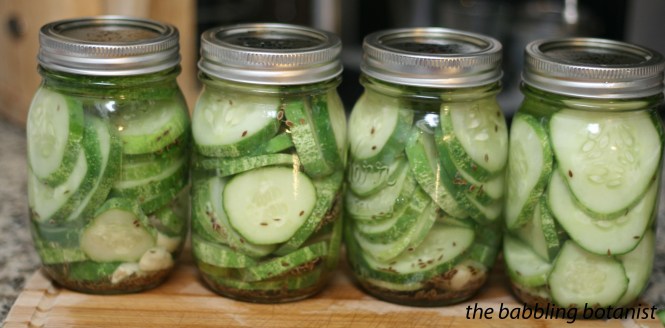
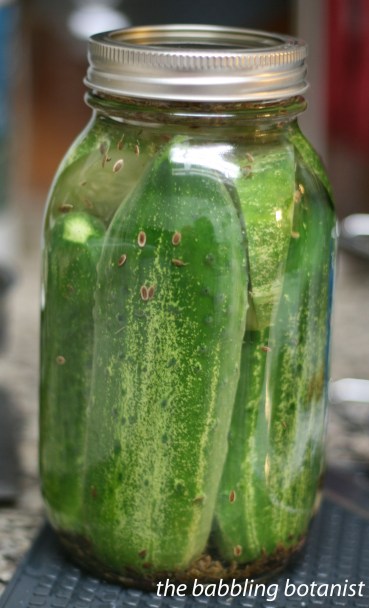
So, I know you’ve been on the edge of your seat wondering what the results of this experiment would show, so here they are. As a reminder, what I did was 5 different pickles. The pickles were all the same spices and brine, it was the processing that differed. The first 4 were all canned as slices, the fifth was canned whole and sliced for the taste test so people couldn’t tell which one was canned whole. I randomly assigned them to a number 1 though 5 for people to taste test.
1. Boiling water bath, no pickle crisp
2. Low temperature pasteurization, no pickle crisp
3. Low temperature pasteurization with pickle crisp
4. Boiling water bath with pickle crisp
5. Low temperature pasteurization with pickle crisp canned whole
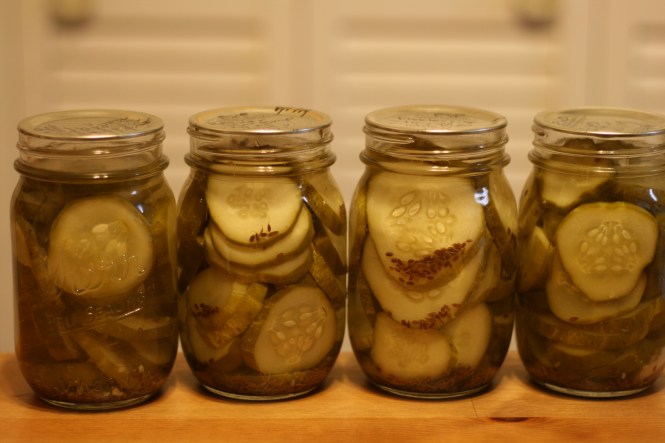
For this taste test I had 17 people test the pickles and rate them from least to most crisp. I wasn’t entirely sure how to analyze the data from the taste test, but some of the results are pretty obvious and exciting. I am going to just give you a few summary statistics that I really think give a pretty clear answer, and I’ve also included all the ratings in case you are really that interested. First off, I wanted to show a picture of the four sliced ones, because even visually some of them looked more crisp, at least to me. Below the jars are in the order listed above, so the two ends were boiled, and the middle two were processed at low temperatures. Can you see a difference? This picture was taken 5 weeks after processing. I think that even visually the boiled ones look soggier. They are a different colour and more translucent.
So how did it break out in terms of numbers? The first obvious result was that 16/17 people put sample 5 as the most crisp sample. So, by canning your pickles whole, with low temperature pasteurization, you get a very crunchy, firm product. Great! Now let’s ignore number 5 for a second since it had an additional variable of being canned whole. 10/17 people chose sample 1 as the softest, and 6/17 chose sample 4 as the softest. This totals to 16/17 people chosing one of the boiled ones as the soggiest. Additionally, of the sliced ones, 13/17 people selected sample 3 as the most crisp, which was the low temperature with pickle crisp sample. Now, I didn’t run any actual stats, but I feel pretty confident saying this: Low temperature pasteurization for the win!! There was not one person that had sample 1 (boiled, no pickle crisp) as anything other than the soggiest or second soggiest. I also thought it was really interesting that Janice, our canning teacher, rated them in the exact order that I would predict. From soggiest to crispest: boiled without pickle crisp, boiled with pickle crisp, low temperature without pickle crisp, low temperature with pickle crisp, low temp with pickle crisp canned whole. Pretty fun! So the method of processing, low temp versus boiling, was detectable by most people. Some people could detect a difference with the pickle crisp, but this result was not as ground breaking. I’d like to test it again, with more people and try doing a boiled one canned whole and a few other things, but I think for now it’s safe to say I will be canning the rest of my pickling cucs at low temps and using pickle crisp. They still turn out well if you don’t can them whole, even though most people picked that for ultimate crispness, but you can also fit less in a jar. So there ya have it! Go can some pickles at 180 F!!
In case you’re crazy like me, here’s everyone’s ratings (least to most crunchy/crisp):
1 4 2 3 5
4 1 2 3 5
4 1 3 2 5
1 2 4 5 3
2 1 3 4 5
1 2 4 3 5
1 2 4 3 5
4 1 2 3 5
4 1 2 3 5
1 2 4 3 5
4 1 2 3 5
1 3 2 4 5
1 4 2 3 5
1 4 2 3 5
1 4 2 3 5
4 1 2 3 5
1 2 4 3 5
*this post contains affiliate links, please see the “About the Blogger” page for more information