Spicy Tomato Vegetable Soup

I first made this soup back in the pressure canning week of my Master Food Preserver class, and I could not wait until tomato season rolled around so I could stock up on this deliciousness. This soup is so good, and I just love that every ingredient is in season right now, which means every ingredient I either grew or picked within 10 miles of my house. That’s the best! This recipe is from So Easy to Preserve, which by the way is now out with its newest edition if you’re looking to get your hands on that. I just ordered a couple copies for myself and others. 🙂

IMG_4342 copy

Ingredients:
6 cups chopped tomatoes
2 cups chopped tomatillos
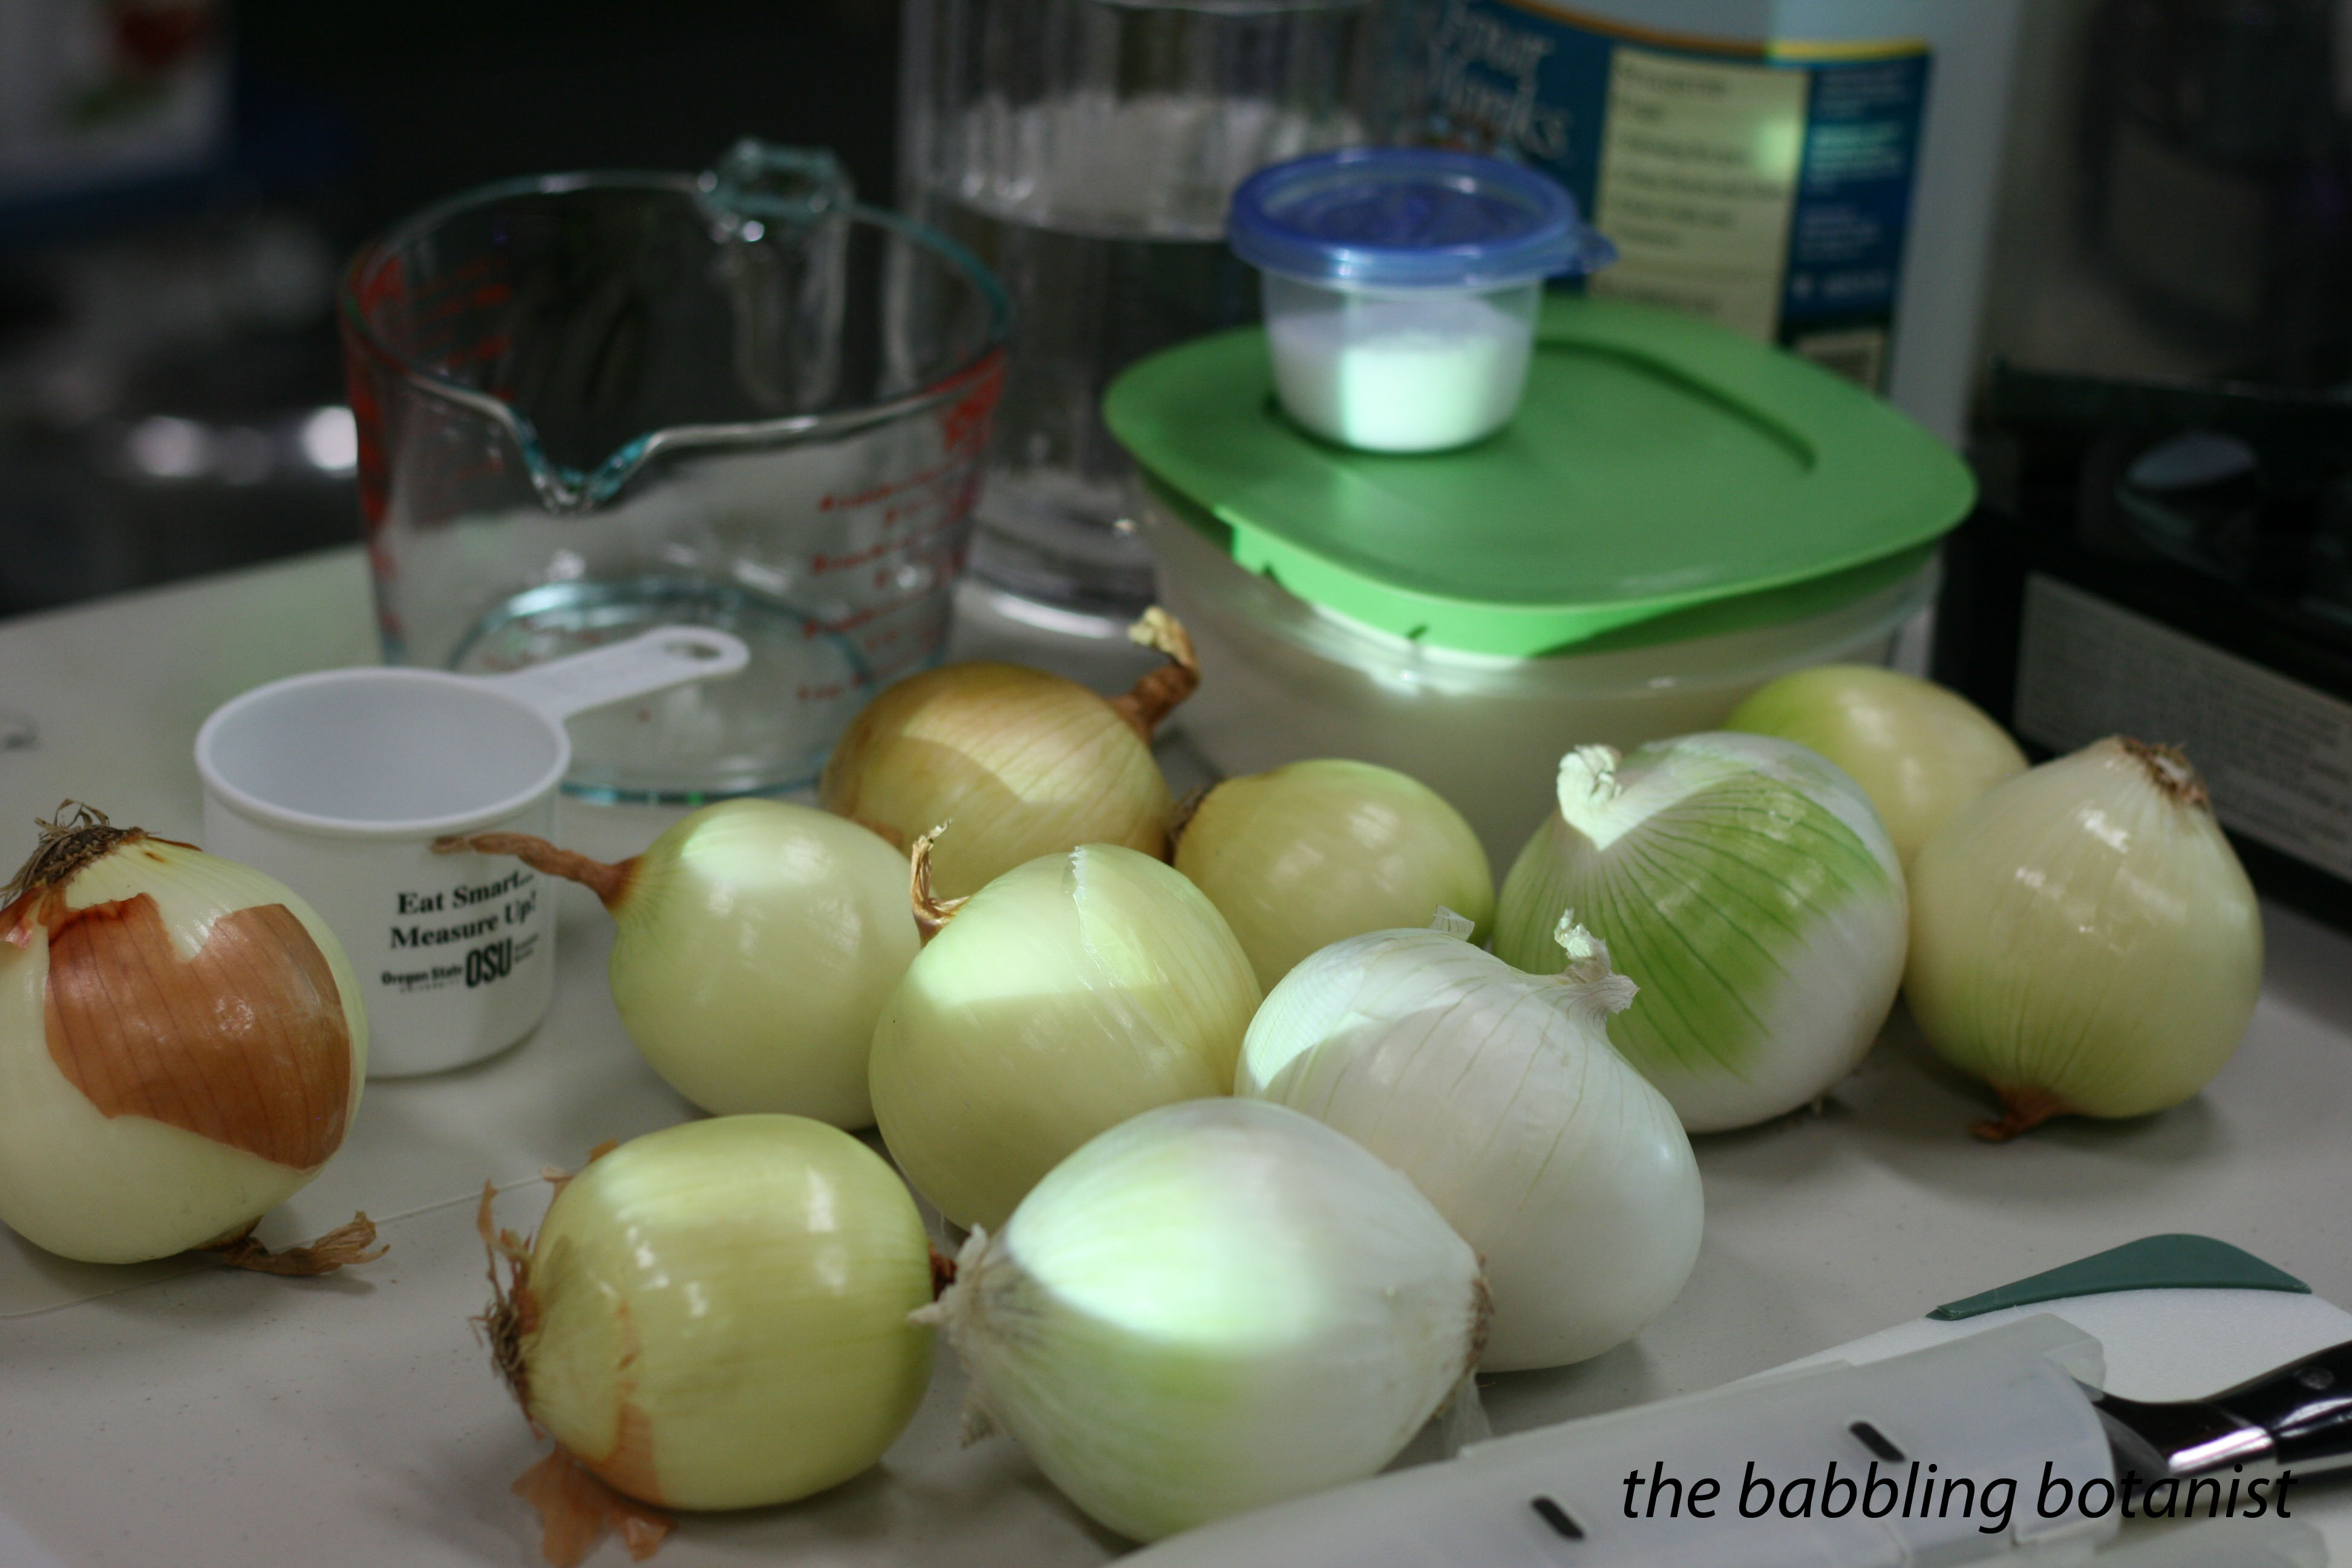
1 cup chopped onion
1 cup chopped carrots
1 cup chopped red bell pepper
1 cup chopped green pepper
1/2 cup chopped and seeded hot pepper
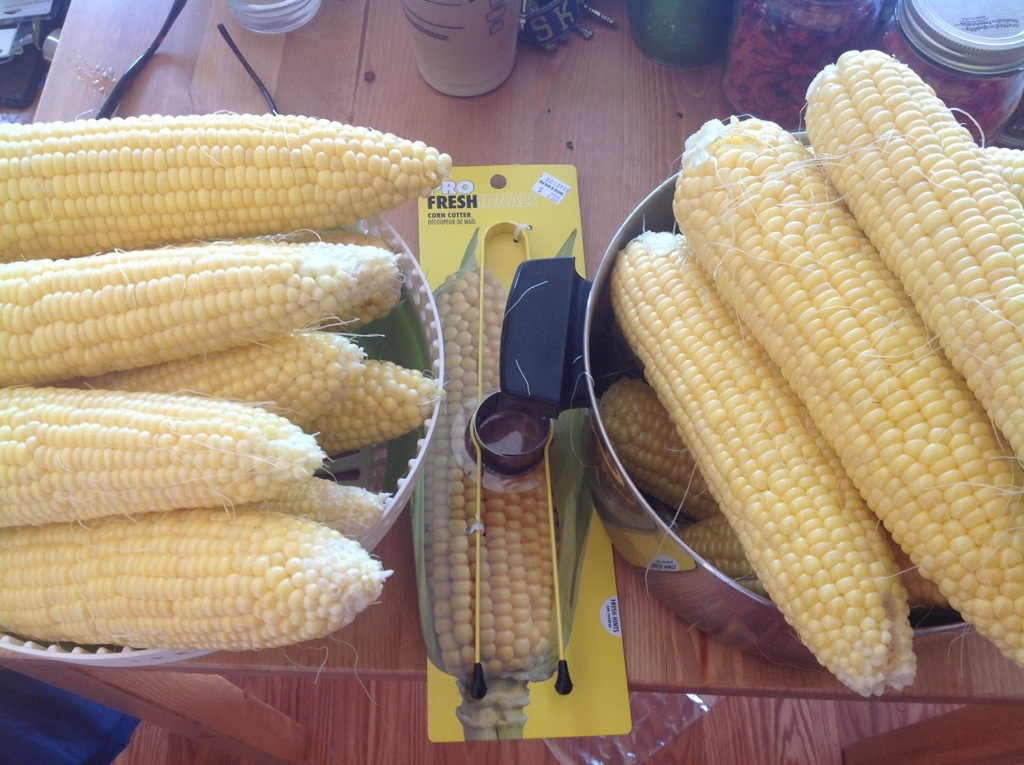
6 cups whole kernel corn, uncooked
2 tsp chili powder
1 tsp cayenne pepper
1 tsp black pepper
1 tsp salt
1 tbsp hot pepper sauce
5 cups tomato juice
2 cups water

Here’s how we made it:

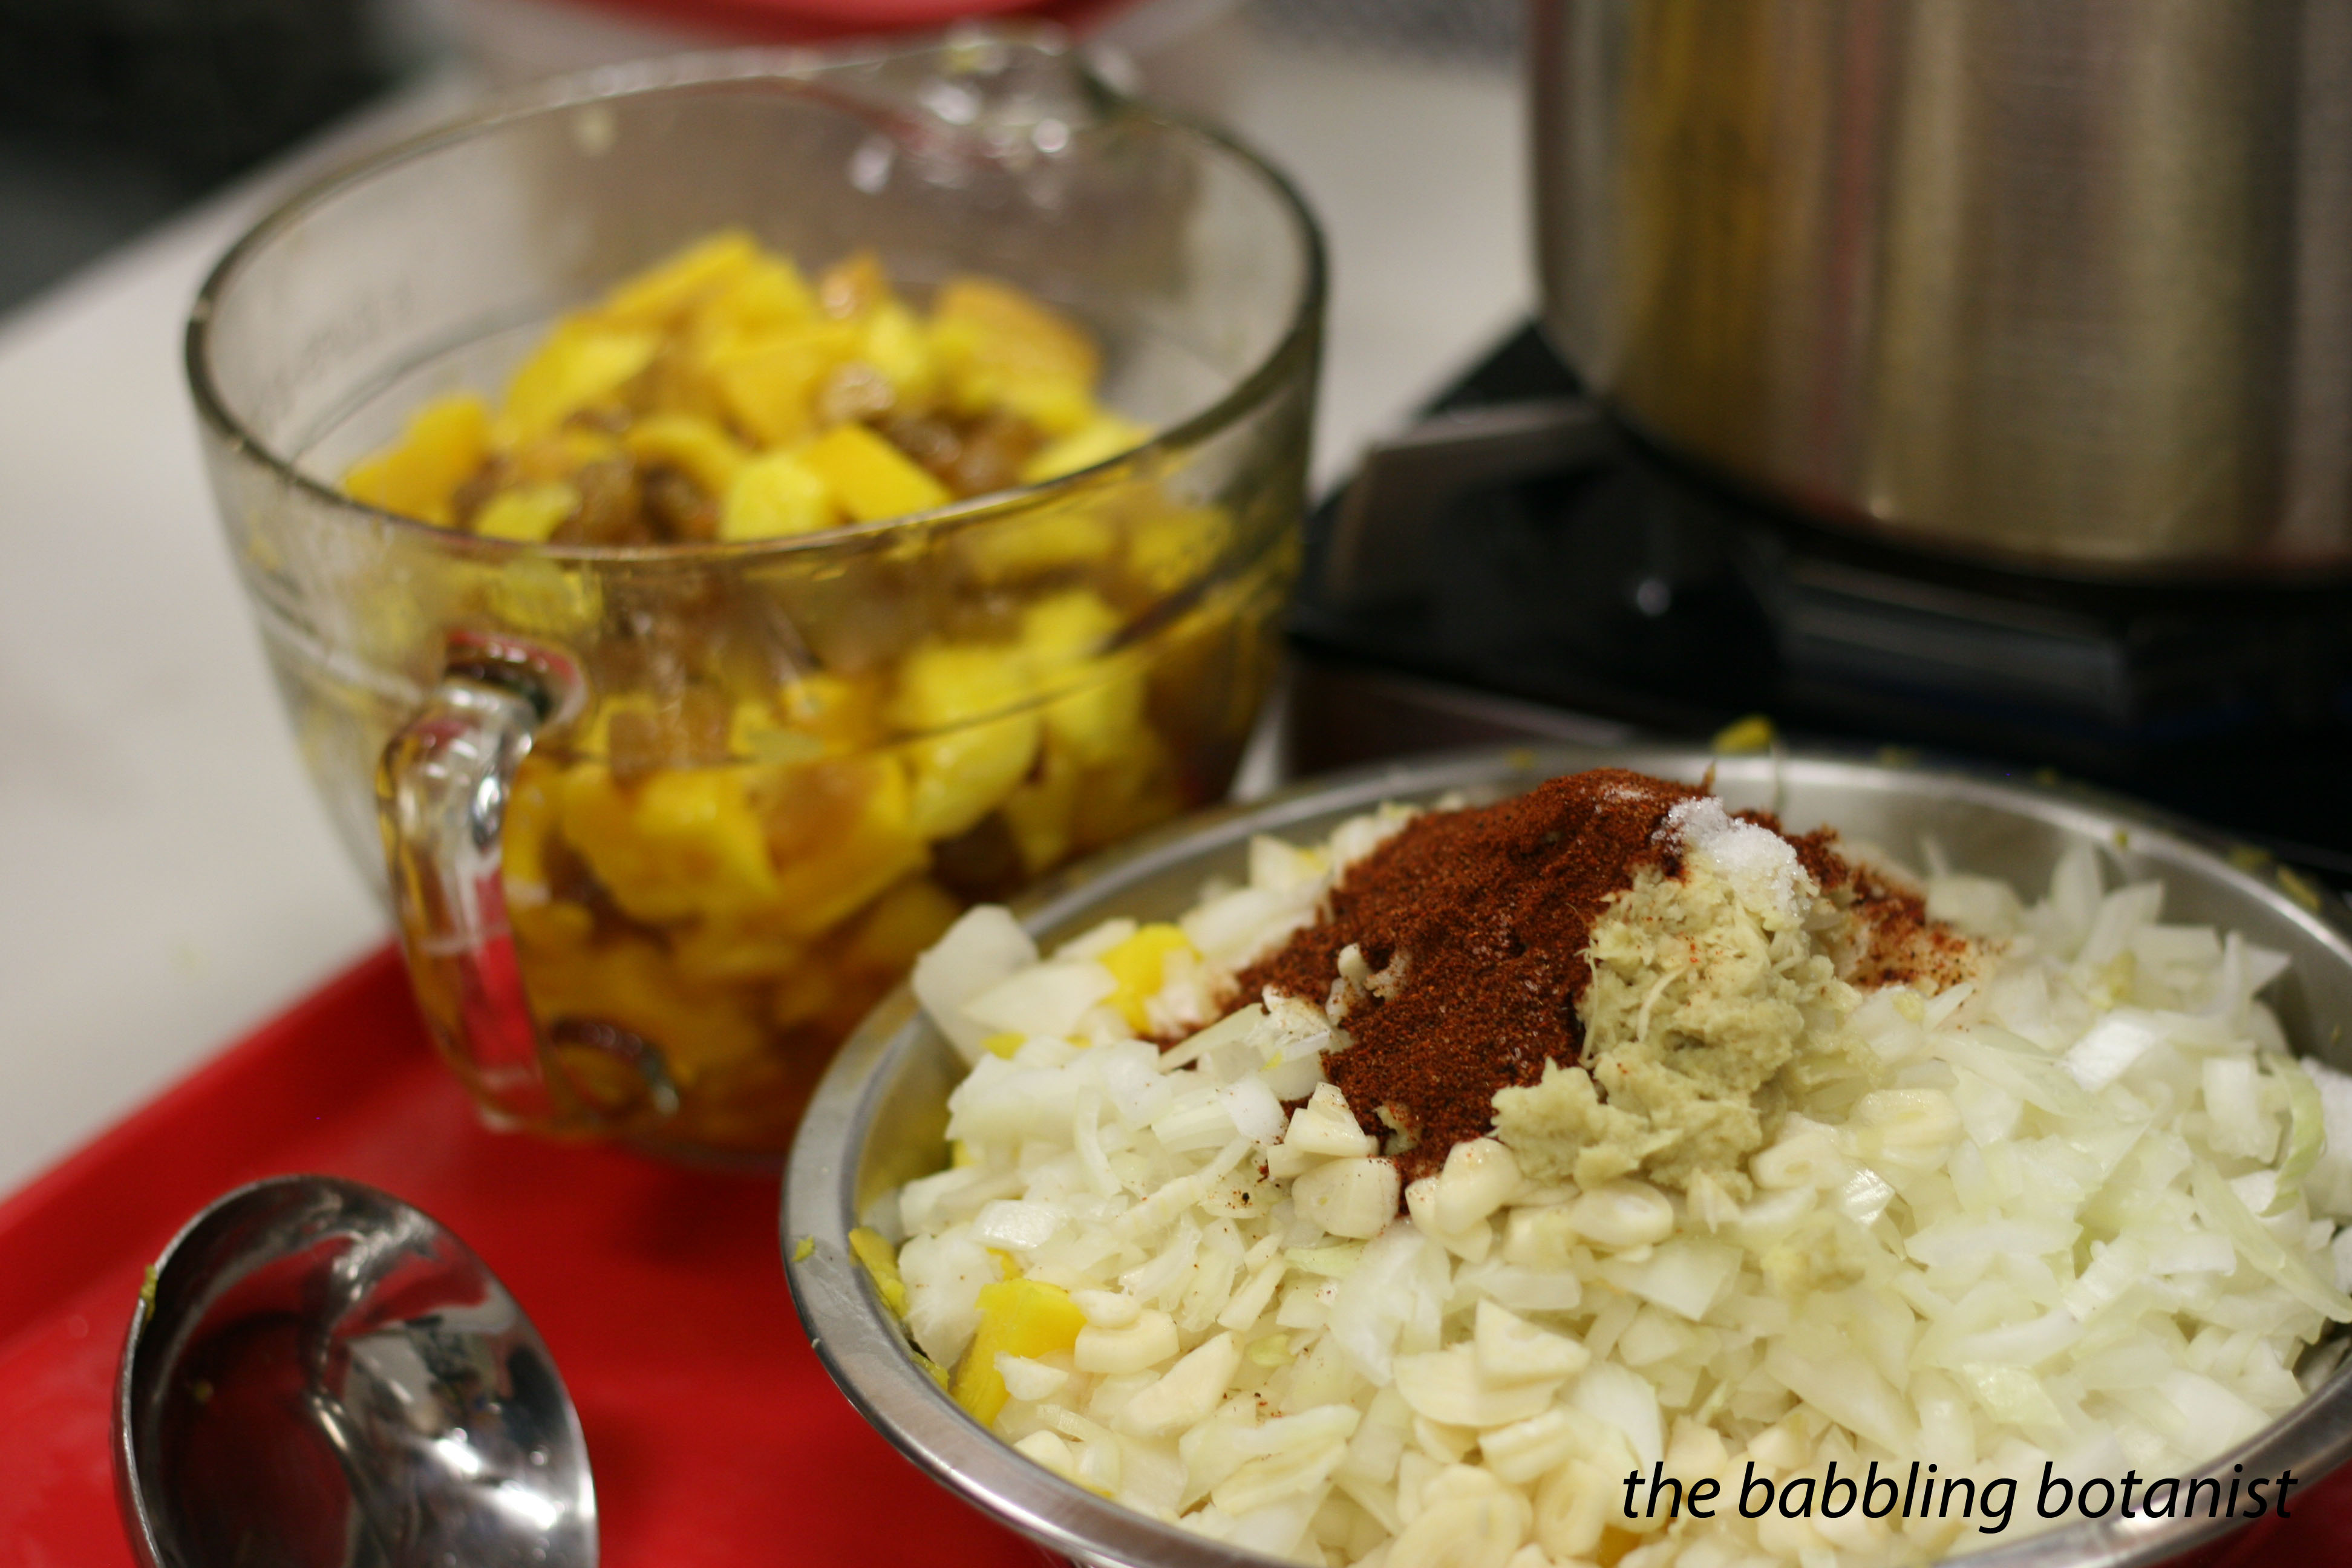
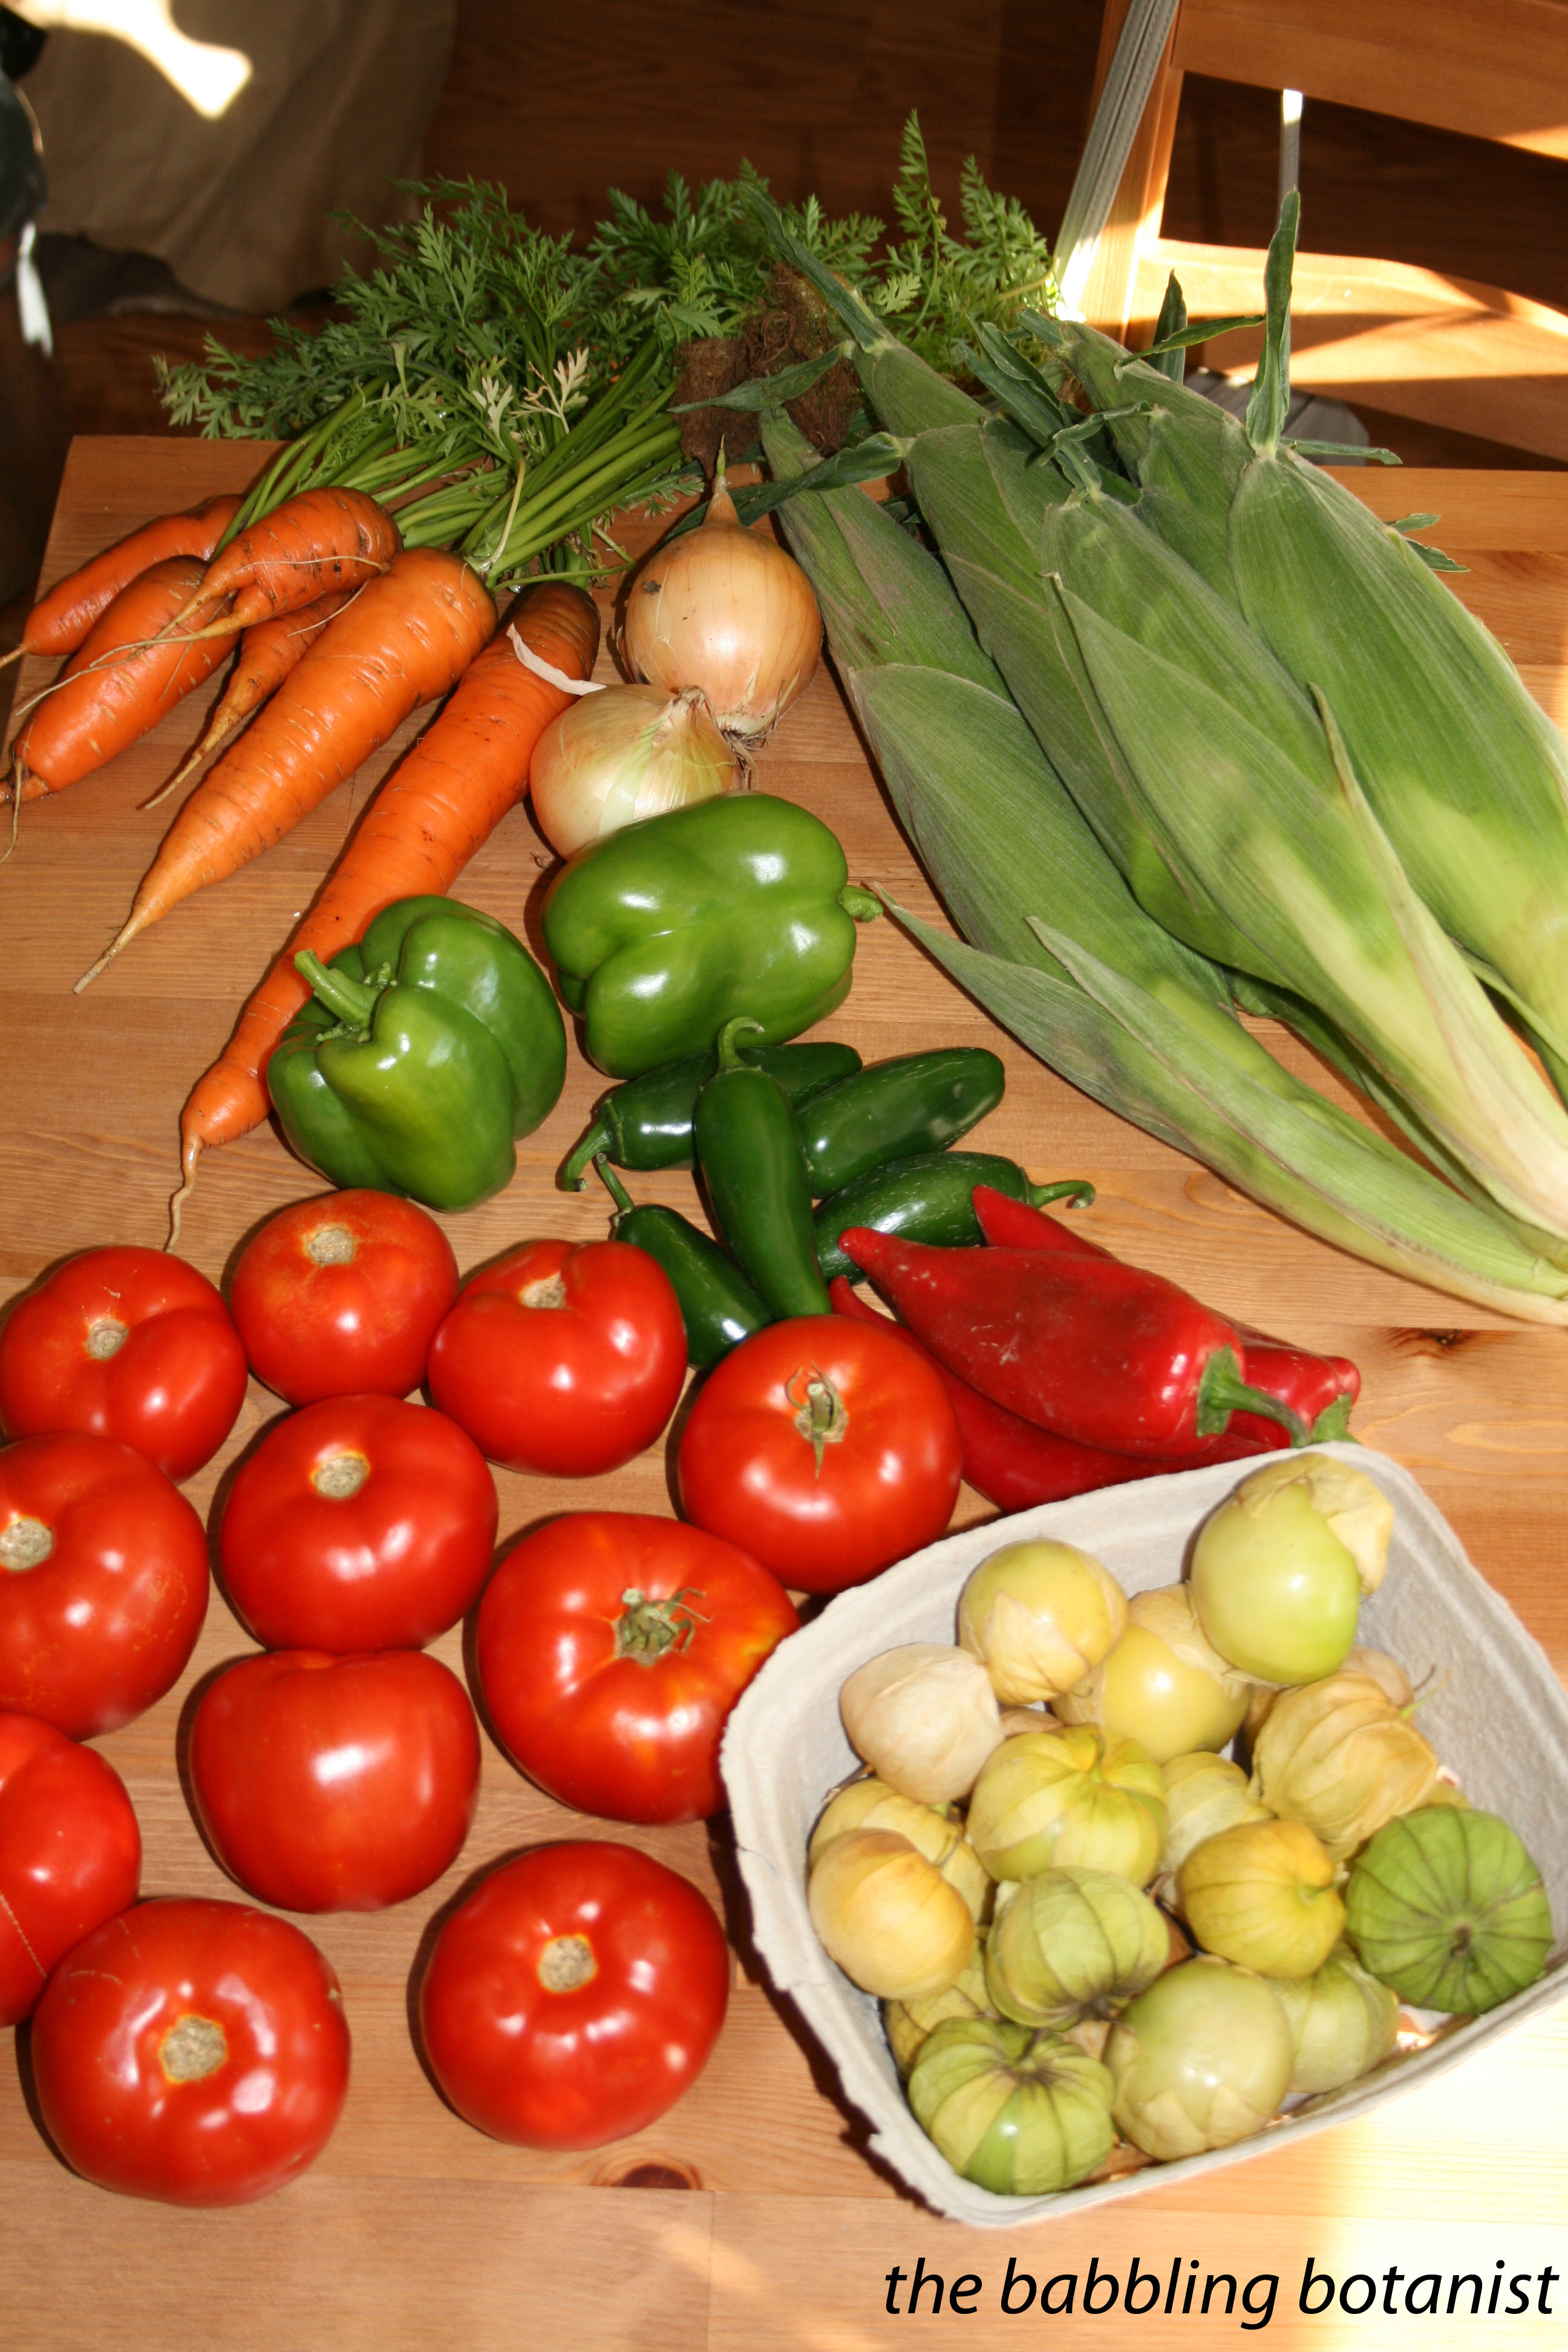
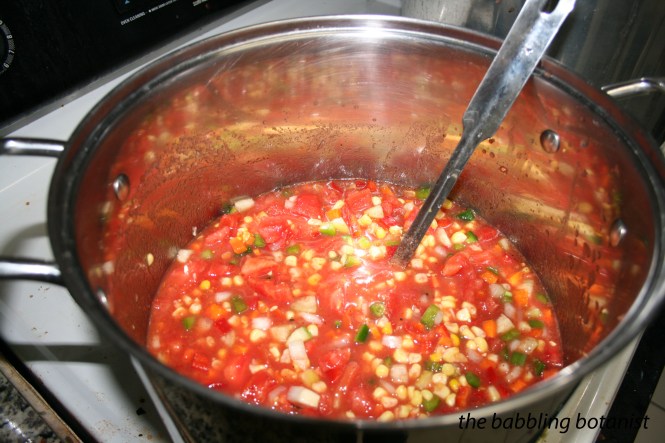
Chop, chop, chop, and chop some more. But really, that’s basically all there is to it. When I made this recipe at home by myself I got a hand cramp from too much chopping, so invite a friend over for goodness sake. For the tomatoes, core, blanch and peel them before chopping. For the tomatillos, remove them from the husk, wash and chop them without peeling. For the onions and carrots just peel and wash them and chop them into soup sized pieces. Wash and seed the peppers and use gloves to cut up the hot ones. For the corn, either cut it off the cob and measure 6 cups, or use frozen corn.

IMG_2576 copy

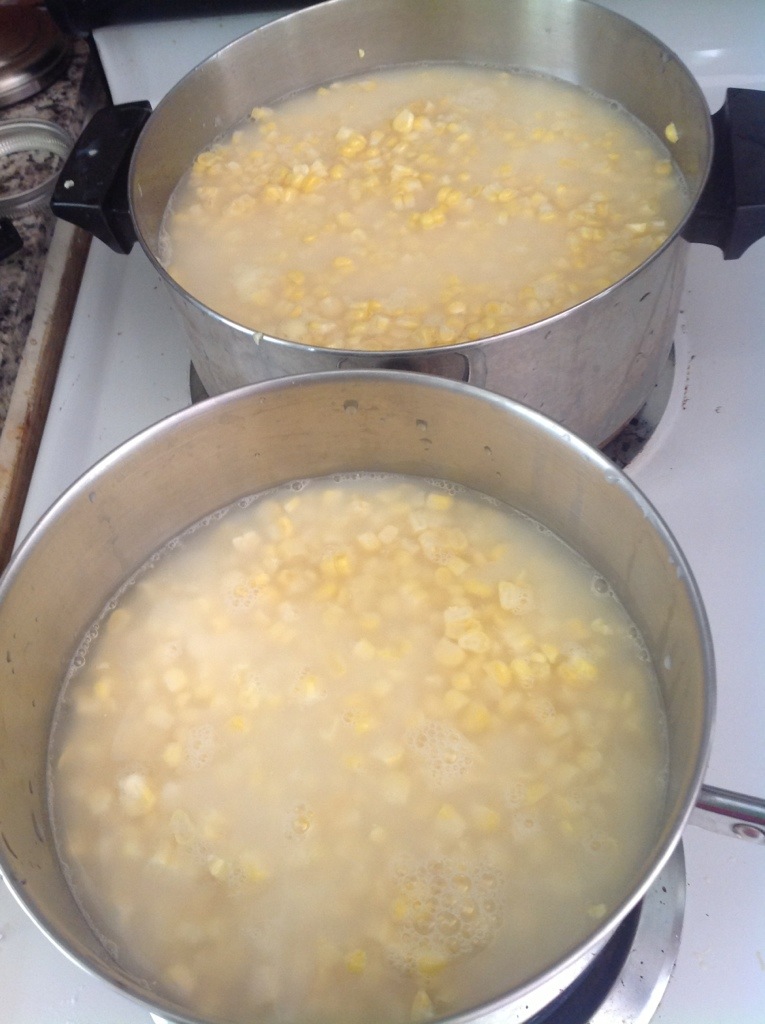
Combine all the veggies in a large stockpot. Add in the tomato juice, water, and all the seasonings. For the tomato juice, you can either make juice by pressing some tomatoes through a food strainer, or use store bought. I bet you can guess which one I prefer. I think that the ratio of solids to liquids in this soup is a bit off, so it could probably use more like 6 or 7 cups of tomato juice. And just to justify this, the reason I think it’s OK to adjust the recipe in this way is because these are the National Center’s soup recommendations. The processing is the same with whatever combo of foods you have, unless you add seafood, and they just say to cover with liquid. Plus, tomato juice is the most liquidy and most acidic ingredient in this recipe. Anyways, bring the soup to a boil, then reduce the heat and simmer for 15 minutes. While the soup is simmering, prepare your canner, jars and lids. This yields about 9 -10 pints of soup.

IMG_4346 copy

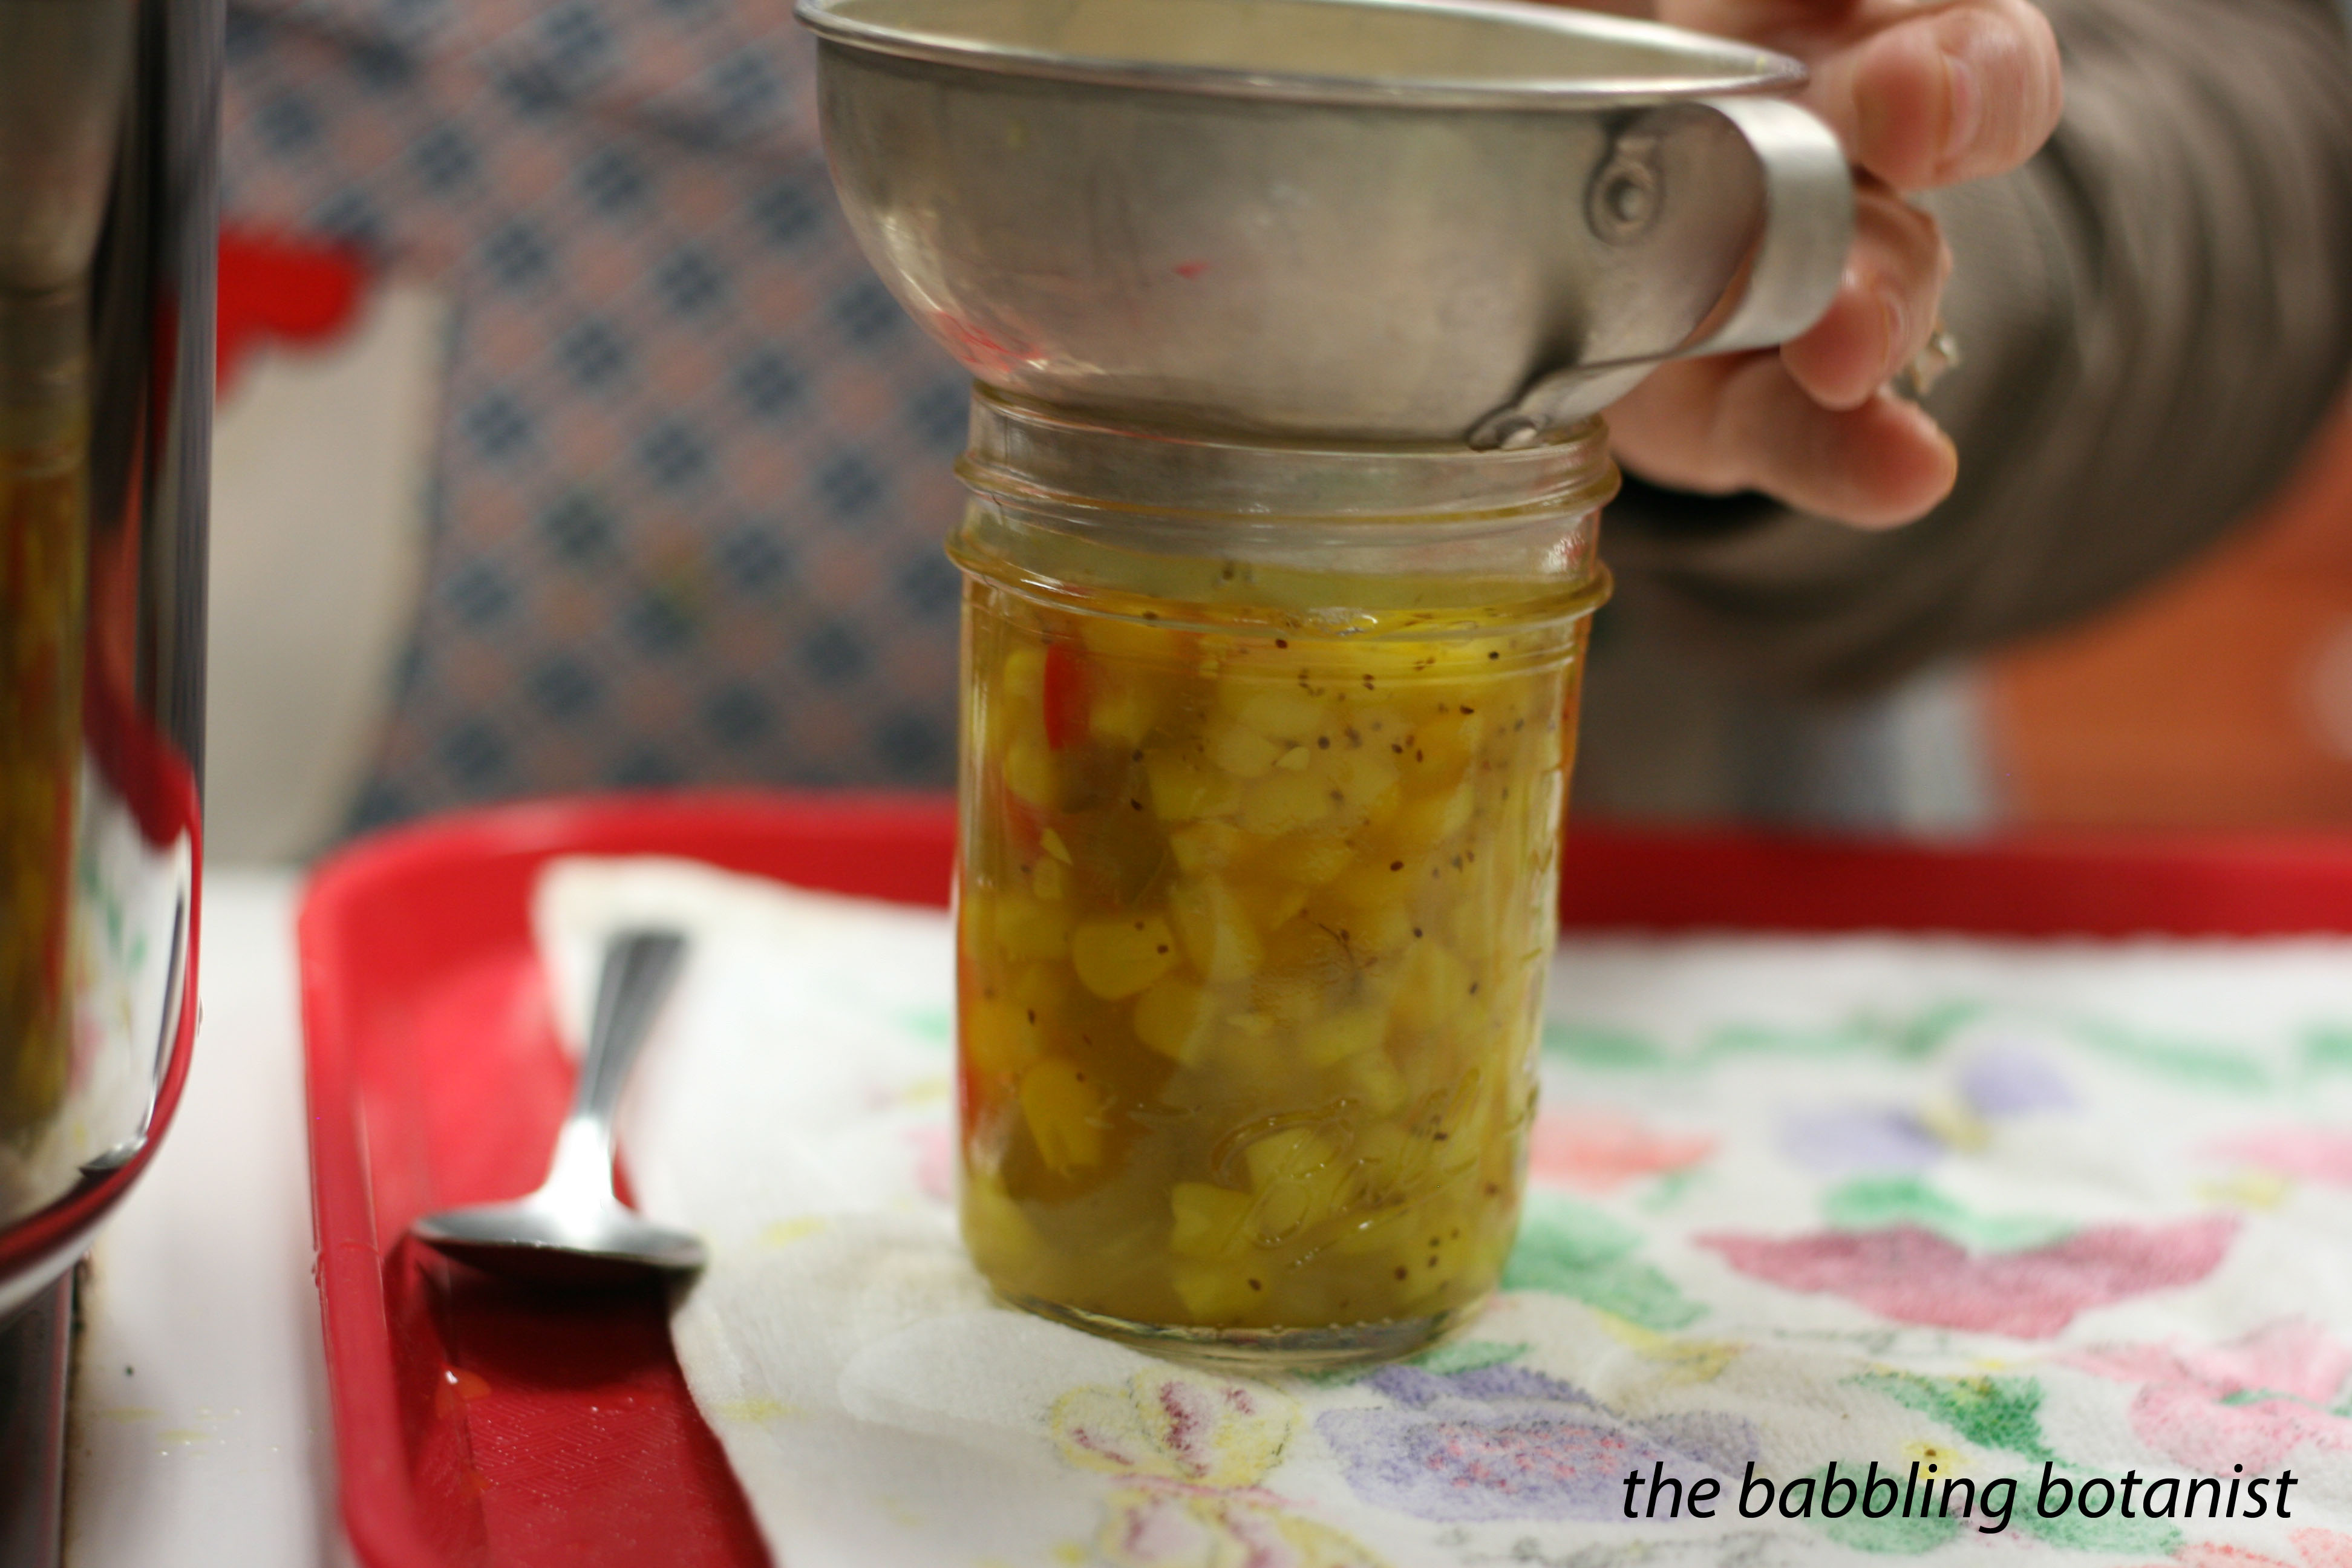
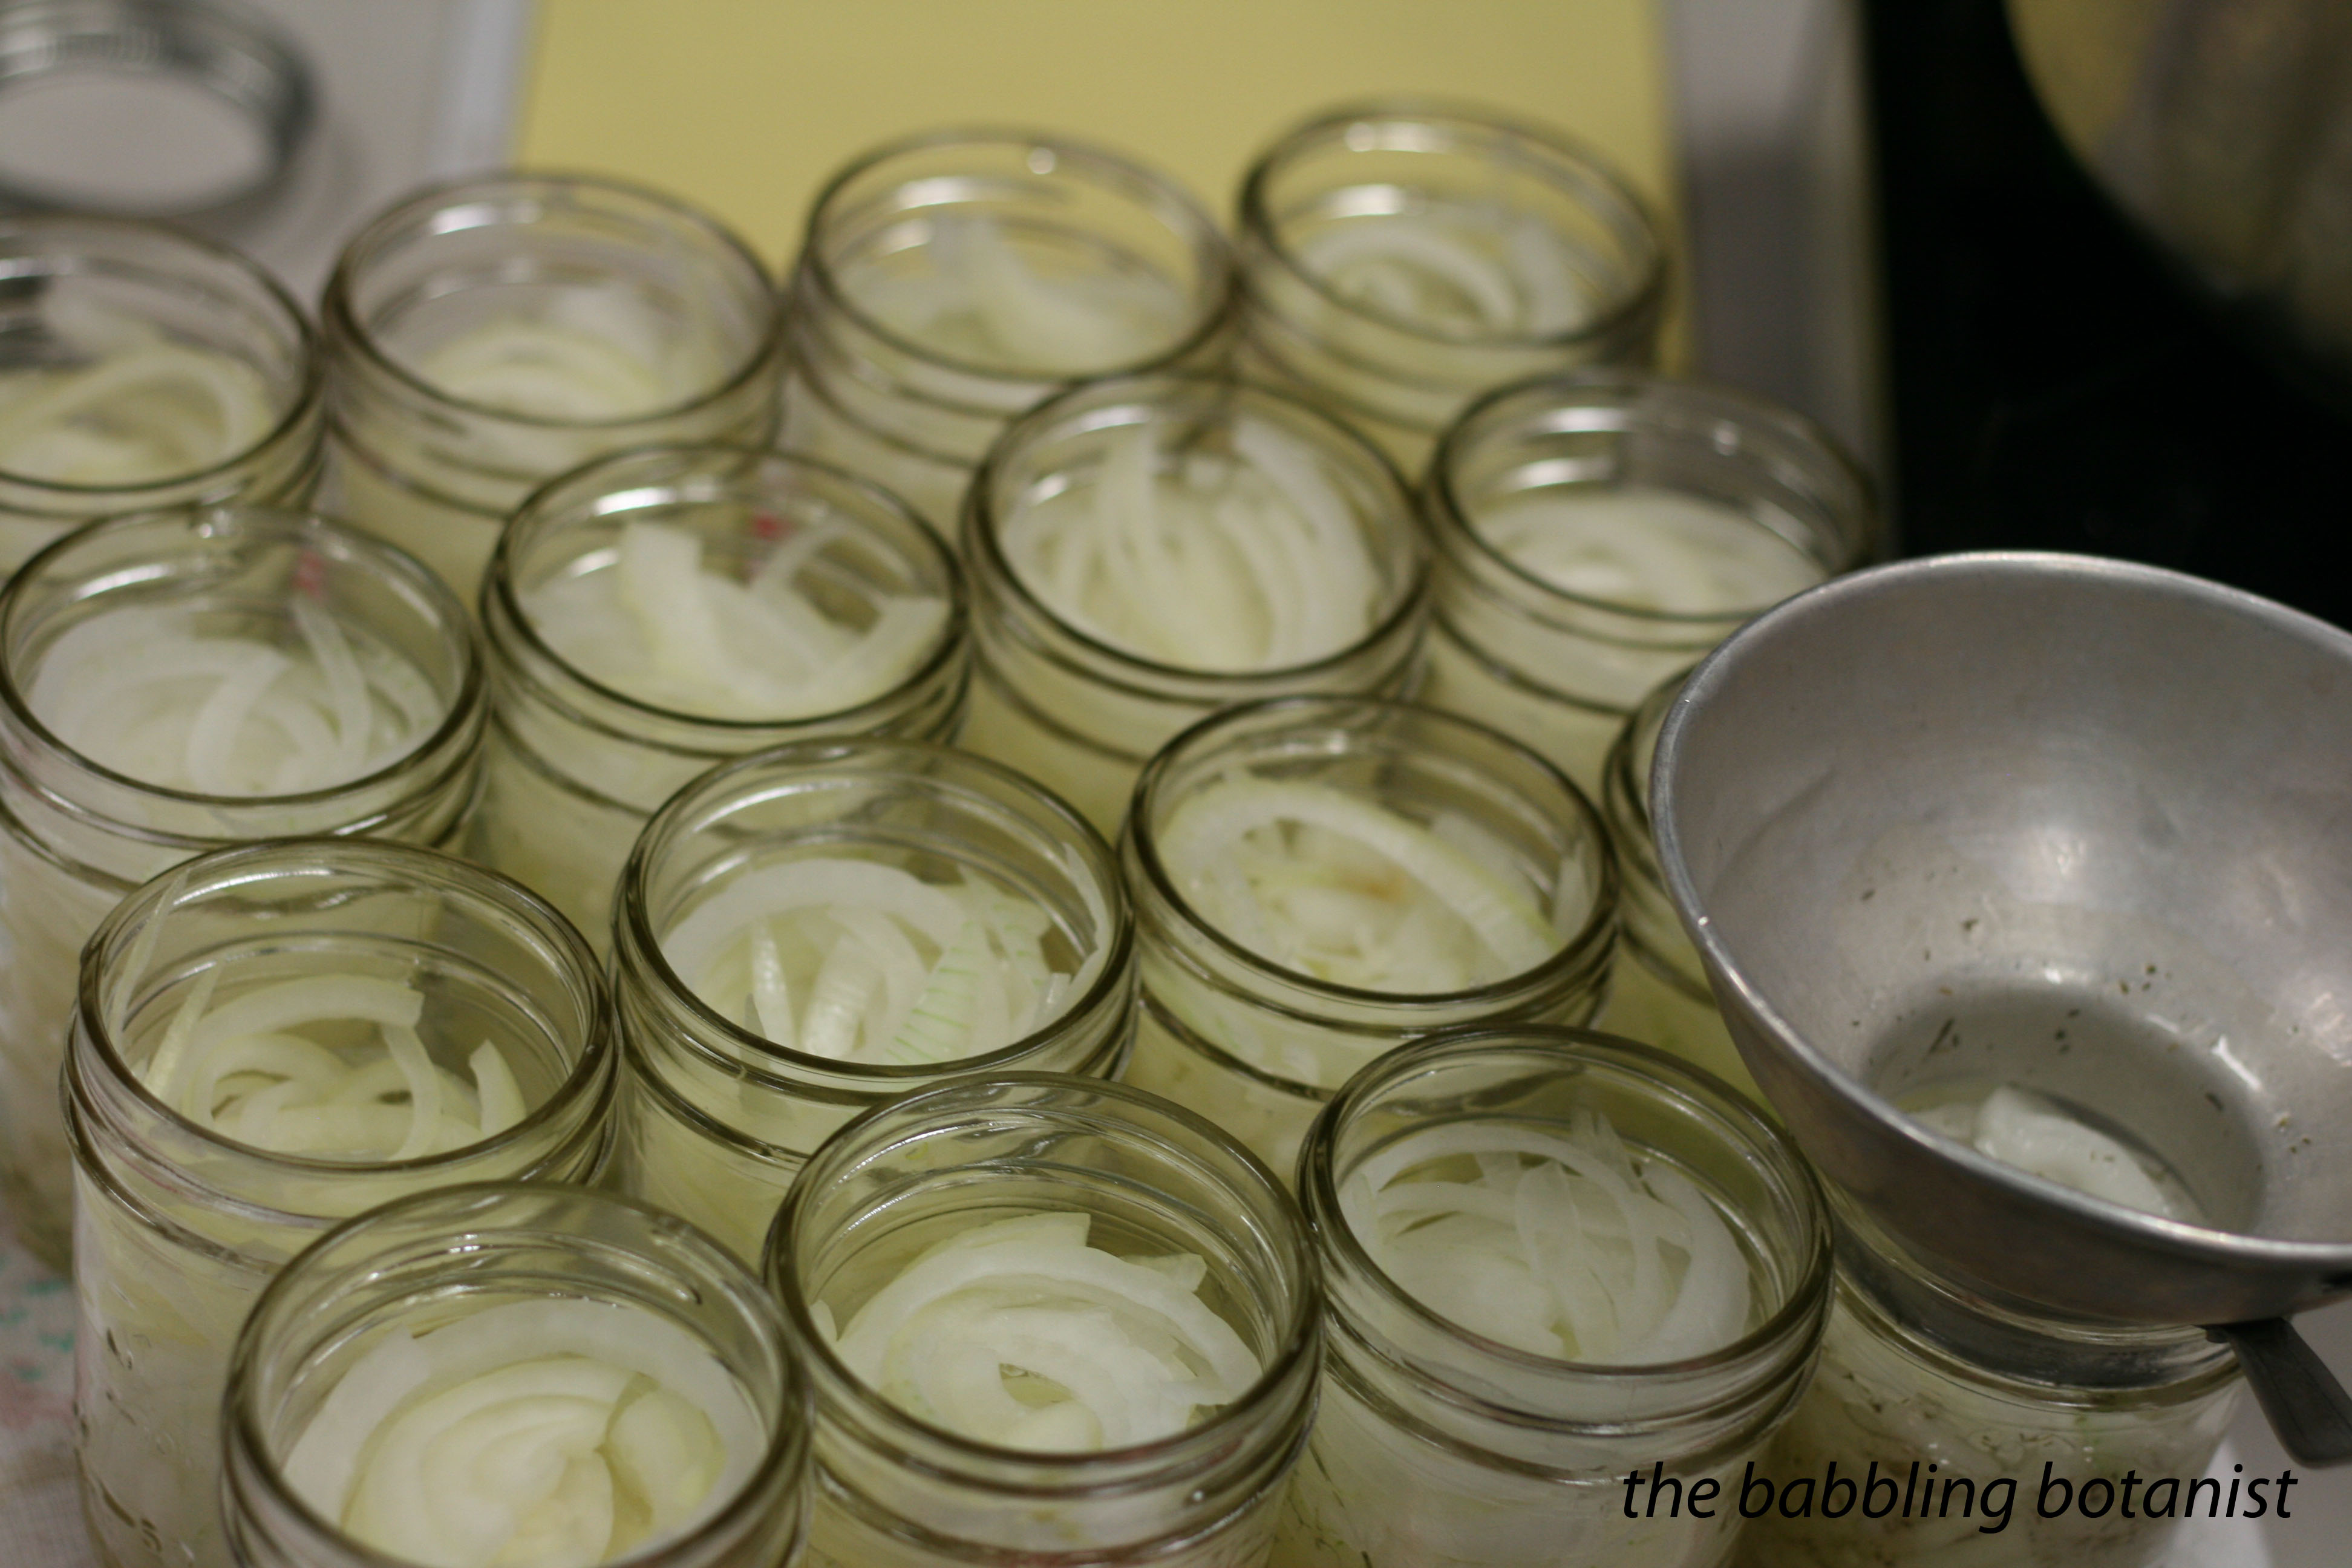
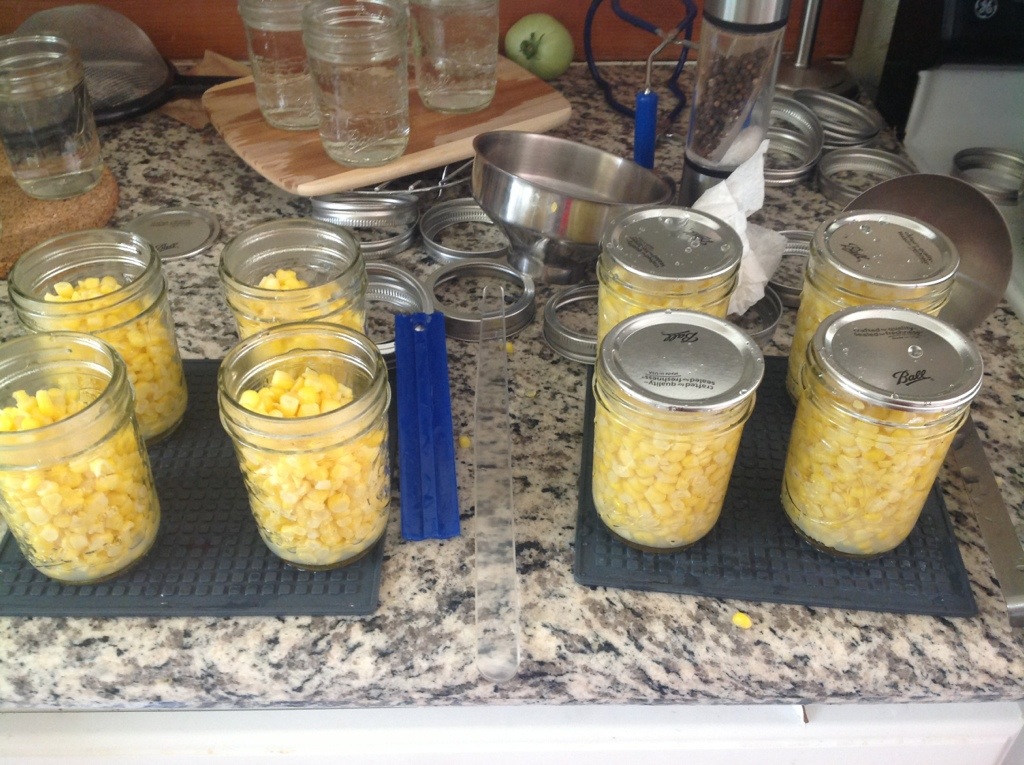
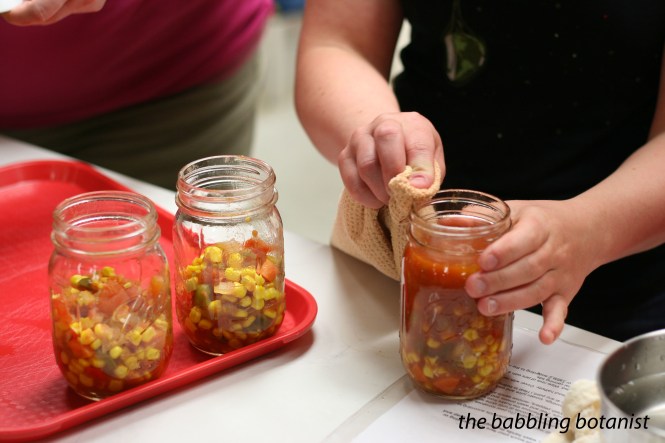
When it comes time to fill the hot jars, it’s important to follow these instructions for filling them to ensure safe processing. Using a slotted spoon, fill the jars about half full with solids. The head space for the soup is going to need to be a full inch, so when filling halfway, keep in mind that you should be filling it halfway to that point. After the jars are half full with solids, fill them with liquid, leaving an inch head space.
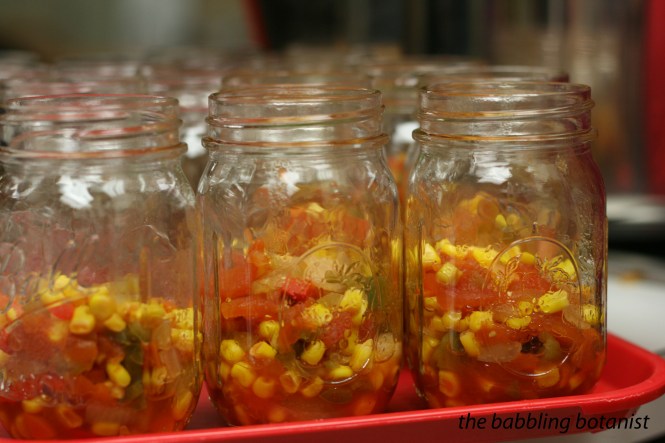
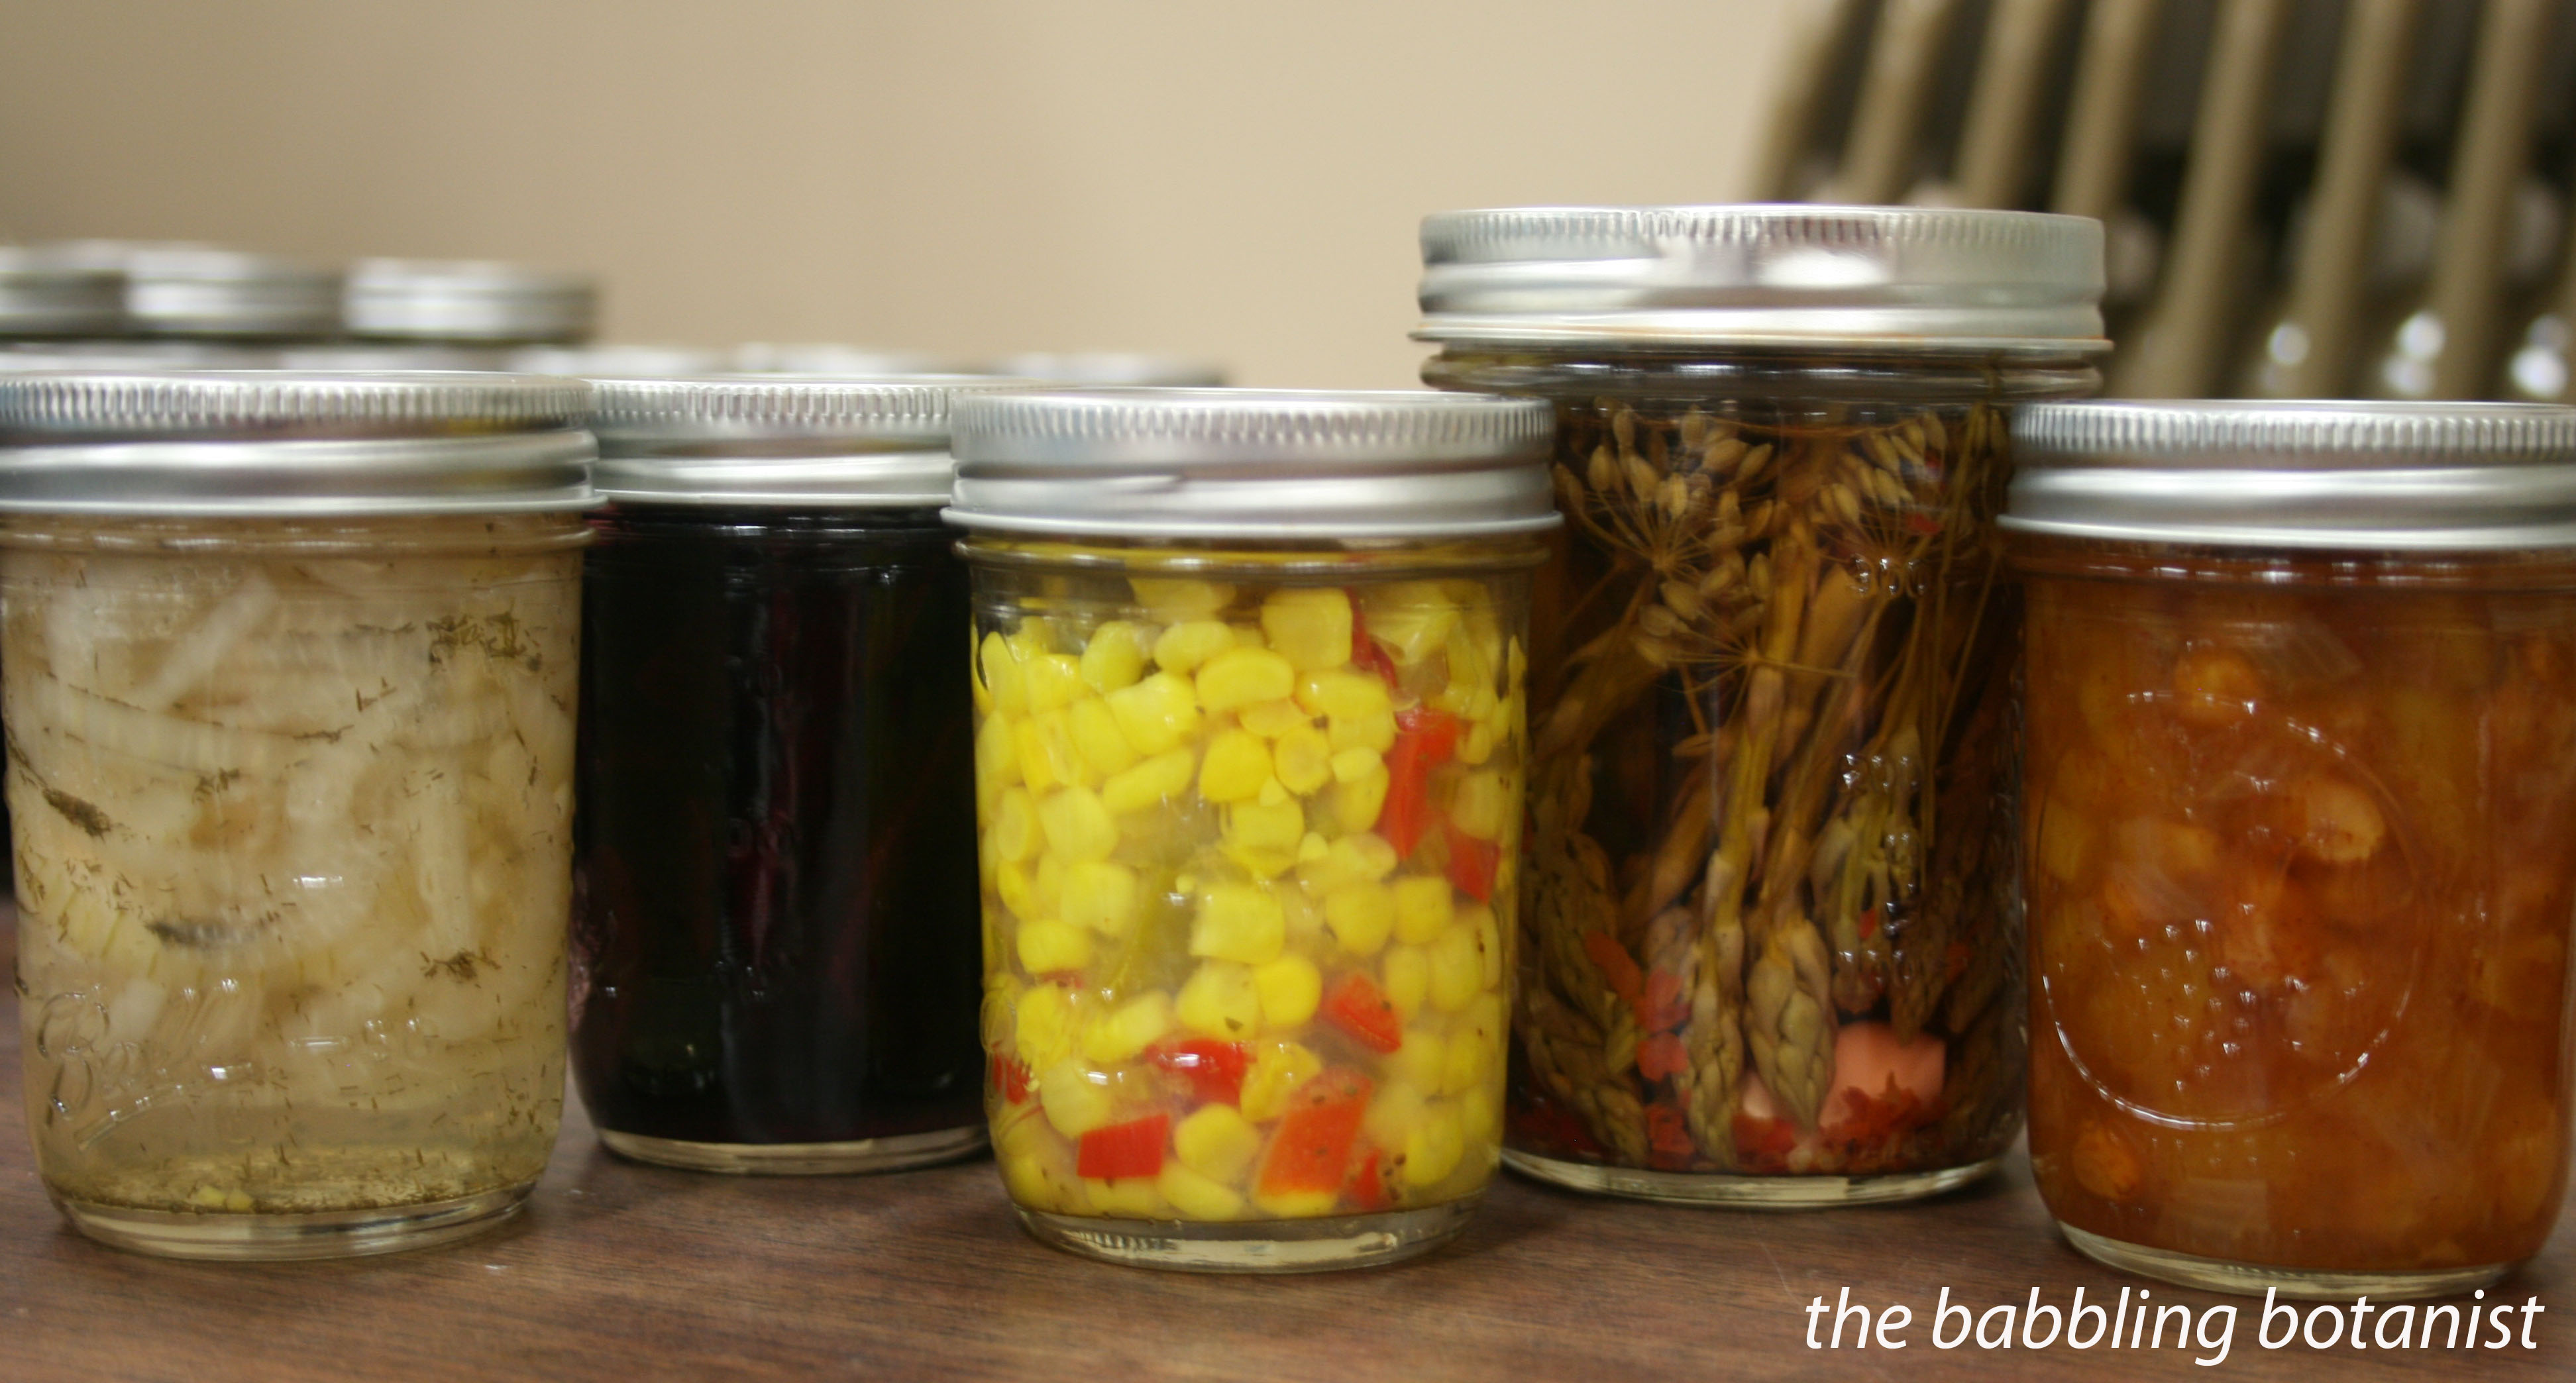
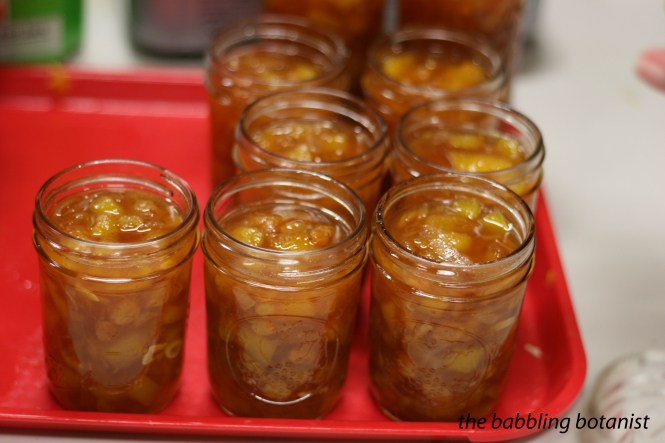
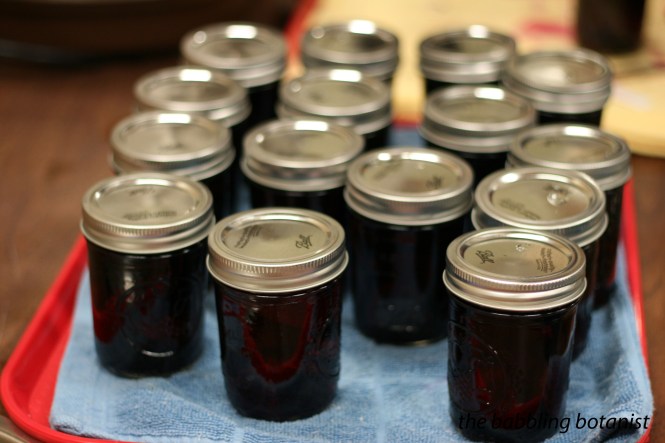
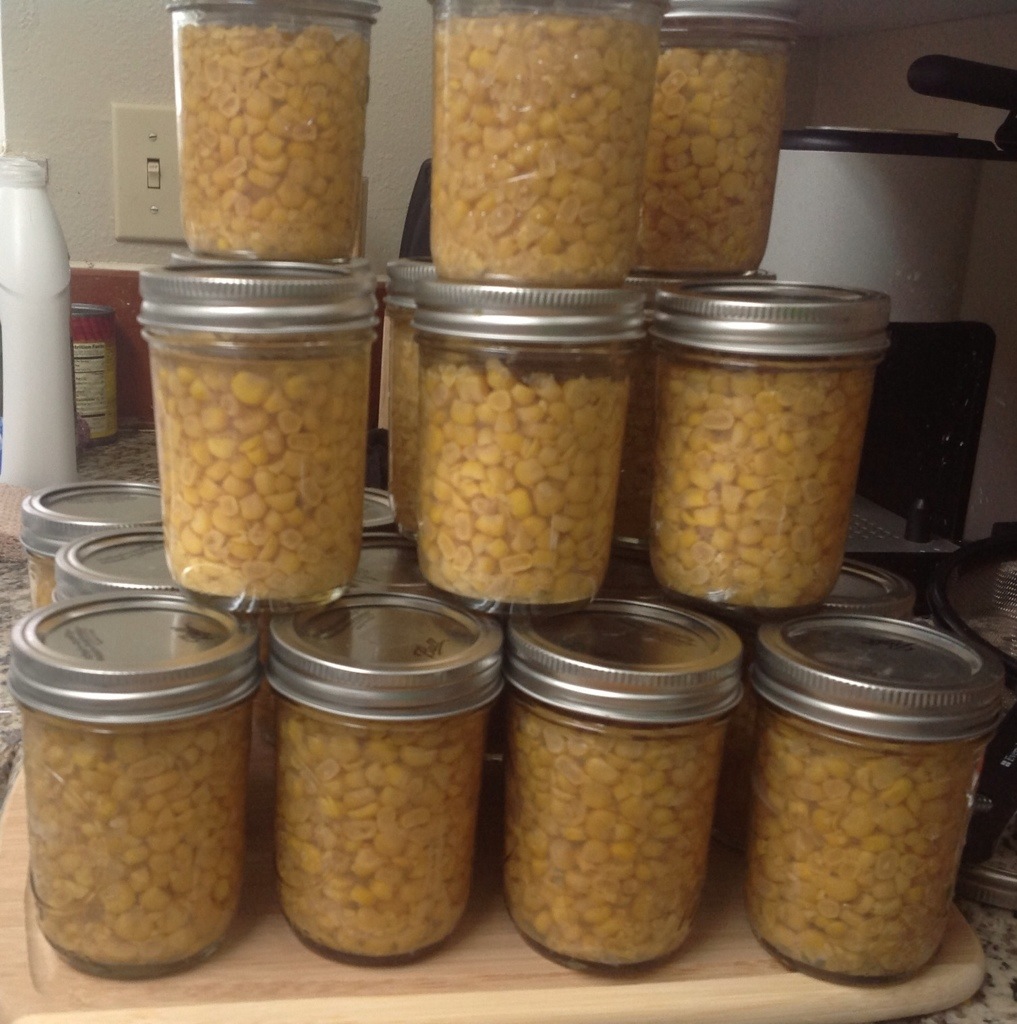
IMG_2621 copy

Such pretty jars.

IMG_2624 copy

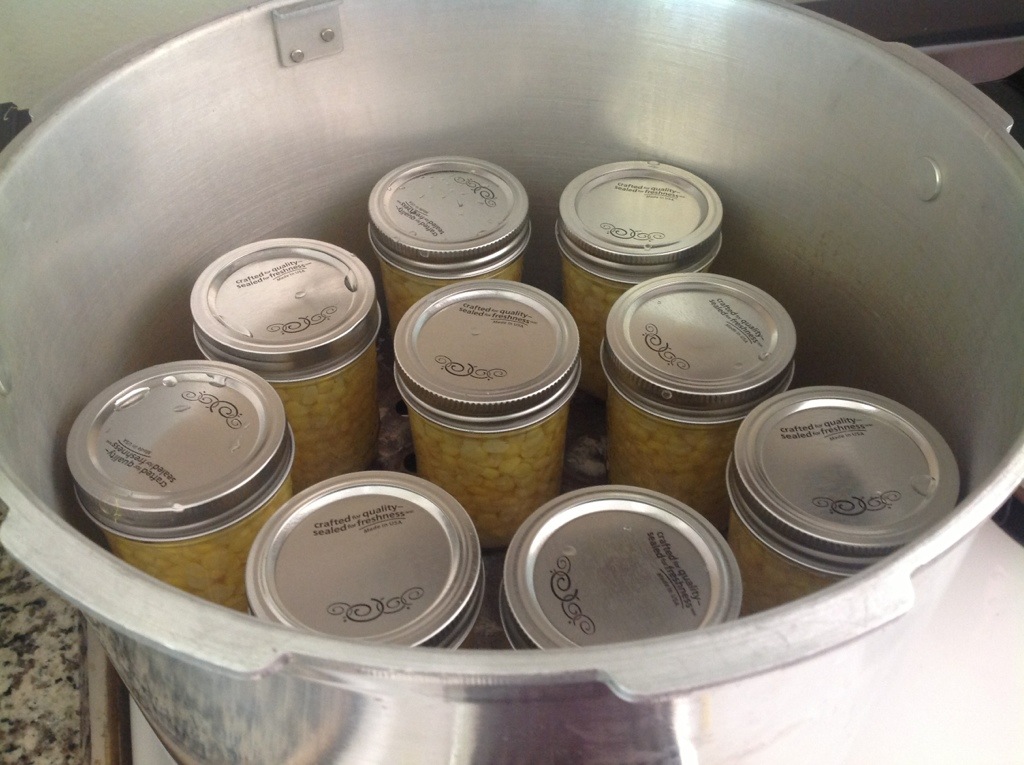
Remove air bubbles, adjust head space, wipe rims, and apply the lids and bands, tightening to finger tip tight.  Place the jars in your pressure canner with 3 quarts of water and begin heating the canner. Once all the jars are in the canner, close and lock the lid and get the canner heated up. Once your canner starts to vent a steady stream of steam, continue to vent for 10 minutes. After the 10 minutes, apply the weight. Bring the canner up to 11 pounds of pressure (10 for weighted gauge; sea level). The processing time for this recipe is 60 minutes for pints or 75 minutes for quarts. Begin the timer once at or above the correct pressure, and maintain that pressure throughout the canning time. After the processing time is complete, turn off the burner and carefully remove the canner from the heat. Wait until the pressure is completely returned to zero and the safety nubbin thing drops. Remove the weight, wait 10 more minutes, and then remove the lid of the canner and remove your jars to a hot pad or towel.

IMG_2626 copy

While the jars can, eat any leftovers that you had.

IMG_2631 copy

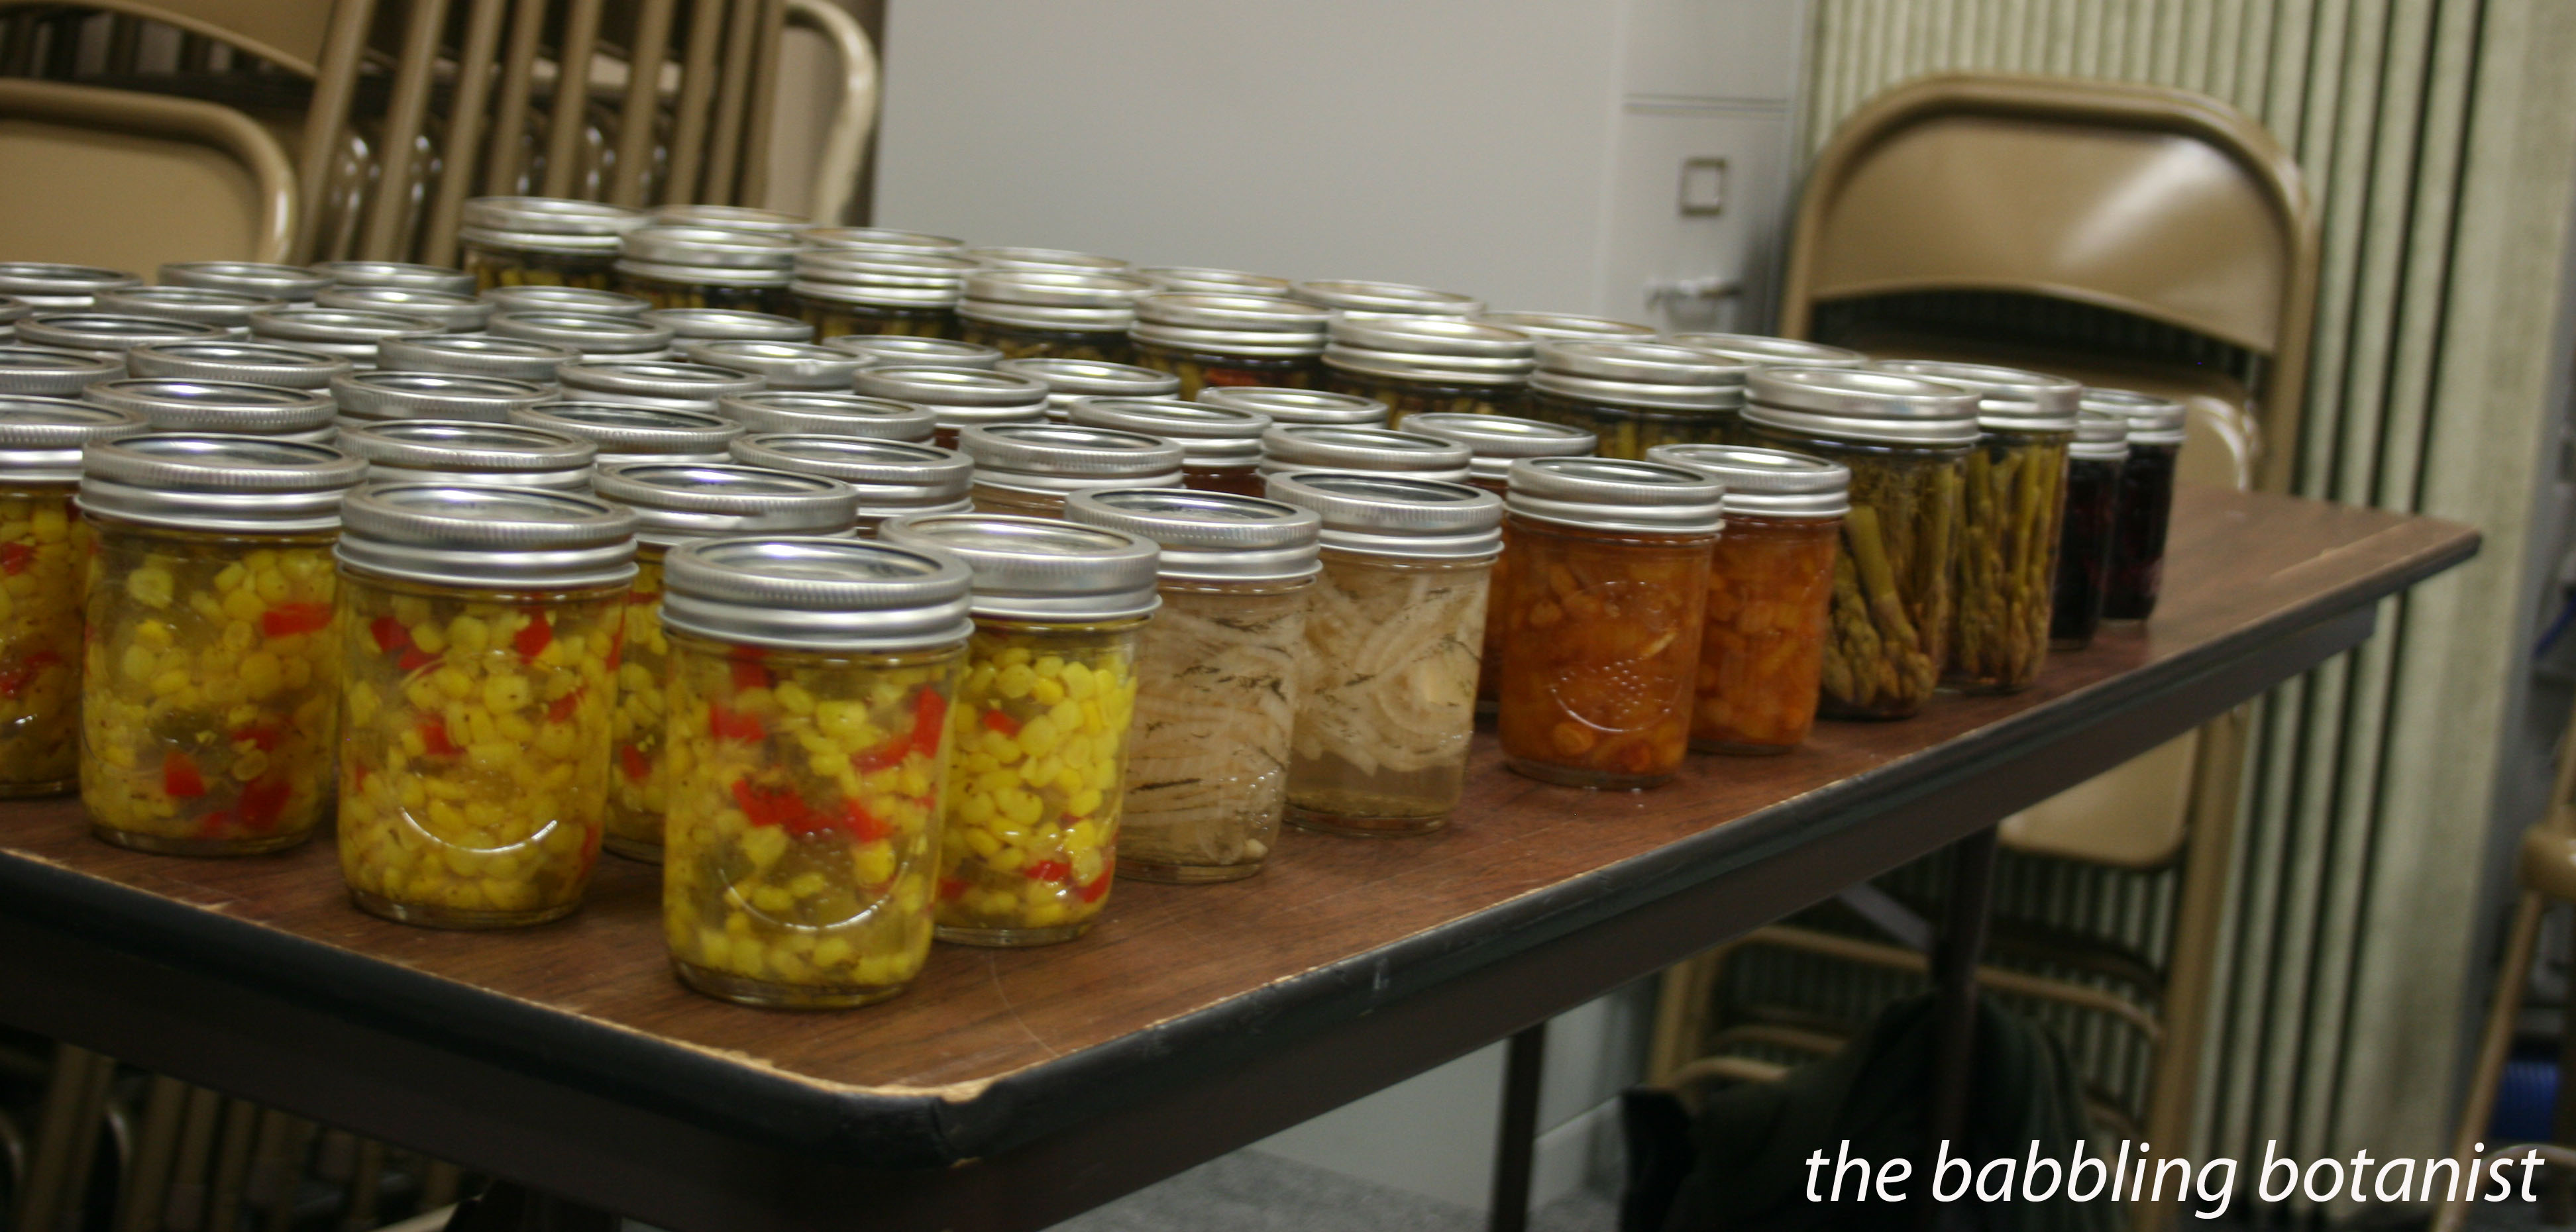
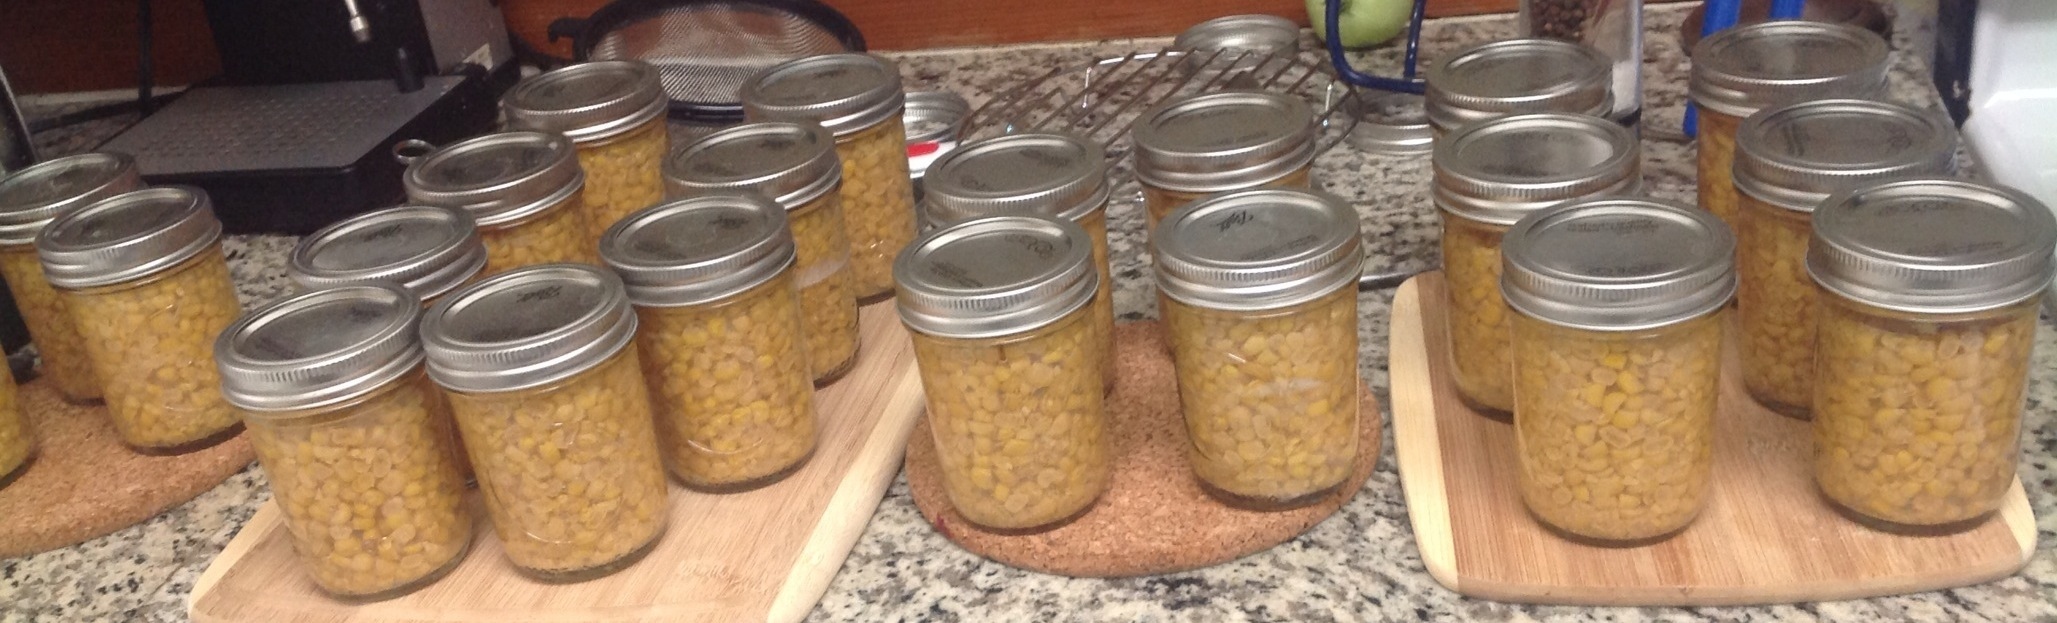
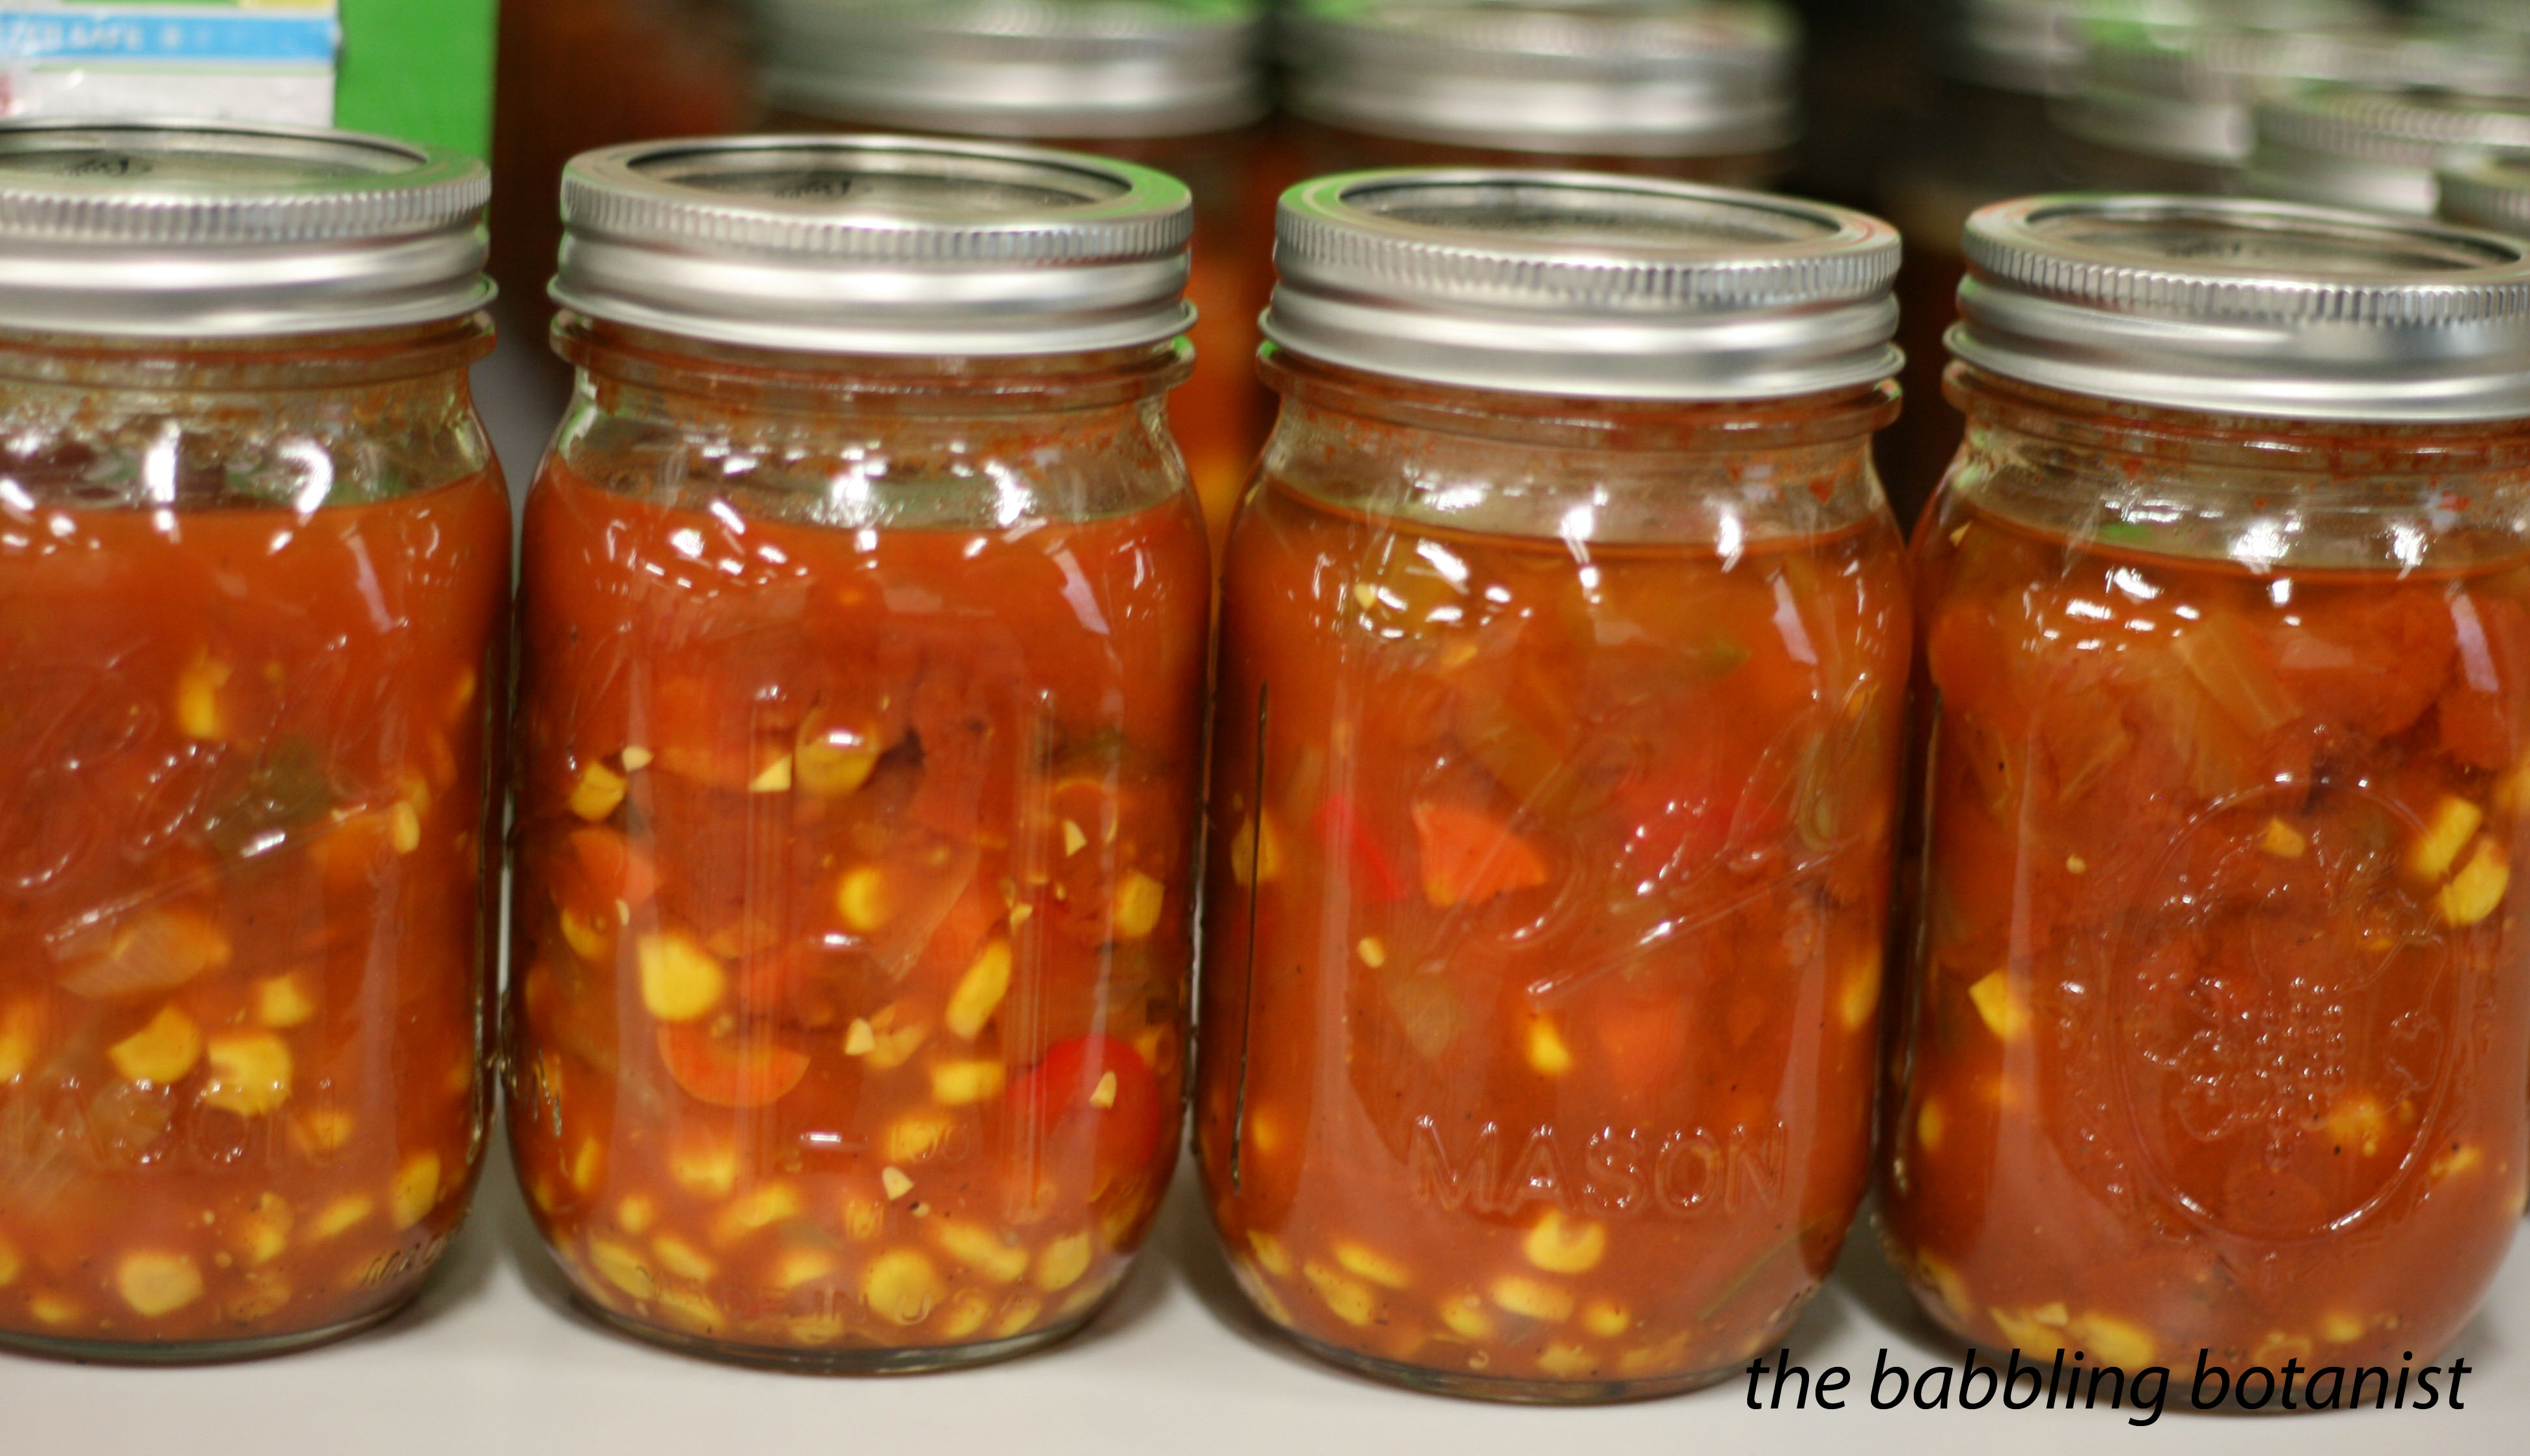
Ta-da! Gorgeous soup. And so damn delicious. After 12-24 hours, remove the bands, check the seals, wipe clean, label and store. Then repeat a week later because this soup is super good.

IMG_2646 copy


*this post contains affiliate links, please see the “About the Blogger” page for more information

Master Food Preserver Class – Week 4

Week 4 of Master Food Preserver class was all about pickling!

IMG_2807 copy

What is pickling anyway? Well Janice, our awesome instructor, had a funny quote up on the board: “A pickle is a cucumber soured by a jarring experience.” HA! Well, I was entertained at least. But this is not entirely true; A pickle doesn’t need to be a cucumber, and it doesn’t always need to be jarred either! In fact, there wasn’t one cucumber in class, we did all sorts of other types of pickles instead. Pickling is basically the process of adding a high concentration of acid to a food to prevent the growth of microorganisms.

There are 4 basic types of pickles – you can pickle a lot more things than just cucumbers!
– Fresh pack or quick pickles
– Brined of fermented pickles
– Fruit pickles
– Relishes and Chutneys

Quick pickles are made when you combine the ingredients and immediately process, versus a fermented pickle that sits for a few weeks and ferments, producing its own acids. Fermentation in vegetables and fruits is the anaerobic breakdown of sugars into acid. In veggies, naturally present bacteria breaks down the sugars, and in fruits, it is yeast that converts the sugar first to alcohol, then to acid. The acid formed is lactic acid, as opposed to the acetic acid from vinegar which we use in quick pickles.

Relishes are seasoned sauces made from chopped fruits or veggies, and chutneys are fruit relishes with fruits and/or veggies and nuts. They are a sweet and sour blend of vinegar and spices.

The first thing we did in class was asparagus pickles. This is a fresh pack or quick pickle, because what we did was combine the asparagus with spices, water, vinegar and salt, put it into jars, and immediately process it in a boiling water bath canner.

Asparagus ready to be pickled.

IMG_2653 copy

Mmmm. Now we wait a few weeks for them to absorb that vinegary deliciousness.

IMG_2721 copy

We then split into four groups and each made a different pickled product. One group was in charge of this mango chutney.

IMG_2667 copy

Chutneys are a little weird to me. I haven’t actually tried it yet, but I will let you know if I find an amazing use for my jar of this.

IMG_2694 copy

All prepared and in the jars.

IMG_2714 copy

Another group made this corn relish.

IMG_2699 copy

I was on team beet pickle. If you know me you know I love me some beets.

IMG_2659

It looks like a bit of a murder scene when you cut up beets. Especially precooked ones.

IMG_2677 copy

I would definitely recommend gloves, unless you love having red hands. It doesn’t really bother me, but it does stain quite nicely. Helps you understand the term “beet red” 😉

IMG_2681

I would not recommend doing this in half pints. This was simply so that the whole class got a jar to take home. Go pints or even quarts for sure. If you are looking for a recipe, I actually posted one a little while ago here.

IMG_2693 copy

And finally, we pickled some onions.

IMG_2662 copy

They made for a pretty attractive pickle.

IMG_2688 copy

Pretty good haul! I never really used to be a big fan of pickles, but they sure are growing on me.

IMG_2800 copy

OK now that you’ve enjoyed the picture show, we’ll finish with some pickling rules:
– Always use at least a 1:1 ratio of water to vinegar making quick pickles. It’s not safe to use less vinegar or more water. If it’s too tart for your taste, add a teeny bit of sugar
– Use vinegar with 5% acidity, there are some tricky brands out there that are only 4%
– When making fermented pickles, don’t reduce the salt. And if you want to can it, don’t do so until they have a sour flavour.
– Always use pickling/canning salt rather than regular table salt
– You can swap the type of vinegar, as long as it is 5% acidity. Some people prefer the milder flavour of cider vinegar, go for it!
– The spices can be changed to taste. Adding more garlic or dill to your pickles is a-ok. This is one thing that is not a safety issue.

The last thing we did on pickling day was make flavoured vinegar. And this is a nice way to end, because as Janice said – there are no rules. When you make flavoured vinegar, it’s basically safe to chuck in whatever you like. Buy some cheap white wine vinegar in bulk and flavour it yourself by filling a jar with whatever spices you like and cover with vinegar. We tried some delicious berry ones as well, and I am super excited to make some this summer for some delicious vinaigrette. These are fine stored at room temperature. Once they have steeped to your satisfaction, they can also be processed in a boiling water bath canner if you really want to.

IMG_2673 copy

My white wine vinegar, full of herbs, and a chive flower.

IMG_3260 copy

Corn!

Some people have asked me, “Why would you bother canning corn, it’s 97 cents at the store?” To those people I say … Uh, shut up. But seriously, anything home canned is worth it. I know my canned corn was freshly picked, immediately canned and contains only corn and water. Plus corn was on sale at the farm stand for 20 cents so I got the 20 ears for $4. And I’m a canning addict. I also like that you can put it in any size jar you like (well within reason, not a half gallon). I just eat a bit at a time, so can in half pints, but if you eat a ton of corn it could be nice to open up a whole quart at a time.

20130915-154313.jpg

Canning corn is as easy as pie. Step one: husk the corn on the porch.

20130915-153205.jpg

Next wash the corn and cut the it off the cob – now I was going to use this nice little $2.99 tool pictured here, but it didn’t work that well and I also saw after buying it that it has that weird cancer warning on it that only California labels things with. Yaaaaaaa. So I just used a knife. Try to cut not quite to the cob, and remove any bad spots.

20130915-153232.jpg

Blanch the corn for 3 minutes. Although when I reread my presto manual I think maybe I was supposed to blanch it on the cob? Meh, I dunno, makes no difference.

20130915-153345.jpg

Meanwhile boil a pot of water to use to pour over the corn. Wash the jars and heat them (just leave them full of hot water after you wash them). Then fill the jars with corn (spoon it out with a slotted spoon). Add boiling water to cover the corn leaving an inch head space.

20130915-153428.jpg

Debubble, wipe the rims, apply the warm lids and tighten the bands finger tip tight. Add 3 quarts of hot water to the canner and place the corn jars in the canner.

20130915-153457.jpg

Once all the jars are ready, close the lid and turn the heat on high. Vent the canner for 10 minutes before applying the weight. After the 10 minute vent period, place the weight on the vent. For a dial gauge canner like mine, bring to 11 pounds of pressure at sea level. Once at pressure process for 55 minutes for half pints or pints and 85 minutes for quarts. After the time is up, turn off the heat and allow the pressure to drop. After the pressure has dropped (and the safety do-hickey drops), remove the weight and wait 10 more minutes. Then remove the lid and the corns. ping ping ping ping!

20130915-153654.jpg

12-24 hours later check the seals, remove the bands and wipe down the jars. Label and store. Nom nom nom!

20130915-153956.jpg