Week three of Master Food Preserver Class was all about preserving low acid foods. Which means pressure canning! A lot of people are scared of pressure canning, and there are a few things that I think you should have a healthy fear of – like botulism, but done correctly there is no reason to be afraid of pressure canning. Your pressure canner is not going to explode or anything like that. Even if you accidentally over pressurized it, there is a little safety value that pops off. So ya, you could have a mess on your ceiling, but that’s also only if you really aren’t paying attention. So, I am here to give you some facts about canning, and hopefully dispel some of the pressure canning jitters.
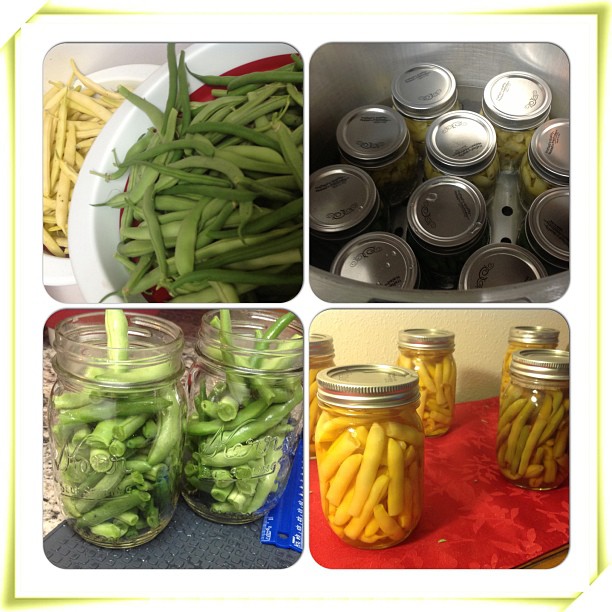
A pressure canner is mandatory if you want to can anything with a pH of 4.6 or above. These low acid foods include any vegetables, meats and combo foods like soups. To toss in some pictures, here is my very first canning project – green beans!
When picking a pressure canner, there are a couple things to consider. For one, to safely heat the food, a pressure canner must be large enough to hold 4 quart jars minimum. Most are designed for 7 quarts, and the taller ones can fit two layers of pints. The one below is mine, a 23-quart presto. There are two types of pressure canners: weighted gauge and dial guage (dial pictured below). Dial gauges need to be tested every year for accuracy, and the dial replaced if it is off by more than two psi. Usually they stay accurate a long time unless they are bumped, or dropped or something, but you definitely want to check it every year. Your local extension office should be able to do it for you! Dial gauge canners never need to be tested, but only do 5, 10 and 15 psi, so if you need to adjust for altitude, you have to use the 15psi weight. I prefer the dial gauge just because I am a very visual person and like to be able to see that I am at the correct pressure. Some weighted gauge ones also have a dial though. With the weighted gauge you just listen for it venting every 15-20 seconds.

OK, so why do we need pressure canners anyways? Why can’t we just hot water bath can everything? The answer to this is basically one bacteria – Clostridium botulinum, which is the bacteria that produces the botulism toxin, causing severe neurological illness. C. botulinum thrives at pH 4.6-7.0, which is why anything with a pH above 4.6 must be pressure canned (for extra safety most recipes are desgined with 4.2 as the goal). Ideal growing conditions for C. botulinum are anaerobic conditions (without air), moist conditions, around room temperature, with the pH 4.6-7. These are the exact conditions created in a canning jar. However, there is a way to kill C. botulinum, and that is by bringing it to a temperature of 240 F and holding it there for a set amount of time. This cannot be achieved in a boiling water bath – water boils at 212 F.
Other facts about pressure canning:
– When pressure canning (actually any canning) follow safe, approved recipes, like from Ball, So Easy to Preserve, or the National Center for Home Food Preservation website
– Canning times differ for different products due to their texture, density and pH
– Canning at sea level is at 11 psi. Always adjust for your altitude.
– If your canner ever drops below 11 psi while canning, return to pressure and start the time over
– Don’t skip the 10 minute vent time. This vents cold air from the canner to ensure proper processing.
– Pack the jars as listed in the recipe. For example, use appropriate head space. Also, for soups you need to fill half with solids (no more) and top off with liquid.
– Never try to force a canner to cool, just let it cool naturally at room temperature until the safety plug drops. At that point, remove the weight, wait 10 more minutes, then it can be emptied.
OK, and on too the fun pictures. We did beans in class (two types) and a spicy tomato veggie soup. So delish. I’ll update this post with links to the recipes once I post them.
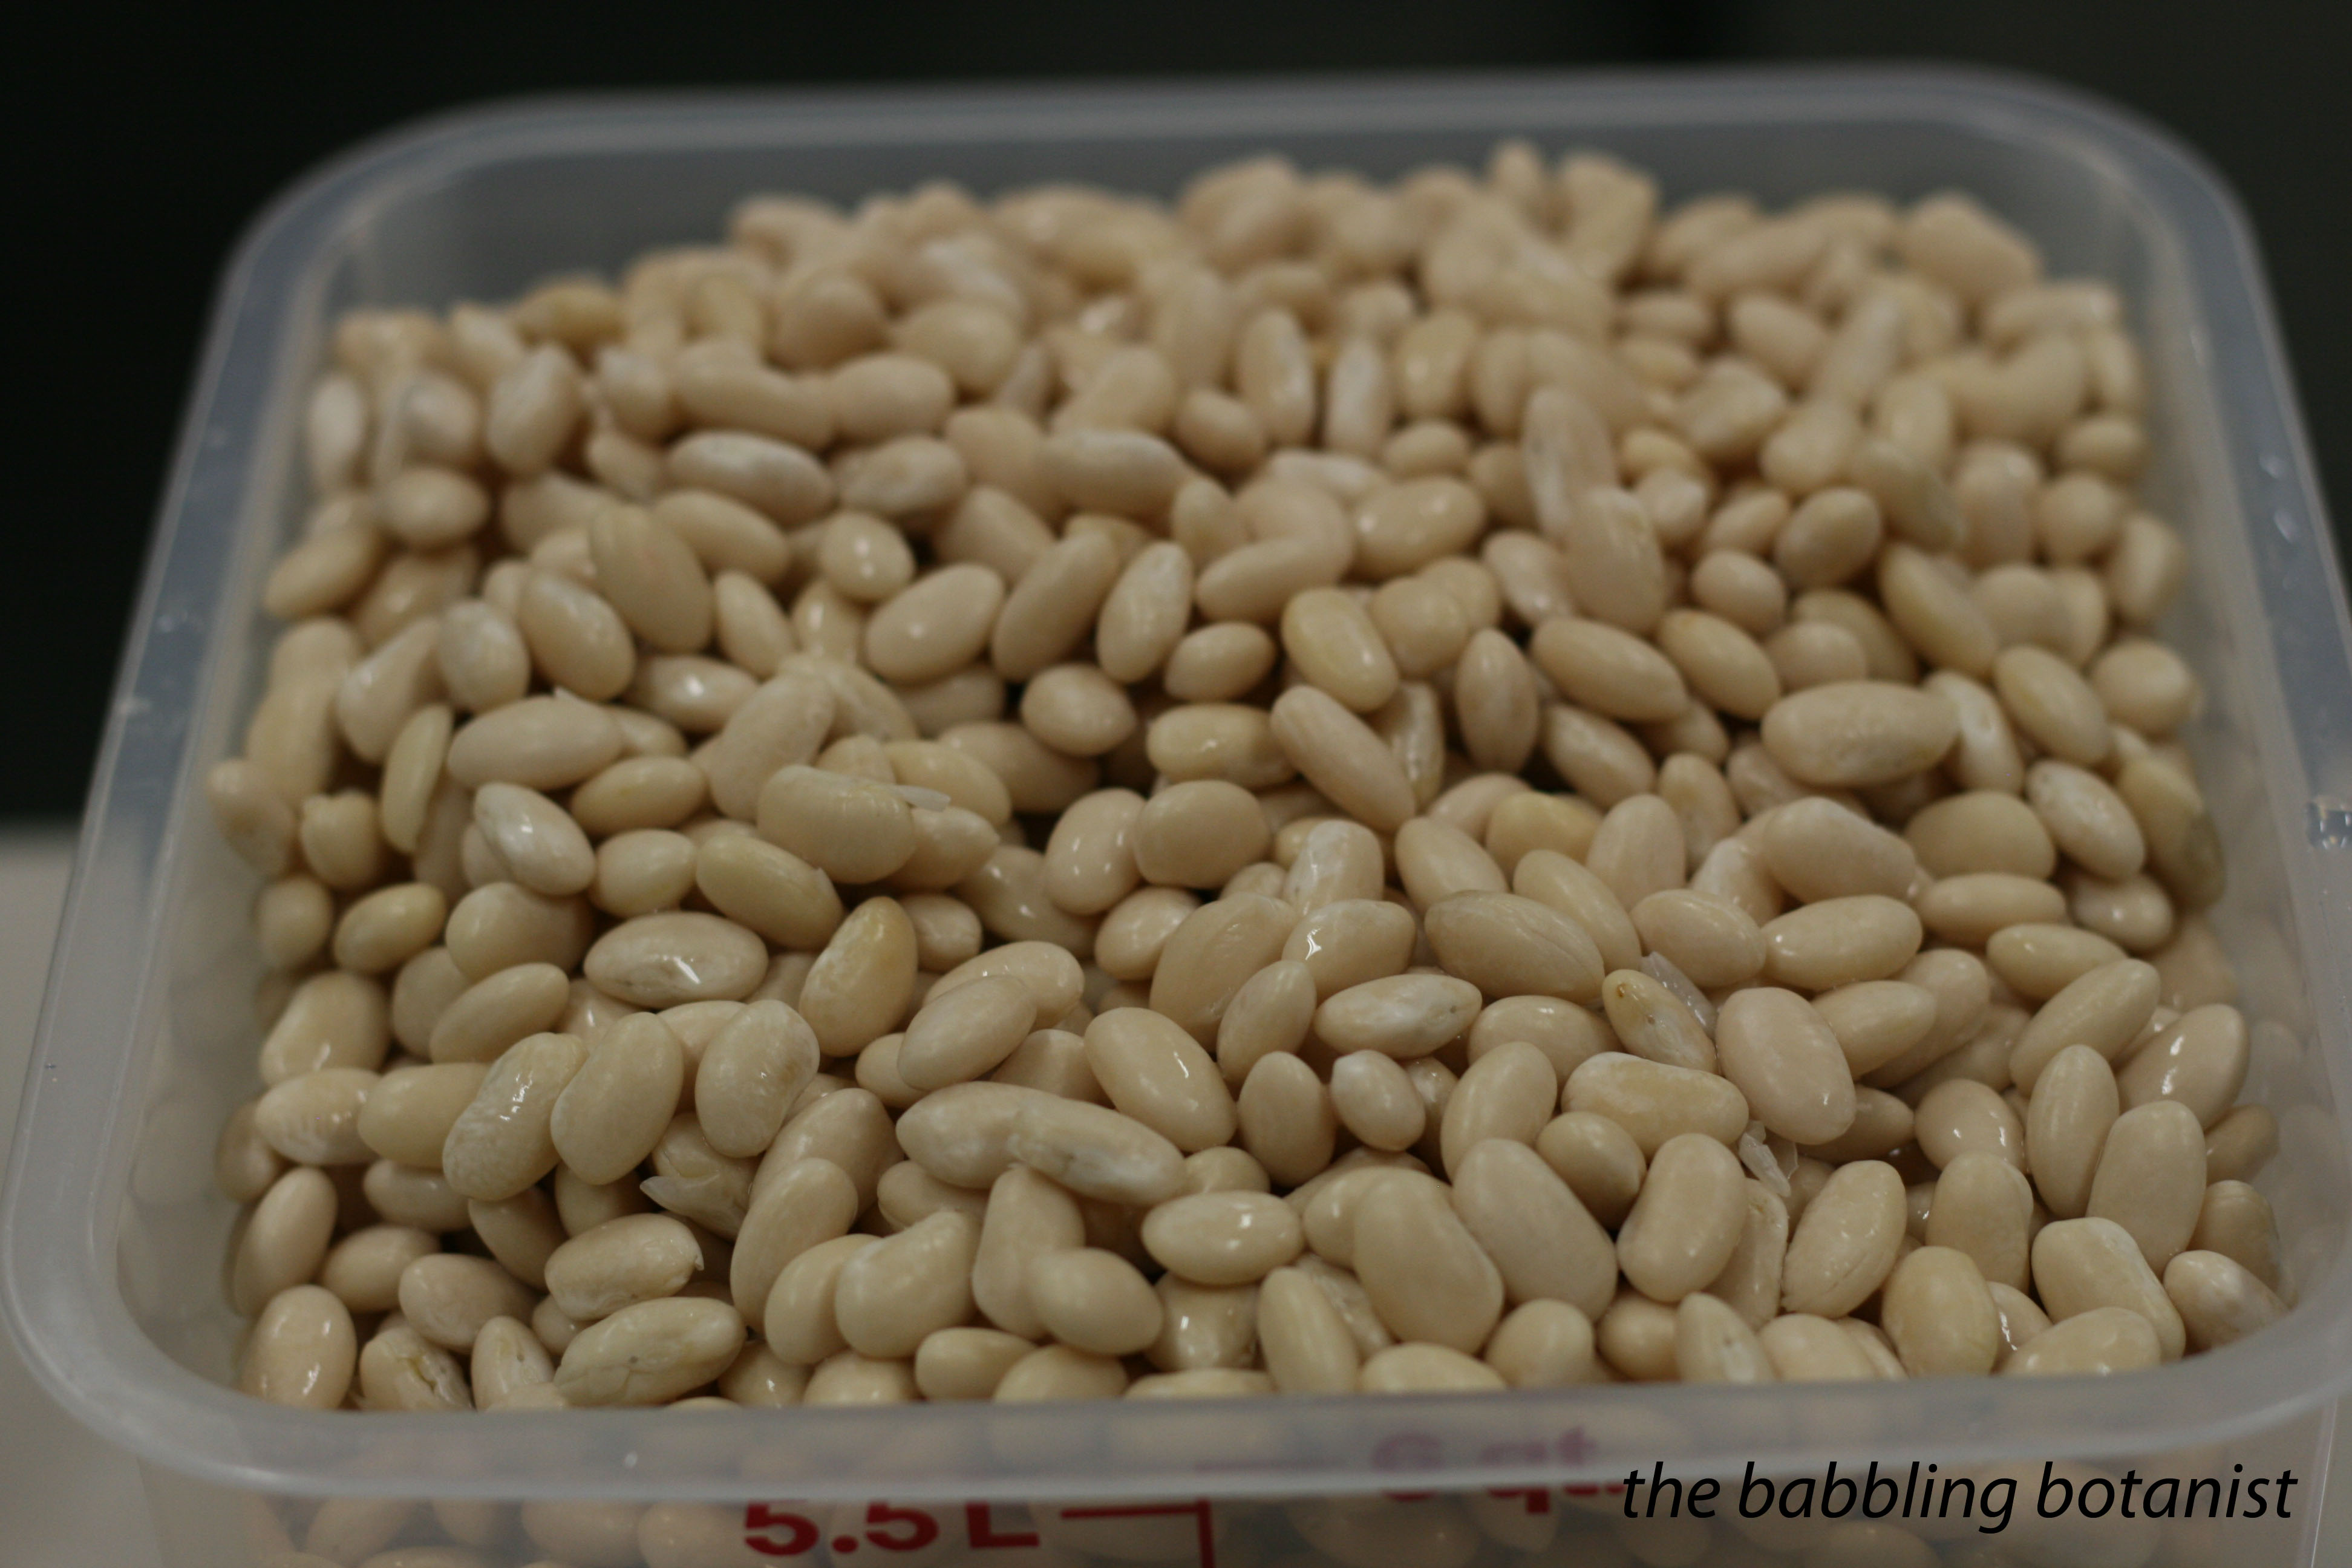
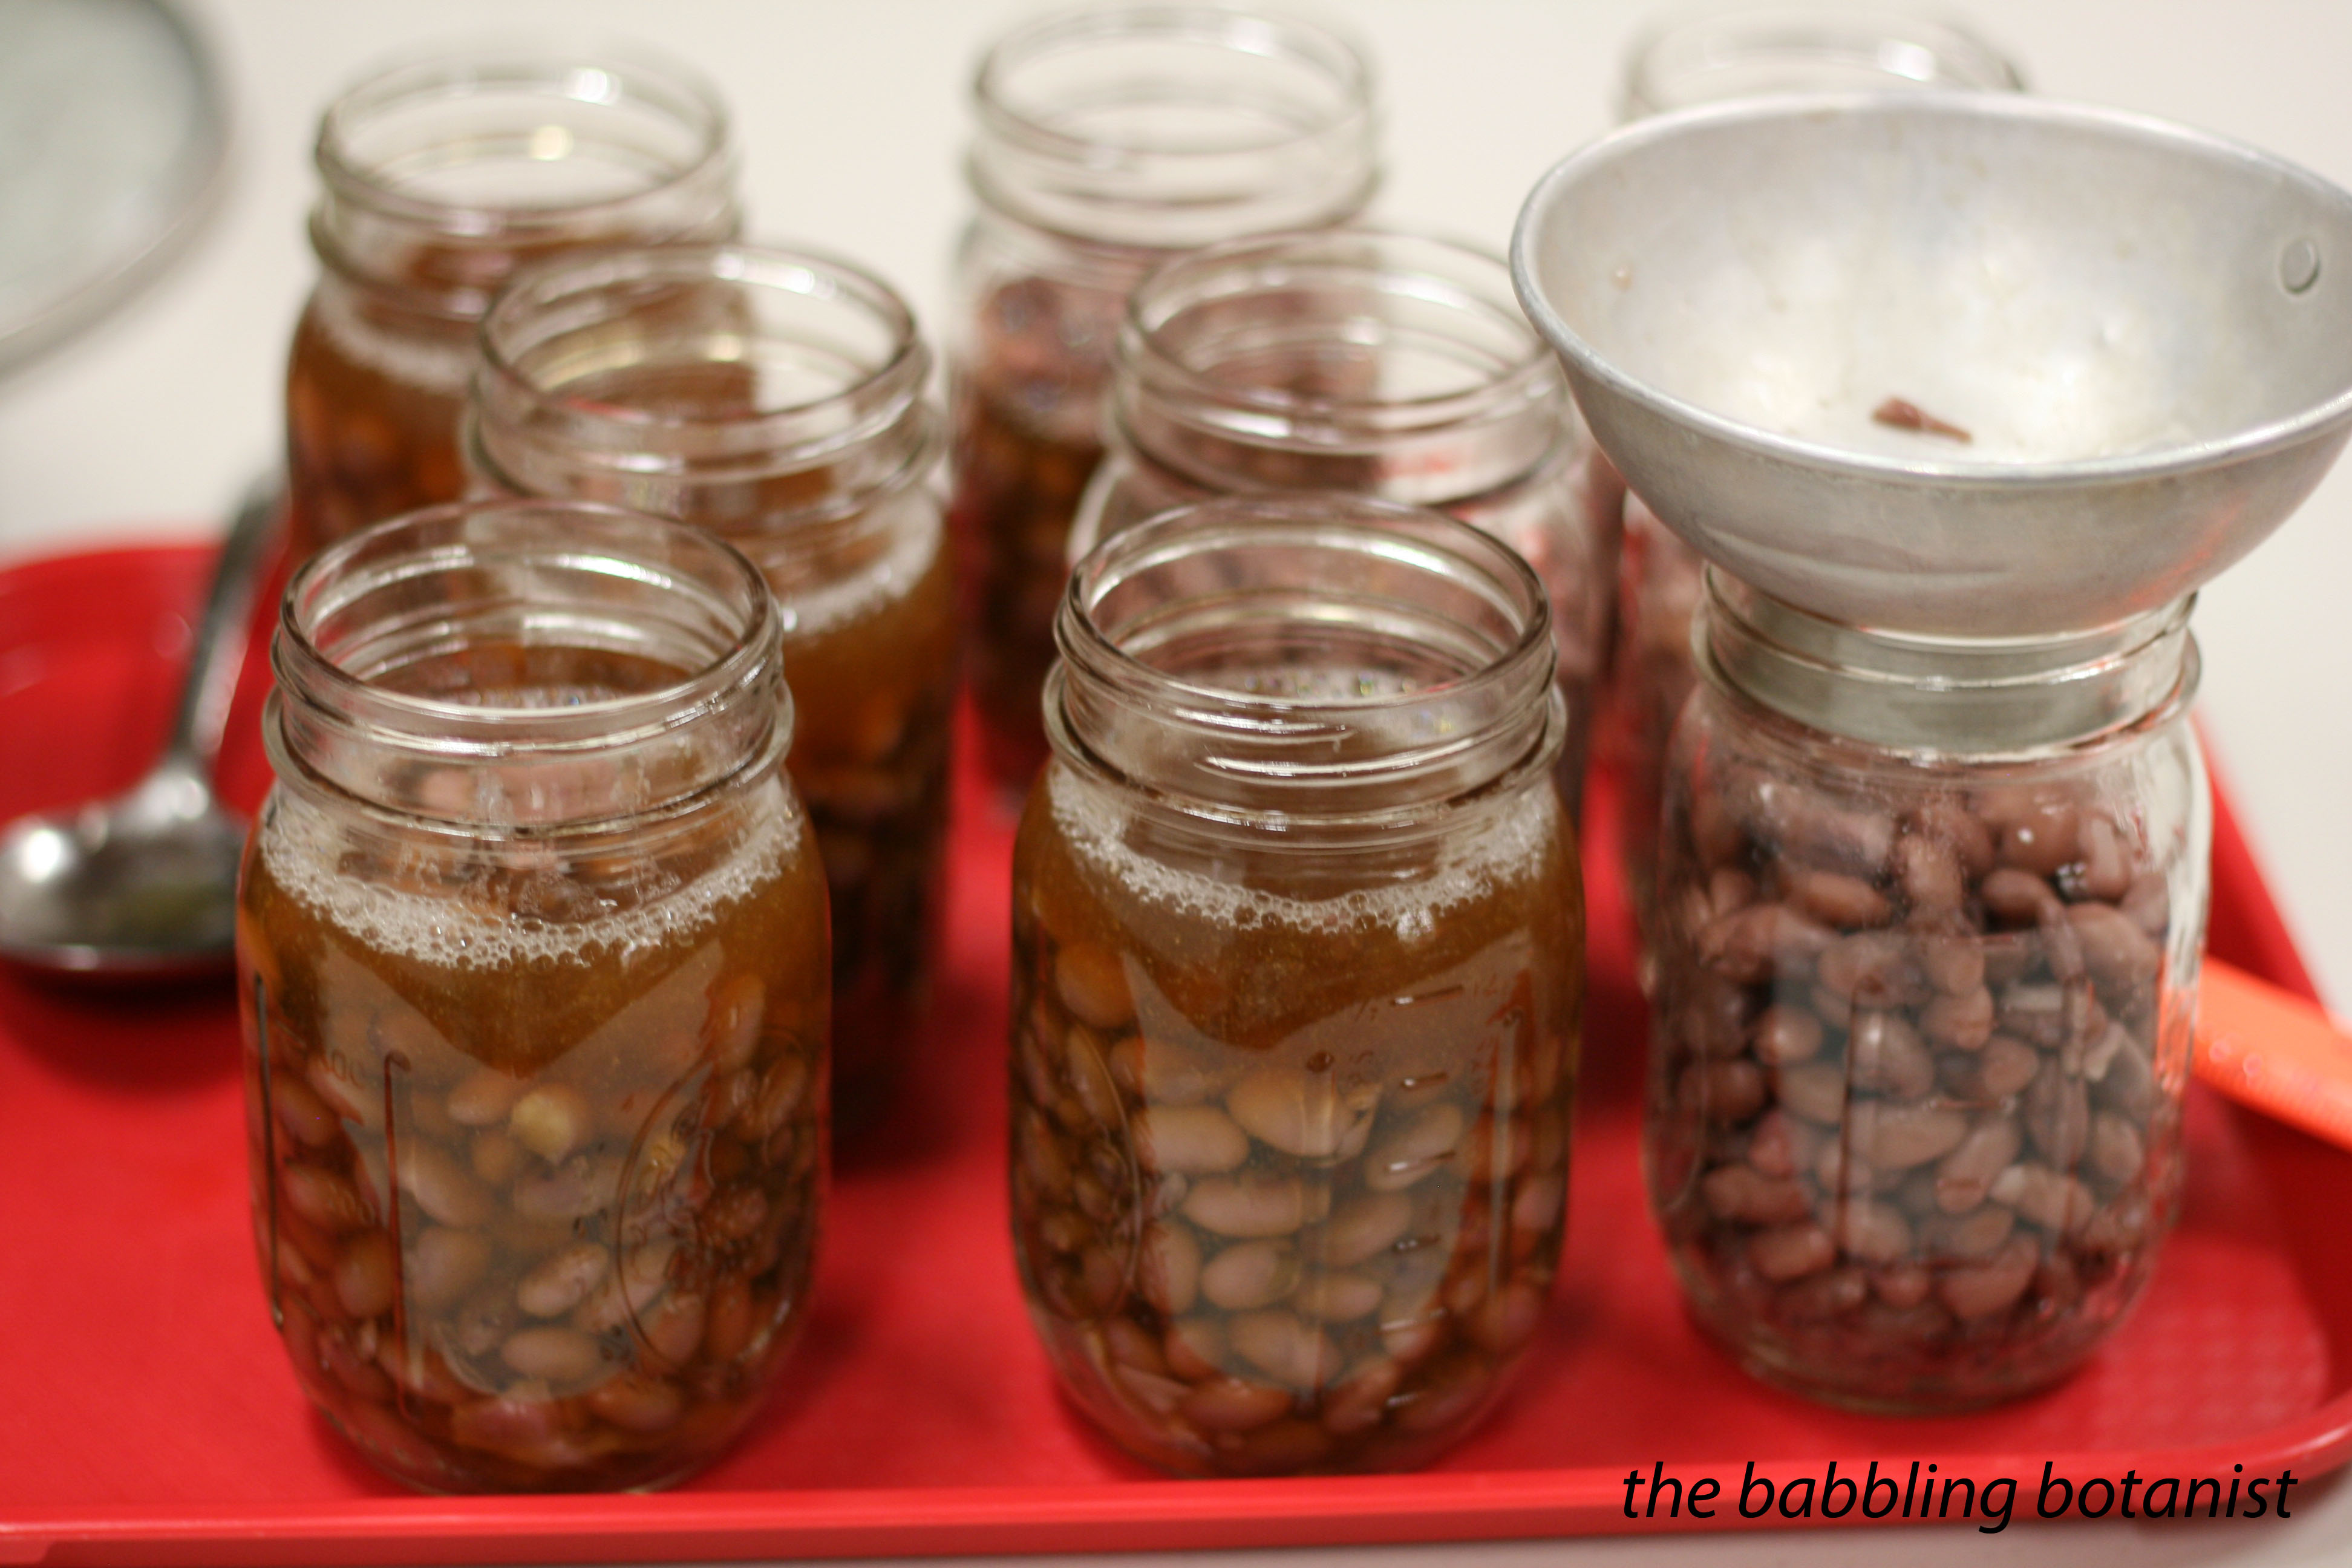
White beans ready to be heated.
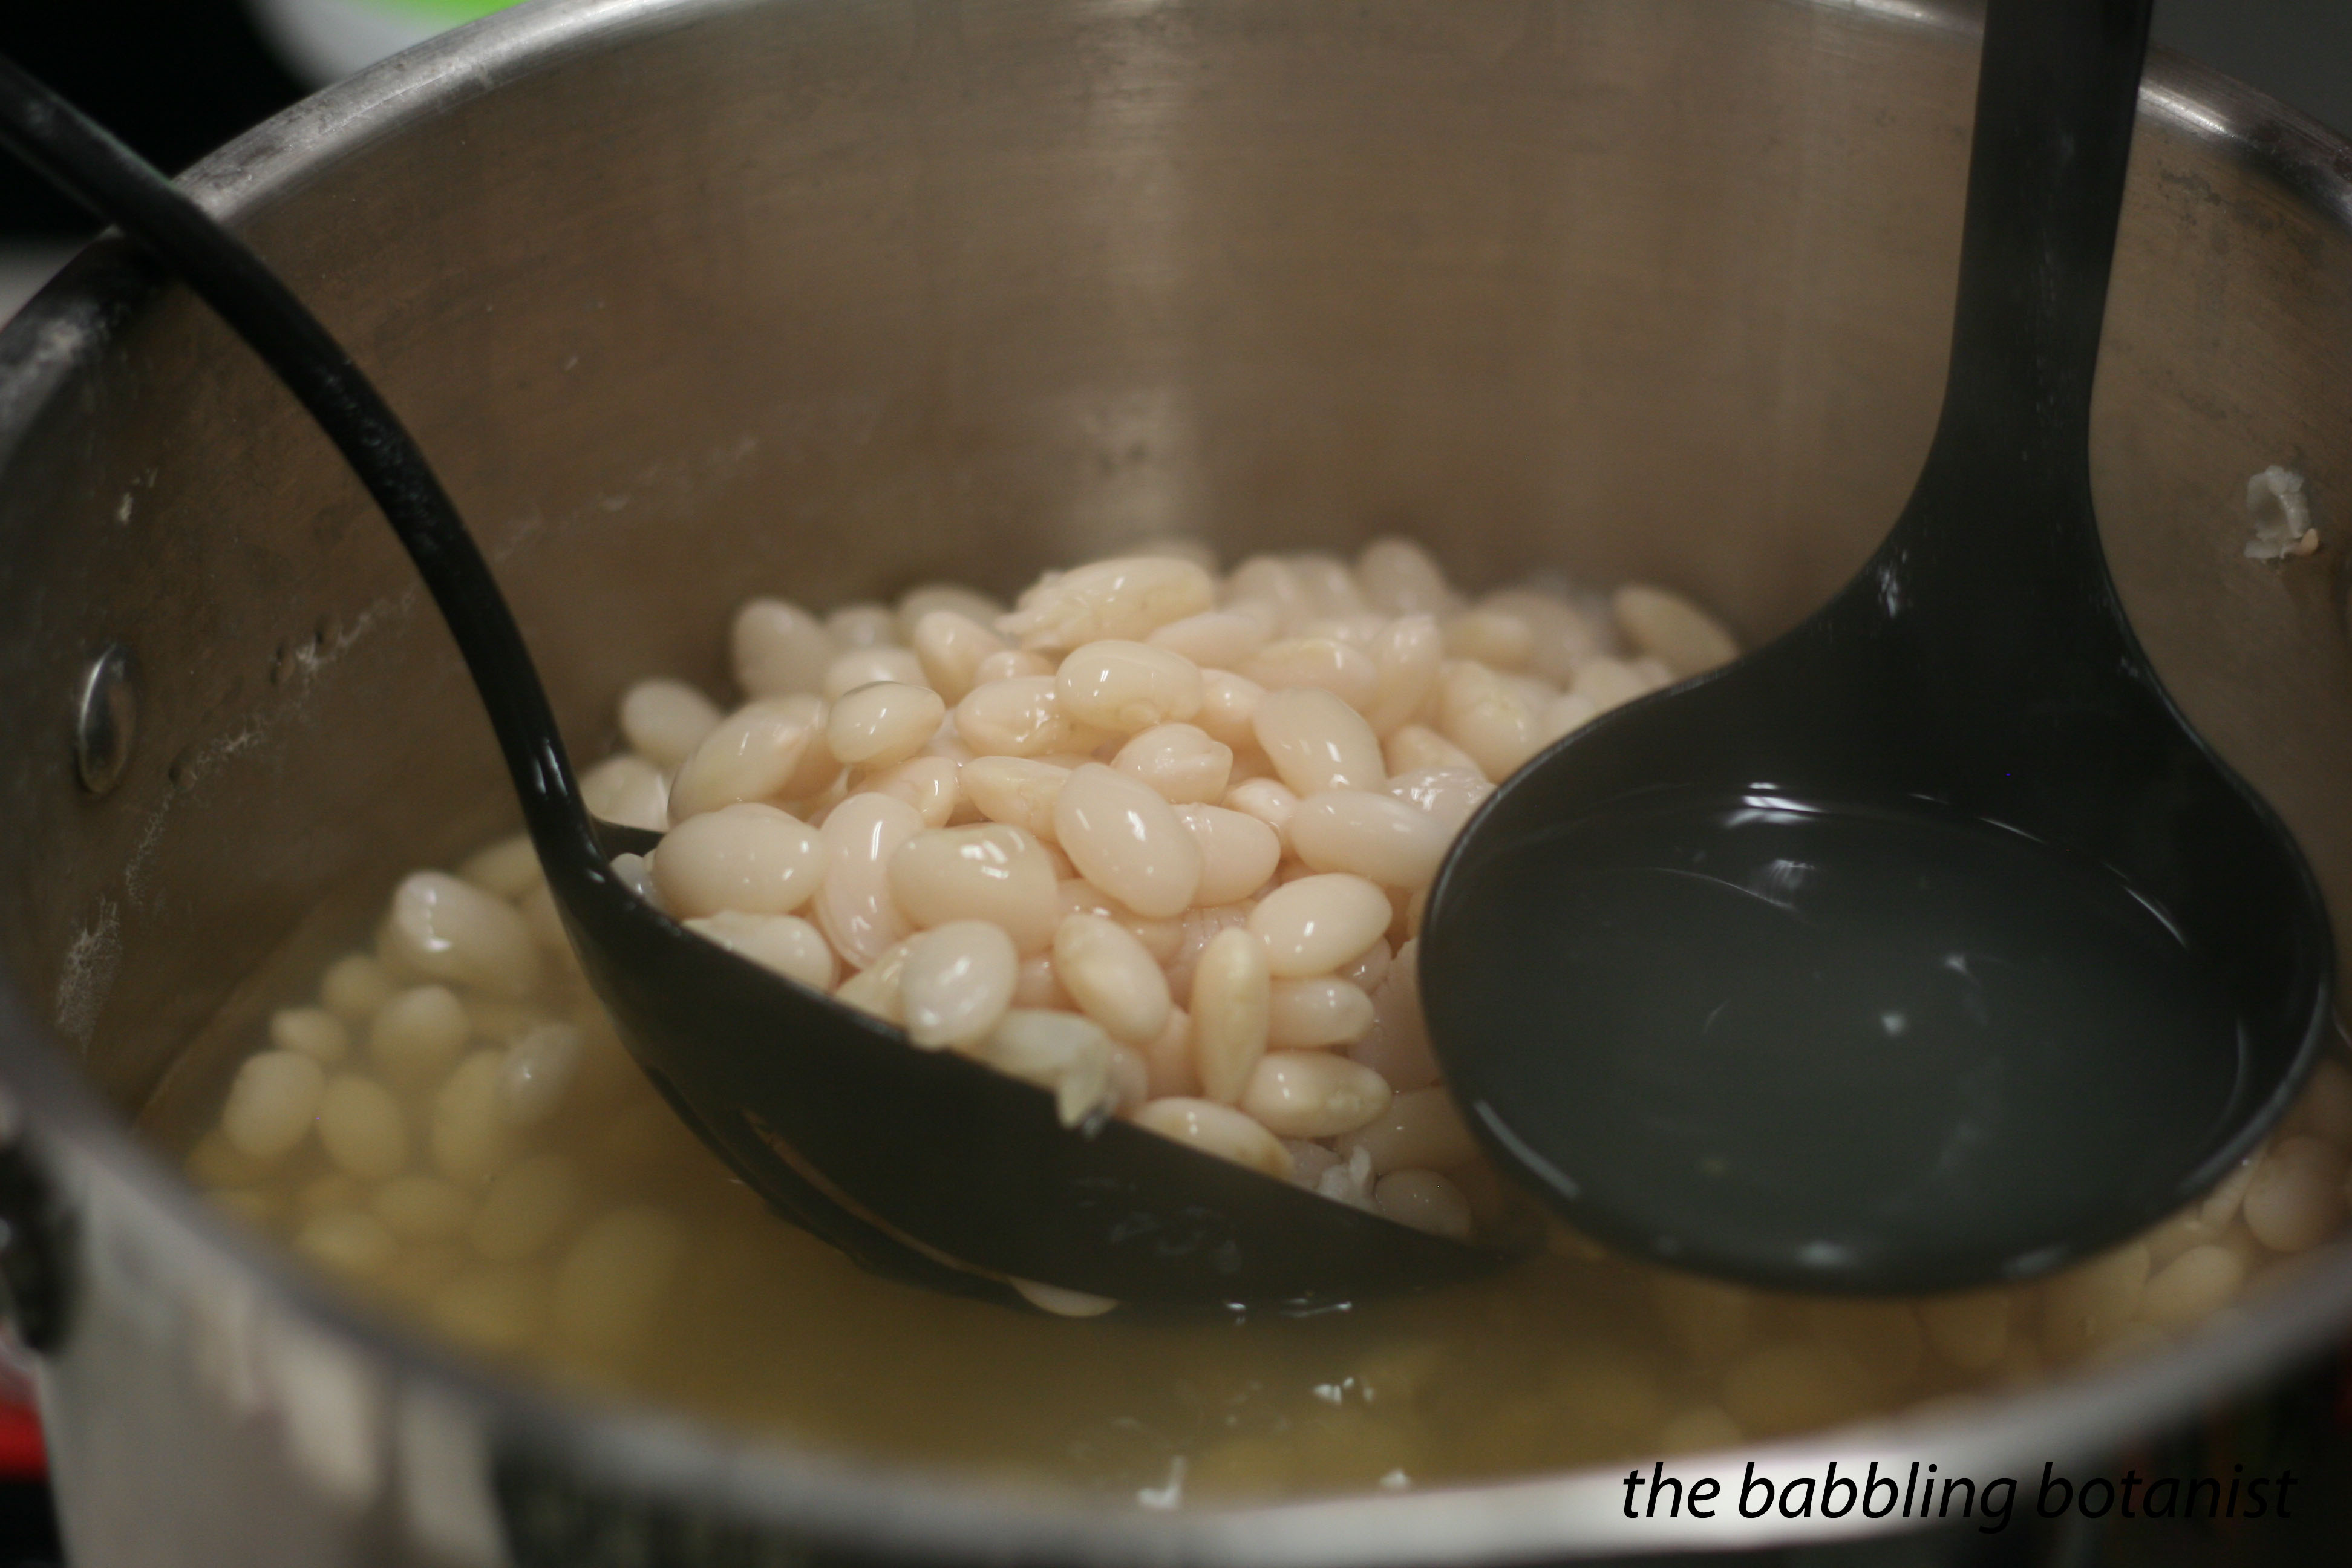
Spooning the rehydrated beans into jars.
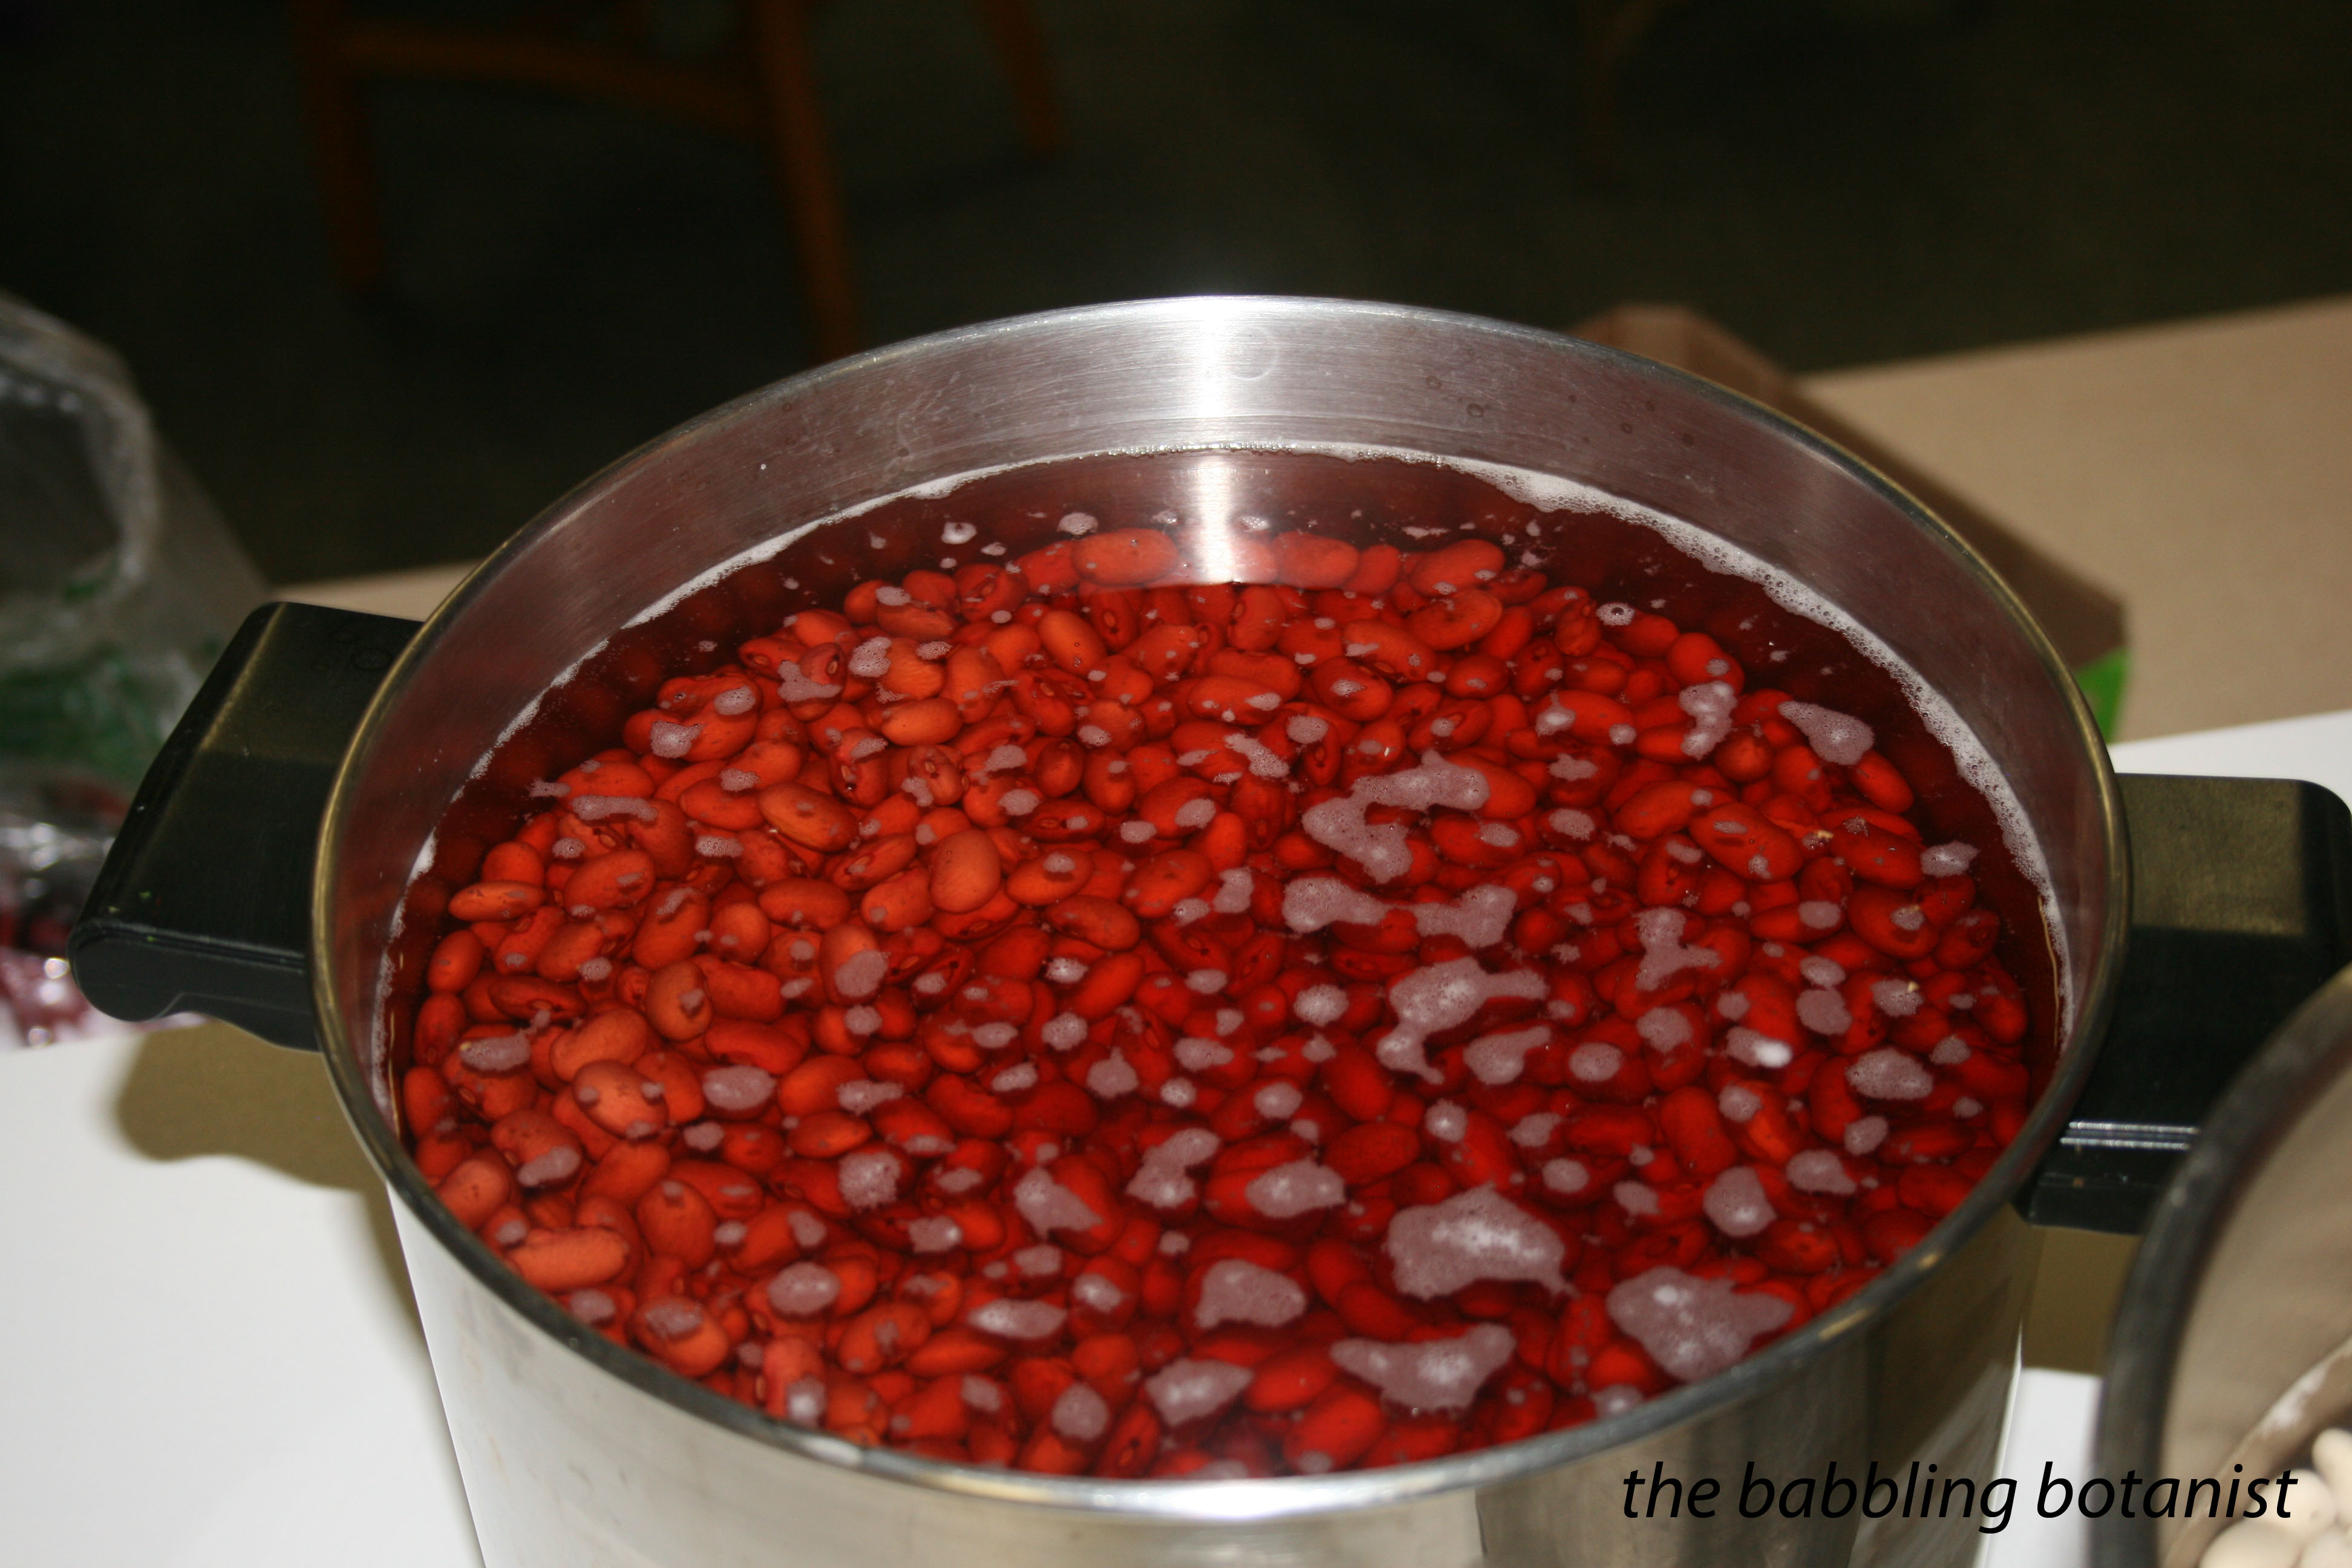
Small red beans.
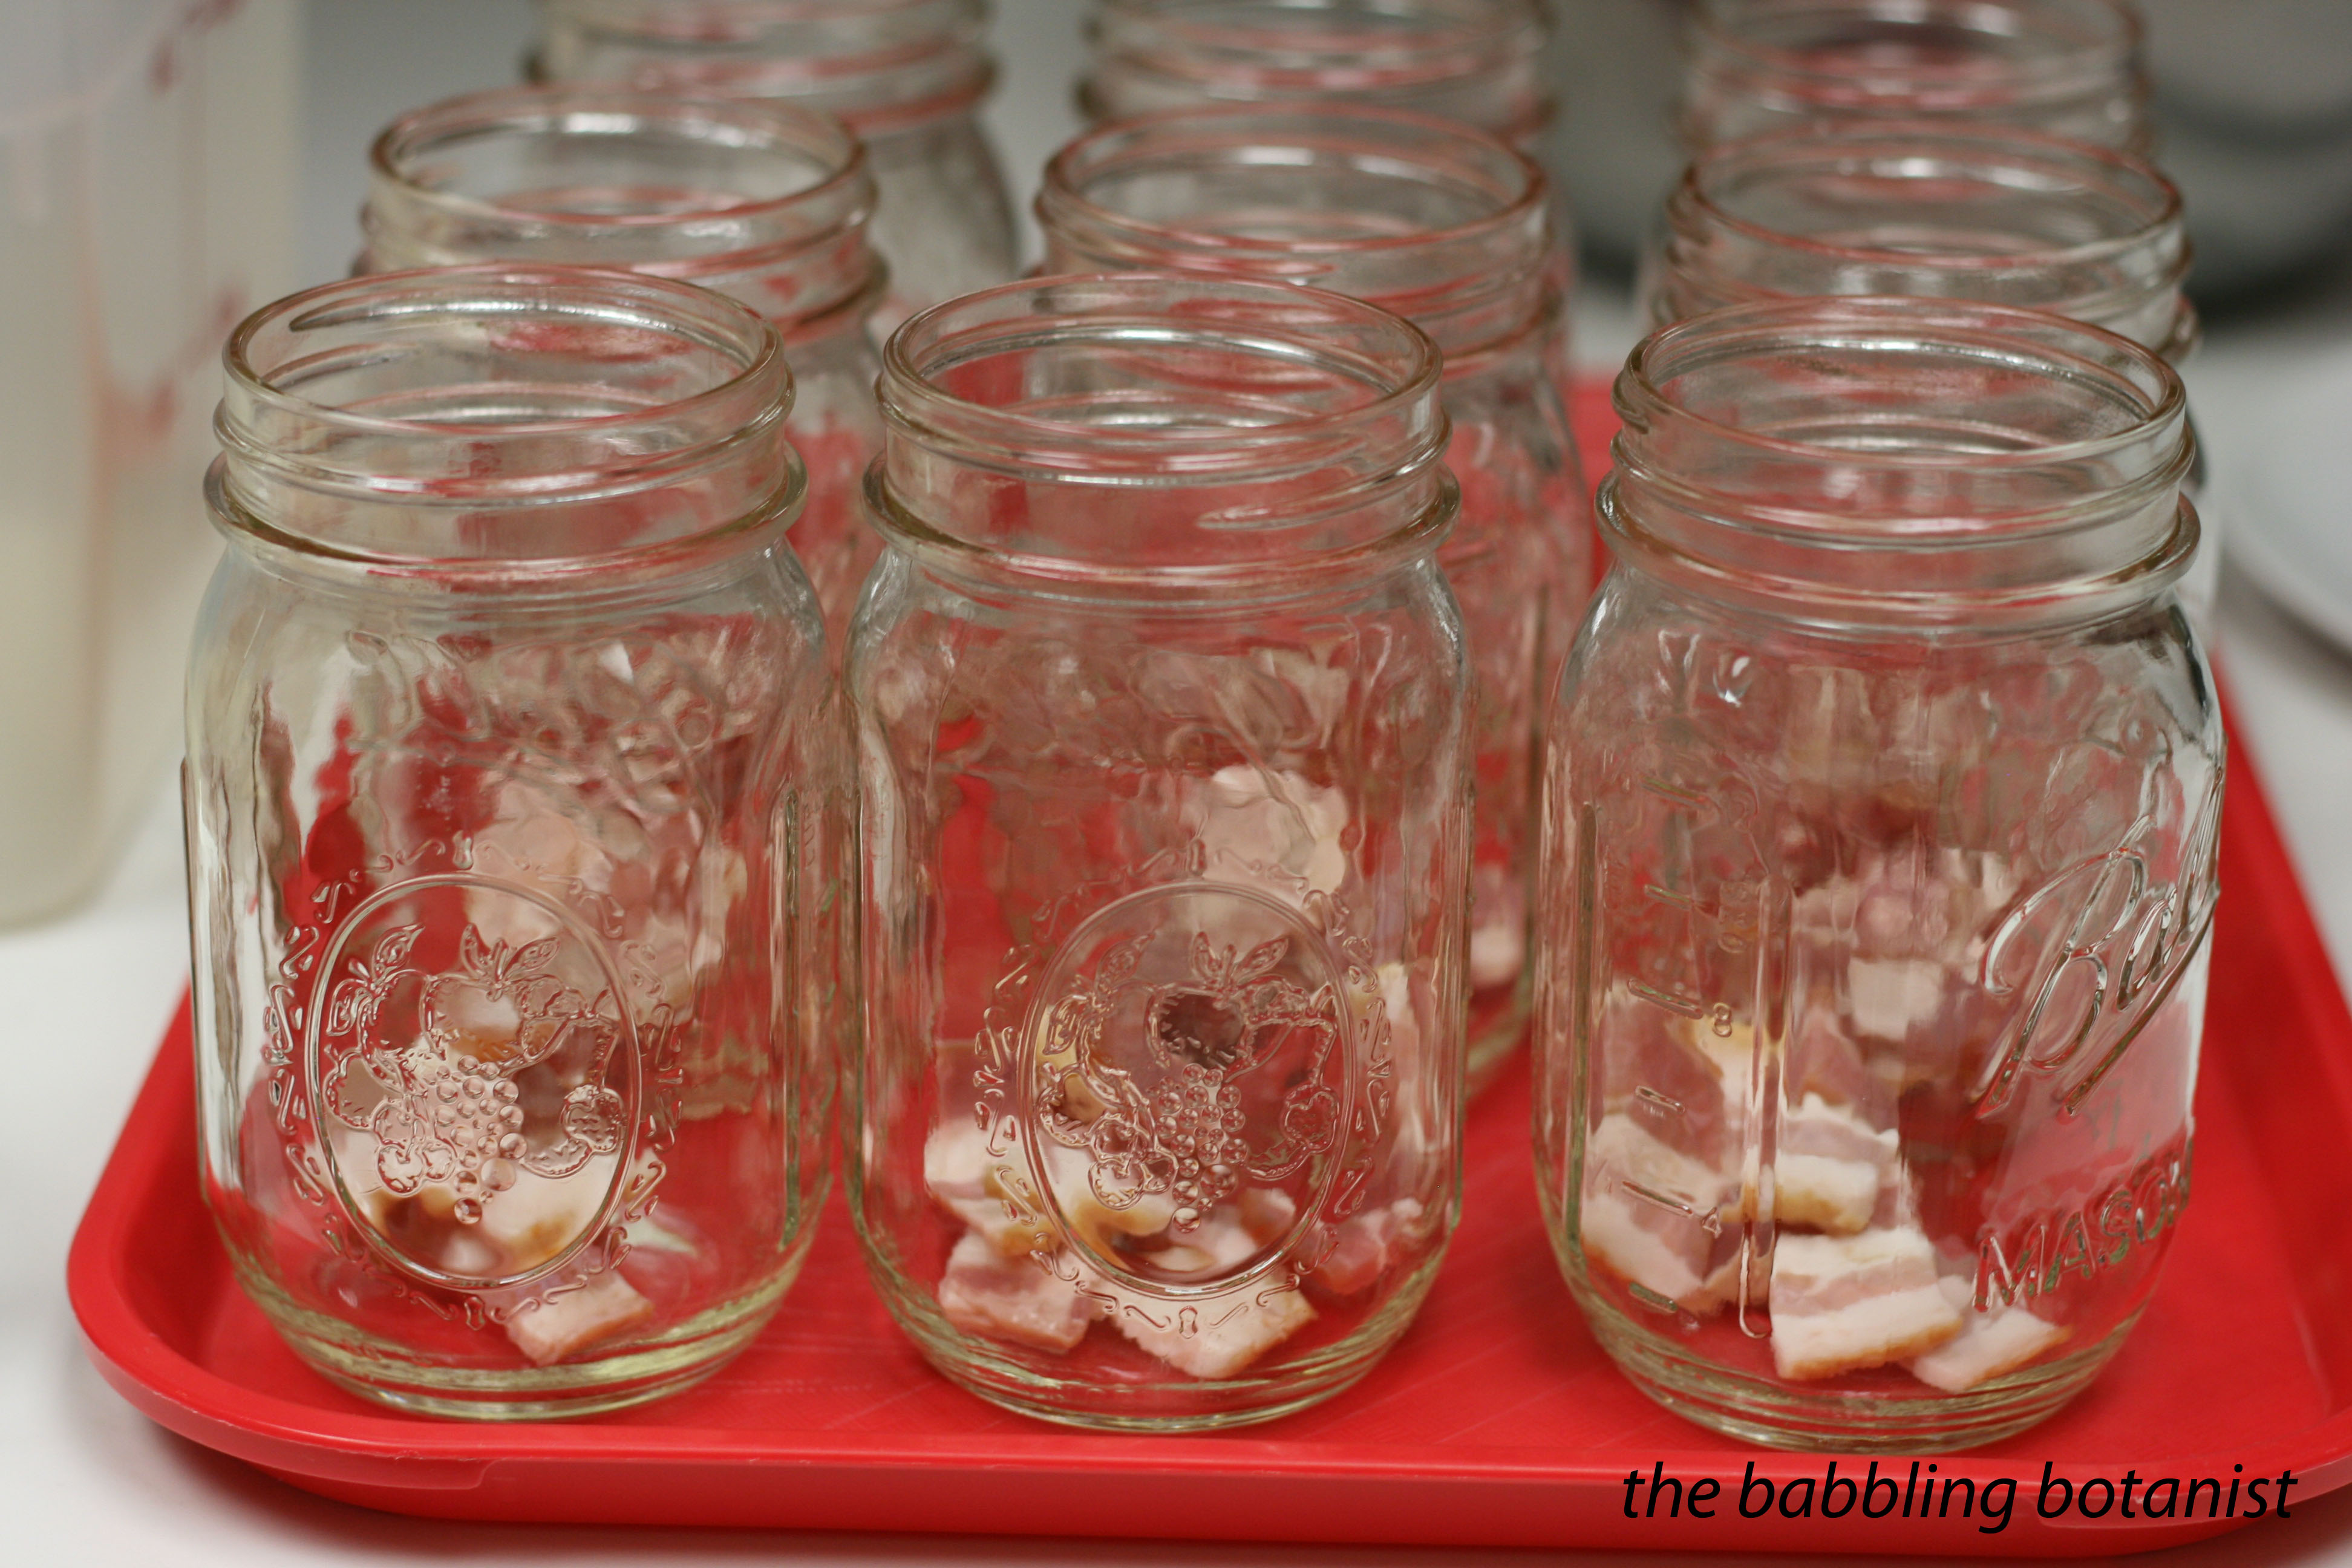
With bacon!!
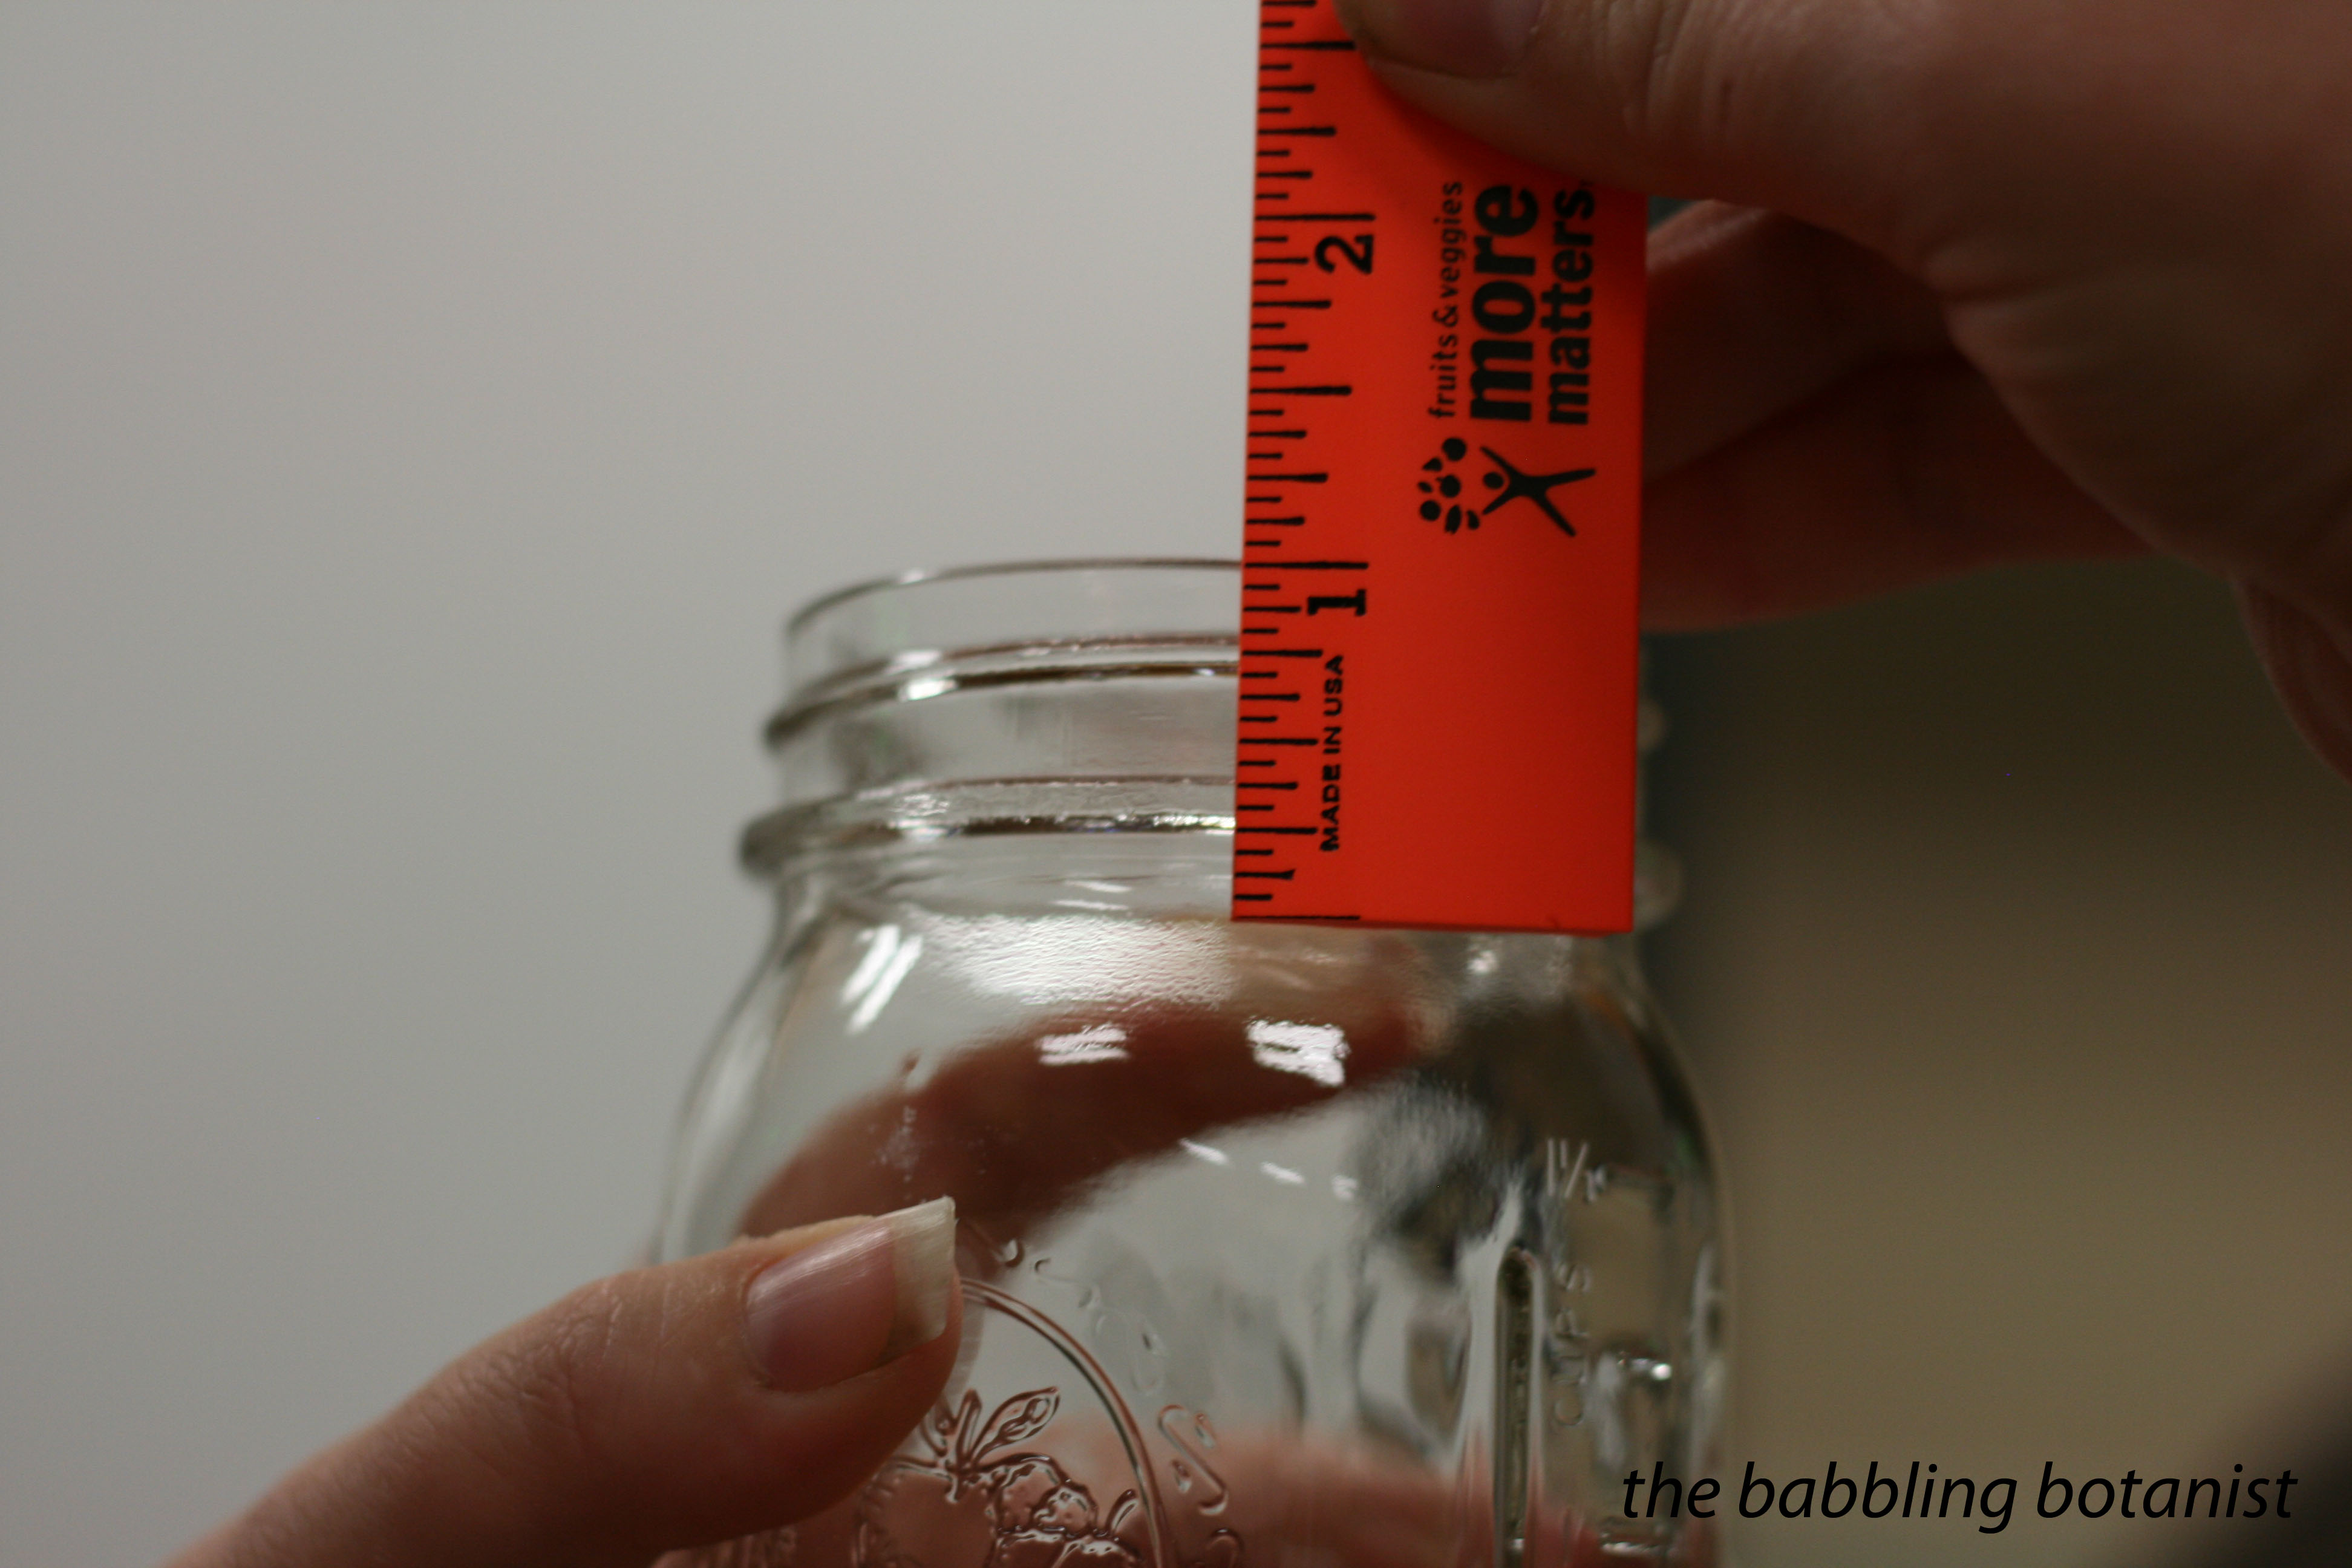
Most pressure canned items need 1 or 1.5 inch head space. This is below the bottom of the threading by a good centimetre.
Beans in syrup with bacon!
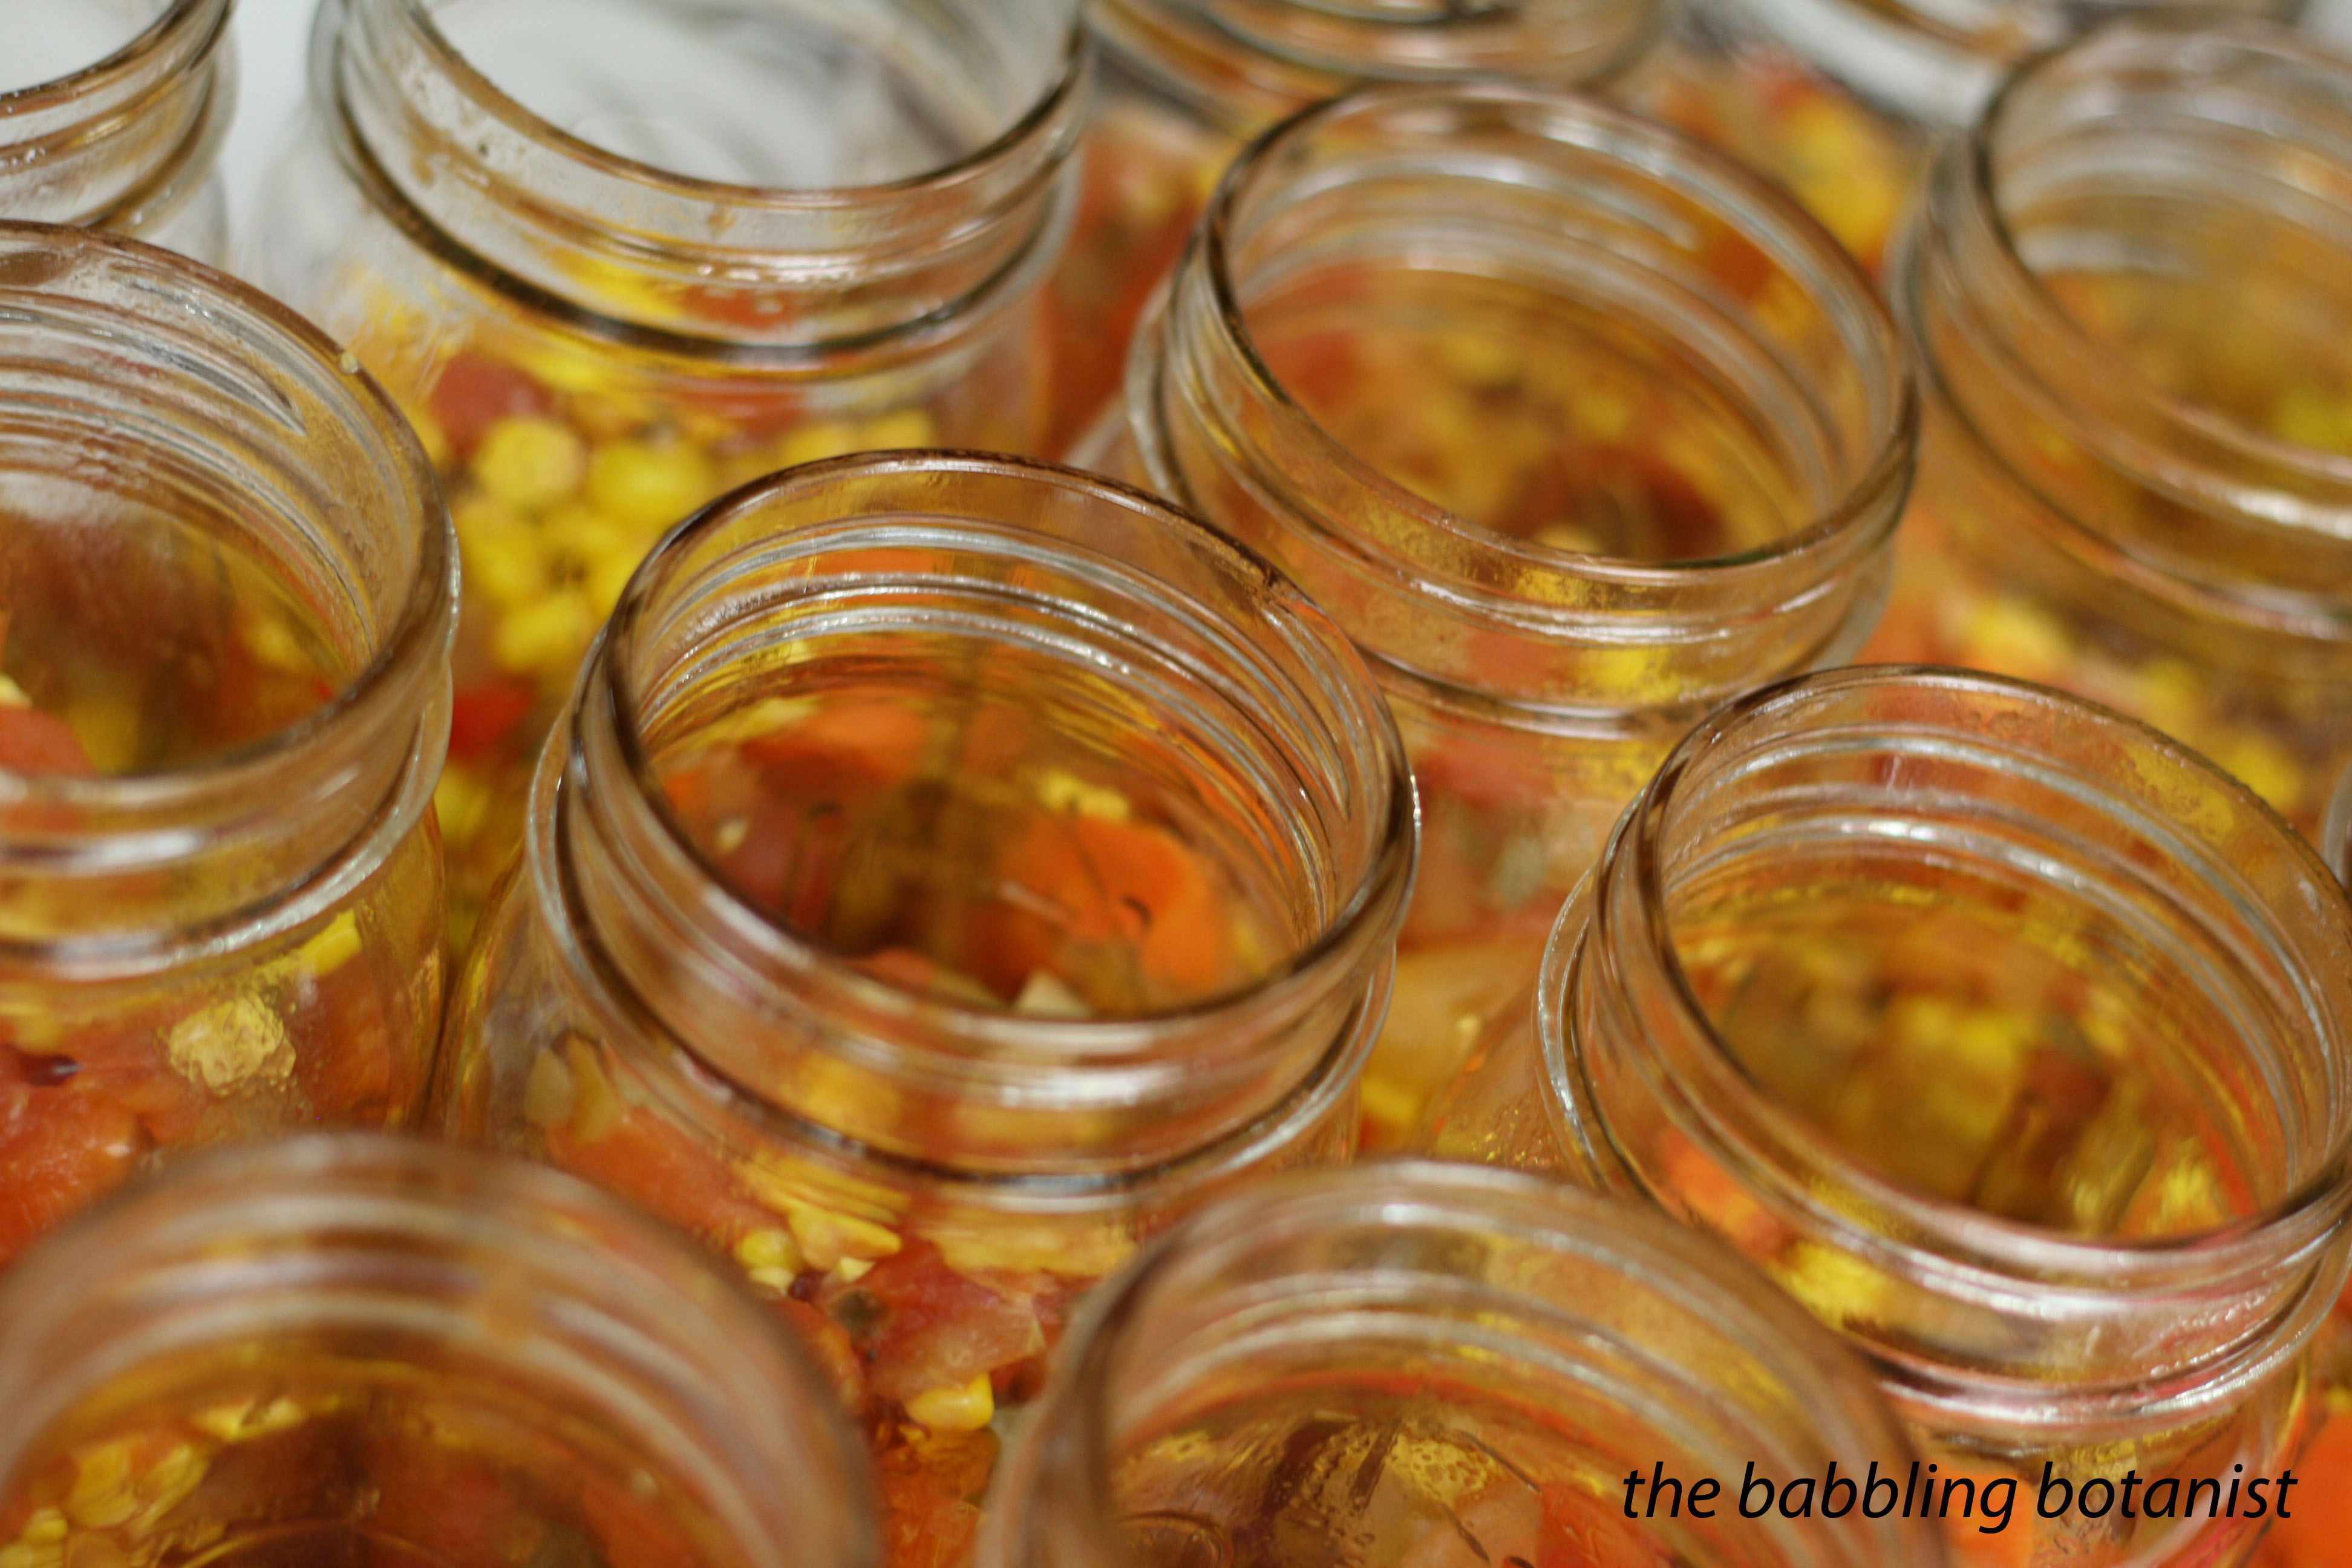
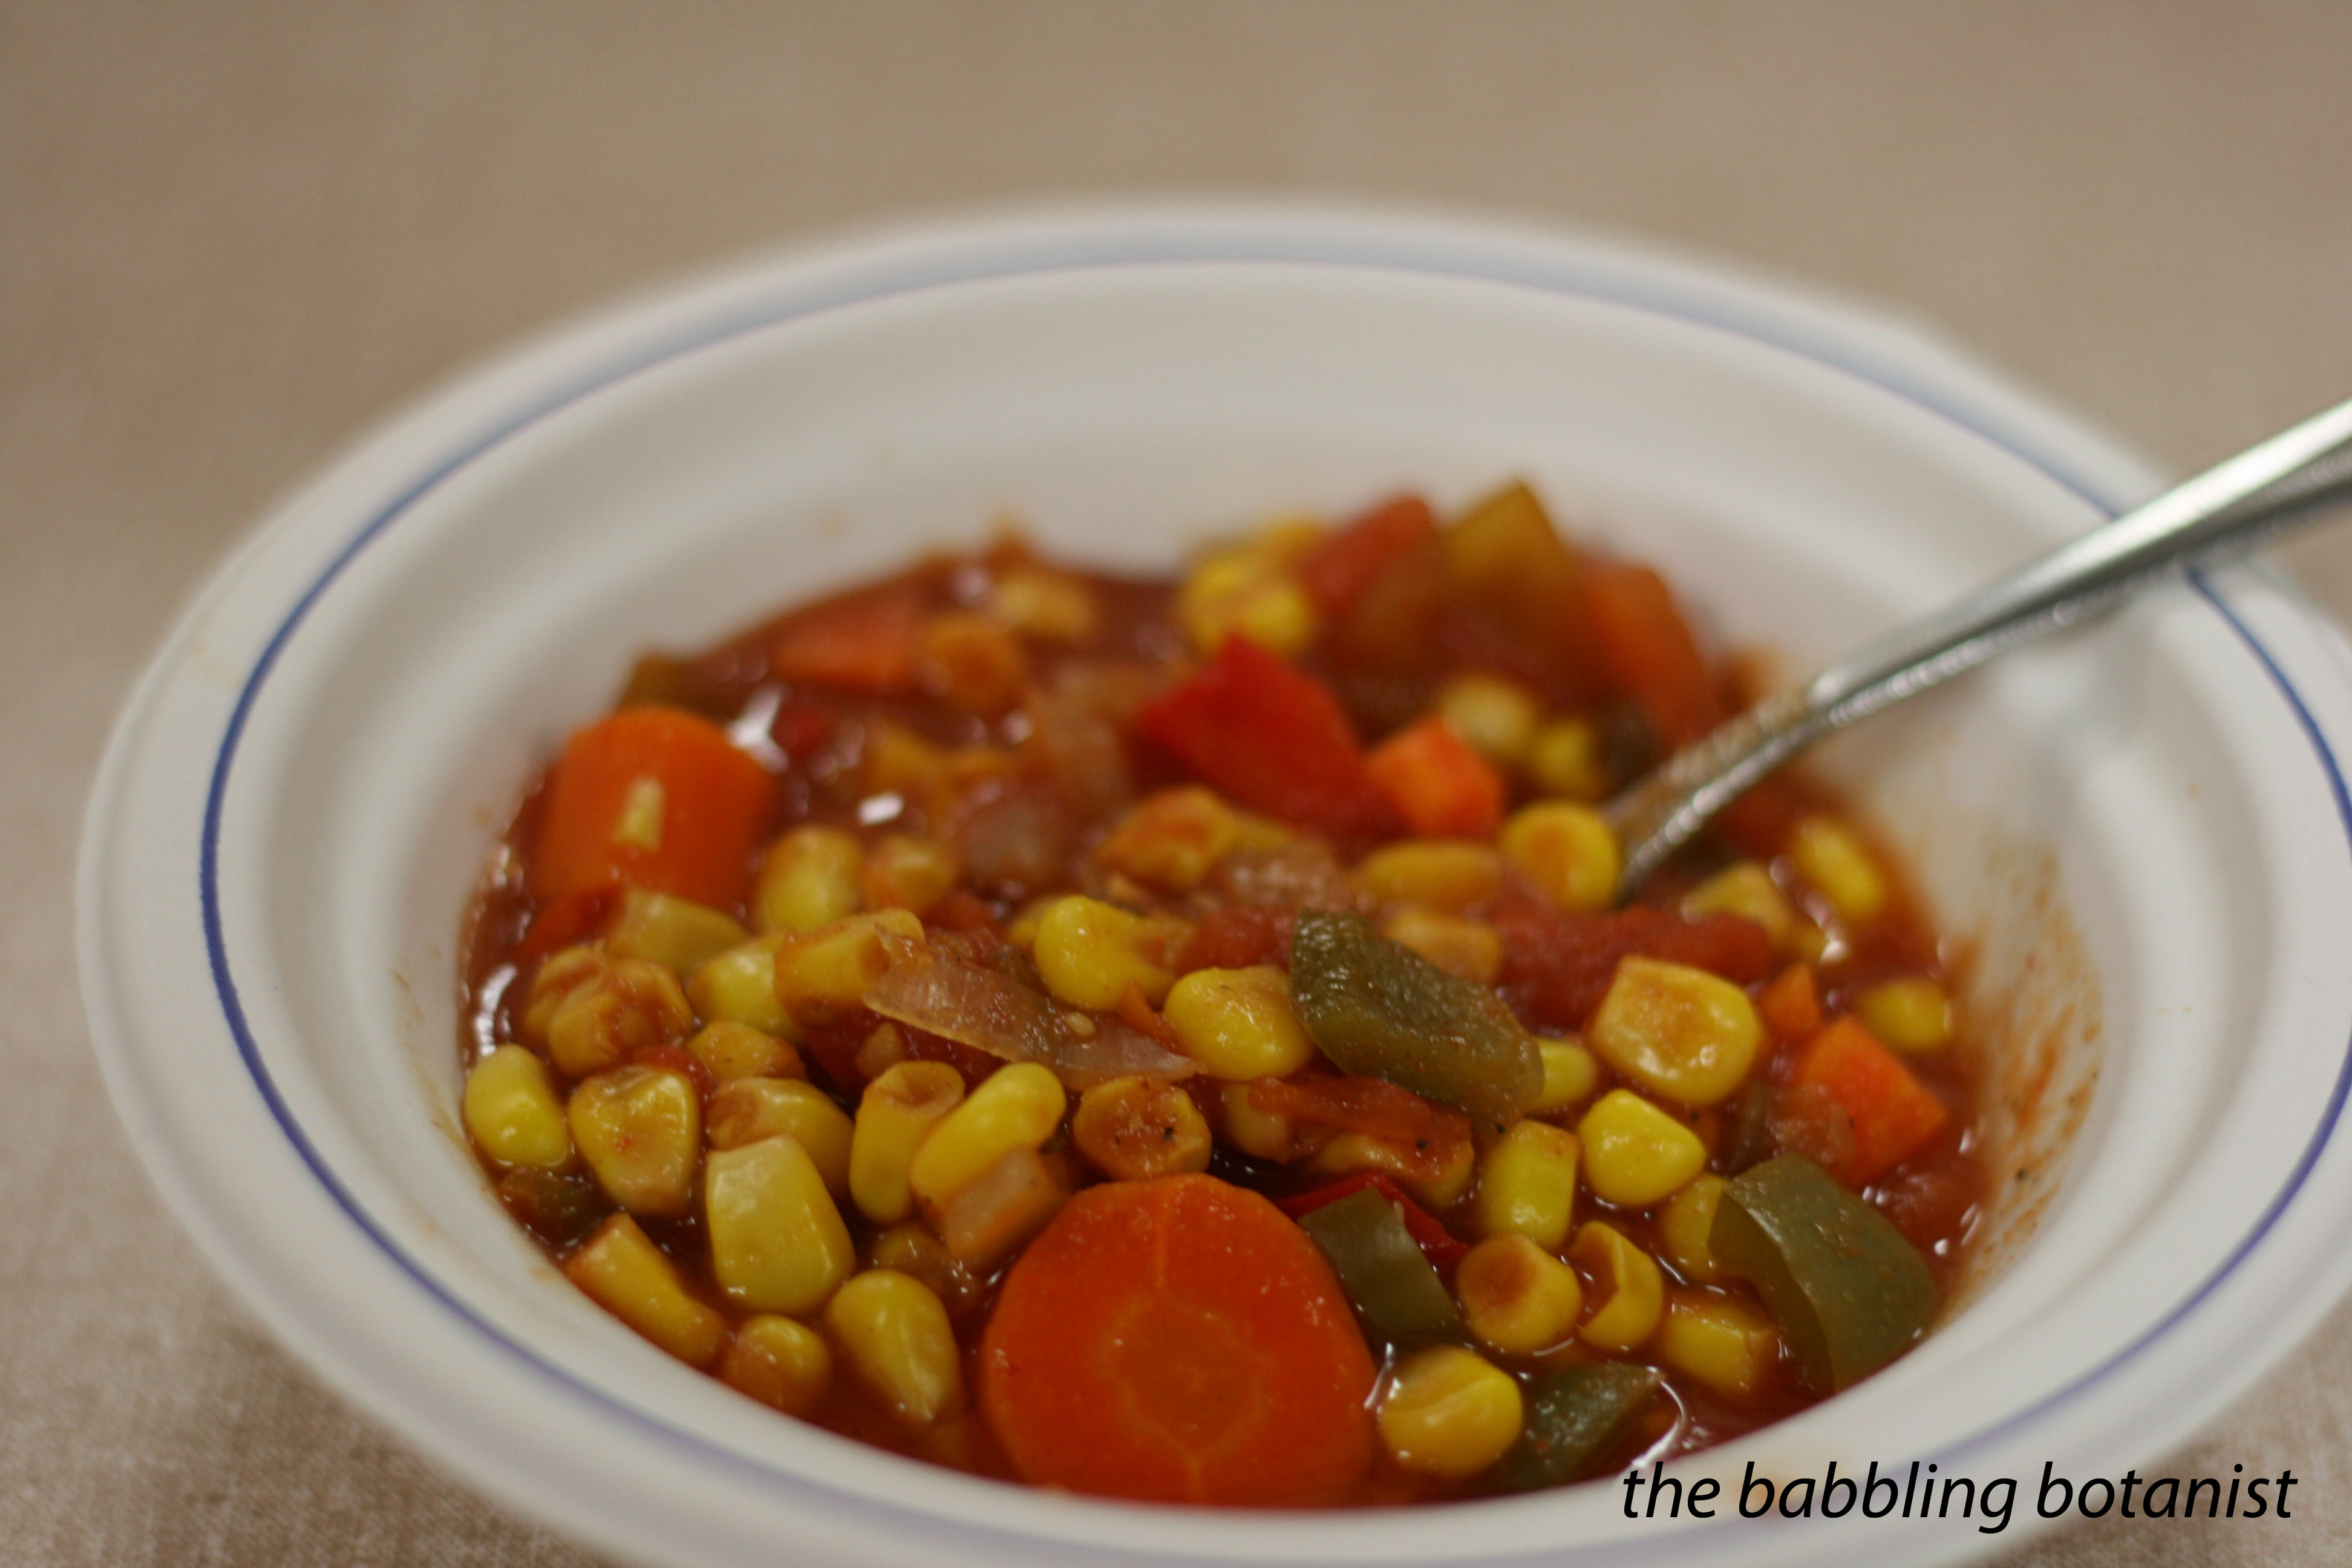
My group worked on the spicy tomato soup. SO GOOD! I need to make a giant batch of this when tomato season hits!
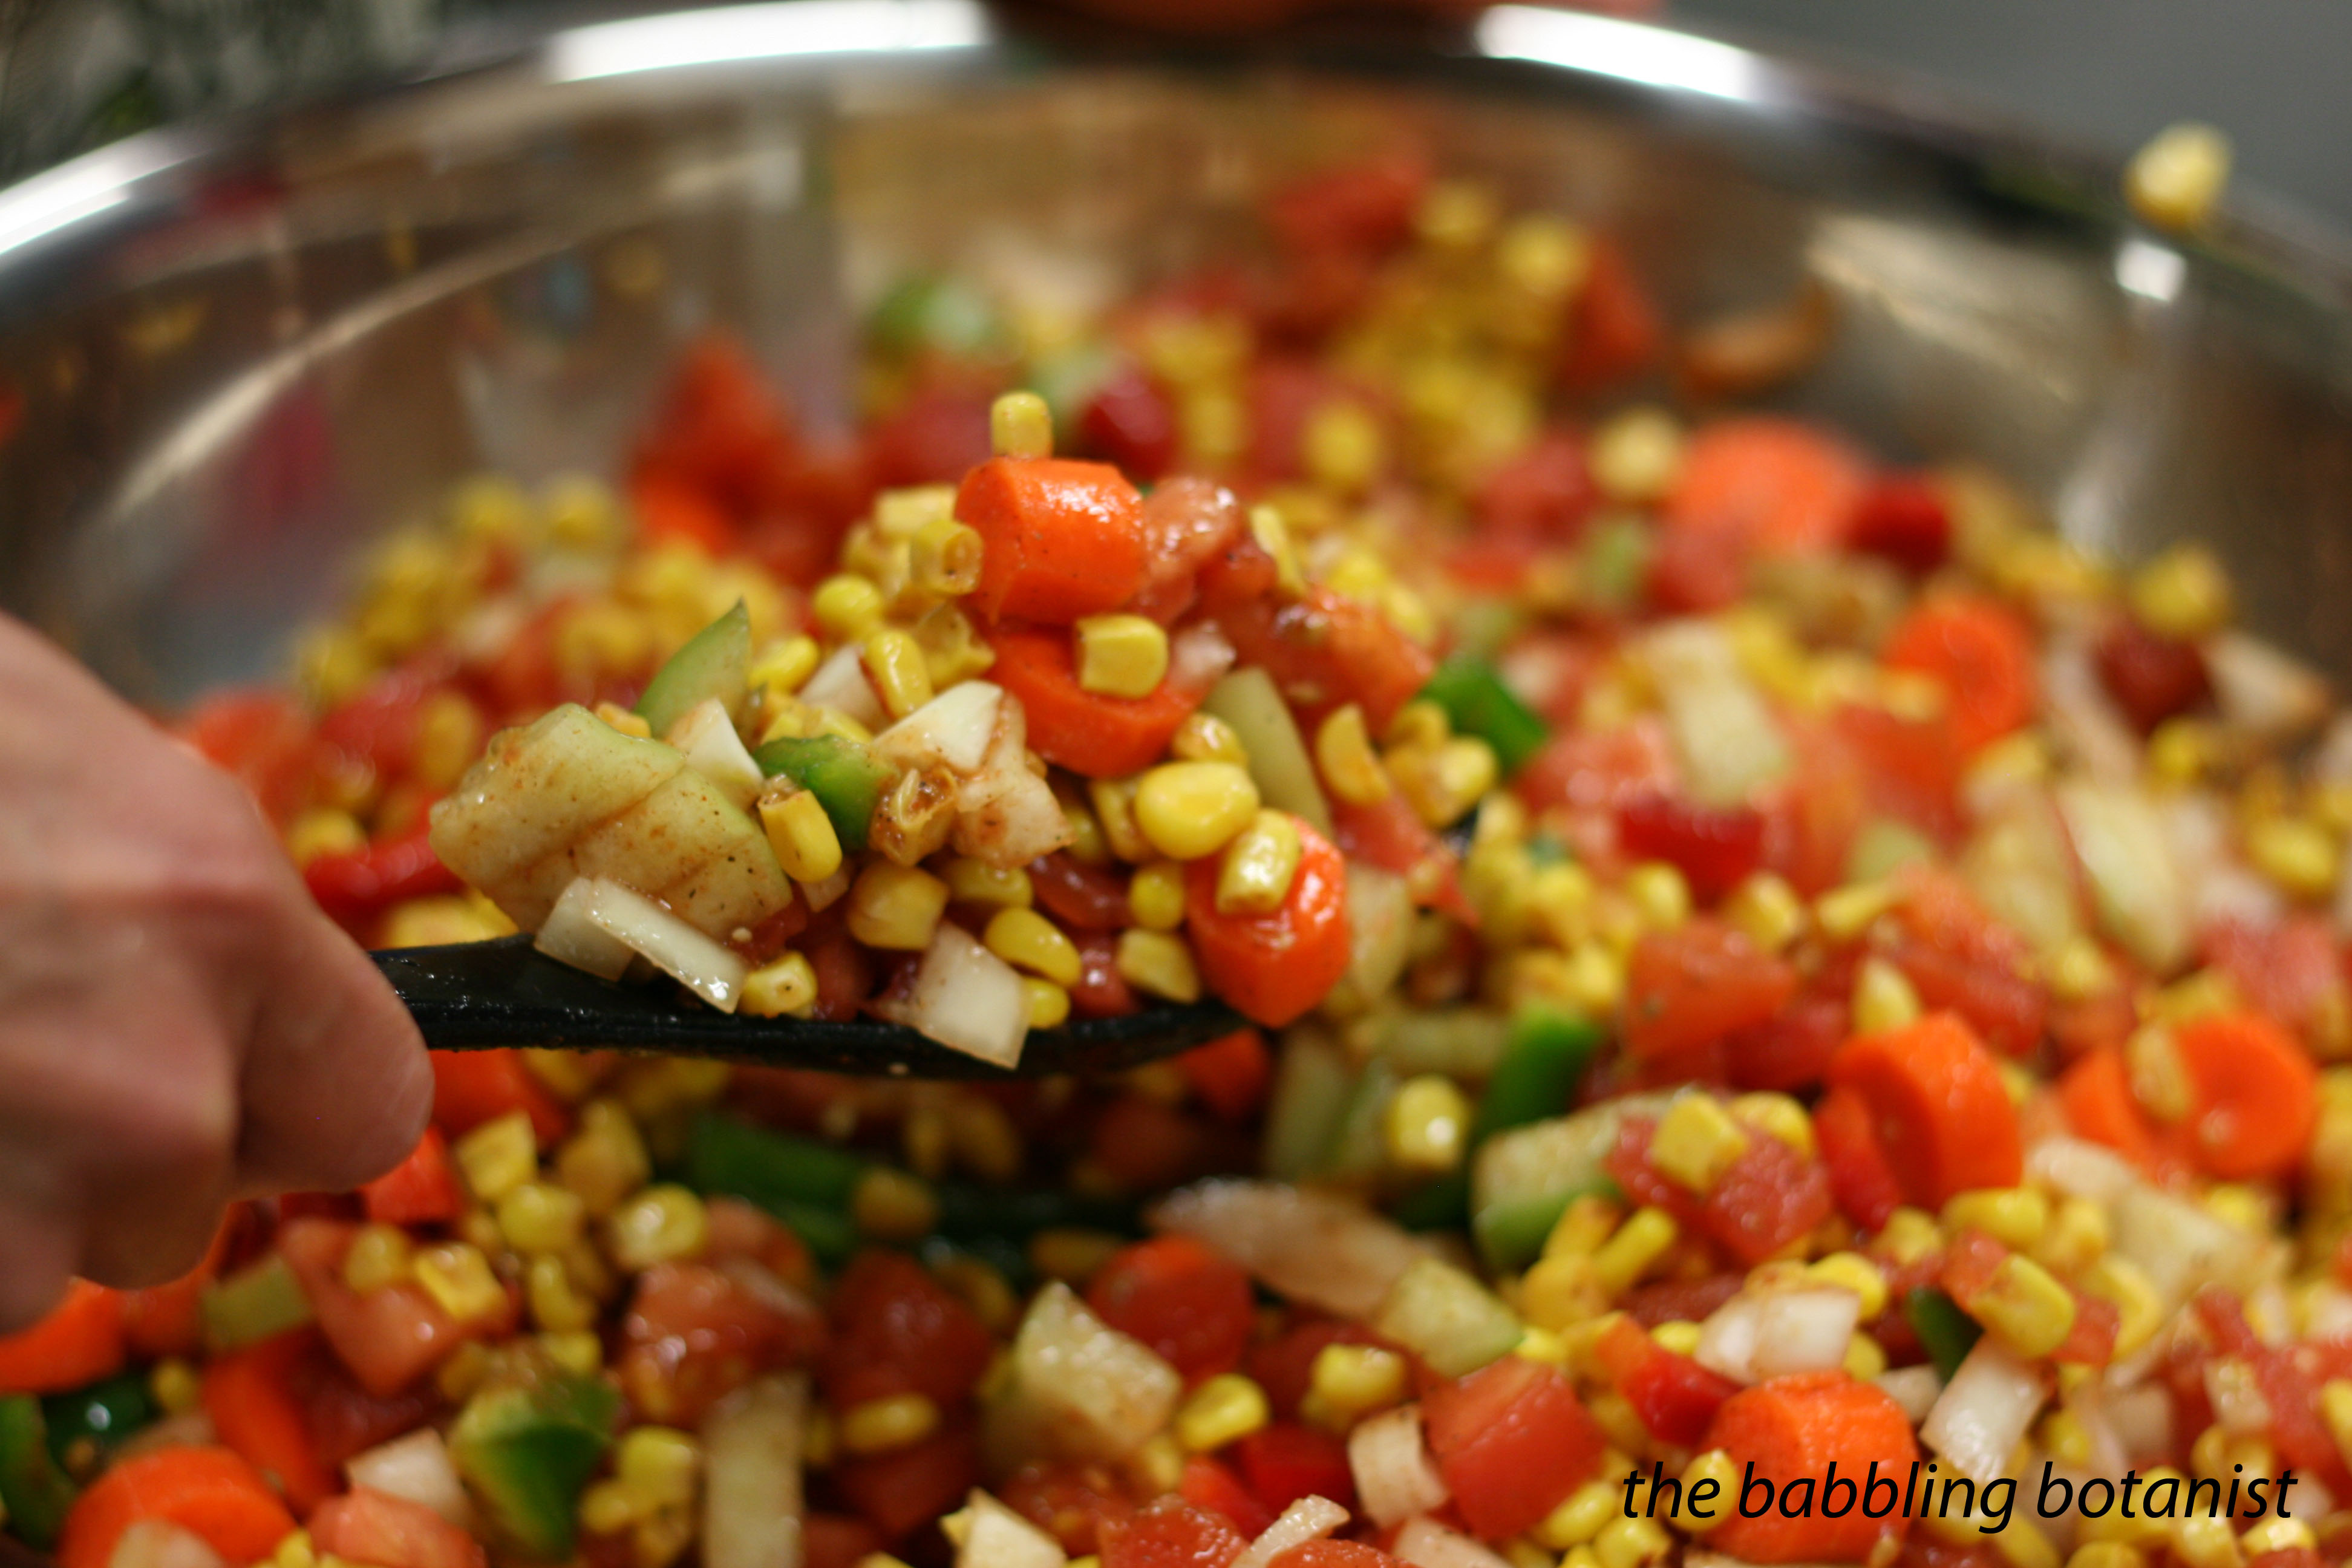
Half full of solids first, then you top off with liquid.
Eating the leftovers.
Sorry to taunt you with these pictures and not the full details, but the recipes are coming soon!
*this post contains affiliate links, please see the “About the Blogger” page for more information

#botulism – not in Caitlin’s house!
[…] first made this soup back in the pressure canning week of my Master Food Preserver class, and I could not wait until tomato season rolled around so I could stock up on this deliciousness. […]