Making homemade fruit wine is such a satisfying experience – watching your fruit transform into something completely new and delicious. The length of this post may make it seem like a difficult process, but it’s really not that hard to make a small, gallon batch. So pour yourself a glass of wine, settle in, and read on. For the printer friendly version, click here.
Last winter we decided to try our hand at home brewing. We started with beer, and you can read our first brews adventure here. Then we tried some kit wines which you can read about in this post. The next stage of the adventure was to try some small batches of fruit wines, which we started this spring. They are actually surprisingly delicious! And I say surprising because I normally am not a lover of fruit wines because I find them too sweet. However, these “first wine” recipes, copied with permission from Joel, the owner of our local brew store, Corvallis Brewing Supply, are designed to be dry wines and they are really tasty.
Before I get into the details of how to get brewing, I just wanted to quickly (ish) list and describe the ingredients that you will be adding to your wine and why. These can all be purchased at your local brew store (if you have one) or by clicking on the links attached to them. Skip ahead if you just want the hows and not the whys.
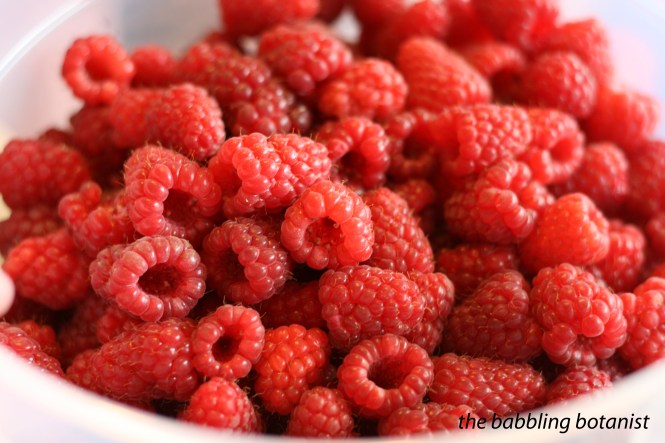
Fruit! – OK this one is obvious, but the one thing I wanted to point out is that you can use fresh or frozen fruit for this. Use only the best quality fruit. Nasty fruit will make nasty wine.
Yeast – These little guys are what is going to turn the sugars in your fruit into alcohol. There are a large number of yeasts available on the market, but you don’t just want to use bread yeast for making wine. They are cheap, so buy a packet of the kind called for in your recipe. A few common ones for wine are Montrachet, K1V-1116, Cote de Blancs or Lalvin D-47.
Dextrose – Dextrose is fermentable sugar that is added to feed the yeast and produce alcohol. Some fruits don’t have as much sugar content as others, so extra sugar is added to balance the sugar and acidity and produce a good product. Grapes, for example, require a lot less added sugar than cane berries, such as raspberries and blackberries. This is due to the properties of the berries themselves. Table sugar, which is sucrose, can be used instead of dextrose, but it can produce a different quality product. Dextrose is a simpler sugar that can be broken down faster by the yeast, which can lead faster fermentation and to a crisper and cleaner tasting end product. I haven’t personally done a side by side comparison yet, but when I do I will let you know what people preferred. I’ve only so far tasted wines using dextrose. When using table sugar in a recipe that calls for dextrose, use 0.8 pounds for every pound of dextrose that is required.
Pectic Enzyme – This is added to your fruit wines because it will help break the fruits down and make the sugars available to the yeast to ferment. Pectin is a compound found in plants cell walls, and what this enzyme does it help to digest that for the yeast, making more sugars available. You could certainly still make wine without it, but it aids in the process. It also can help produce a clearer product by digesting the pectins.
Yeast Nutrient – This is added to give some other nutrients to your yeast so that they aren’t surviving on sugar alone. It contains vitamins and minerals, think of it as giving your yeast a multivitamin. I like the way Joel put it – think about how you would feel if all you ate was sugar. This is why you add some nutrient.
Diammonium Phosphate – This is another thing that is just a helpful nutrient to give your yeast. It’s a nitrogen source which helps the yeast along. If you are getting a rotten egg type smell from your wine, it could be because you should have added some D.A.P. Some recipes do not call for it, and I think it’s one of those things that’s not always necessary, but it only takes a very small amount so I figure why not use it. Also, as a side note, some of the things labelled “yeast nutrient” on amazon and elsewhere have this in them already, so check the ingredients to see what you’ve got.
Campden Tablets – These tablets are made of Potassium Metabisulfite, and they serve a couple really important purposes. They are not something you want to be leaving out of your recipe. Sulphites in your wine prevent a few things – the growth of bacteria and wild yeasts and oxidation of your wine. All things that you really don’t want to have happen. But as a sad side note, the suphites in wine are often the thing that give people that red wine headache. Fortunately I don’t have that issue.
Acid blend – This is a combination of three acids – citric, tartaric and malic, which come from citrus, grapes and apples. They are used to lower the pH of the wine and give the wine balance.
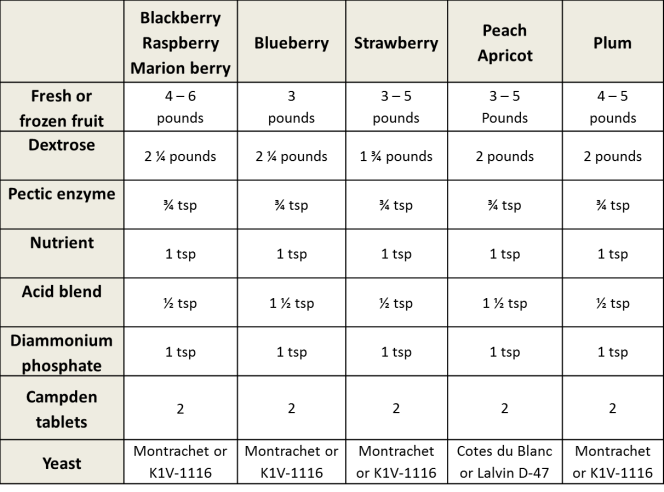
DONE! I know that was a lot of ingredient listing, so I’m sorry if that bored you, but I for one don’t like blindly throwing things into a recipe not knowing what they are for, so I wanted to lay out for you why we need a tiny amount of a bunch of different things. So there we go. Now on to the making of the wine. In the table below are 8 options for good first recipes to try. Already have one of these fruits in the freezer? Awesome! What are you waiting for!?!
Each of the recipes below makes a gallon of wine. They all have the same ingredients, just in slightly different proportions based on how acidic the fruit is, and based on its relative sugar content. The method will be the same for whichever recipe you try. And as a side note, before you begin I highly recommend keeping a brewing journal of dates and ingredients etc. Especially when you are brewing multiple things at a time. I must confess that I am currently not 100% sure which jug is blueberry wine and which is blackberry.
Home made wine is really not a lot of work, you actually only have a few active days when you are doing something to the wine, and the rest is a waiting game. Considering that the cheapest fruit wines I really ever see are $25 and you can make a pretty good wine at home for far less than that, I think it’s well worth it. So here is how it’s made:
Day 1:
On the first day what you’ll be doing is preparing the fruit and mixing all the ingredients together except for the yeast. Remember, when picking fruit only use the best quality fruit. Crappy fruit will make crappy wine. Also use nice ripe fruit, but not overripe. Think about when you taste a berry that’s not quite ripe. It is less sweet because it does not have as many sugars as when it is fully ripe, so a fully ripe berry will make a better wine.
Step 1: Clean and sanitize your equipment. All you’ll really need day 1 is the primary fermenter and maybe a masher or spoon to stir with. For the dos and don’ts of what to use as a fermenter, head here. I made mine, and the reason for that was because I planned to do a bunch of small one gallon batches, and we own only a huge 8.5 gallon primary fermenter for beer, so it made sense to have a little one too. Anyways, that can be sanitized either by dissolving a campden tablet in a gallon of water and letting it sit for a few minutes, or I like this sanitizer. While the equipment is drying, prepare the fruit.
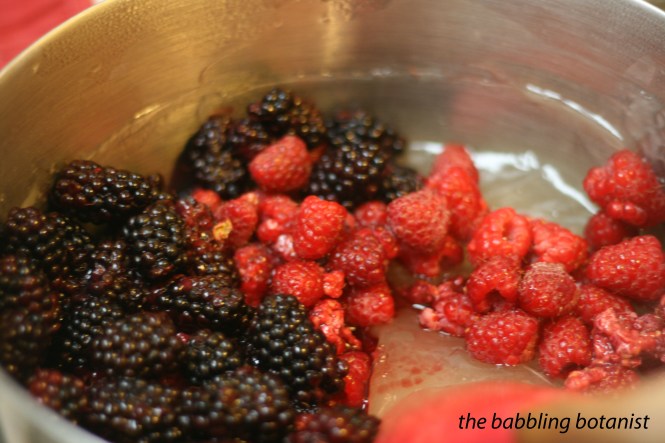
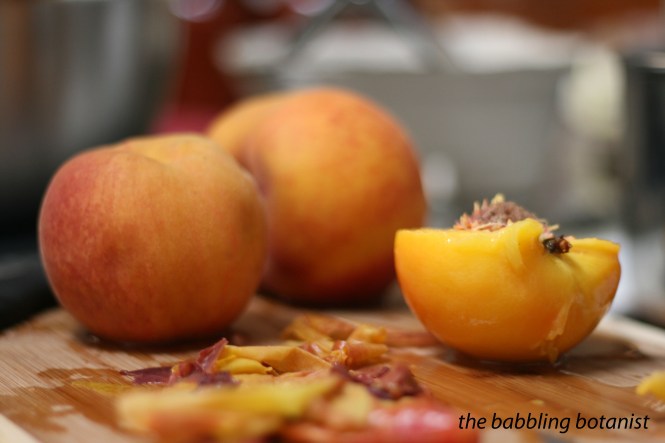
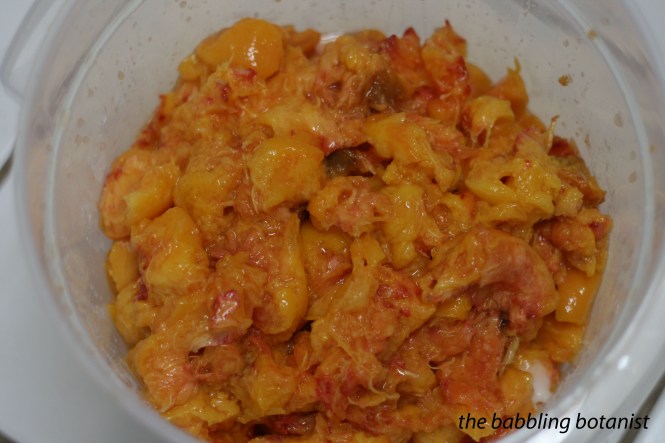
Step 2: Give your fruit a good wash, check for any bad spots and remove them, and remove any stems and pits. Things like strawberries, blueberries and raspberries basically just need a good wash. For the peaches I would blanch and peel them first. Chop and remove the pits and place them in your primary fermenter.
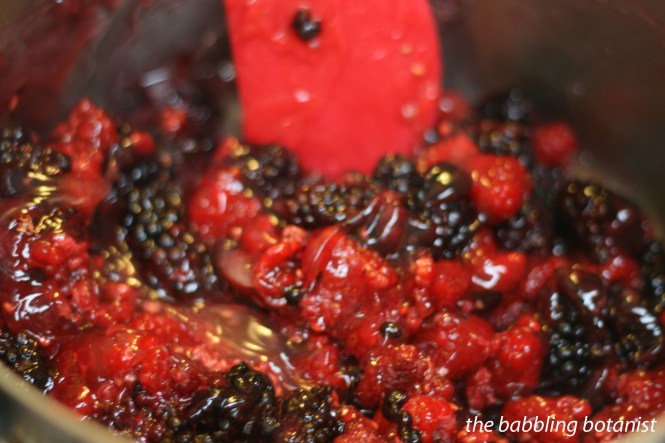
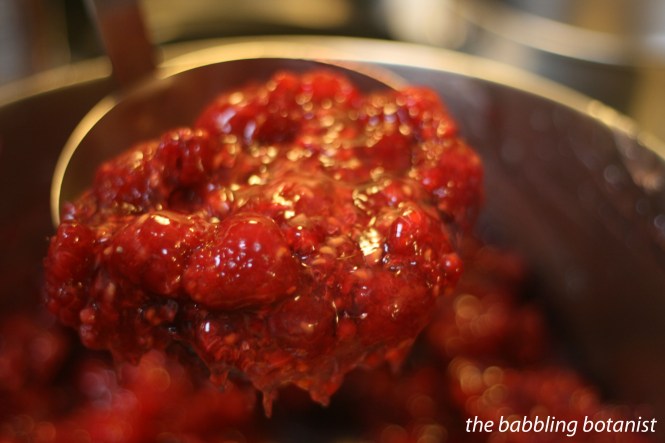
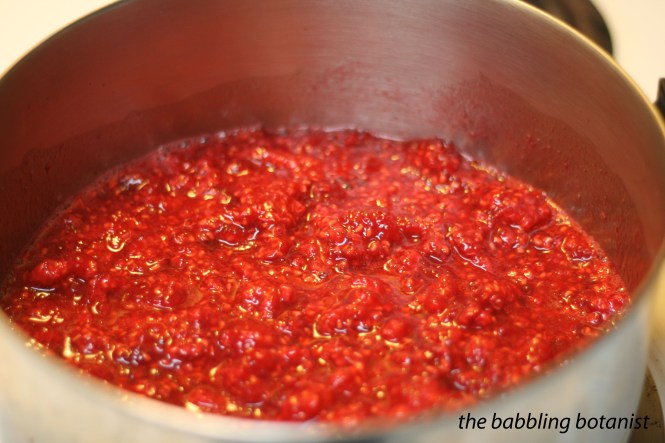
I like to then give the fruit a light mash to release the juices.
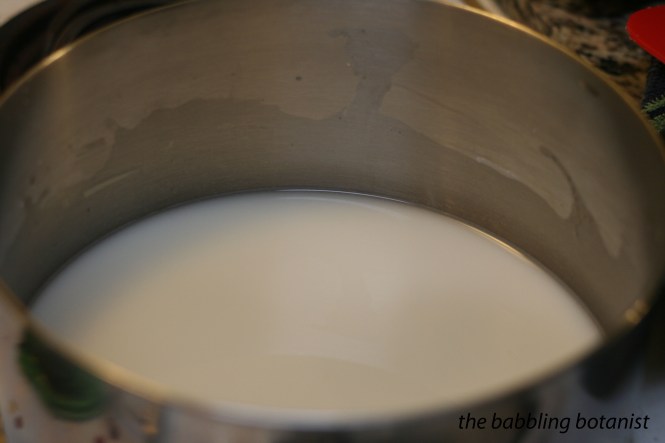
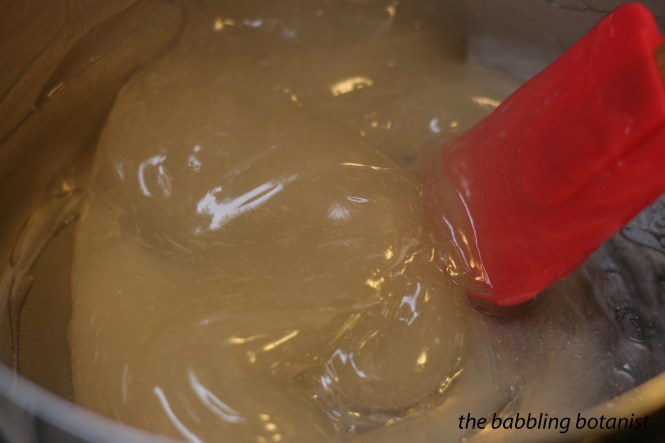
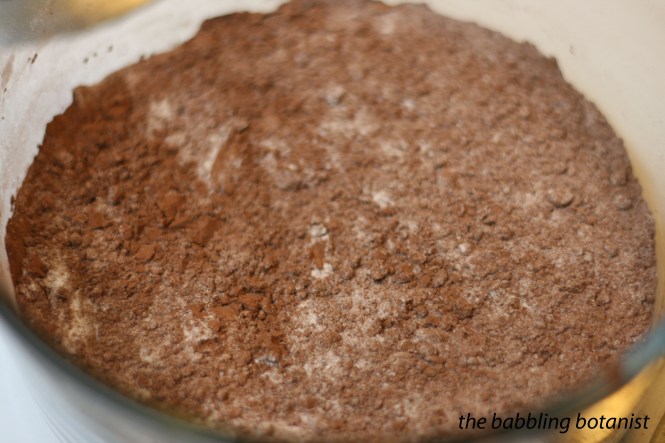
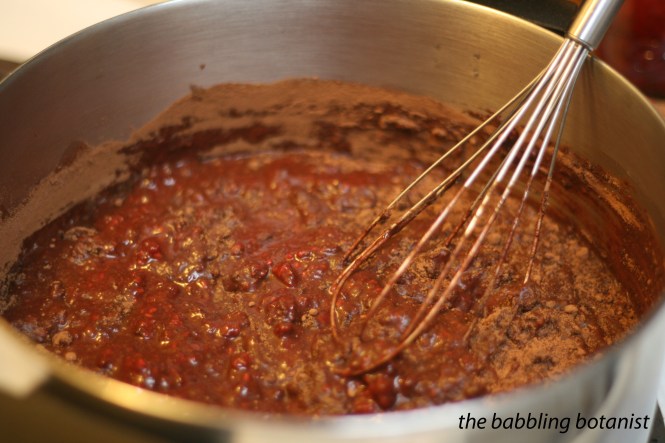
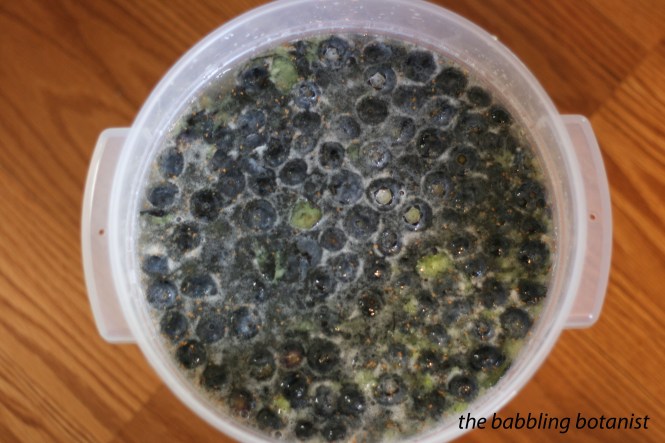
Step 3: The next thing you’ll do combine all the ingredients except for the yeast. I top it off with water to just above 1 gallon in my 1.5 gallon fermenter (4.5-5 quarts), but go ahead and top the water up to 1.25 gallons if you’re using a larger fermenter. Give it a stir to dissolve the powders and cover it. Leave it for 24 hours. This gives the campden tablets time to kill yeasts and bacteria already in there, and the pectic enzyme to start breaking down the fruit for the yeast you’ll add the next day. Don’t wait longer than 24 hours though, or you may have your ingredients spoil. You need to get the fermentation going or other things will colonize your fruit. And that is just plain nasty. And sad.
Day 2:
On day 2, you will open up your primary fermenter and pitch the yeast. Half of those 5 g packets is enough, so if you are planning on making another wine with the same yeast in the near future save the other half in the fridge. All you need to do is sprinkle the yeast on and close the lid back up. Make sure you have an airlock on your fermenter, and fill it will sanitizer or alcohol.
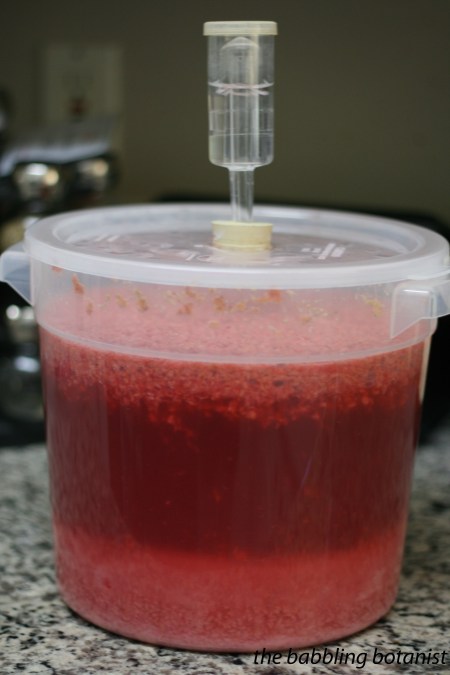
Now we wait for a few days. Within 12-24 hours you will notice bubbles coming from the airlock as fermentation begins. You can probably hear the yeast working too.
Day 2 or 3:
About 12 hours after you add your yeast, you want to give it a little stir. Sanitize a spoon and stir the must (that’s what wine that’s not wine yet is called).
Days 2-5:
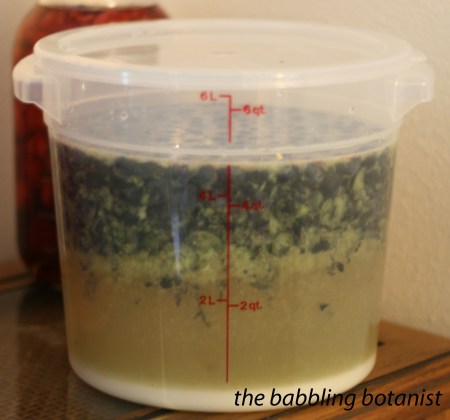
While your wine is fermenting, you will notice that the fruit is constantly floating to the top. To make sure that all the fruit gets fermented, and you don’t get massive air bubbles building up underneath the fruit, you need to break that mass up a couple times a day. This is called “punching the cap.” This is my favourite stage in the process, not only because of its silly name, but also because every day you get to open the lid and smell the fermentation in progress. Using a sanitized spoon or masher, gently punch the cap, then place the lid back on. This is also a great time to make sure you don’t have any weird or nasty smells. It should smell strongly alcoholic but not like acetone, or rotting eggs, or burning rubber, or anything weird. Take note if it has any unappetizing or strange odours.

Day 5ish:
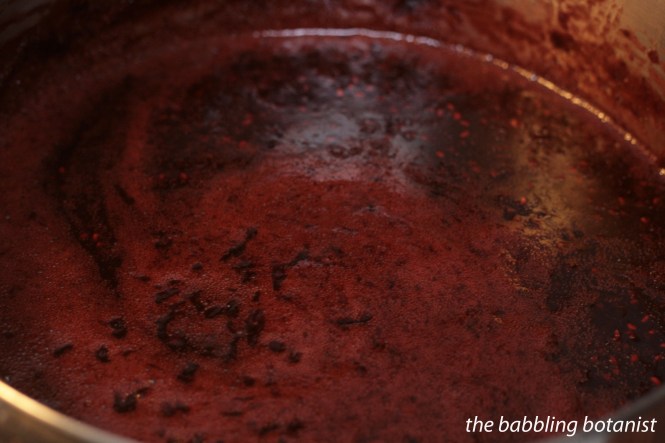
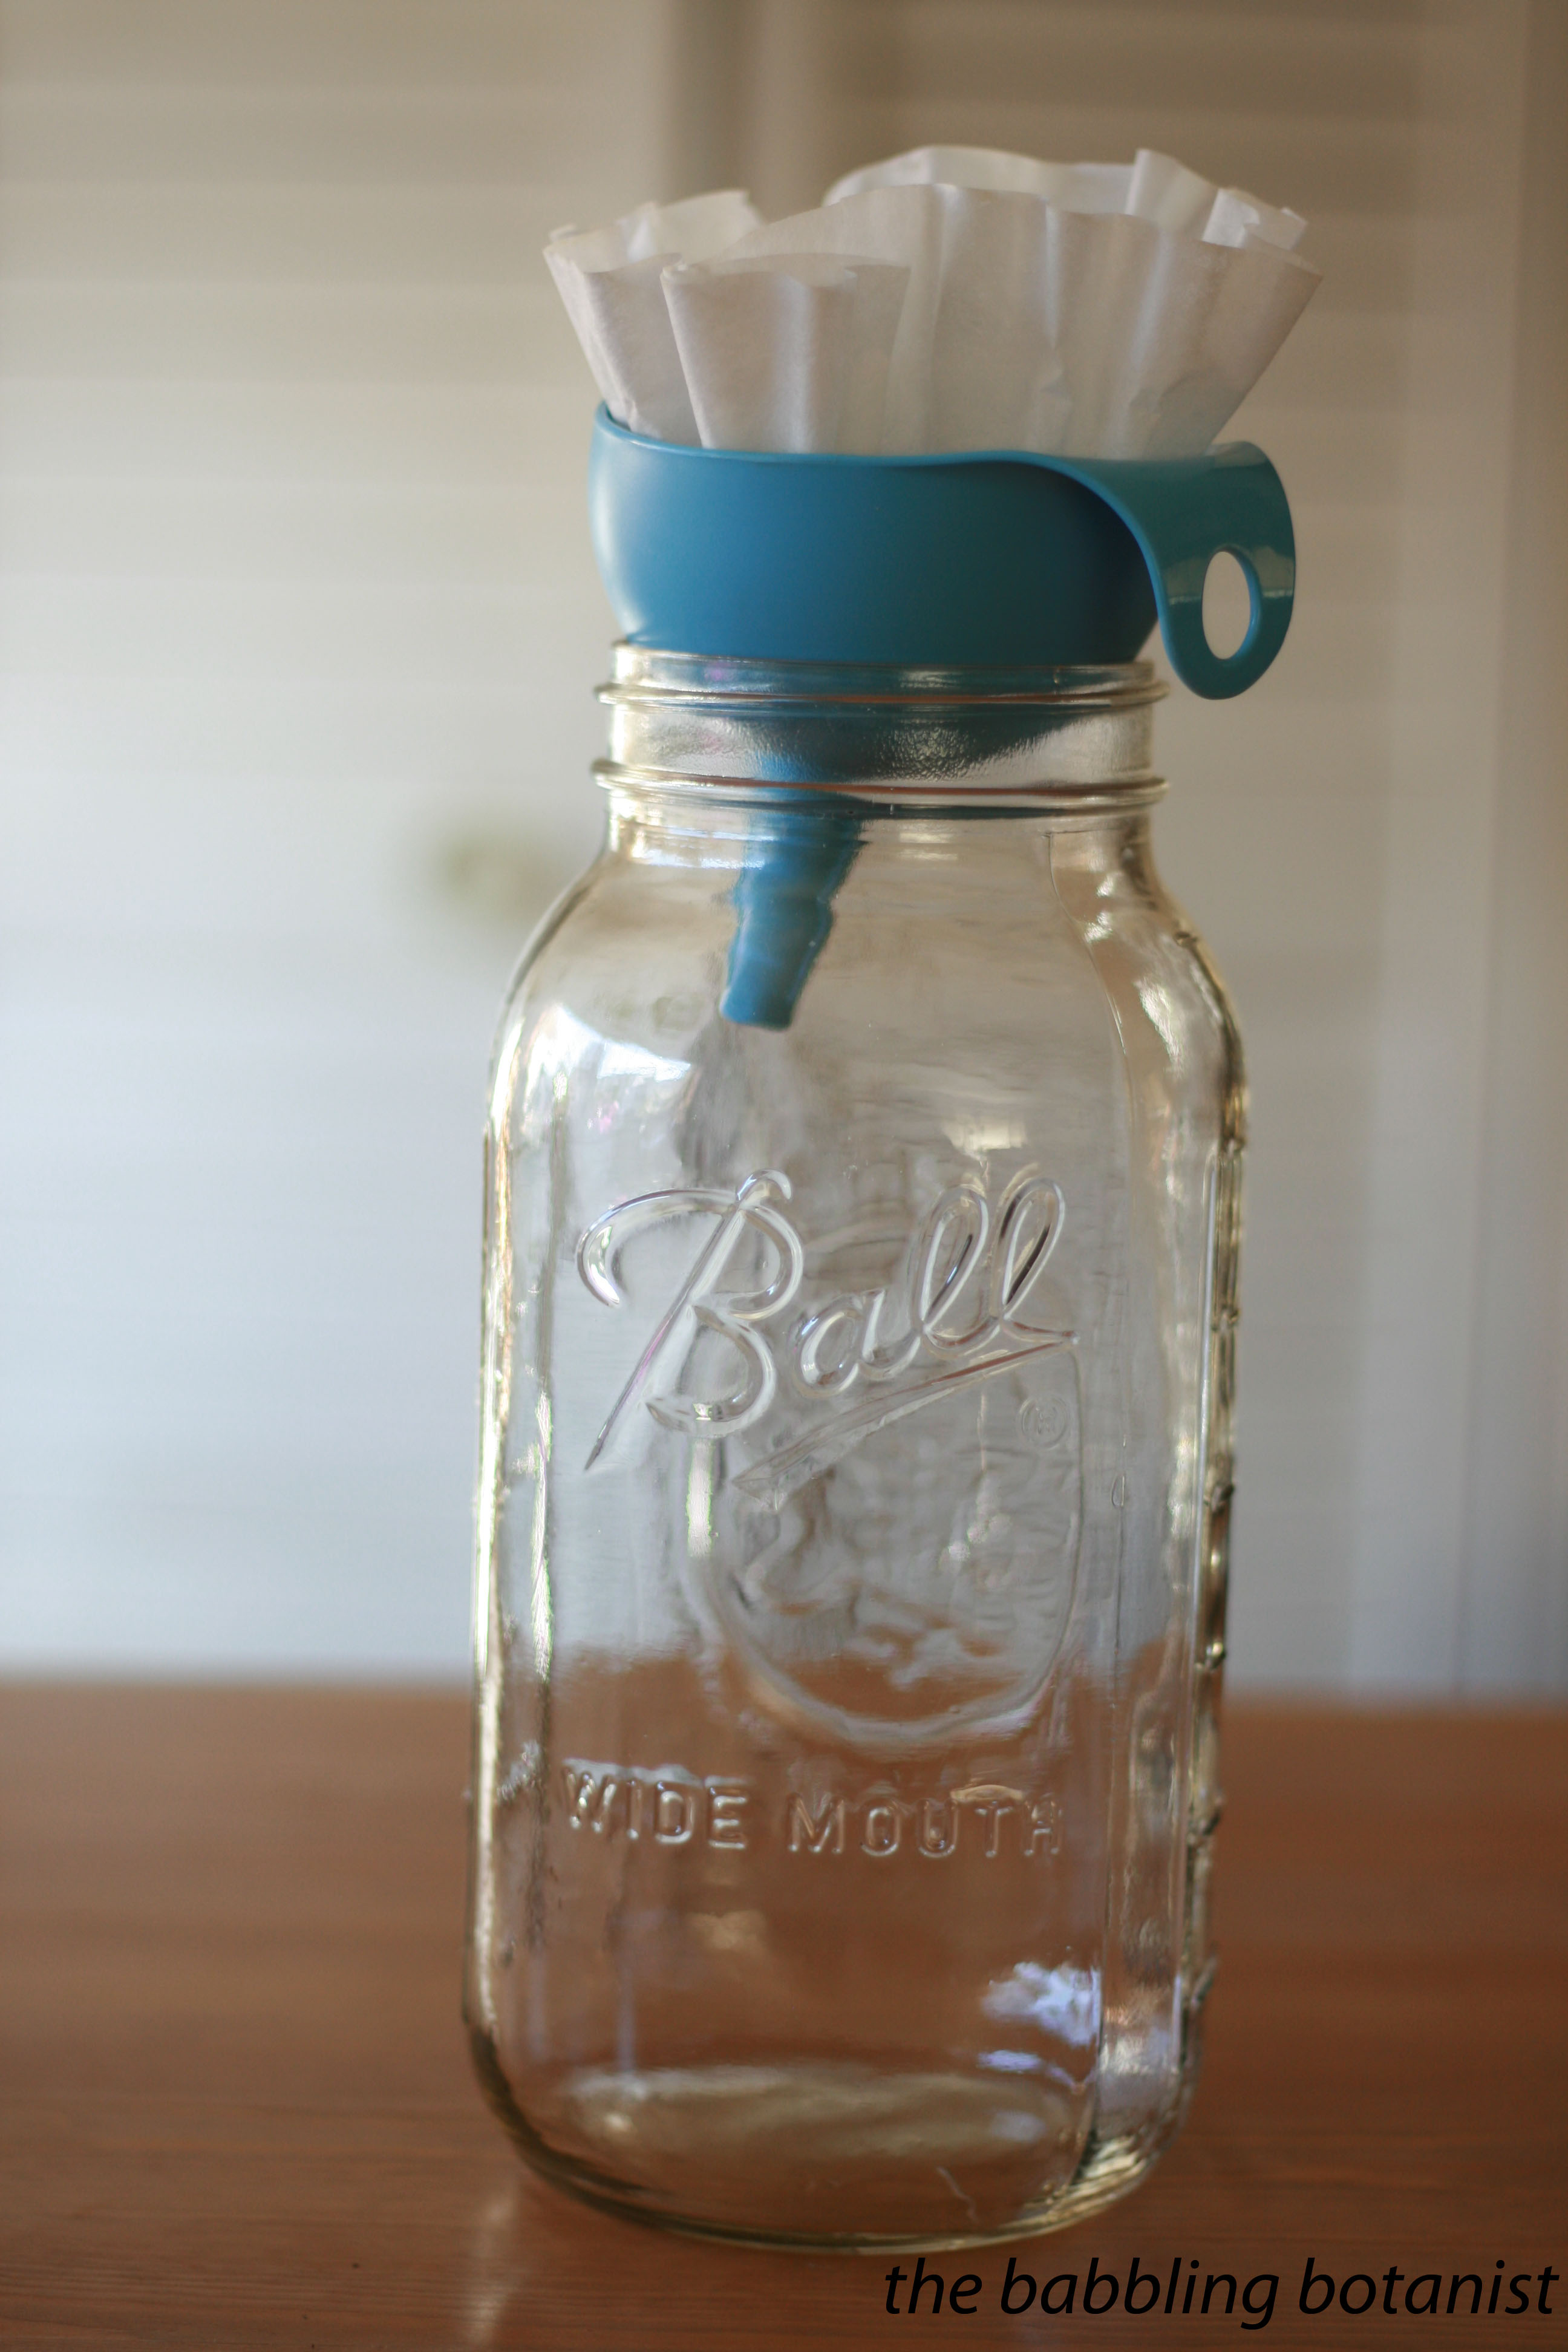
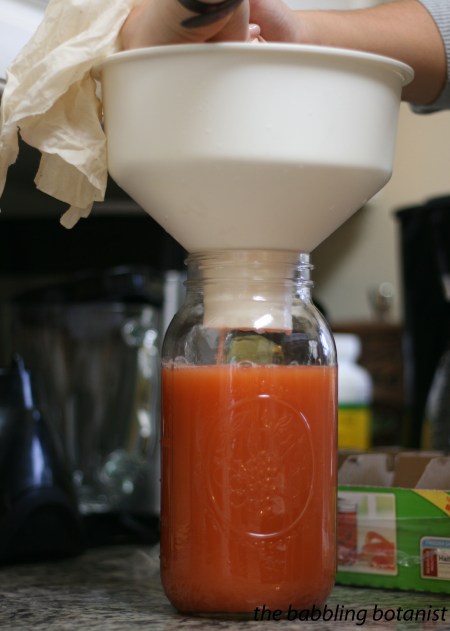
Around the fifth or so day, you’ll notice the cap not floating quite as much, and the bubbles have begun to slow in frequency. At this stage it is time to strain off the solids. There are a couple of ways that you can do this, but this is the setup I have rigged up. If you are only doing one gallon, just straining it without additional equipment is reasonably easy. If you have a full 3-5 gallon batch going, a fruit press or something more suited to 20 or so pounds of fruit may be necessary.
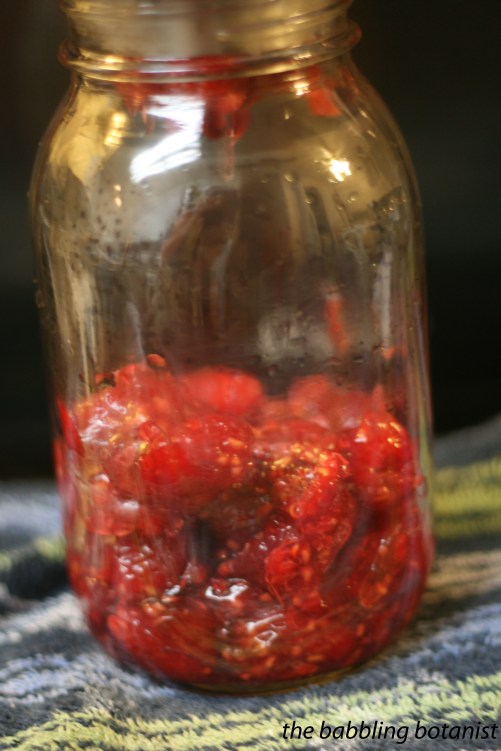
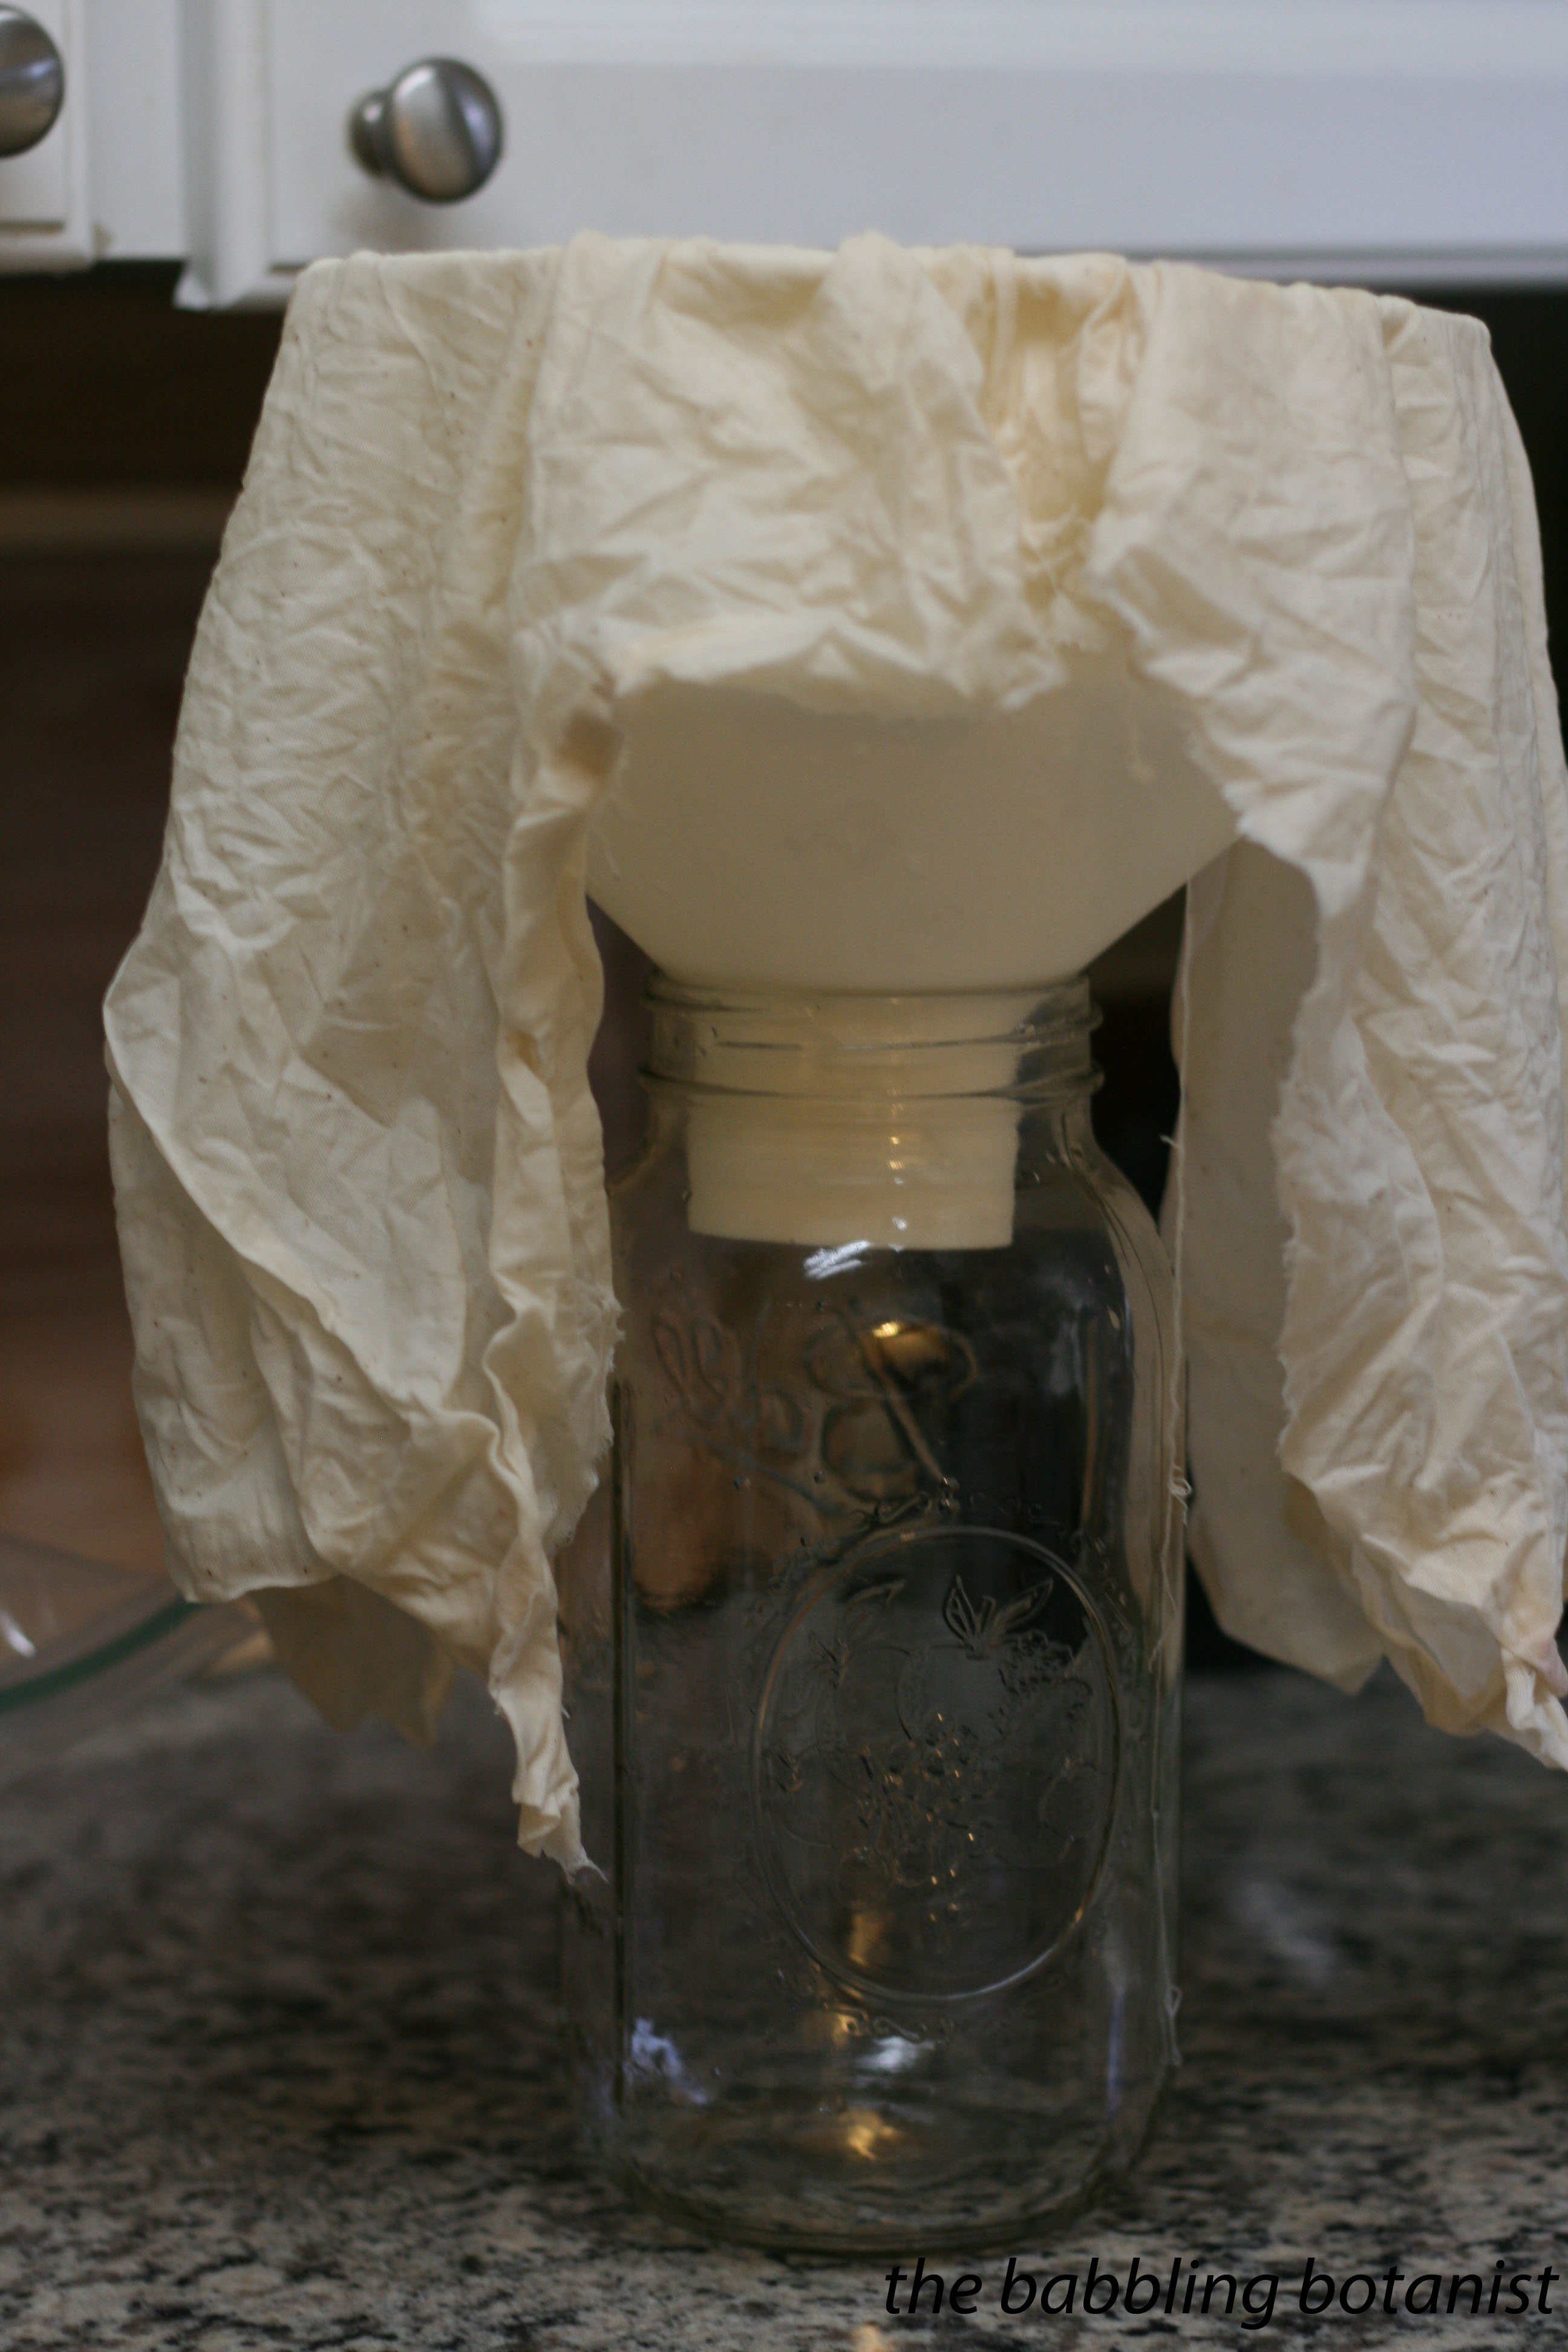
What I do is use a funnel (it’s actually the hopper from my food strainer) covered in a dampened layer of muslin, and strain the wine into a half gallon jar. This funnel happens to fit perfectly into the mouth of the half gallon jar.
Clean and sanitize the funnel, 2 half gallon jars and a one gallon glass jug (this is where your wine is going next). Dampen a section of muslin or cheesecloth and drape it into the funnel. Carefully dump the wine from your primary fermenter into the funnel. It won’t all fit at once of course so let it strain and add some more.

Once one jar it full you will want to transfer the funnel carefully to the other jar. When almost all the liquid is drained through, you can squeeze more out of the fruit if you want. Since I use a cloth that lets very little solids through, I give it a really good squeeze at this point. The cloth I use isn’t linked to here since it’s from a craft store and I was having a difficult time finding exactly what I wanted to show on amazon. Anyway, if you are using a coarser (bigger holes) mesh you probably won’t need or want to squeeze it a ton or you’ll have solids coming through. Now, if you don’t have a funnel set up, you can probably get away with straining it with your kitchen strainer and a layer of cheesecloth, again if you are doing a small batch. A jelly bag would work well too.
Now you have your wine strained. It’s time to transfer it into the gallon jug where you will finish the fermentation and age the wine. Make sure the jug is cleaned and sanitized. What I do at this point is actually just pour it carefully into the jug using a smaller funnel. This is not necessarily the best way to do it, but I’ll explain why I do it this way. If you just strained the fruit through a much coarser funnel or press, you will have larger particles that need to settle out. These are called the “gross lees.” If you use a coarse strainer, strain all the wine into one container, and allow the gross lees to settle out. I don’t really have any issue with this because I strain it through super fine cloth. However, if you have gross lees, or chunky bits, in your wine, let them settle, then rack the wine into the gallon jug instead of pouring it. You also mix in less oxygen this way, but I figure we’ve already mixed it in when straining it so it’s probably no biggie. Also, in this next waiting stage, any sediment is going to settle out, so if you get a bit it’s OK. Once your wine is in the gallon jug, top it off with a bit of water if you don’t have quite enough. You shouldn’t need to though if you had 1.25 gallons or squeezed the fruit well. Add another campden tablet to the wine. Place the airlock into the jug. You want only a tiny bit of space between the airlock cork and the wine to avoid oxidation of your wine. I would at this point recommend vodka or something in your airlock since at least with my iodine sanitizer, once the iodine evaporates you can get mould growth in your airlock. Mould = BAD. Awesome, now you are done for a while! Place your jug somewhere cool, out of the sun, where it won’t be disturbed.

Day 5ish until ???
After the transfer day, wine making is just a waiting game. You will continue to have some fermentation for a while, but eventually the bubbling will slow and cease altogether. Admire your wine and patiently wait. Good wine does not happen over night. At this point, it’s up to you when you want to bottle the wine. At the very minimum, you want to wait until the wine is clear and all the sediment has settled to the bottom. You also don’t want any more fermentation occurring, so if there is any activity in the wine, do not bottle it. You will have to wait at least a couple of months. Joel’s instructions suggest between one and nine months. Yes, that’s a huge range. One is probably not going to be enough in many cases for it to be crystal clear, and in nine it’s probably drinkable (aged enough to be tasty and ready). I think 3 or 4 is probably plenty. Remember, as long as it’s clear, and done fermenting you can bottle it because it will still age and mature in the bottle. But wine that is bottled without good clarity isn’t going to clear anymore in the bottle.
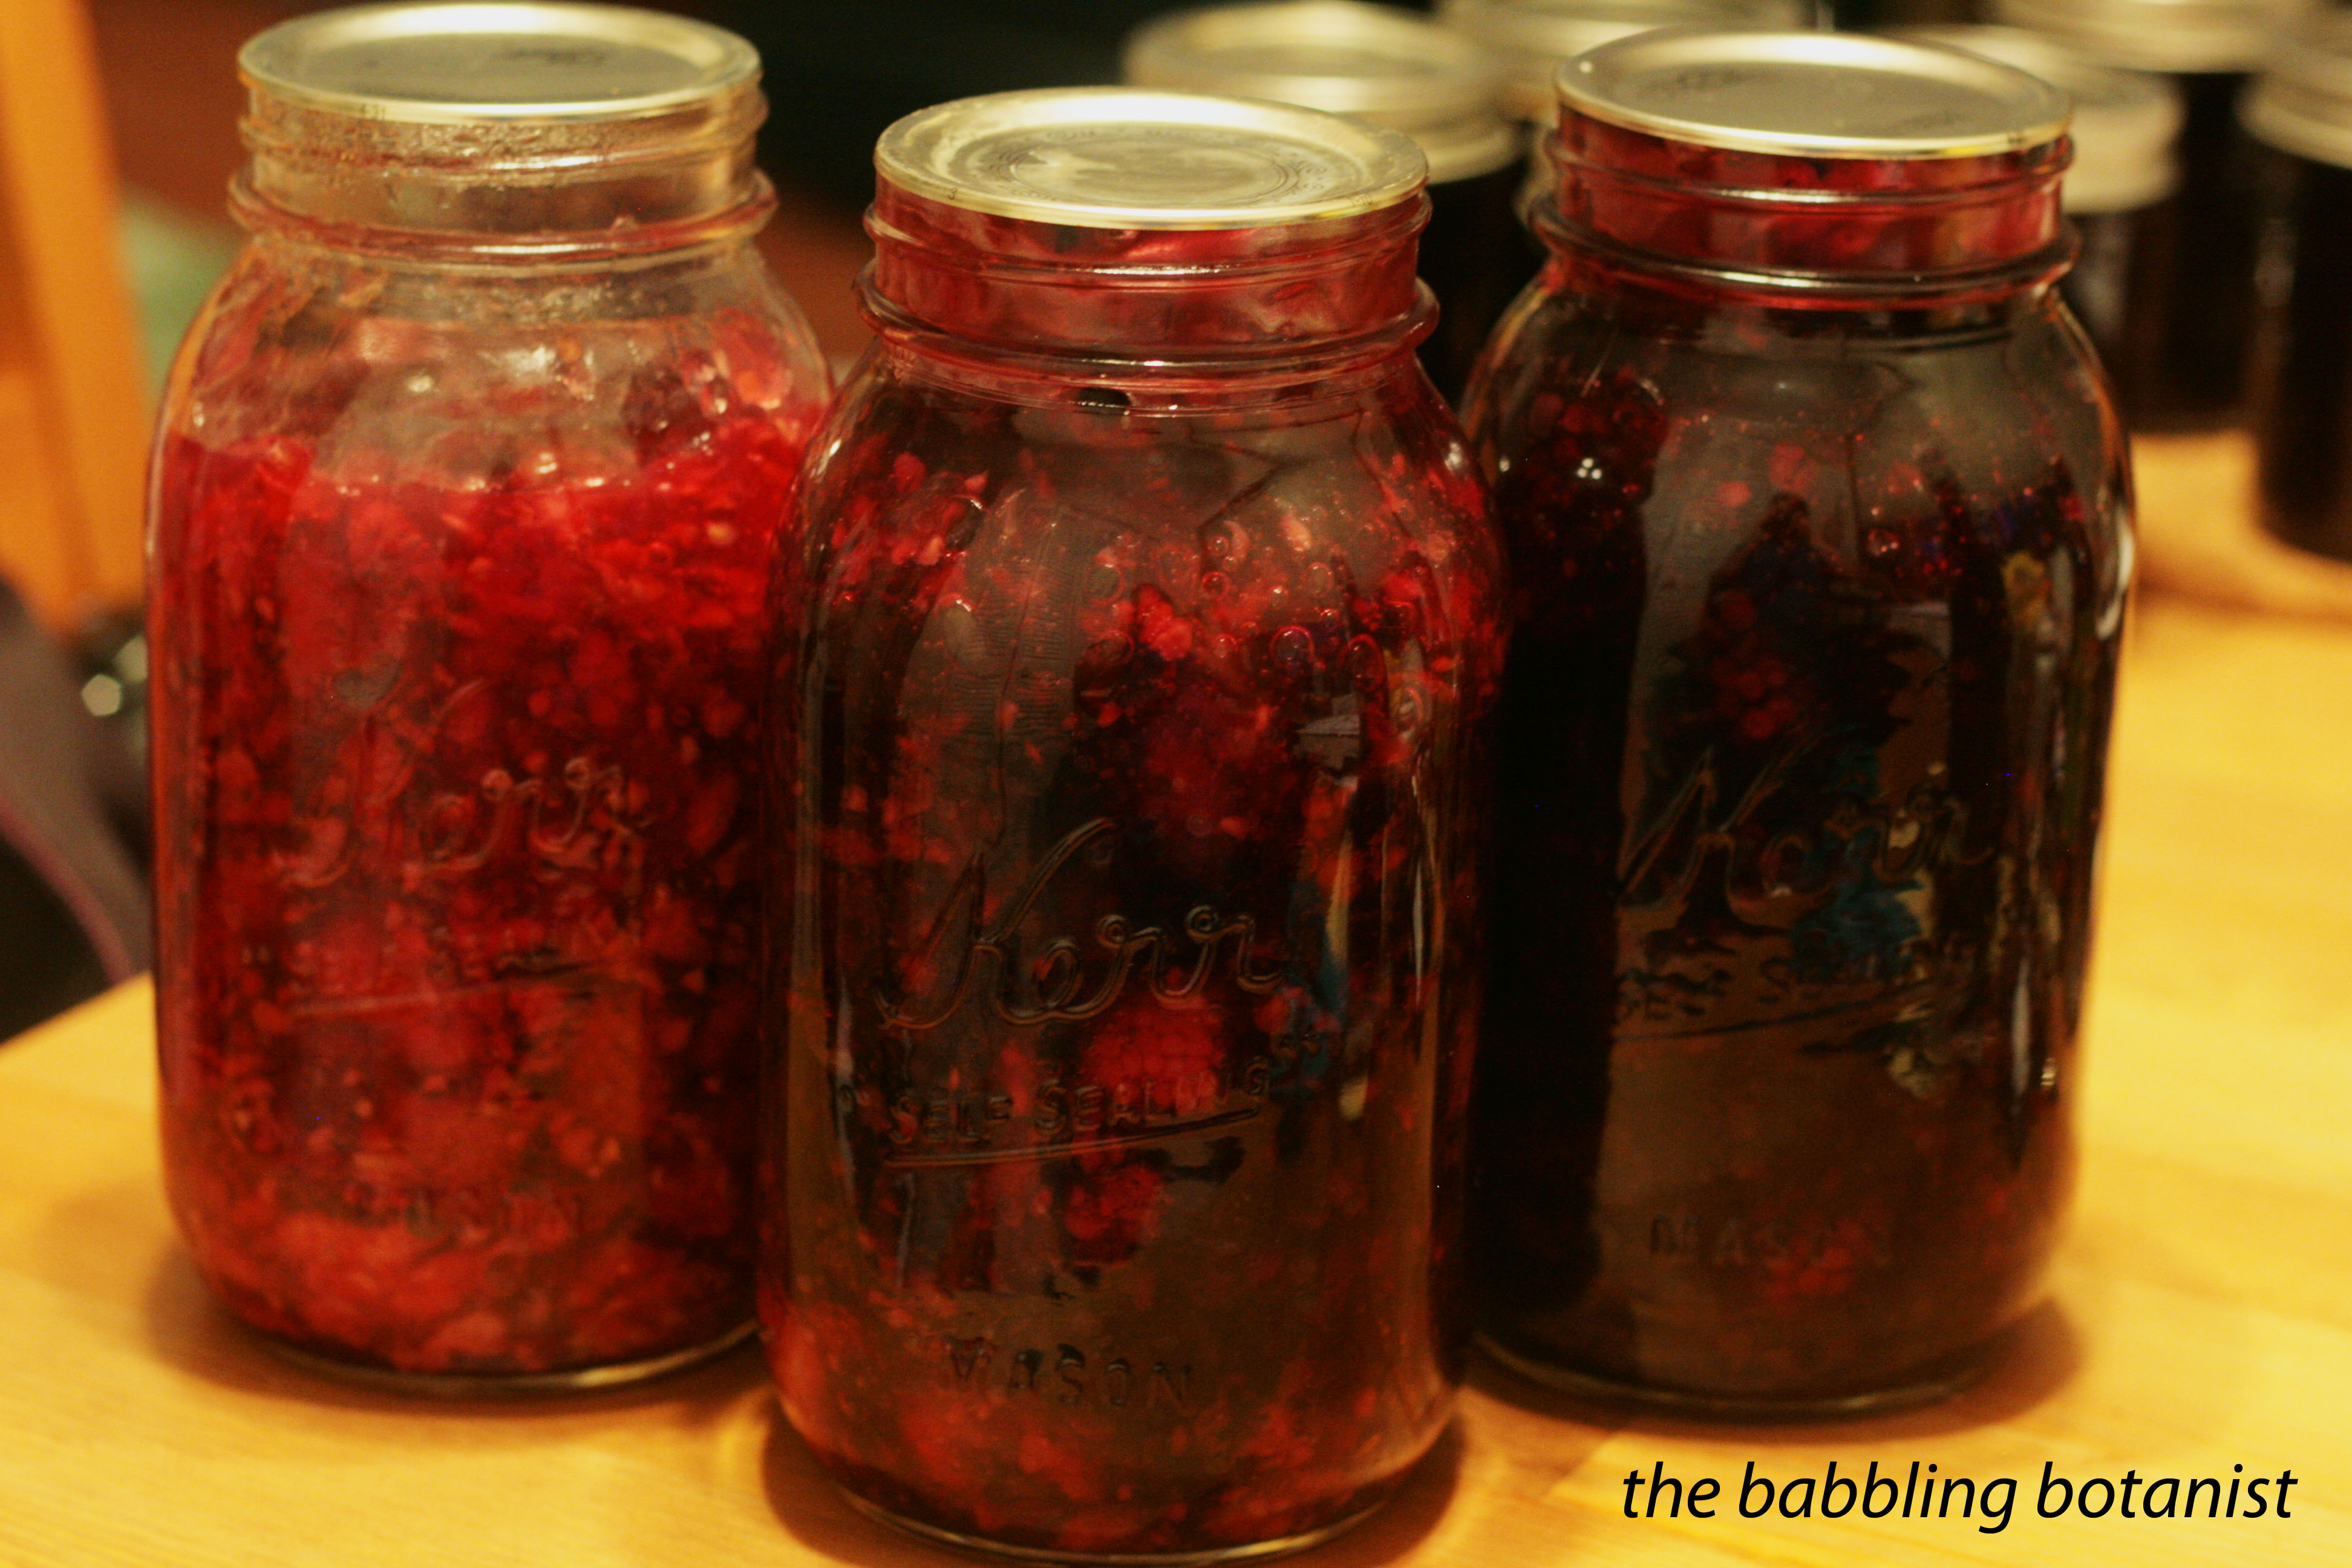
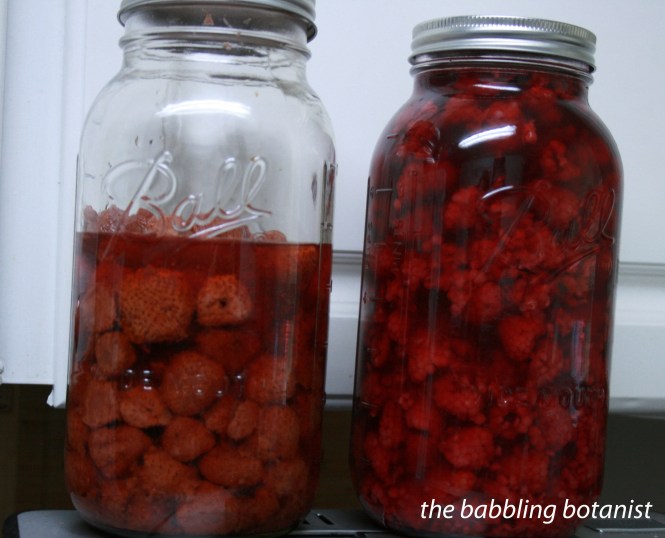
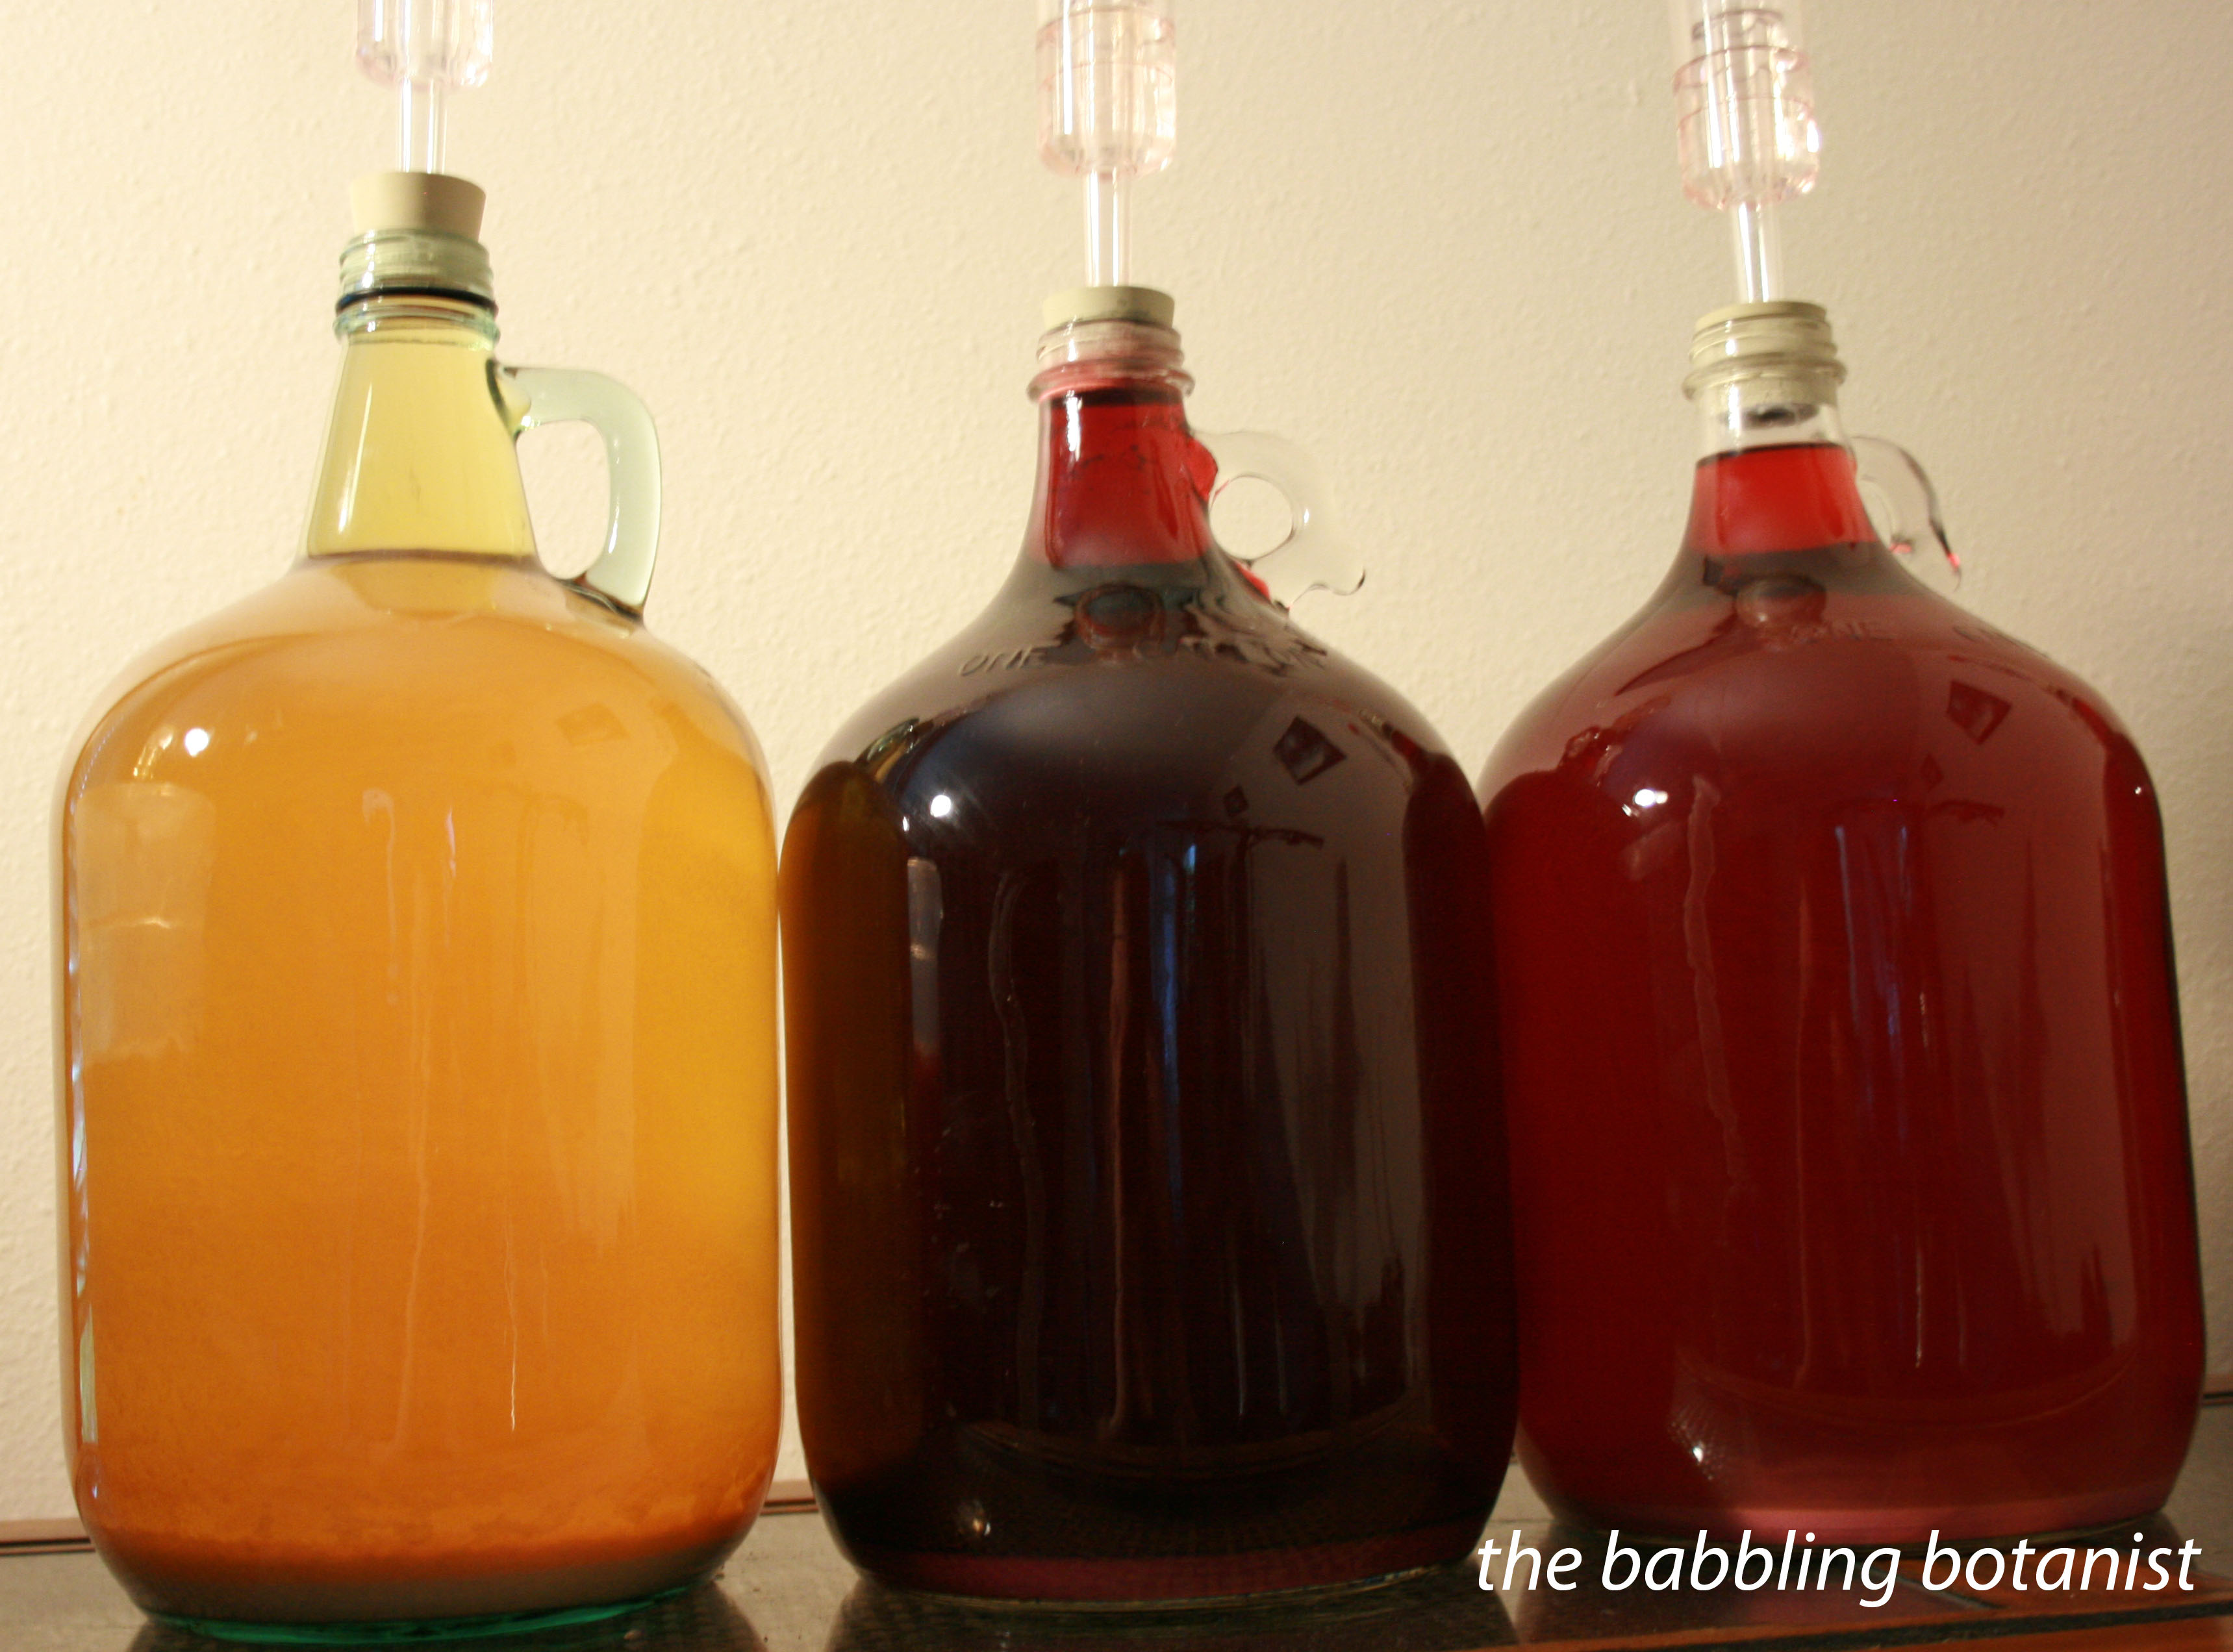
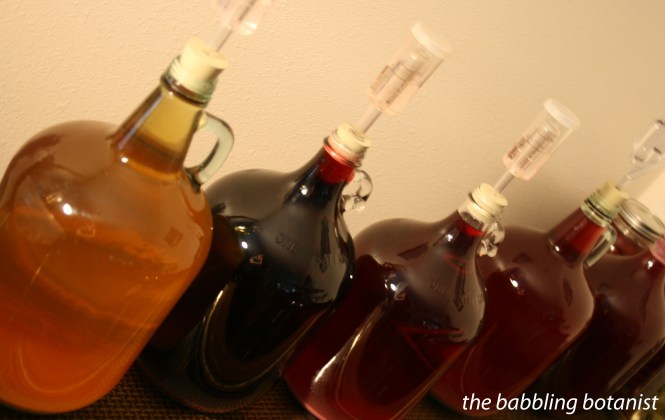
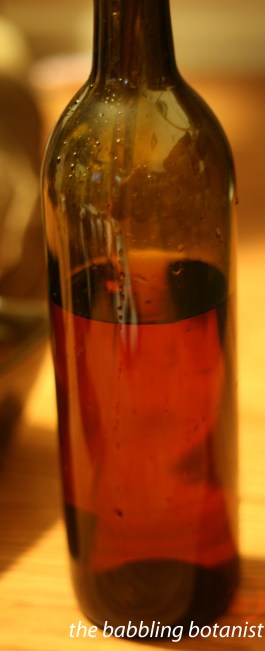
From left to right, peach, blueberry, and raspberry wine during the aging process.

Day 100 ish
Wow, has it really been 95 days? Time flew by! It is time to bottle our wine. We haven’t seen a bubble in 2 months and the wine is crystal clear! Today what you will need is 5 regular sized wine bottles (750 ml). I don’t buy these because I think that would be insane when I already drink wine. Just save your bottles and rinse them out. You will also need 5 corks (number 8 or 9), a corker (they make two main kinds of basic ones – this round compression one, these double level ones and these floor ones), a racking cane with tubing or mini auto siphon and preferably a bottle filler.
Sanitize all your equipment and your bottles and let them air dry. Very gently rack your wine into each bottle. Don’t disturb any of the sediment on the bottom of the jug. Fill your bottle up enough that you will only have a very small amount of space between the wine and the cork. I like to actually hold a cork up to the side of the bottle and see where it will sit so I can adjust the level of the wine. Once you fill all five bottles, cork them up and you are done! Store the wine in a cool dark place and enjoy your wine whenever you desire.
‘
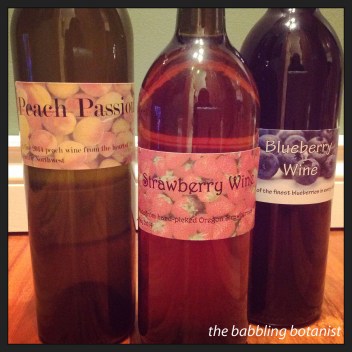
If you are going to gift them, it’s super fun to make adorable labels for them (shipping labels actually work great – you can design any decorative label you want using the template in word) and add the fancy shrink wrap to the tops
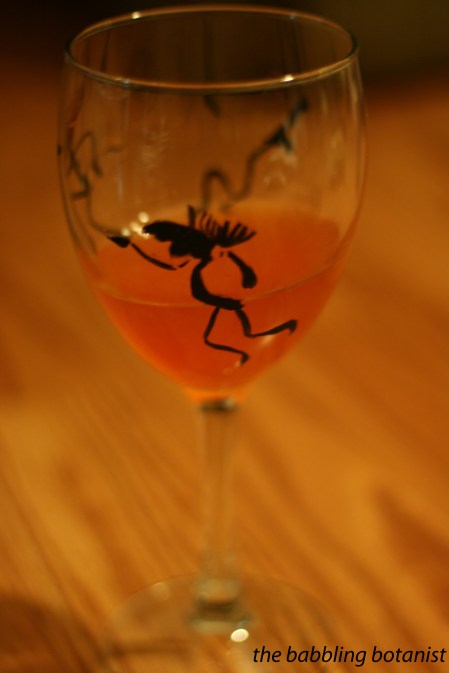
Unfortunately, a gallon of wine just barely fills five bottles, so you don’t have much left over, but be sure to sample the wee bit that remains, even if it is the sediment filled stuff at the bottom of the jug. Happy brewing!
*this post contains affiliate links, please see the “About the Blogger” page for more information