Wine. Wine. What can I say about wine? The nectar of the gods. Wine is a delicious fermented beverage that people have been making and drinking for thousands of years. While the art of making phenomenal wine may be a skill that takes time to perfect, it’s actually not very hard to make pretty darn good wine at home. And for the cost comparison it can be well worth your while!
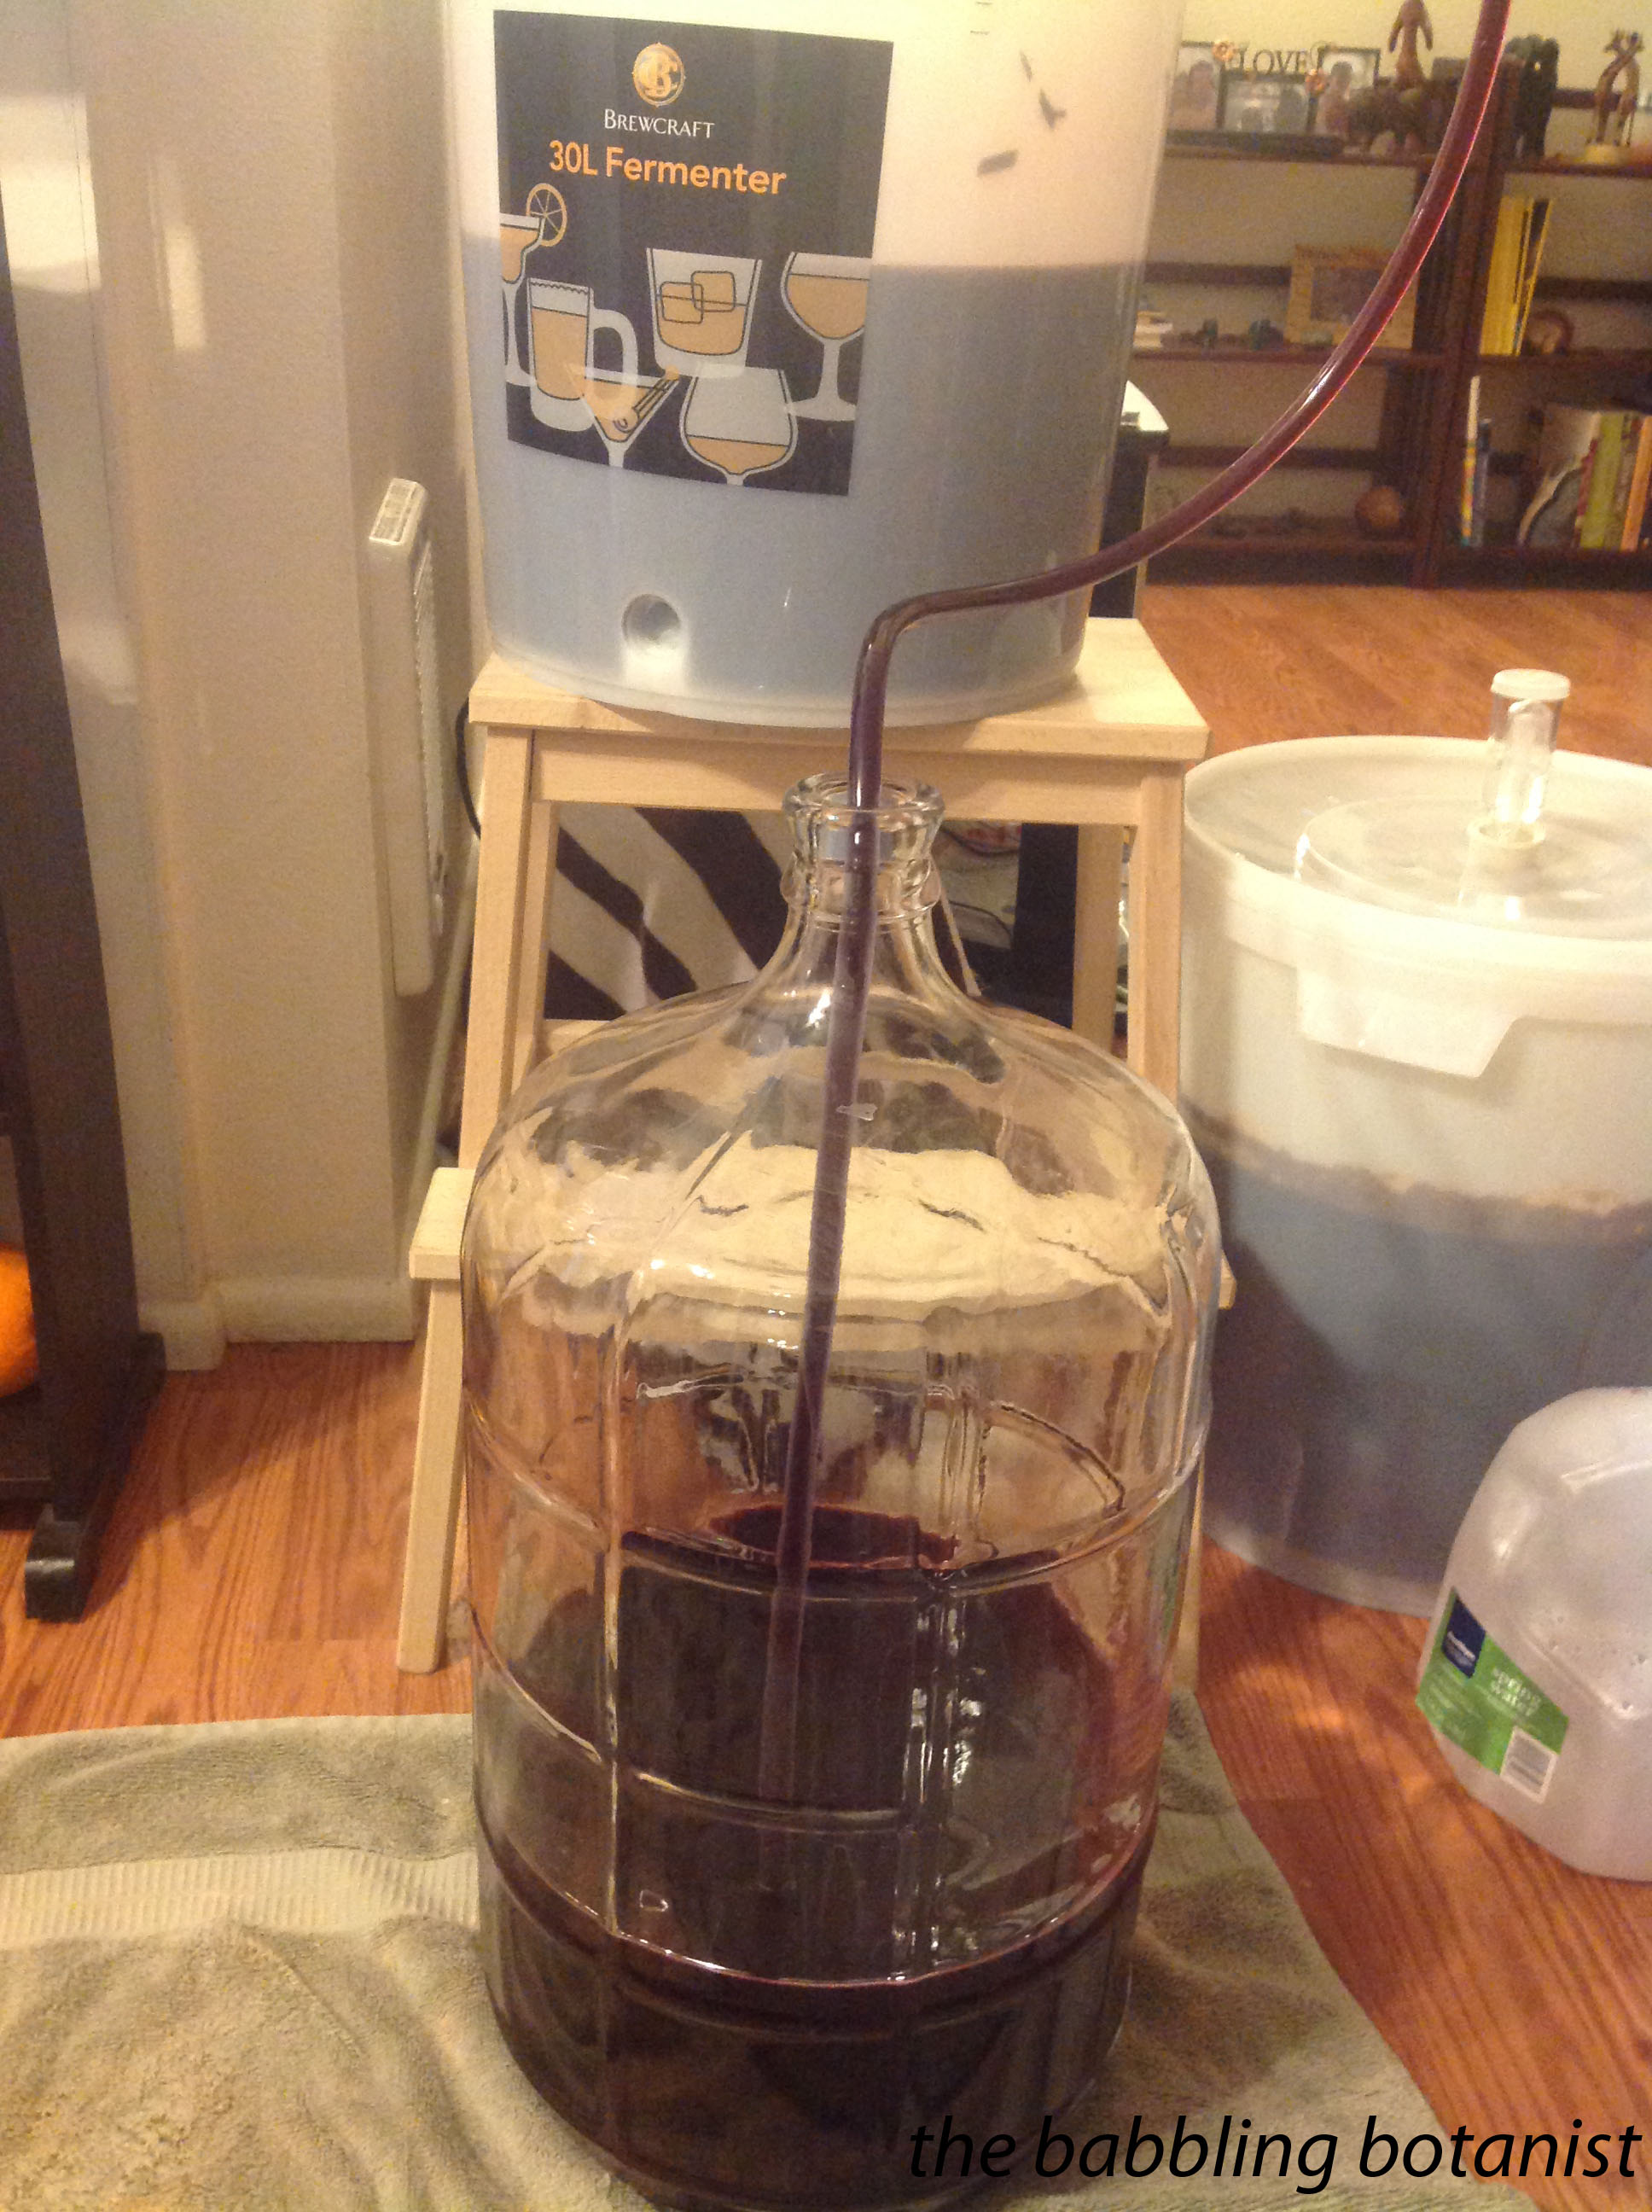
If you read my last post you know that we already invested in a beer starter kit, so we bought a few additional things, but mostly the kit will work for both. Typically the wine kits (the ingredient kits as opposed to the equipment kits), which are a great place to start, make 6 gallons , so you need a 6 gallon carboy rather than 5 with the beer. This starter kit would be enough to get you started. Personally, I’d go for a glass carboy just because I feel like they are easier to clean and I’d prefer my wine to be sitting in glass than plastic for extended periods of time (although the primary buckets are plastic). But some “fancier” wines sit a lot longer. Anyways, start with a wine kit to try your hand at wine, everything you need is included right there in the box! Pictured below is my primary fermenter with everything that came in my first kit! yay!
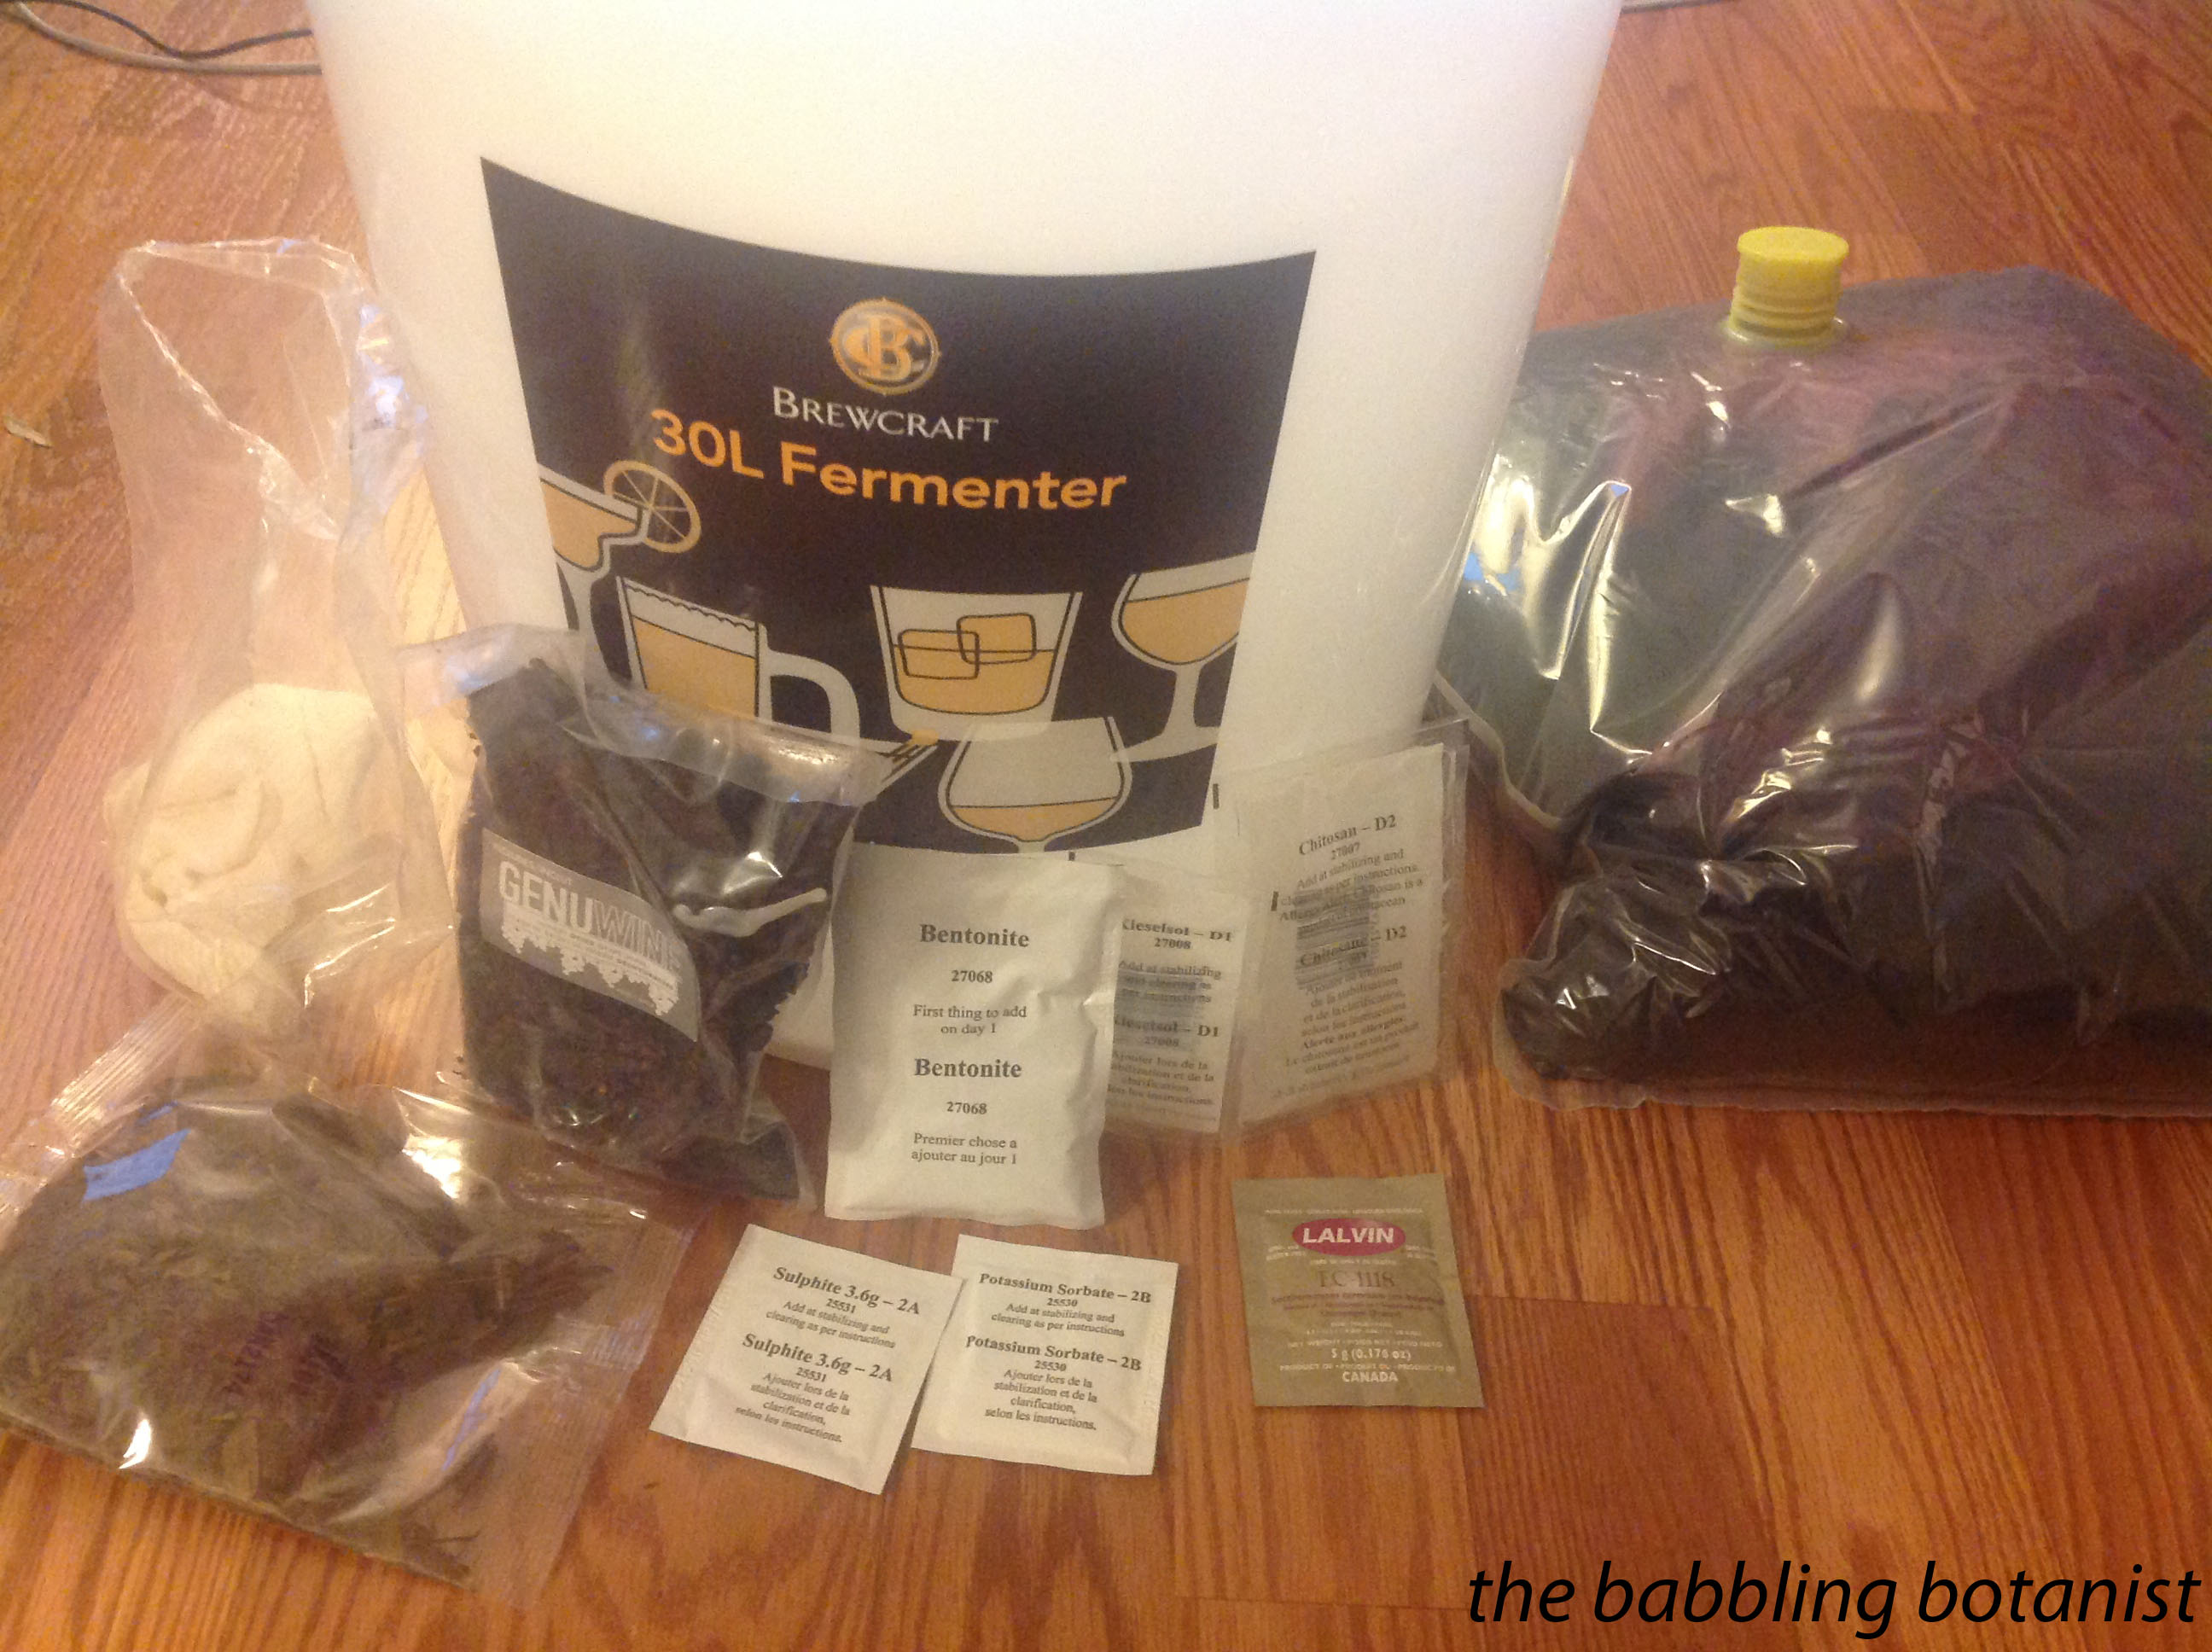
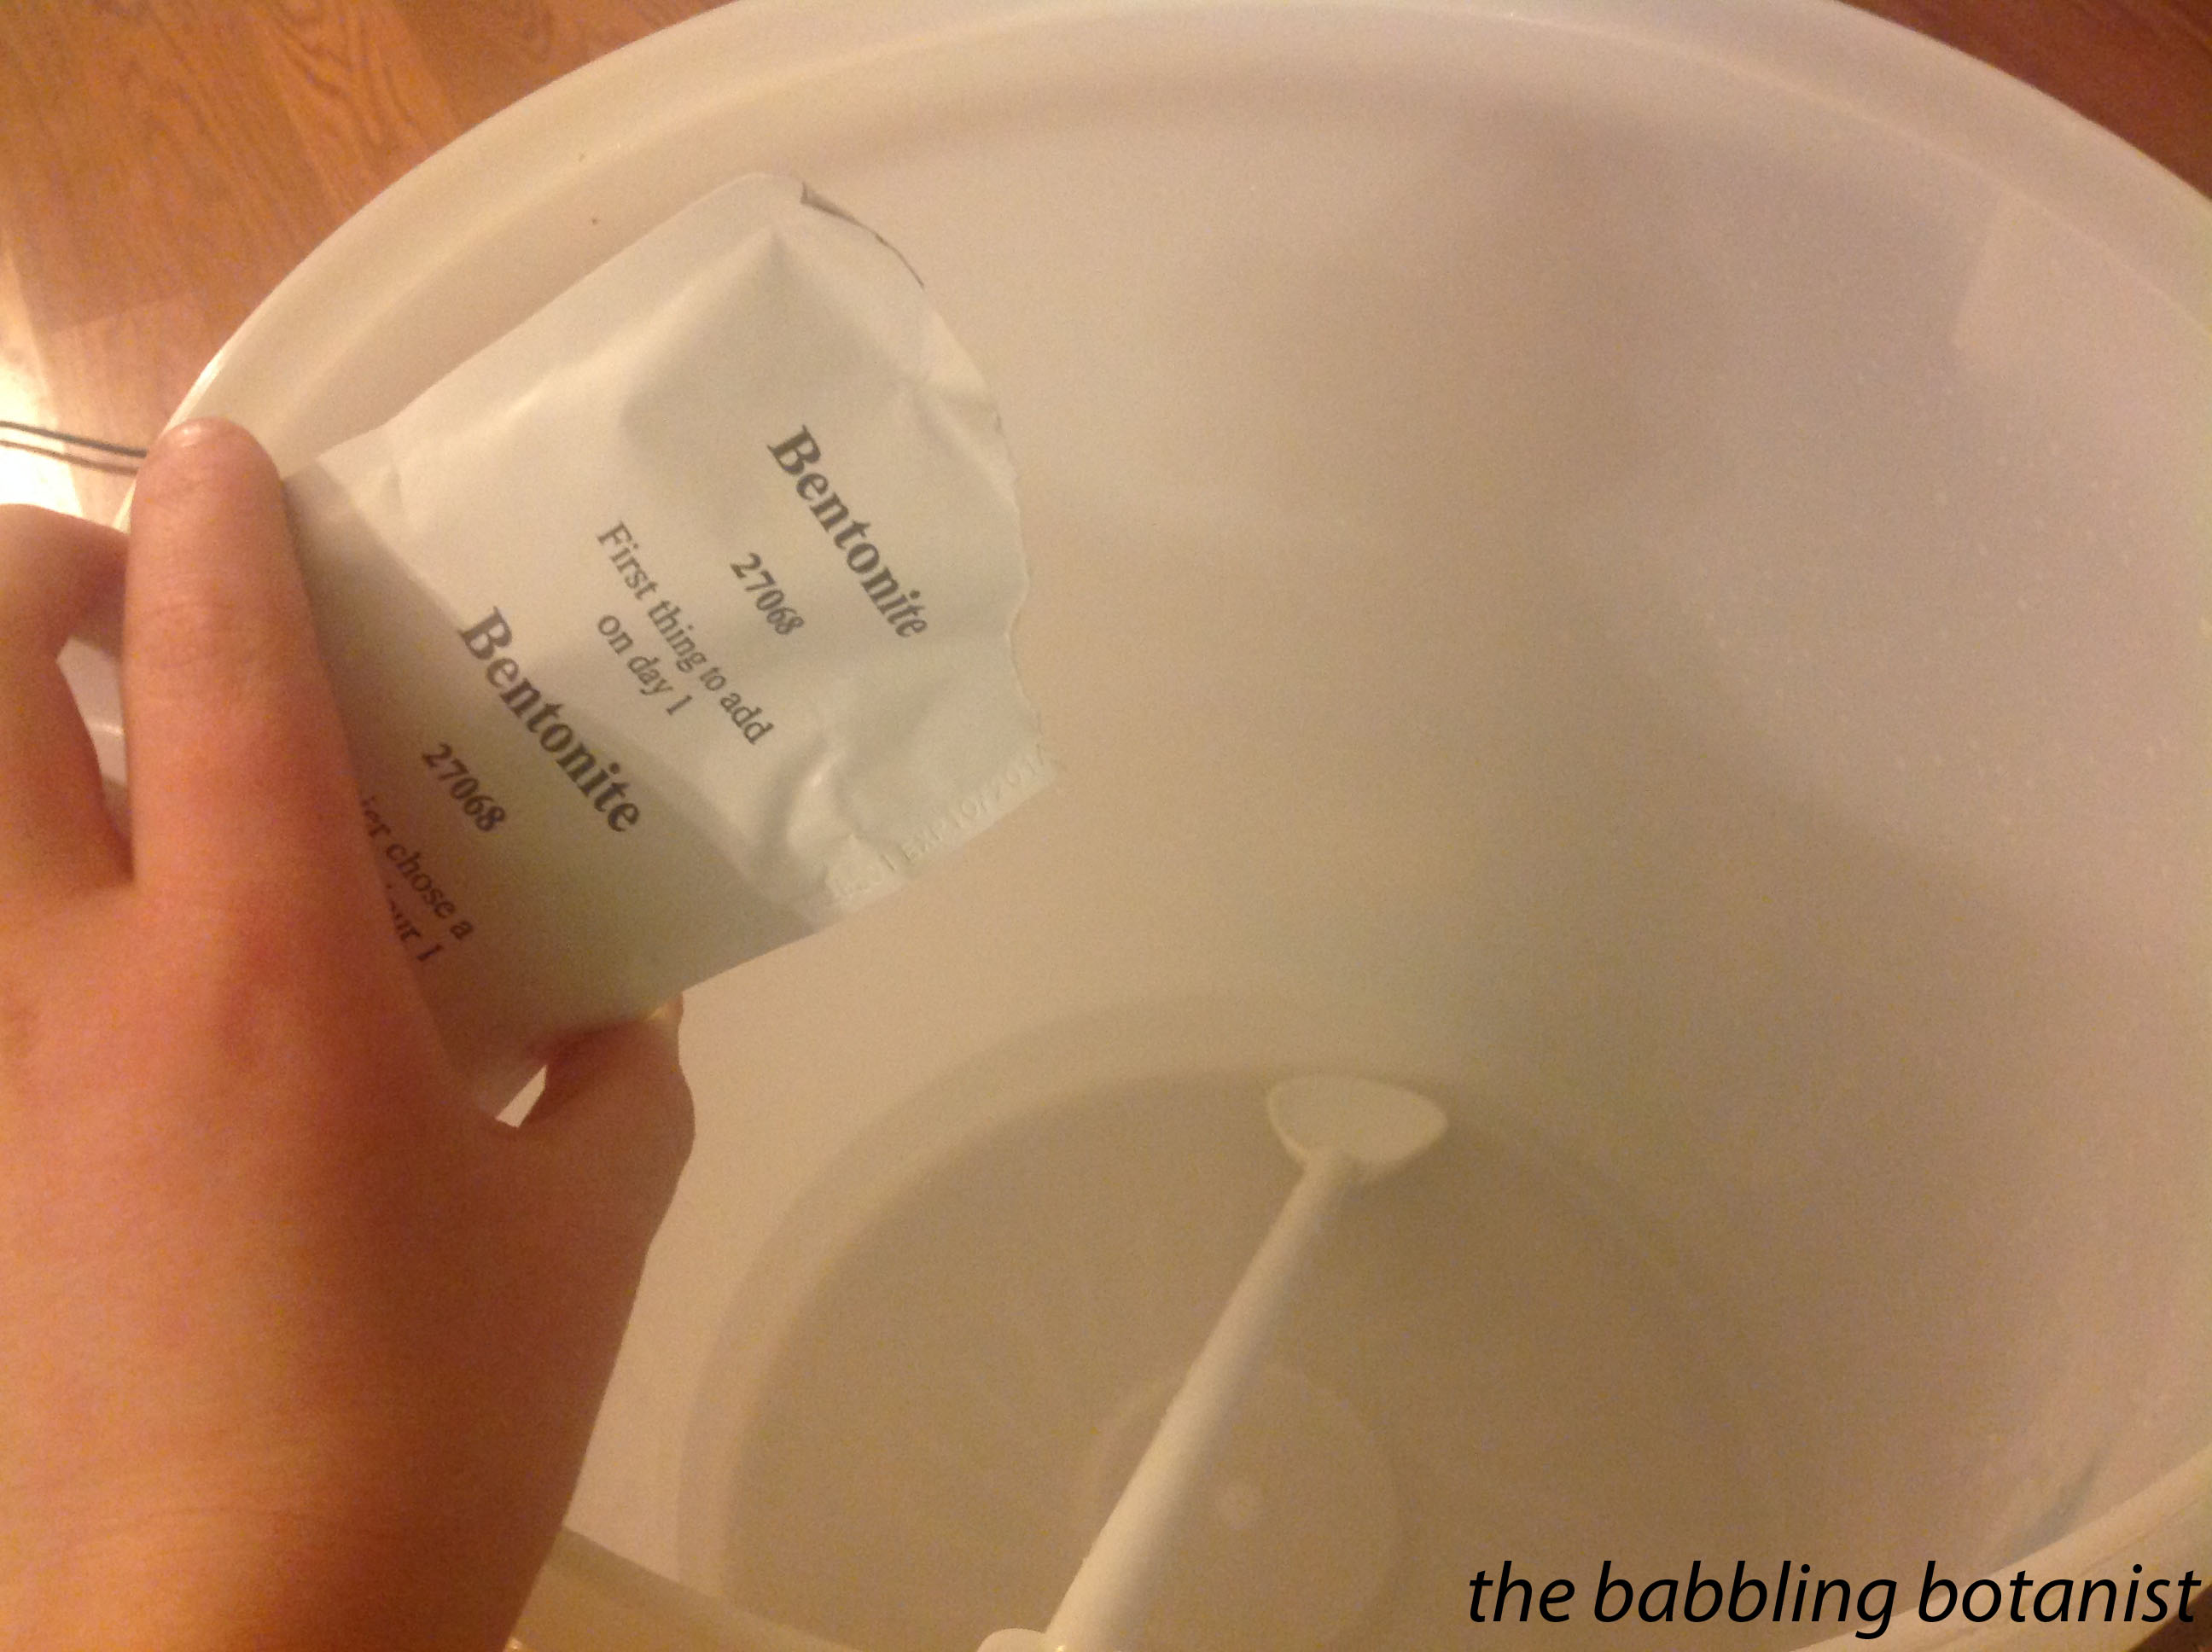
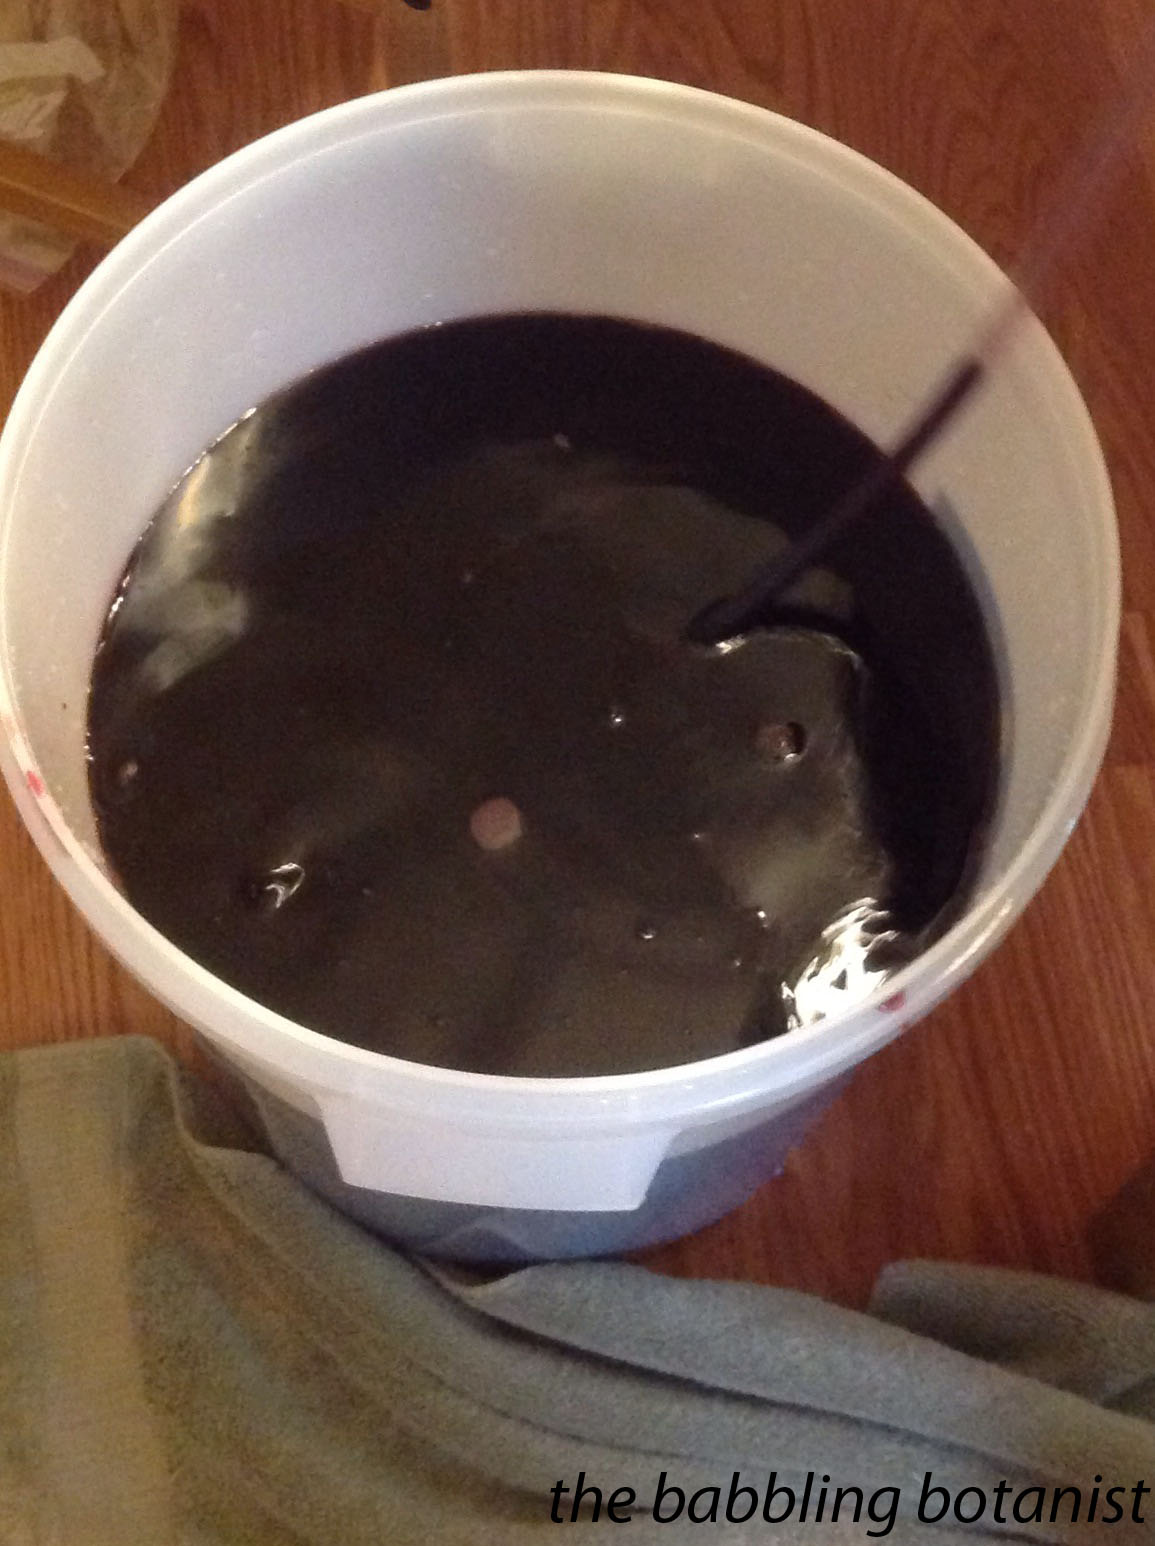
The first step for homemade wine is about as easy as it gets. You stir bentonite into warm water. Then add in that big sack o’ grape juice concentrate once it is dissolved. We could not figure out how the heck to pull off the cap without exploding it everywhere so I recommend one person holding it over the fermenter while the other cuts a hole in the corner.
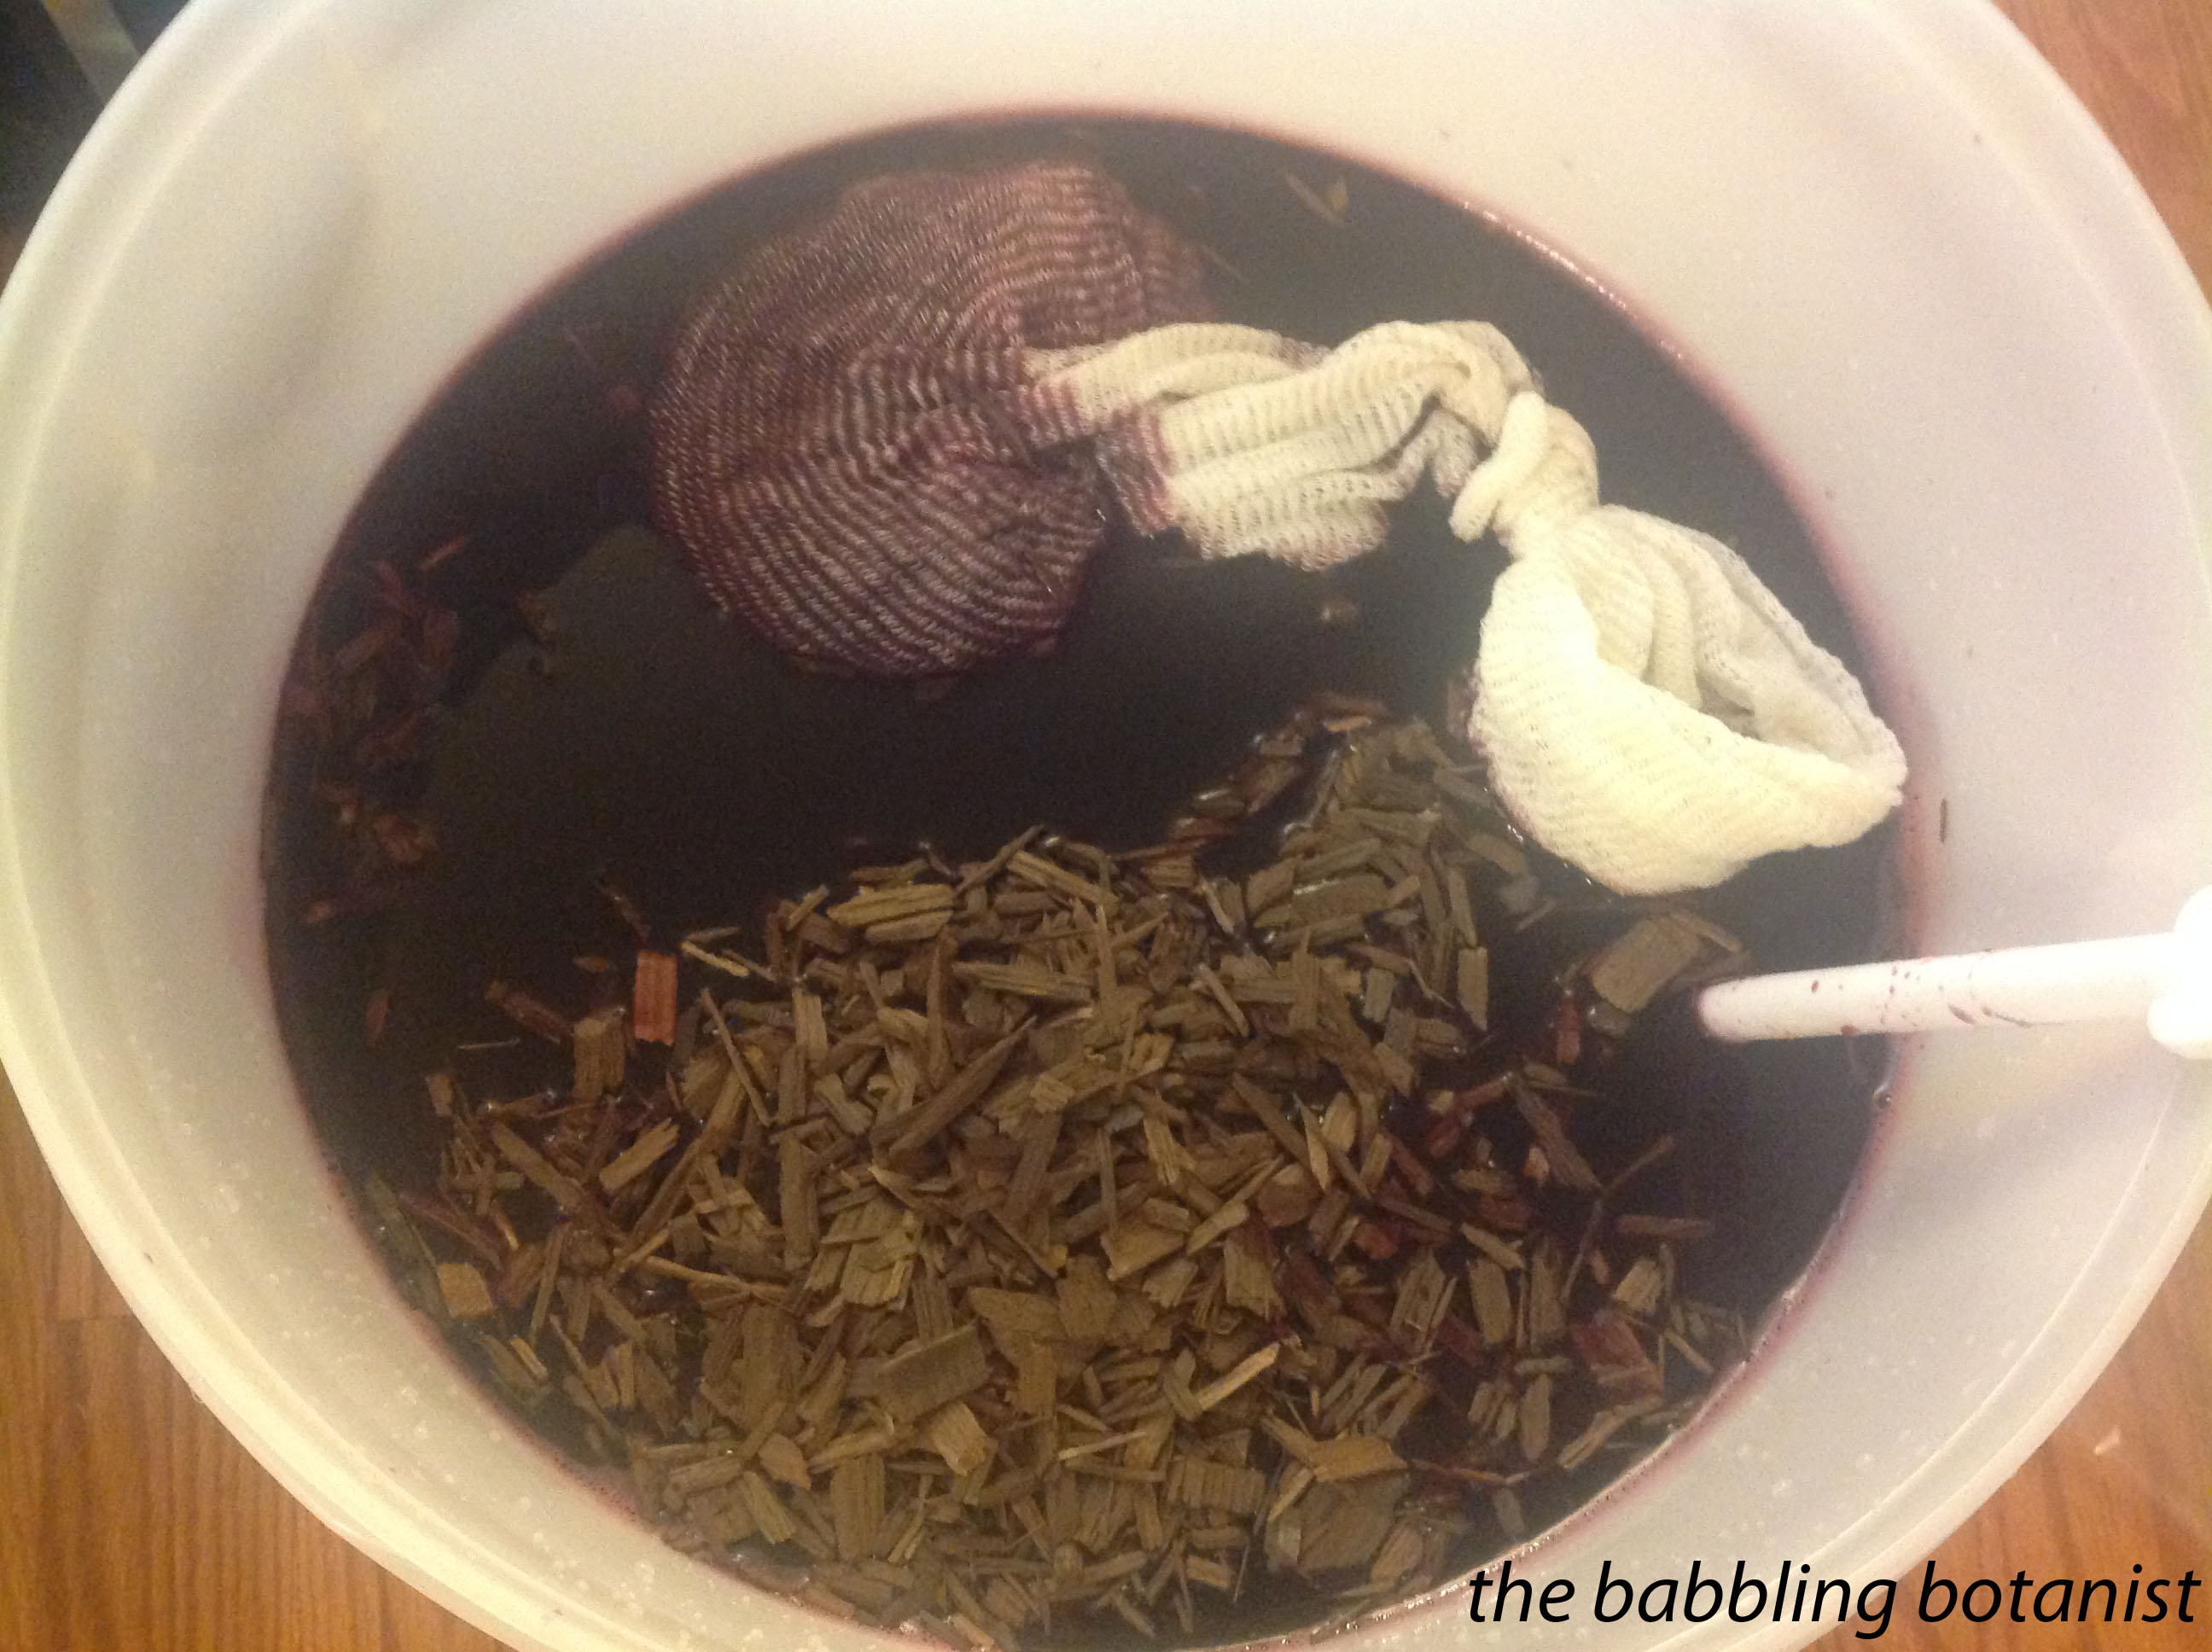
For this merlot there were also dried grape skins, which you put in a sack and add to the bucket. Then, you top it off to 6 gallons with water. Next, throw in some wood chips. Aging wine in fancy wood barrels, psshhh we just throw the wood in the wine instead of putting the wine in the wood.
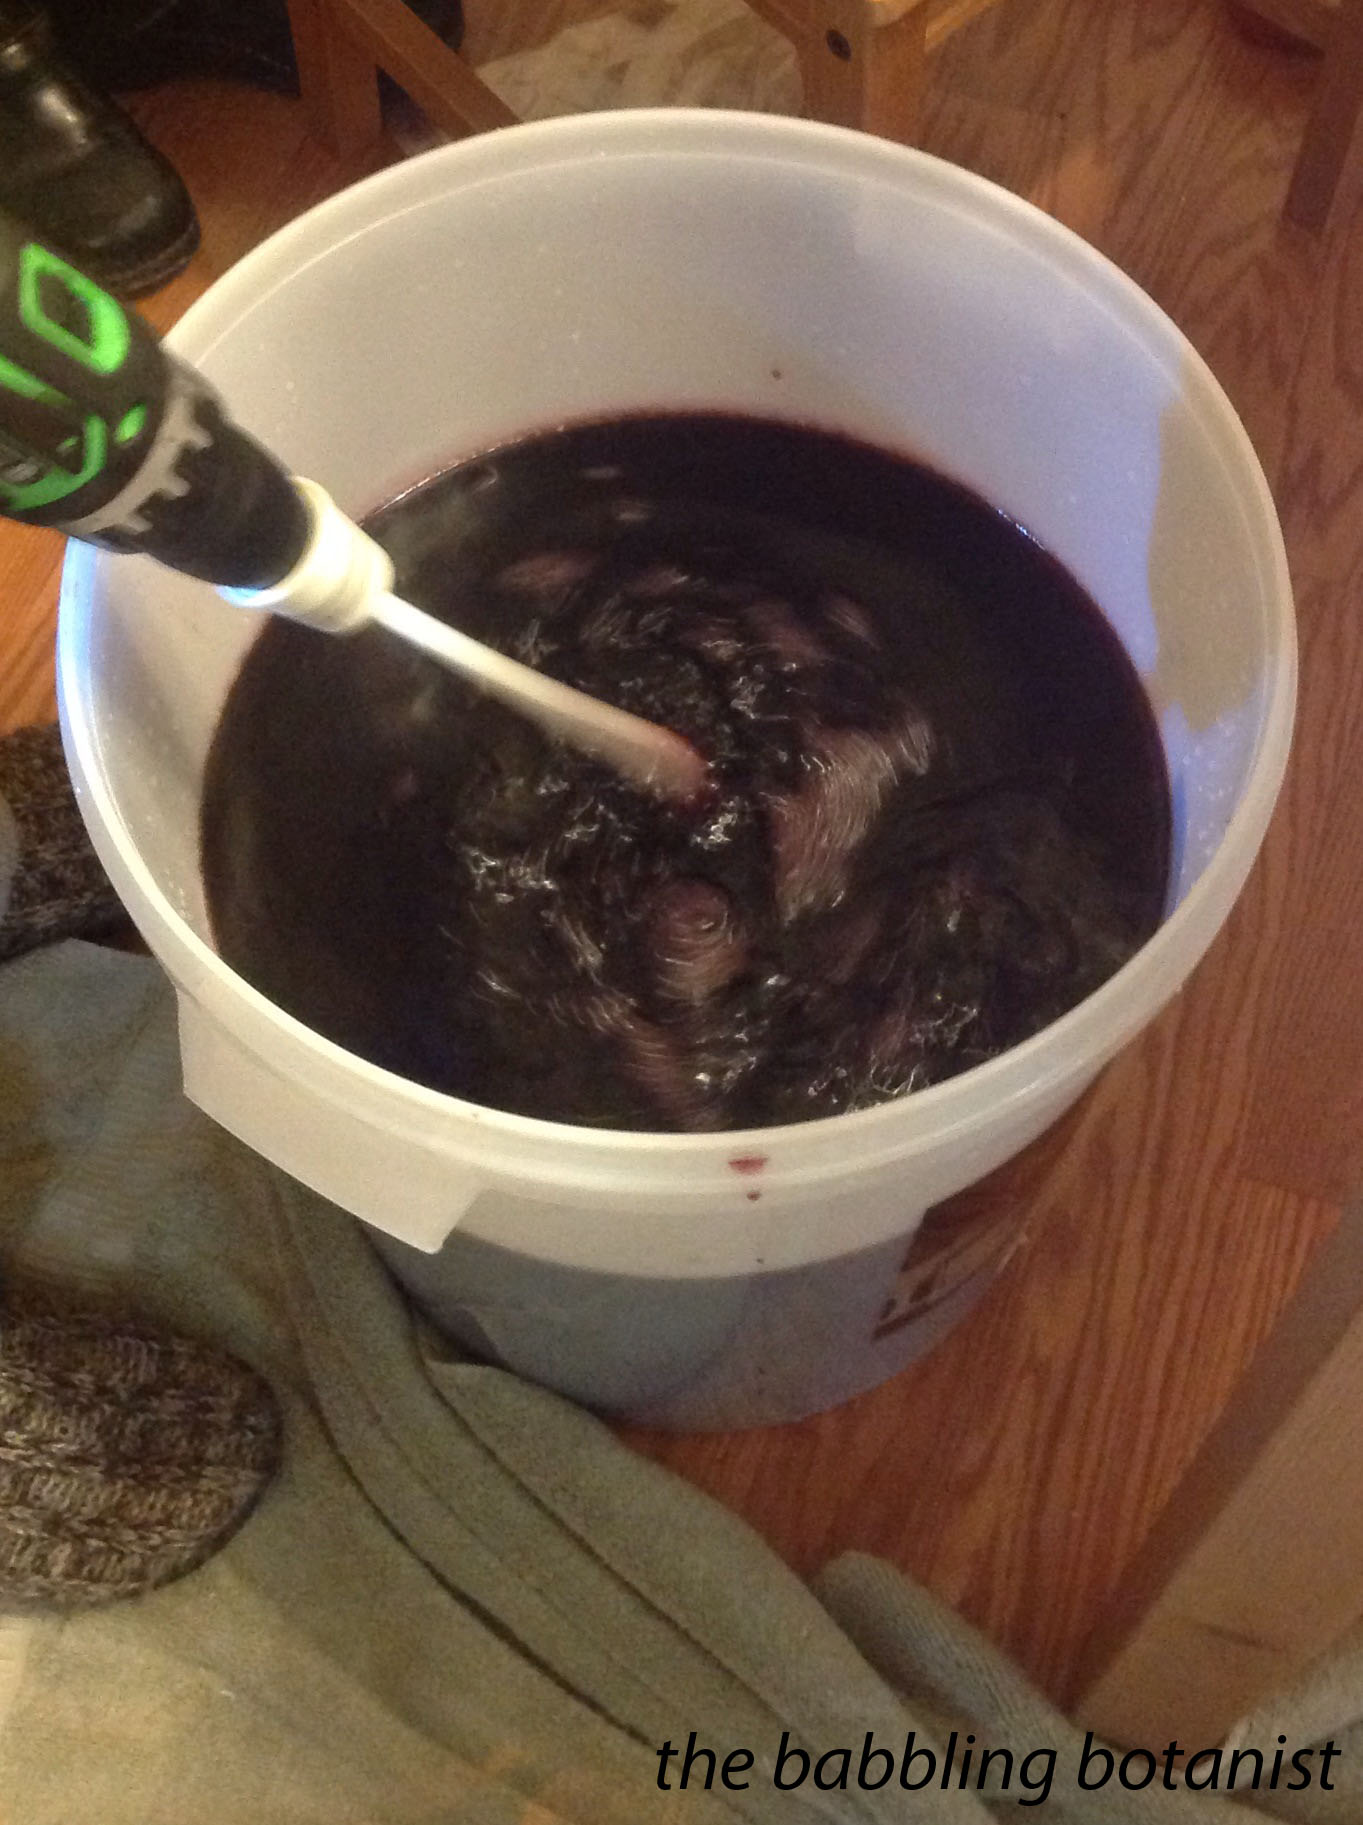
Take a hydrometer reading so you know your starting sugar content and can calculate percent alcohol at the end. Stir it all up, add in the yeast. Presto!
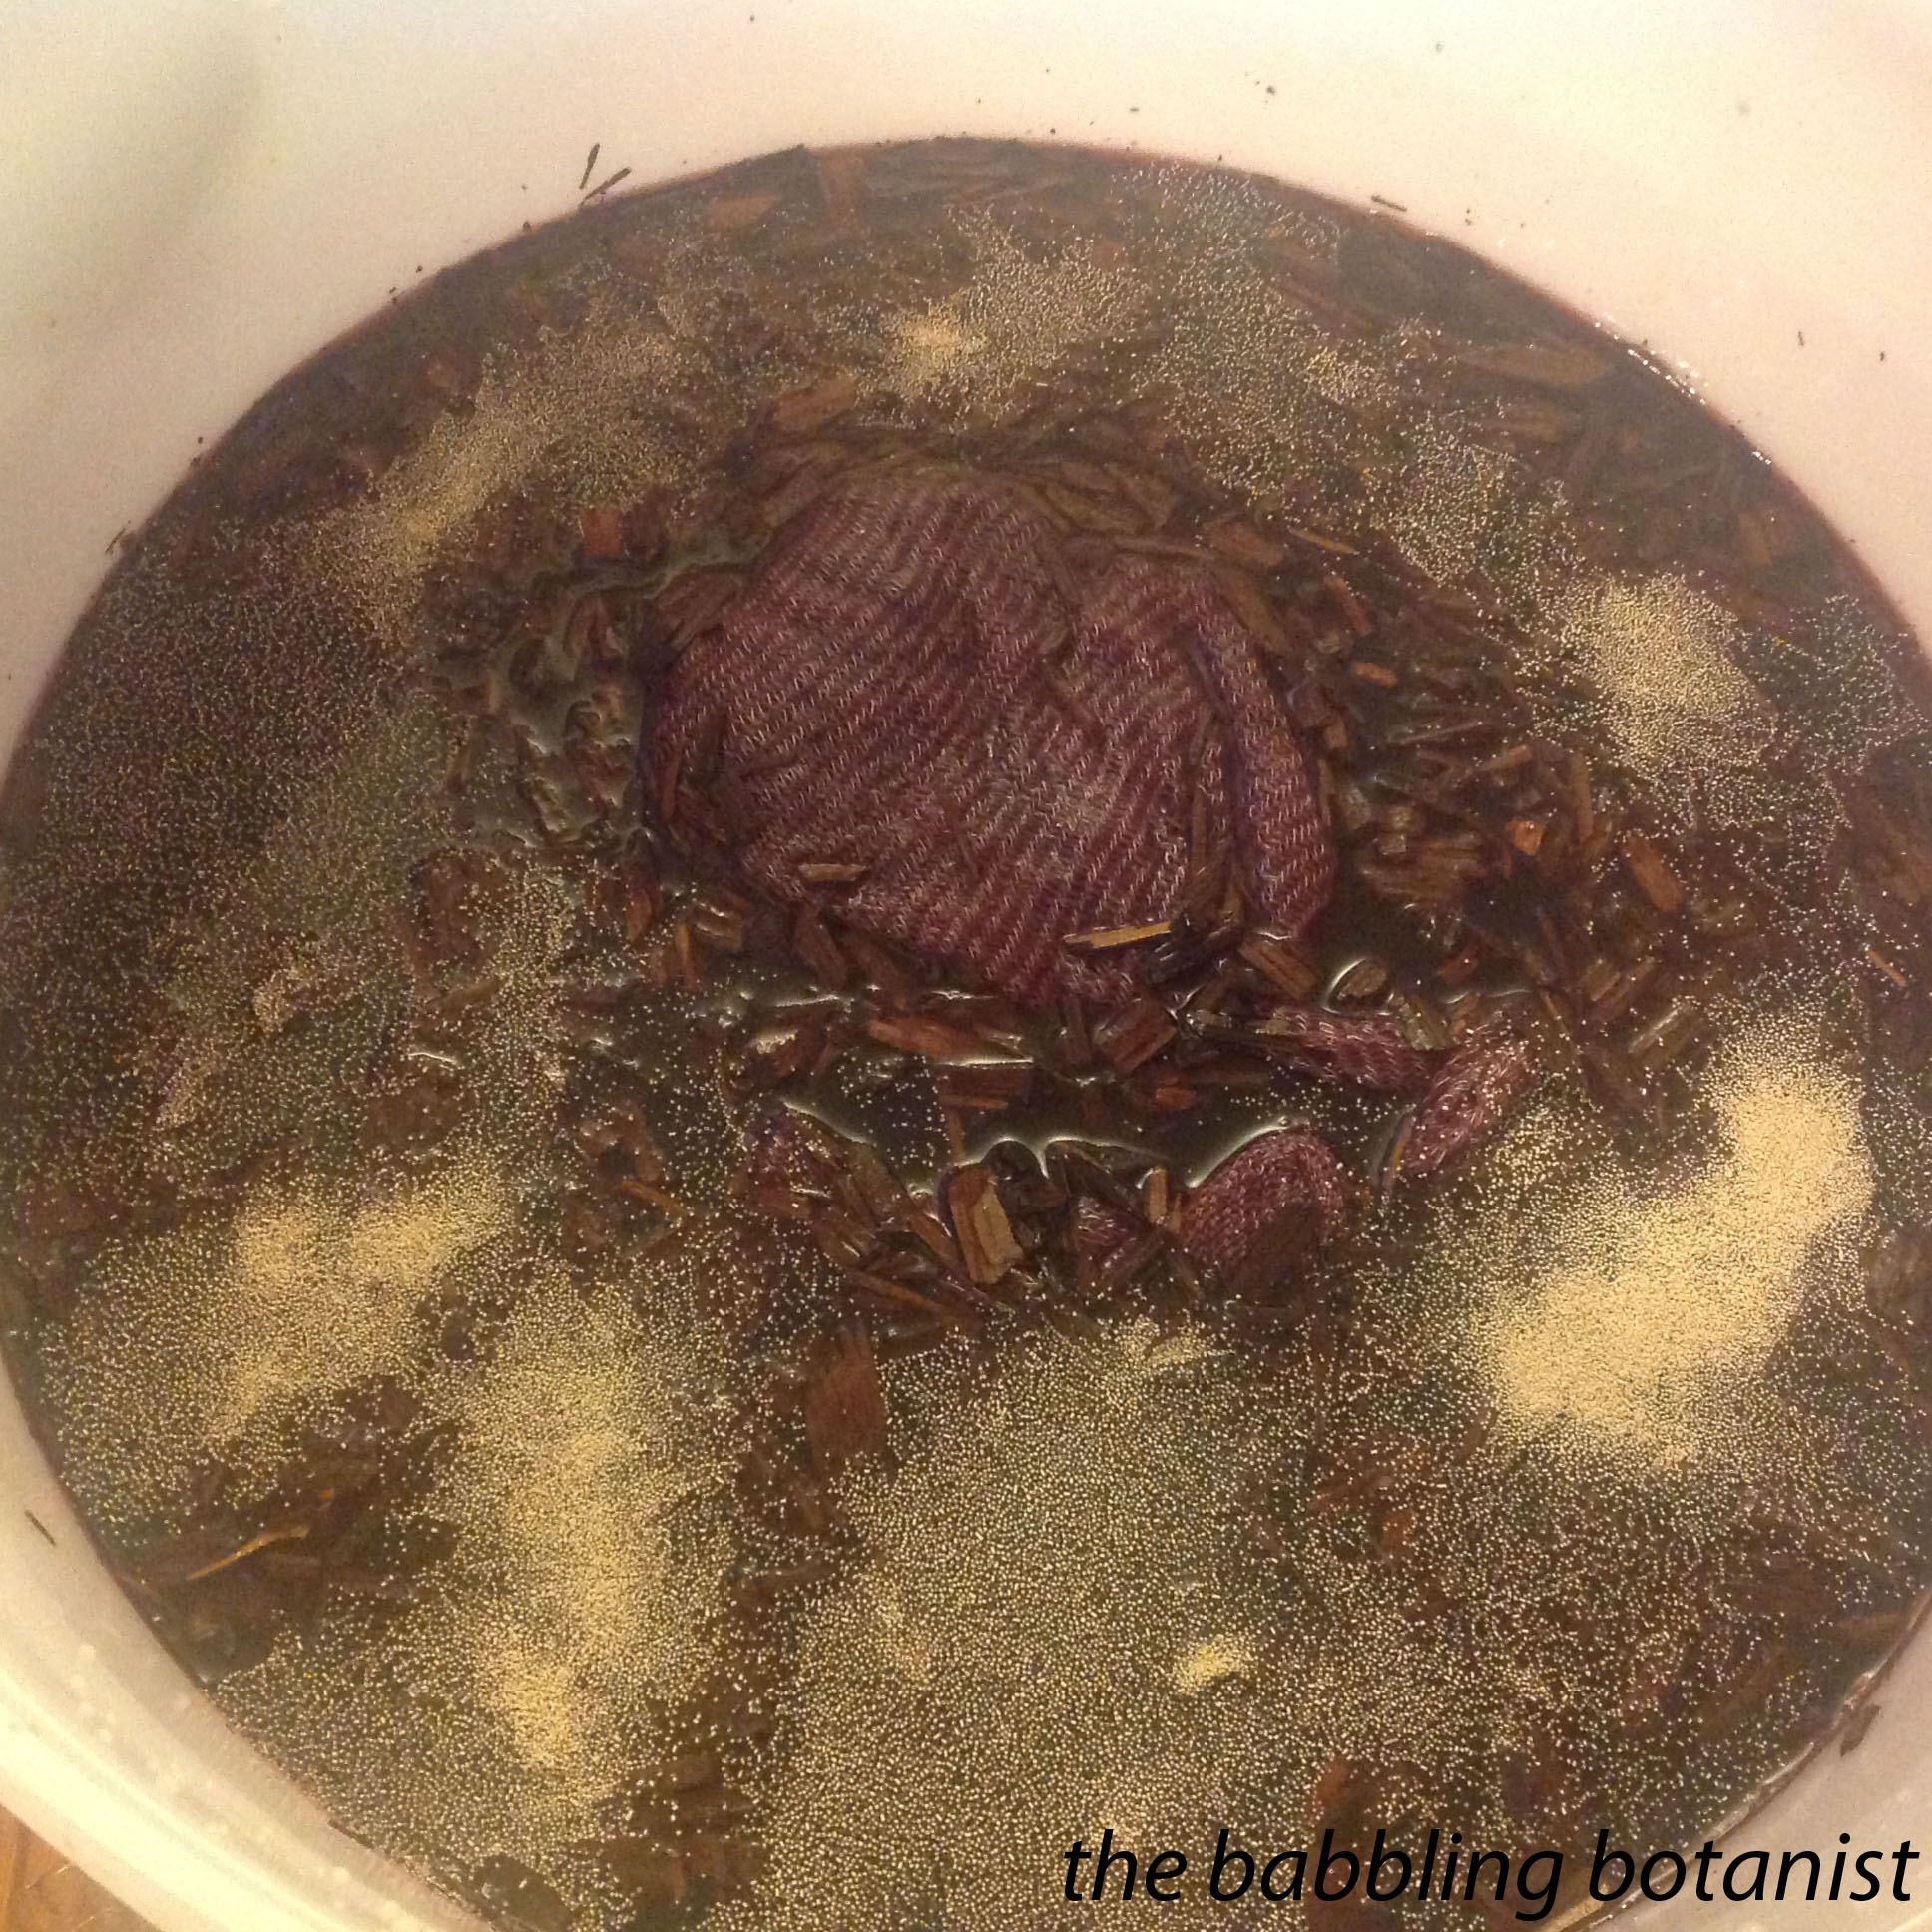
And then we wait. Put on the lid and watch it bubble away.

After about 6-8 days this wine was transferred to the secondary fermenter. This is because of the wood and peels in there. We’ve done a second one (Pinot Noir) where it stayed in the primary 14 days, until fermentation was complete, so it varies by wine.
The next stage for most kit wine occurs after about two weeks when fermentation is complete. At this stage we racked it back into the primary bucket where we added some chemicals for clarifying and stabilizing the wine. Sulphite and potassium sorbate are added as preservatives and kieselsol and chitosan are added as fining/clarifying agents.
This stage is also about degassing the wine, so after the addition of the different preservatives and clarifying agents you use a sweet drill attachment to stir the wine really vigorously. You could also just stir it really fast, but why not use a drill on your wine if you get the chance!? The chemicals have to go in a certain order to properly clarify the wine, so follow the instructions in your package and stir for the appropriate amount of time in between.
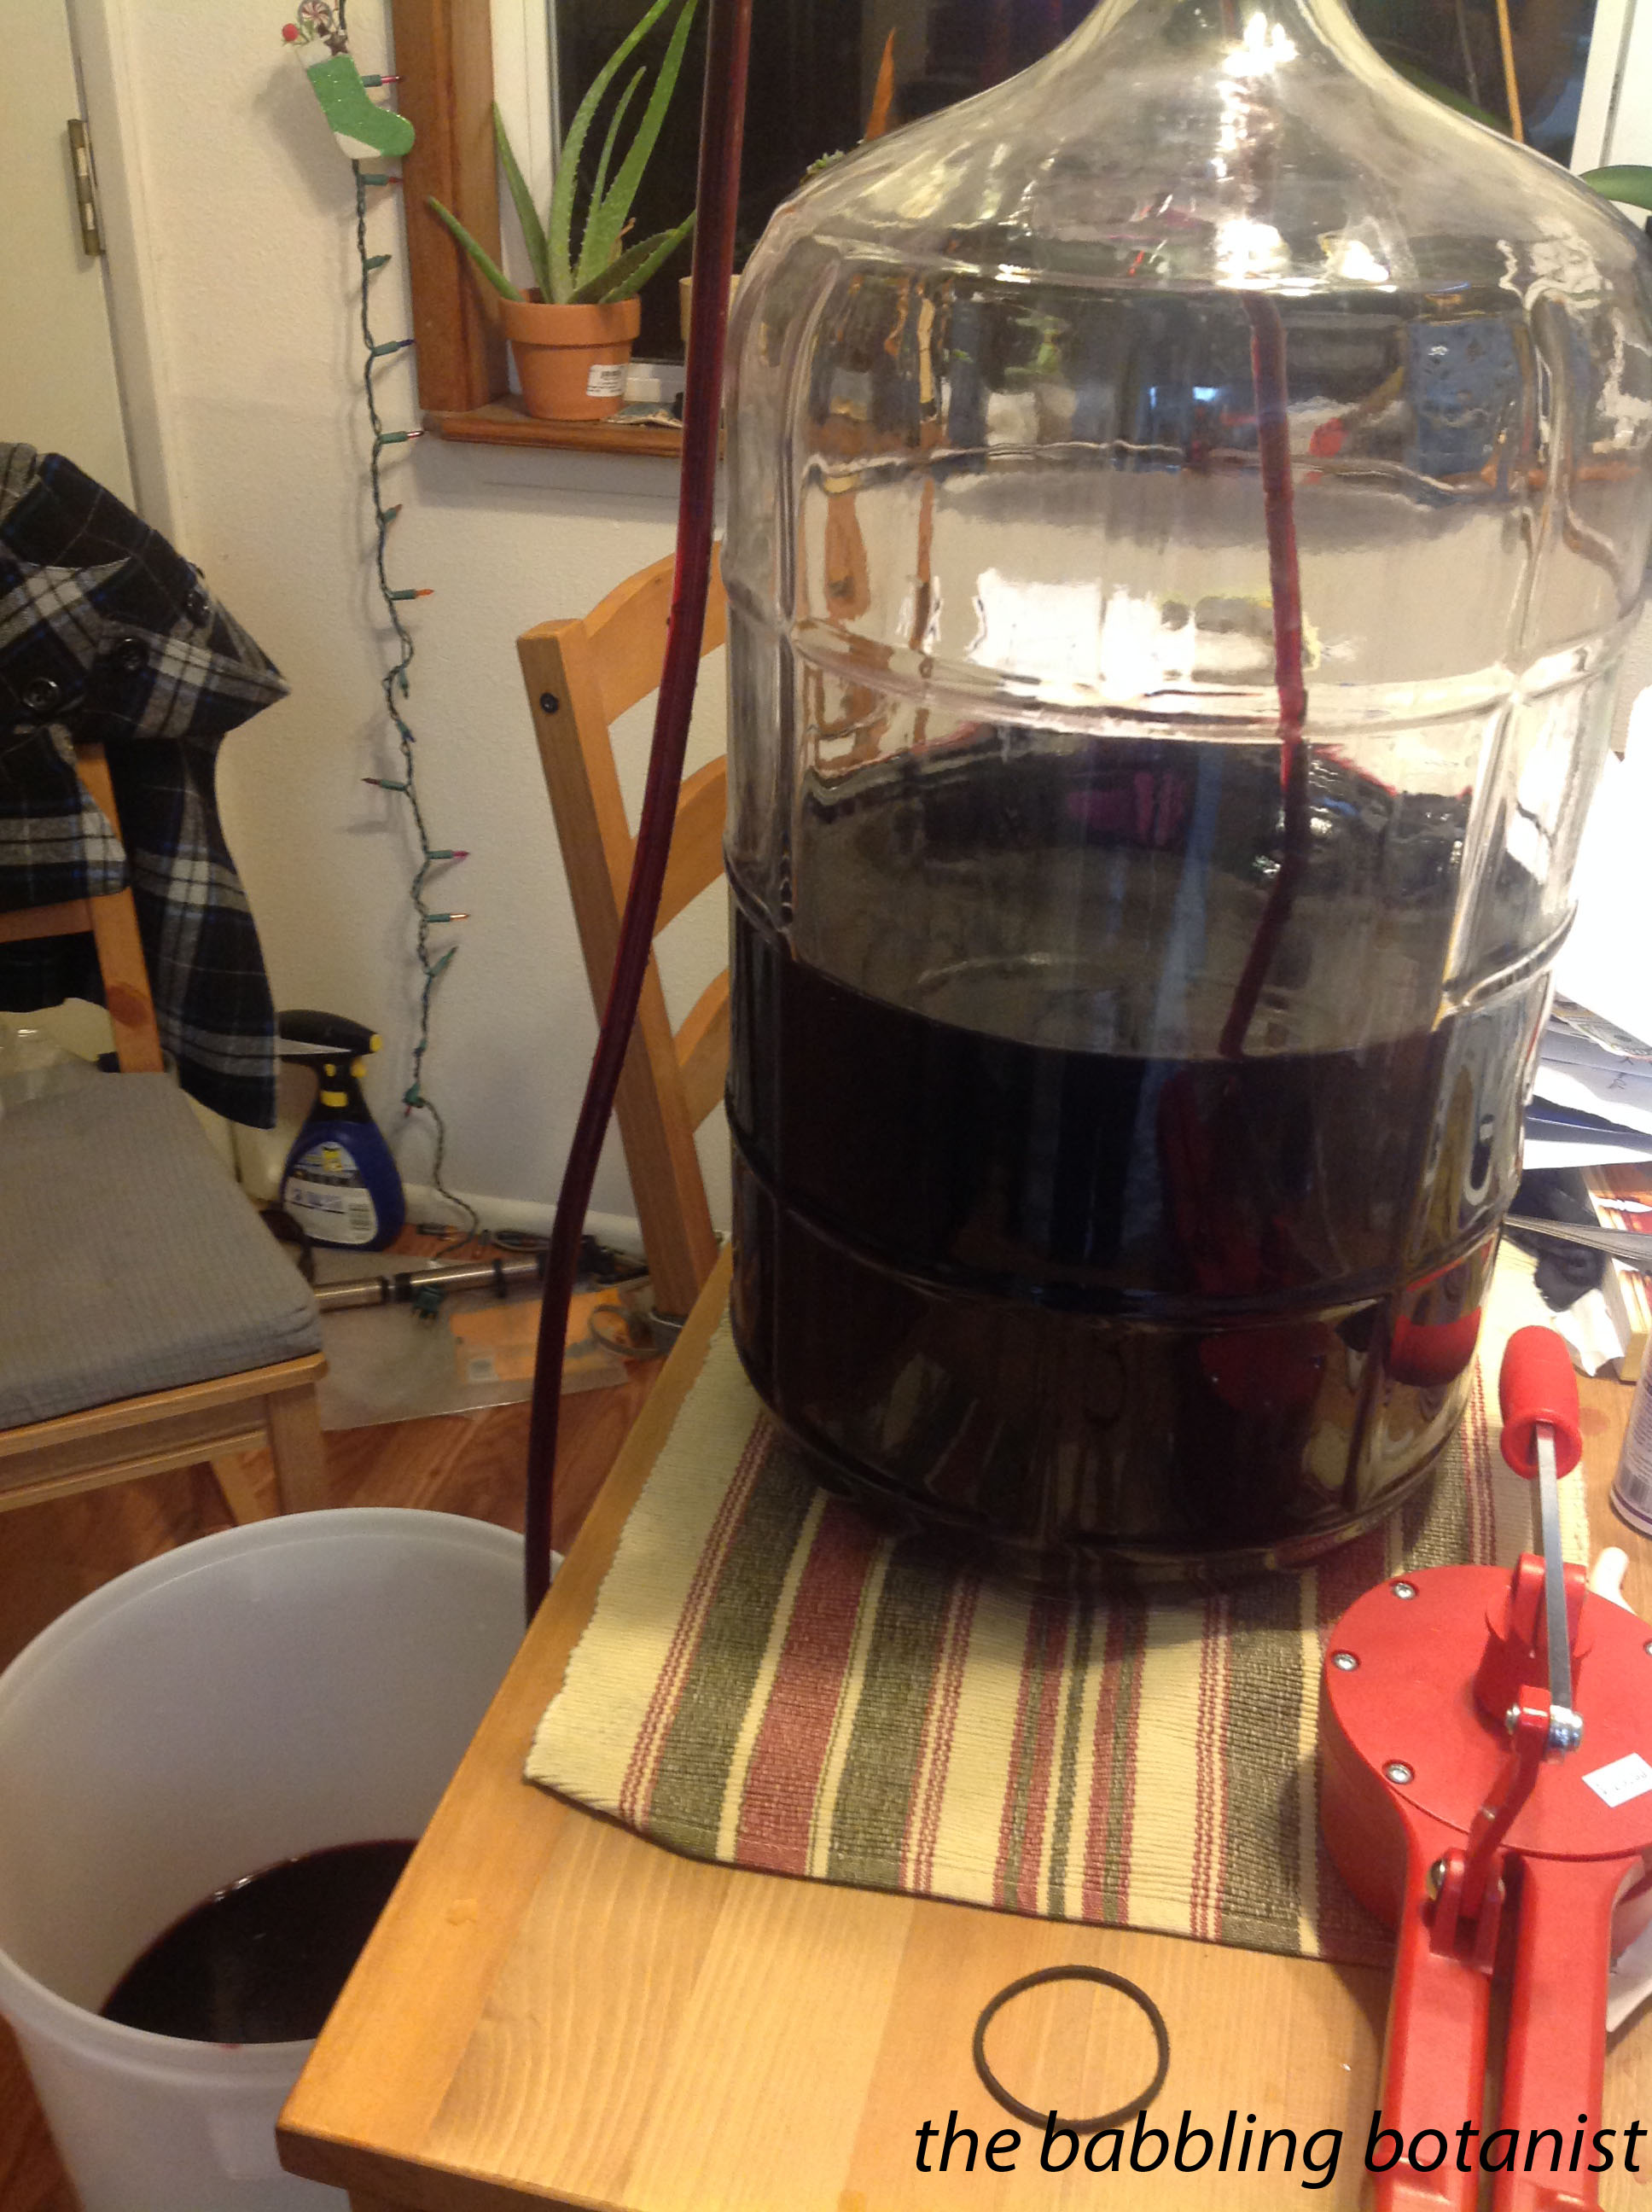
Once finished we racked the wine back into the cleaned and sterilized secondary fermenter to stabilize for a few more weeks.
Then when the wine is clear, it’s bottling day! For this we transferred it into the primary bucket, then bottled from there, but I’ve since decided that is totally unnecessary. Just bottle from your secondary fermenter. I let it clear at a height though so I didn’t have to disturb it at all bottling day.
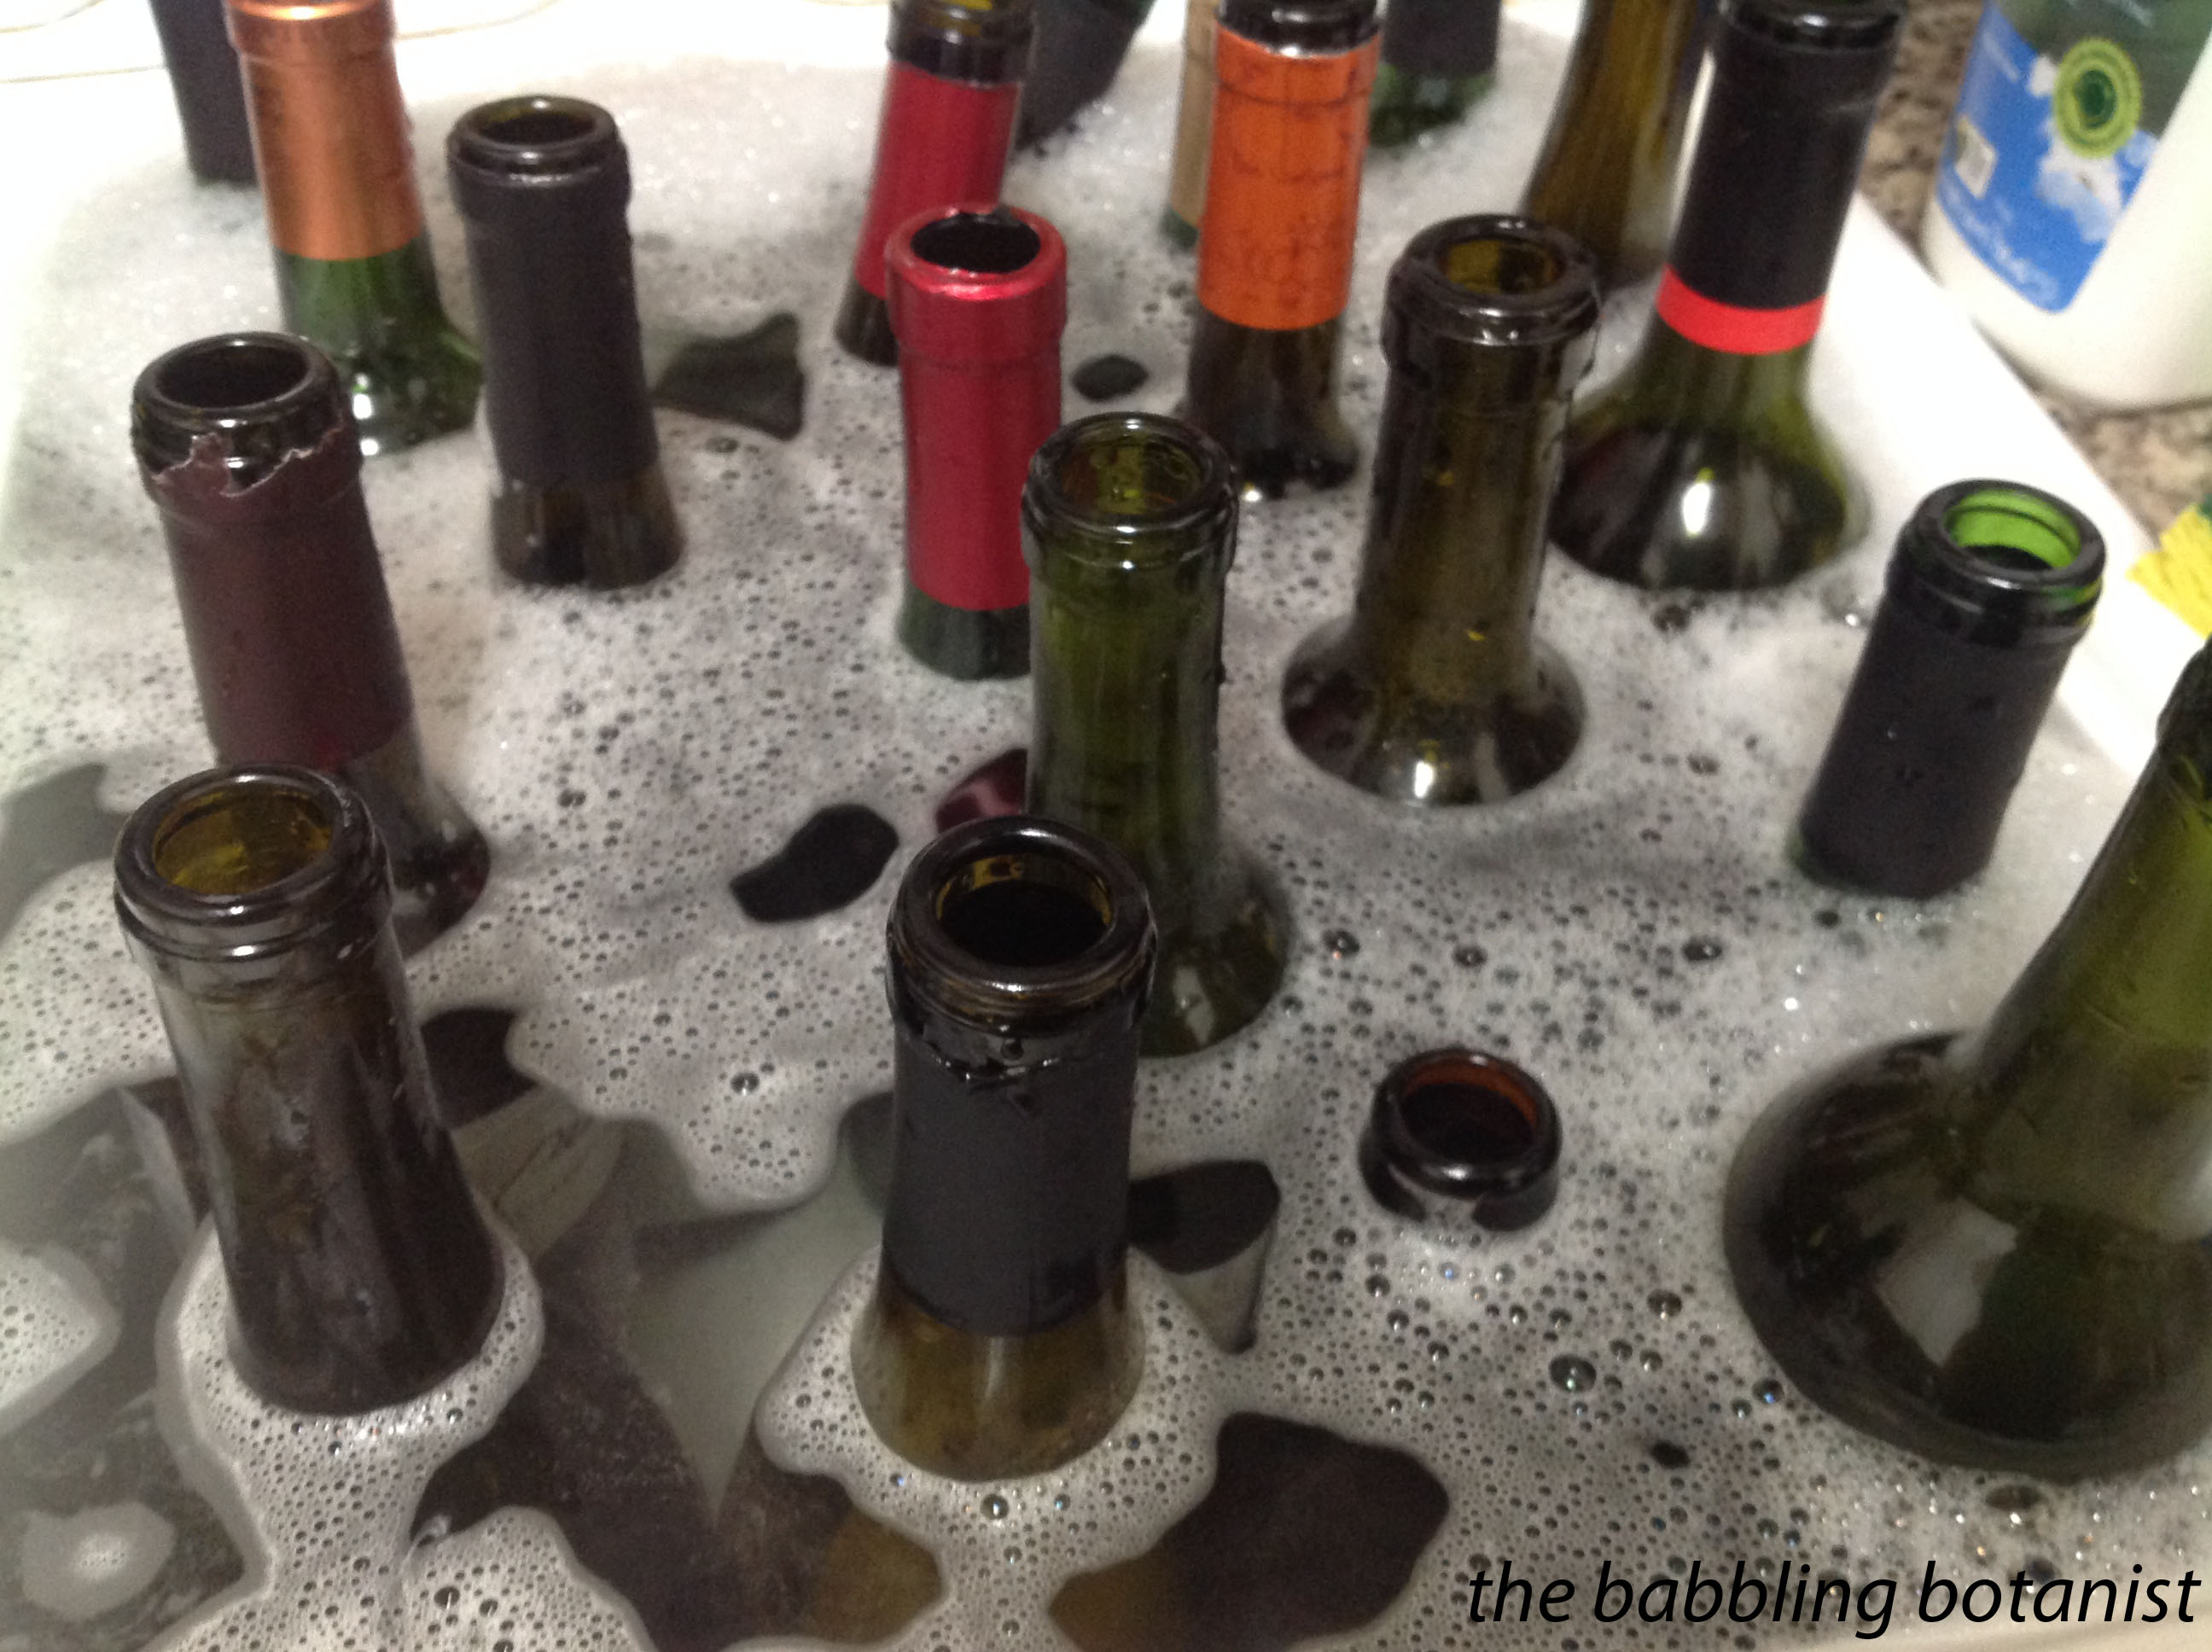
In advance of bottling day you will have cleaned some old bottles and accepted bottle donations from your friends. If you are going to get into wine making, it’s time to stockpile bottles! Don’t buy them, that’s ridiculous. Buy full bottles and drink them and then clean them up 🙂
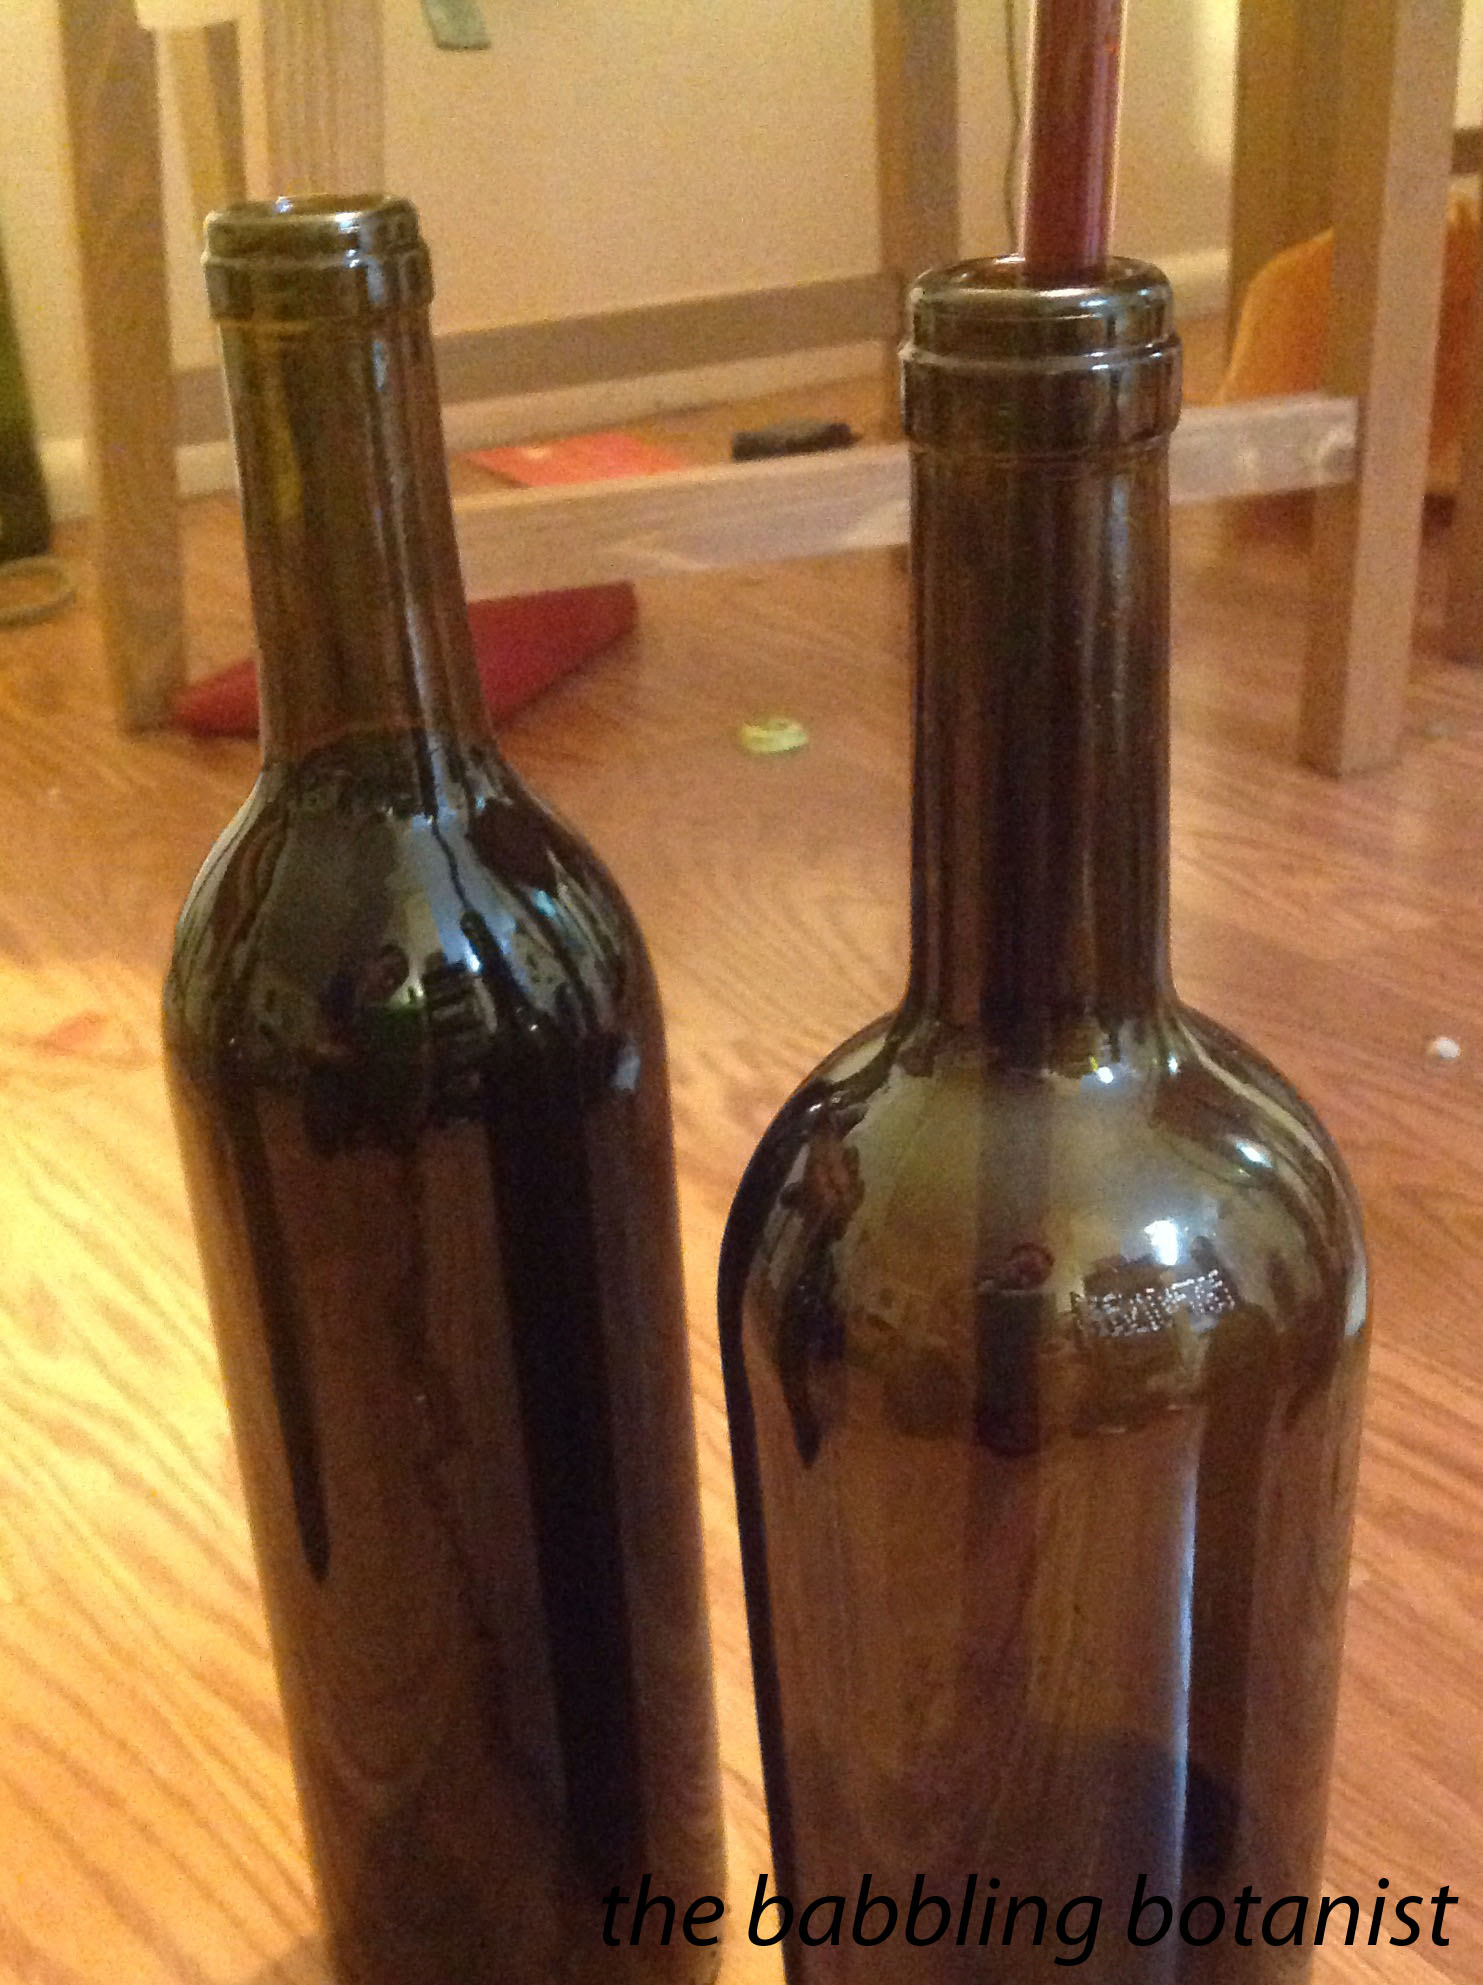
Bottling is easy as pie. Fill each sanitized bottle to right about where the neck of the bottle begins.
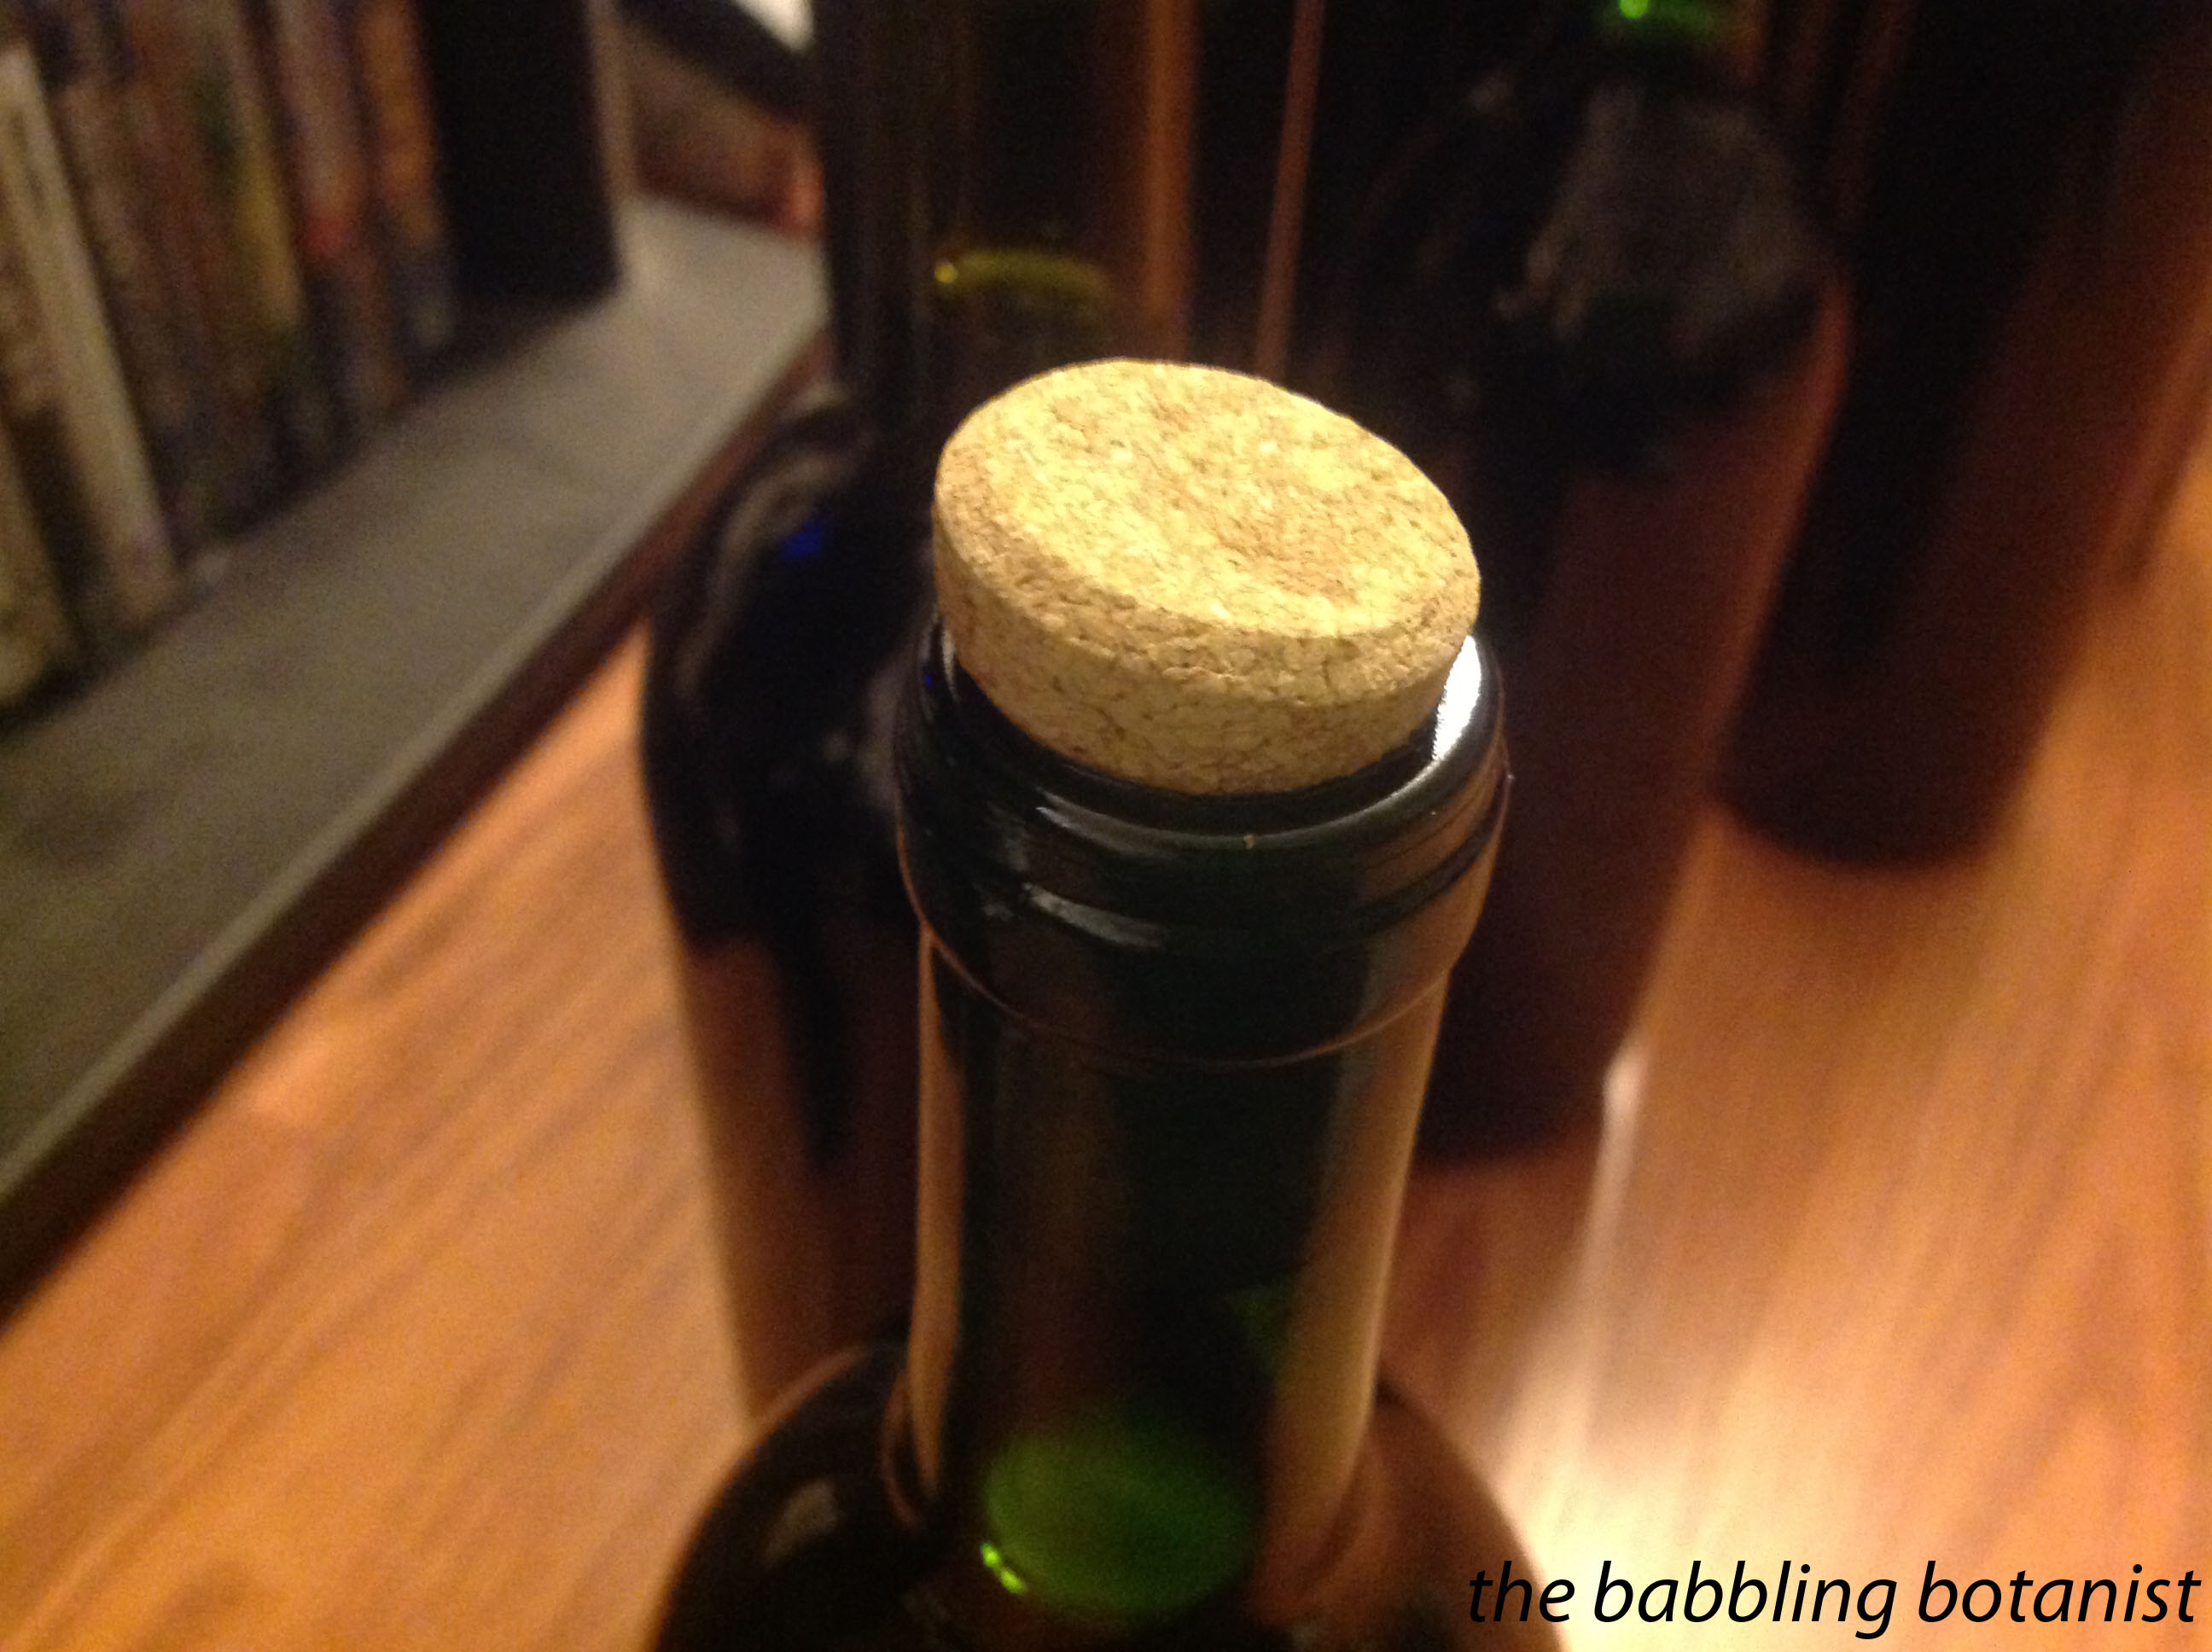
Then comes the final challenge. Corking. Here is our first attempt at that. We decided it just gives the bottles personality. We did get better after this one though. Corking it kind of a 5 handed job, so if you are two people, well… ya.
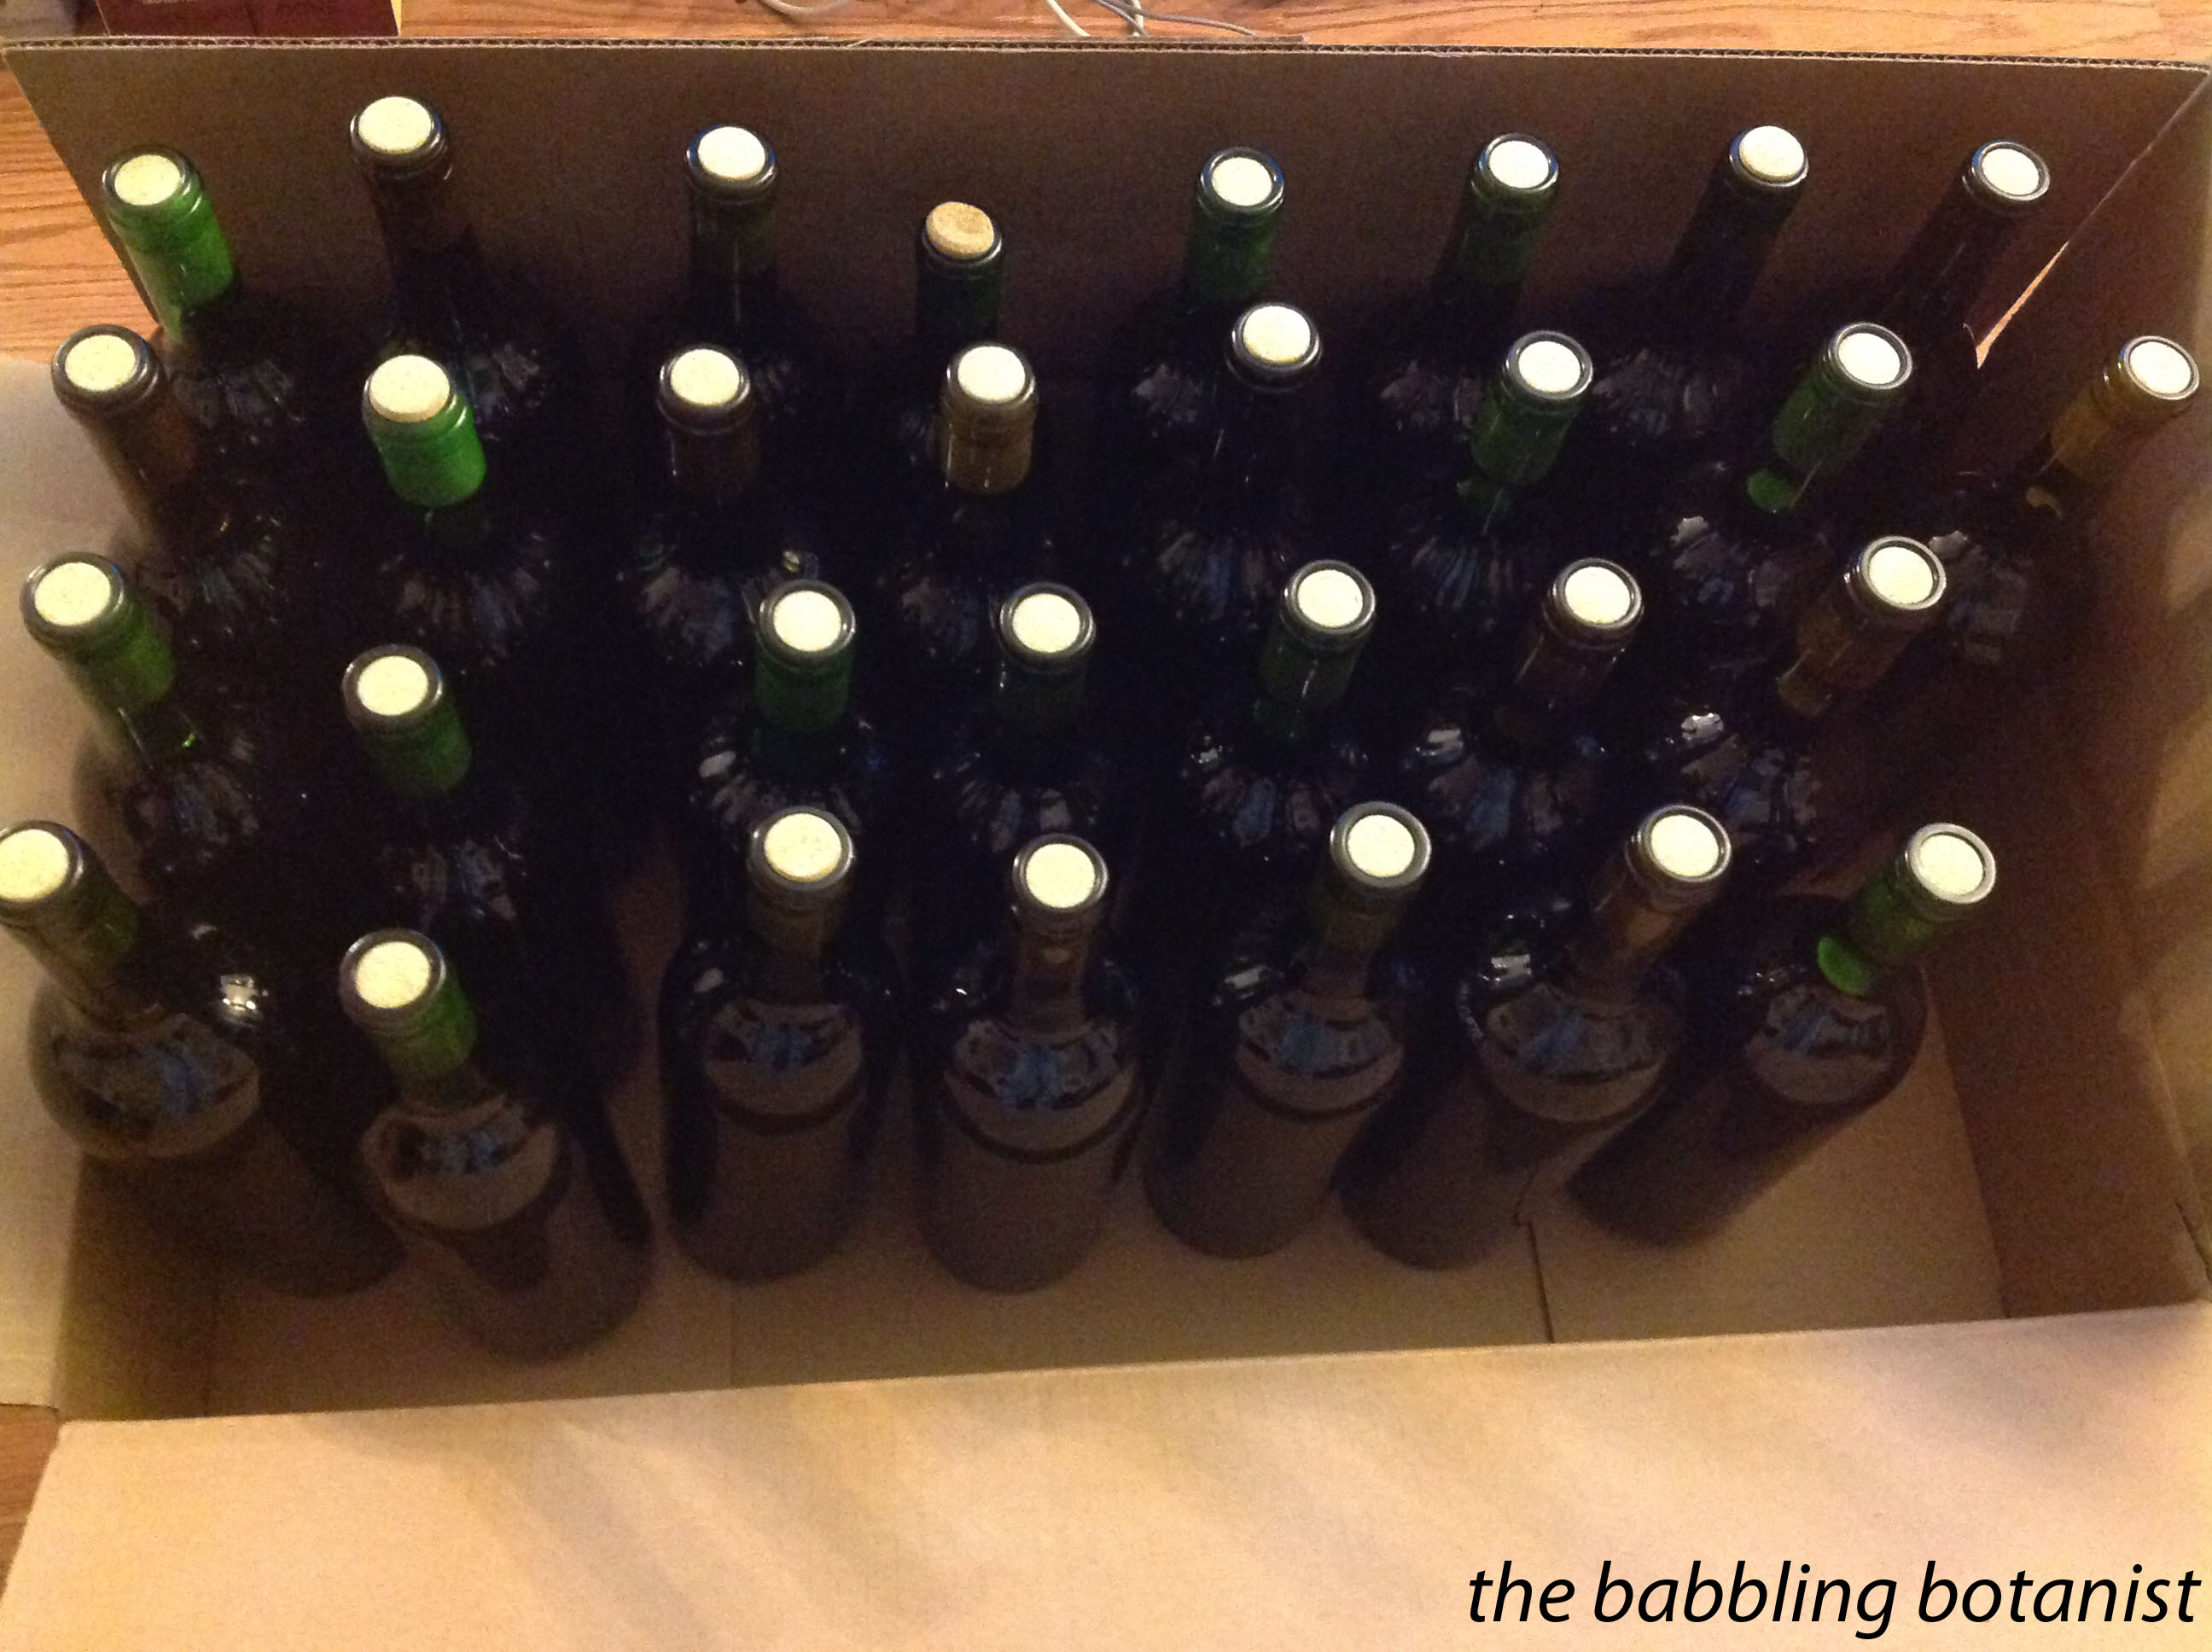
Ta da! 30 bottles of wine. Leave it upright for a day or so, then store it on its side to keep the cork moist. Kit wine usually recommends aging the wine 2-4 months, so in a few months I’ll let you know how it tastes. The glass we had left over tasted pretty good, and it’s only supposed to get better from here. Total cost – about $2 a bottle!
*This post contains affiliate links. Check out the “About the Blogger” page for more information.

[…] can read our first brews adventure here. Then we tried some kit wines which you can read about in this post. The next stage of the adventure was to try some small batches of fruit wines, which we started […]