In this year’s new edition of the salsa recipes for canning publication, PNW 395, our lovely extension friends added an awesome new recipe for those of us who love a little more choice in our lives – “choice salsa”! For this recipe, what you get to choose is the proportion of peppers to onions. Want a ton of peppers in your salsa? Or an equal mix of onions to peppers? Whatever your preference, you get to choose! Pretty great eh!?
![IMG_4481[1]](https://thebabblingbotanist.com/wp-content/uploads/2014/09/img_44811.jpg)
Ingredients:
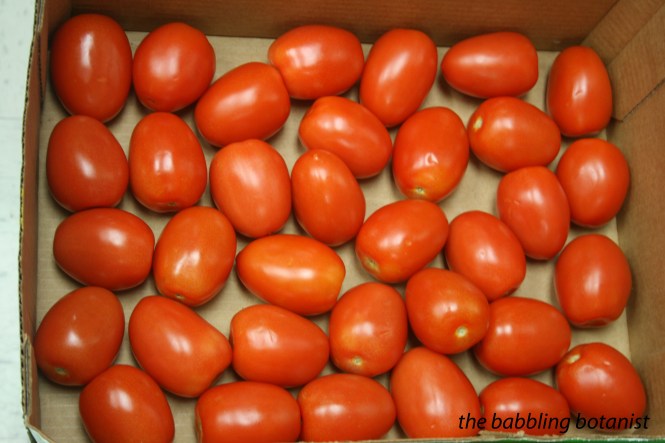
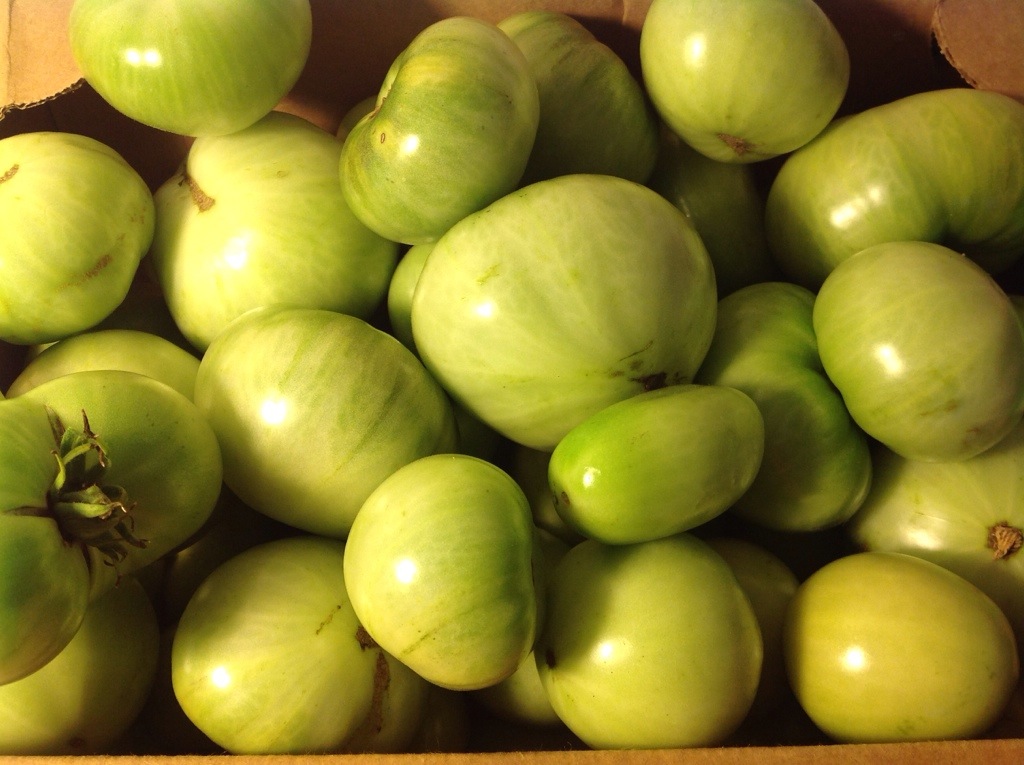
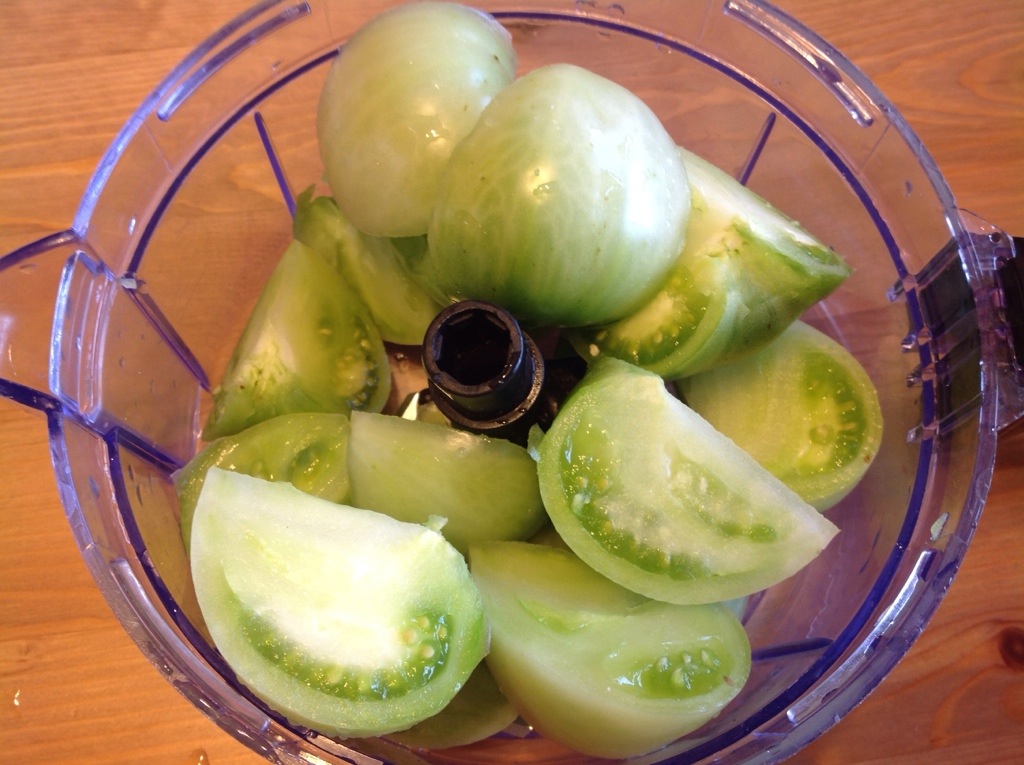
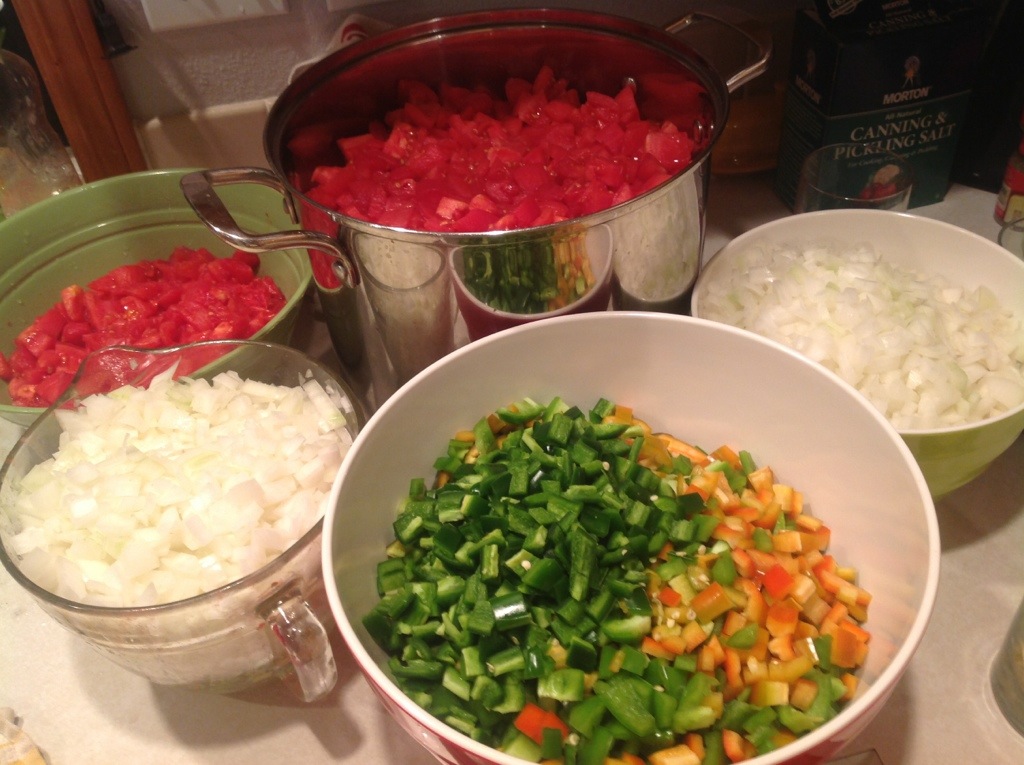
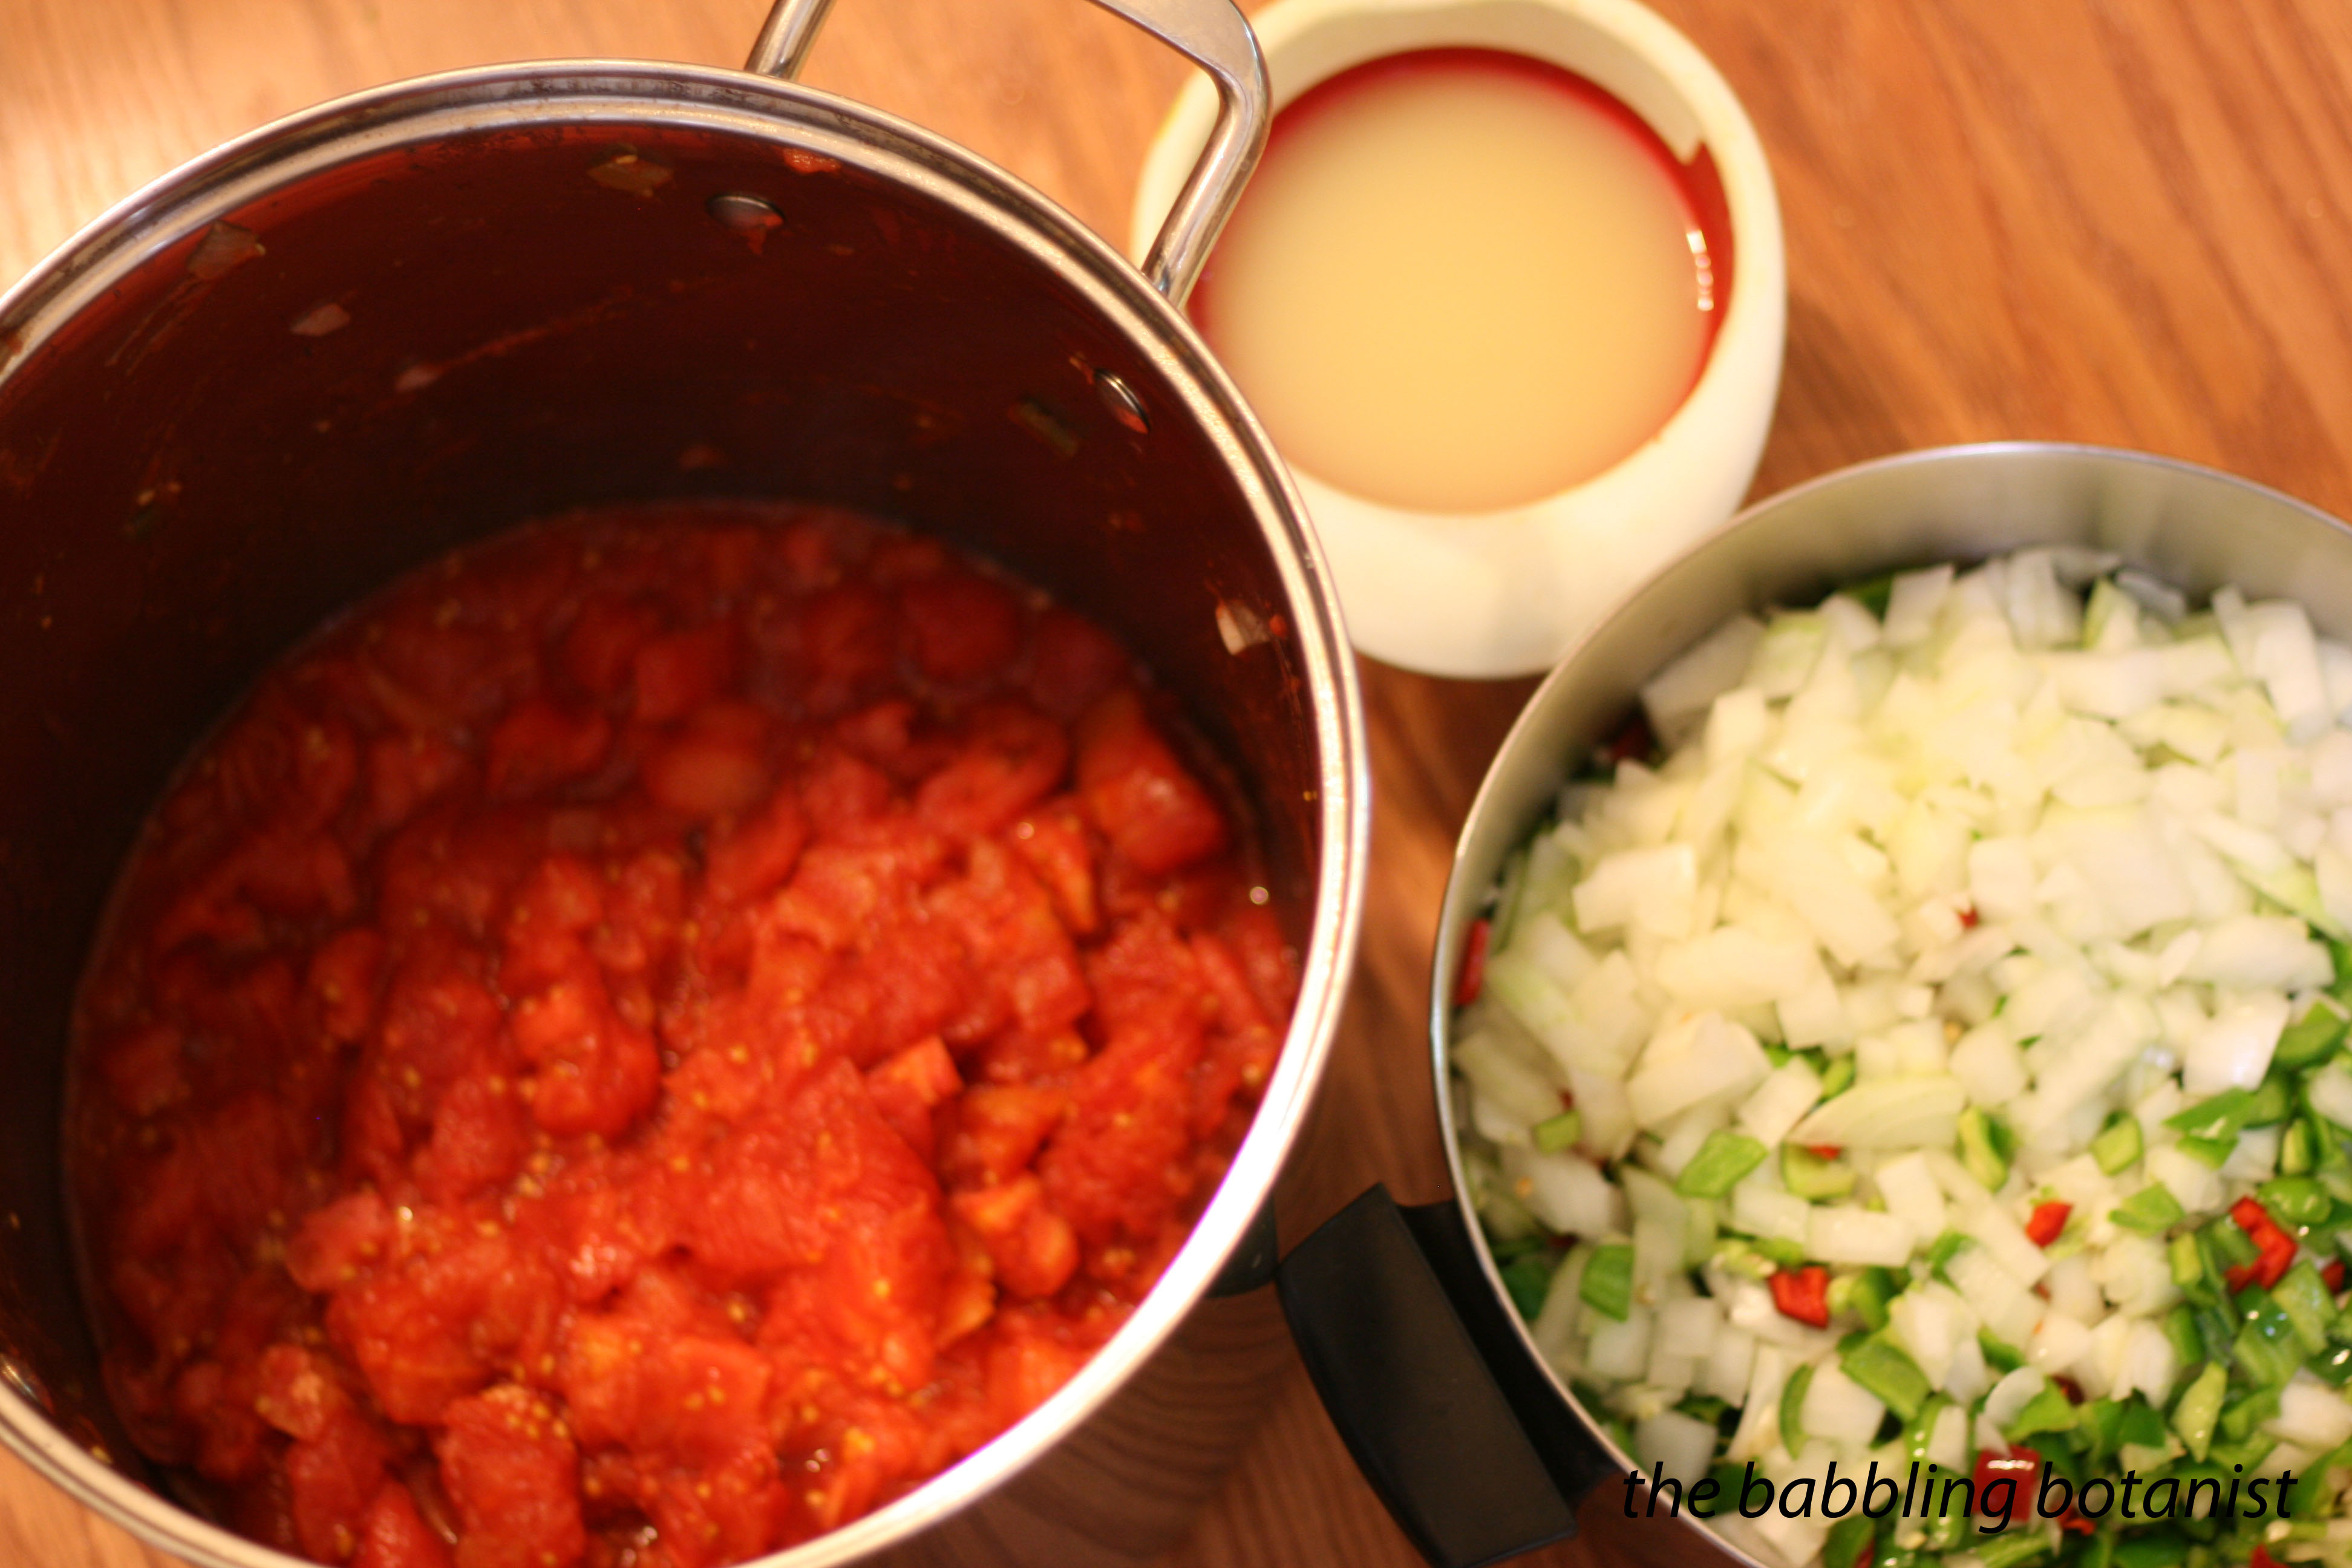
6 cups cored, peeled, chopped tomatoes
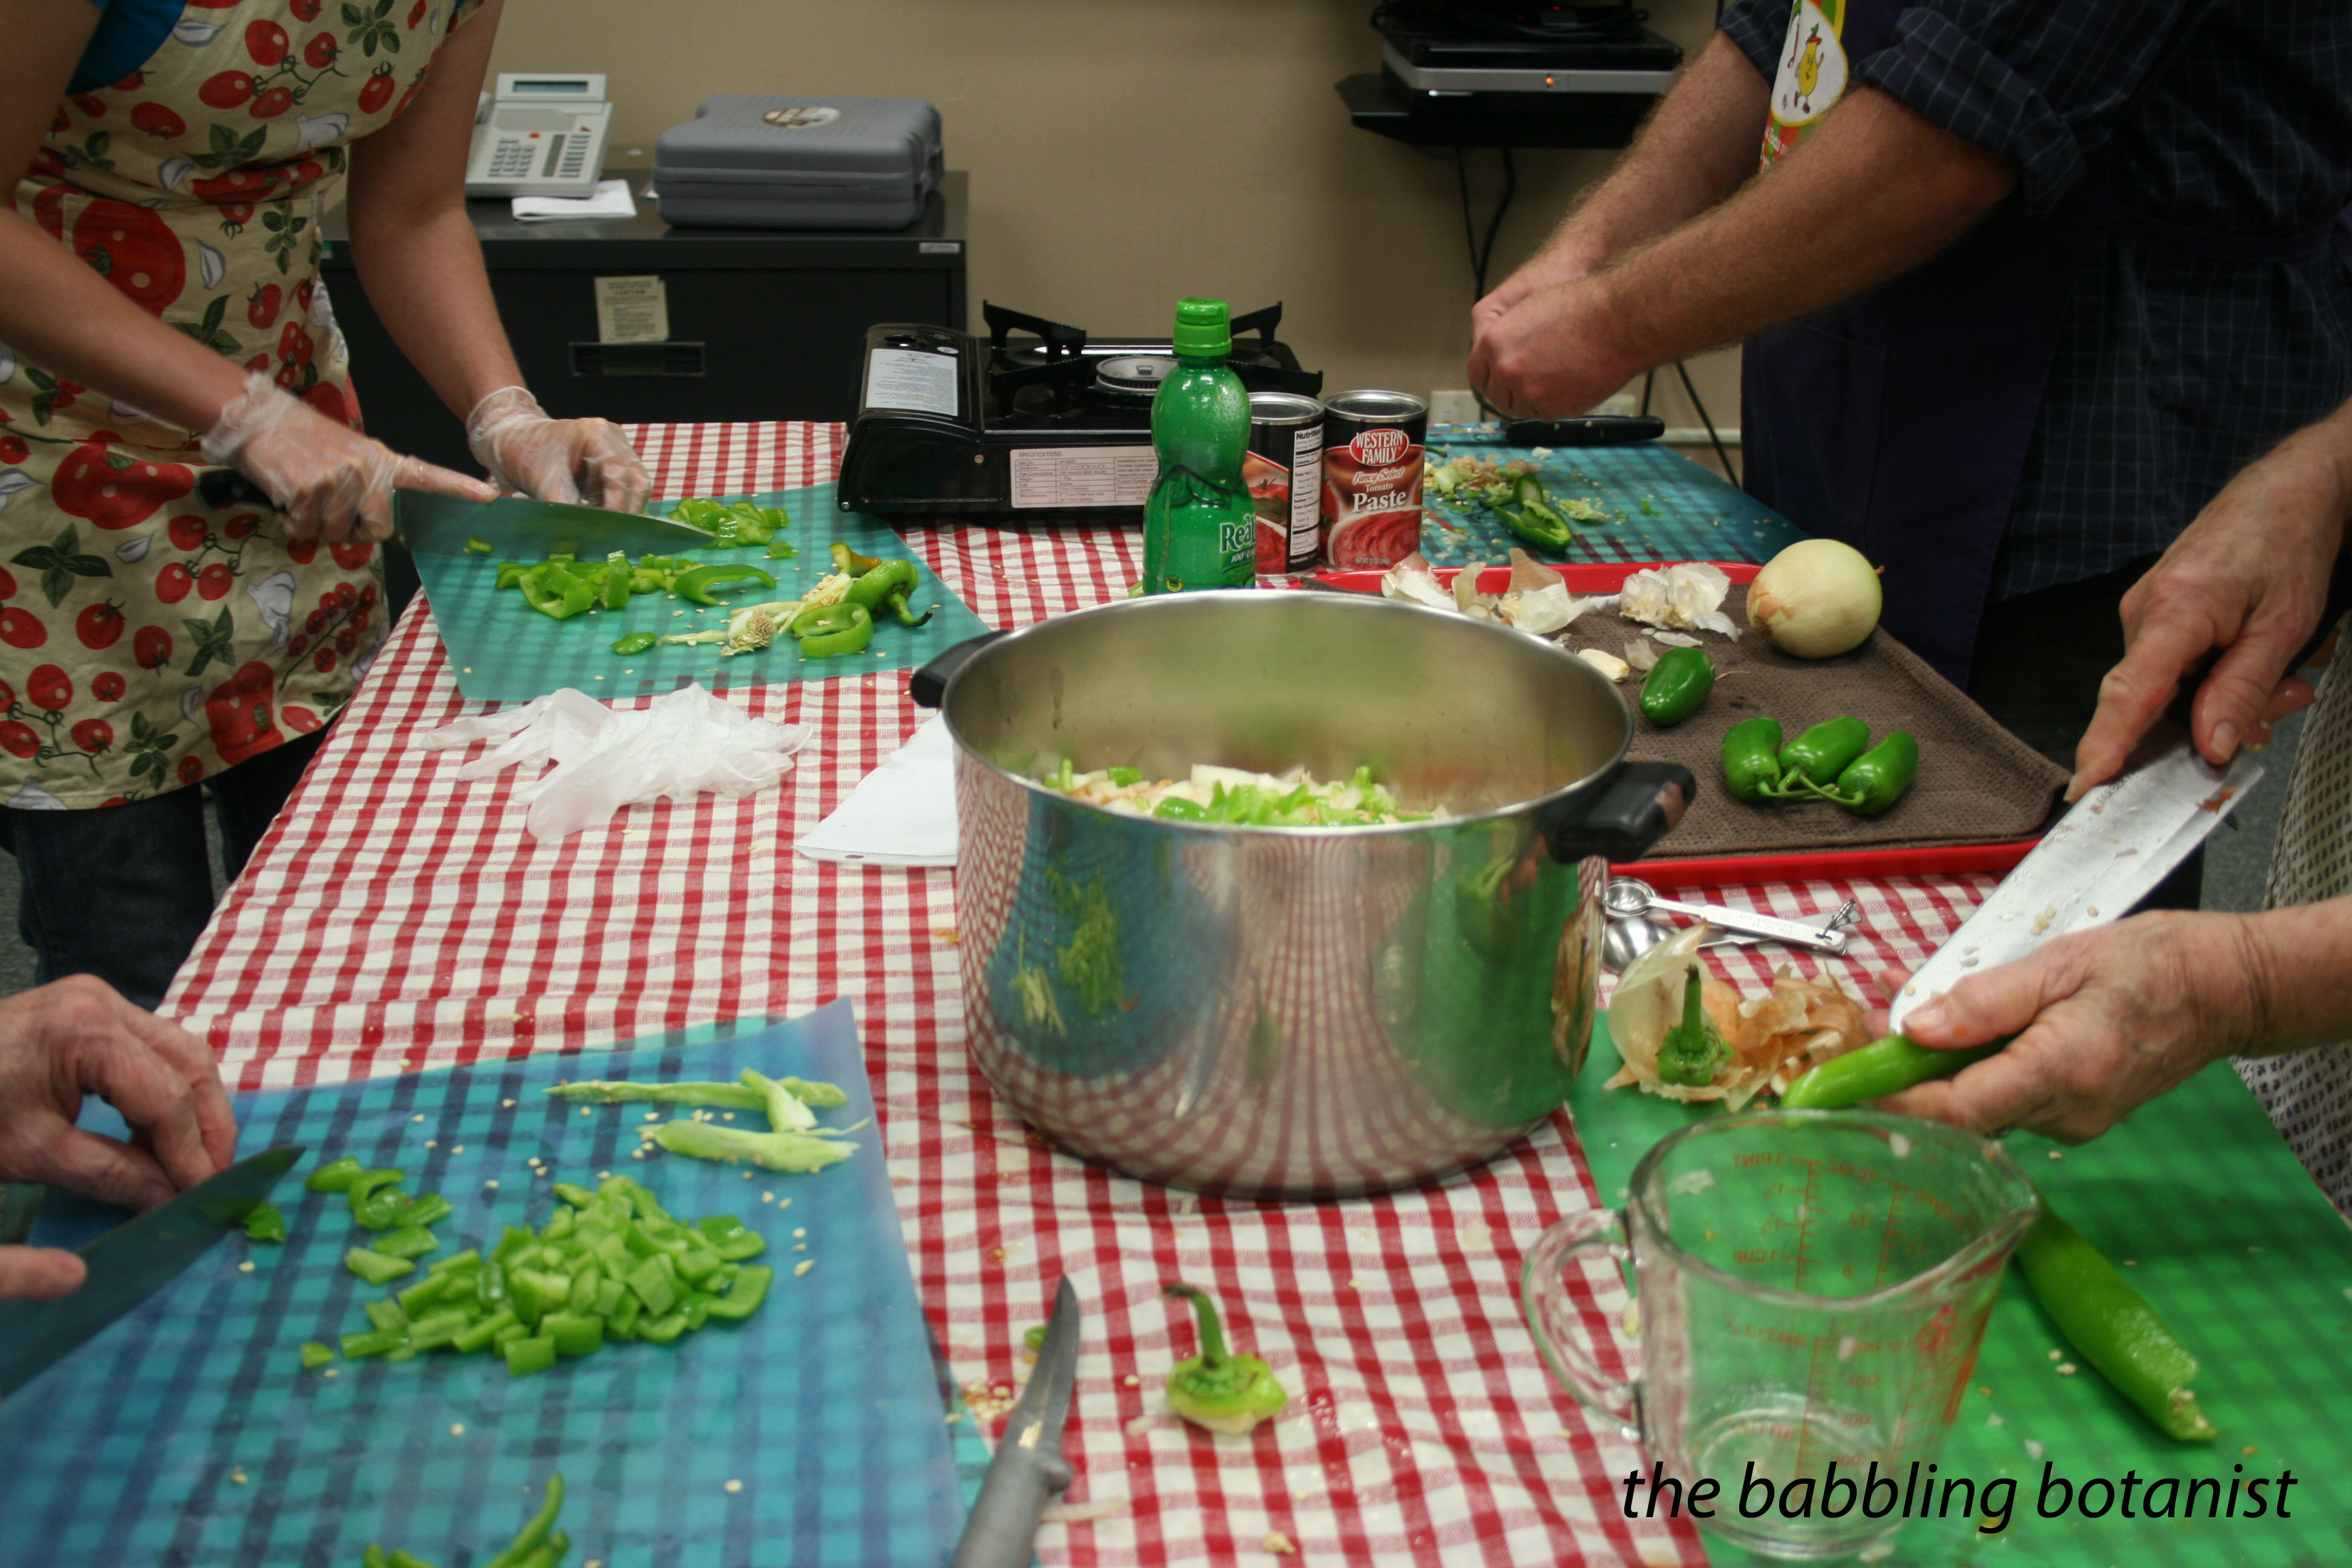
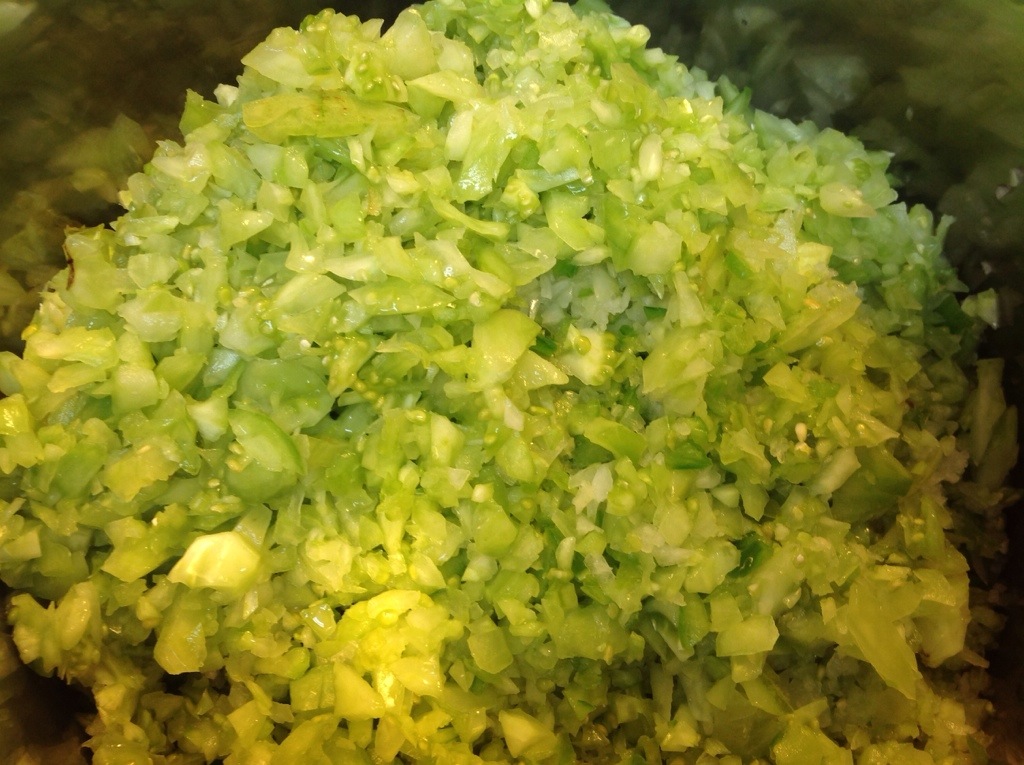
9 cups chopped onions or peppers (of any variety)
1.5 cups bottled lemon or lime juice
1 tablespoon canning or pickling salt
Here’s how we made it:
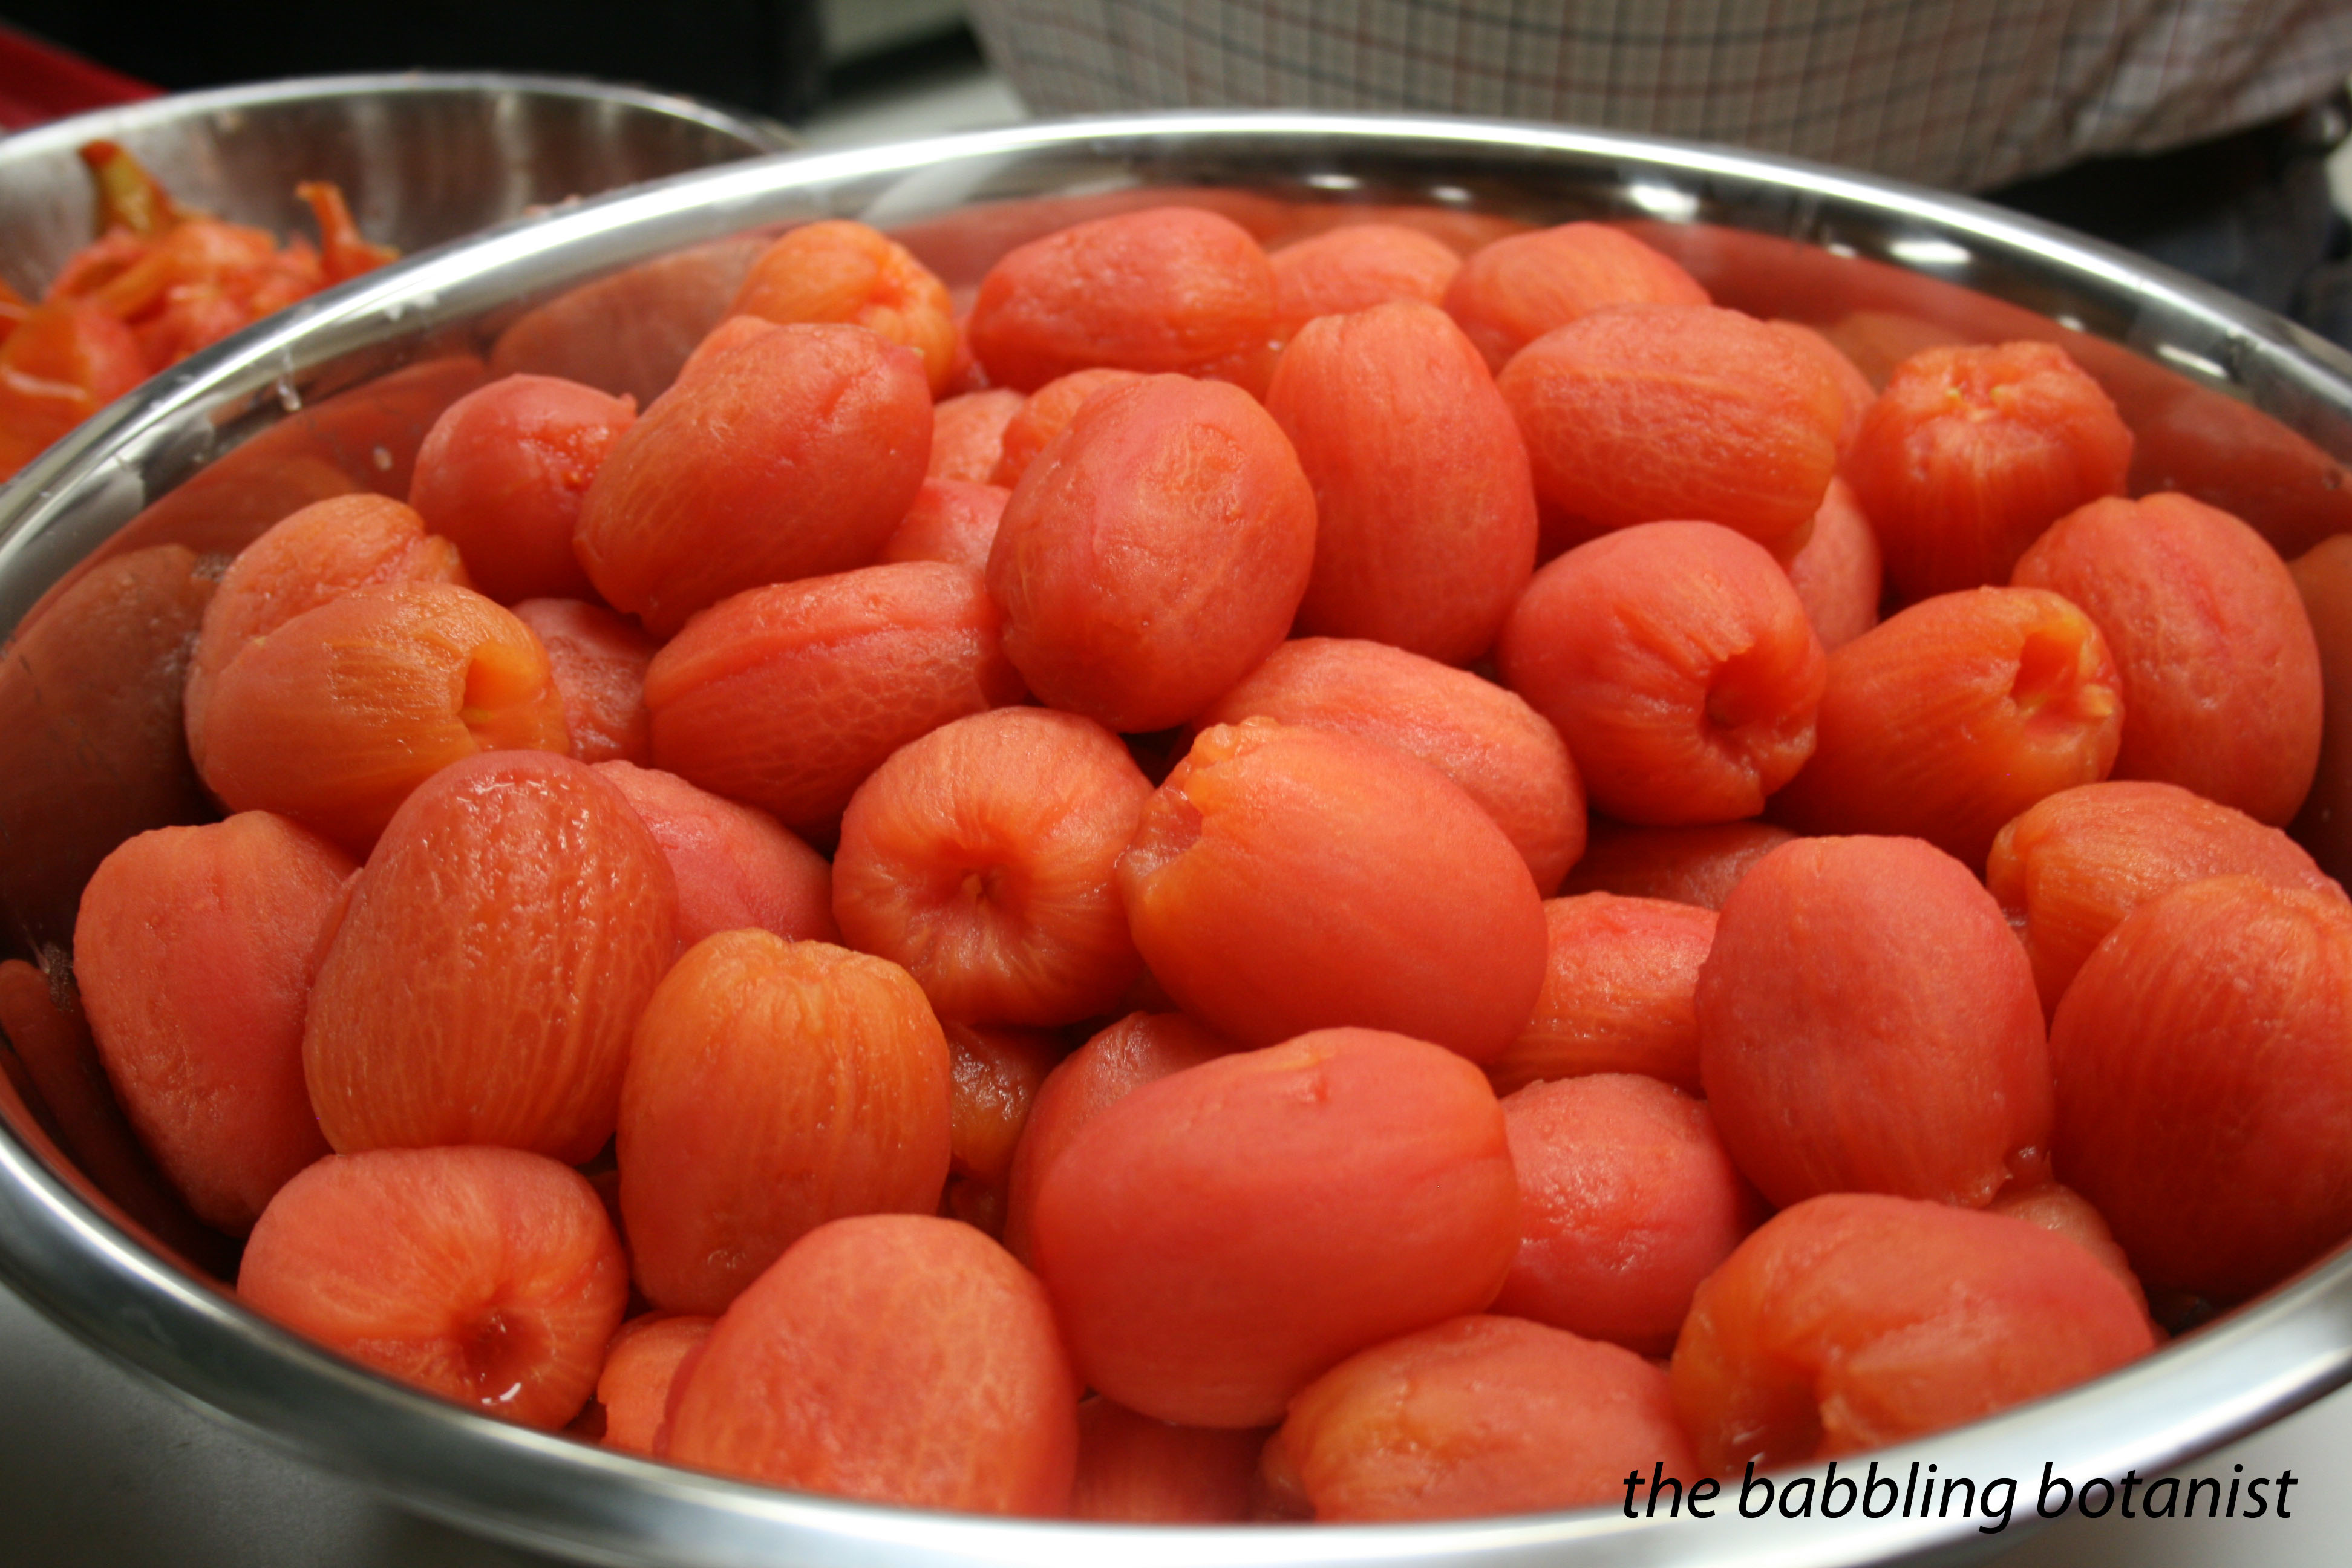
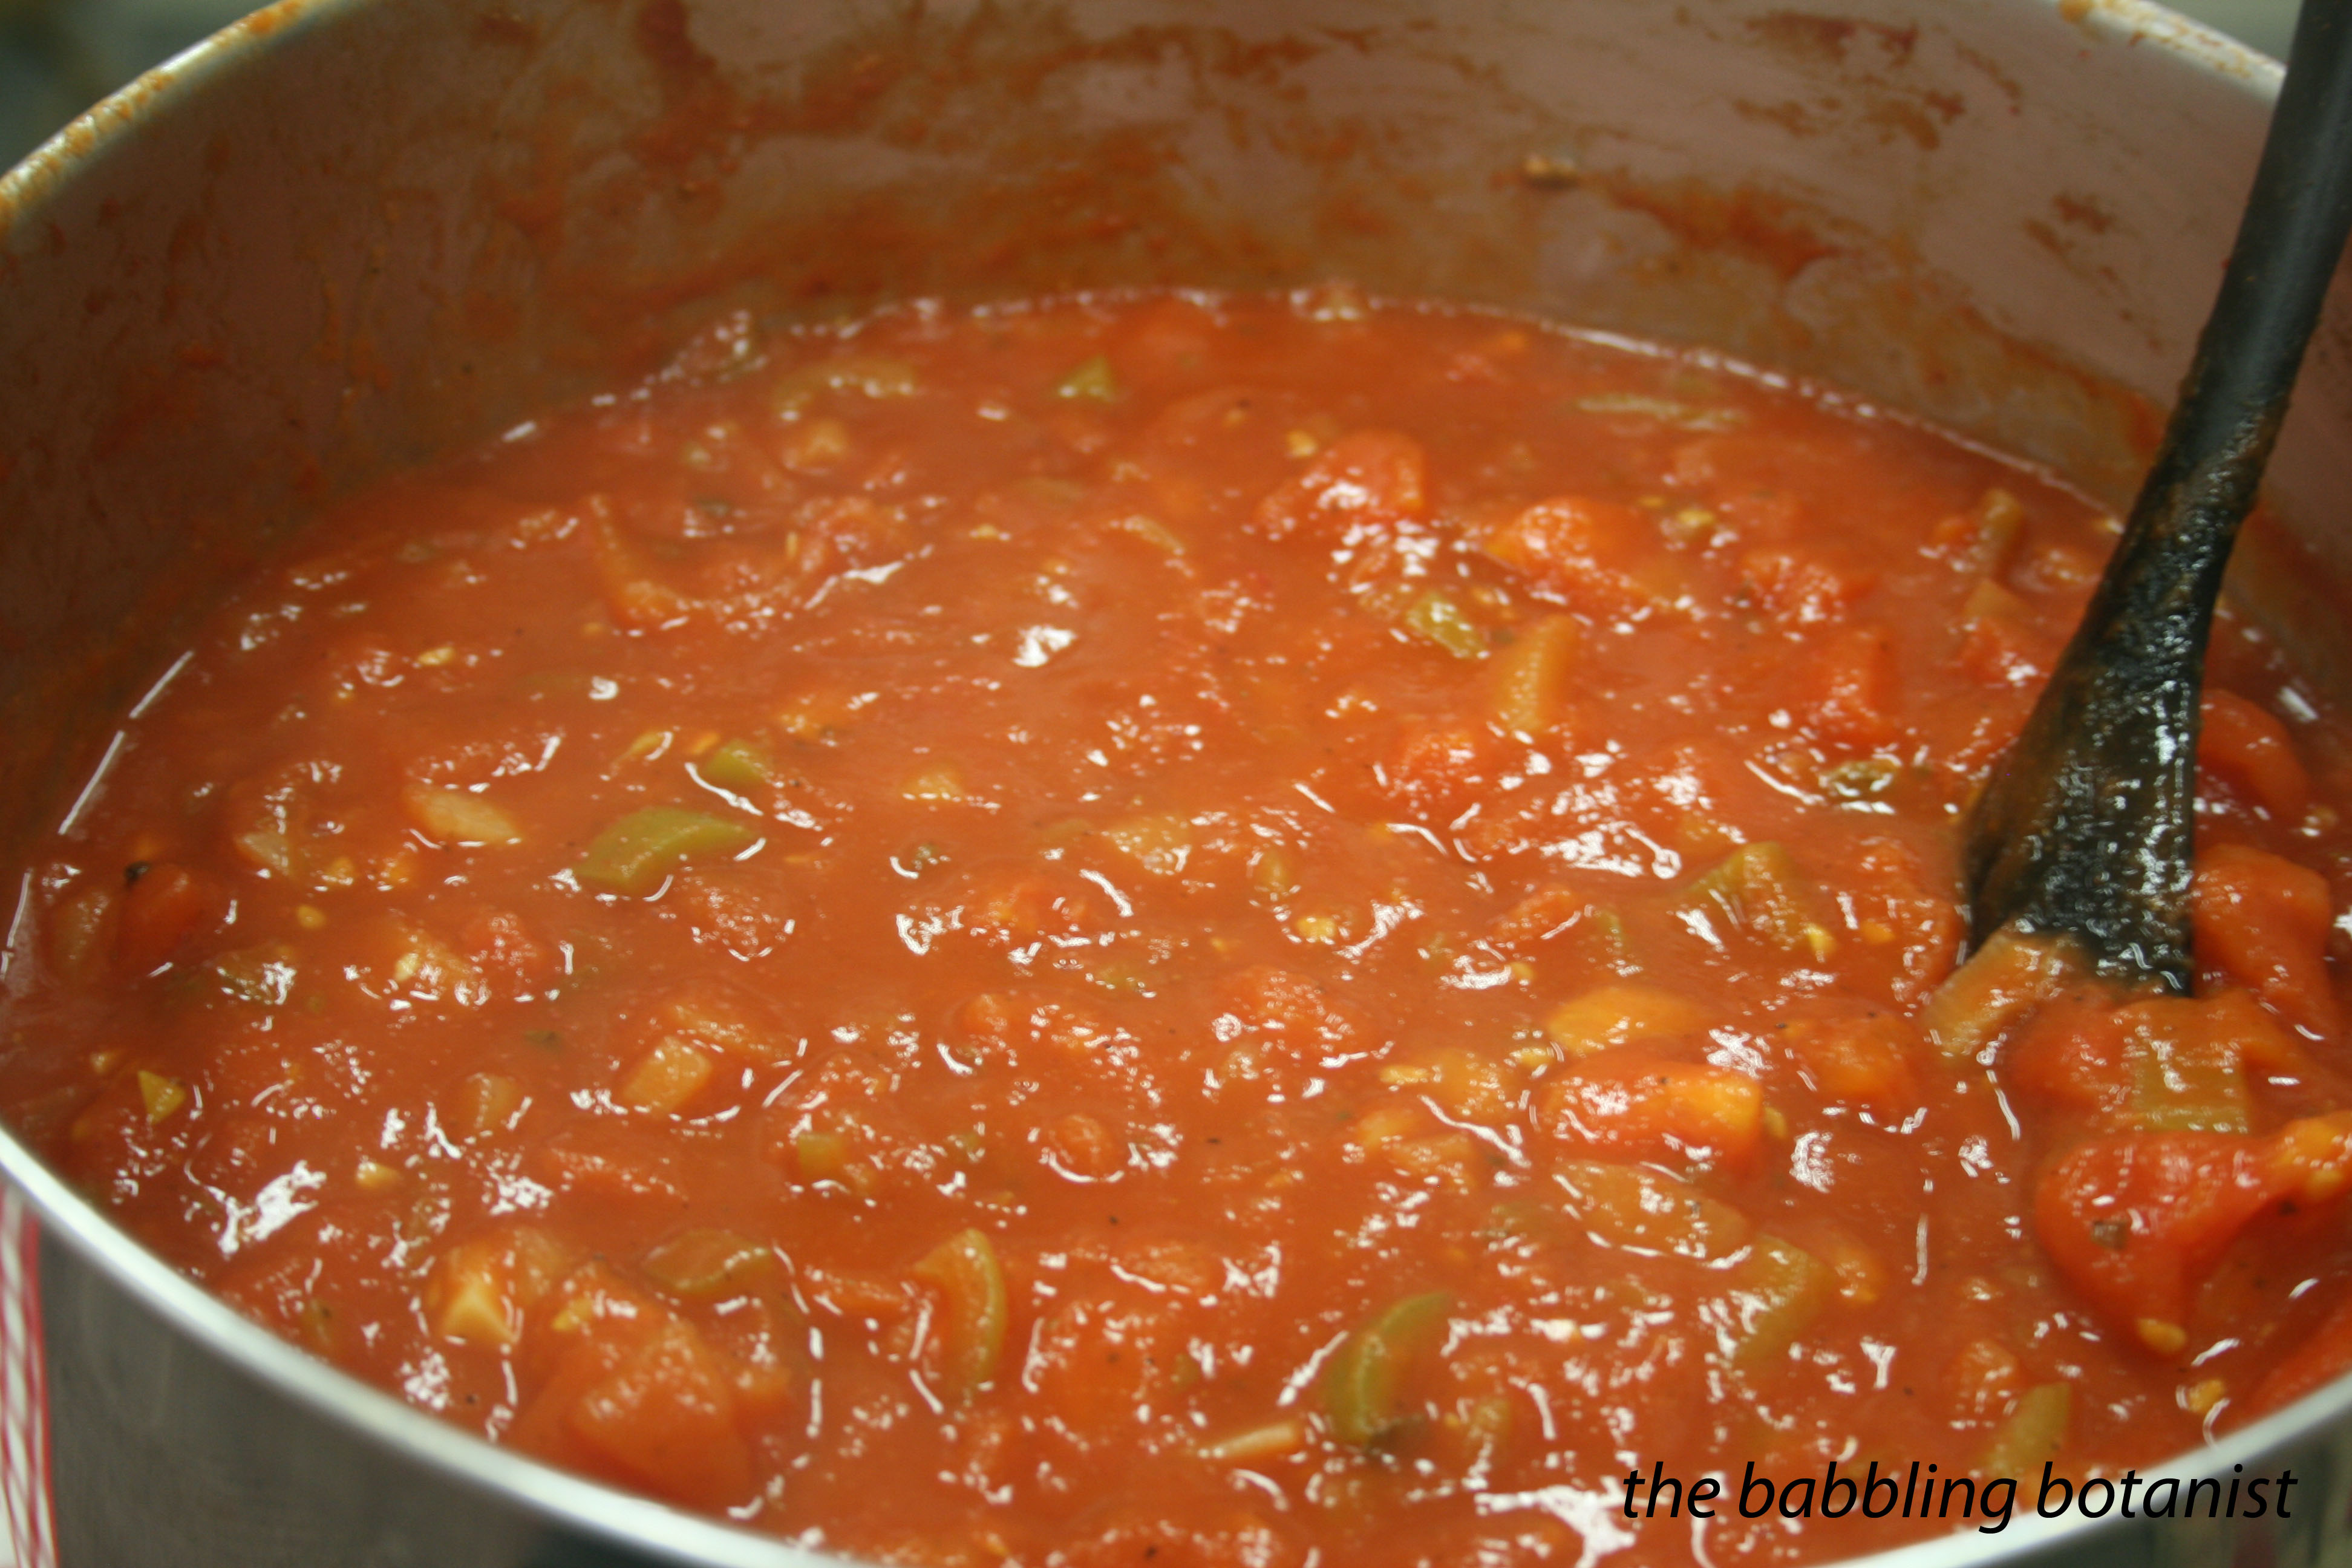
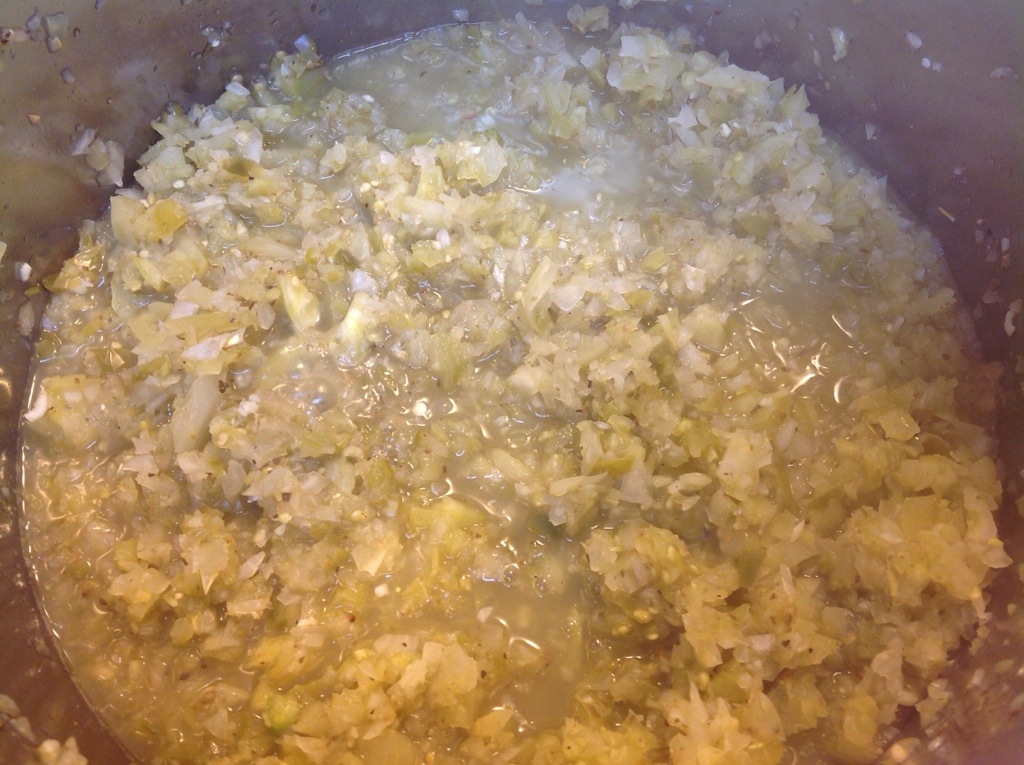
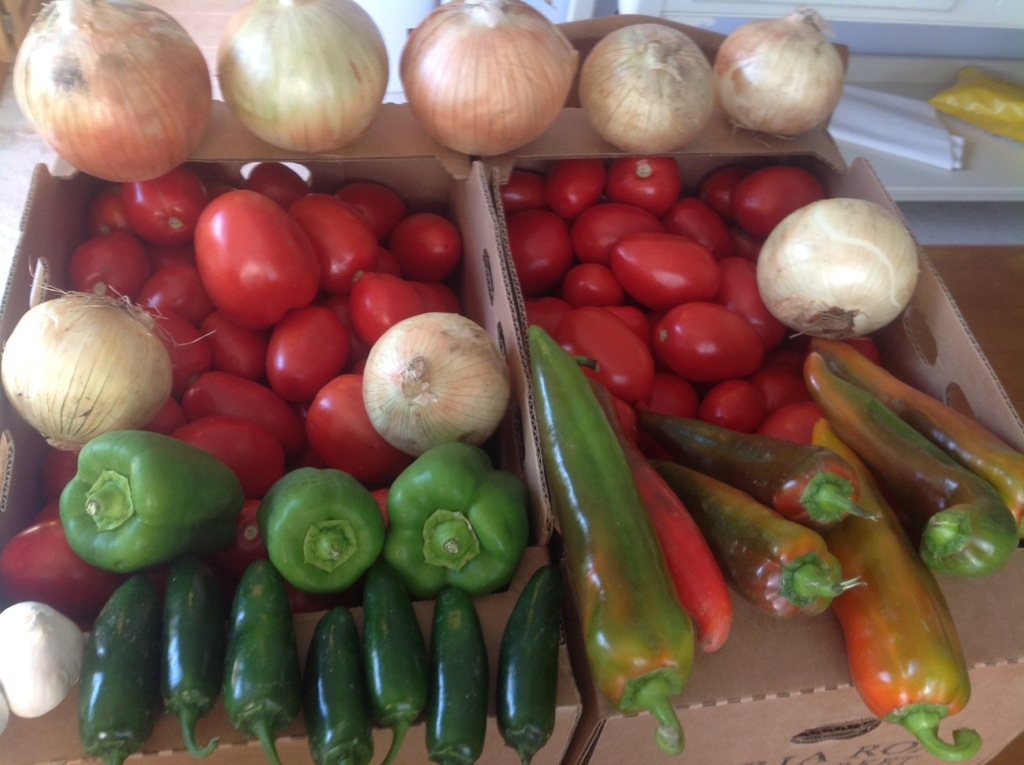
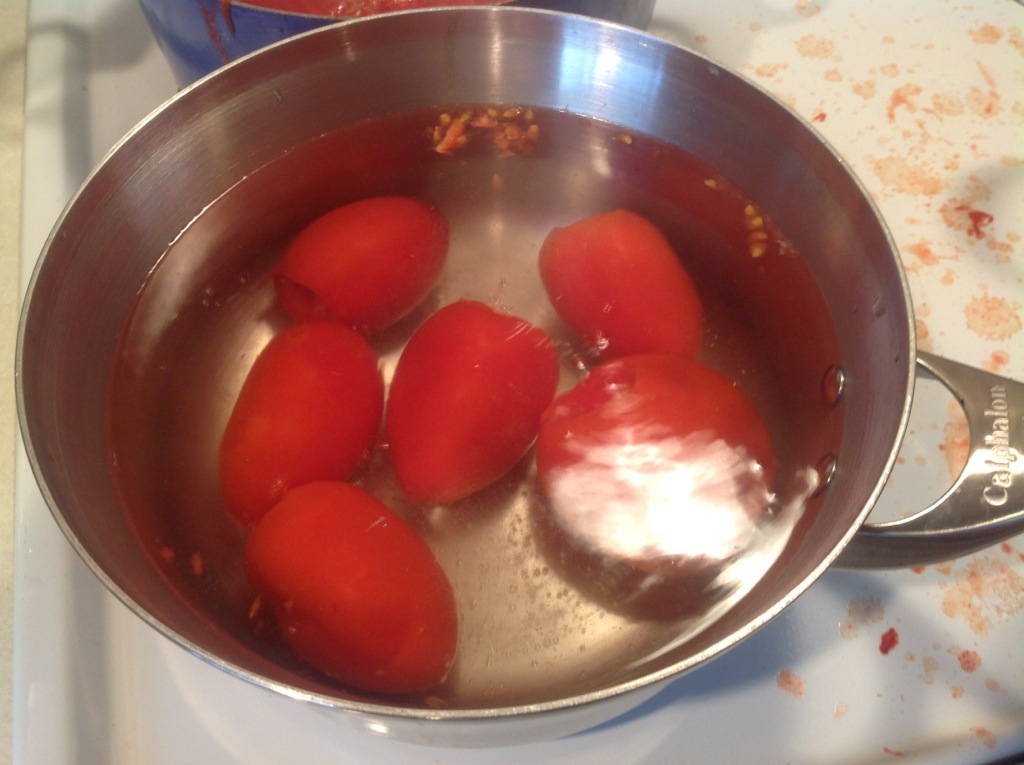
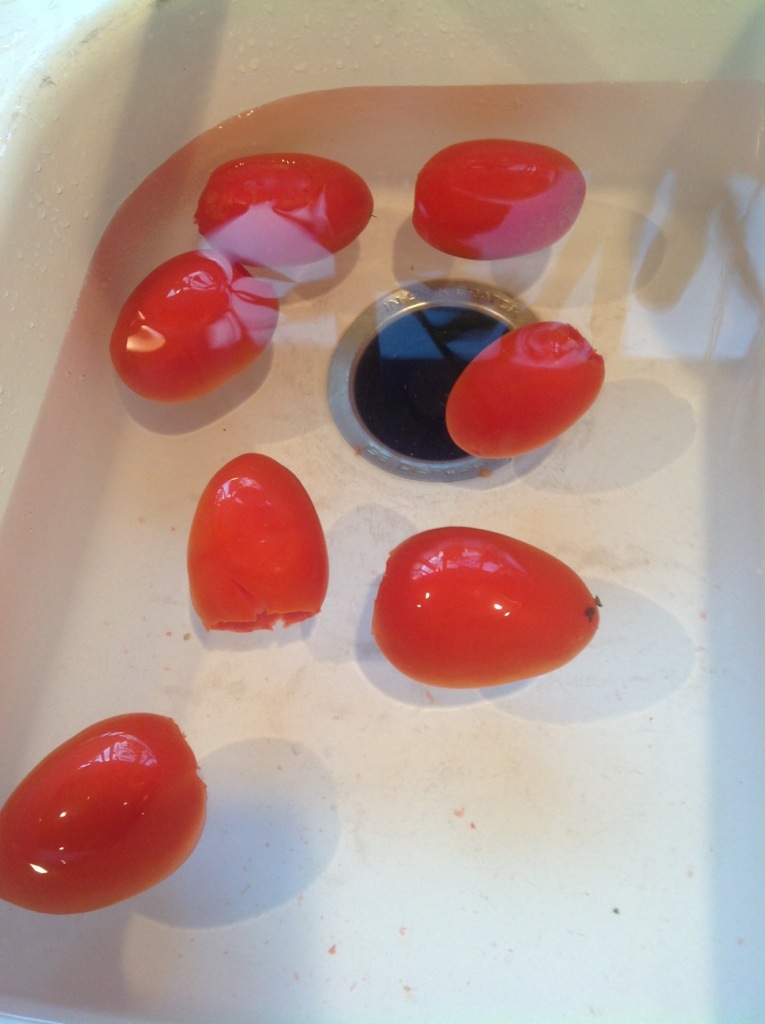
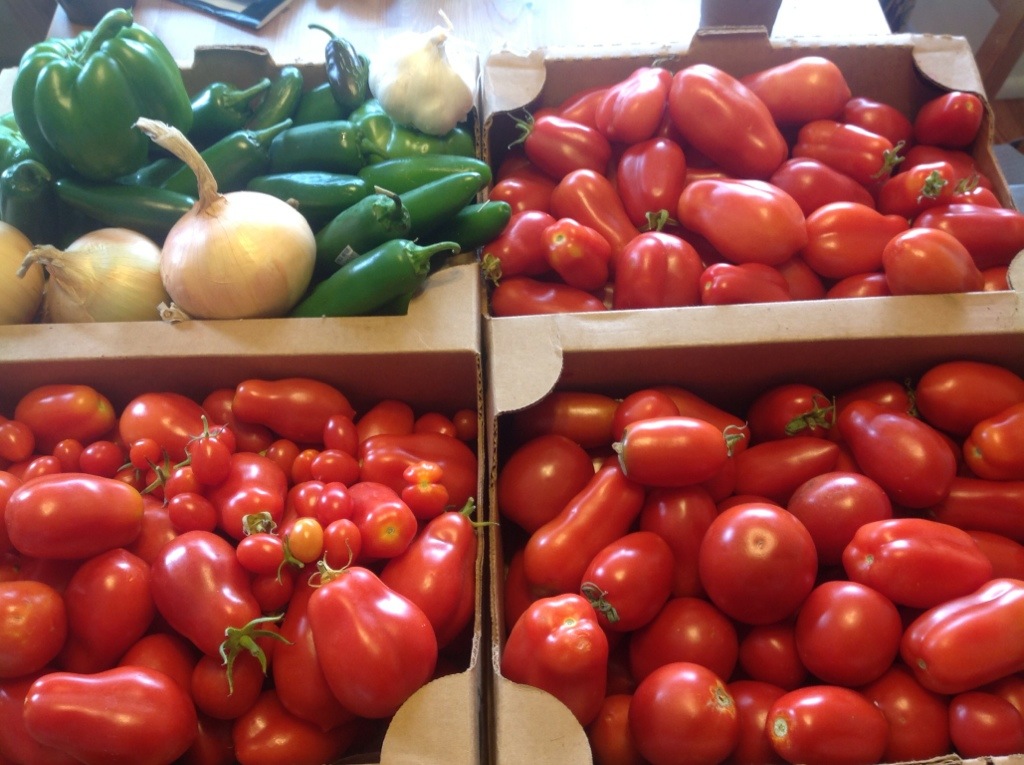
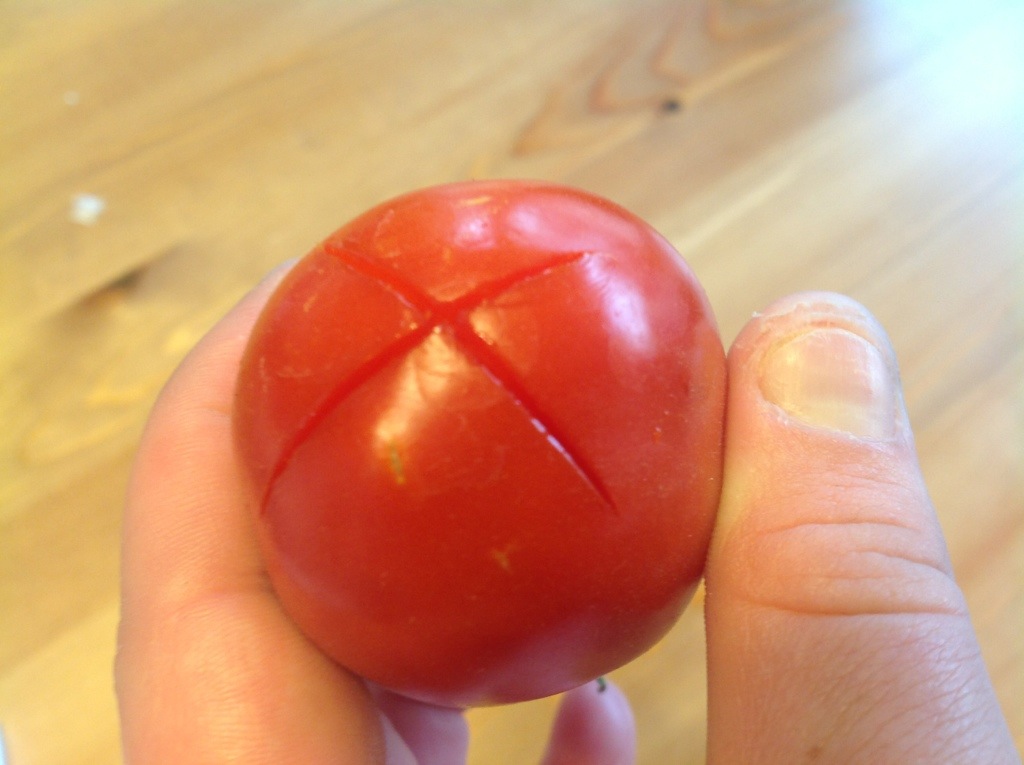
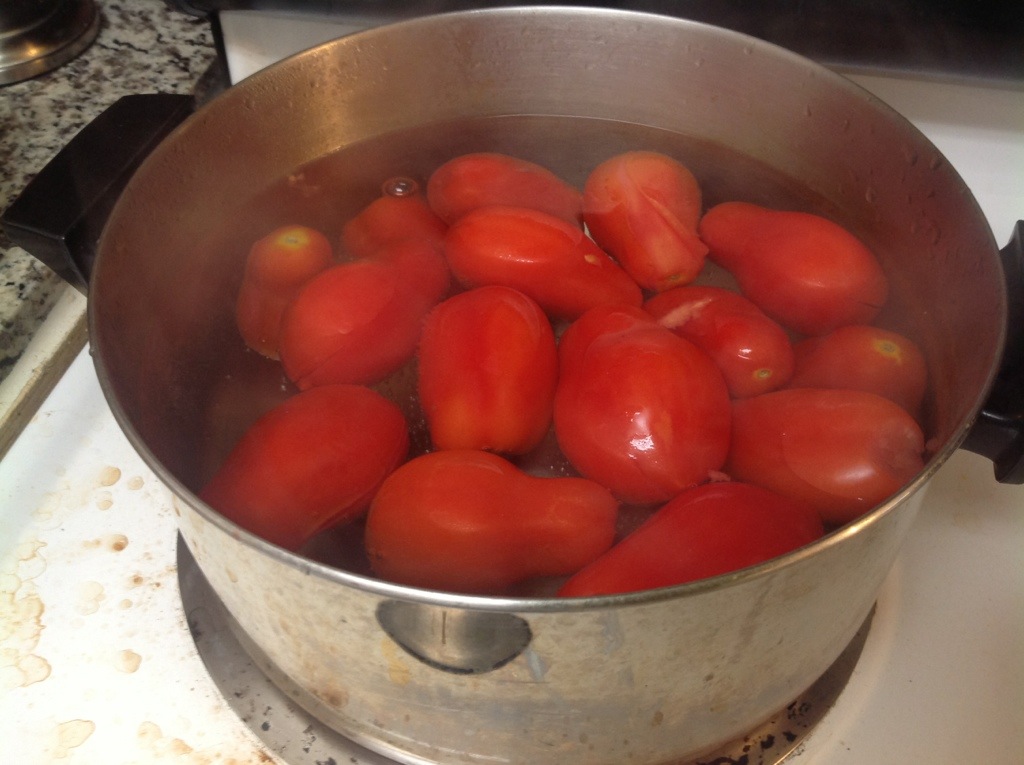
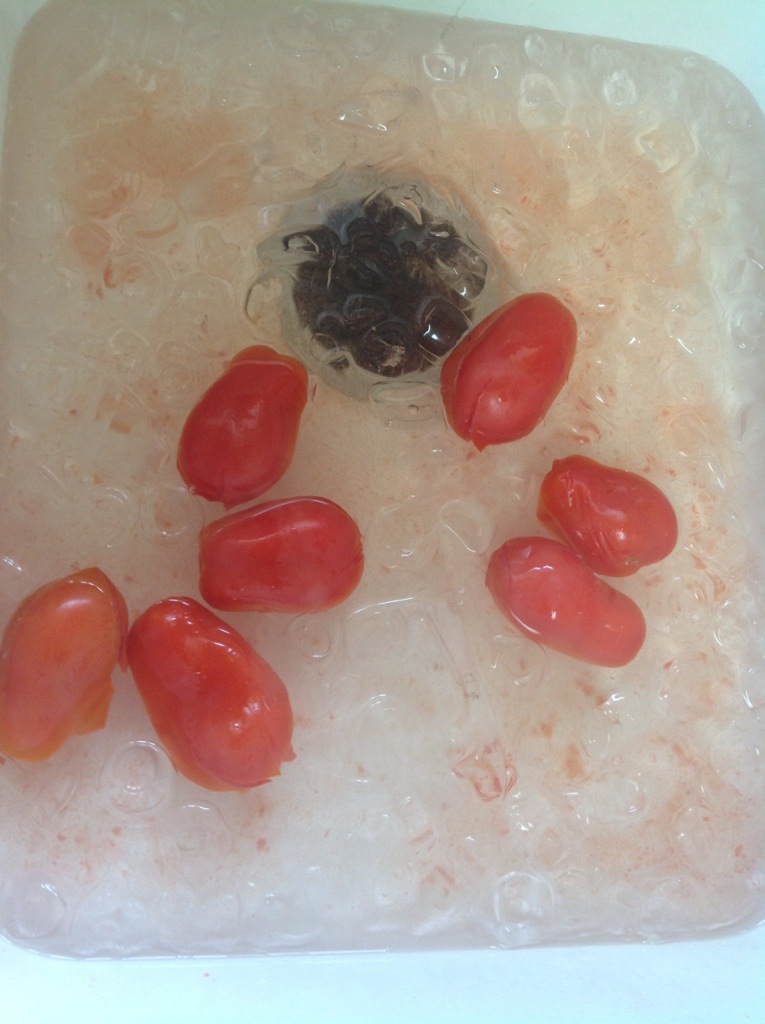
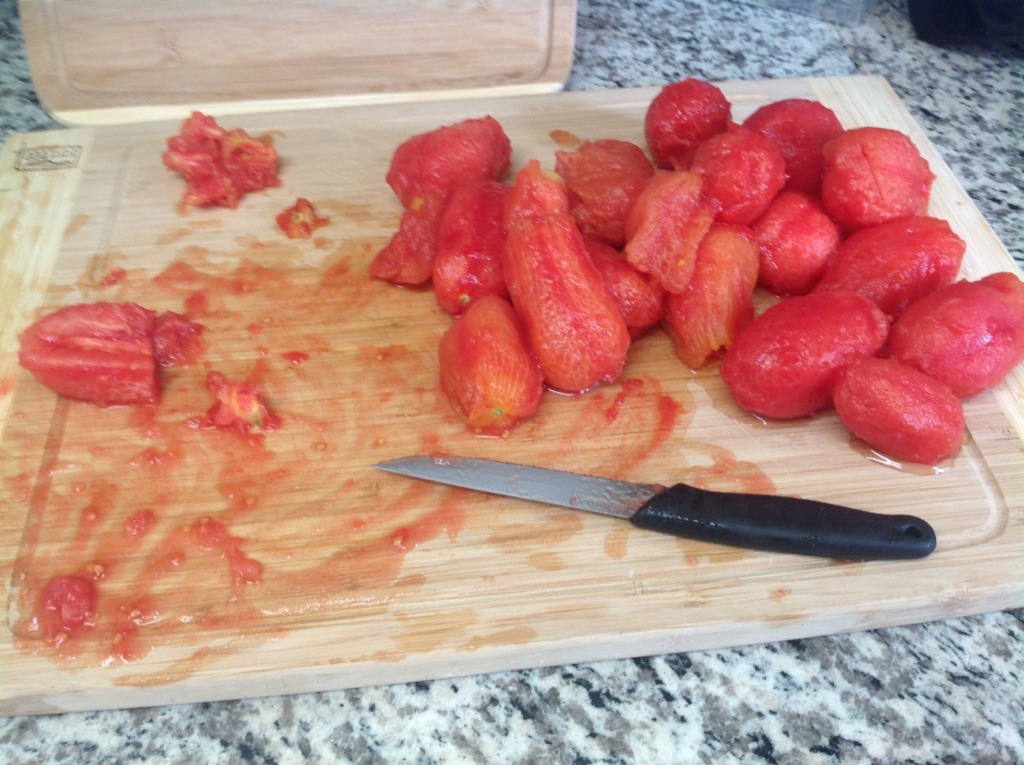
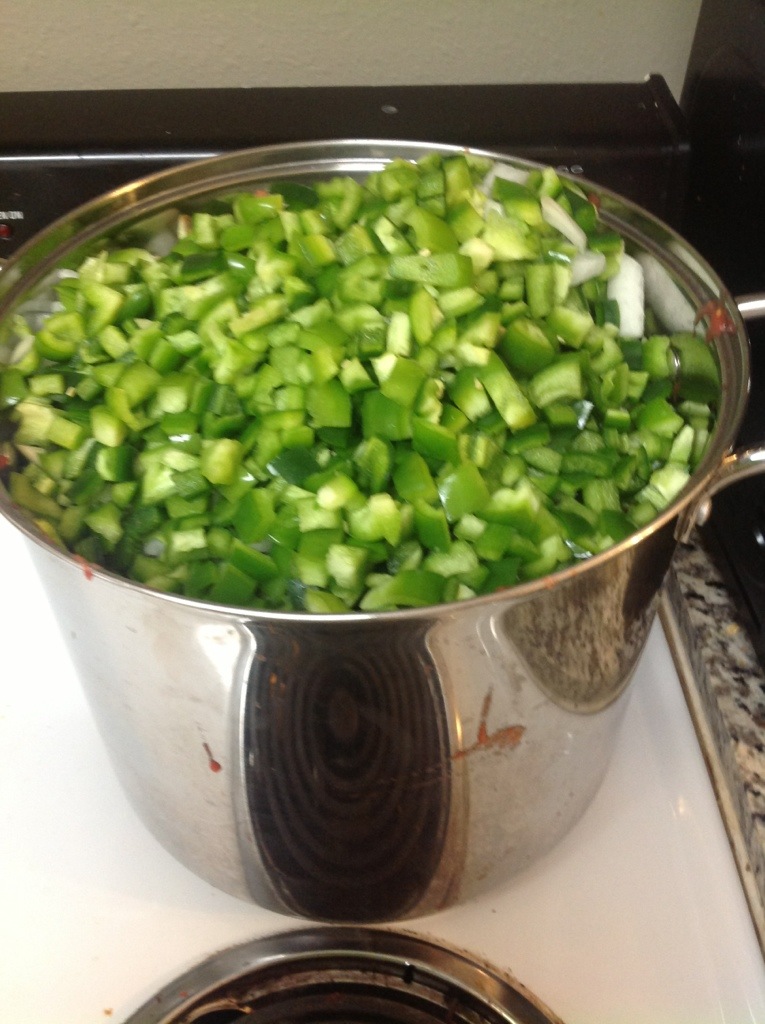
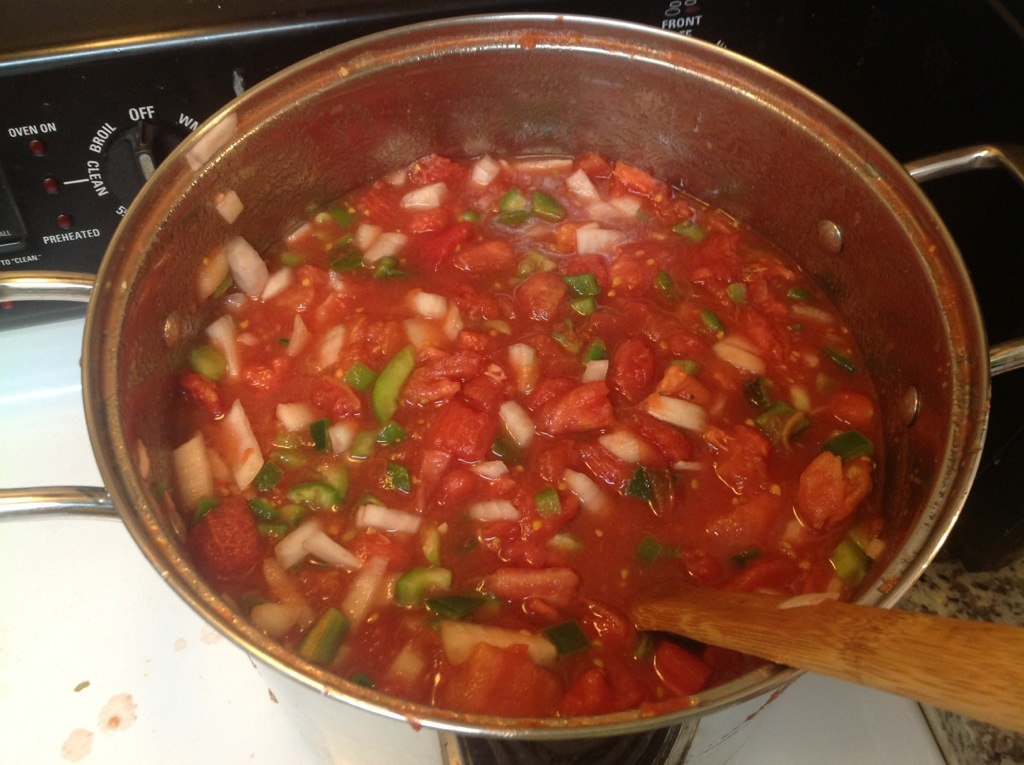
Blanch, peel and chop your tomatoes. My favourite way to deal with all the tomatoes is to core them, dip them in boiling water for 30 or so seconds, dip them in ice water, peel and chop them. Next chop up all the onions and peppers – you choose how much! But it has to total to 9 cups of onions and peppers, for 6 cups of tomatoes. This worked out really well for us because we made a big batch of Chile salsa, and then with the remaining tomatoes we made the choice salsa. It worked out well because I always have trouble buying the correct amount of peppers for a recipe. I grow my tomatoes, but buy the peppers and onions, so when I have 40 pounds of tomatoes, I have to figure out the right number of peppers to buy. This is HARD. So it worked super well that we used up all the rest of the peppers we had, then topped it off with the onions, since if you buy extra onions they store way better than peppers! So great! We ended up with a recipe fairly heavy on the peppers, but I think it turned out really well. I do find the lemon juice flavour to be quite strong though, so I think next time I might try half lemon, half lime.
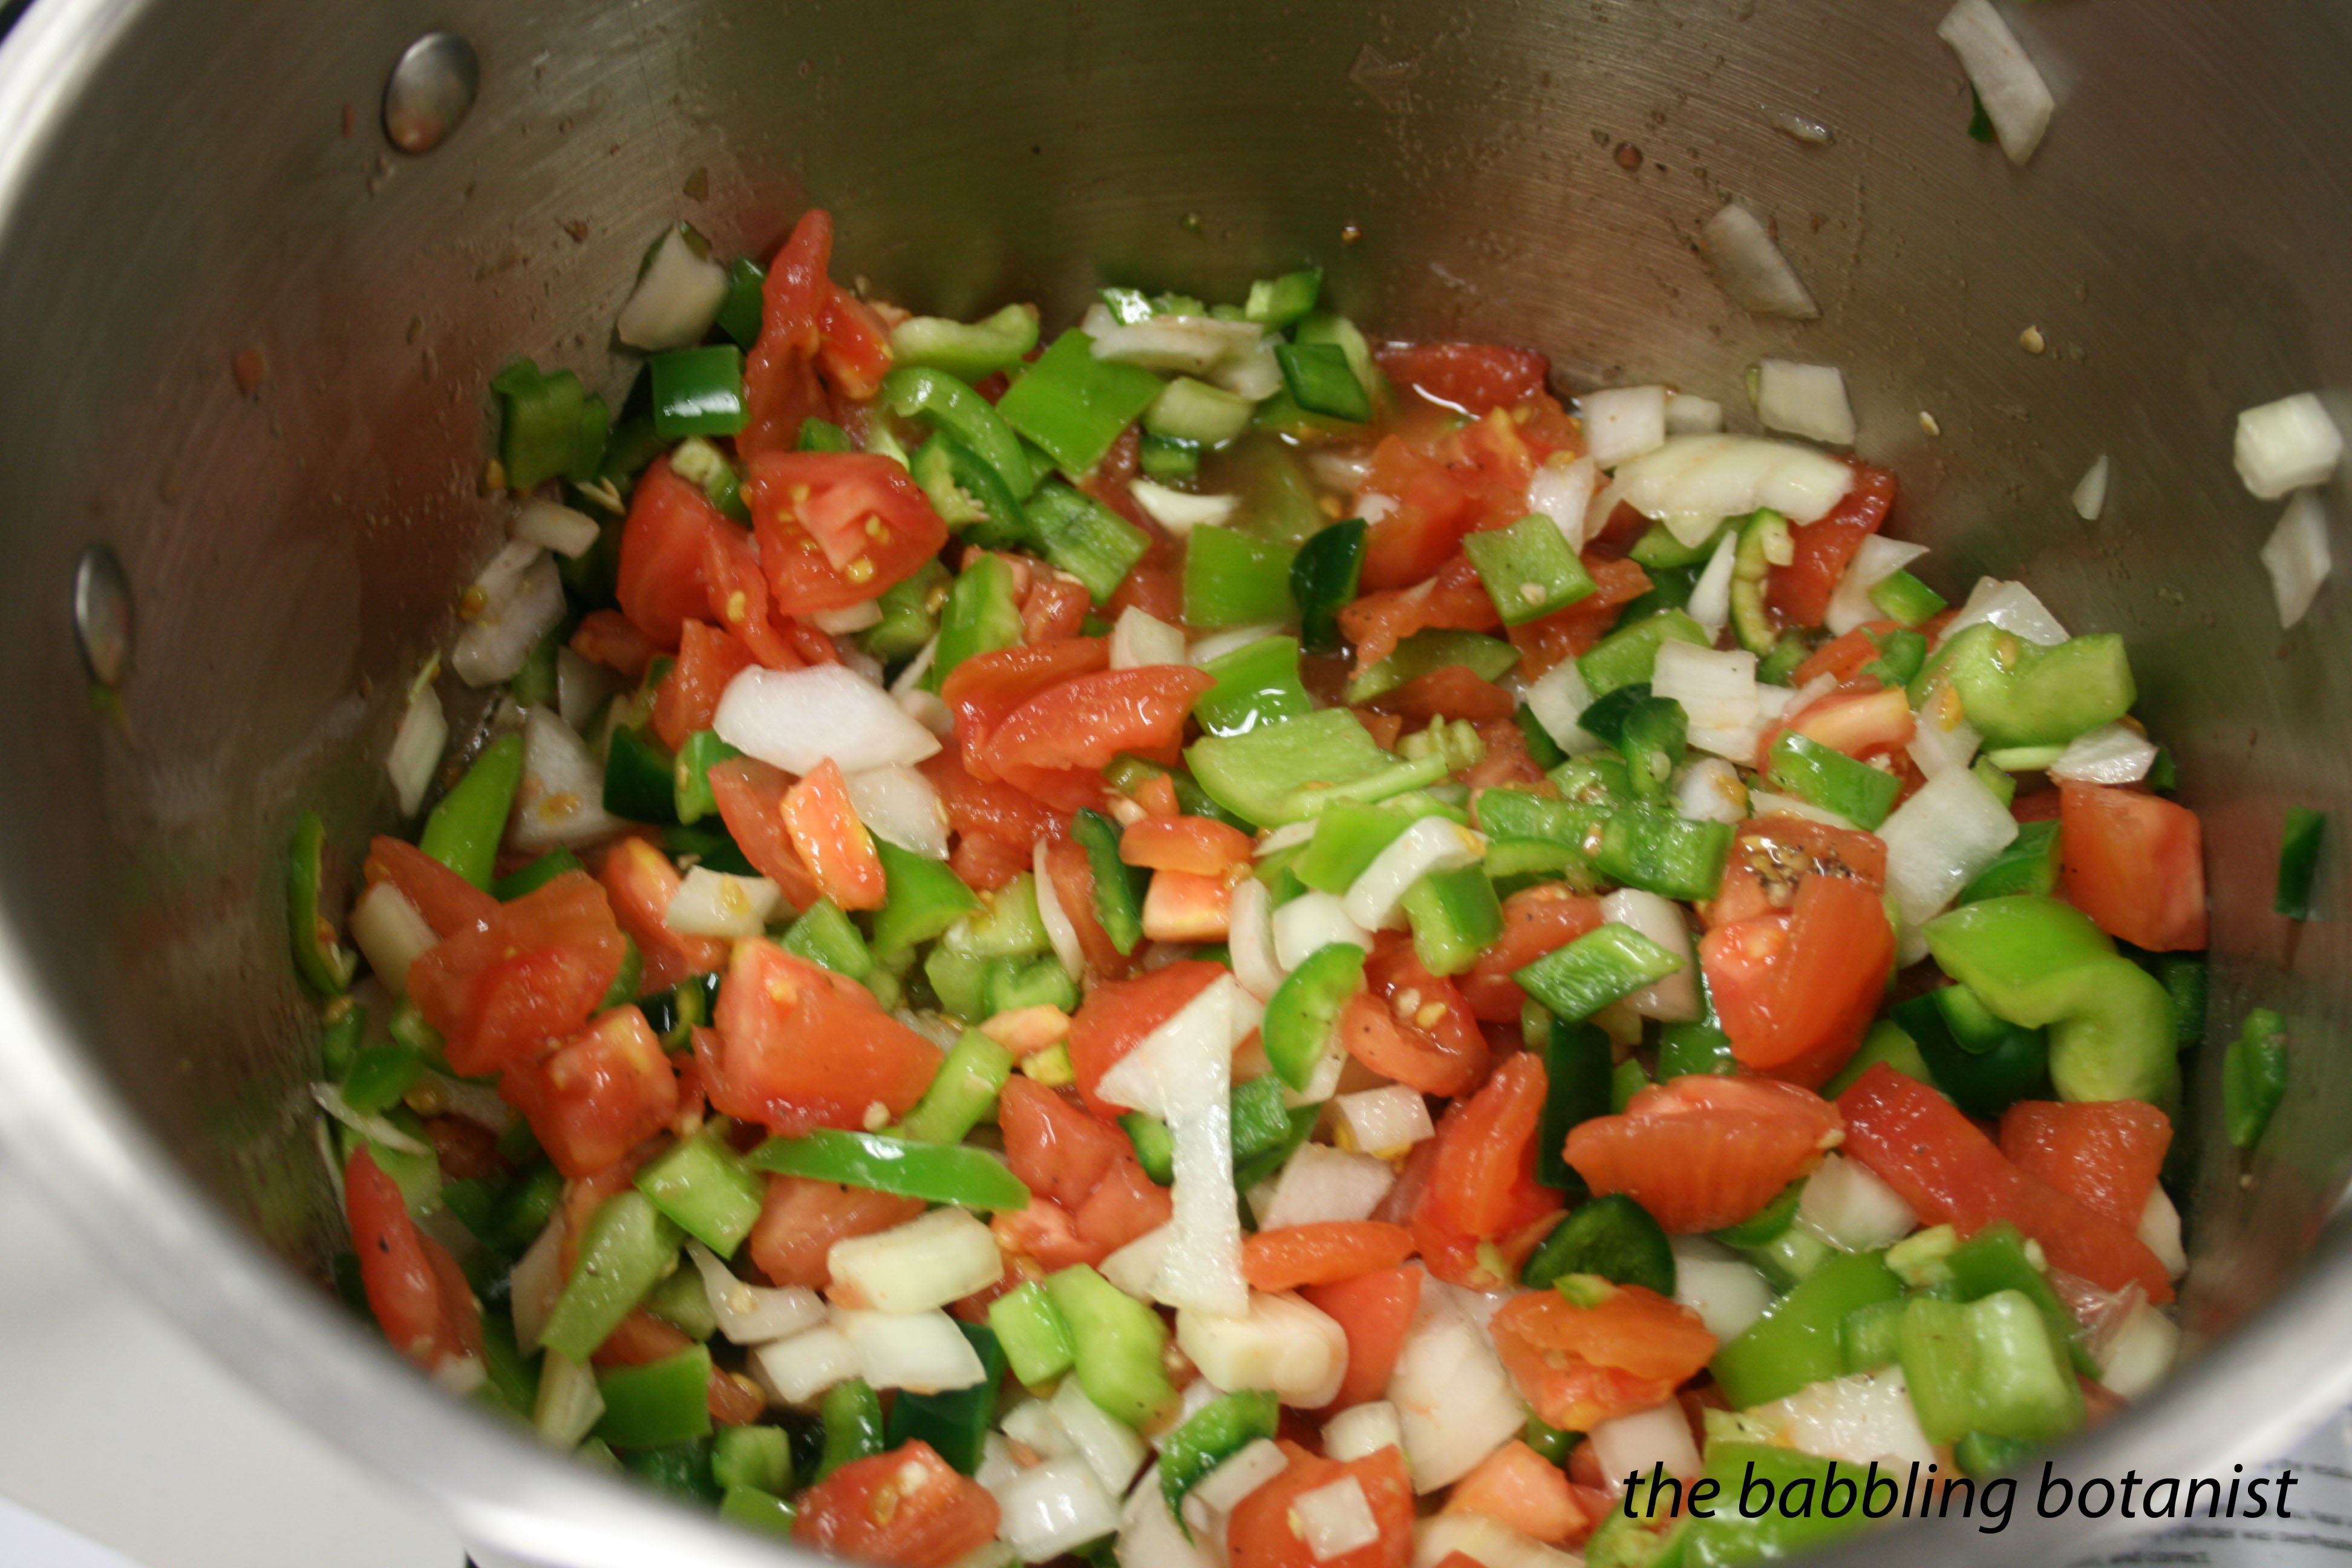
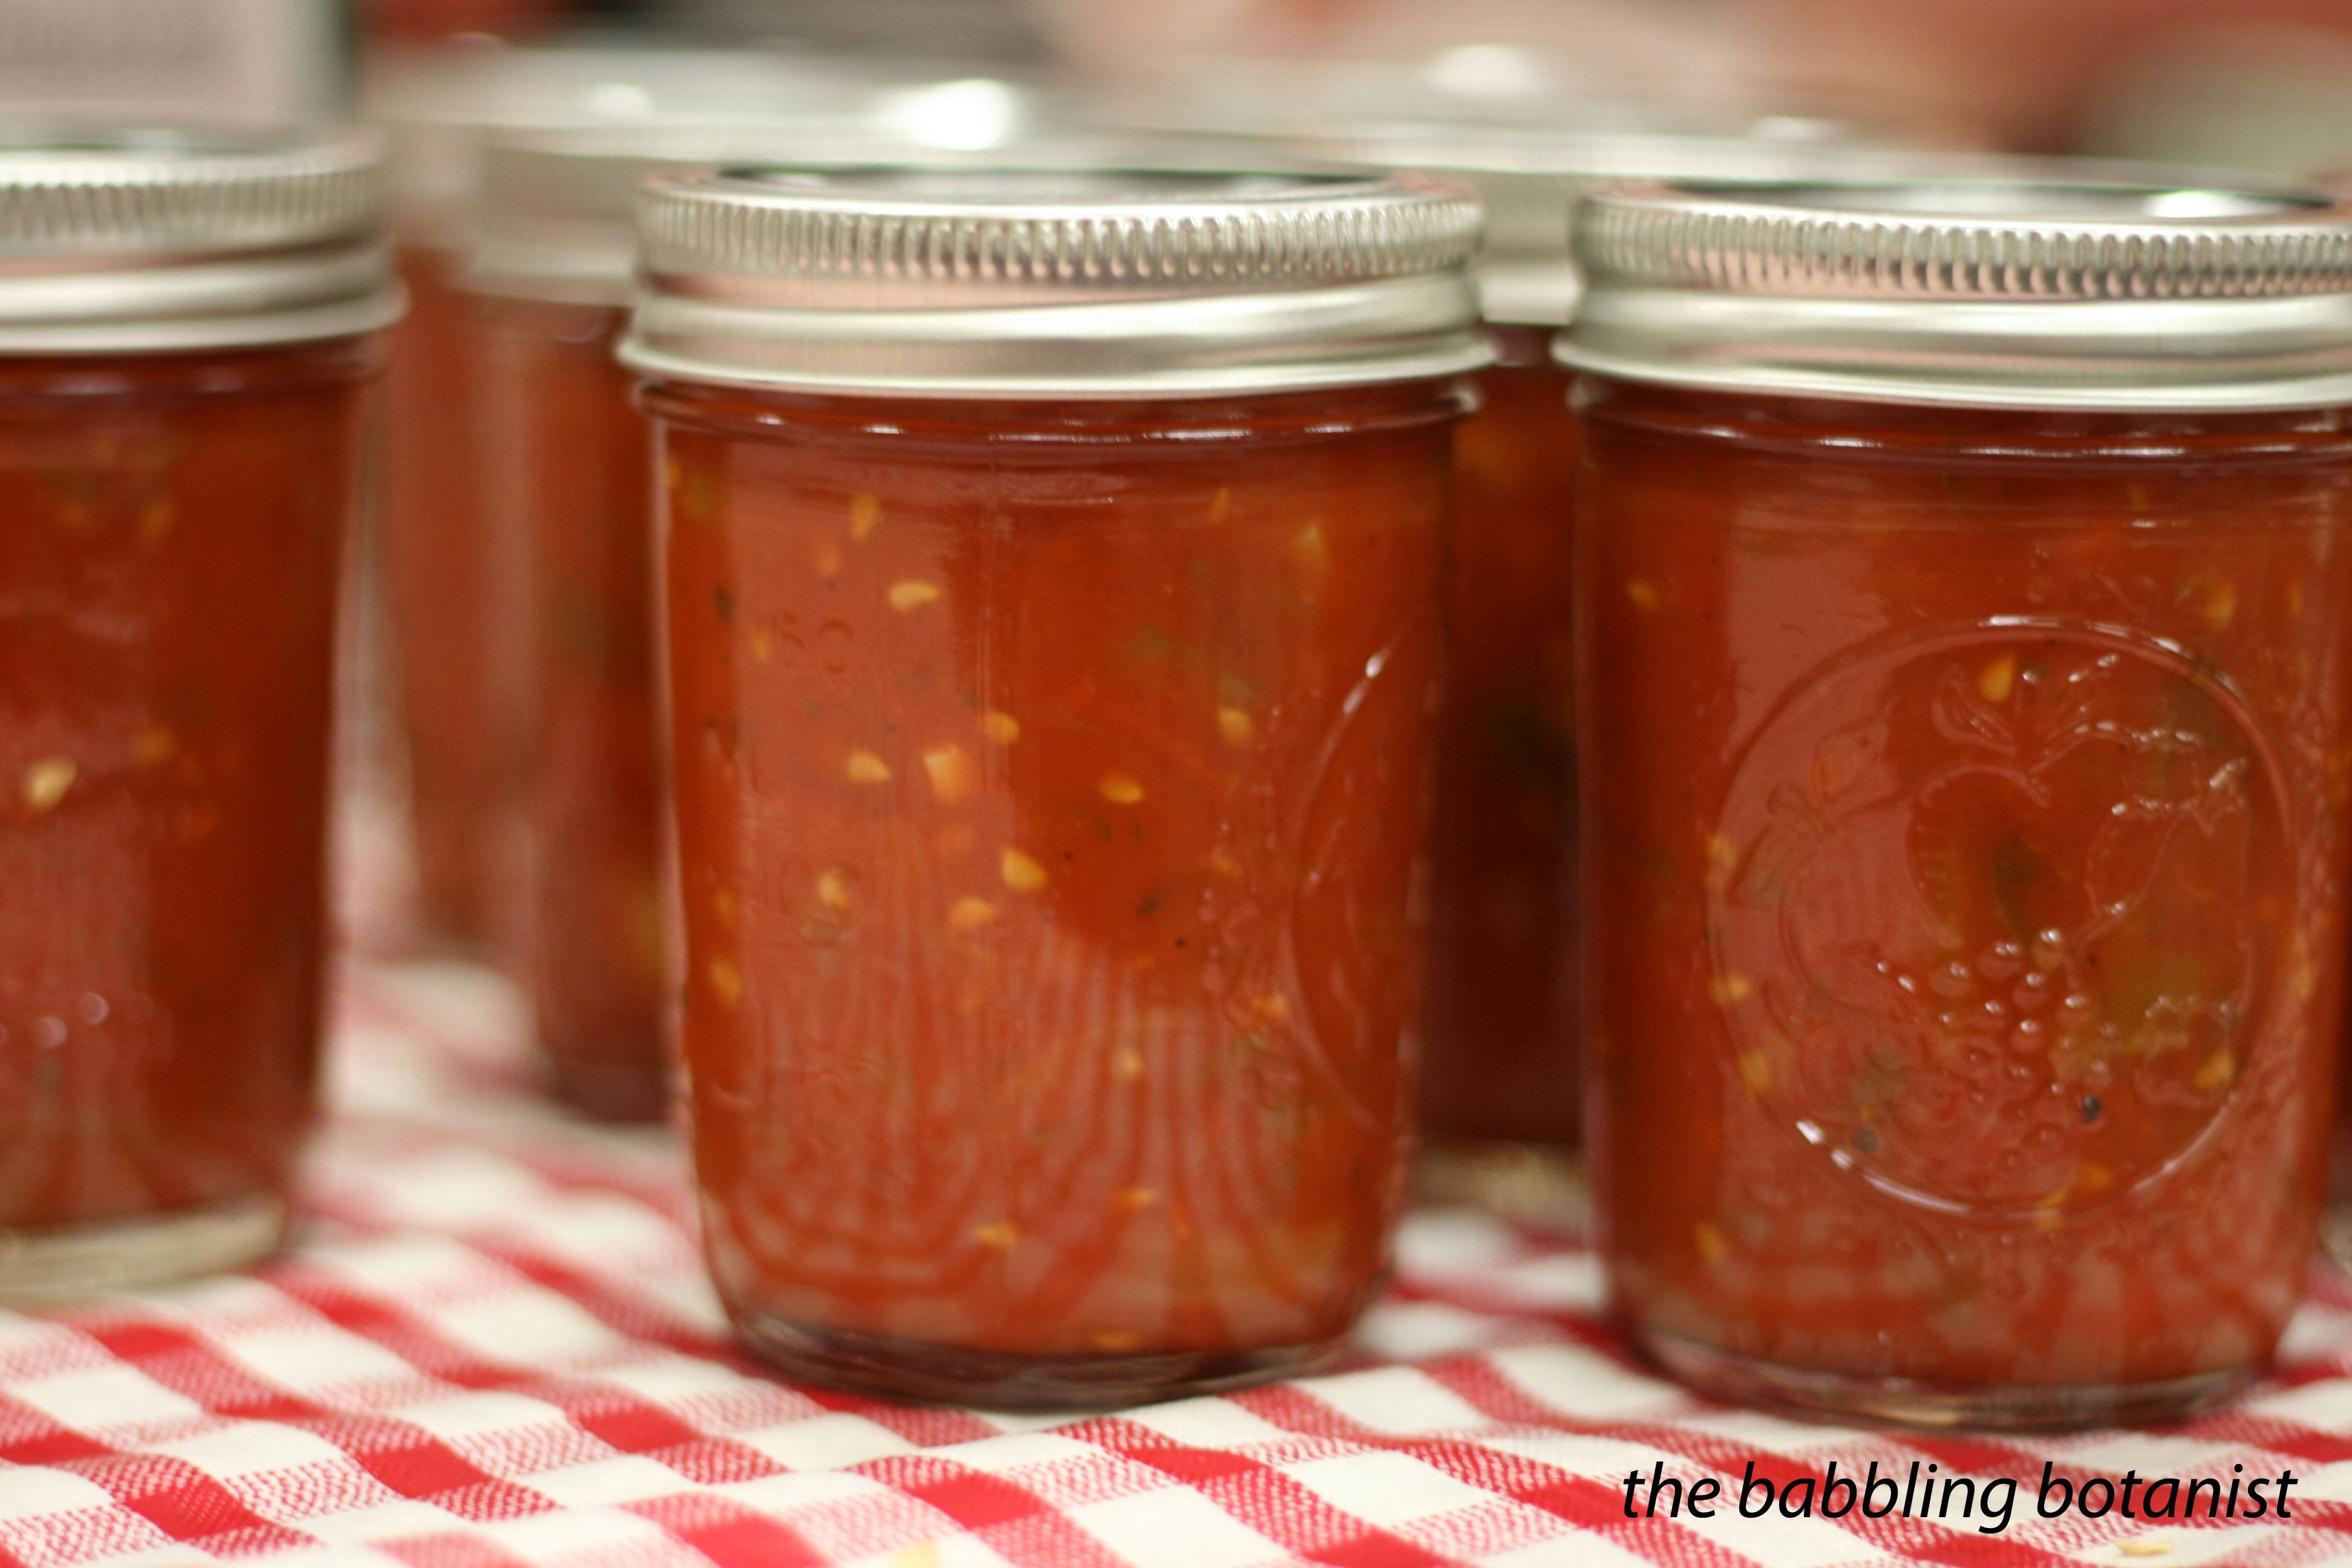
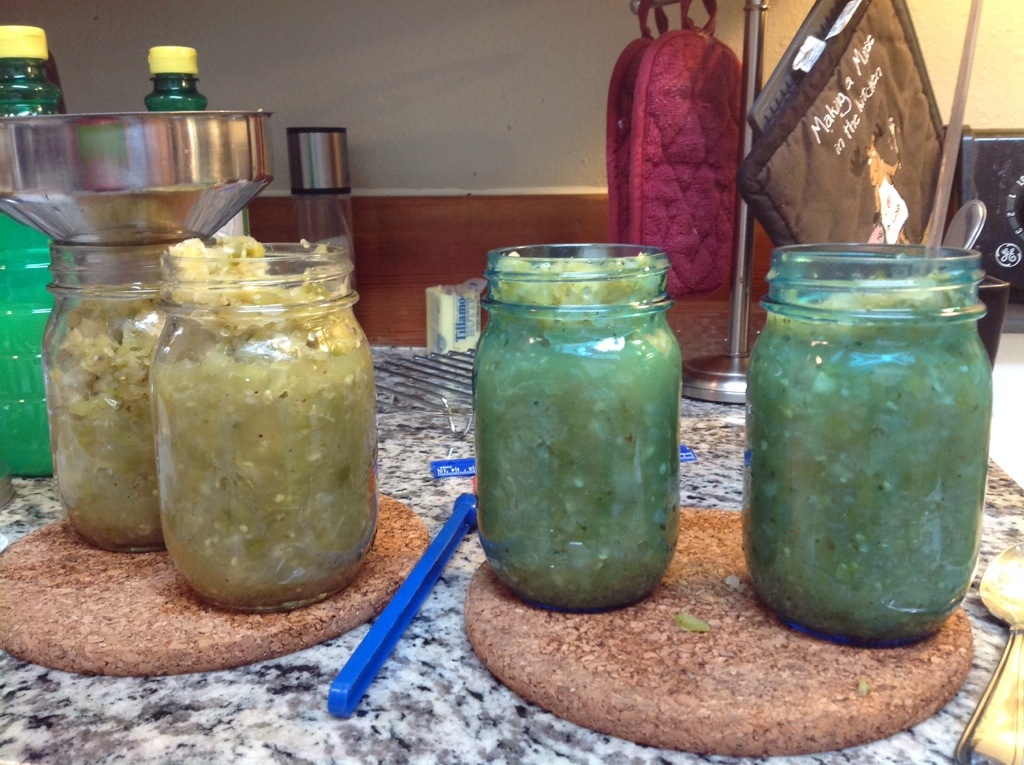
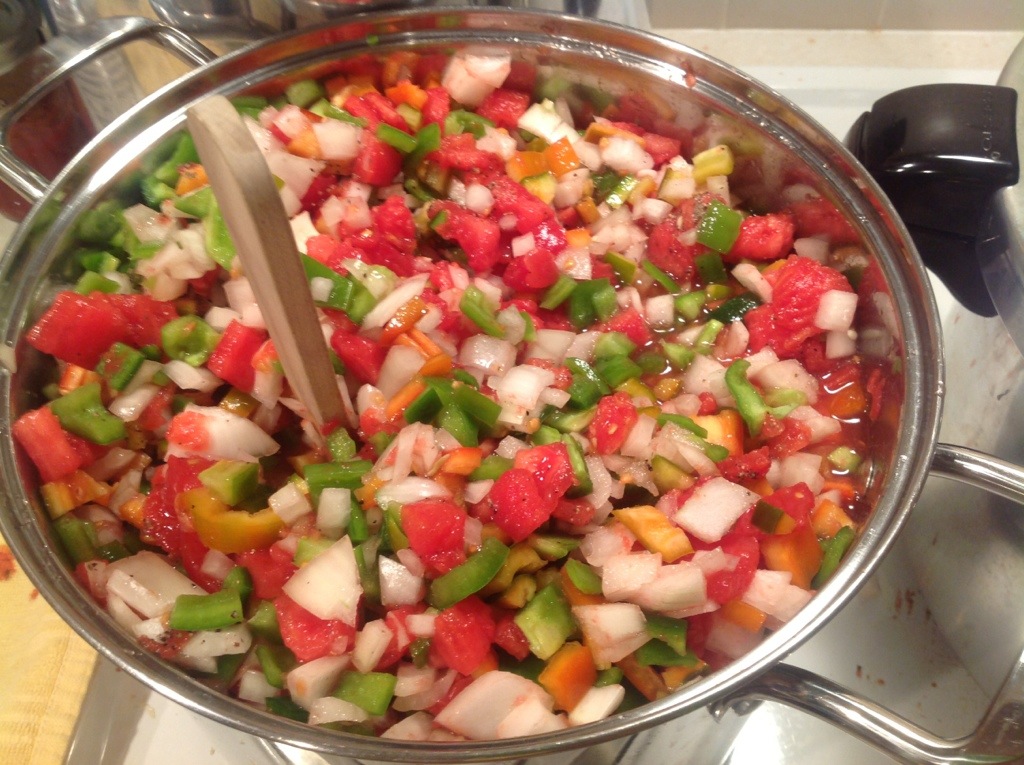
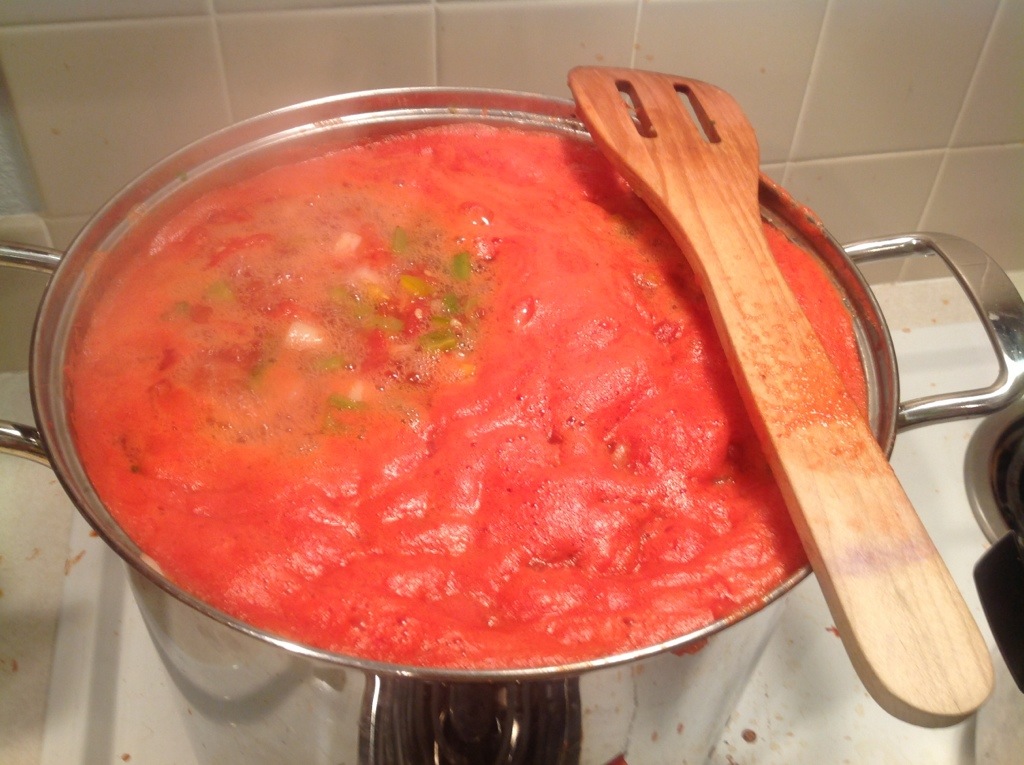
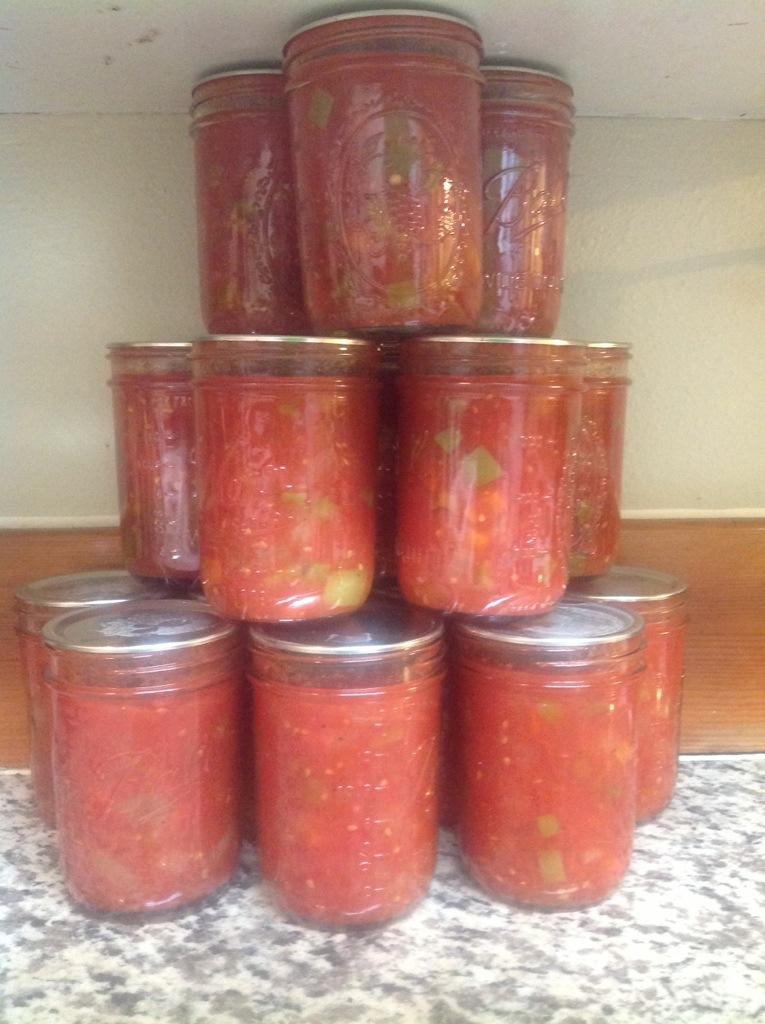
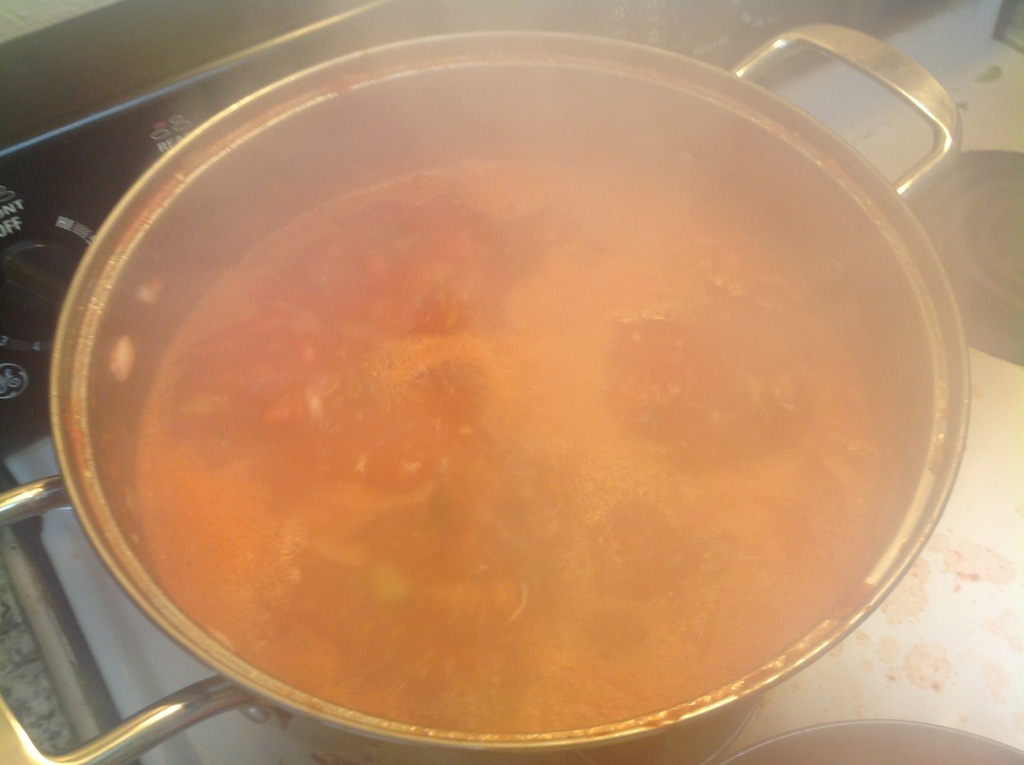
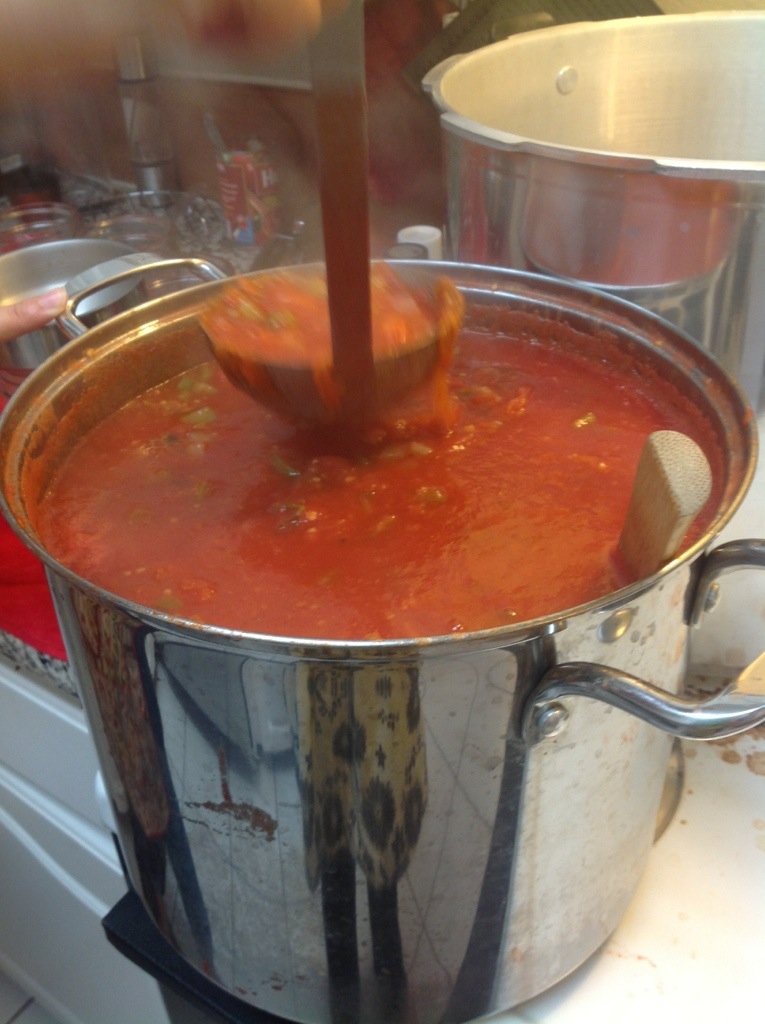
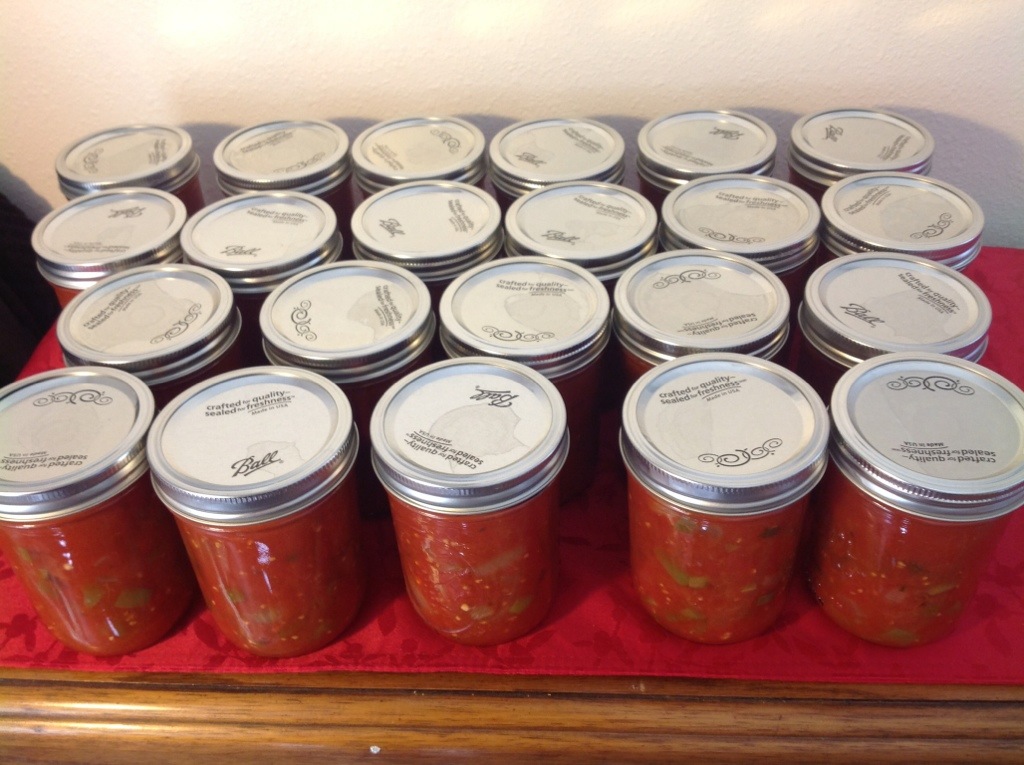
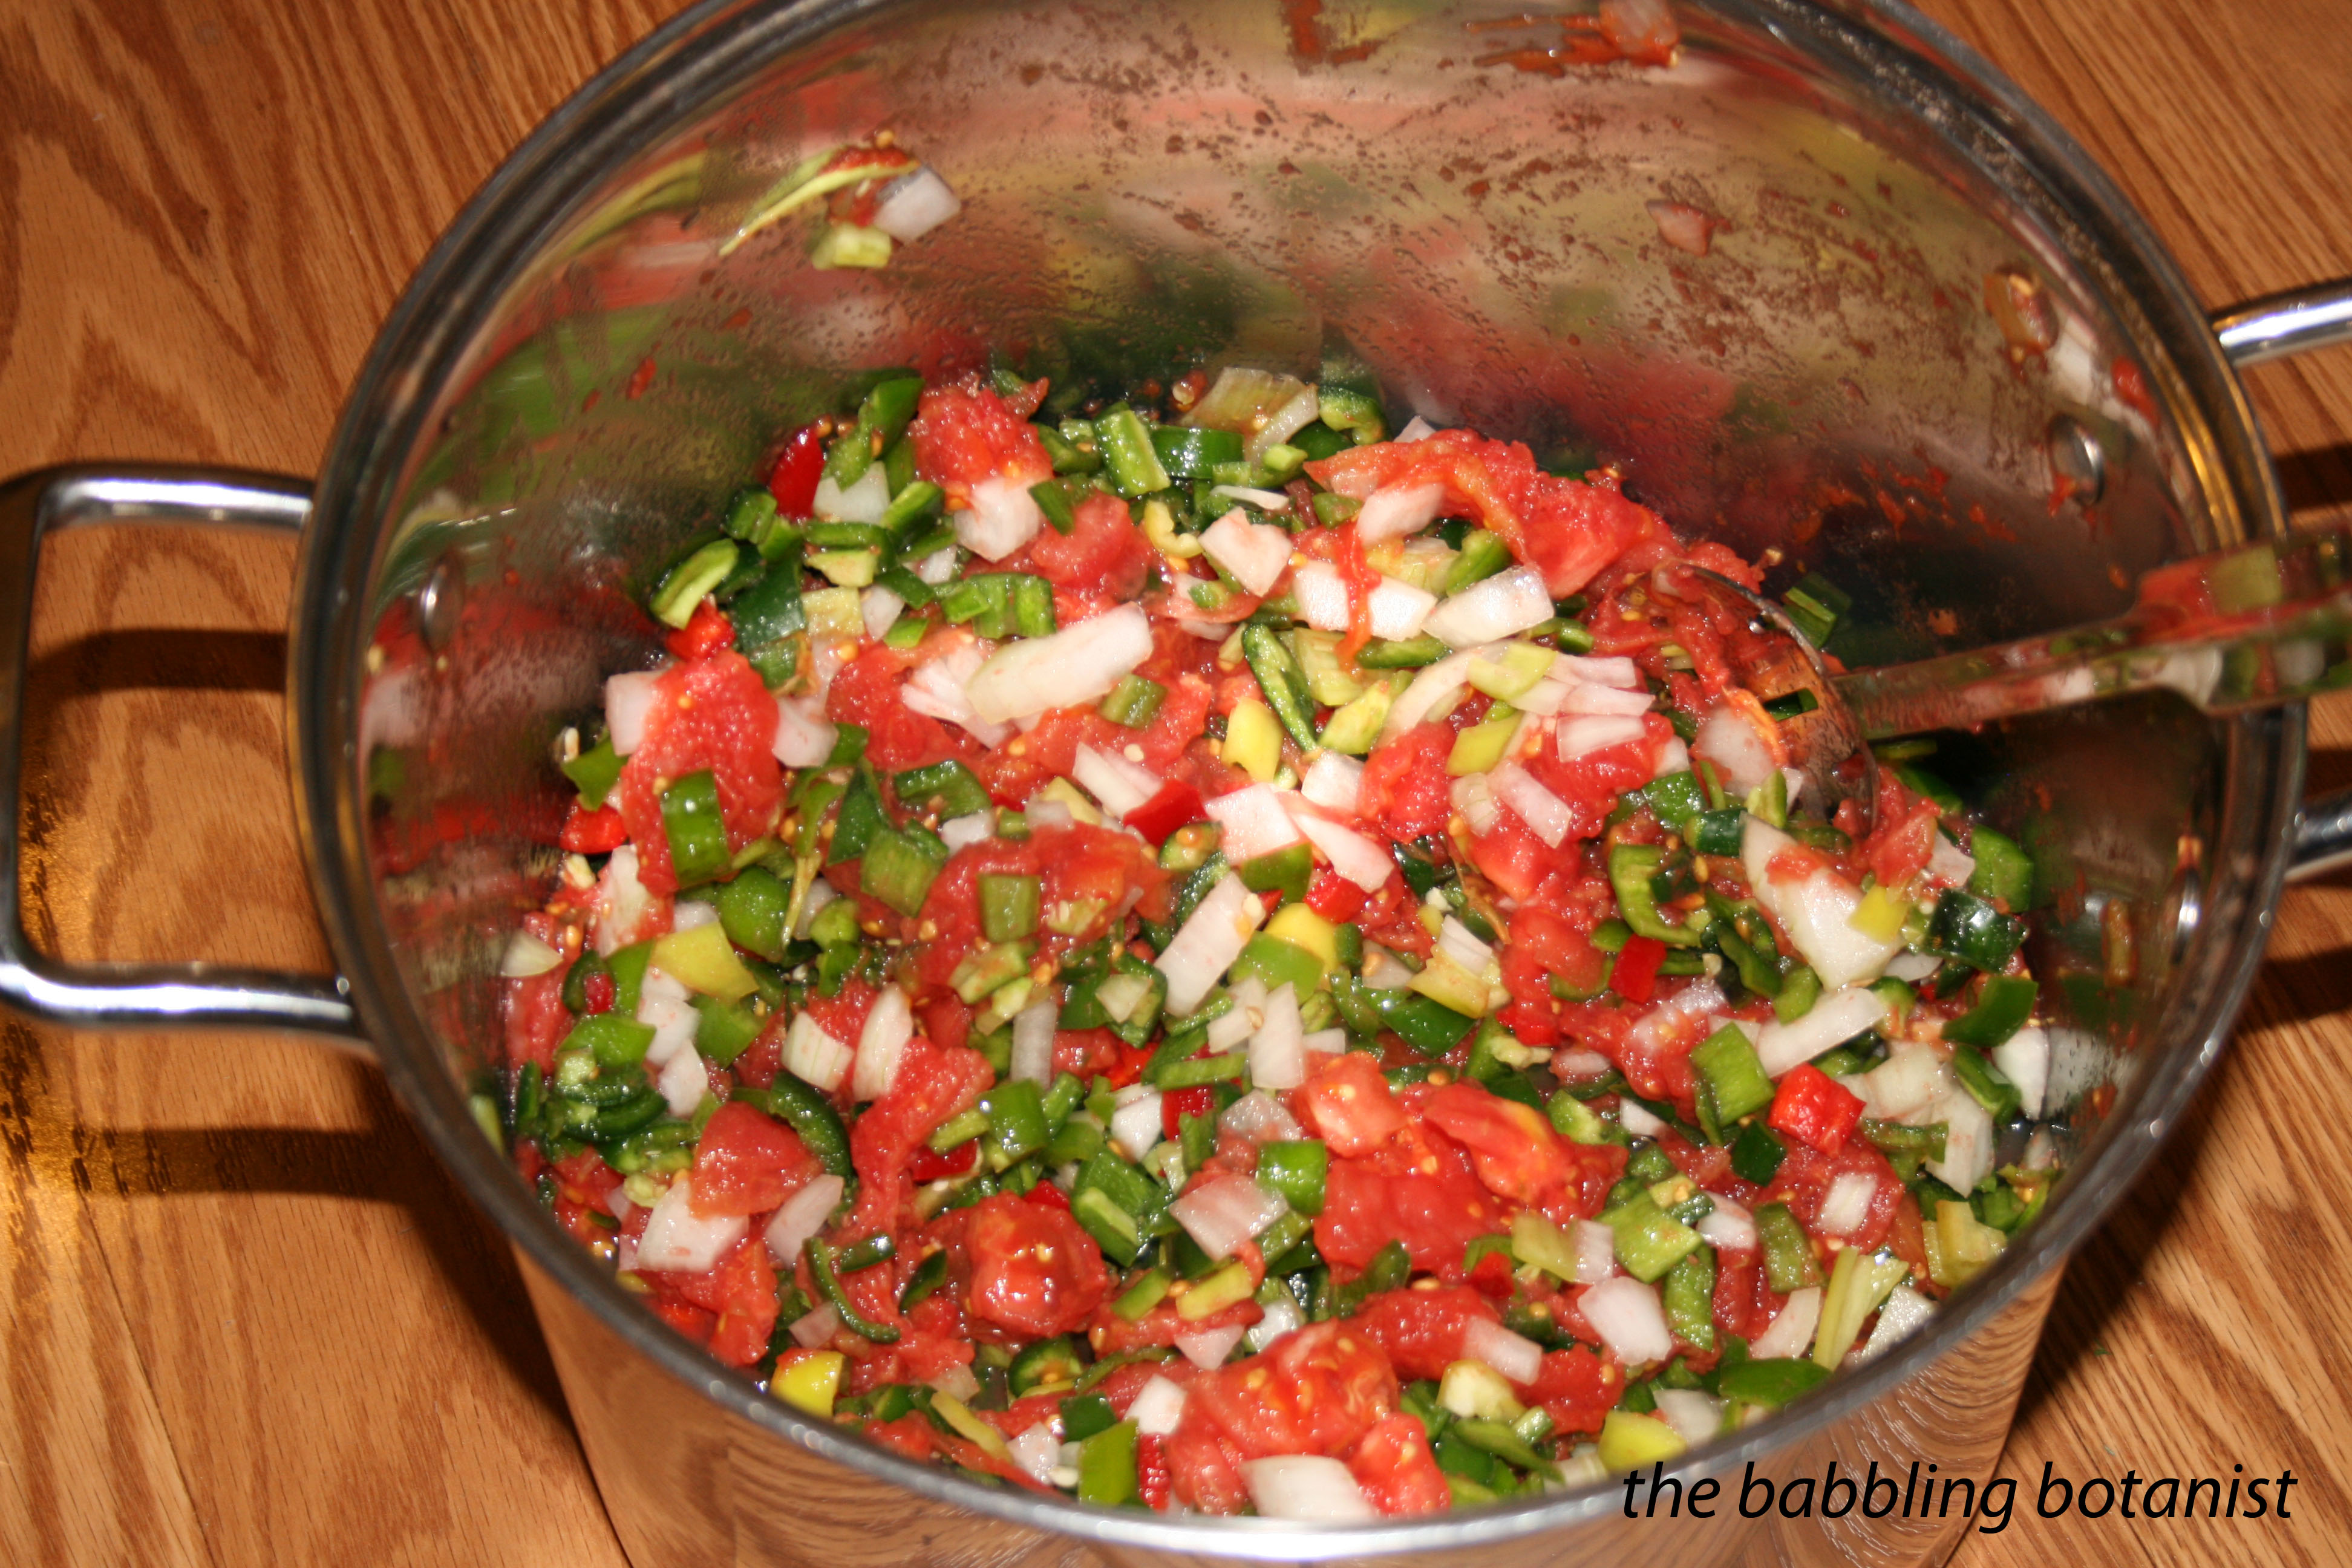
Prepare the canner, jars and lids. This recipe yields about 6 pints. Mix all the ingredients in a large stainless steel pot. Remember, do not alter the ratios of anything. You get 6 cups of tomatoes, 9 cups peppers/onions, and 1.5 cups of lemon juice. No reducing the lemon or adding extra veggies OK! Adding other dry spices is ok though, so if you want cumin, oregano or something else, add that now too. Heat all the ingredients to a boil over medium high, stirring occasionally. Simmer for at least 3 minutes, then fill your hot jars, leaving a half inch head space. Process for 15 minutes in a boiling water bath canner (sea level), covered by at least 1-2 inches of boiling water.
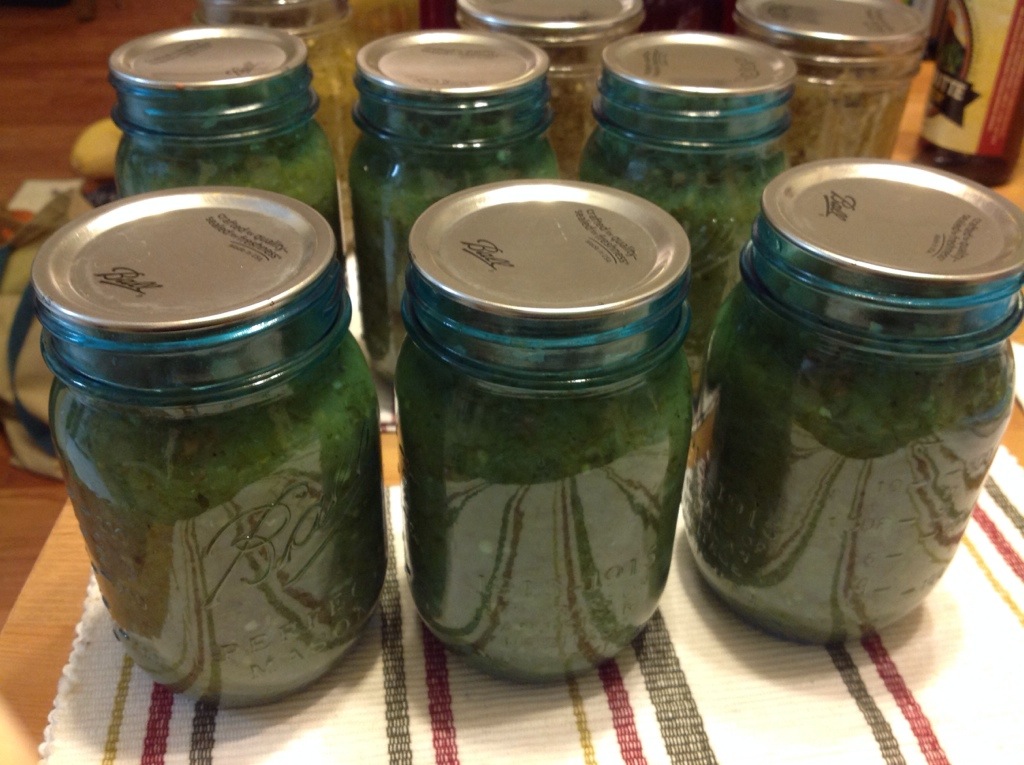
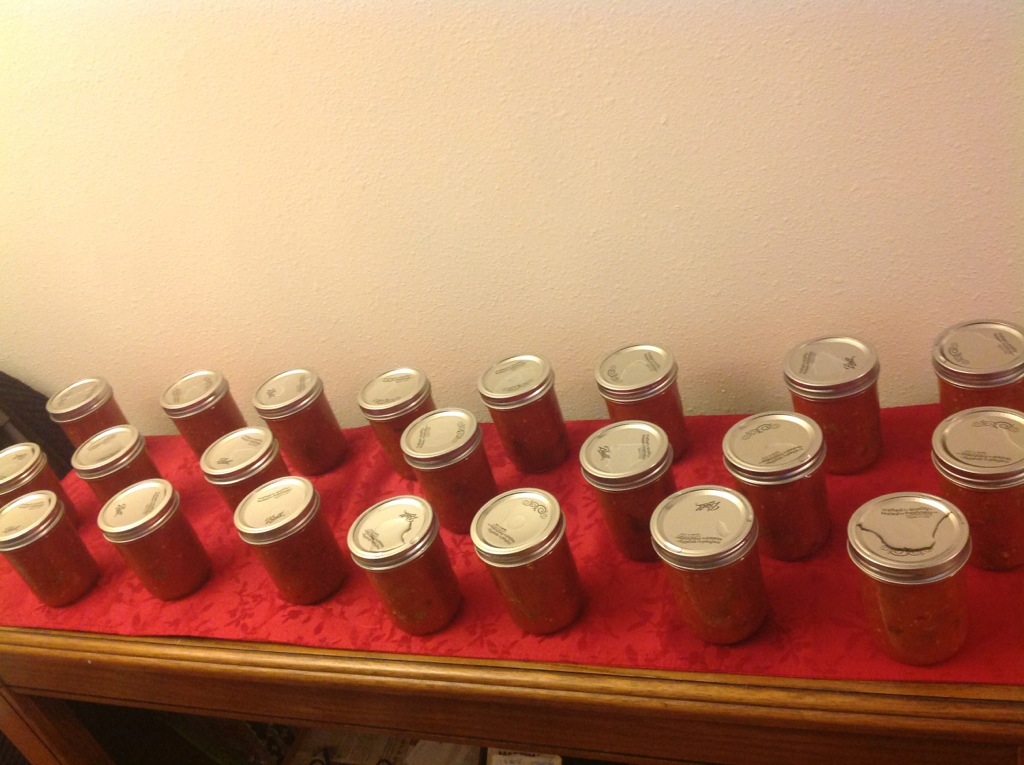
After the 15 minutes turn off the heat, remove the canner lid, wait 5 minutes and remove the jars to a hot pad or towel. Cool 12-24 hours, remove bands, check seals, clean, label and store.
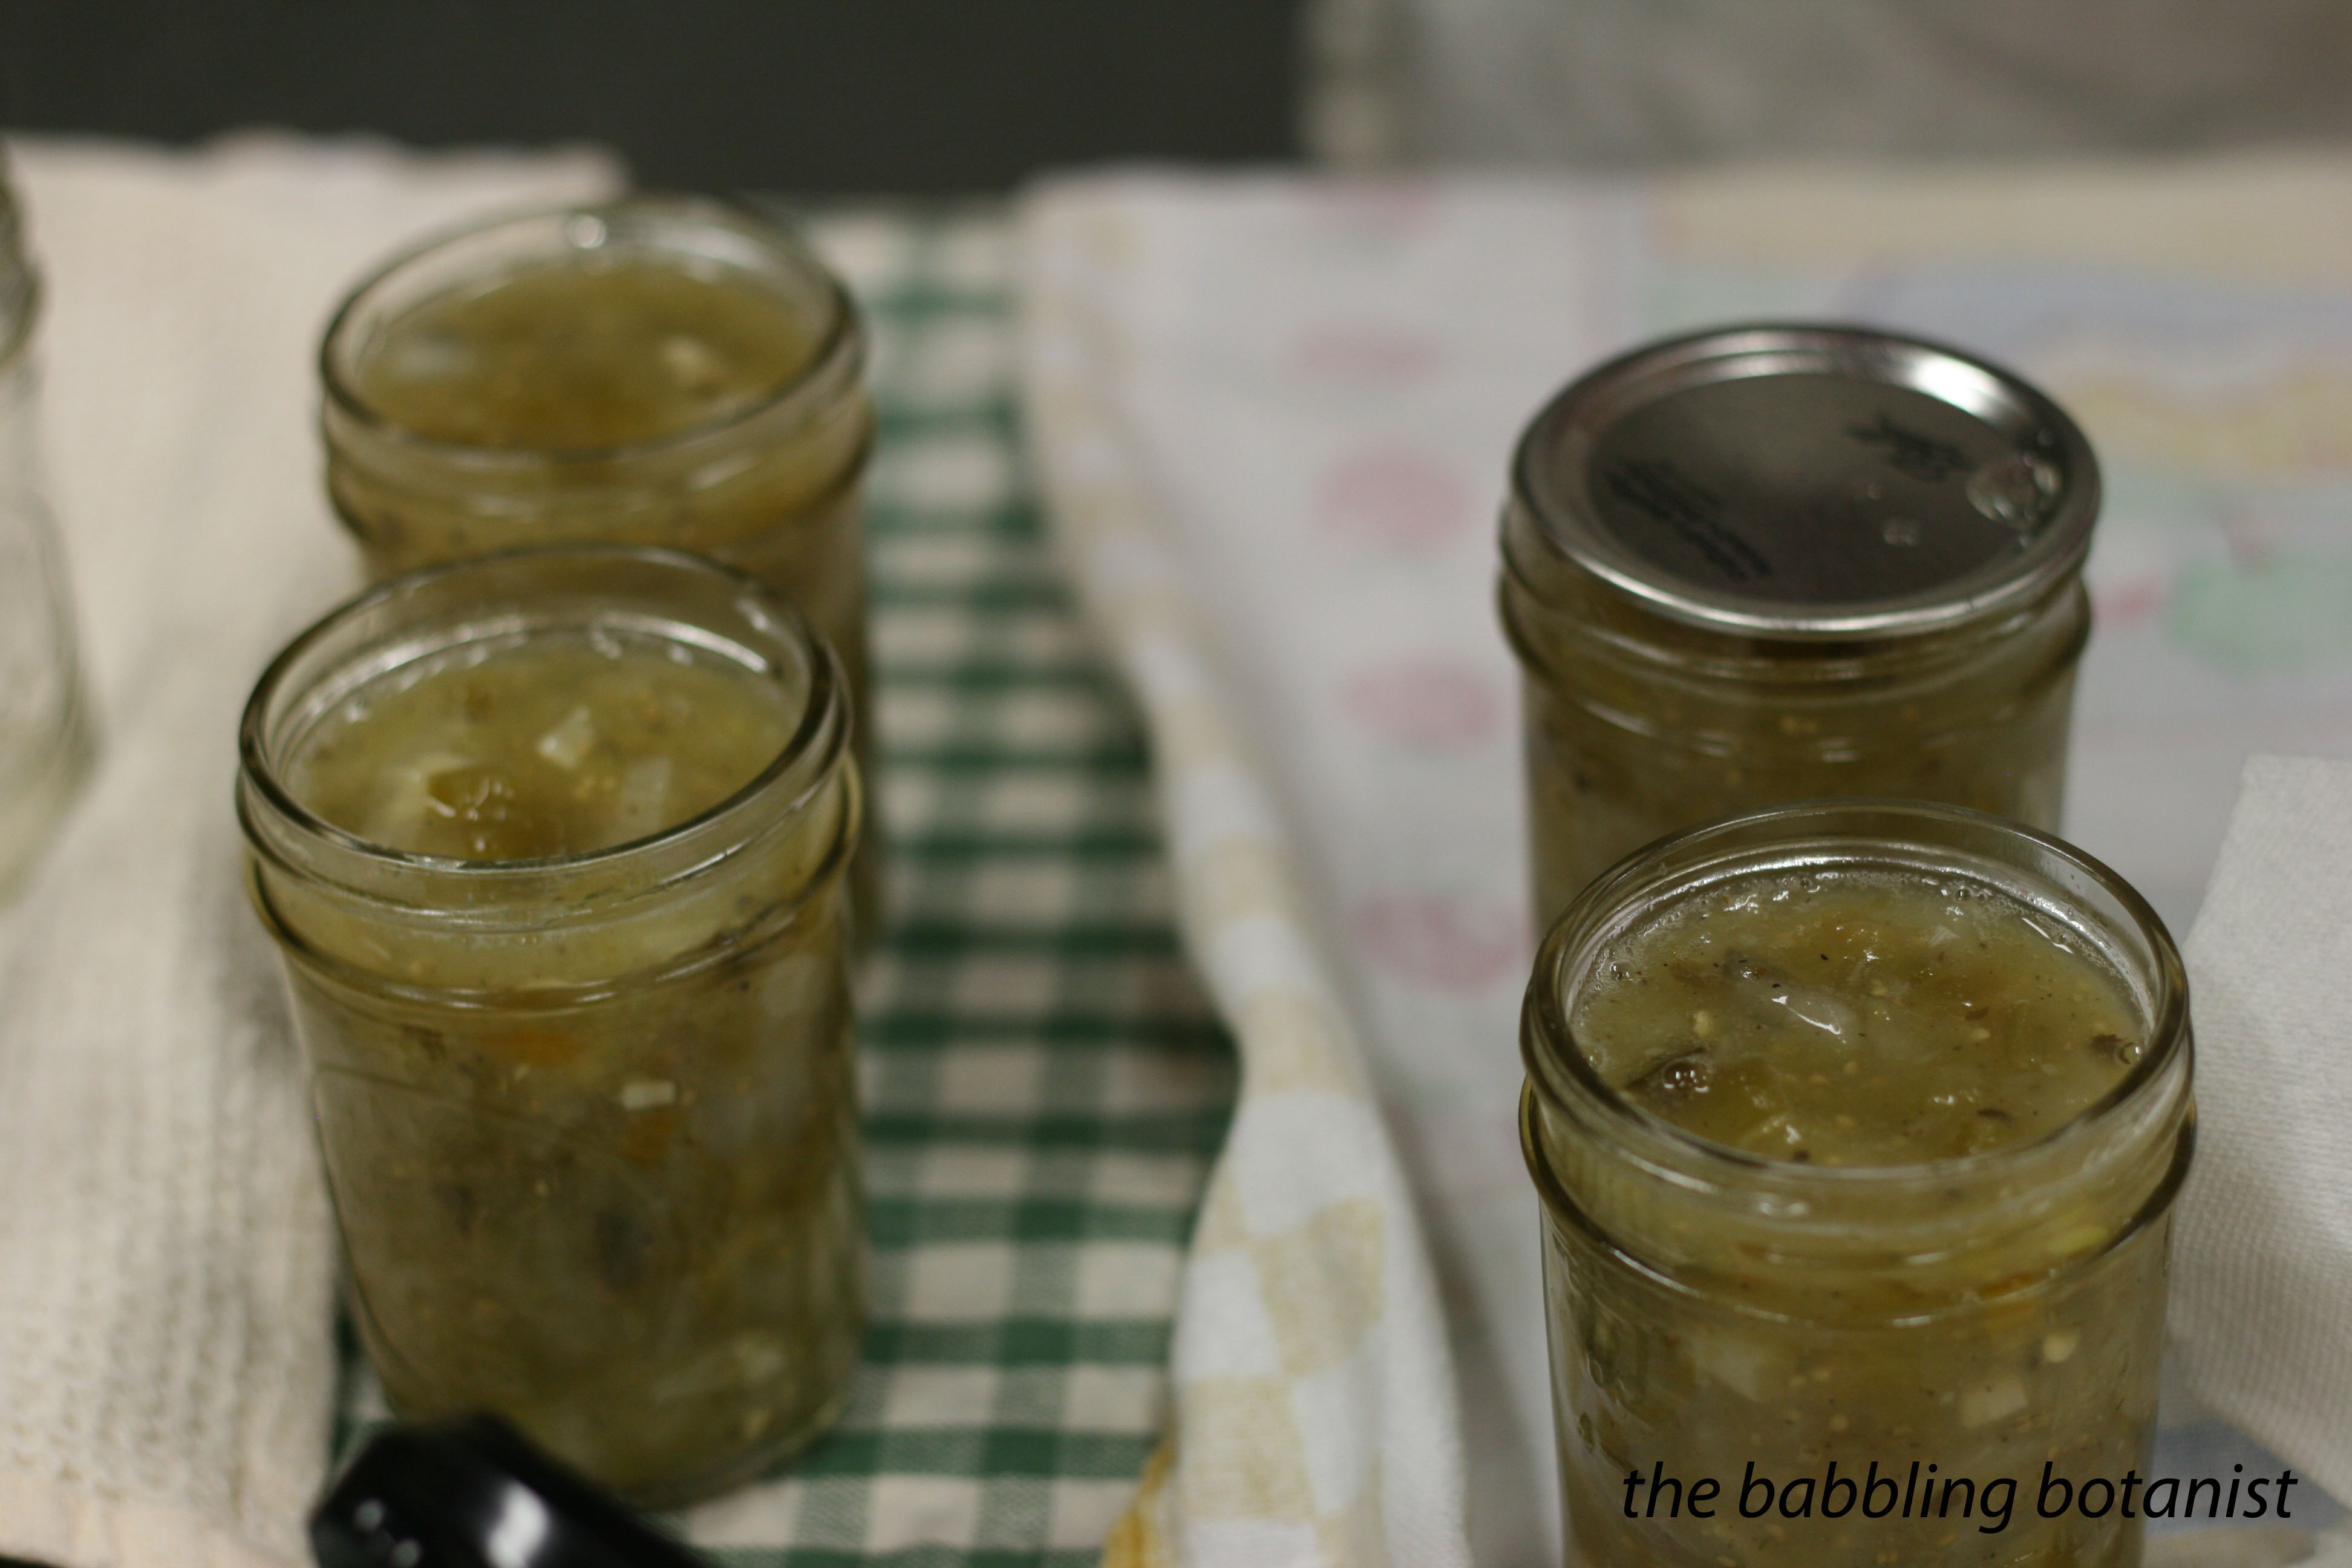
This salsa is a great one because it’s super chunky – here it is compared to my other favourite salsa. Chile salsa on the left, choice salsa on the right.
![IMG_4494[1]](https://thebabblingbotanist.com/wp-content/uploads/2014/09/img_44941.jpg)