Inferno Wine Jelly

The other pepper jelly we tried out from Ball the same night as the habanero jelly was this inferno wine jelly. I think with the combo of jalapeno peppers and red bell peppers in it, it will make a perfect jelly to have a a Christmas wine and cheese party. So pretty.

IMG_4641b

Ingredients:
1/2 cup finely chopped seeded red bell pepper
2 tbsp finely chopped jalapeno pepper
2 dried chopped hot chili peppers
1.5 cups sweet white wine (ball suggests Sauternes but anything will work)
3 tbsp lemon juice
3.5 cups granulated sugar
1 pouch of liquid pectin

And here’s how we made it:

Prepare the canner, jars and lids. This recipe yields about 7 4oz. jars.

Combine the peppers, wine and lemon juice. Feel free to use milder peppers if you don’t want an “inferno.” You can also decide whether to seeded the dried chilies, or omit them altogether. Make sure you use a deep pot for this. This pot barely cuts it because the jelly boils very vigorously and can easily boil over if your pot is too shallow.

IMG_4553 copy

Stir in the sugar. So lovely! Bring the jelly to a boil over high heat, stirring constantly. If you have a fan, have it on. If you have an assistant, have them ready to fan. Boy does this go crazy. Once at the rolling boil stir in the pectin. Boil hard for another 2 minutes, then remove from the heat.

IMG_4558 copy

Quickly skim off any foam and fill your hot jars, leaving a quarter inch head space. Wipe the rims, apply the lids and tighten the bands finger tip tight. Process the jars for 10 minutes in a boiling water bath canner, covered by at least an inch of water. After the 10 minutes, turn off the heat, remove the canner lid, wait 5 minutes and remove the jars to a hot pad or towel.

IMG_4562

As with the habanero jelly, you can gently twist or tilt the jars after they are sealed to get a nice particle suspension. Just no shaking or inverting the jars, that can affect your seal, so just be very gentle. I didn’t do as nice of a job here, but oh well, still a lovely jelly. Cool the jars 12-24 hours, remove the bands, check the seals, wipe, label and store.

IMG_4641


*this post contains affiliate links, please see the “About the Blogger” page for more information


Habanero Jelly

Pepper jellies are an awesome addition to any pantry, adding the savory to the sweet in your jam and jelly collection. Lately, I’ve been delving into a few of the intriguing ones in the Ball Complete Book of Home Preserving, and I am quite happy with them so far. This habanero jelly is gorgeous and dangerously hot! But oh so delicious. Sub in milder peppers if you’re scared of the heat.

IMG_4539

Ingredients:
1/3 cup finely sliced dried apricots
3/4 cup white vinegar
1/4 cup finely chopped red onion
1/4 cup finely chopped seeded red bell pepper
1/4 cup finely chopped seeded habanero pepper
3 cups granulated sugar
1 pouch liquid pectin

IMG_4551 copy

Combine the apricots and vinegar and let them sit to rehydrate the apricots. Ball suggests a minimum of 4 hours to overnight but I think as long as they are plumped up a couple hours is sufficient. Can something else in the meantime while you wait. Chop the rest of the ingredients finely, and in nice even pieces for an attractive jelly. Wear gloves for the habaneros! Then prepare the canner, jars and lids. This yields about 3 half pints.

IMG_4576 copy

Most pepper jellies are chocked full of sugar, which is probably not that bad since you really don’t eat very much of it when you really consider it, but I still wanted to attempt reducing it and see if I could still get it to set. So I reduced it to two cups from three and added 3 tablespoons of low sugar pectin in addition to the liquid to compensate. Good news – it still set! Anyways, tangent… at this point add the sugar and stir to dissolve it. Bring the jelly to a rolling boil over high heat, stirring constantly. Add the pectin, return to a boil, and boil hard for one minute. Remove from heat, skim off any foam, and fill your jars.

IMG_4578 copy

Quickly fill the jars, leaving a quarter inch head space. Wipe the rims, place the lids on the jars and tighten the bands finger tip tight. Place the jars in the canner covered by at least an inch of water. Process at a full rolling boil for 10 minutes. After 10 minutes, turn off the heat ,remove the canner lid, wait 5 minutes, and remove the jars to a hot pad or towel. Ball offers a fun tip at this stage. In order to get a beautiful suspension of the chunks in the jelly, you can carefully swirl the jar around as it’s setting, once the jar is sealed. Don’t invert it, but you can gently tilt it or try to swirl it.

IMG_4587

Cool the jars for 12-24 hours, remove bands, wipe, label, and store. Deeeeelish. Serve at a classy dinner party, with some real classy cheeses and crackers and wow your guests when you tell them that it’s all home made.

IMG_4622

*this post contains affiliate links, please see the “About the Blogger” page for more information

Watermelon Jelly

Watermelons are a classic summer treat that we usually only get to enjoy for a few months while they are in season. These two delightful jelly recipes will allow you to preserve that taste of summer so that you can enjoy it all year long.

IMG_3889 copy

I made two versions of this recipe, one is the zesty watermelon jelly from the Ball Complete Book of Home Preserving, and the other is my own creation, where I simply subbed lemon juice in for the vinegar and omitted the lemongrass. Remember, lemon and lime juice are both better acidifiers than vinegar, which is why it is safe to sub it here. However, that extra acid is mandatory, watermelon is not acidic enough, and therefore not safe to waterbath can without it.

Ingredients:
6 cups crushed watermelon (enough to make 2 cups juice)
1/2 cup vinegar (use white balsamic, white wine or apple cider – I used apple cider here)
4 tablespoons lemon juice
5 cups sugar
1 stem lemongrass, finely chopped
2 pouches liquid pectin

or

6 cups crushed watermelon (enough to make 2 cups juice)
3/4 cups lemon juice
5 cups sugar
2 pouches liquid pectin

Here’s how to make it:

Crush up the watermelon and heat it gently for about 5 minutes.

IMG_3892 copy

Mash it up some more and strain through a dampened jelly bag, or cheesecloth/muslin with some sort of strainer or funnel like below. I don’t have a legit jelly bag setup, so I just used the hopper from the Victorio strainer and some muslin and strained it into a half gallon jar. This actually strained amazingly quickly, unlike some other juice for jellies. I guess they are called watermelons for a good reason.

IMG_3895 copy

Measure out two cups of the juice. If it’s been sitting a while and some of the sediment has settled out, you can stir it up a bit if you like, so that you get that pink colour. If you pour off the top with a lot of the sediment settled out your jelly will be much lighter.

IMG_3897 copy

Prepare the canner, jars and lids. This recipe yields about 5-6 half pints.

Combine all the ingredients except for the pectin in a deep stainless steel pot. Bring to a full rolling boil over high heat, stirring constantly. When the boil is reached, stir in the two packets of pectin quickly and return to a boil. Maintain a hard boil for 1 minute.

IMG_3915 copy

Remove from heat and quickly skim any foam.

IMG_3918 copy

This jelly starts to set up really quickly, so you need to work fast filling the jars. If you have a helper when you are making this, have them get the hot jars ready as you are stirring so you can fill quick like a bunny. Fill the jars leaving a 1/4 inch head space. Wipe the rims, apply the lids, and tighten the bands finger tip tight.

IMG_3922 copy

Process the jars in a boiling water bath canner for 10 minutes, ensuring the jars are covered by at least 1-2 inches of water, and beginning the time when a full rolling boil is acheived. After the ten minutes, turn off the heat, remove the canner lid, wait 5 minutes, and remove the jars to a hot pad or towel. Cool 12-24 hours, remove bands, check seals, wipe down, label and store.

Pictured here is the zesty watermelon jelly on the left, and on the right is the version with just lemon juice. I think the colour difference is in part due to the cider vinegar, but also because I made the right one second and I think had more of the sediment in that batch. They are both pretty, but I was hoping for pinker, and think I might need to experiment with using less sugar to achieve that. But the flavour is certainly delicious!

IMG_3937 copy

*this post contains affiliate links, please see the “About the Blogger” page for more information

Watermelon Jelly on Punk Domestics

Easy Jalapeño Jelly

Last week in canning class we teamed up to make four different soft spreads, and I had made three of the four already, so I chose to work on the jalapeño jelly. This recipe is actually one from the Ball Complete Book of Home Preserving (thanks class, helping me with my challenge!). It uses pureed jalapeños, rather than actually making juice out of them, making it a quick and easy jelly that is still really pretty and delicious. And has a nice bit of heat to it!

IMG_2417 copy

Ingredients:
12 oz (350g) jalapeño peppers
2 cups cider vinegar, divided
6 cups granulated sugar
2 pouches liquid pectin

IMG_2377 copy

Here’s how we made it:

Stem, cut and seed the peppers. Wear gloves! You really do want to do the peppers by mass for this recipe, it’s kind of hard to do a pepper volume. Take the chopped peppers and puree them in a food processor or blender with one cup of the vinegar.

Prepare your canner, jars and lids. This should yield about 5 half pints, but we put it in the cute little 4oz jars.

IMG_2380 copy

Combine the pepper puree, the sugar and rest of the vinegar and bring to a boil over high. Maintain a boil for 10 minutes and stir constantly. When 10 minutes are up, add the pectin. Yes – 2 full pouches. Boil hard for another minute, then remove from heat and skim foam.

IMG_2396 copy

Fill the jars, leaving a 1/4 inch head space. We discovered when we were out of ladles that pouring jelly with a pyrex measuring cup works great. Wipe the rims, apply the lids, and tighten the bands finger tip tight.

IMG_2399

Place the jars in the canner, ensuring they are covered by at least 1-2 inches of water. Bring to a full rolling boil and process for 10 minutes. After 10 minutes remove the canner lid, wait 5 minutes, remove the jars to a hot pad or towel and listen to the ping ping ping of them sealing.

Cool 12-24 hours, remove bands, wipe, label and store. Later enjoy the jelly perhaps with some crackers and cheese. We tried goat, which if you are into the taste of goats you may enjoy, but I think I’ll try cream cheese or something a little milder next time, as Ball suggests. Deeeelish!

IMG_2641 copy

Master Food Preserver Class – Week 2

I promised to post about master food preserver class each week, so here is what we learned in last Thursday’s class! I took 116 photos in class during week 2, and it didn’t feel like enough, so you know it must have been a good class! And of course it means this post will basically be a picture show. 😉 This week we covered freezing, fruit pie fillings and soft spreads. So I would like to start off with some fun facts that I learned in class that you may or may not already know.

Freezing
– The best way to freeze if you are going to do a bunch of stuff, is to turn your freezer extra cold (down to -10F) the day before so that things freeze quickly. Frozen goods should be kept at 0F or below, so once frozen return the temperature to 0.
– Vegetables should always be blanched before freezing to stop enzymes that would otherwise cause changes in colour, texture, flavour and nutritional value. Recommended blanching times vary by vegetable and range from 1-10 minutes

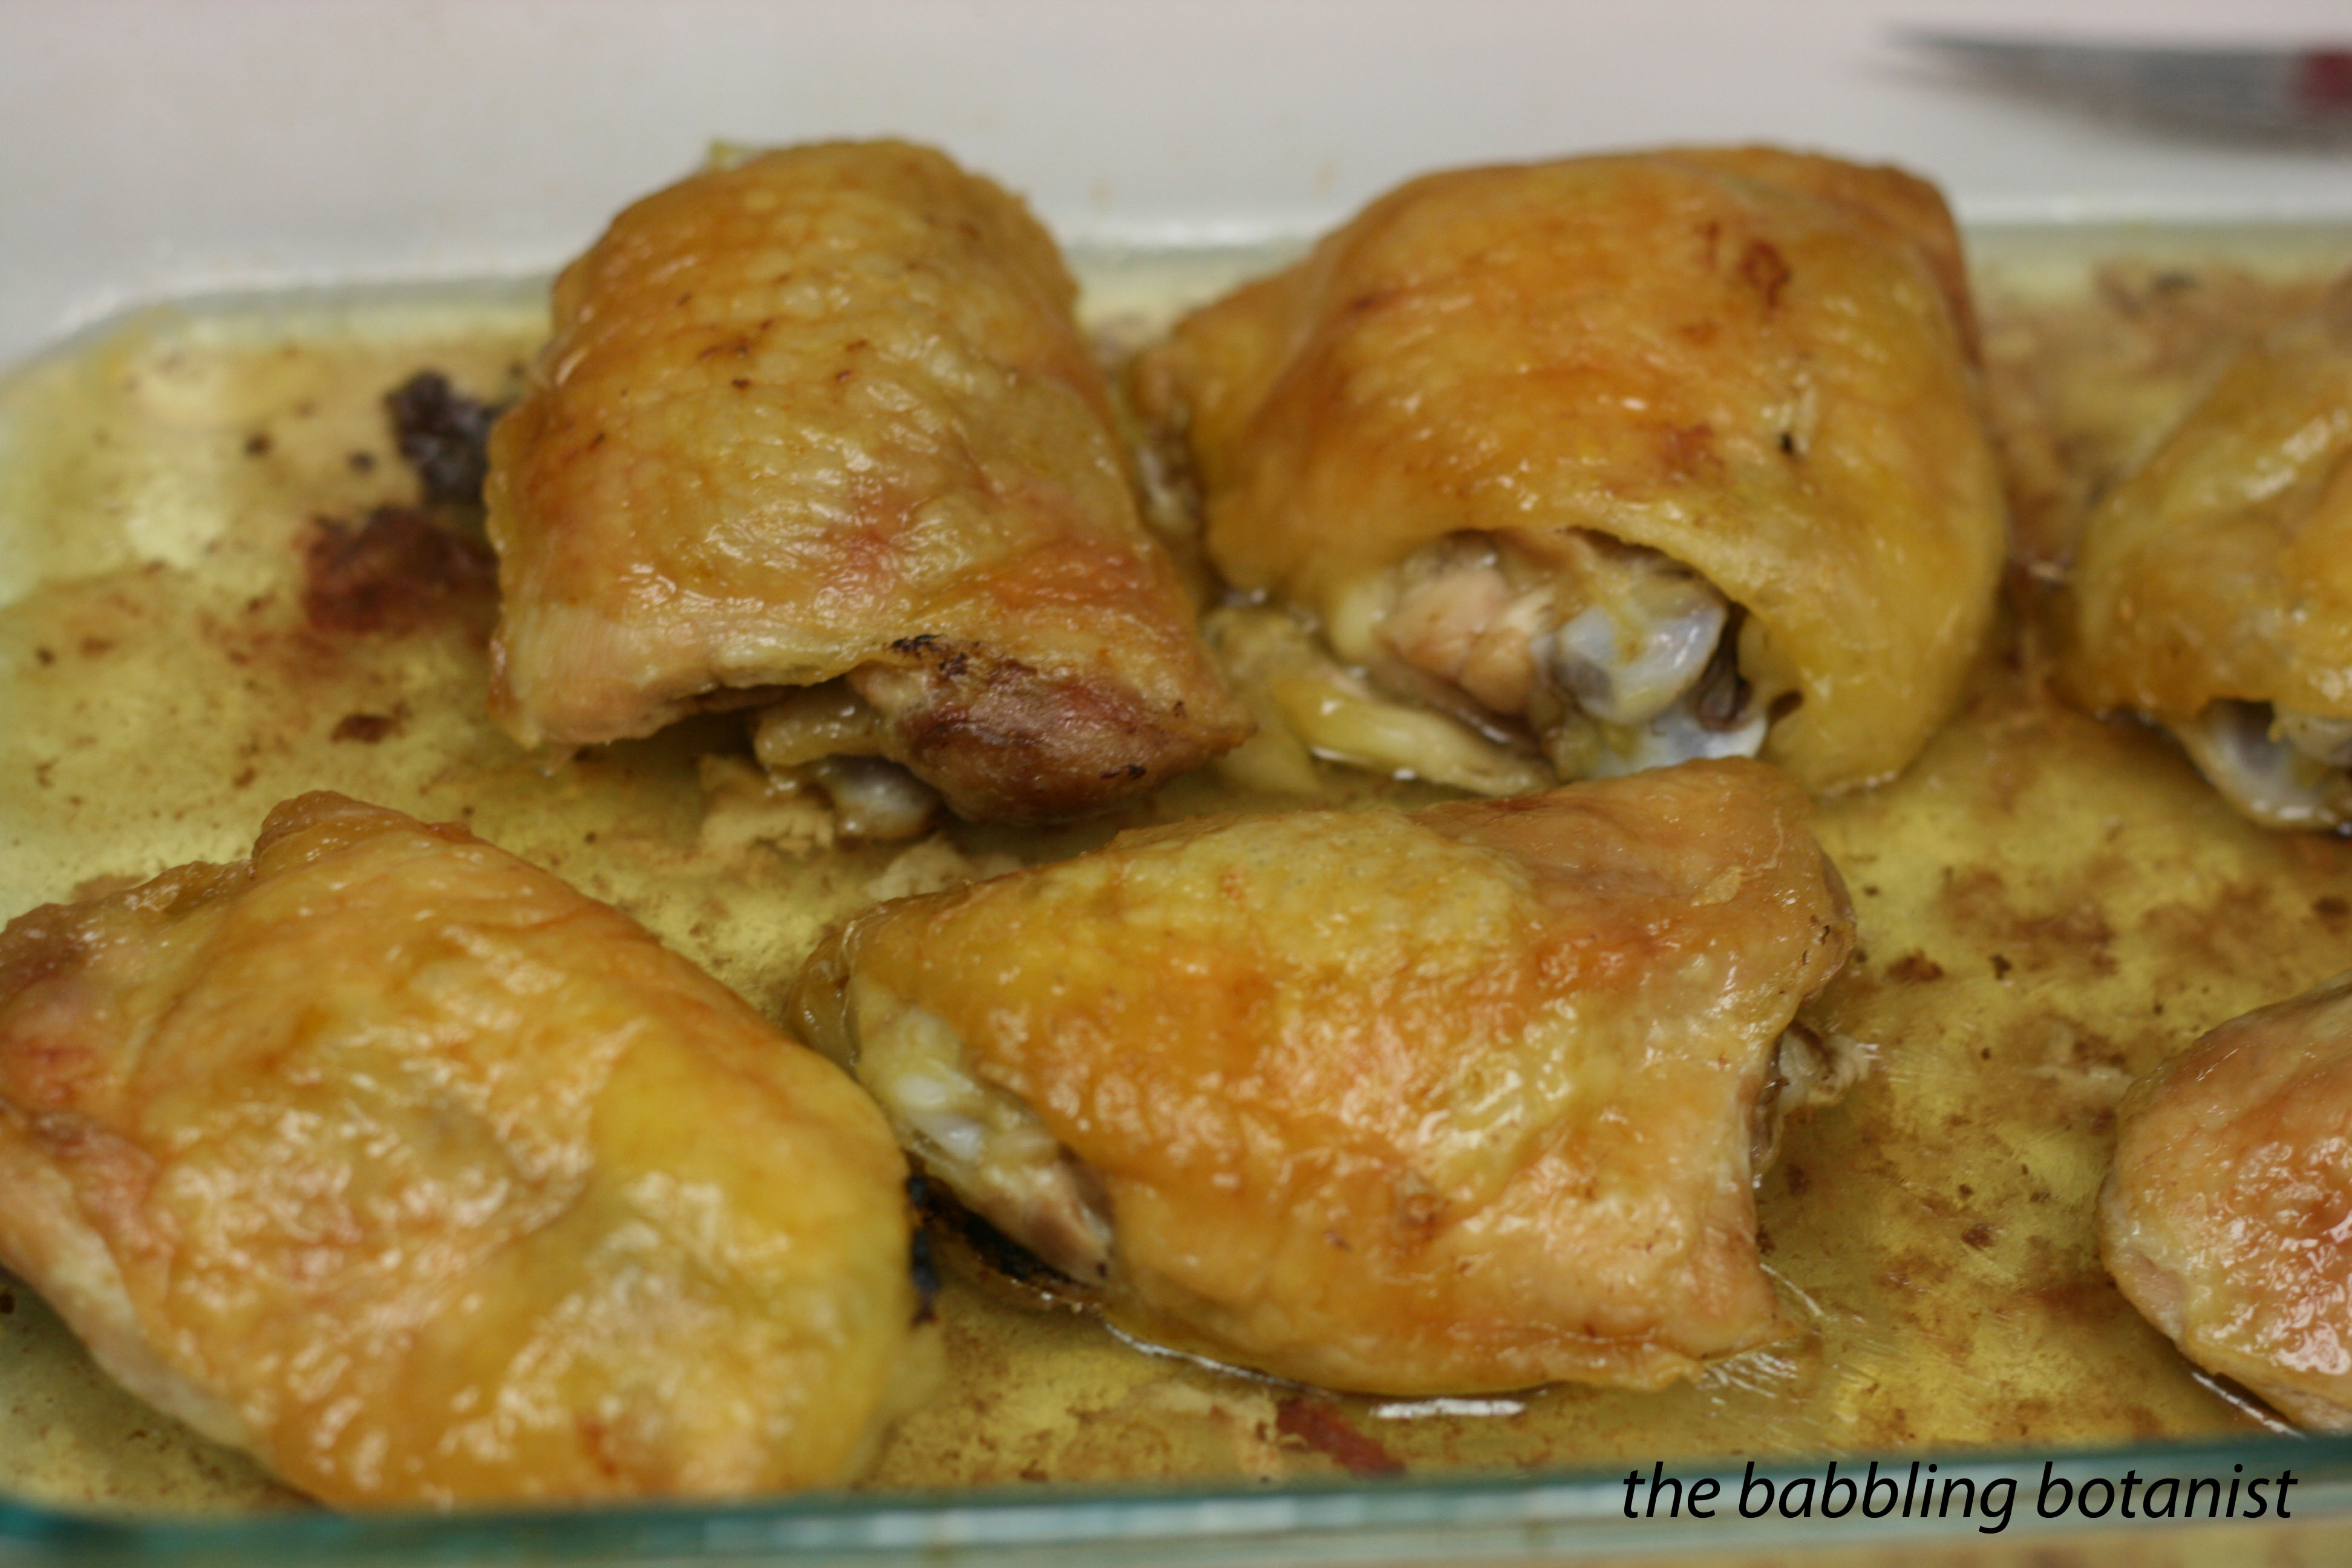
One thing we covered for freezing was freezing convenience foods. So we did just that, and will eat these food later in the class! YUM.

One convenience food we froze was a “meal in a bag”:
-1 chicken breast cooked and diced
– 2 cups blanched veggies (or frozen ones)
– 1 cup pasta cooked until almost done
– seasoning packet in a separate baggie (such as 2t chicken bouillon, 1/2t garlic powder, 1/2t onion powder, 1/2t paprika, 1t parsley, 2T parmesan cheese)

Freeze it all up in a baggie. When you want to eat it, dump it all in a wok, stir fry it up and … presto!

Chicken for the meal in a bag.

IMG_2326 copy

Blanched veggies for the meal in a bag.

IMG_2350 copy

Combine it all and freeze. A great idea if you have a free weekend day and freezer space!

IMG_2367 copy

Another convenience food we froze was twice baked potatoes. nom nom nom.

Bake potatoes, halve, and remove innards to a large bowl.

IMG_2335 copy

Mash and mix in milk, sour cream, garlic, salt, pepper and cheese.

IMG_2346 copy

Refill, top with more cheese if desired, then freeze on a baking sheet. Once frozen, transfer to freezer containers. When you want to eat it, bake at 375F for 25-30 minutes.

IMG_2348 copy

The last convenience food we did was cookies. Works with most cookie recipes.

Mix up the recipe.

IMG_2344 copy

Mold into balls (and in this case dip in sugar – yum!)

IMG_2359 copy

Freeze on a cookie sheet and then transfer to a freezer container. When you want to eat them bake without thawing at 400F for 10-15 minutes.

IMG_2361 copy

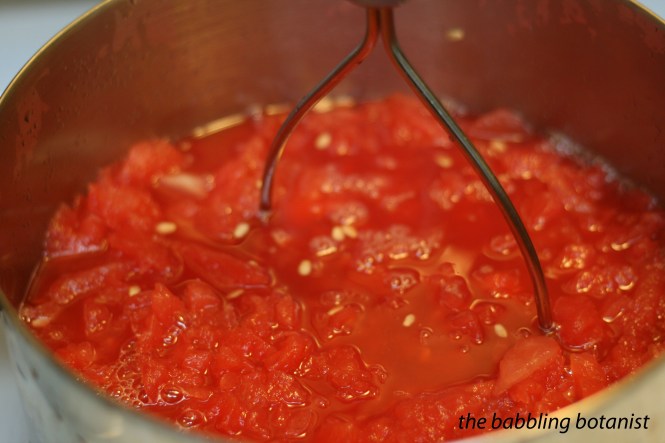
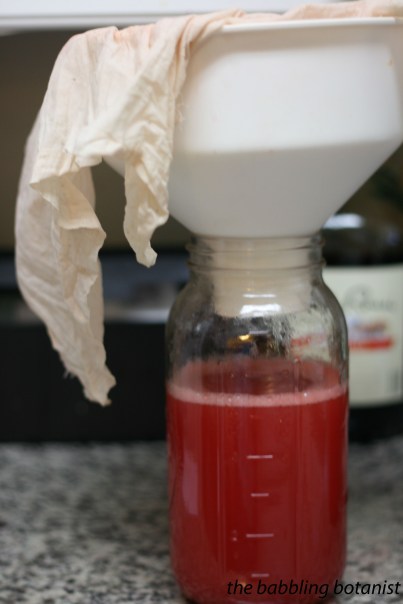
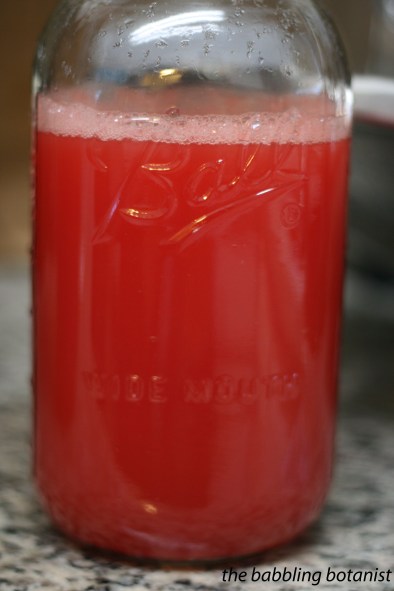
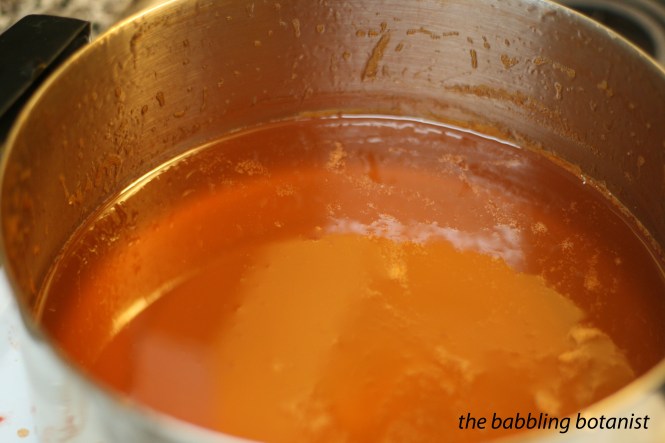
Fruit pie filling (and juice hiding in back)

Most fruit pie filling recipes for canning call for clear jel. What is clear jel anyways? It’s a starch used for thickening, and is basically a modified corn starch. You shouldn’t used regular corn starch or other thickening agents in canning, because they are not specifically designed for canning like clear jel. Clear jel has been modified to make it more heat stable, so it can take the heat of the canning process. It is also stable in low pH, like the pH of fruits. It makes products more shelf stable, and doesn’t separate over time like other starches can. It can be reduced in recipes too if you don’t want quite as much. If you don’t like the starchy pie fillings though, don’t try and can a pie filling recipe without it. Either follow a recipe for canning fruit in syrup, and then drain the syrup to use it in pies, or freeze the fruit instead!

IMG_2402 copy

Soft spreads

Fun fact. Do you know the difference between a jelly, jam, conserve, preserve and a marmalade?
Jam – made from crushed or chopped fruit
Jelly – made from fruit juice
Conserve – made with two or more fruits and nuts or raisins
Preserves – made with whole fruits, or large pieces, in a clear, slightly gelled syrup
Marmalade – made with soft fruit and citrus peel in a clear jel

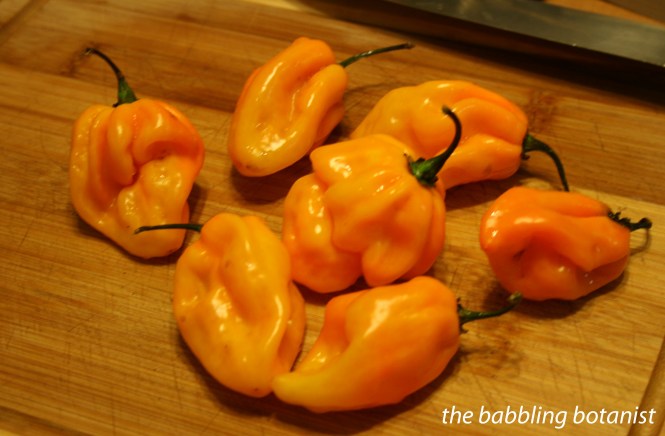
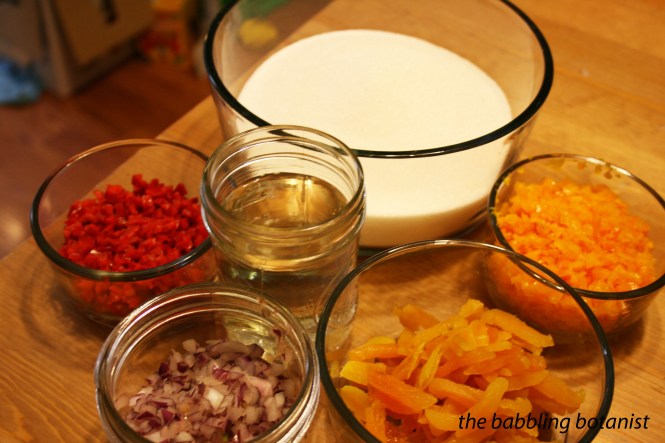
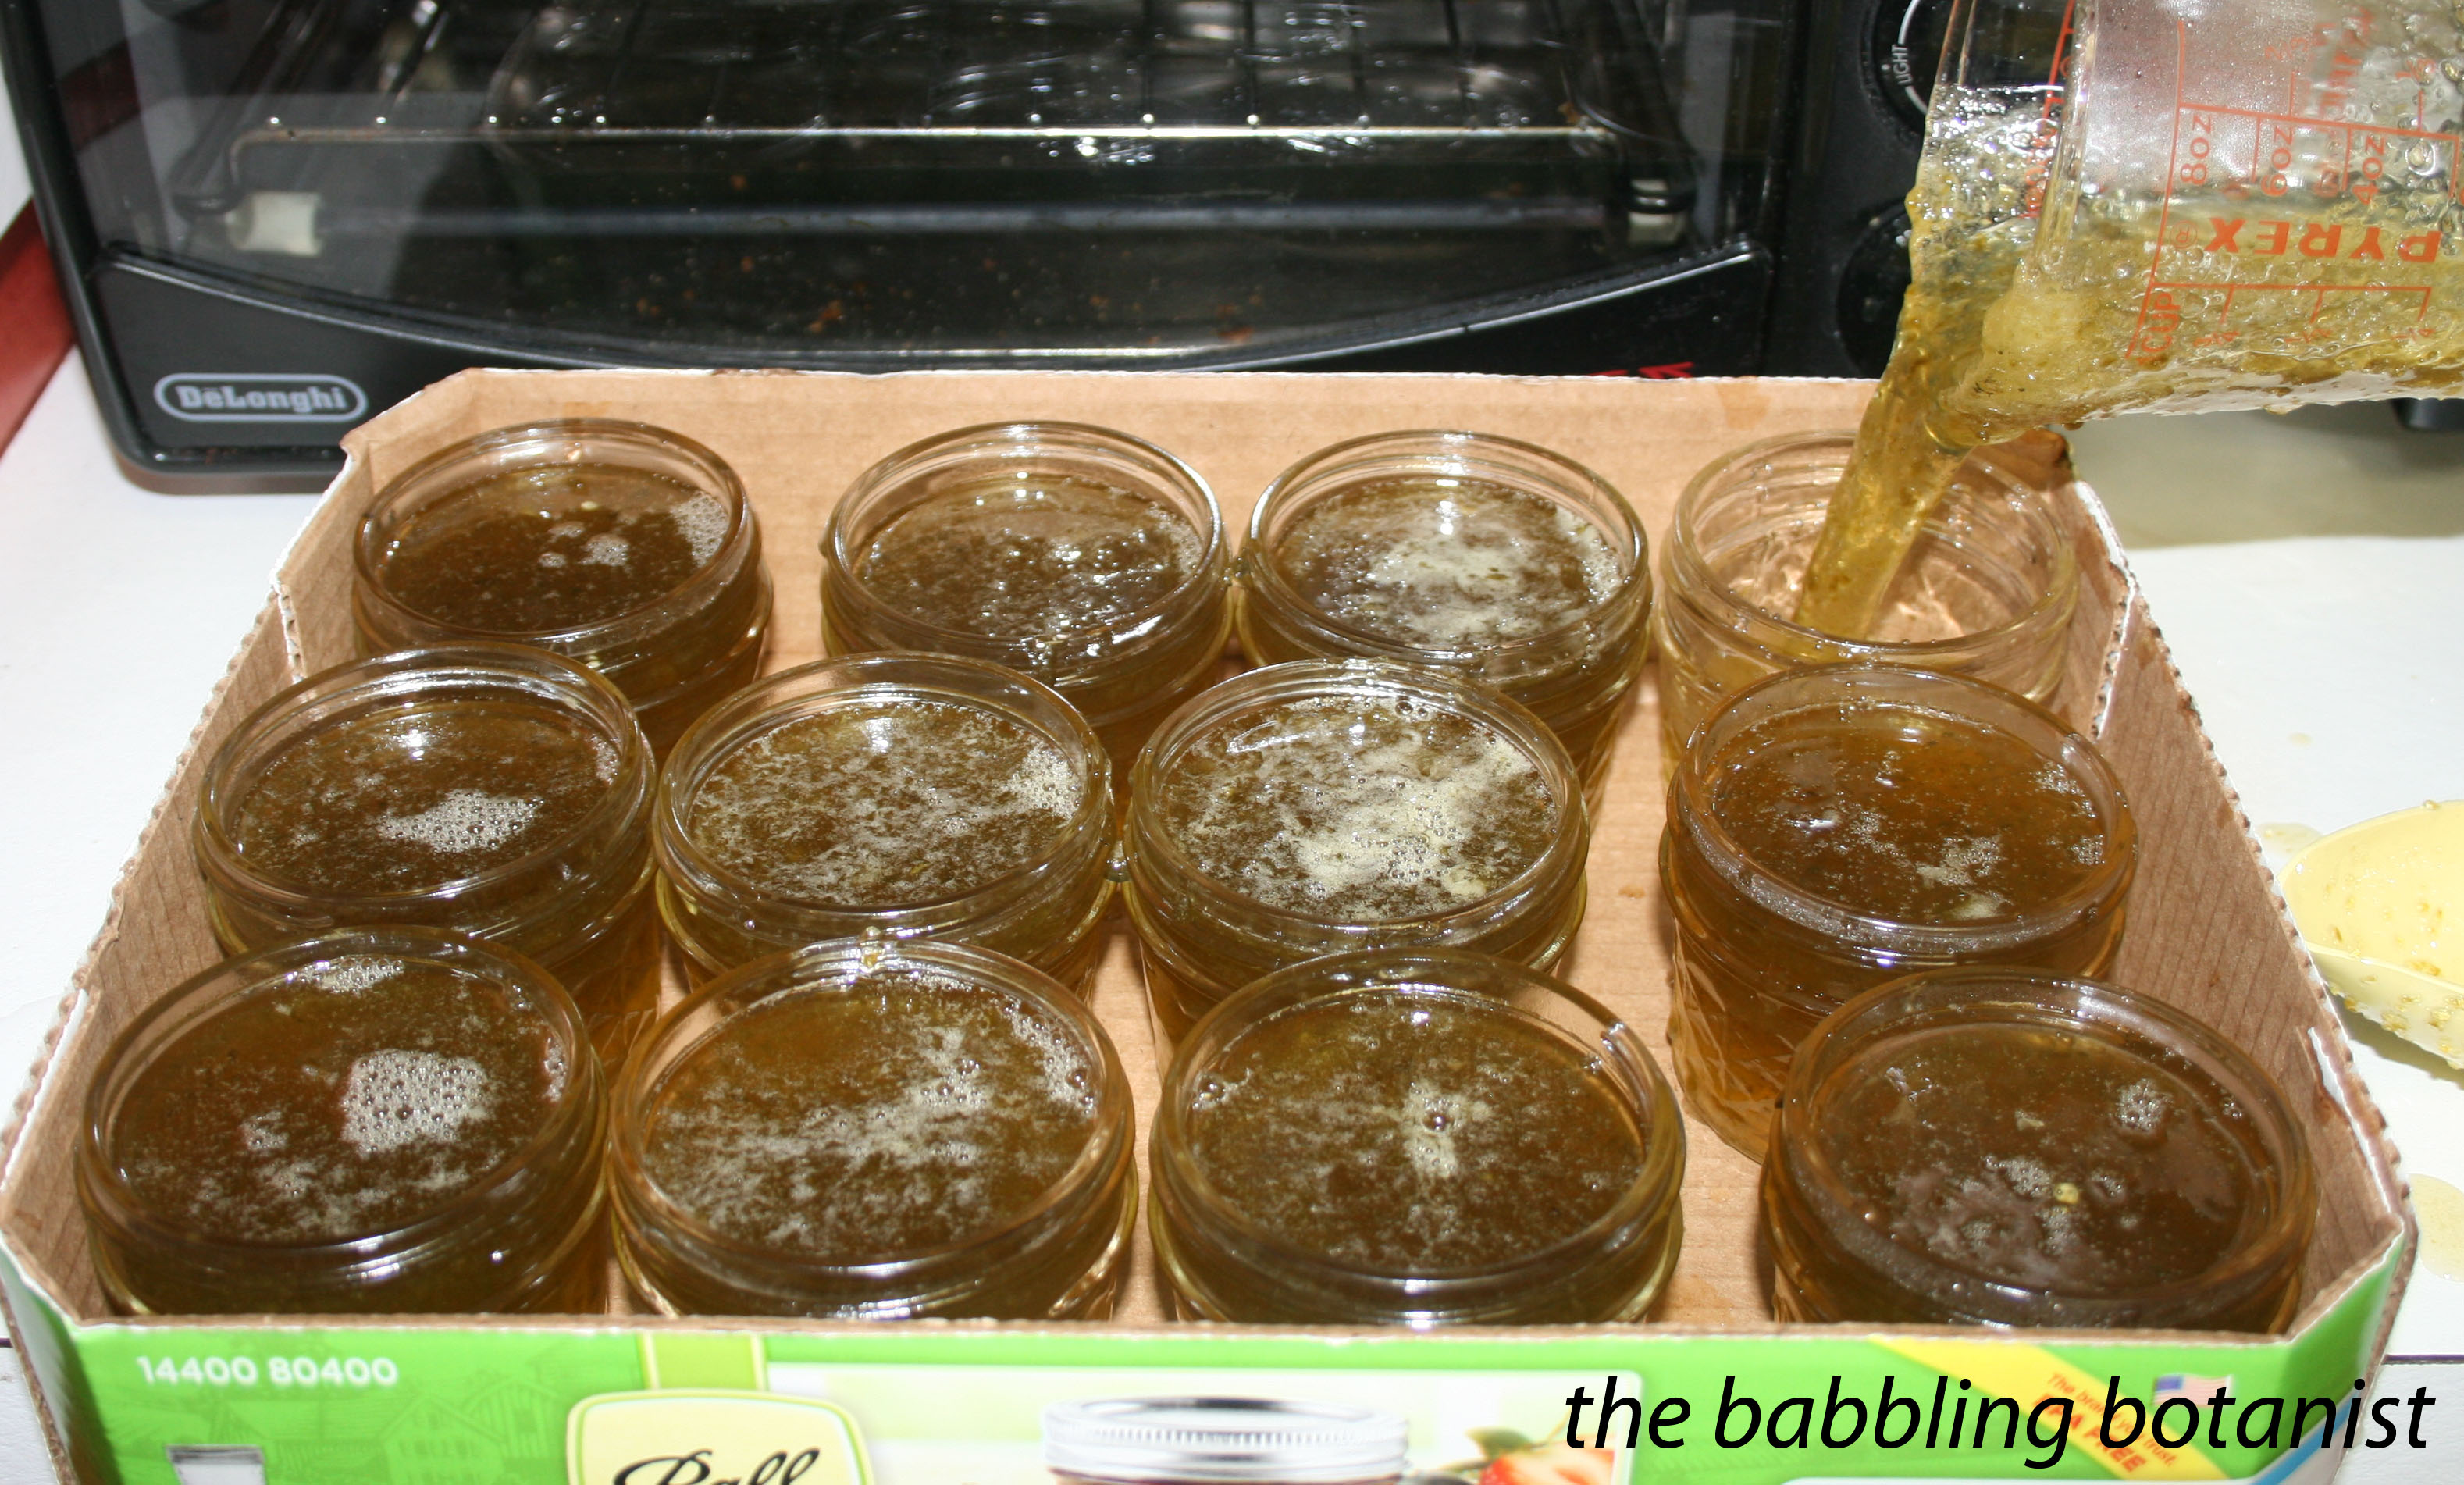
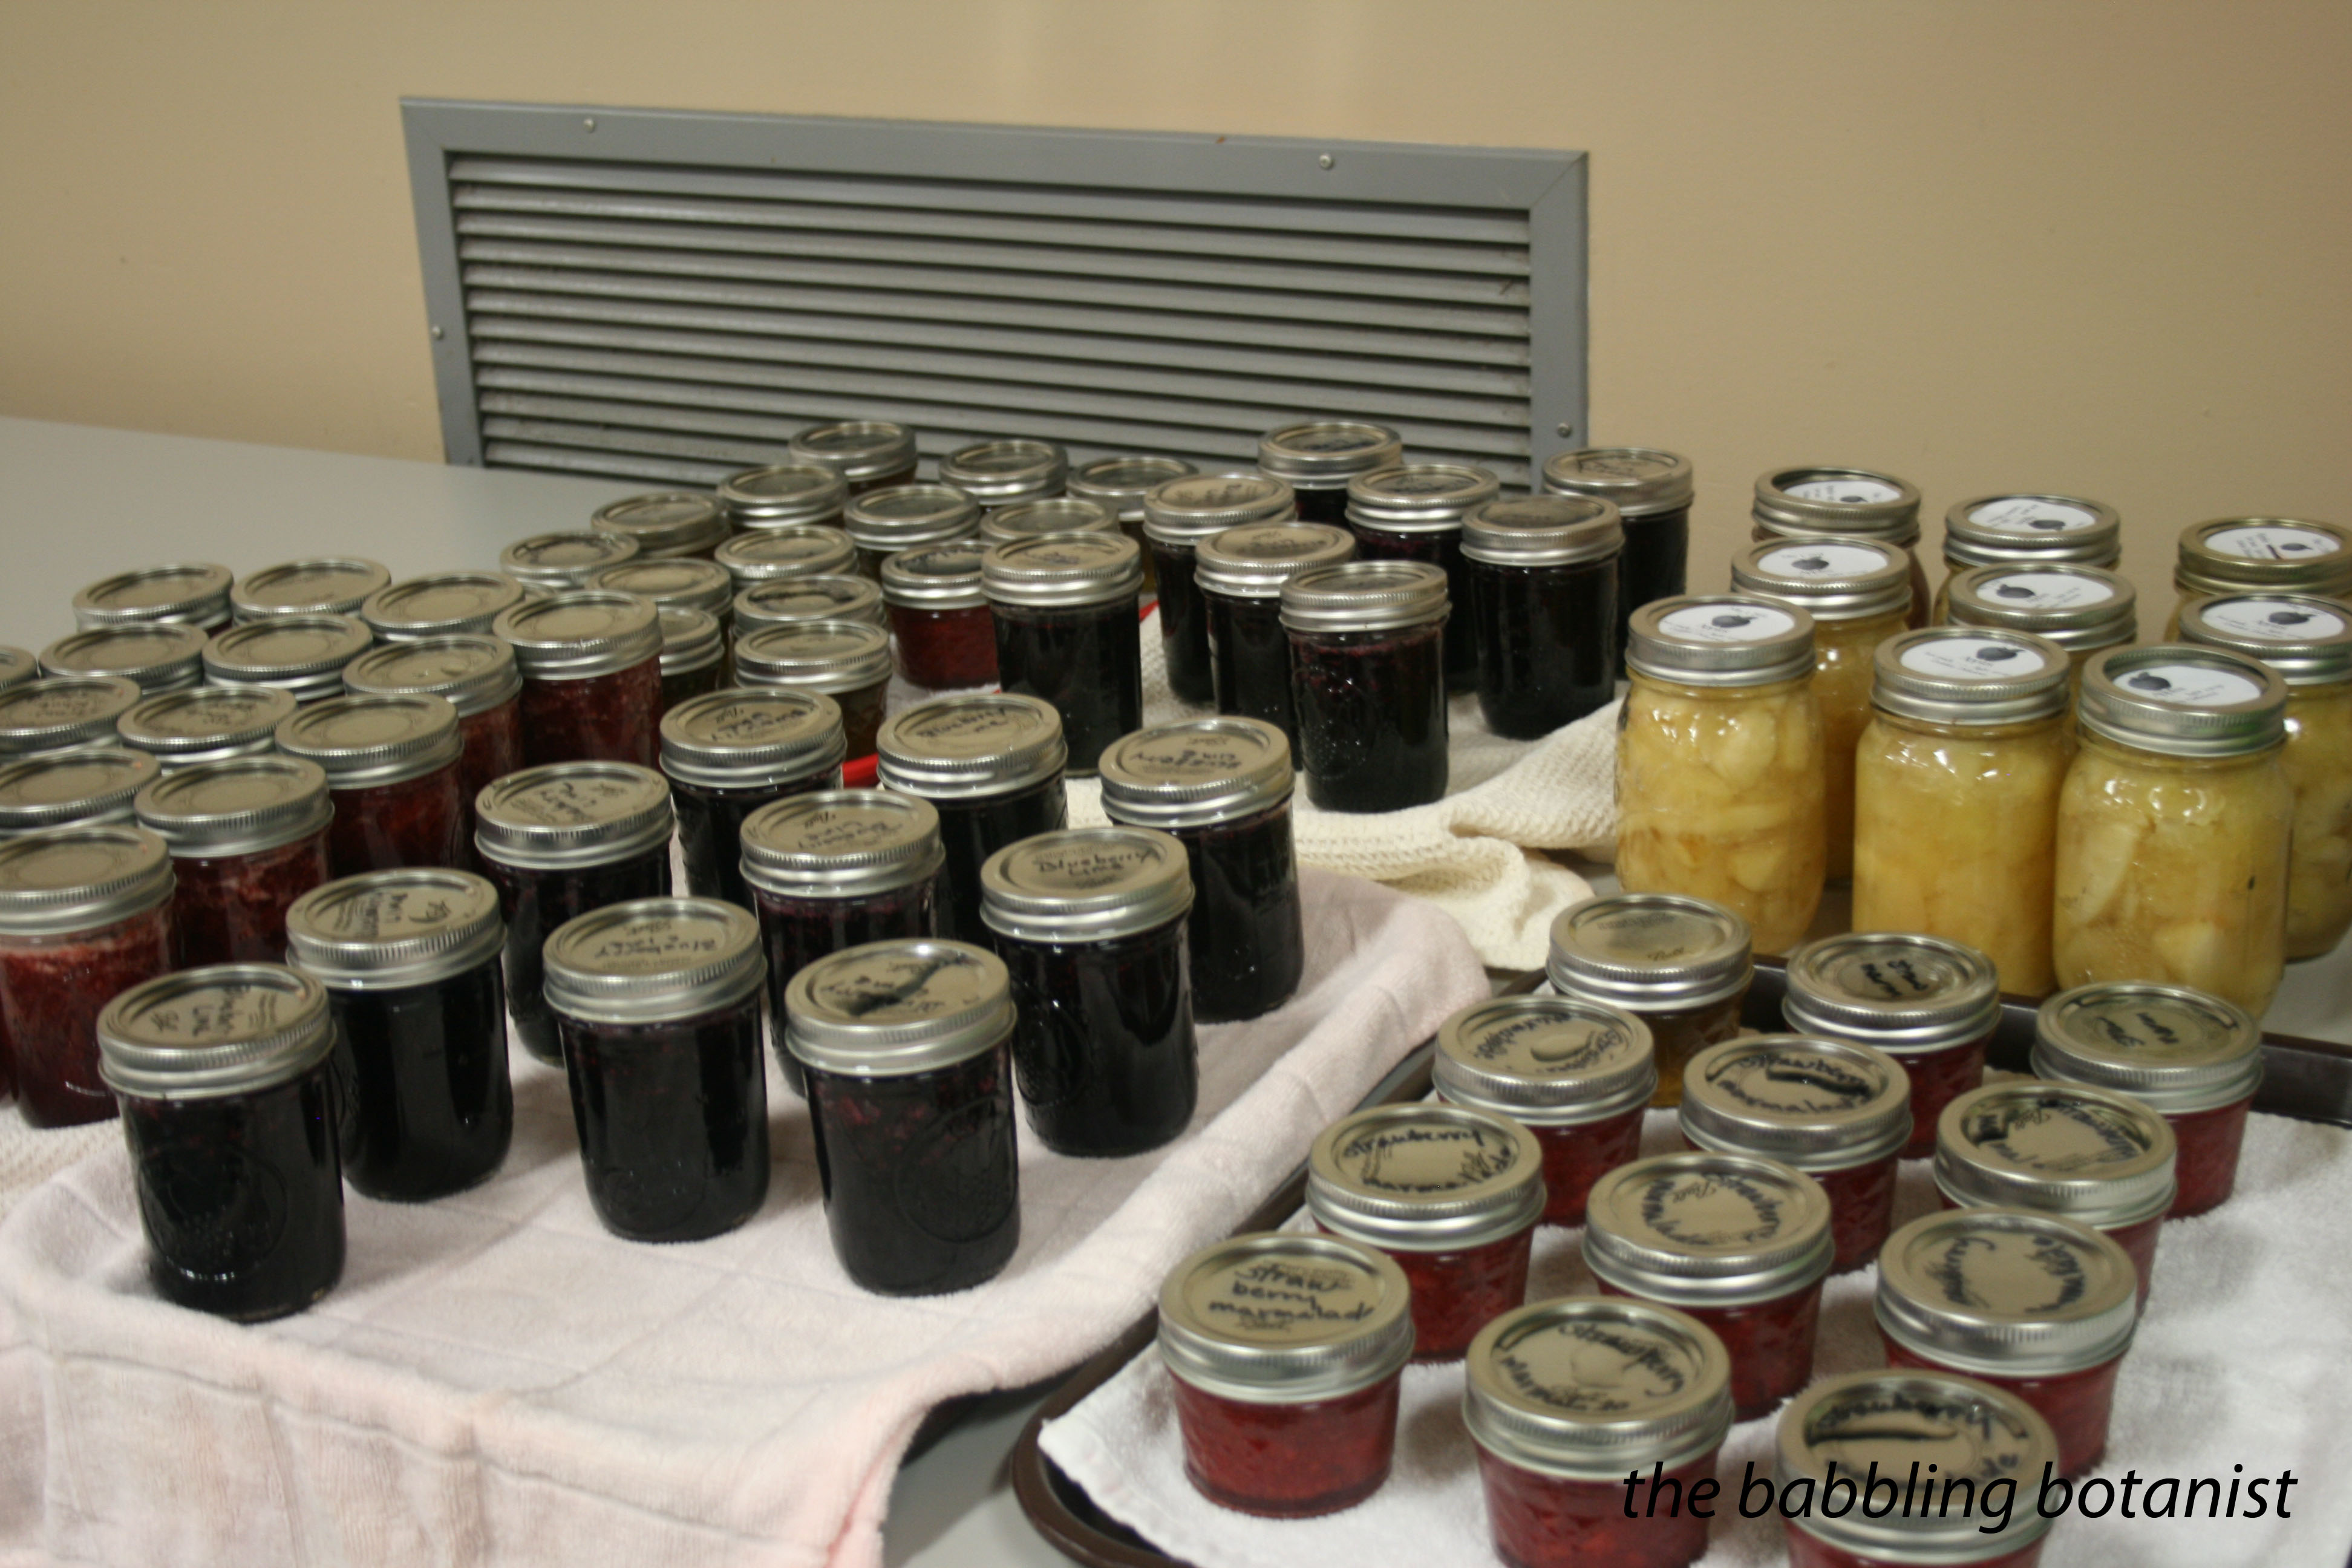
In class we made the following soft spreads. Click the names to link to the full recipe posts.

Blueberry lime jam

IMG_2393 copy

and all canned up.

IMG_2428 copy

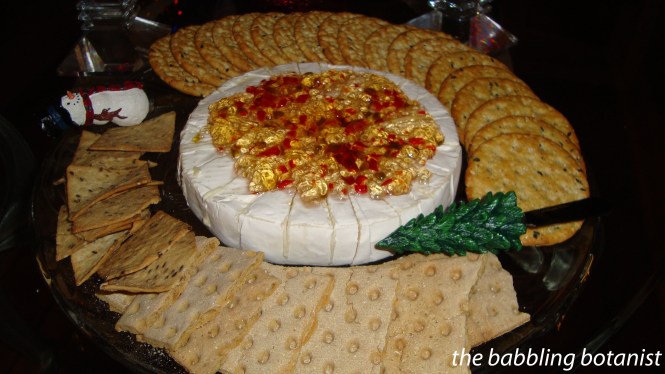
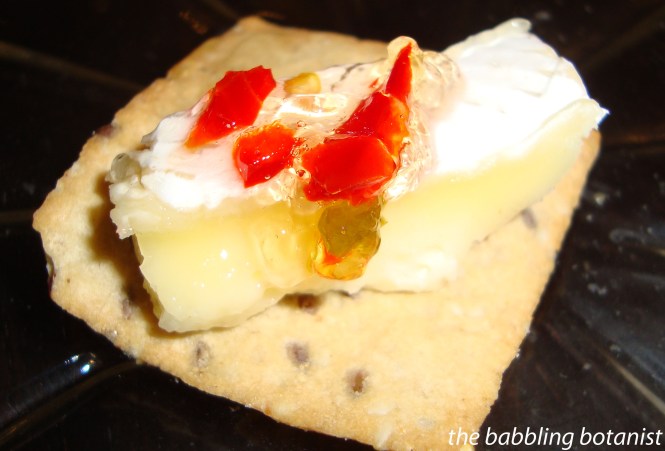
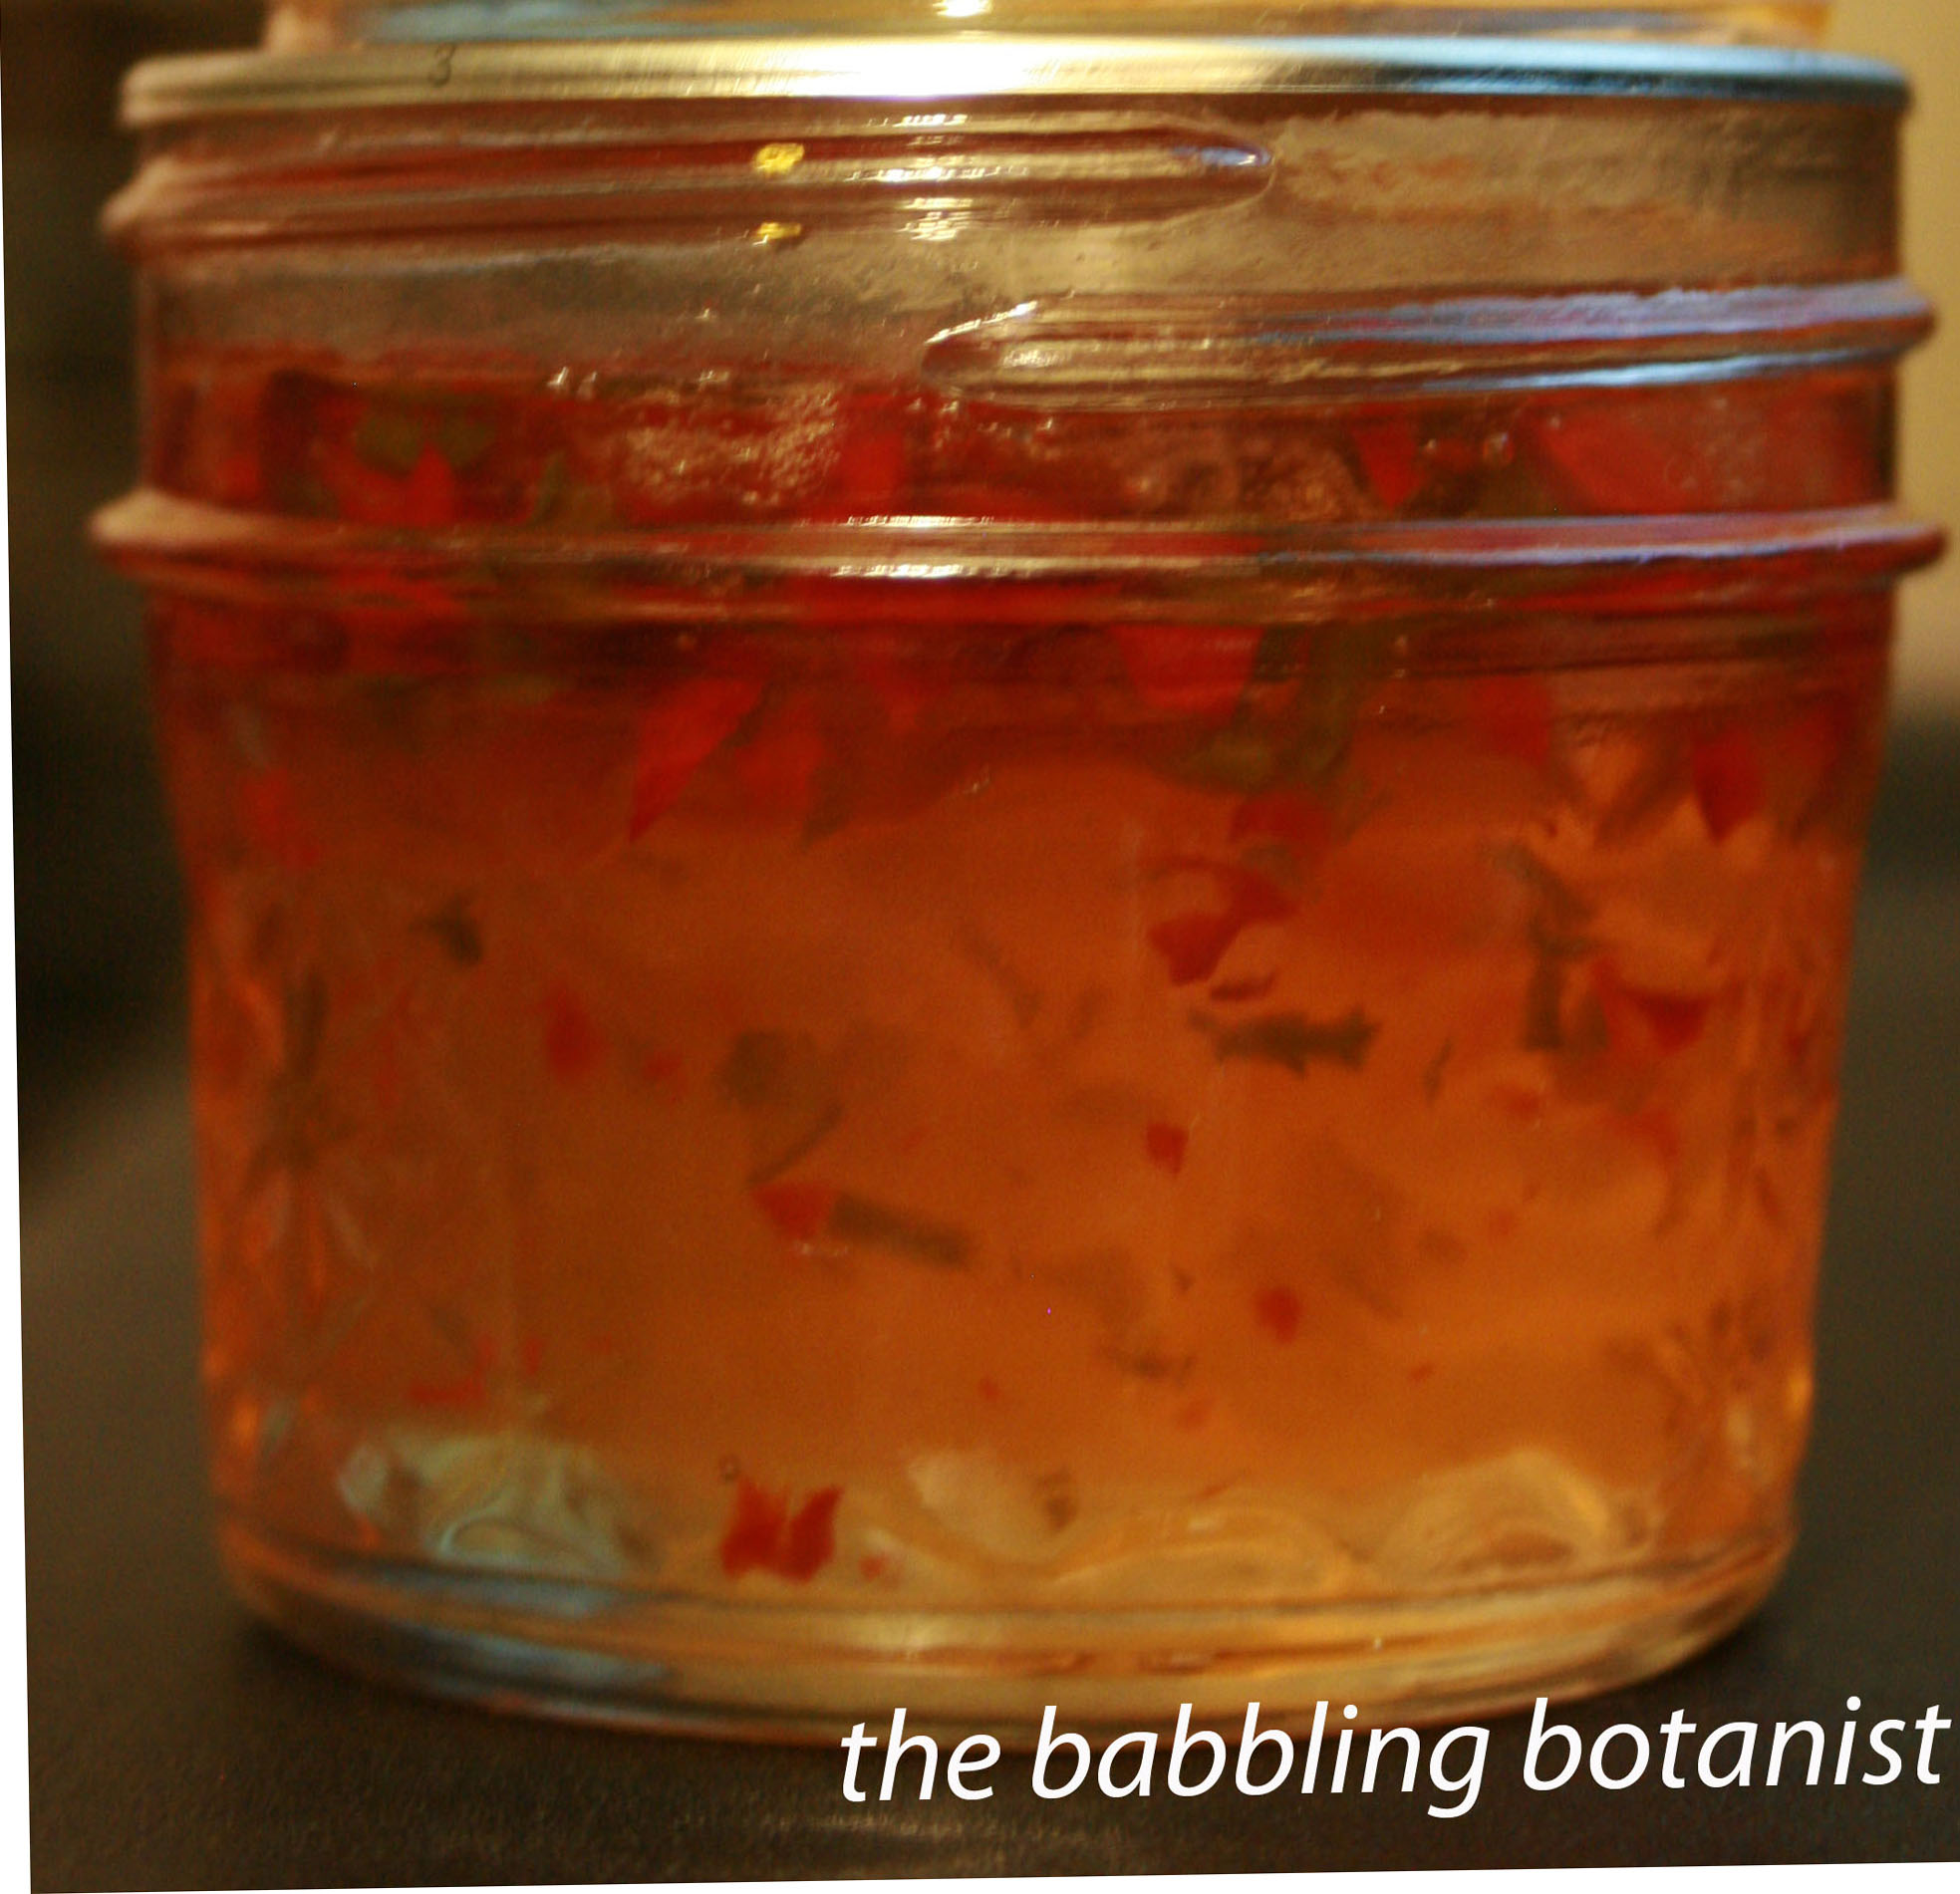
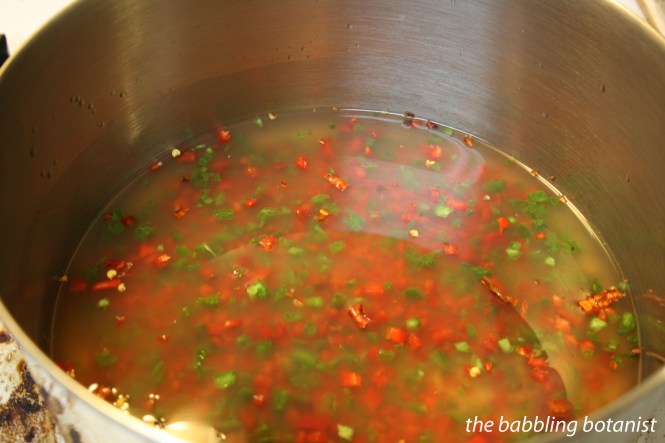
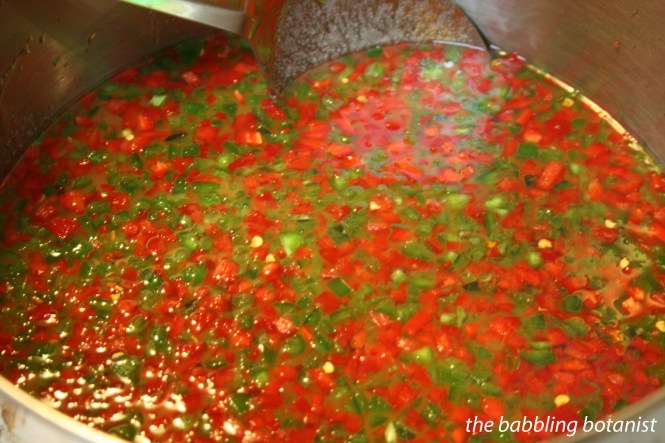
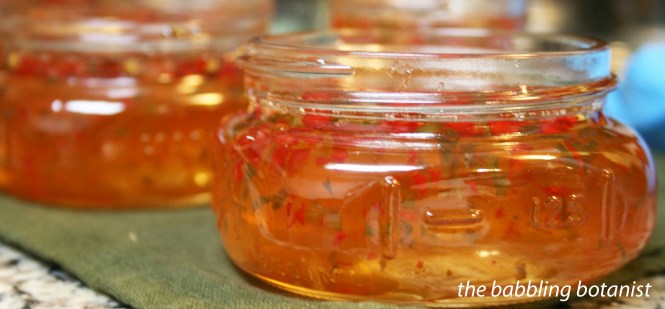
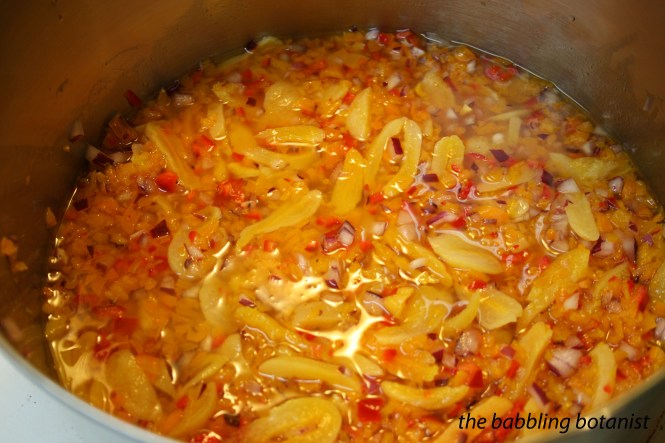
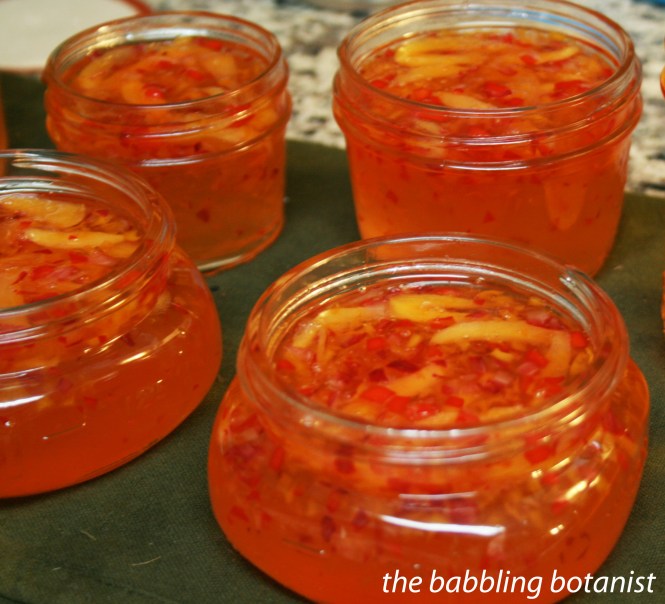
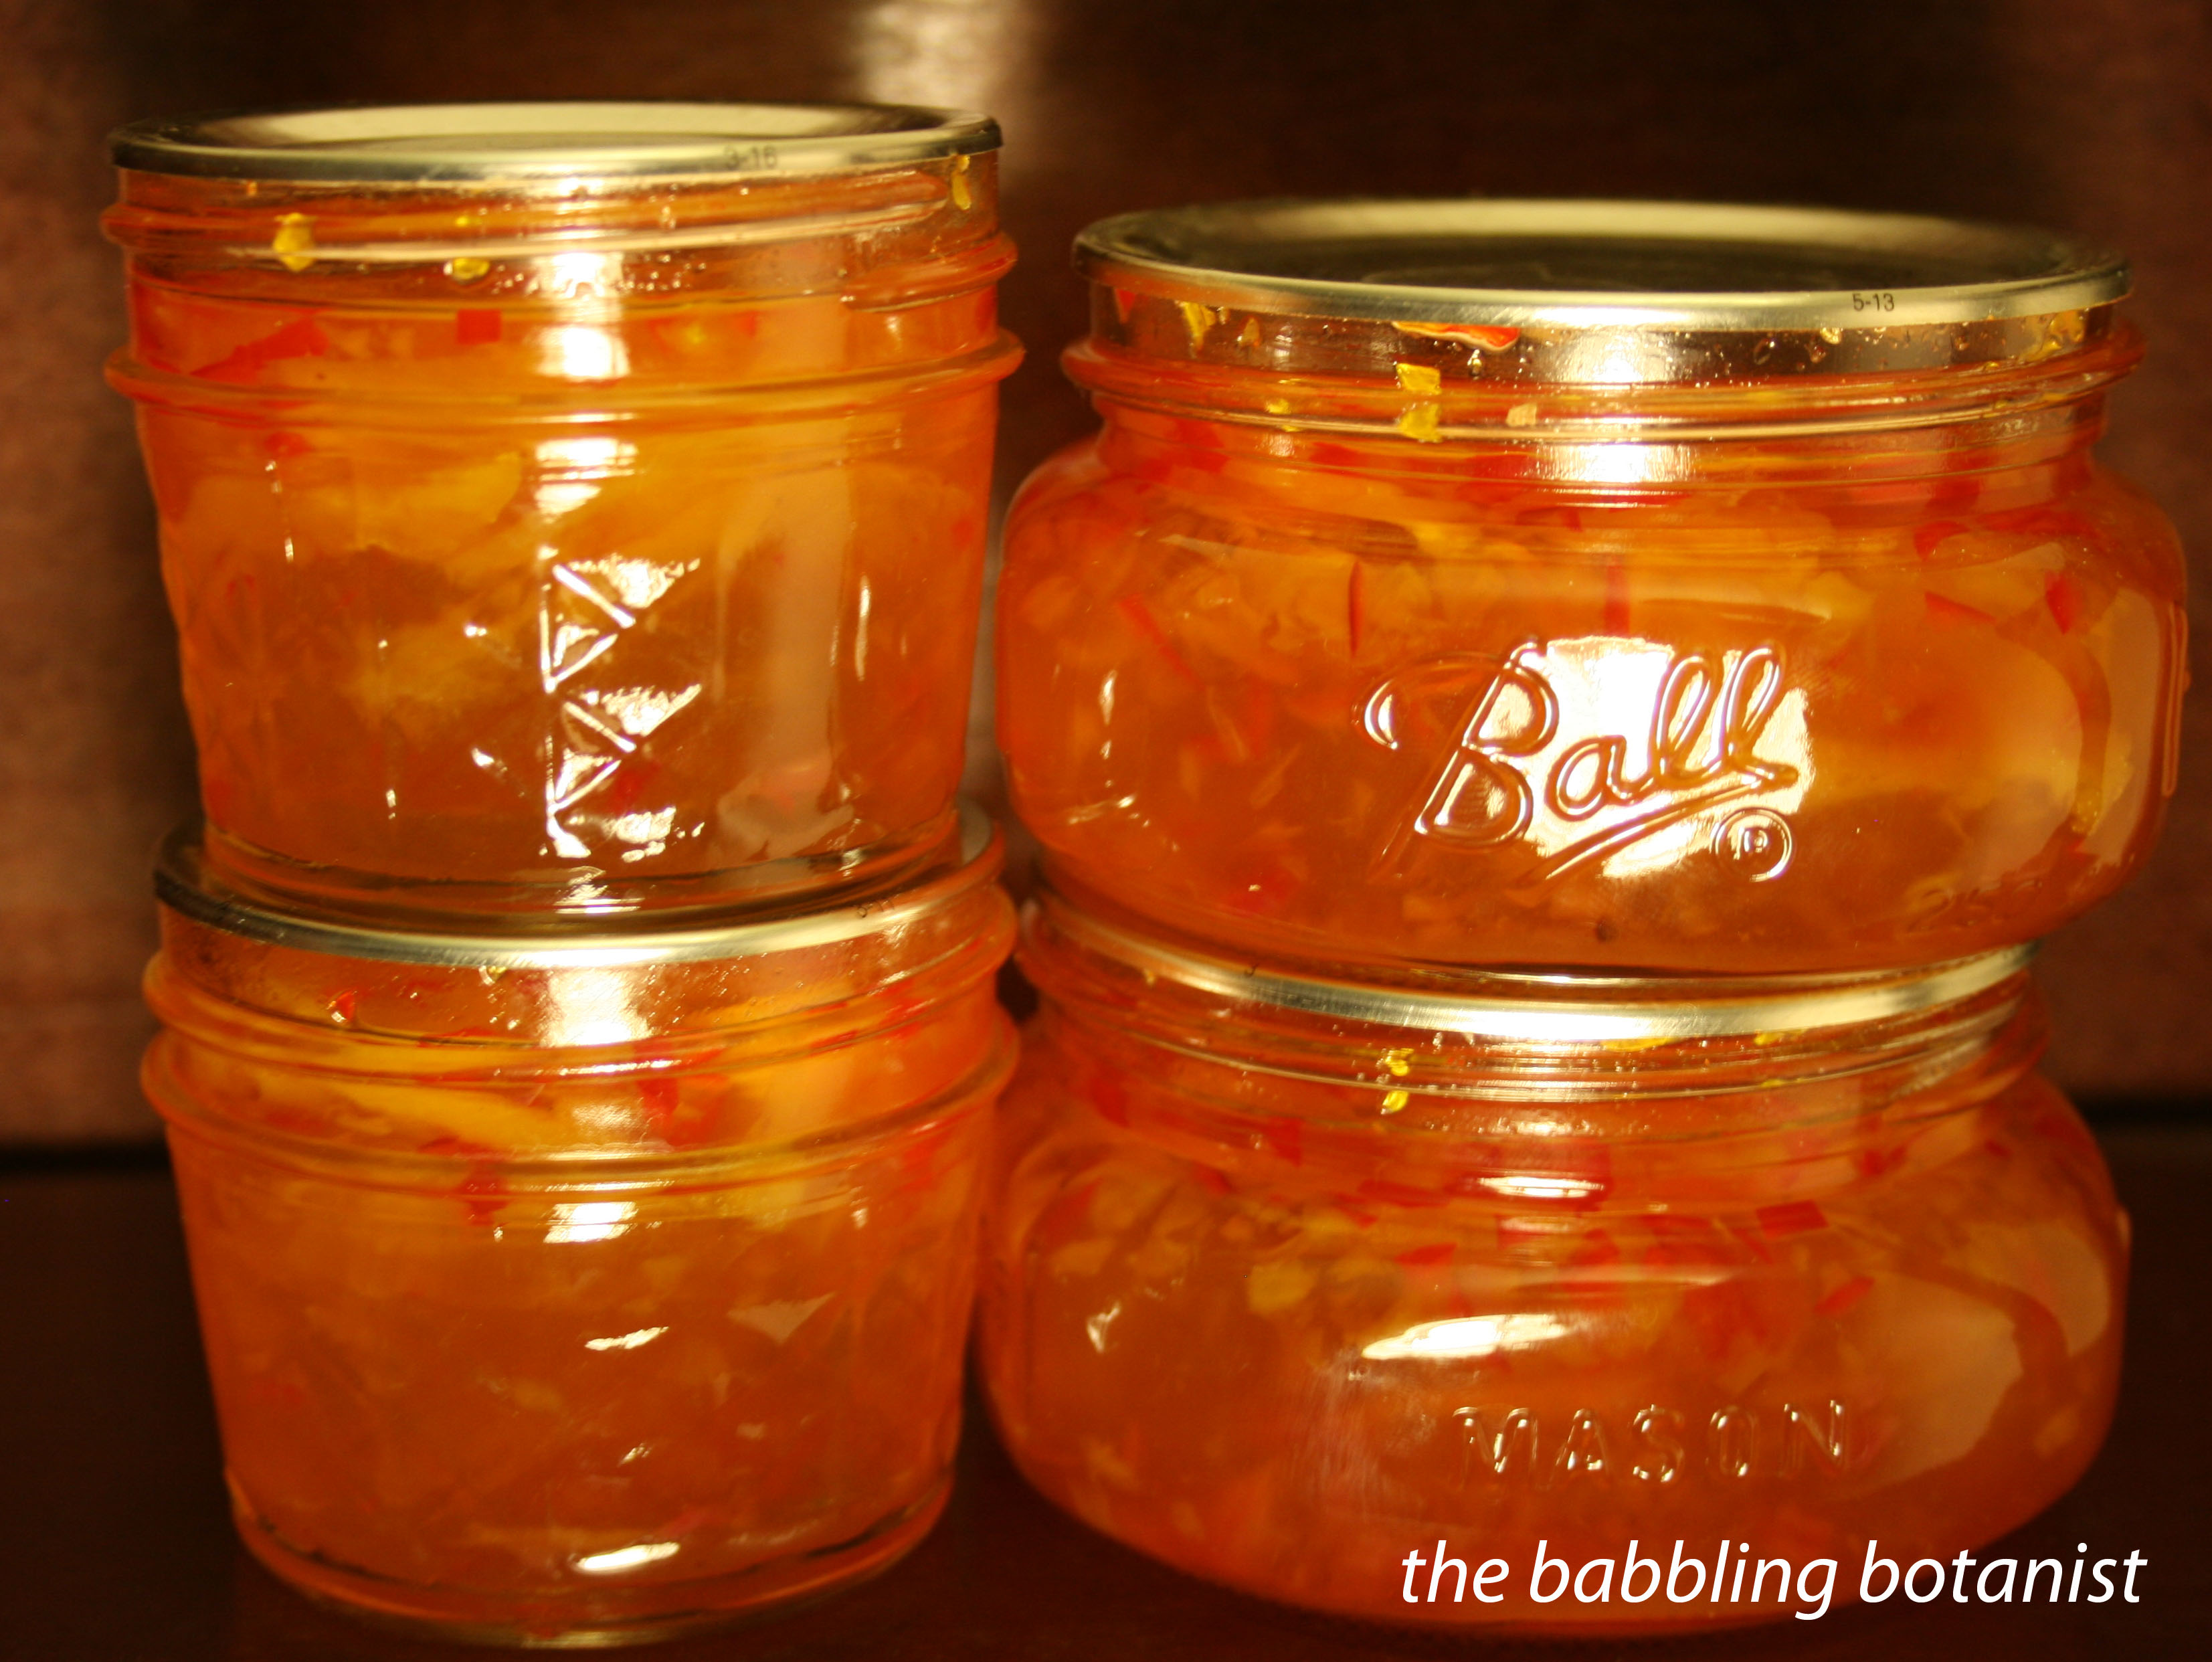
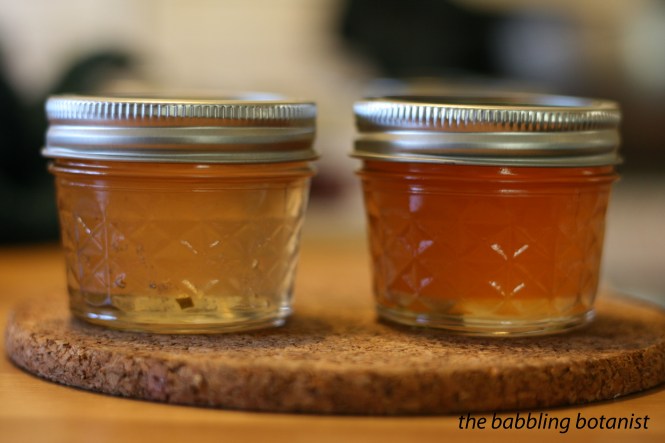
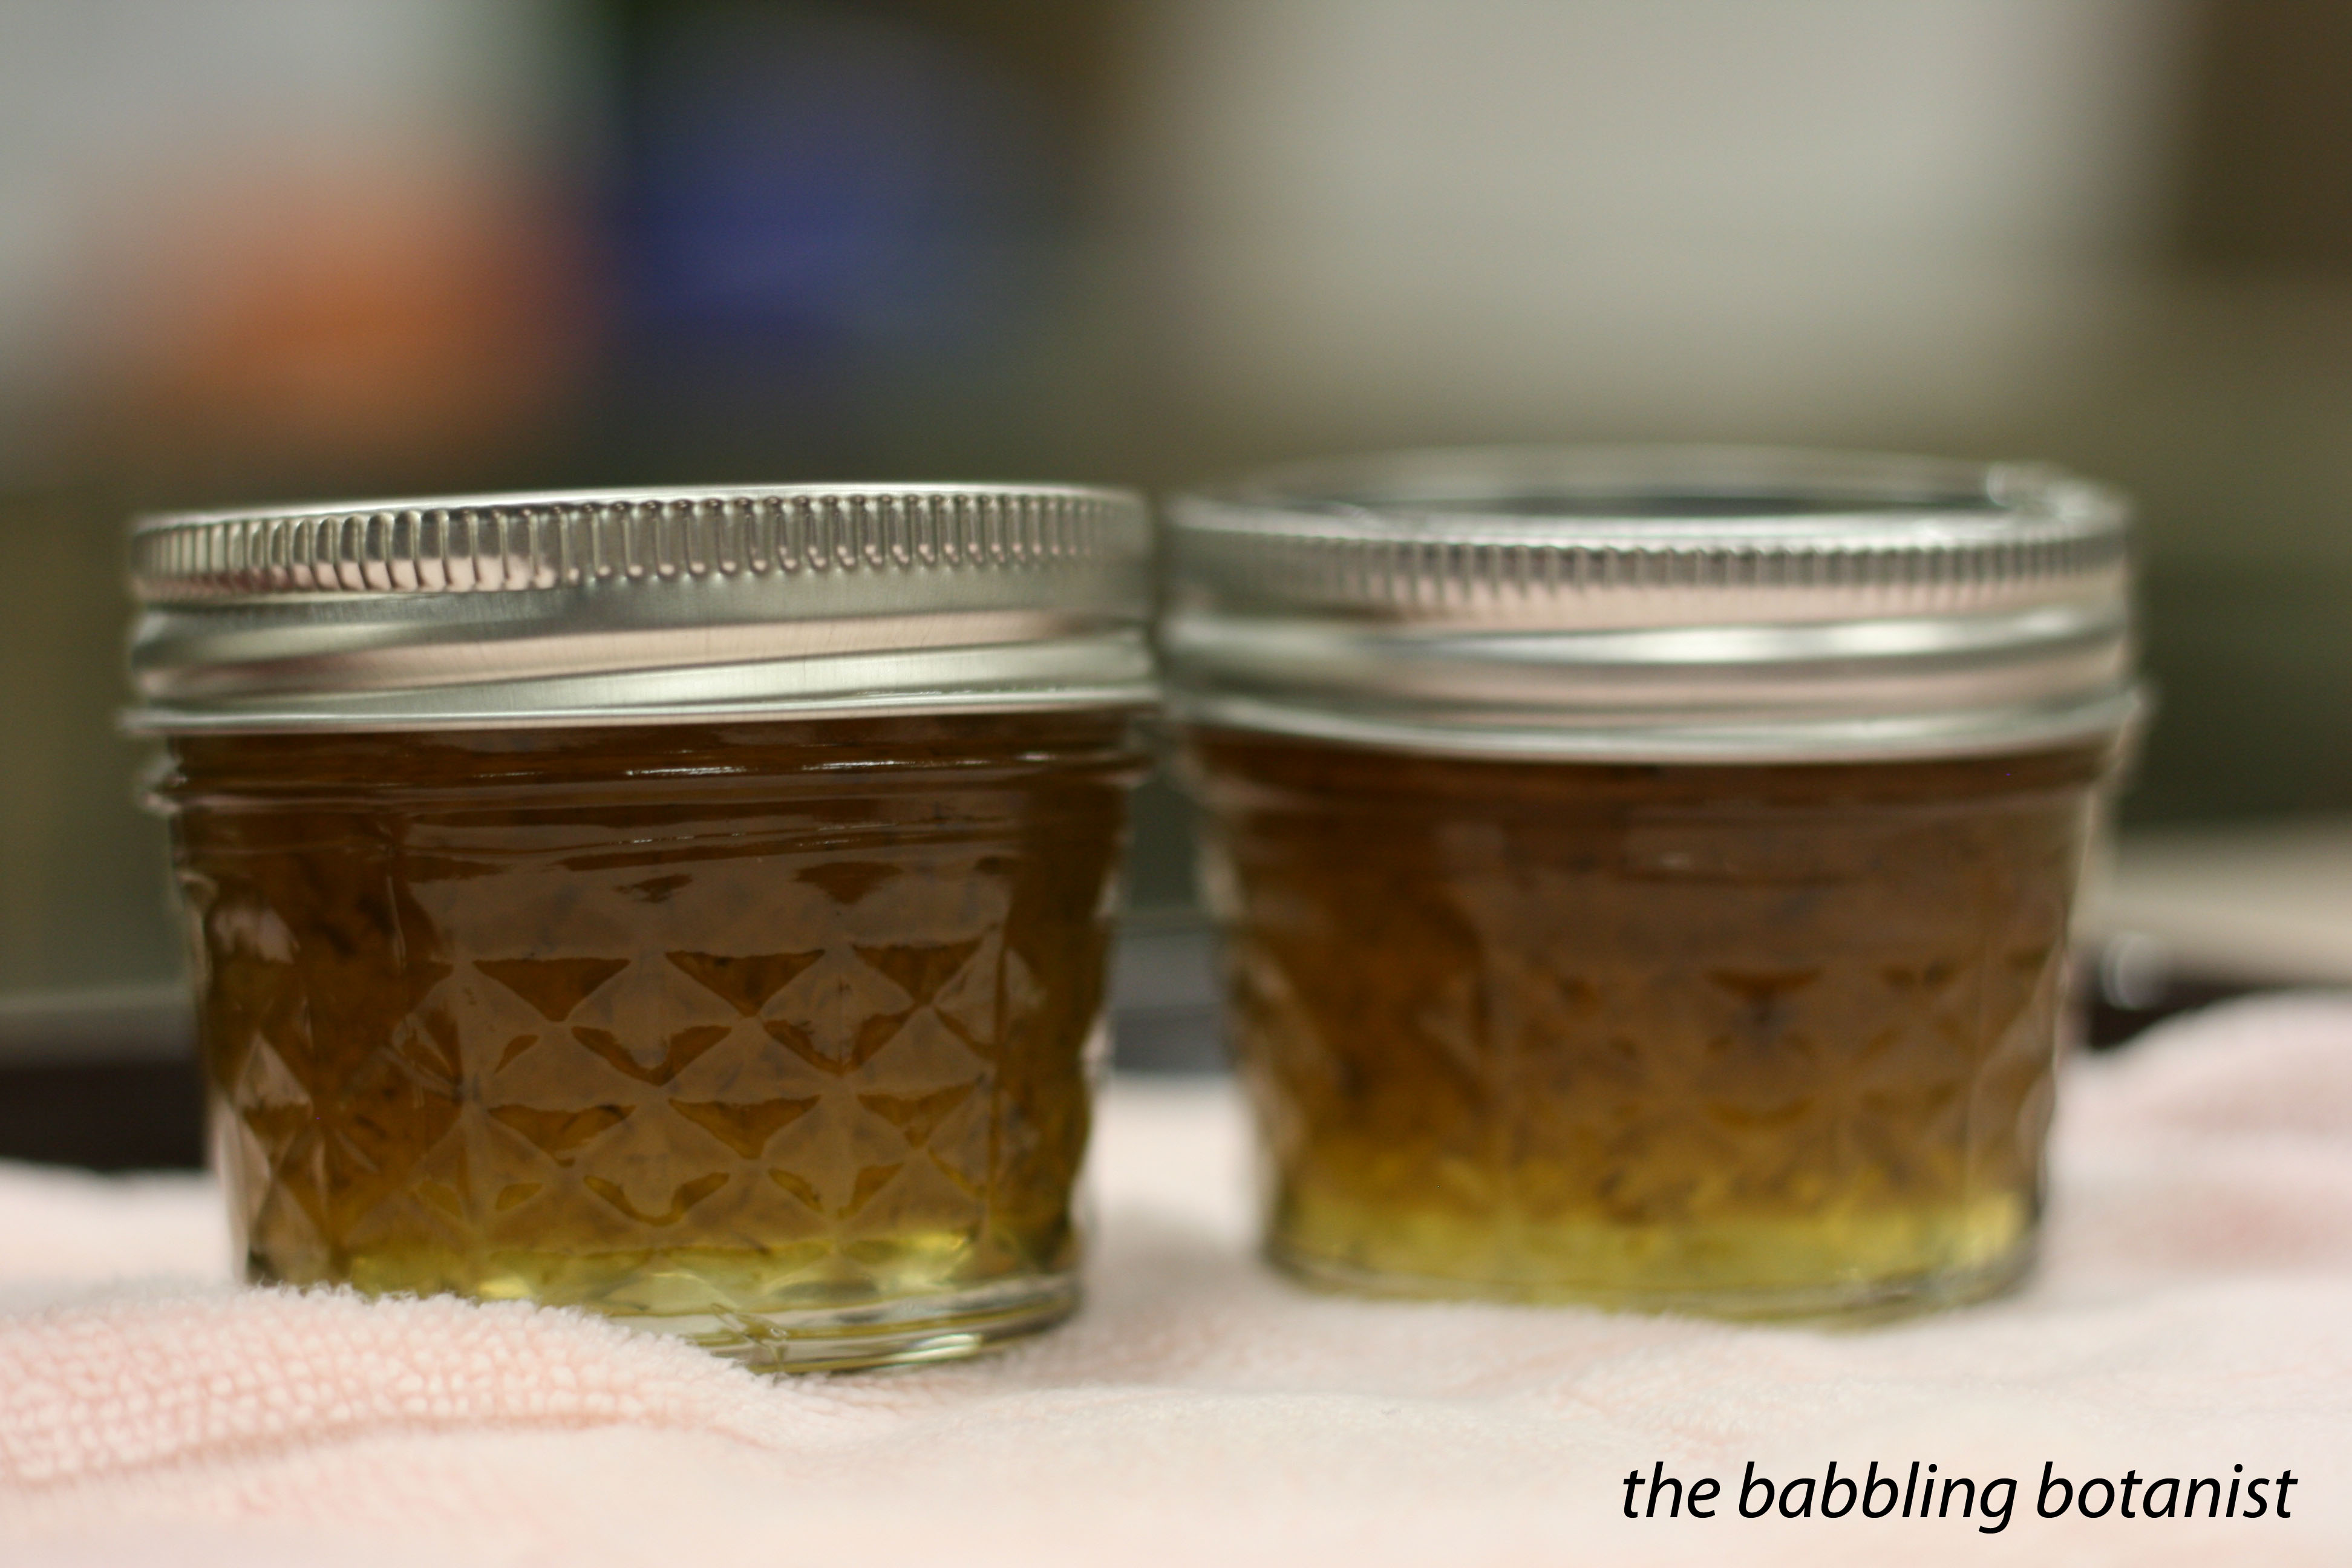
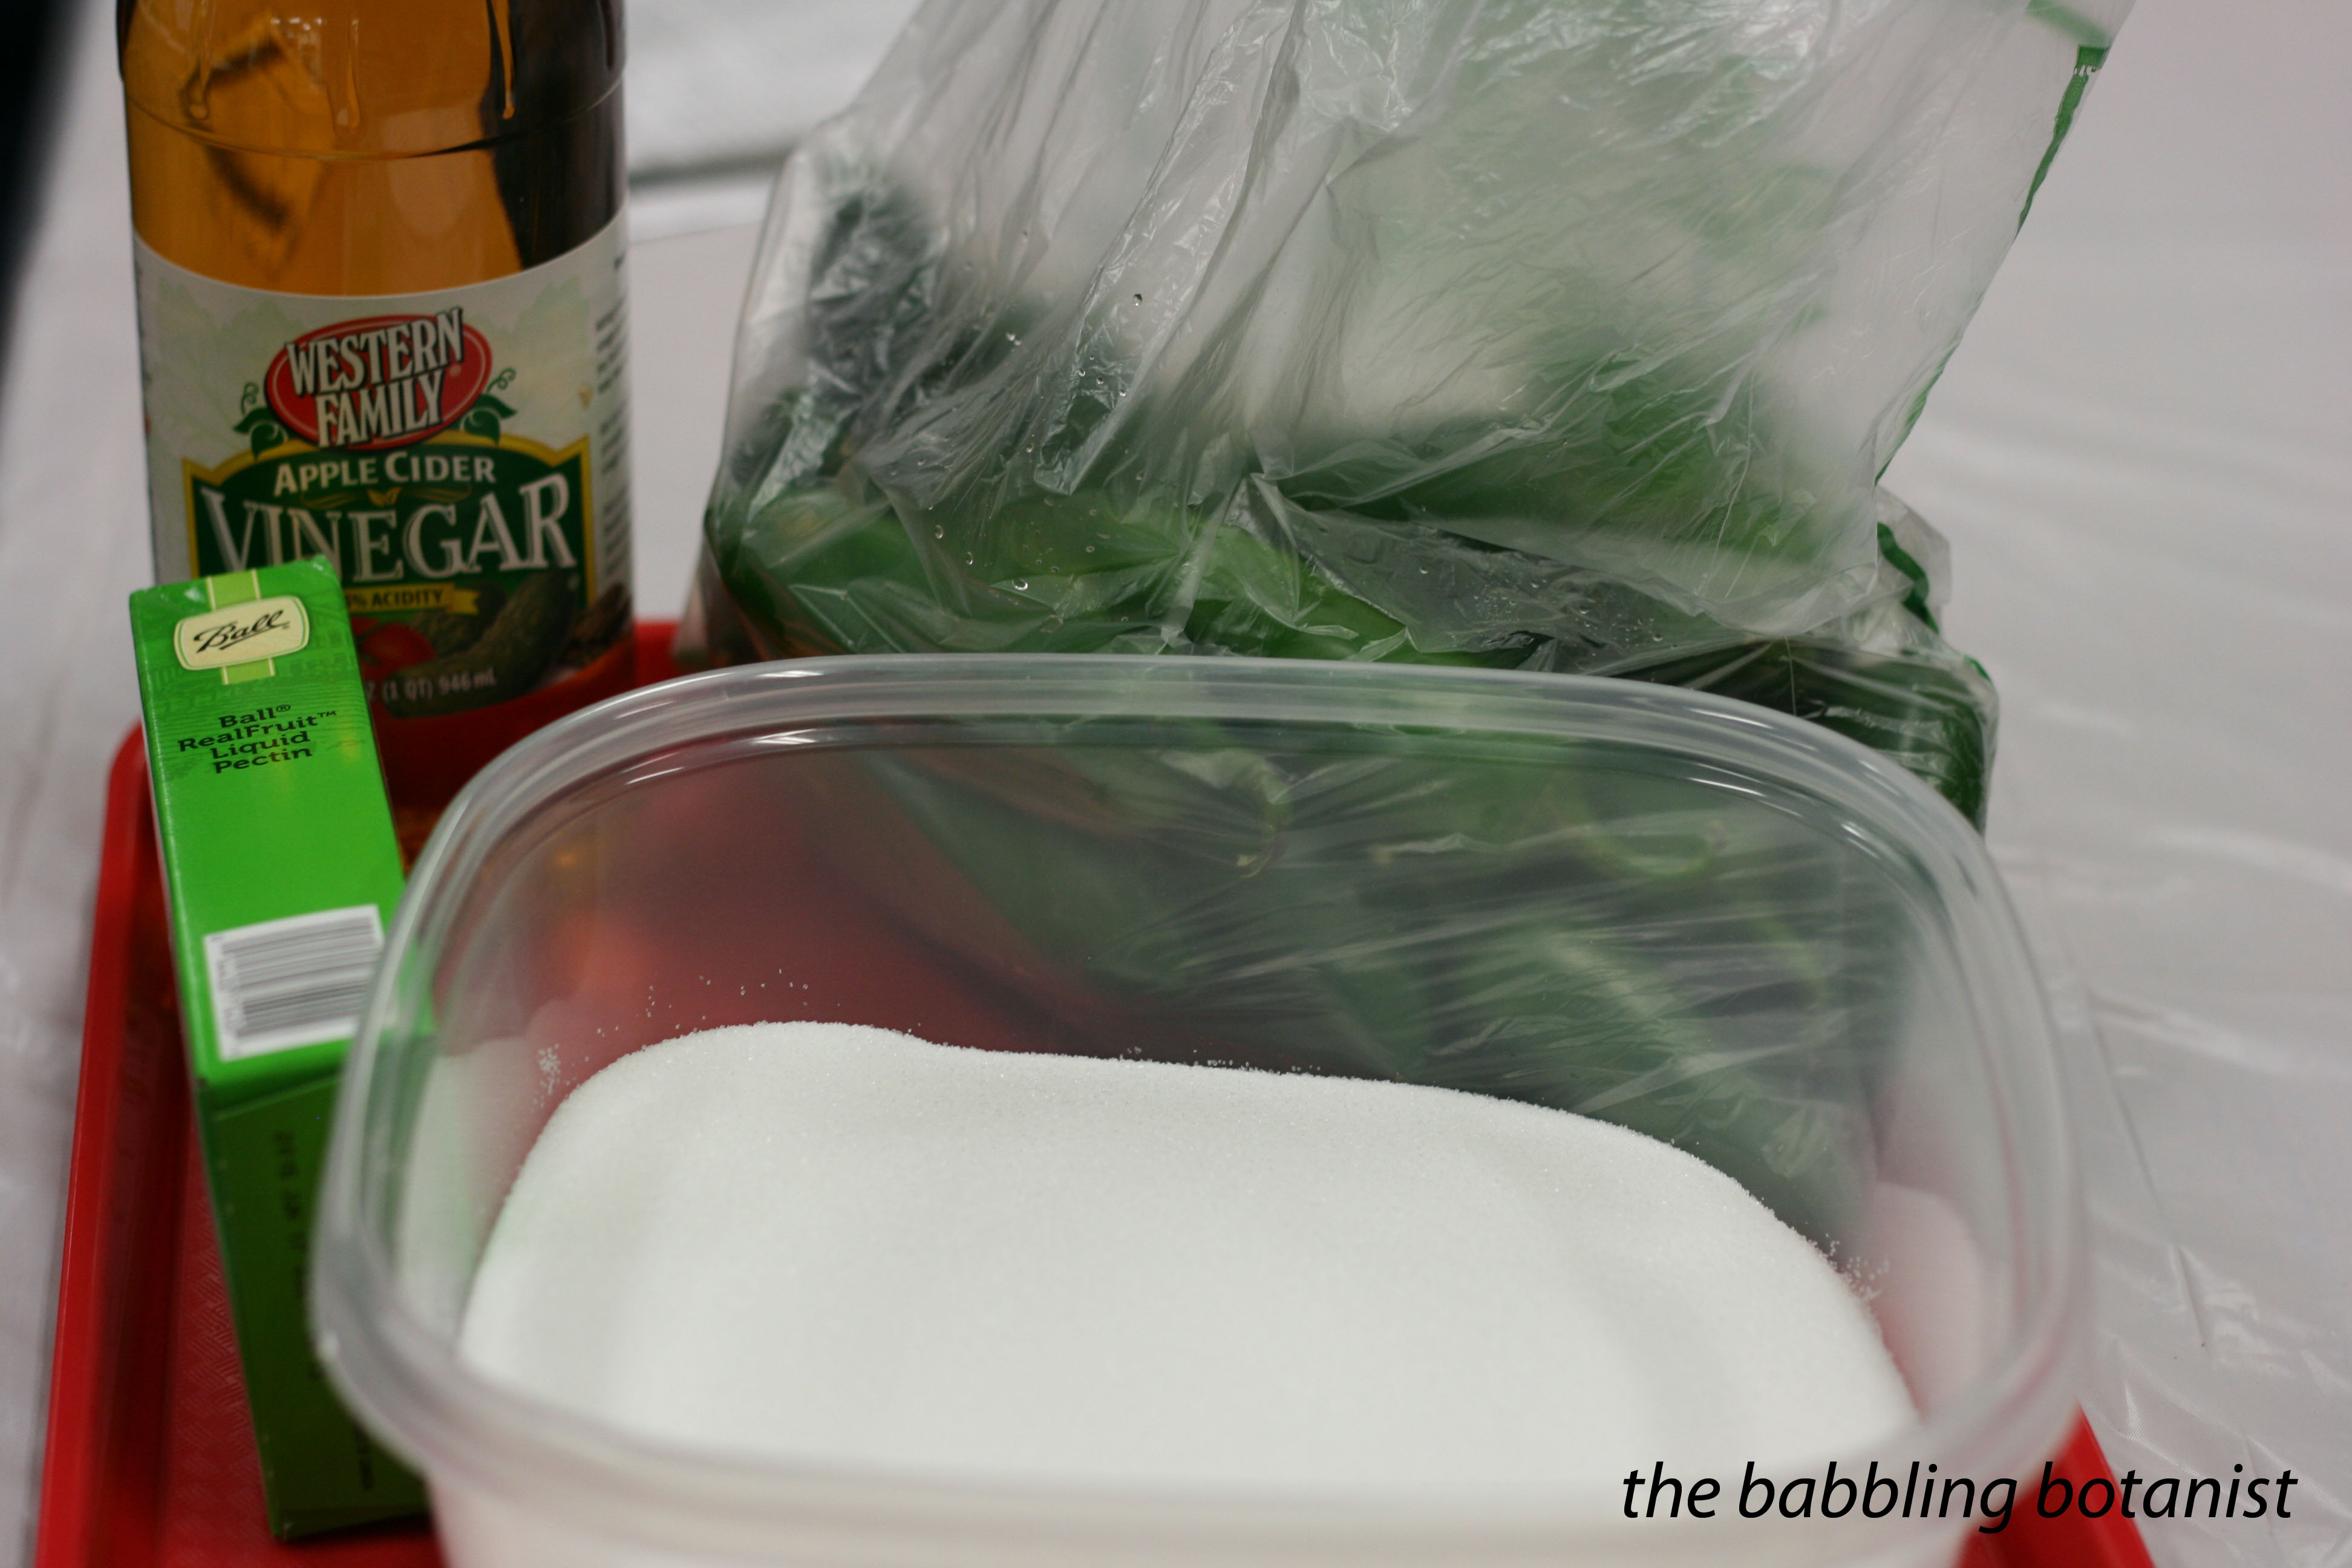
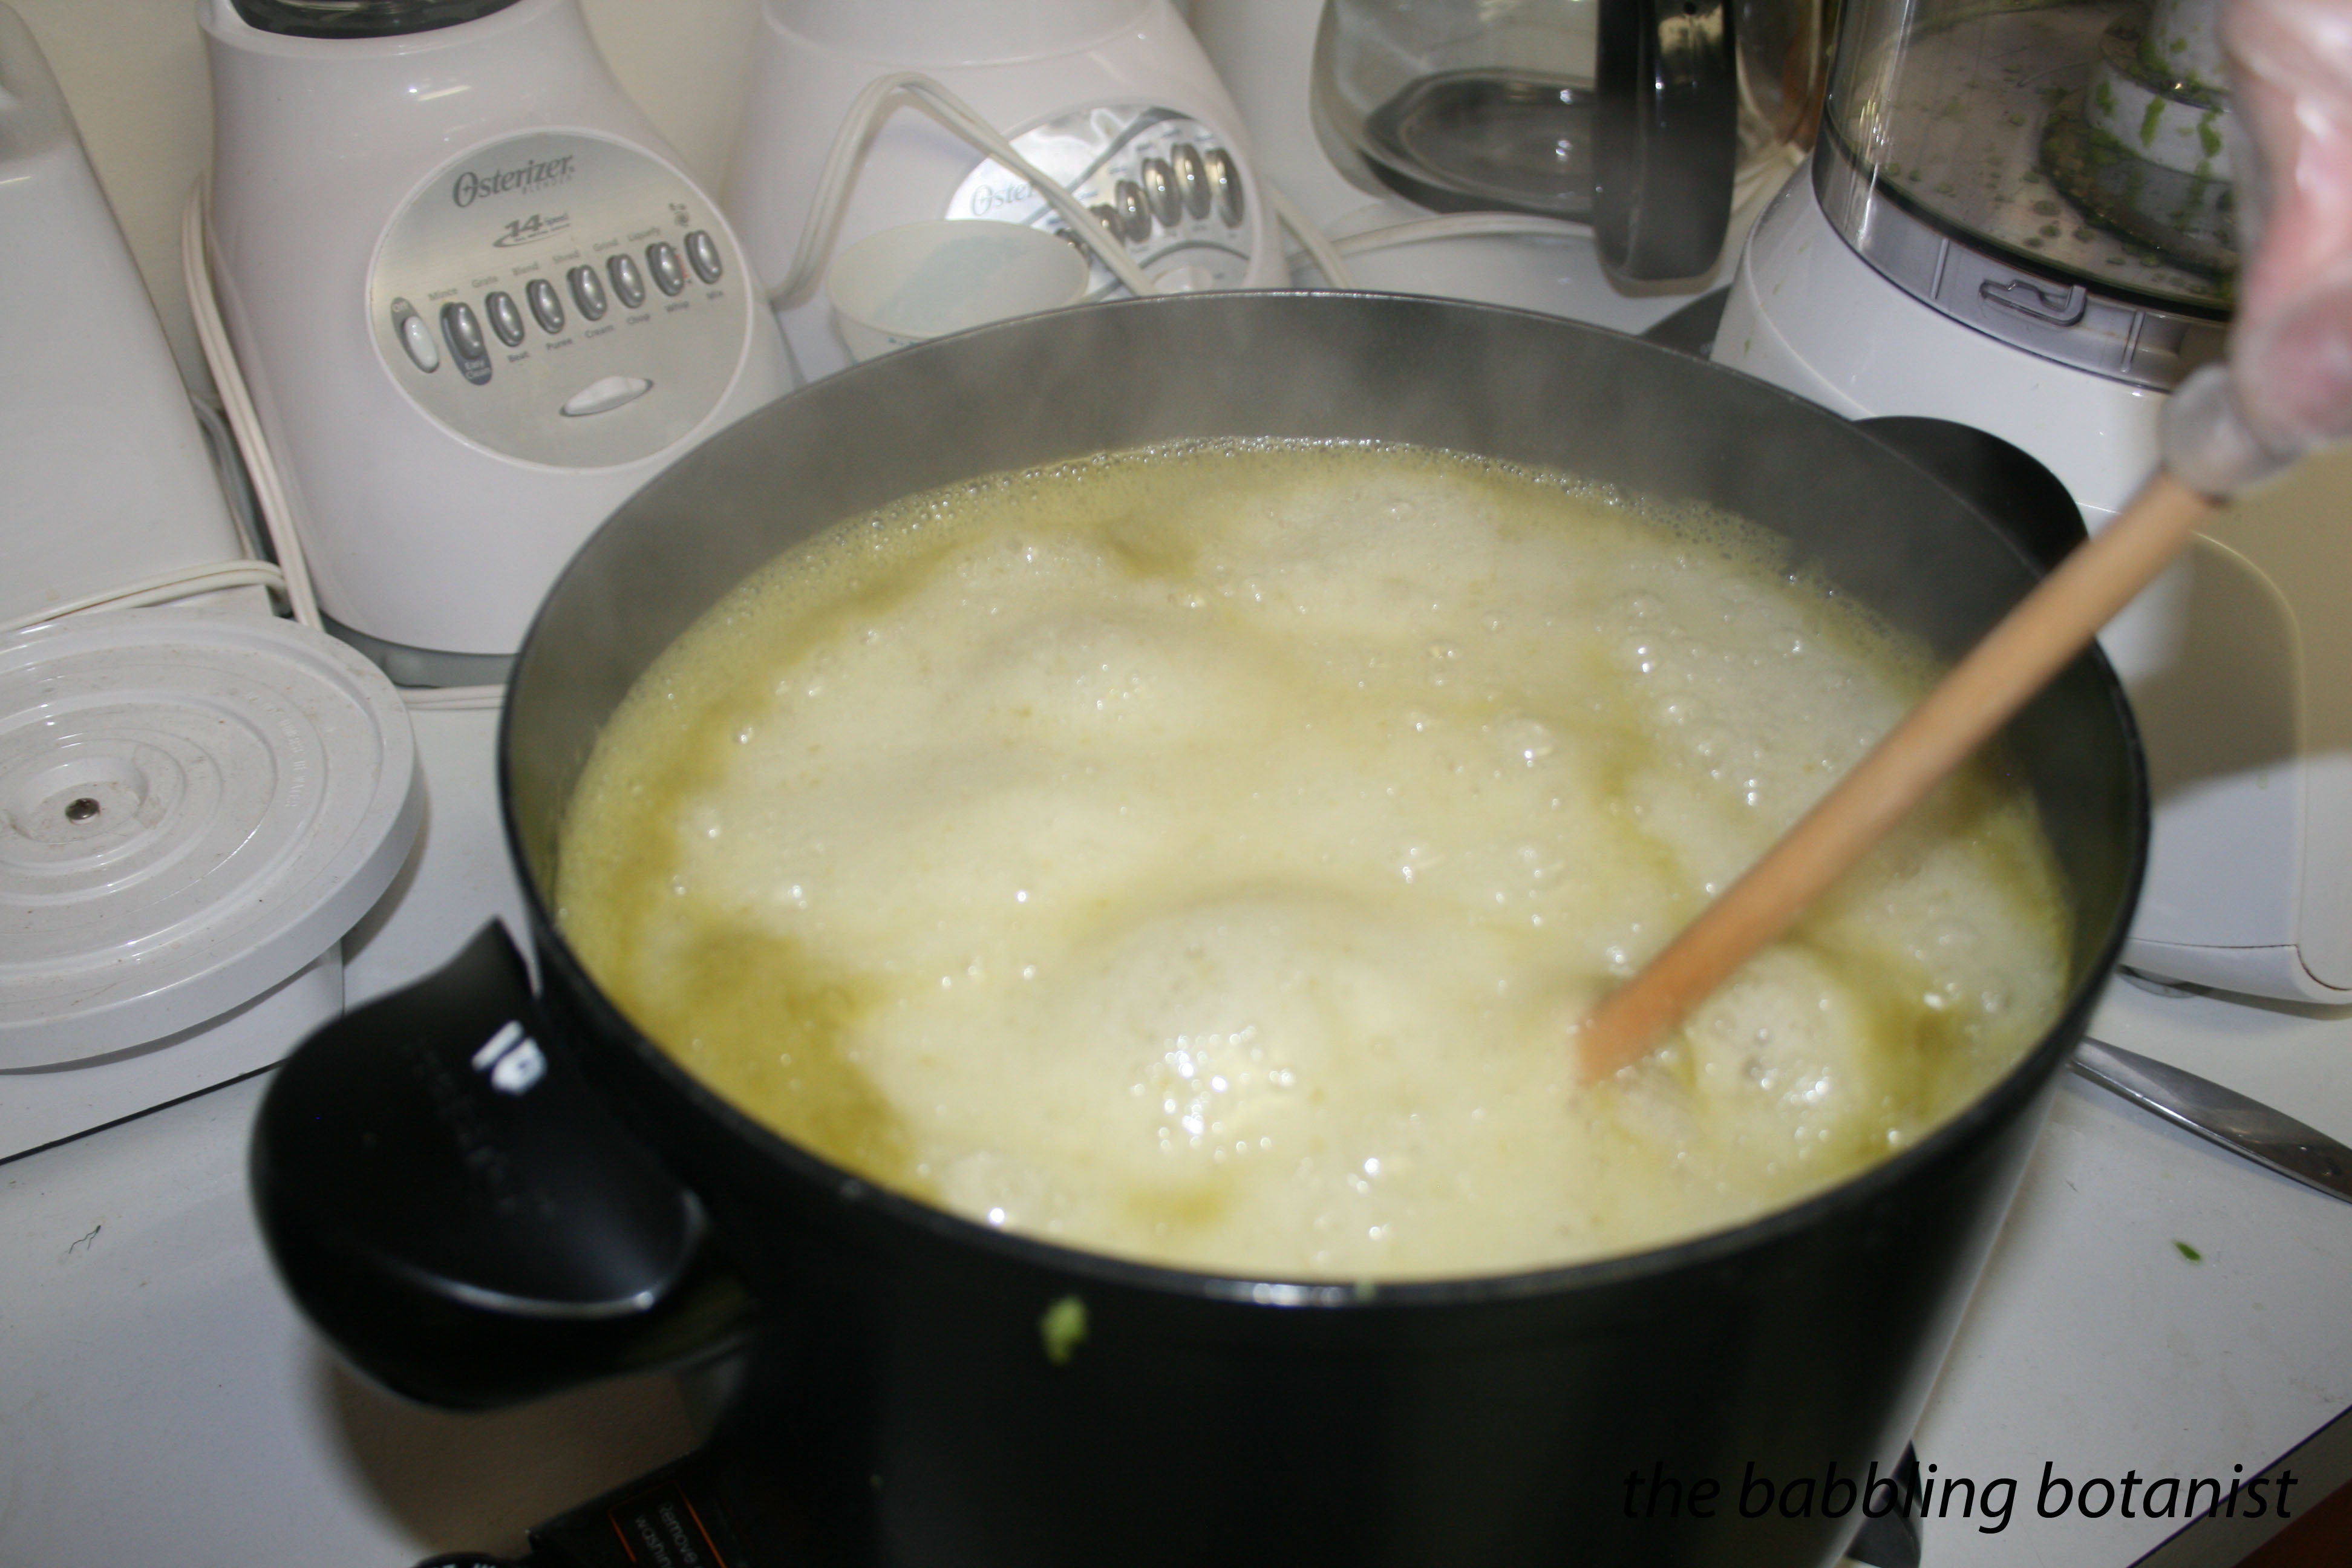
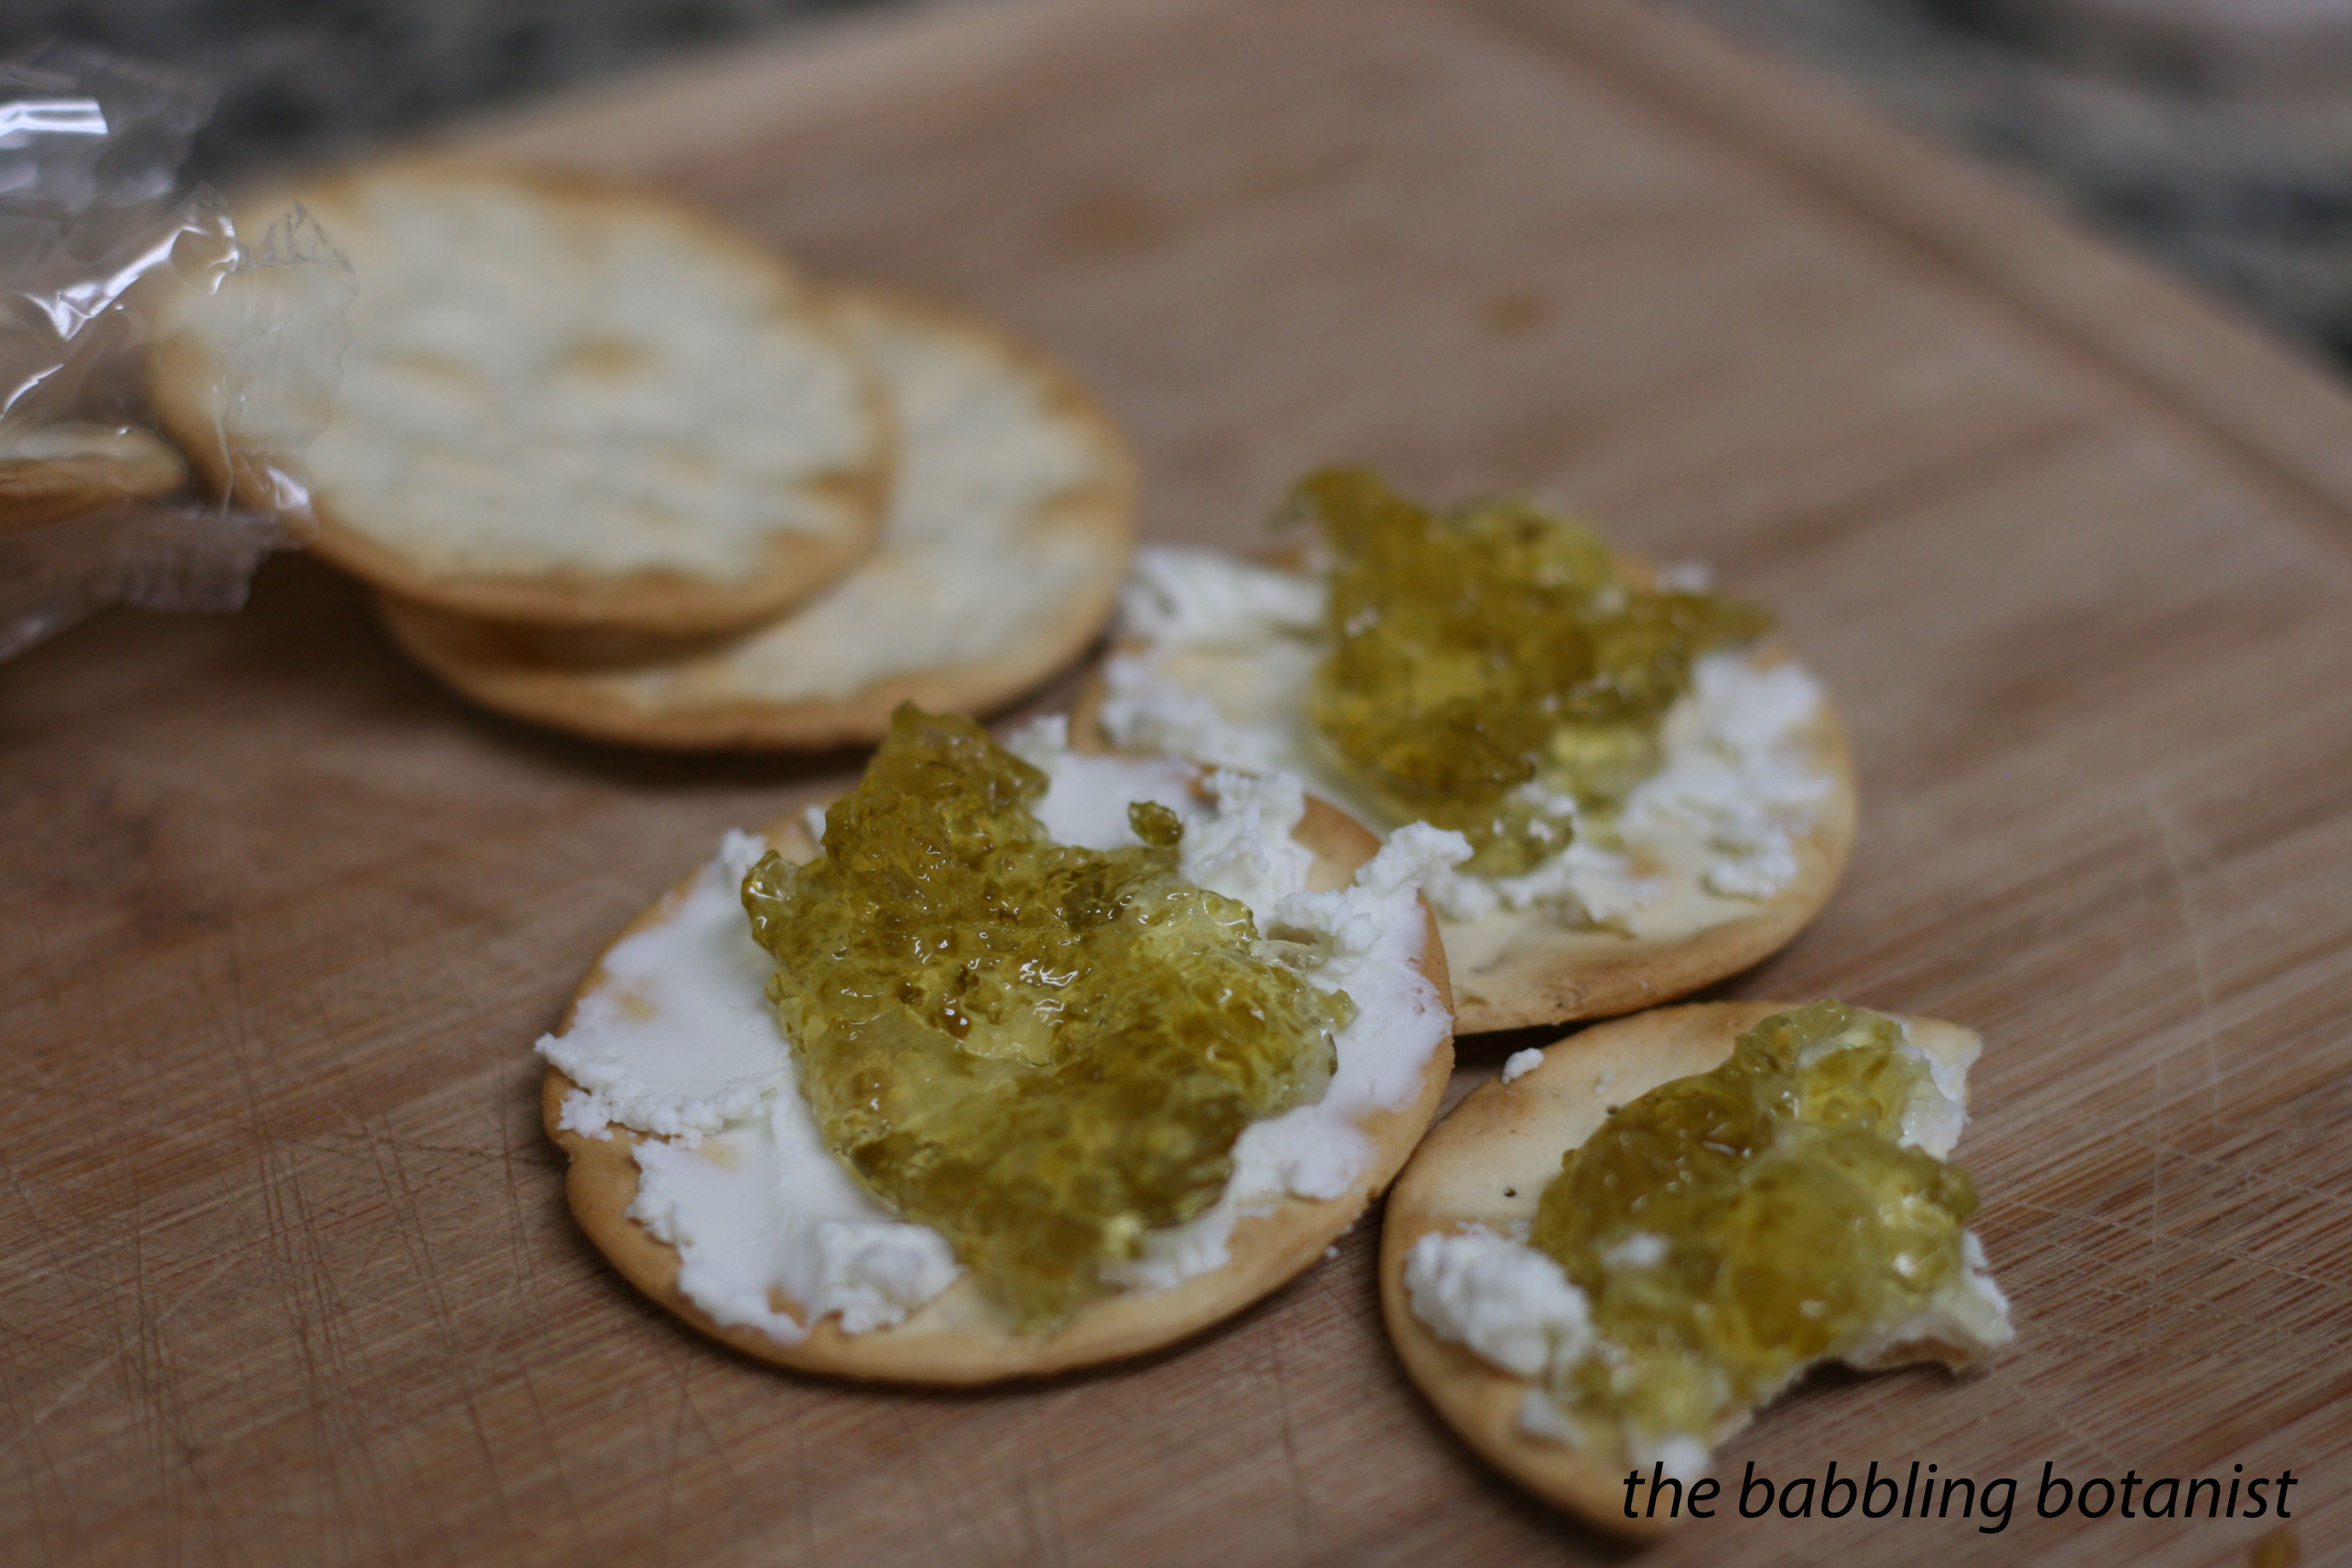
Jalapeno pepper jelly.

IMG_2417 copy

Strawberry lemon marmalade.

IMG_2418 copy

And strawberry rhubarb jam.

IMG_2422 copy

So many delicious treats! And the day’s excellent haul.

IMG_2425 copy