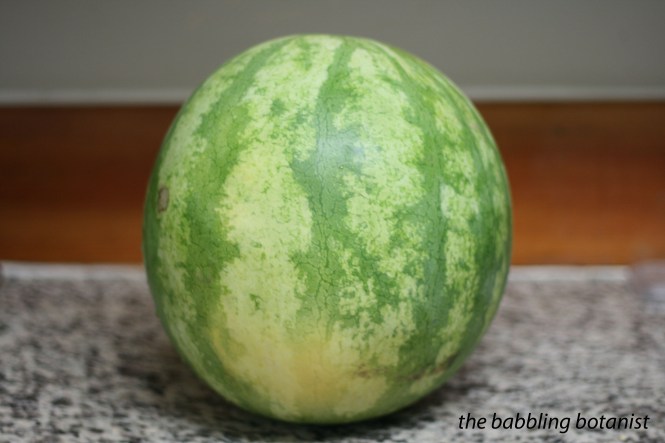
Watermelons are a classic summer treat that we usually only get to enjoy for a few months while they are in season. These two delightful jelly recipes will allow you to preserve that taste of summer so that you can enjoy it all year long.
I made two versions of this recipe, one is the zesty watermelon jelly from the Ball Complete Book of Home Preserving, and the other is my own creation, where I simply subbed lemon juice in for the vinegar and omitted the lemongrass. Remember, lemon and lime juice are both better acidifiers than vinegar, which is why it is safe to sub it here. However, that extra acid is mandatory, watermelon is not acidic enough, and therefore not safe to waterbath can without it.
Ingredients:
6 cups crushed watermelon (enough to make 2 cups juice)
1/2 cup vinegar (use white balsamic, white wine or apple cider – I used apple cider here)
4 tablespoons lemon juice
5 cups sugar
1 stem lemongrass, finely chopped
2 pouches liquid pectin
or
6 cups crushed watermelon (enough to make 2 cups juice)
3/4 cups lemon juice
5 cups sugar
2 pouches liquid pectin
Here’s how to make it:
Crush up the watermelon and heat it gently for about 5 minutes.
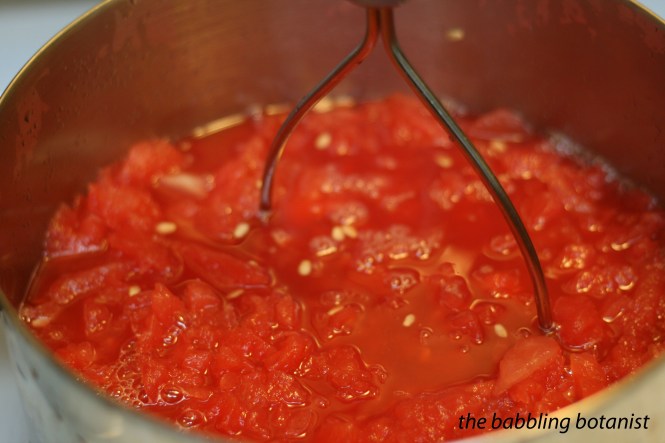
Mash it up some more and strain through a dampened jelly bag, or cheesecloth/muslin with some sort of strainer or funnel like below. I don’t have a legit jelly bag setup, so I just used the hopper from the Victorio strainer and some muslin and strained it into a half gallon jar. This actually strained amazingly quickly, unlike some other juice for jellies. I guess they are called watermelons for a good reason.
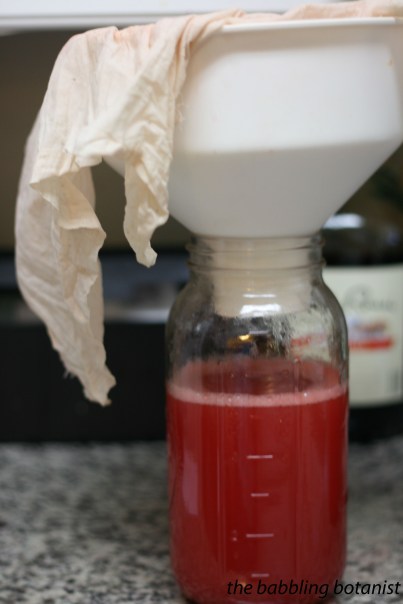
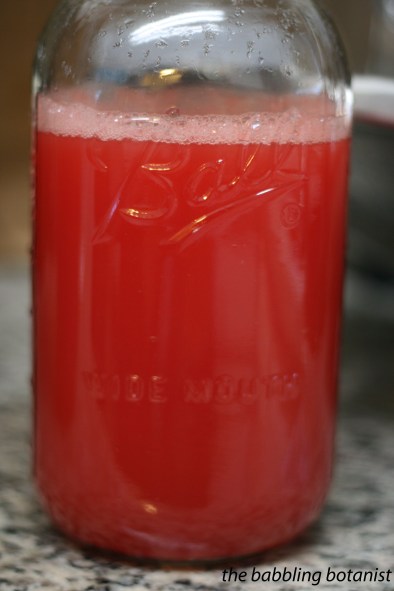
Measure out two cups of the juice. If it’s been sitting a while and some of the sediment has settled out, you can stir it up a bit if you like, so that you get that pink colour. If you pour off the top with a lot of the sediment settled out your jelly will be much lighter.
Prepare the canner, jars and lids. This recipe yields about 5-6 half pints.
Combine all the ingredients except for the pectin in a deep stainless steel pot. Bring to a full rolling boil over high heat, stirring constantly. When the boil is reached, stir in the two packets of pectin quickly and return to a boil. Maintain a hard boil for 1 minute.

Remove from heat and quickly skim any foam.
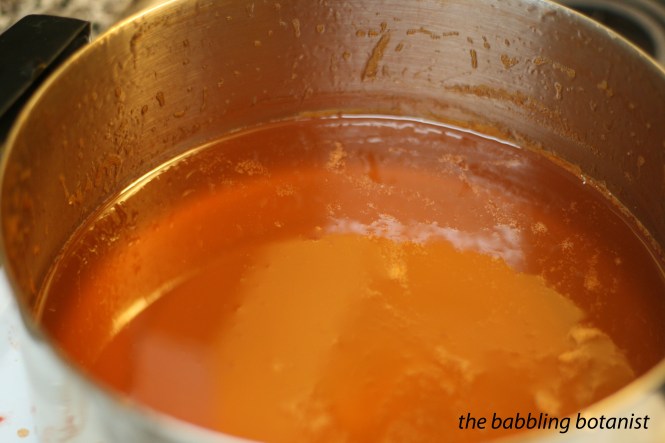
This jelly starts to set up really quickly, so you need to work fast filling the jars. If you have a helper when you are making this, have them get the hot jars ready as you are stirring so you can fill quick like a bunny. Fill the jars leaving a 1/4 inch head space. Wipe the rims, apply the lids, and tighten the bands finger tip tight.

Process the jars in a boiling water bath canner for 10 minutes, ensuring the jars are covered by at least 1-2 inches of water, and beginning the time when a full rolling boil is acheived. After the ten minutes, turn off the heat, remove the canner lid, wait 5 minutes, and remove the jars to a hot pad or towel. Cool 12-24 hours, remove bands, check seals, wipe down, label and store.
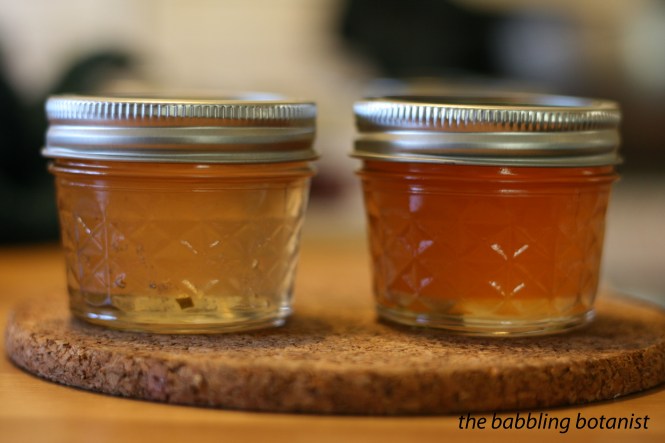
Pictured here is the zesty watermelon jelly on the left, and on the right is the version with just lemon juice. I think the colour difference is in part due to the cider vinegar, but also because I made the right one second and I think had more of the sediment in that batch. They are both pretty, but I was hoping for pinker, and think I might need to experiment with using less sugar to achieve that. But the flavour is certainly delicious!
*this post contains affiliate links, please see the “About the Blogger” page for more information

