Blackberry Raspberry Pie Filling

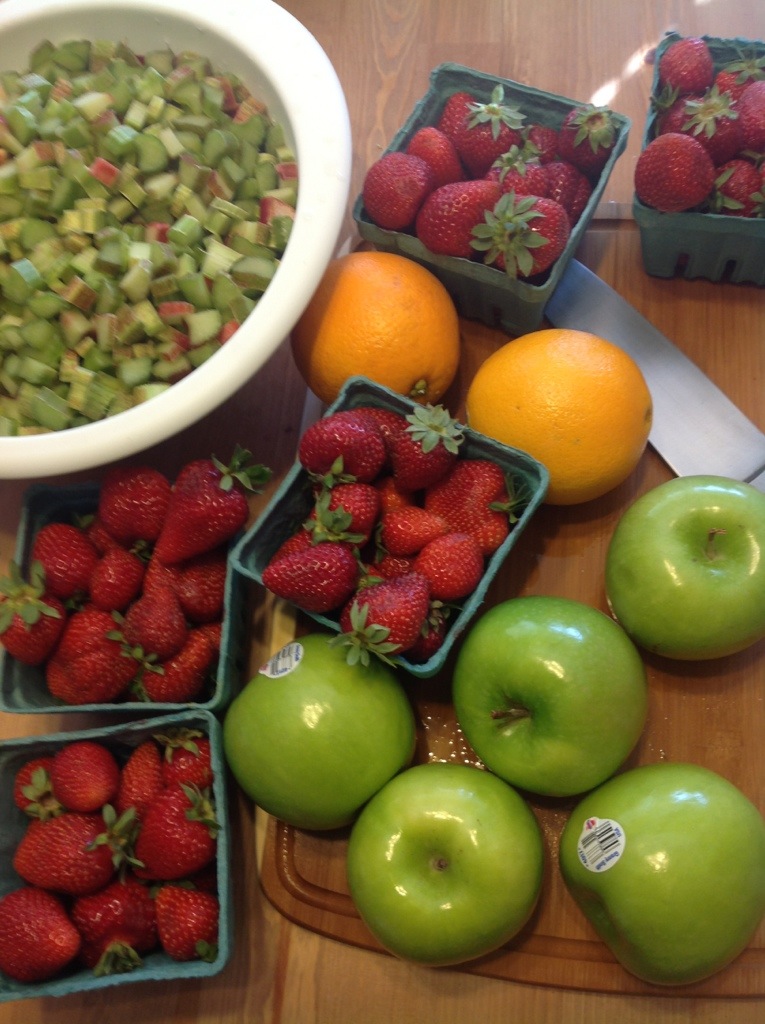
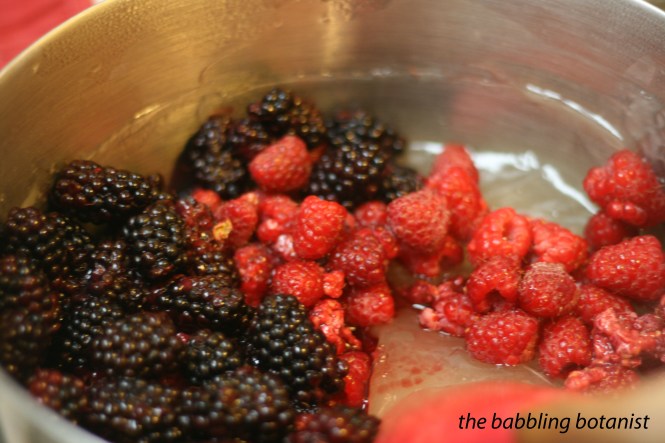
When I saw a recipe for raspberry pie filling in the Ball Complete Book of Home Preserving, I have to admit that I was fairly skeptical as to how well it would turn out. It’s a recipe with ClearJel, and if you’ve ever used ClearJel, you know what a gooey mess it can become. I was unsure how well I could maintain the integrity of such a delicate berry, but of course, that didn’t stop me – challenge accepted. So I thought what I’d try was just making one jar at a time. Since I had picked raspberries and blackberries on this particular day, I made a jar of raspberry, a jar of blackberry, and a jar of half and half. I am actually pretty happy with how it turned out! For the recipe I ended up following the extension publication, which was pretty much the same as Ball, but it gives amounts  for 1 or 7 quarts – Fruit Pie Fillings extension pub linked to here.

Ingredients (for just one quart):

3 1/3 cups raspberries or blackberries (or a combination)
1 cup sugar (I reduced to 1/2 cup)
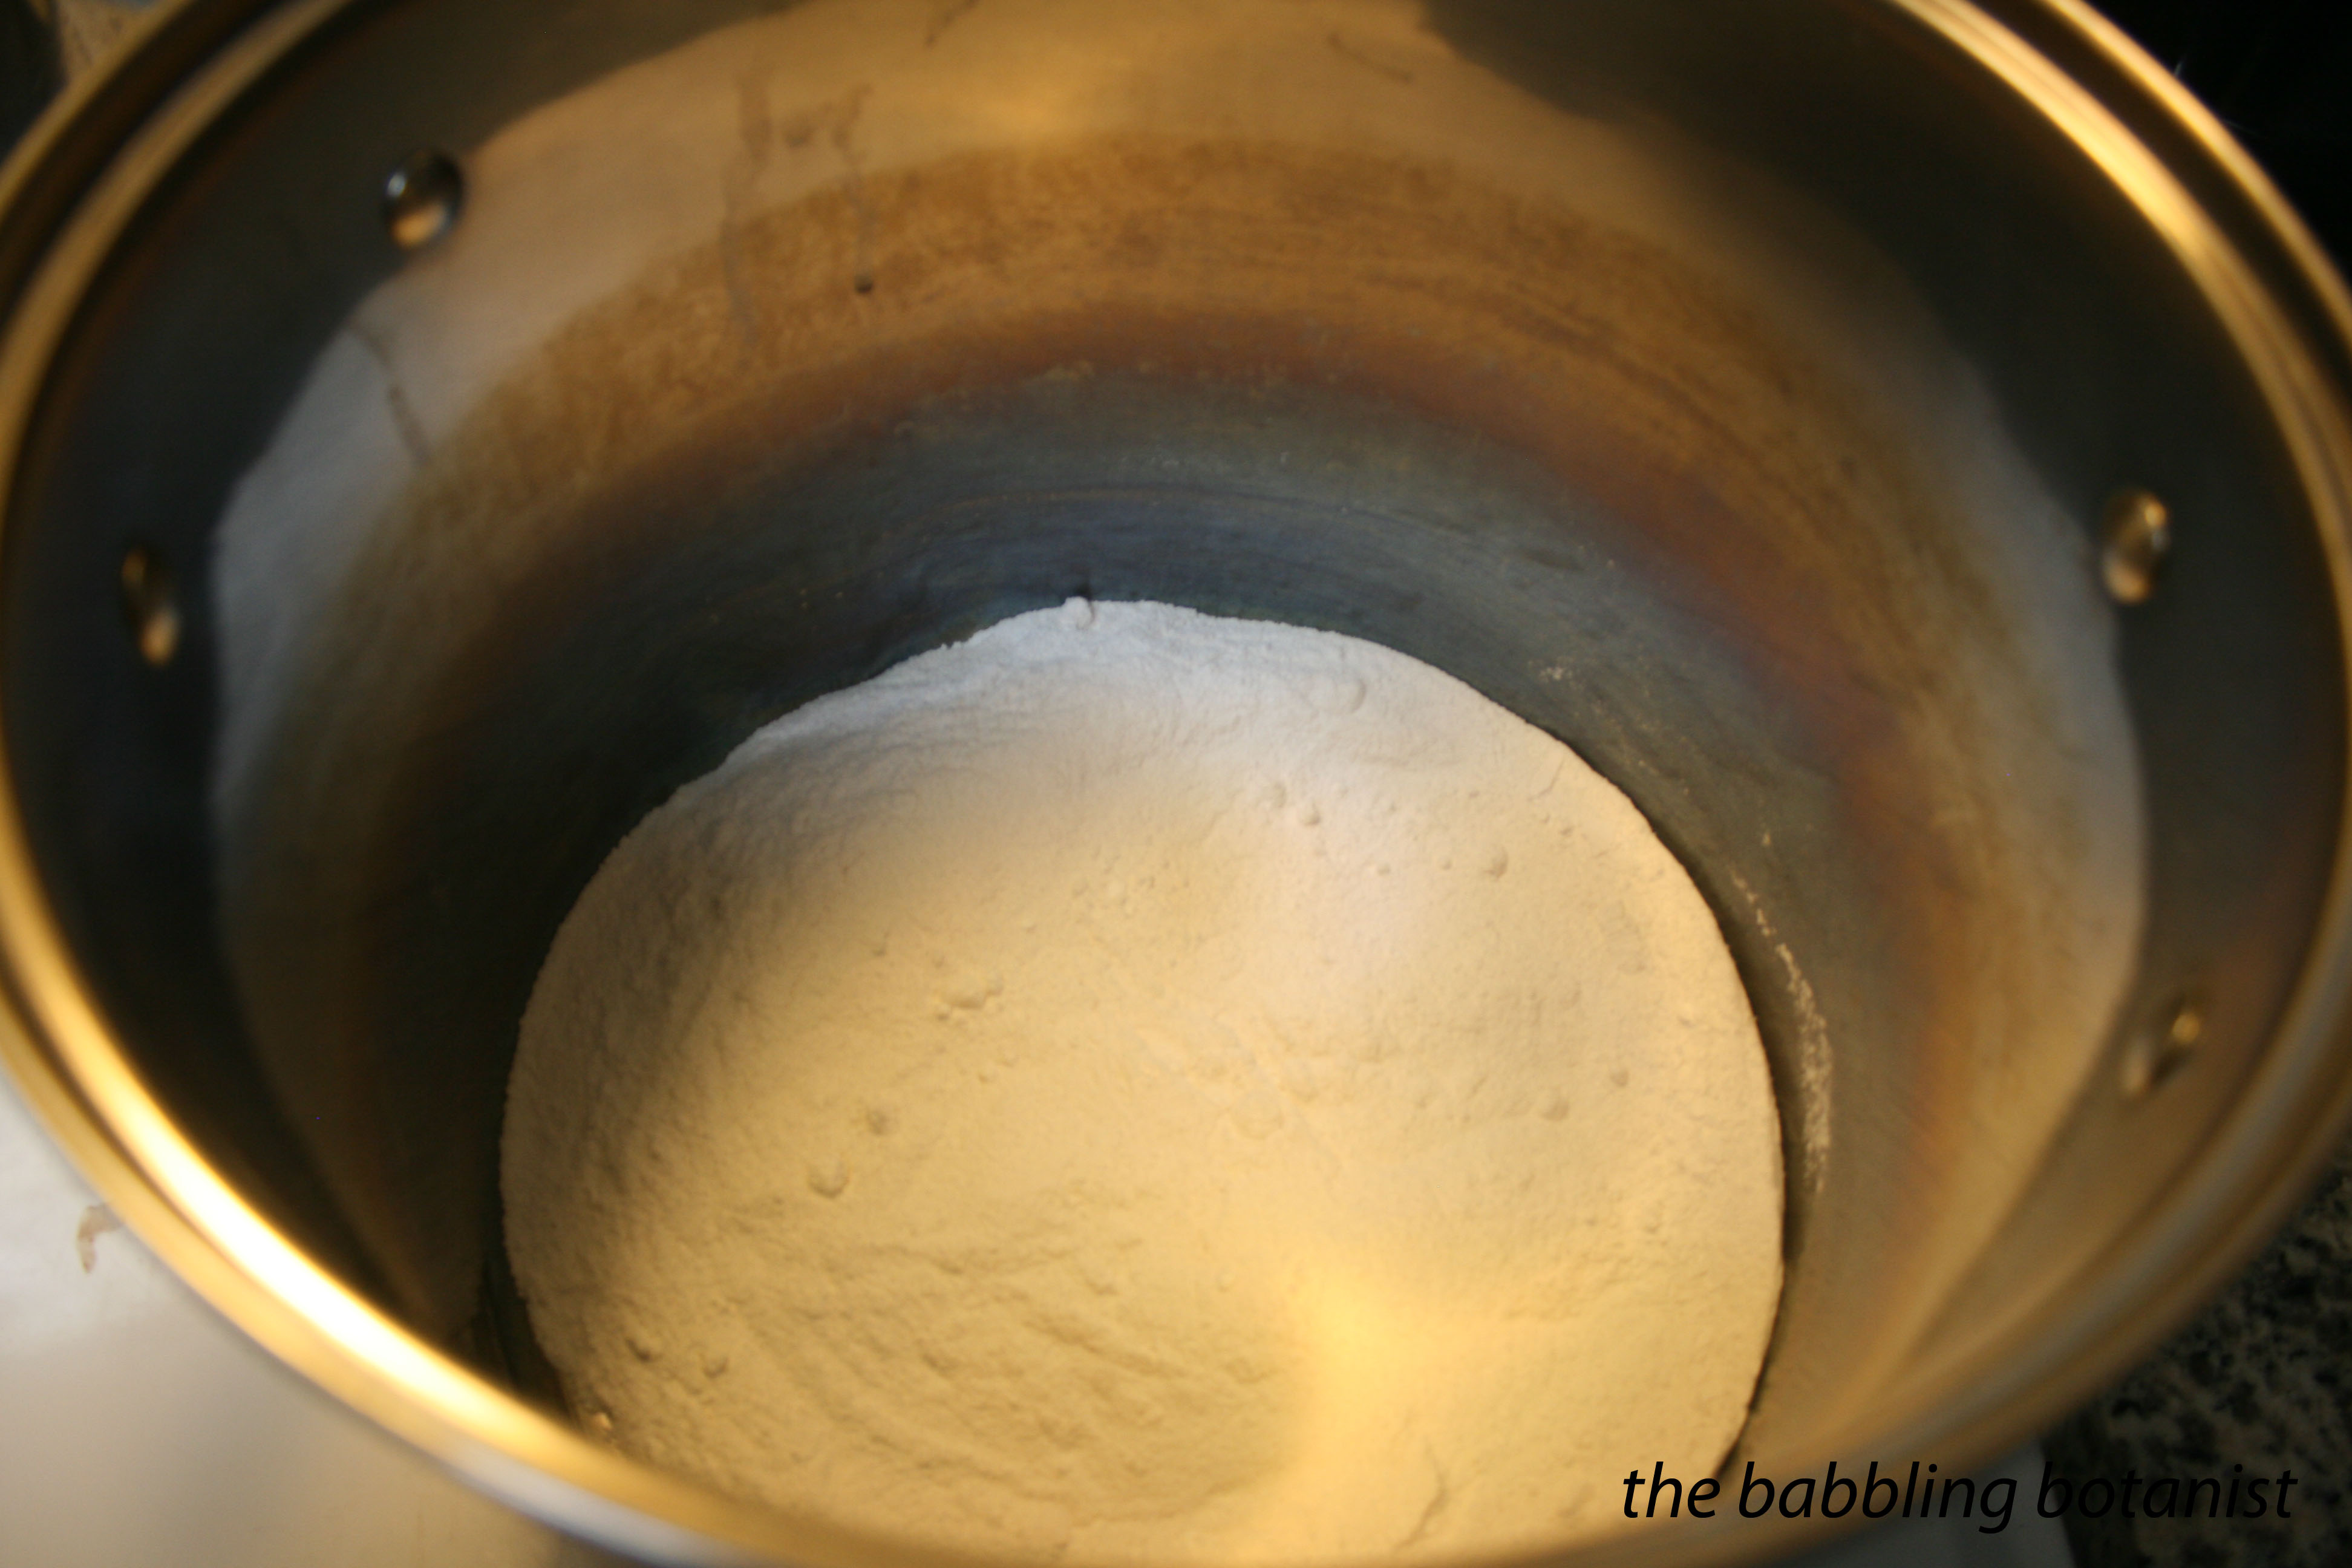
1/4 cup + 1 tbsp ClearJel
1 1/3 cups cold water or fruit juice
1 tbsp + 1 tsp bottled lemon juice

Here’s how it’s made:

Prepare your canner, jars, and lids. Combine the sugar and ClearJel in a large pot and stir. Remember, you can safely reduce the ClearJel or sugar, if desired, so make one jar, see how you like it, and adjust accordingly next time. The lemon juice (added later), should not be reduced.

IMG_5531 copy

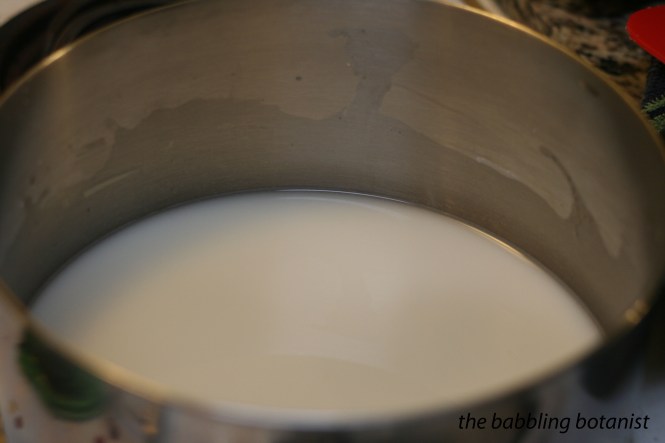
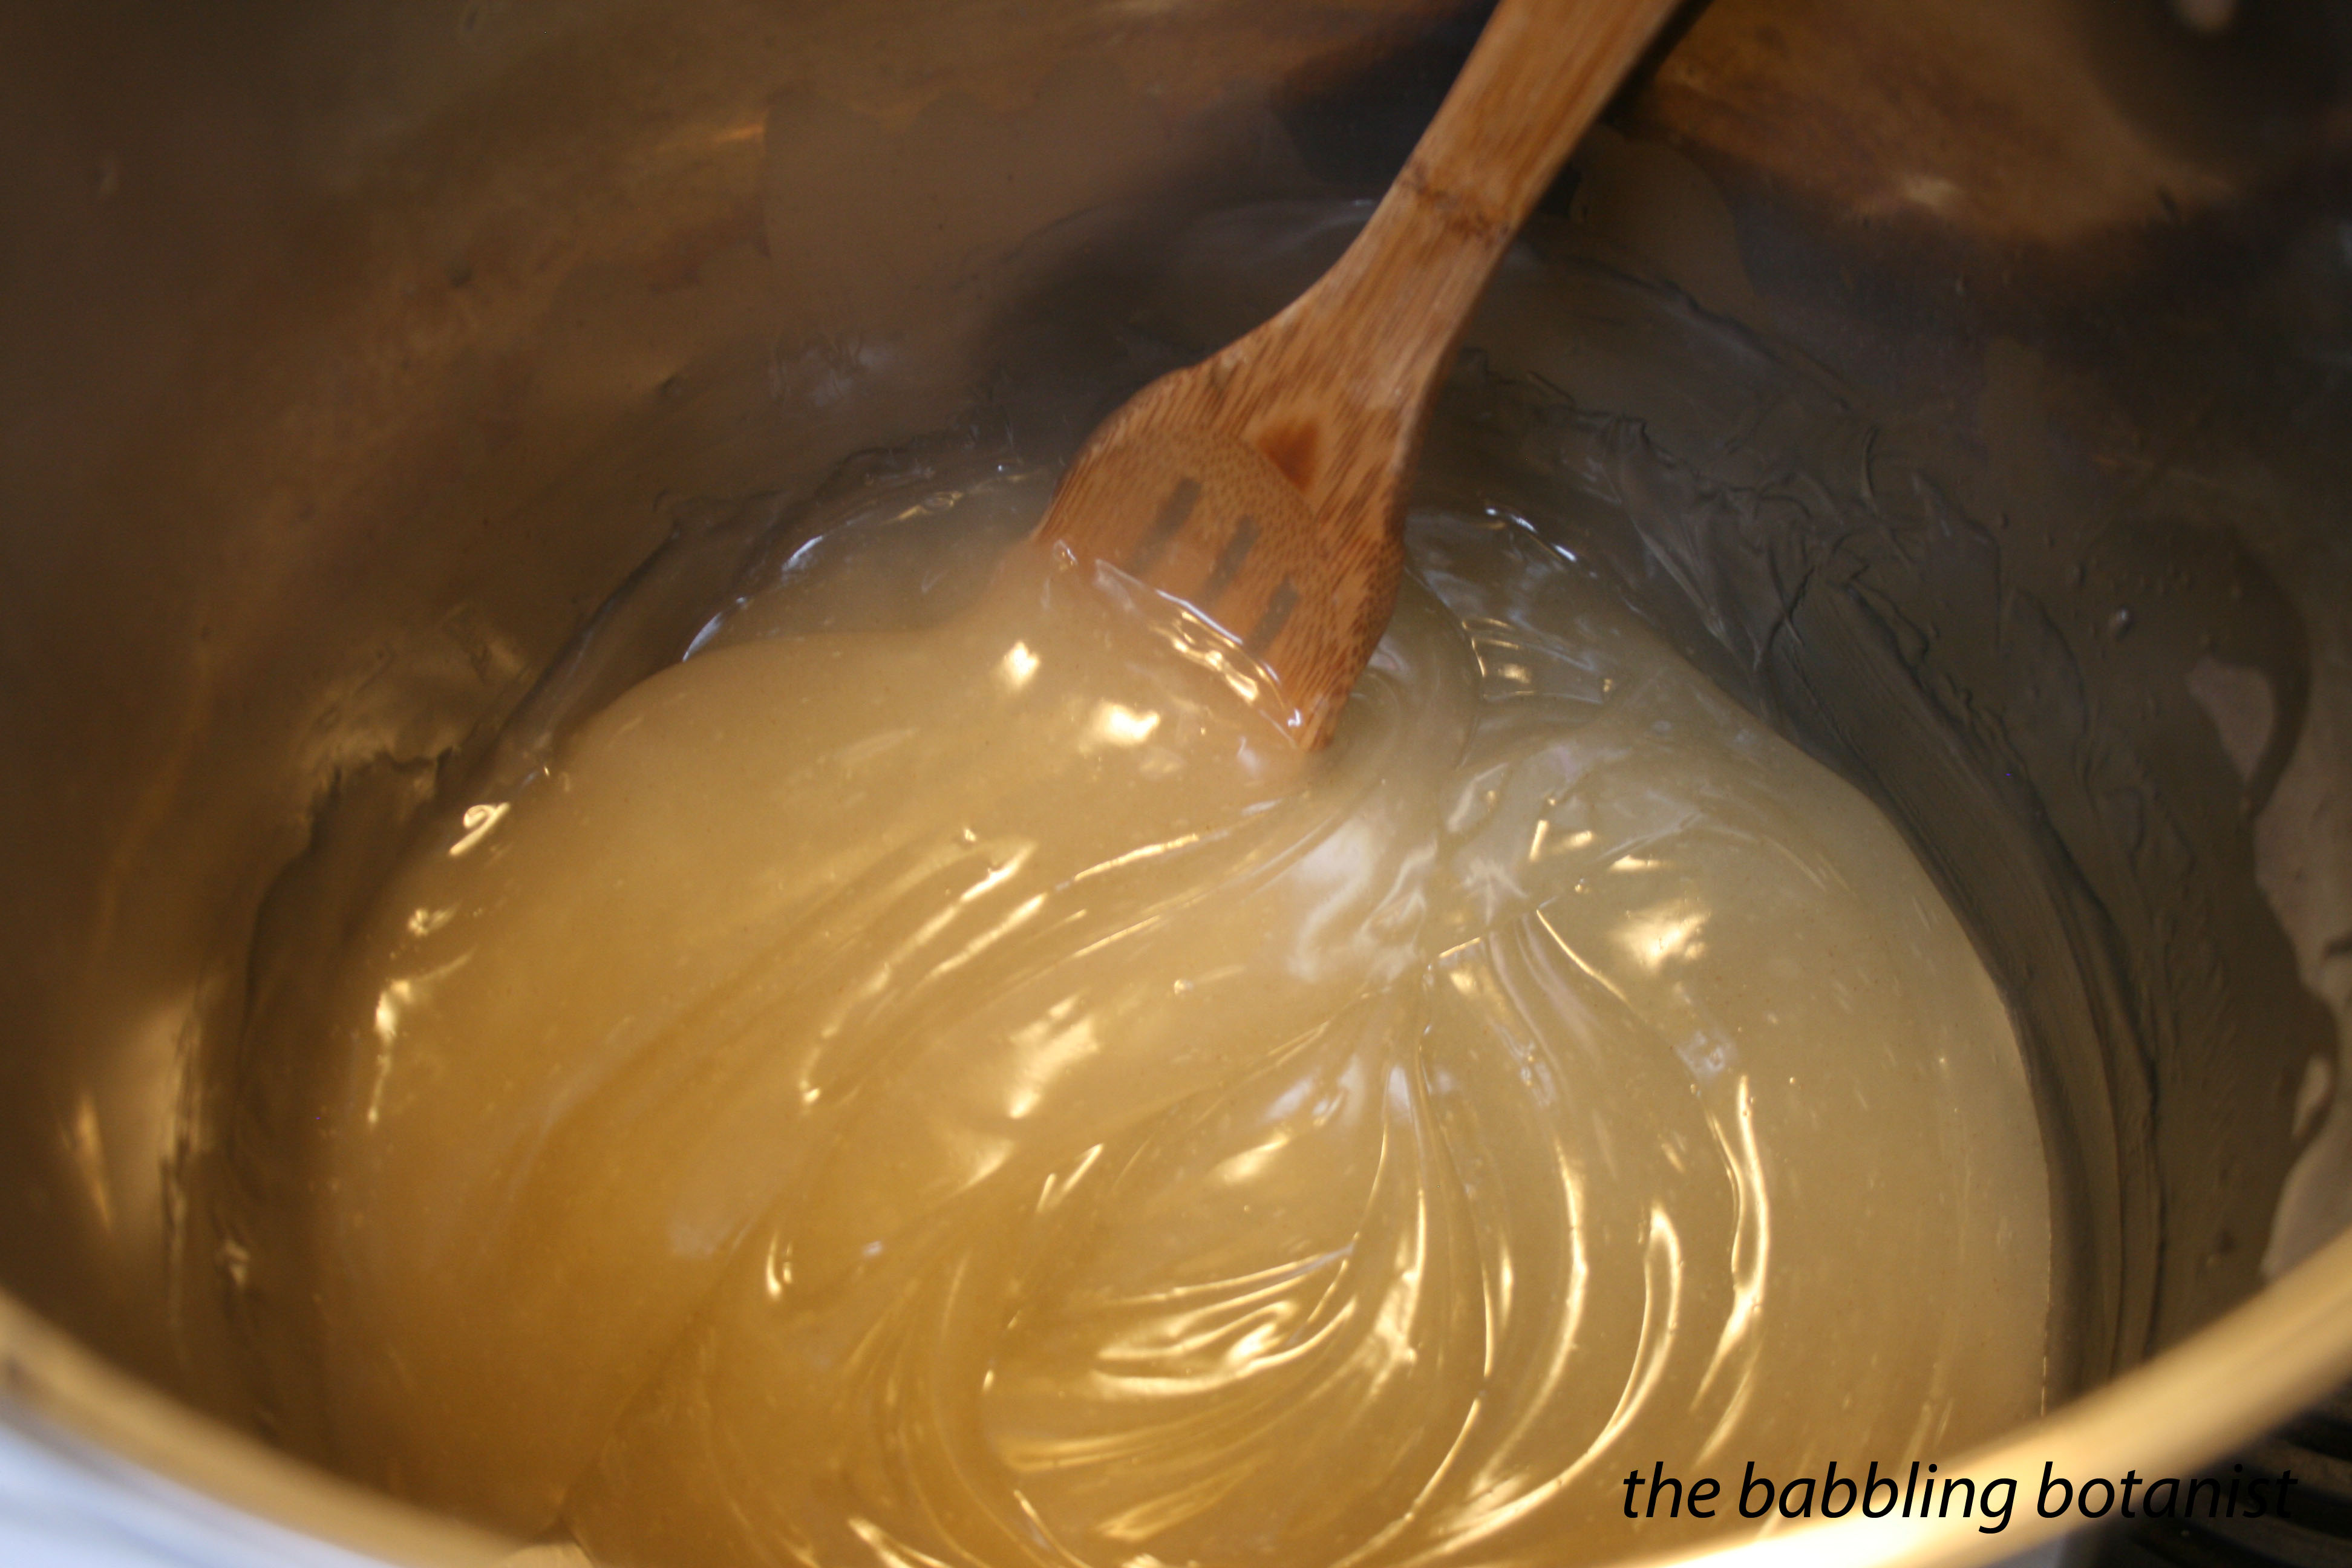
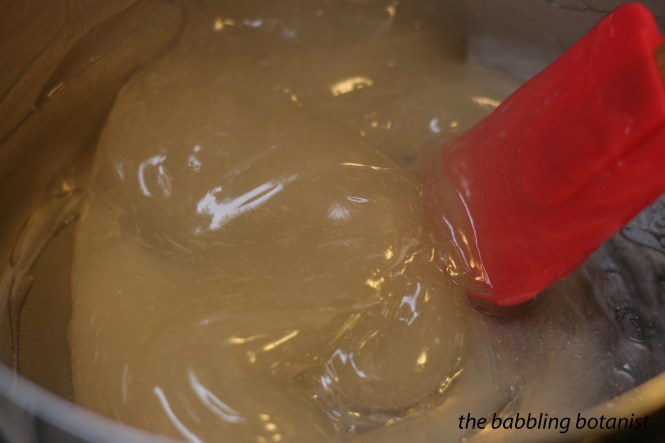
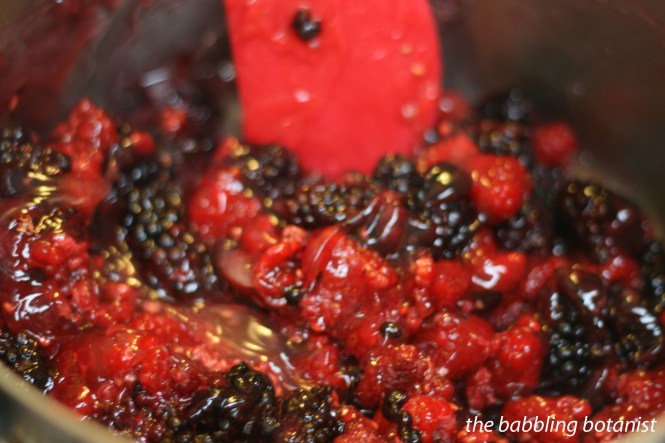
Add water or juice, and cook mixture over medium high heat. It will initially get thick in chunks, and will smooth out to look how it does below. For a few more pictures check out my Cherry Pie Filling recipe.

Once the mixture is thick and bubbling, add the lemon juice and boil for one more minute, stirring constantly to prevent burning.

IMG_5532 copy

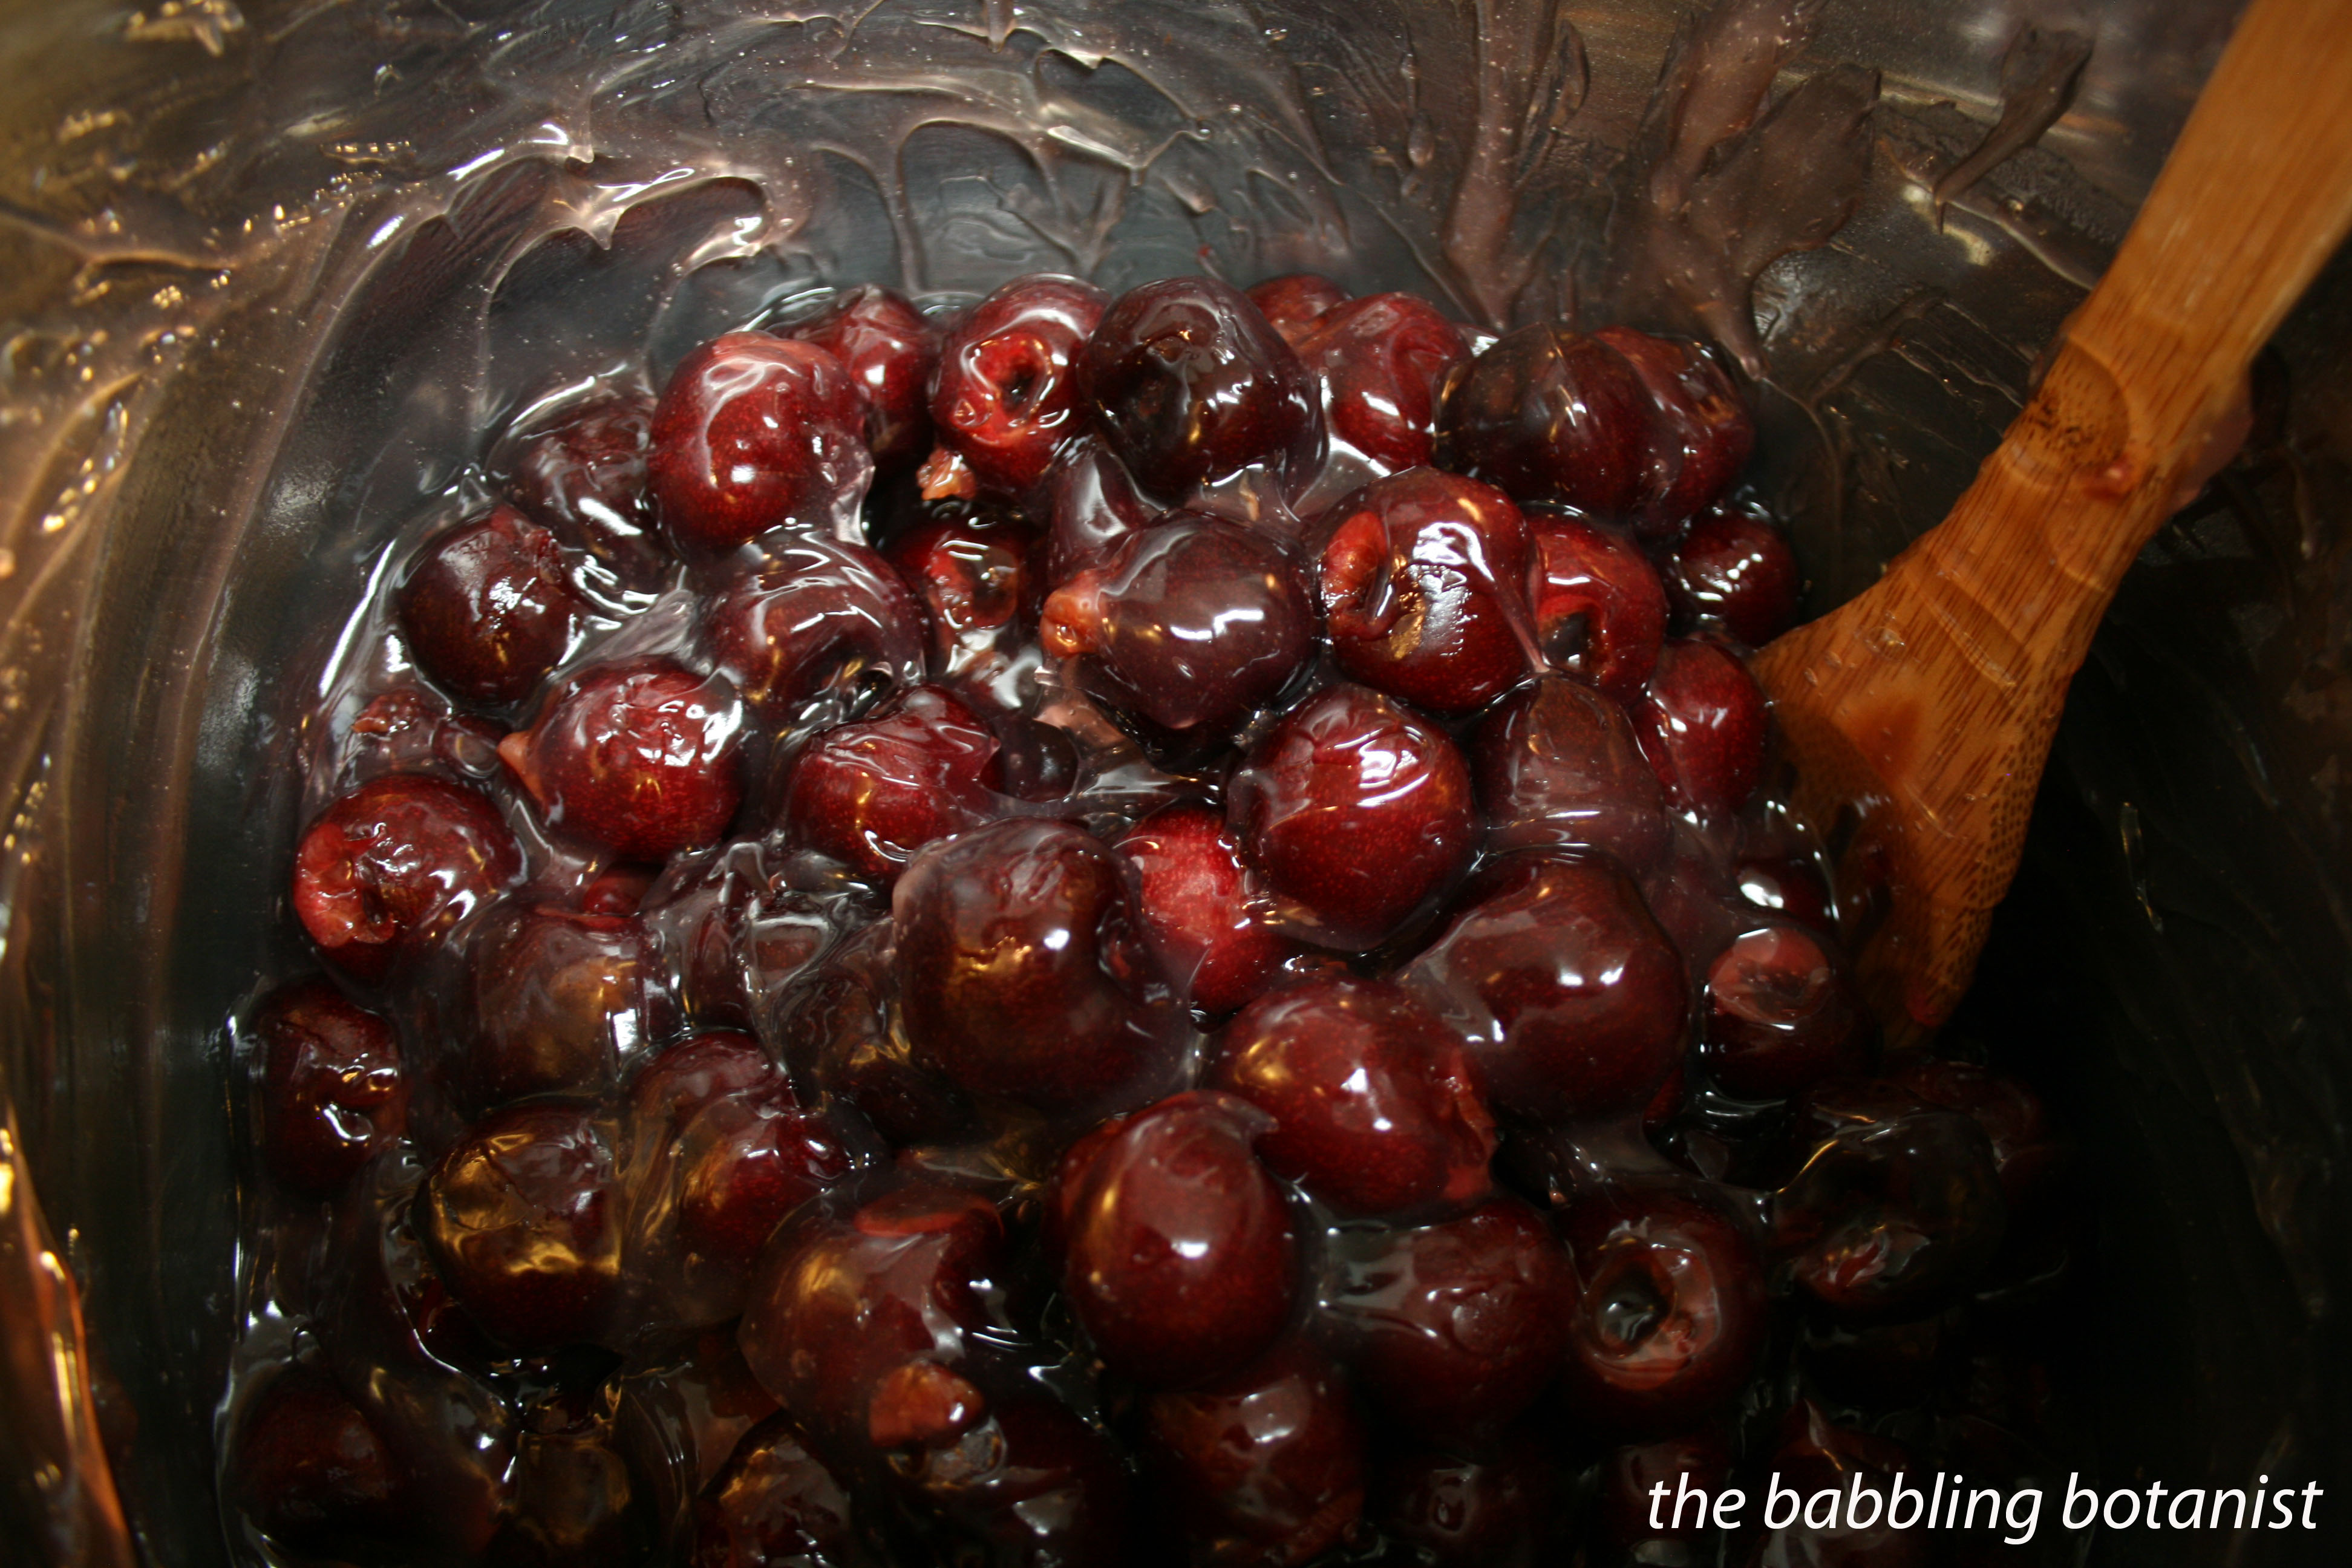
Remove from heat, and gently fold in the berries.

IMG_5537 copy

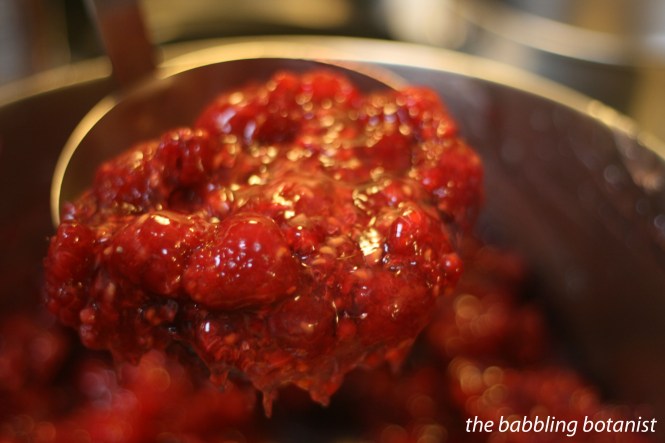
Doing just one jar I was able to keep the berries fairly unsquished, but if you go for the full canner load of 7 quarts, I make no guarantees. I have done a full batch of blueberries though, and with their firmer texture it works beautifully. The blackberries might be ok too, but I have my doubts on the raspberries. However, mushy would still be tasty!

IMG_5539 copy

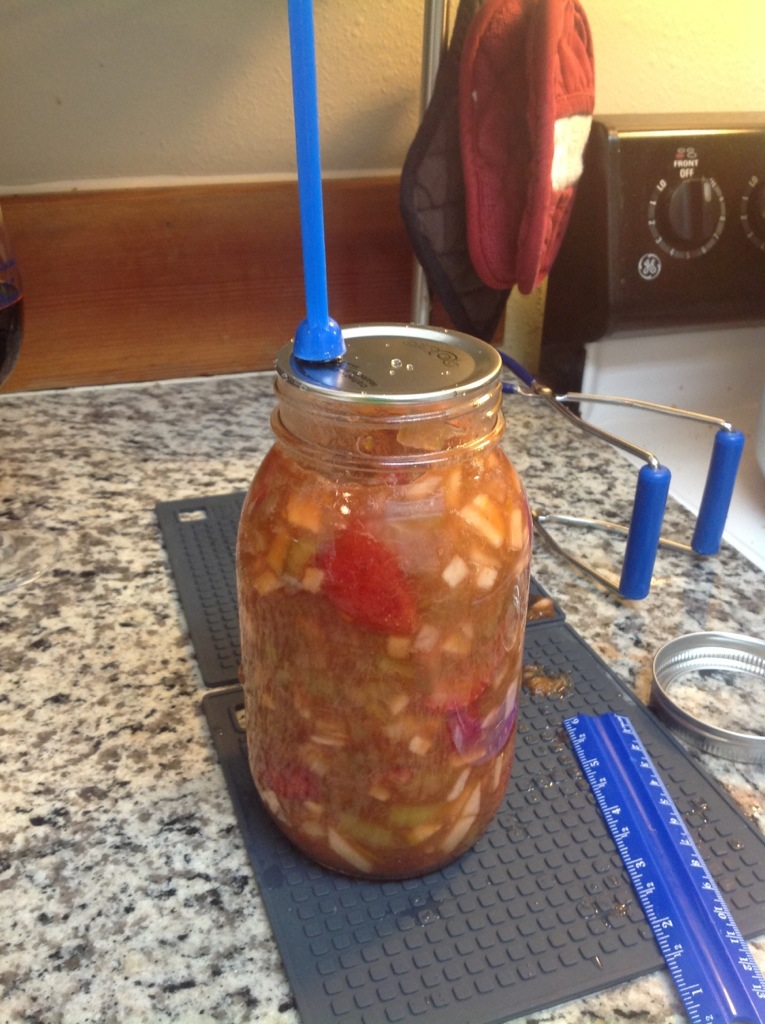
Immediately fill the hot quart jars, leaving a full 1 inch headspace, or perhaps even slightly more. ClearJel will expand a bit and you don’t want to risk jars not sealing over cramming in a couple extra berries. Wipe rims, apply lids, and tighten bands finger tip tight.

IMG_5541 copy

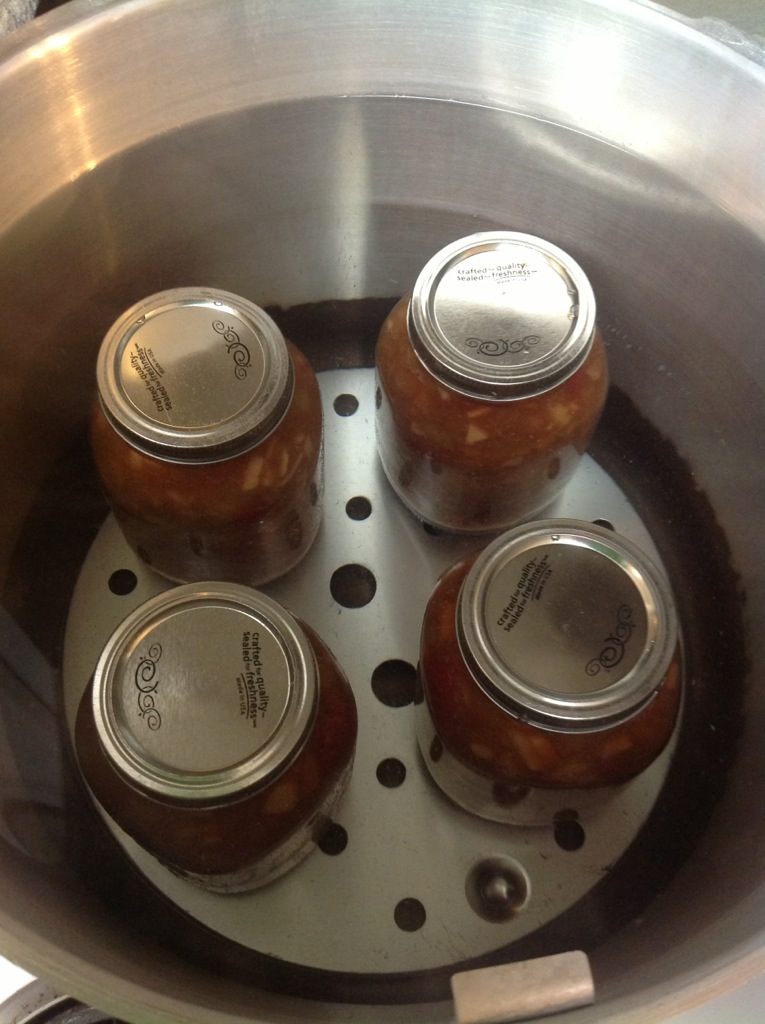
Process the jars in a boiling water bath canner for 30 minutes (0 – 1000 feet elevation).

IMG_5543 copy

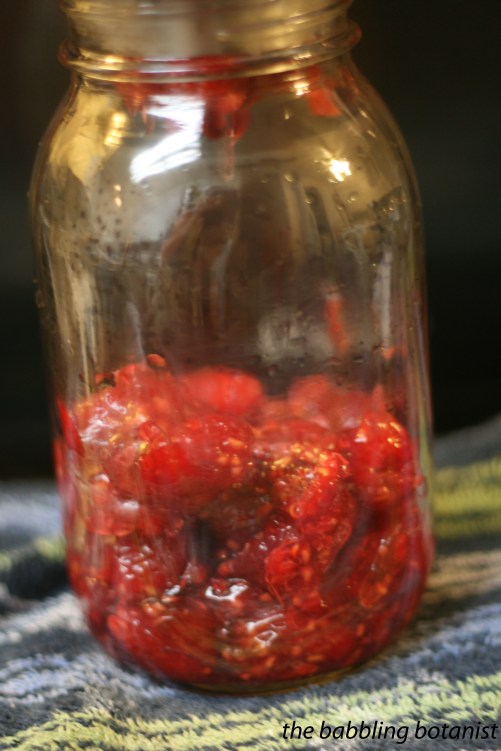
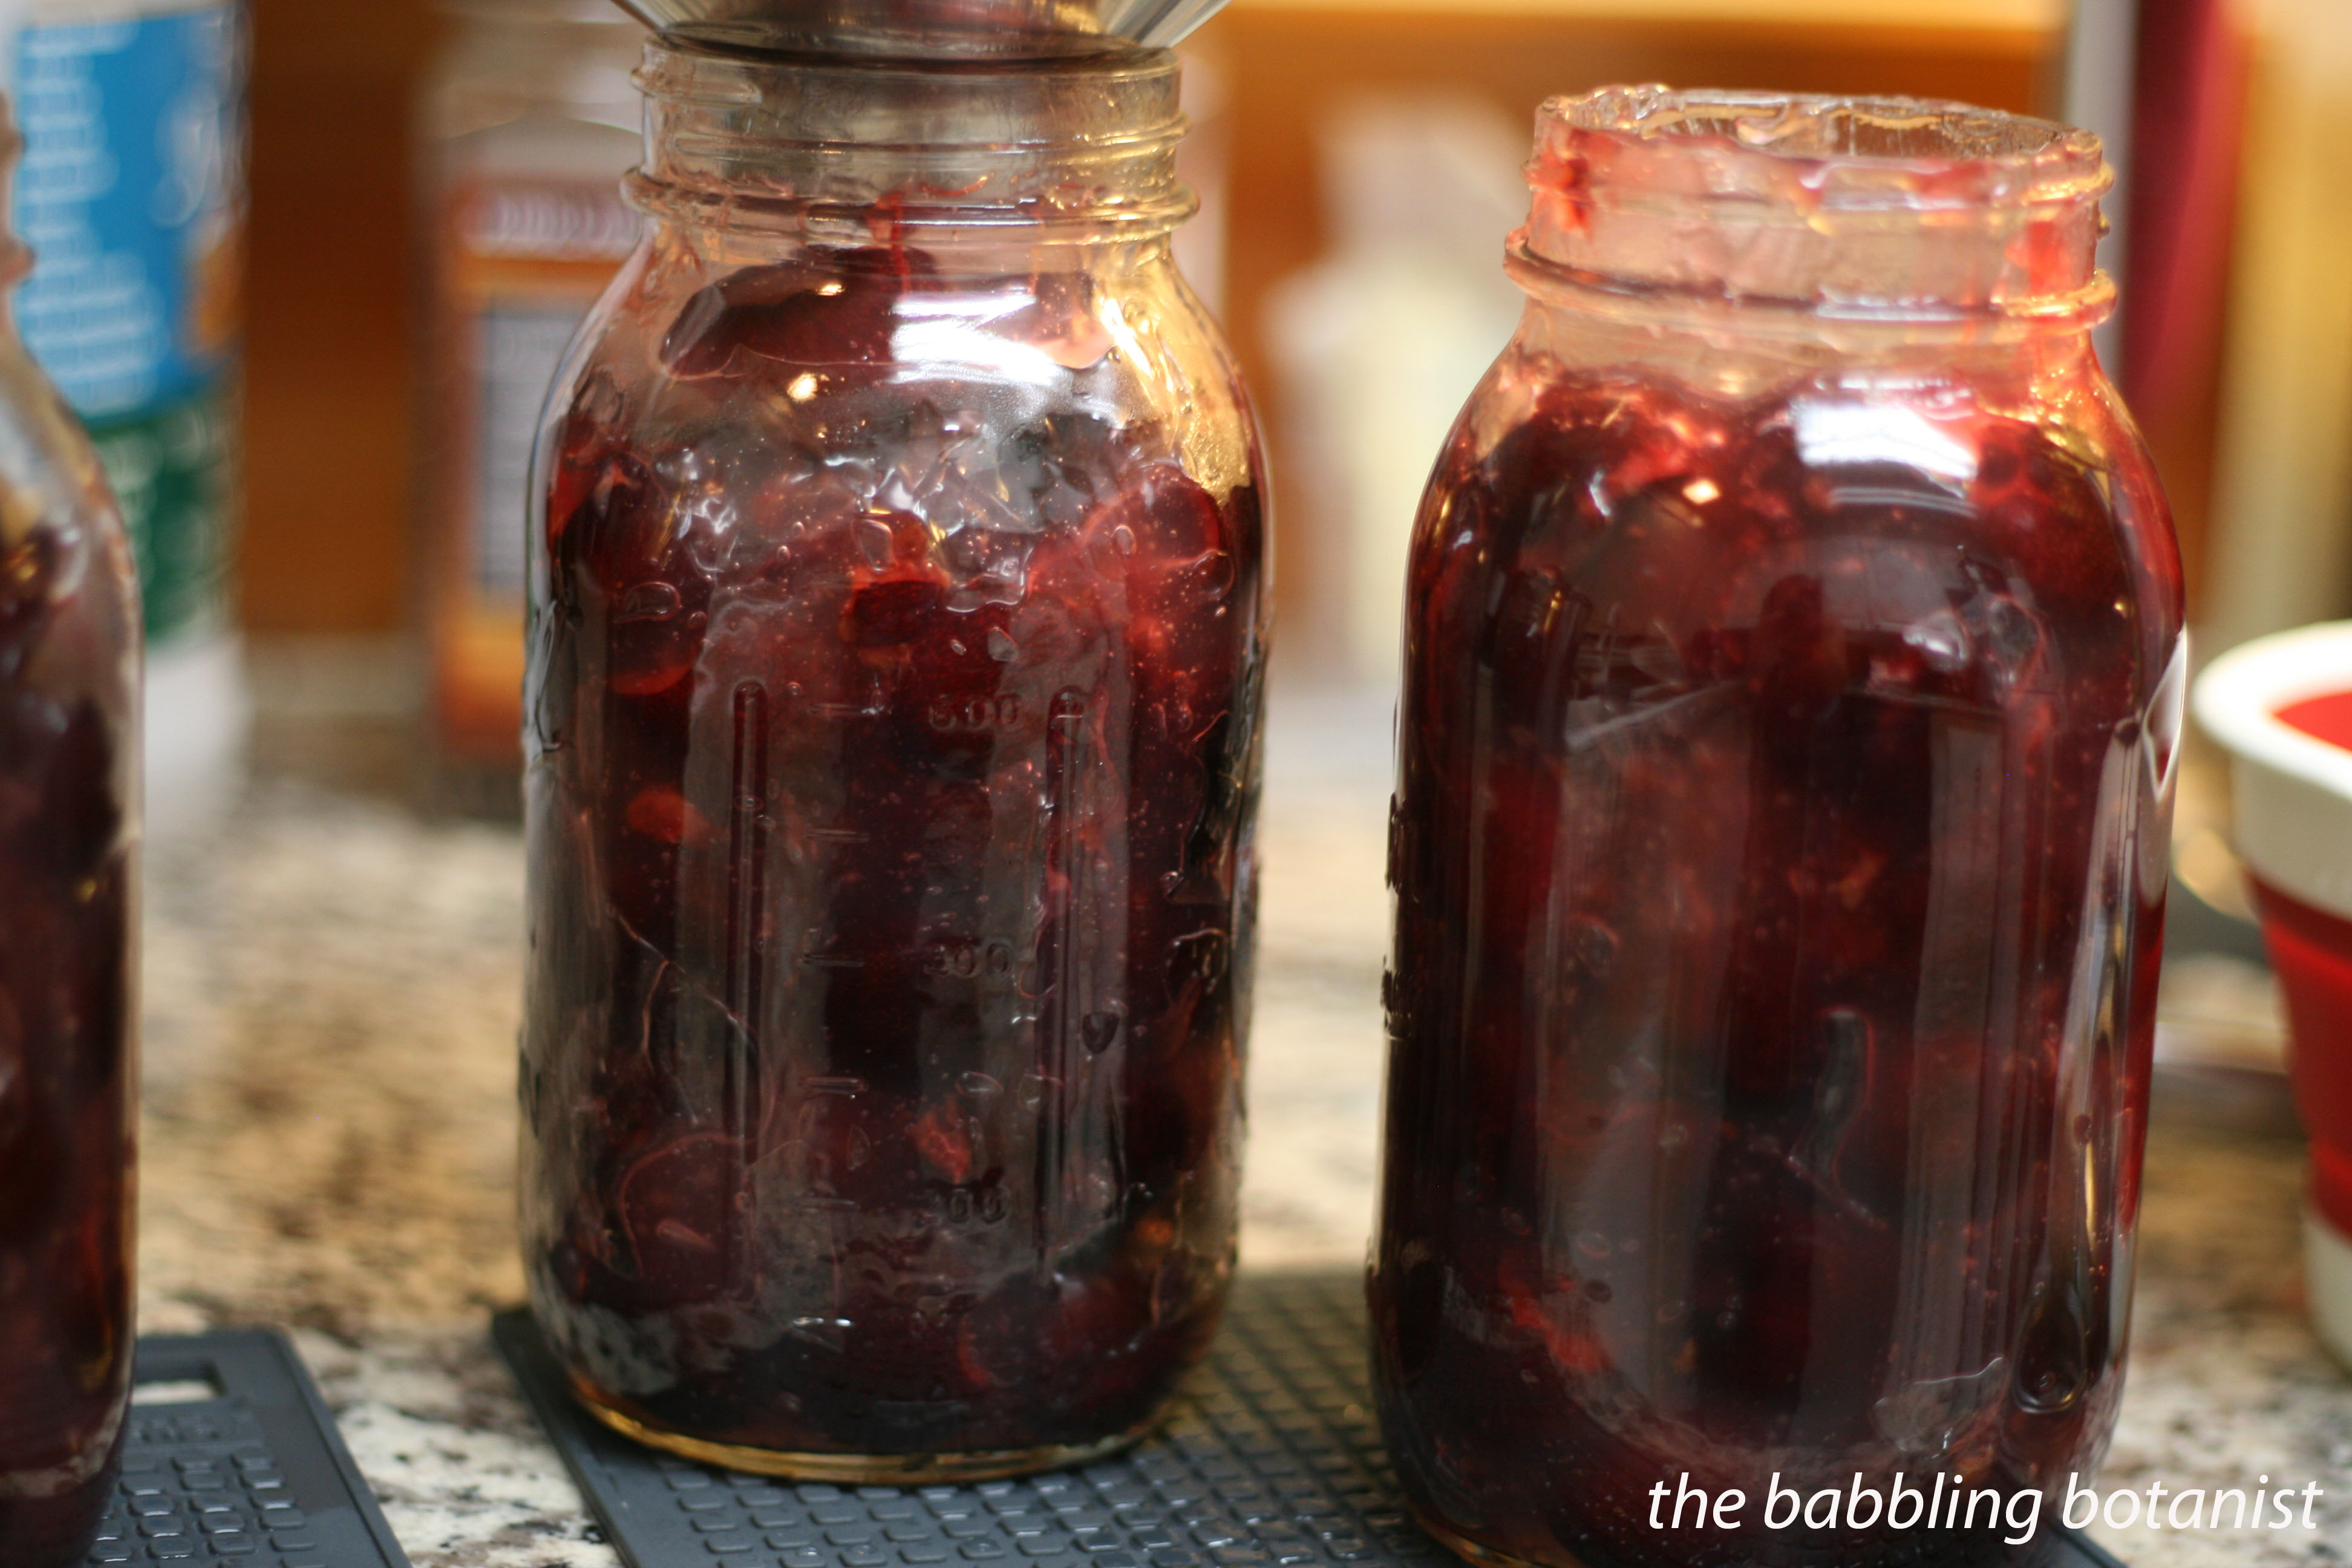
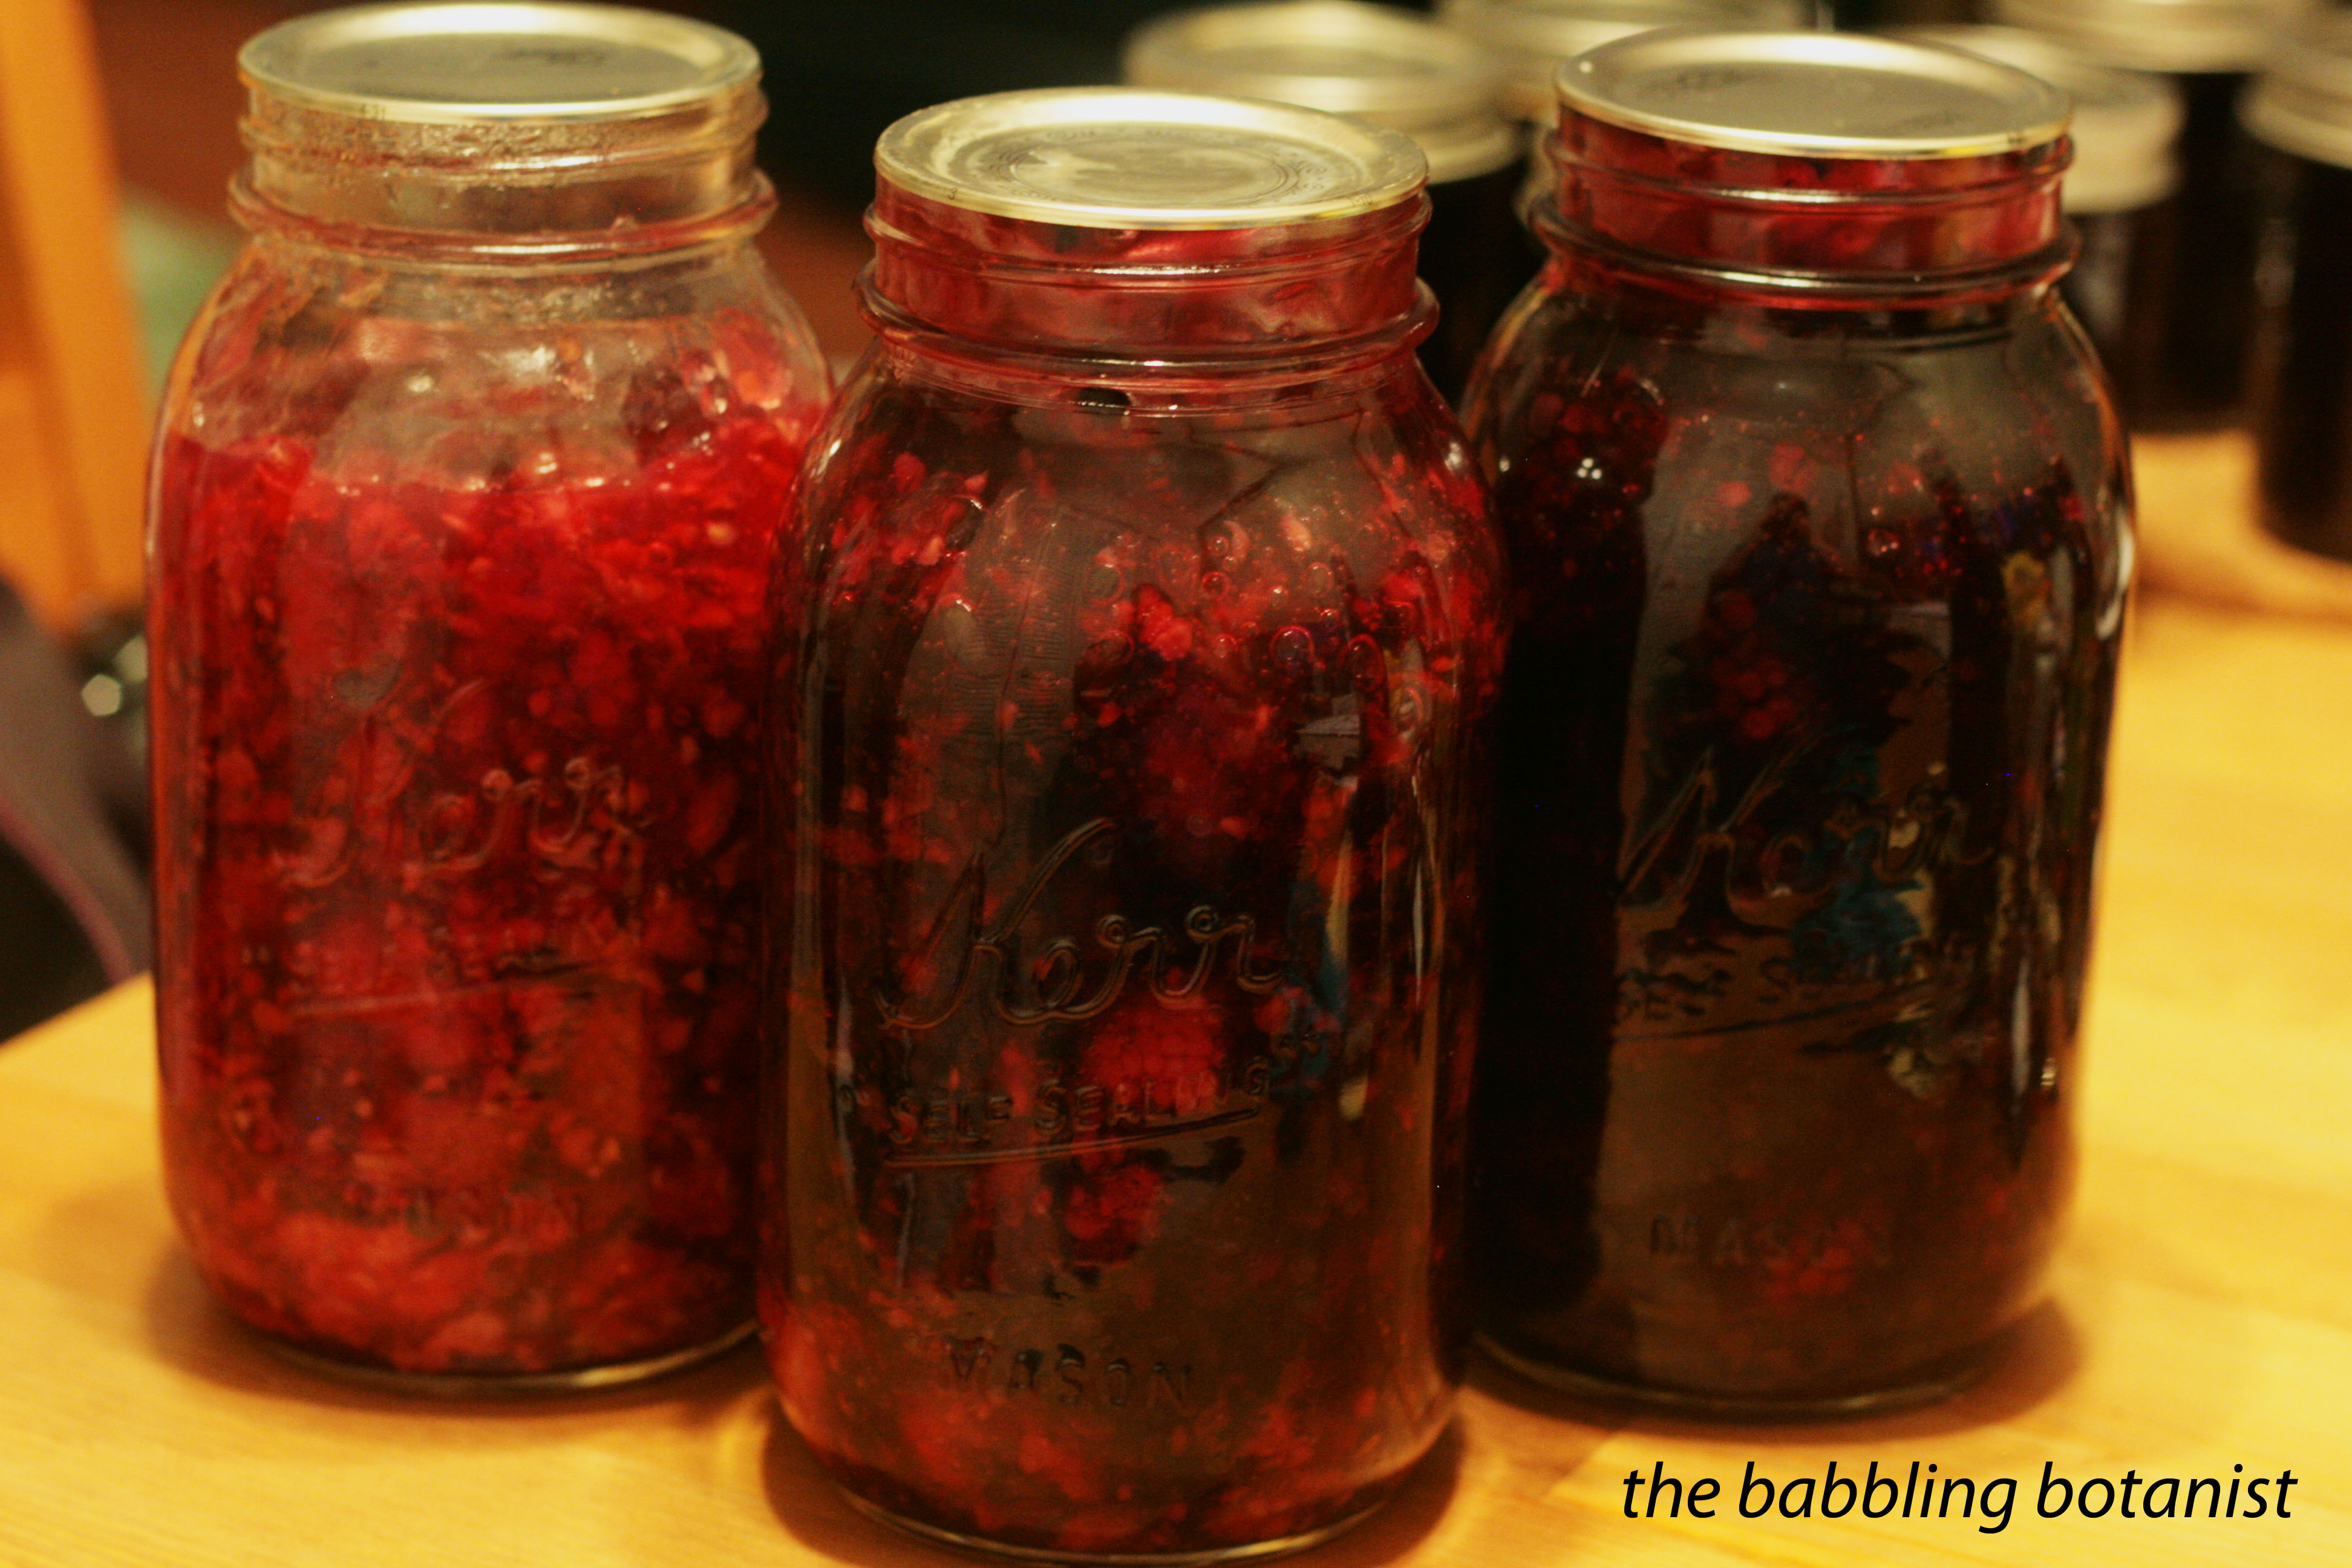
After processing, remove the canner lid, wait 5 minutes, and remove the jars to a hot pad or towel. Cool 12-24 hours, check seals, label, and store. Below I have the raspberry on the left, blackberry on the right, and the 50:50 combo pie in the middle. Can’t wait to make these into pie!!

IMG_5547 copy

*this post contains affiliate links, please see the “About the Blogger” page for more information

Cherry Pie Filling – Canning with Clear Jel

Pie fillings made with clear jel are so easy to preserve and are really great to have during the winter, when none of that delicious fruit is in season anymore. However, if you’ve never used clear jel, it can be a bit weird to use at first. The first time I used it I was canning blueberry pie filling, and the jel was looking pretty strange so I almost threw it away thinking I had screwed up. As a result, I wanted to do a little clear jel tutorial for this post, along with the recipe for cherry pie filling. See the very end of the post also for some additional clear jel notes. This recipe comes from an OSU Extension Service publication on fruit pie filling that you can find by clicking here. In that publication you can also find the recipes for how to do blueberry, apple, peach, or blackberry pie filling, which are very similar.

IMG_4025 copy

In the publication, it lists ingredients for 1 and 7 quarts, so here I’ve just listed ingredients for one jar and you can scale up as needed. I do recommend a small batch first though, to see if you like it, because you can then adjust the sugar and clear jel to your liking. When canning with clear jel, you can alter the amount of clear jel and sugar that you use if you decide that it is too much, but don’t alter the amount of lemon juice. The lemon is important both for safety, and for making the clear jel stay the right consistency and remain shelf stable.

Ingredients:
3 1/3 cups fresh, pitted sour cherries
1 cup granulated sugar
5 TBSP clear-jel
1 1/3 cups cold water or fruit juice
1 TBSP + 1 tsp bottled lemon juice
1/4 tsp almond extract (optional)
1/8 tsp cinnamon (optional)

For this recipe I actually had sweet cherries, so I reduced the sugar because of that. Again, try one jar first and see what you think. I also omitted the almond. The first step is to pit the cherries, which is pretty much impossible with out one of these, and soak them in an ascorbic acid solution, to prevent browning. The solution is one teaspoon of ascorbic acid per gallon of water, or 6 crushed vitamin c tablets (500 mg).

The first step in preparing the clear jel, is to combine the clear jel powder with the sugar (and cinnamon if you’re using it). Stir to combine.

IMG_4034 copy

Add in the water or juice, whichever you are using, and the almond extract. Begin to heat the mixture over medium high heat, stirring constantly. This step, and what you see happening below, is where I almost threw out my first batch. As you can see, parts of it are starting to thicken and it becomes sort of chunky and nasty looking. I thought bits were burning to the bottom, which can happen if you aren’t careful, but don’t panic if this happens and some of it starts to thicken faster in chunks.

IMG_4036 copy

Continue to stir and heat until it looks more like the consistency here. It will thicken nicely and consistently and begin to bubble.

IMG_4039 copy

Once that consistency is reached, add in the lemon juice and stir for one more minute.

IMG_4042 copy

Remove from heat and fold in the cherries.

IMG_4050 copy

Fill quart jars, leaving a generous 1 inch head space. Pie filling, especially with clear jel, is one thing where you really do want that full inch or a touch more. With the starch boiling and expanding in the jars, you don’t want pie filling to volcano out of your jars when you remove them from the canner. Wipe the rims, apply the lids, and tighten bands finger tip tight. Process in a boiling water bath canner, covered by at least one inch of water, for 30 minutes, starting the time once a full rolling boil is reached. After the 30 minutes, turn off the heat, remove canner lid, wait 5 minutes and remove the jars to a hot pad or towel. Cool 12-24 hours, remove bands, wipe clean, label and store.

IMG_4054 copy

Enjoy delicious pies, tarts, etc. all winter long.

IMG_4091 copy

Some additional notes on clear jel.

When purchasing clear-jel, which can often be hard to find, make sure you buy the one made for canning, linked to here. The instant clear jel is a different product and is not the one intended for the high heat of canning. Sometimes local garden stores will carry it seasonally, or your local extension service may carry it (mine does not) but it’s also available online.

What is clear jel anyways? Well, it’s a thickener that is actually made from corn starch, but it’s been modified to withstand the high heat of cooking and canning without becoming thin and runny, or chunky. Corn starch is a great thickener for regular cooking, but it doesn’t really stand up well to canning. Clear jel is also made for use in low pH environments, like the pH of fruits. It also deoesn’t seperate over time, like other starches can. If you don’t like the starchy pie fillings there are a couple other options. You could follow a recipe for canning fruit in syrup, and then drain the syrup to use the fruit in a pie, or freeze the fruit instead. Don’t just try and can a pie filling recipe without it though, it’s not going to turn out well.

Cherry Pie Filling and Canning with Clear Jel on Punk Domestics

*this post contains affiliate links, please see the “About the Blogger” page for more information

Rhubarb Strawberry Pie Filling

I thought my first canning post should be one of my most favourite recipes that I have canned many times, so we will start with Rhubarb Strawberry Pie Filling. This recipe is modified from the Ball Complete Book of Home Preserving which is one of my favourite canning books.

I tend to be a “go big or go home” type of canner so I like to do more than the recipe calls for, but sometimes (like in the case of jam) that isn’t always the best idea. Here, however, as long as you have a big enough pot I think it’s totally the way to do it. I’ll write the proportions as in the book, but I did just over 1.5x the recipe for this venture, which yielded just over 4 quarts. As written the recipe will make 5 pints.

Ingredients:

  • 3 large apples (a good cooking variety) peeled, cored and finely chopped
  • 1 tbsp grated orange zest
  • 1/4 cup freshly squeezed orange juice
  • 7 cups sliced rhubarb
  • 2 cups granulated sugar
  • 4 cups halved hulled strawberries

20130822-212340.jpg

Here’s what I did:

Prepare the canner, jars and lids. I prefer to put pie fillings into quart jars since I use a quart for a pie, but it’s nice to prepare a smaller jar too in case the yield isn’t exact or you want a pint full for a crumble or something.

I like to cut all the rhubarb up first. Since I have it in my yard I harvest as much as I think the plant can handle (they say to harvest no more than 1/3 to 1/2 of the plant at a time so it can recover). Then I calculate how much I need of all my other ingredients based on how much rhubarb I have. Then I just eat the leftover strawberries since I always buy (or better yet you-pick) too many. For buying purposes, one good sized stalk of rhubarb when cut up is just a little more than a half cup. Cut the rhubarb into about one inch pieces.

20130822-212157.jpg

20130822-212314.jpg

Peel and core the apples and chop them very finely. Juice and zest the orange and combine with the apple in a large stainless steel pot. Stir to coat the apples then add in the chopped rhubarb and sugar.

20130823-110921.jpg

Over medium-high heat bring this mixture to a boil. Stir constantly and boil until the rhubarb becomes soft, but not to the point that it turns to mush, about 10-12 minutes.

20130822-212418.jpg

Add the strawberries and return to a boil.

20130822-212428.jpg

mmmm pie filling.

Remove the mixture from the burner.

20130822-212438.jpg

Fill the hot jars, leaving a one inch head space.

20130822-212452.jpg

20130822-212510.jpg

Once you have removed any air bubbles and adjusted your head space, place your lids on the jar, tighten the band finger tip tight, and place the jars in your hot water bath canner.

20130822-212522.jpg

Ensure the jars are covered by at least 1-2 inches of water. Cover and bring to a boil. The processing time for this recipe is 15 minutes. Begin timing once the water reaches a full rolling boil.

20130822-212535.jpg

Once the 15 minutes is up, turn off the heat and remove the canner lid. Wait 5 minutes then remove the jars from the canner. Listen for the delightful sound of your jars sealing! When the jars are fully cool (12-24 hours), remove the bands, wipe the jars clean, label the lids, and store in a cool, dark place for up to a year. Enjoy a delicious pie whenever you desire!

20130822-212634.jpg

*This post contains affiliate links. Check out the “About the Blogger” page for more information.