Applesauce Fruit Leather 

IMG_5375 copy

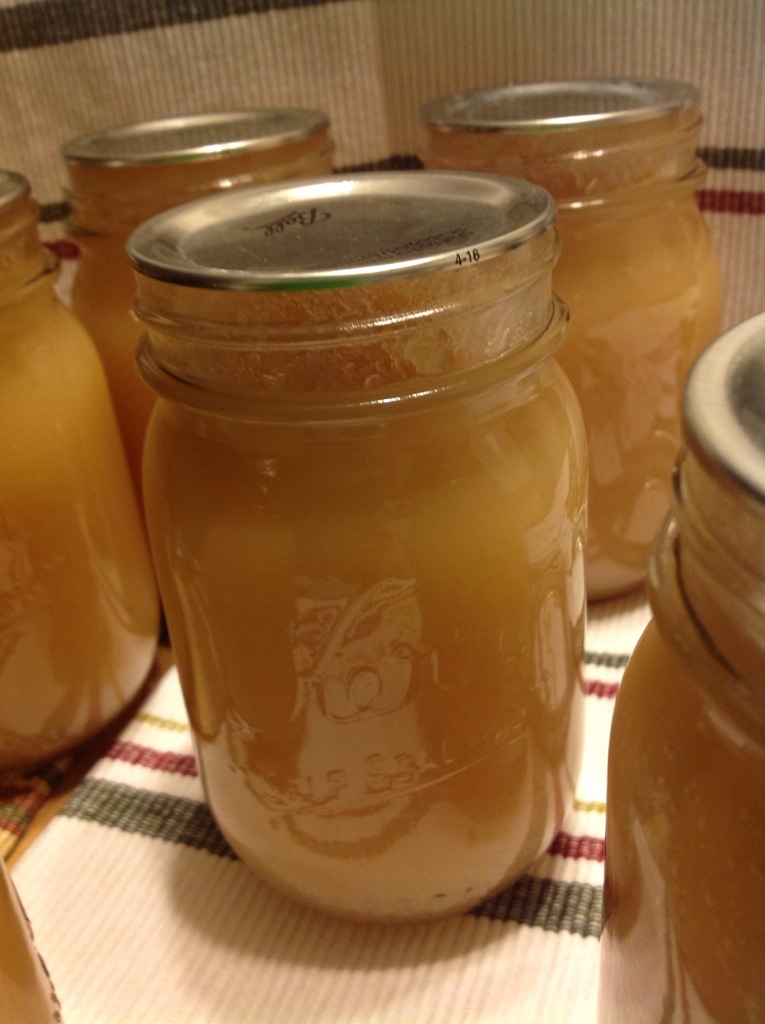
This time of year, when canning season is just beginning, is a great time to inventory what you have left in your pantry from last season. In my inventory one thing I noticed that I still had a lot of was applesauce. I haven’t been cooking with it as much as I thought I would, and I just don’t eat it plain often either. I also had a couple flavoured applesauces that friends gave me, including a blackberry one and a cinnamon one (made with cinnamon candy I think).

IMG_5327

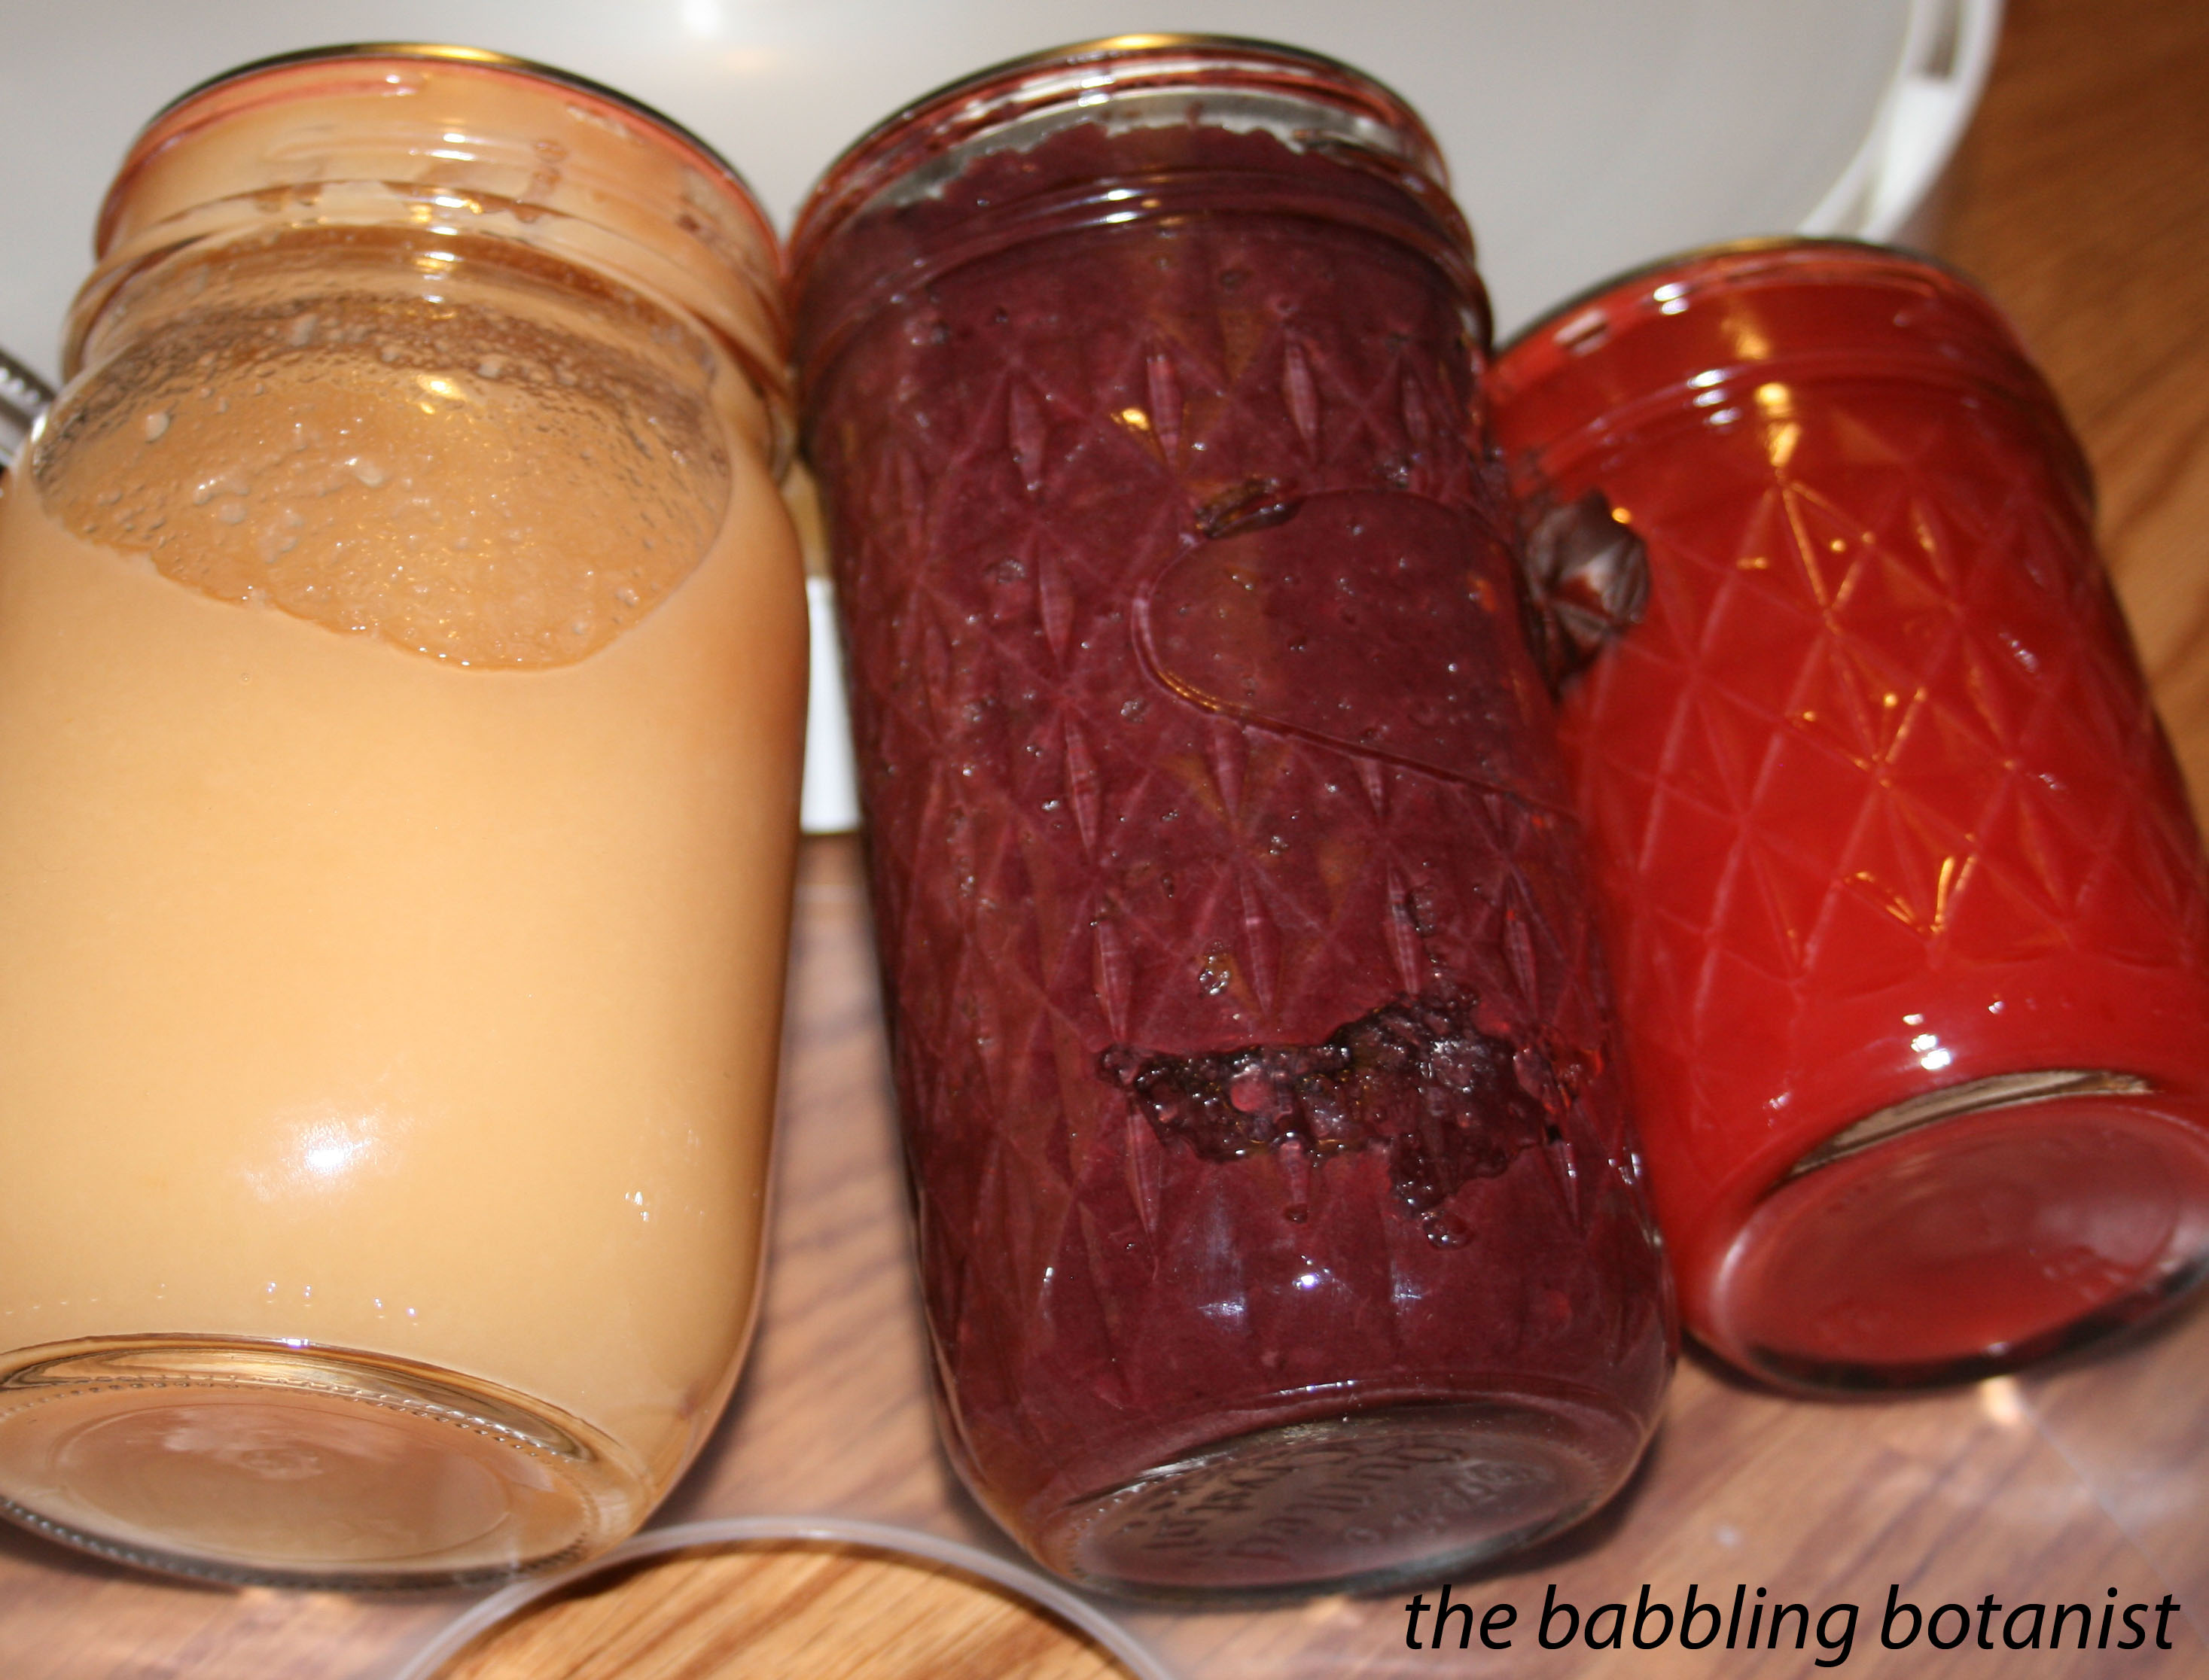
So, I decided to repurpose it as fruit leather. I really enjoyed snacking on strawberry fruit leather last summer in the field, so thought I’d free up some spaces in the pantry and dry a few jars of applesauce.

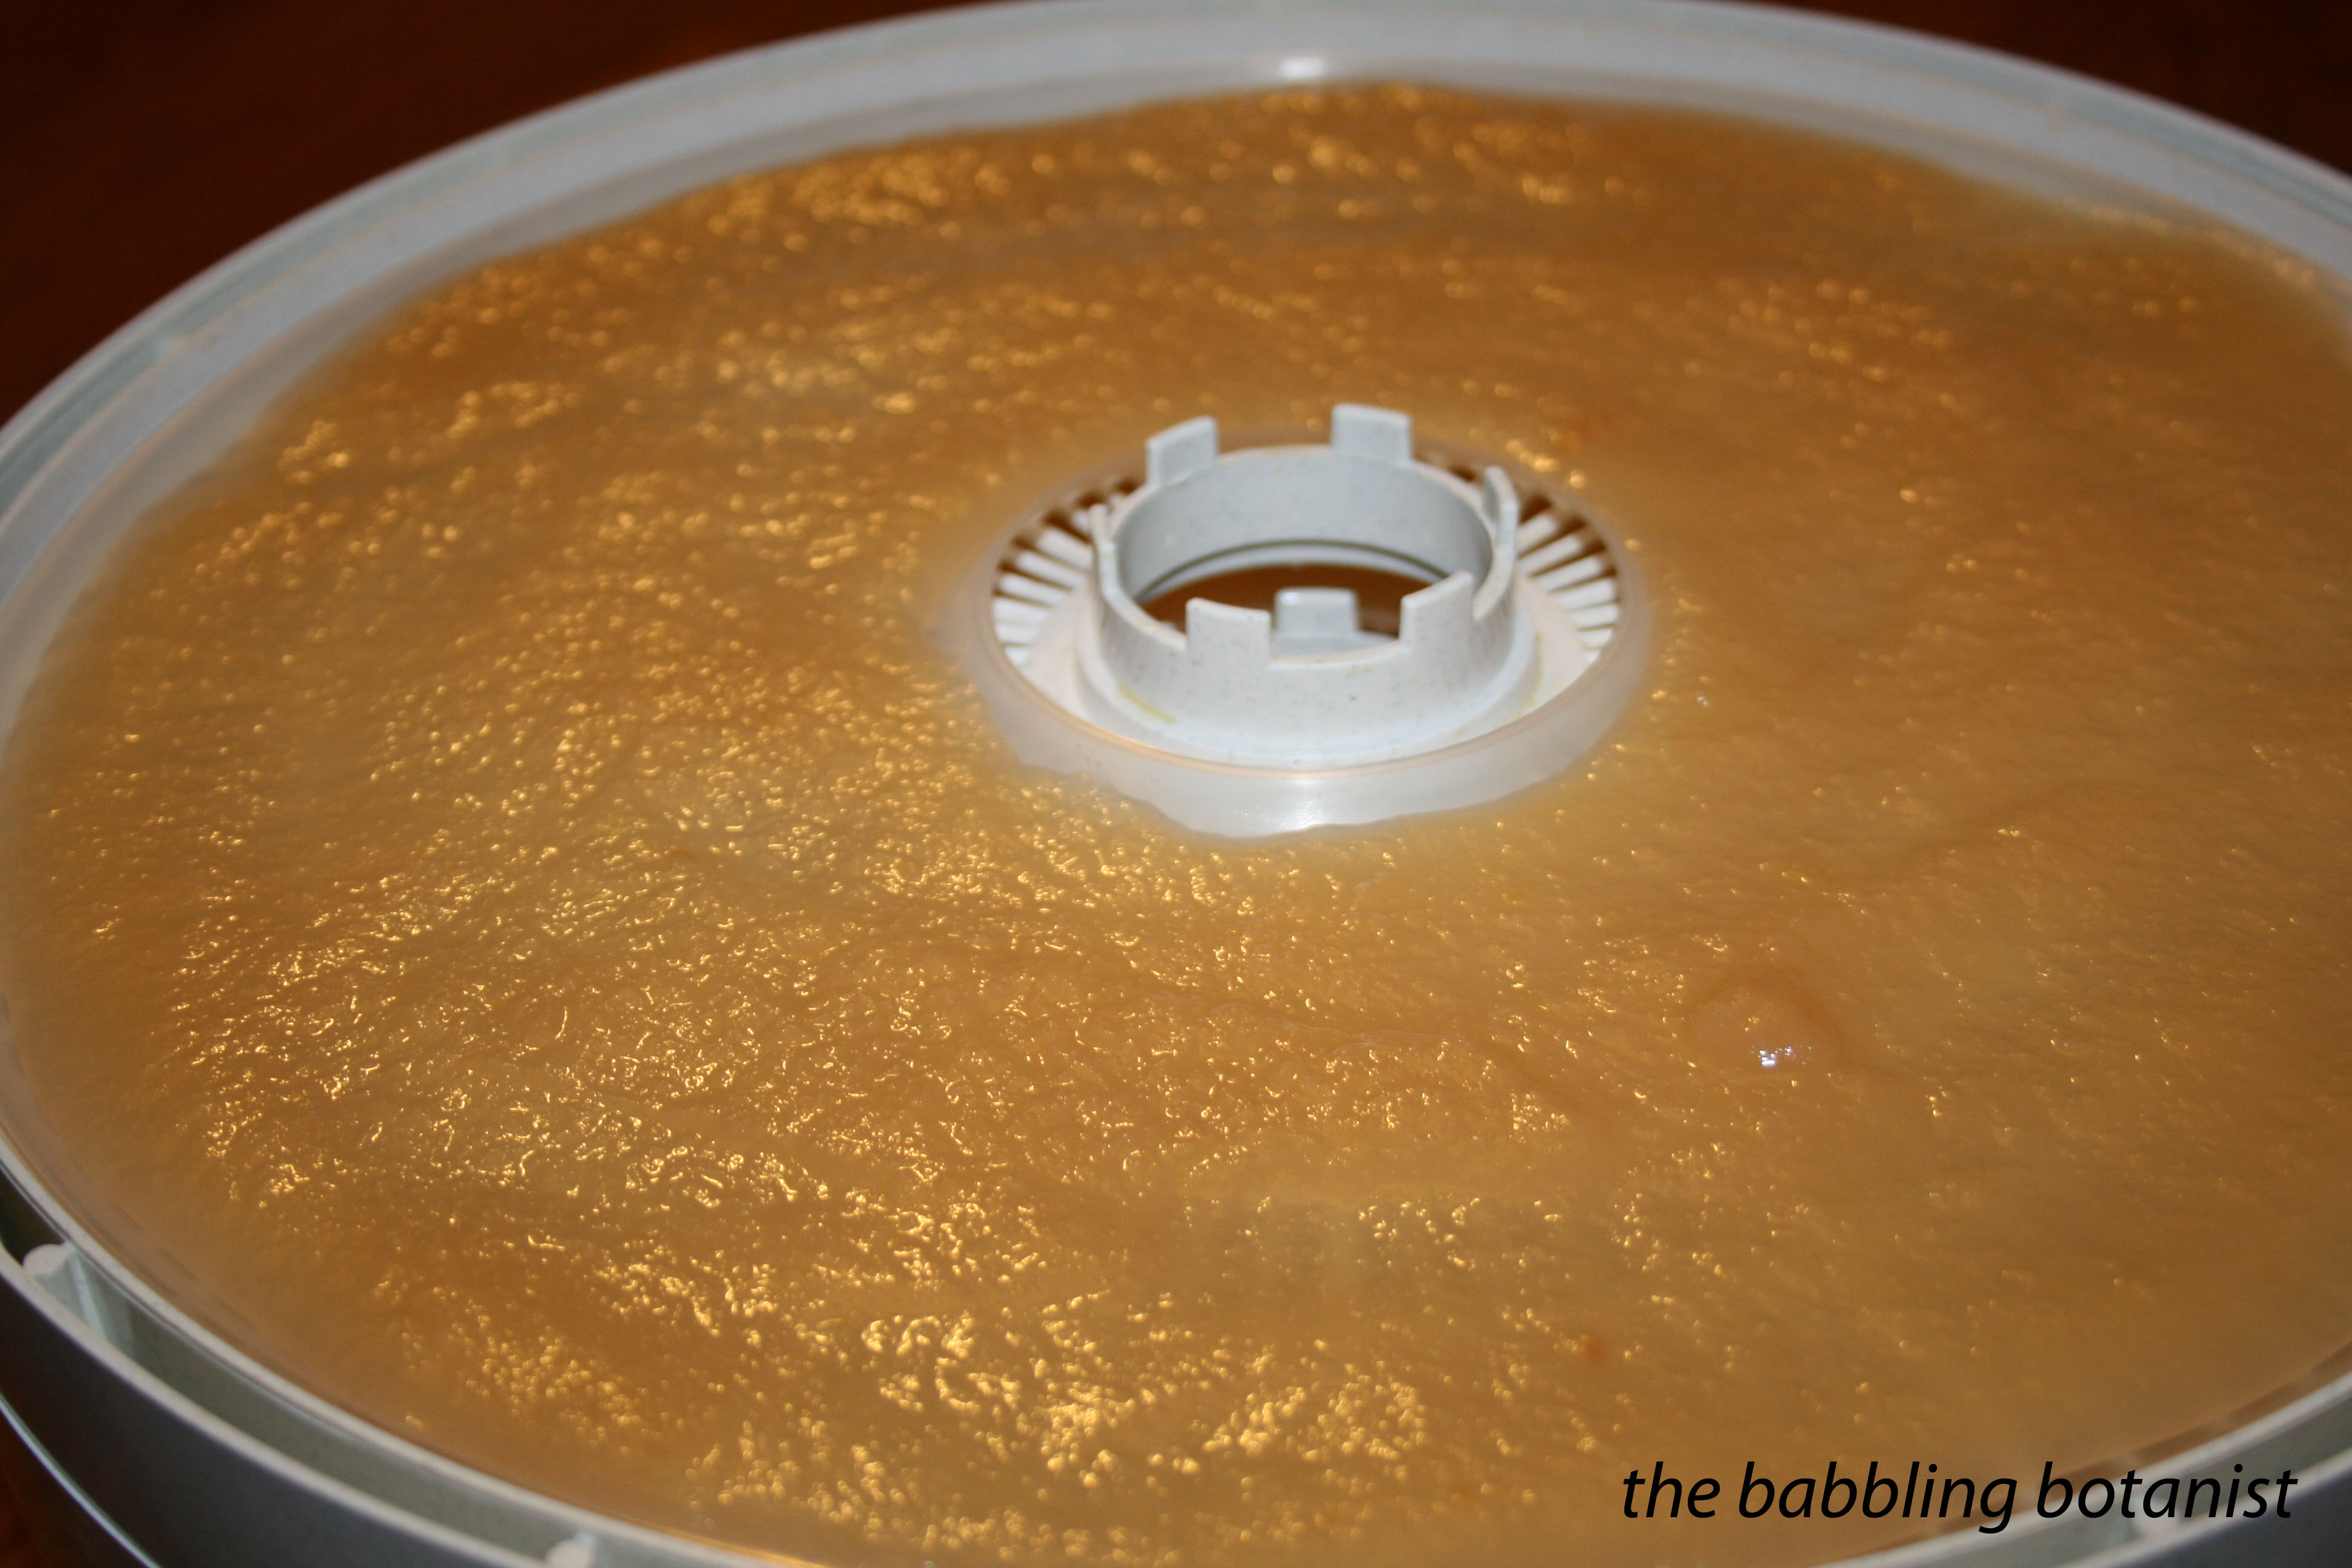
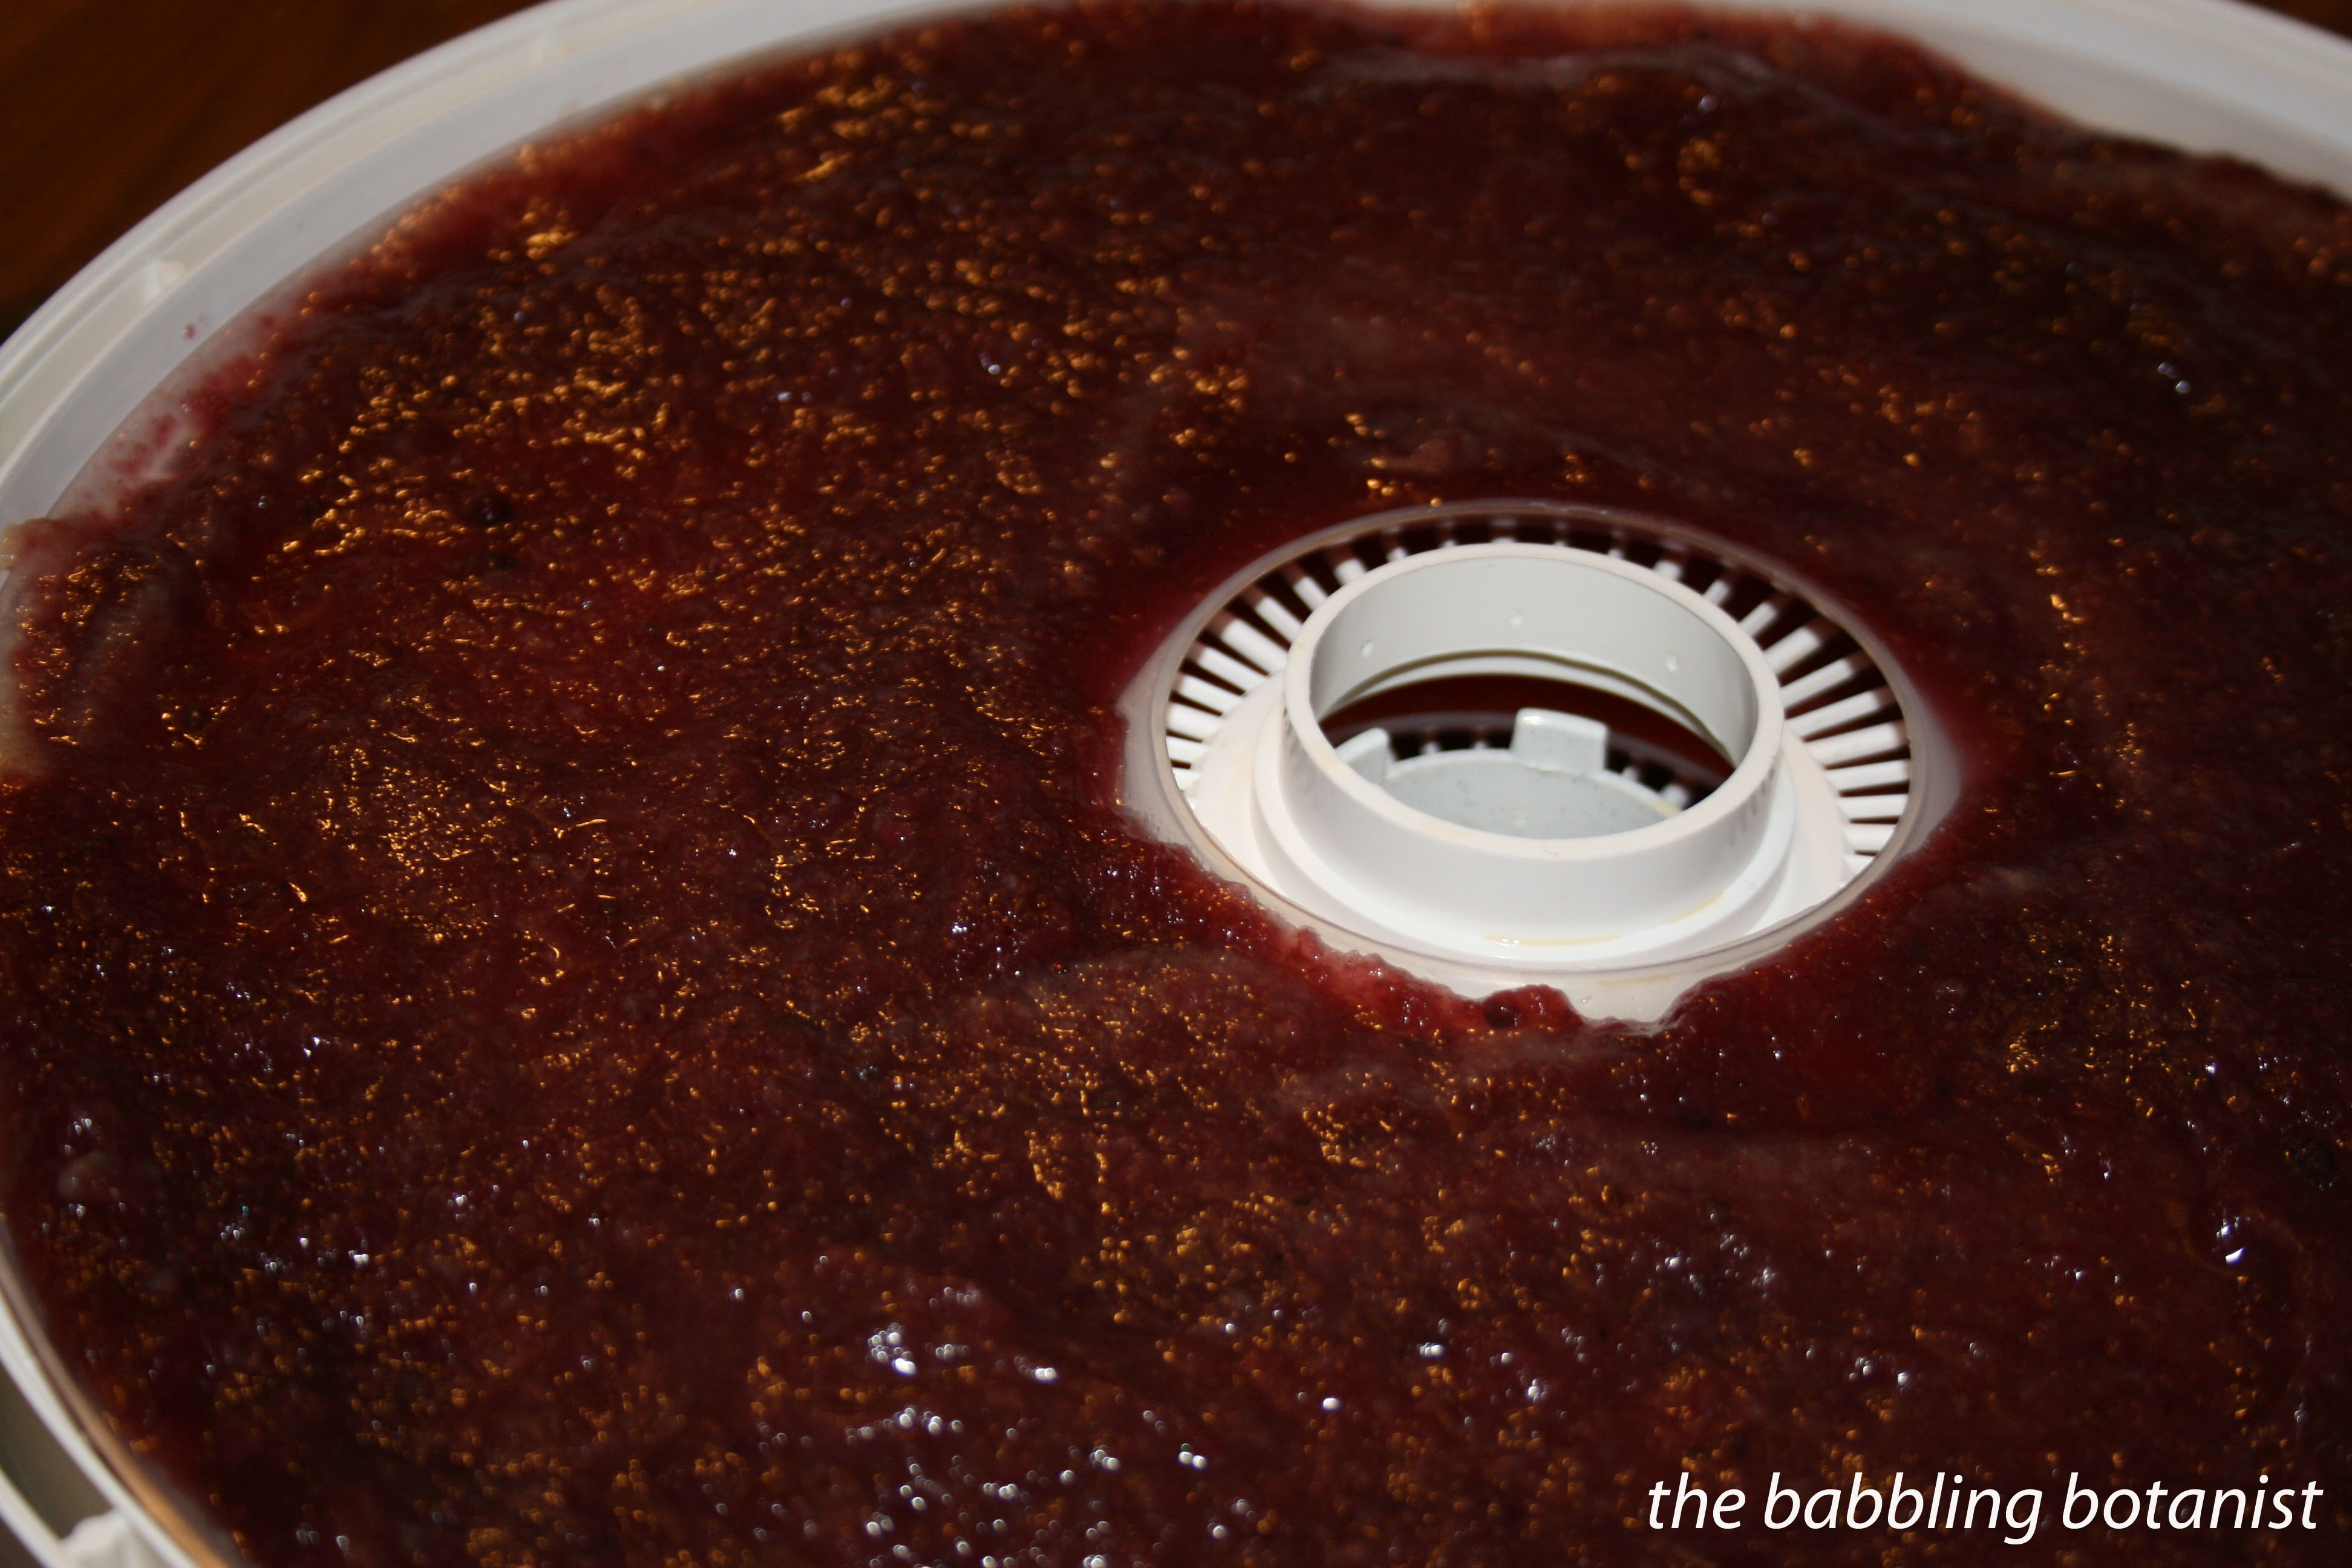
I spread the applesauce out on my fruit leather trays and dried it at 135 F in my dehydrator. 12 oz was about perfect for one tray; I needed to mix a little extra into the 8 oz jar to cover the whole tray.

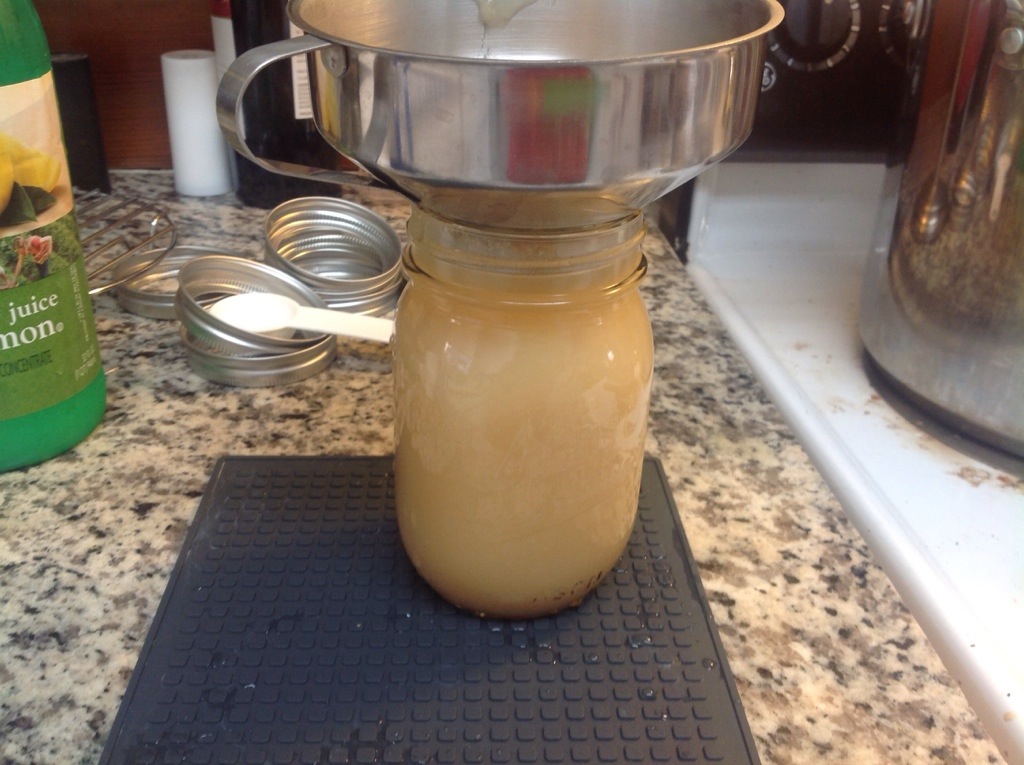
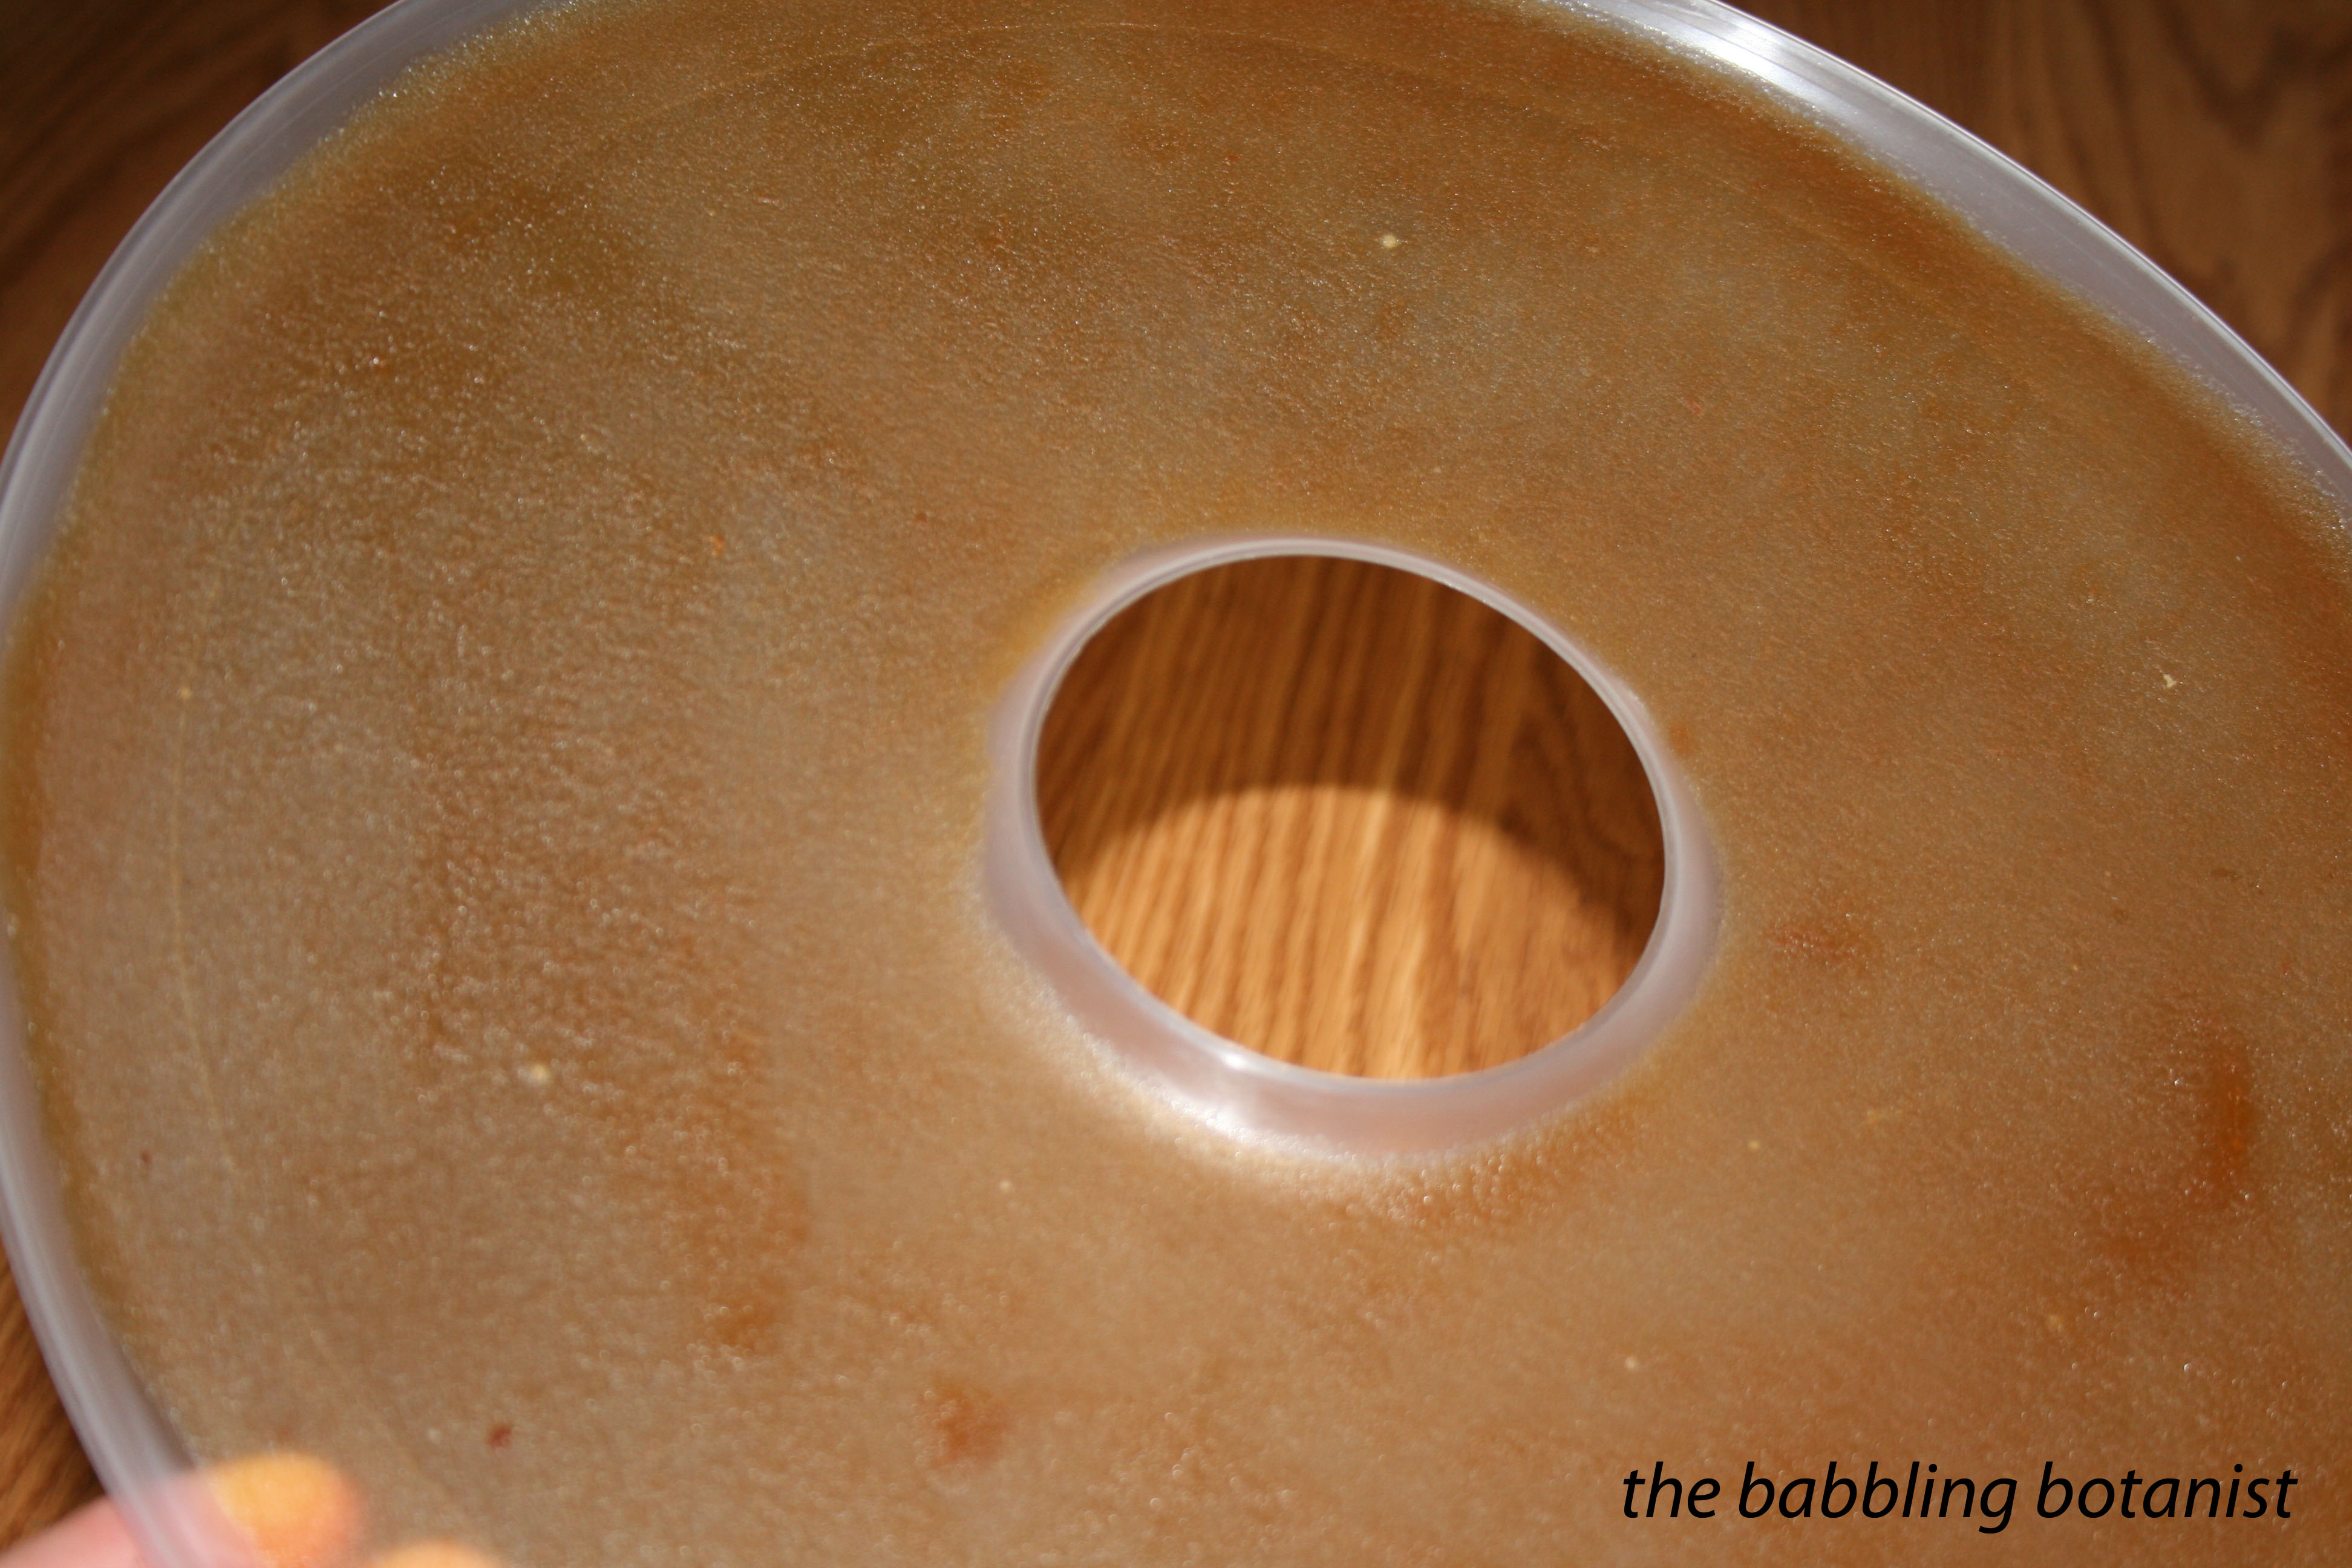
Here’s the plain applesauce.

IMG_5356 copy

Cinnamon applesauce.

IMG_5349 copy

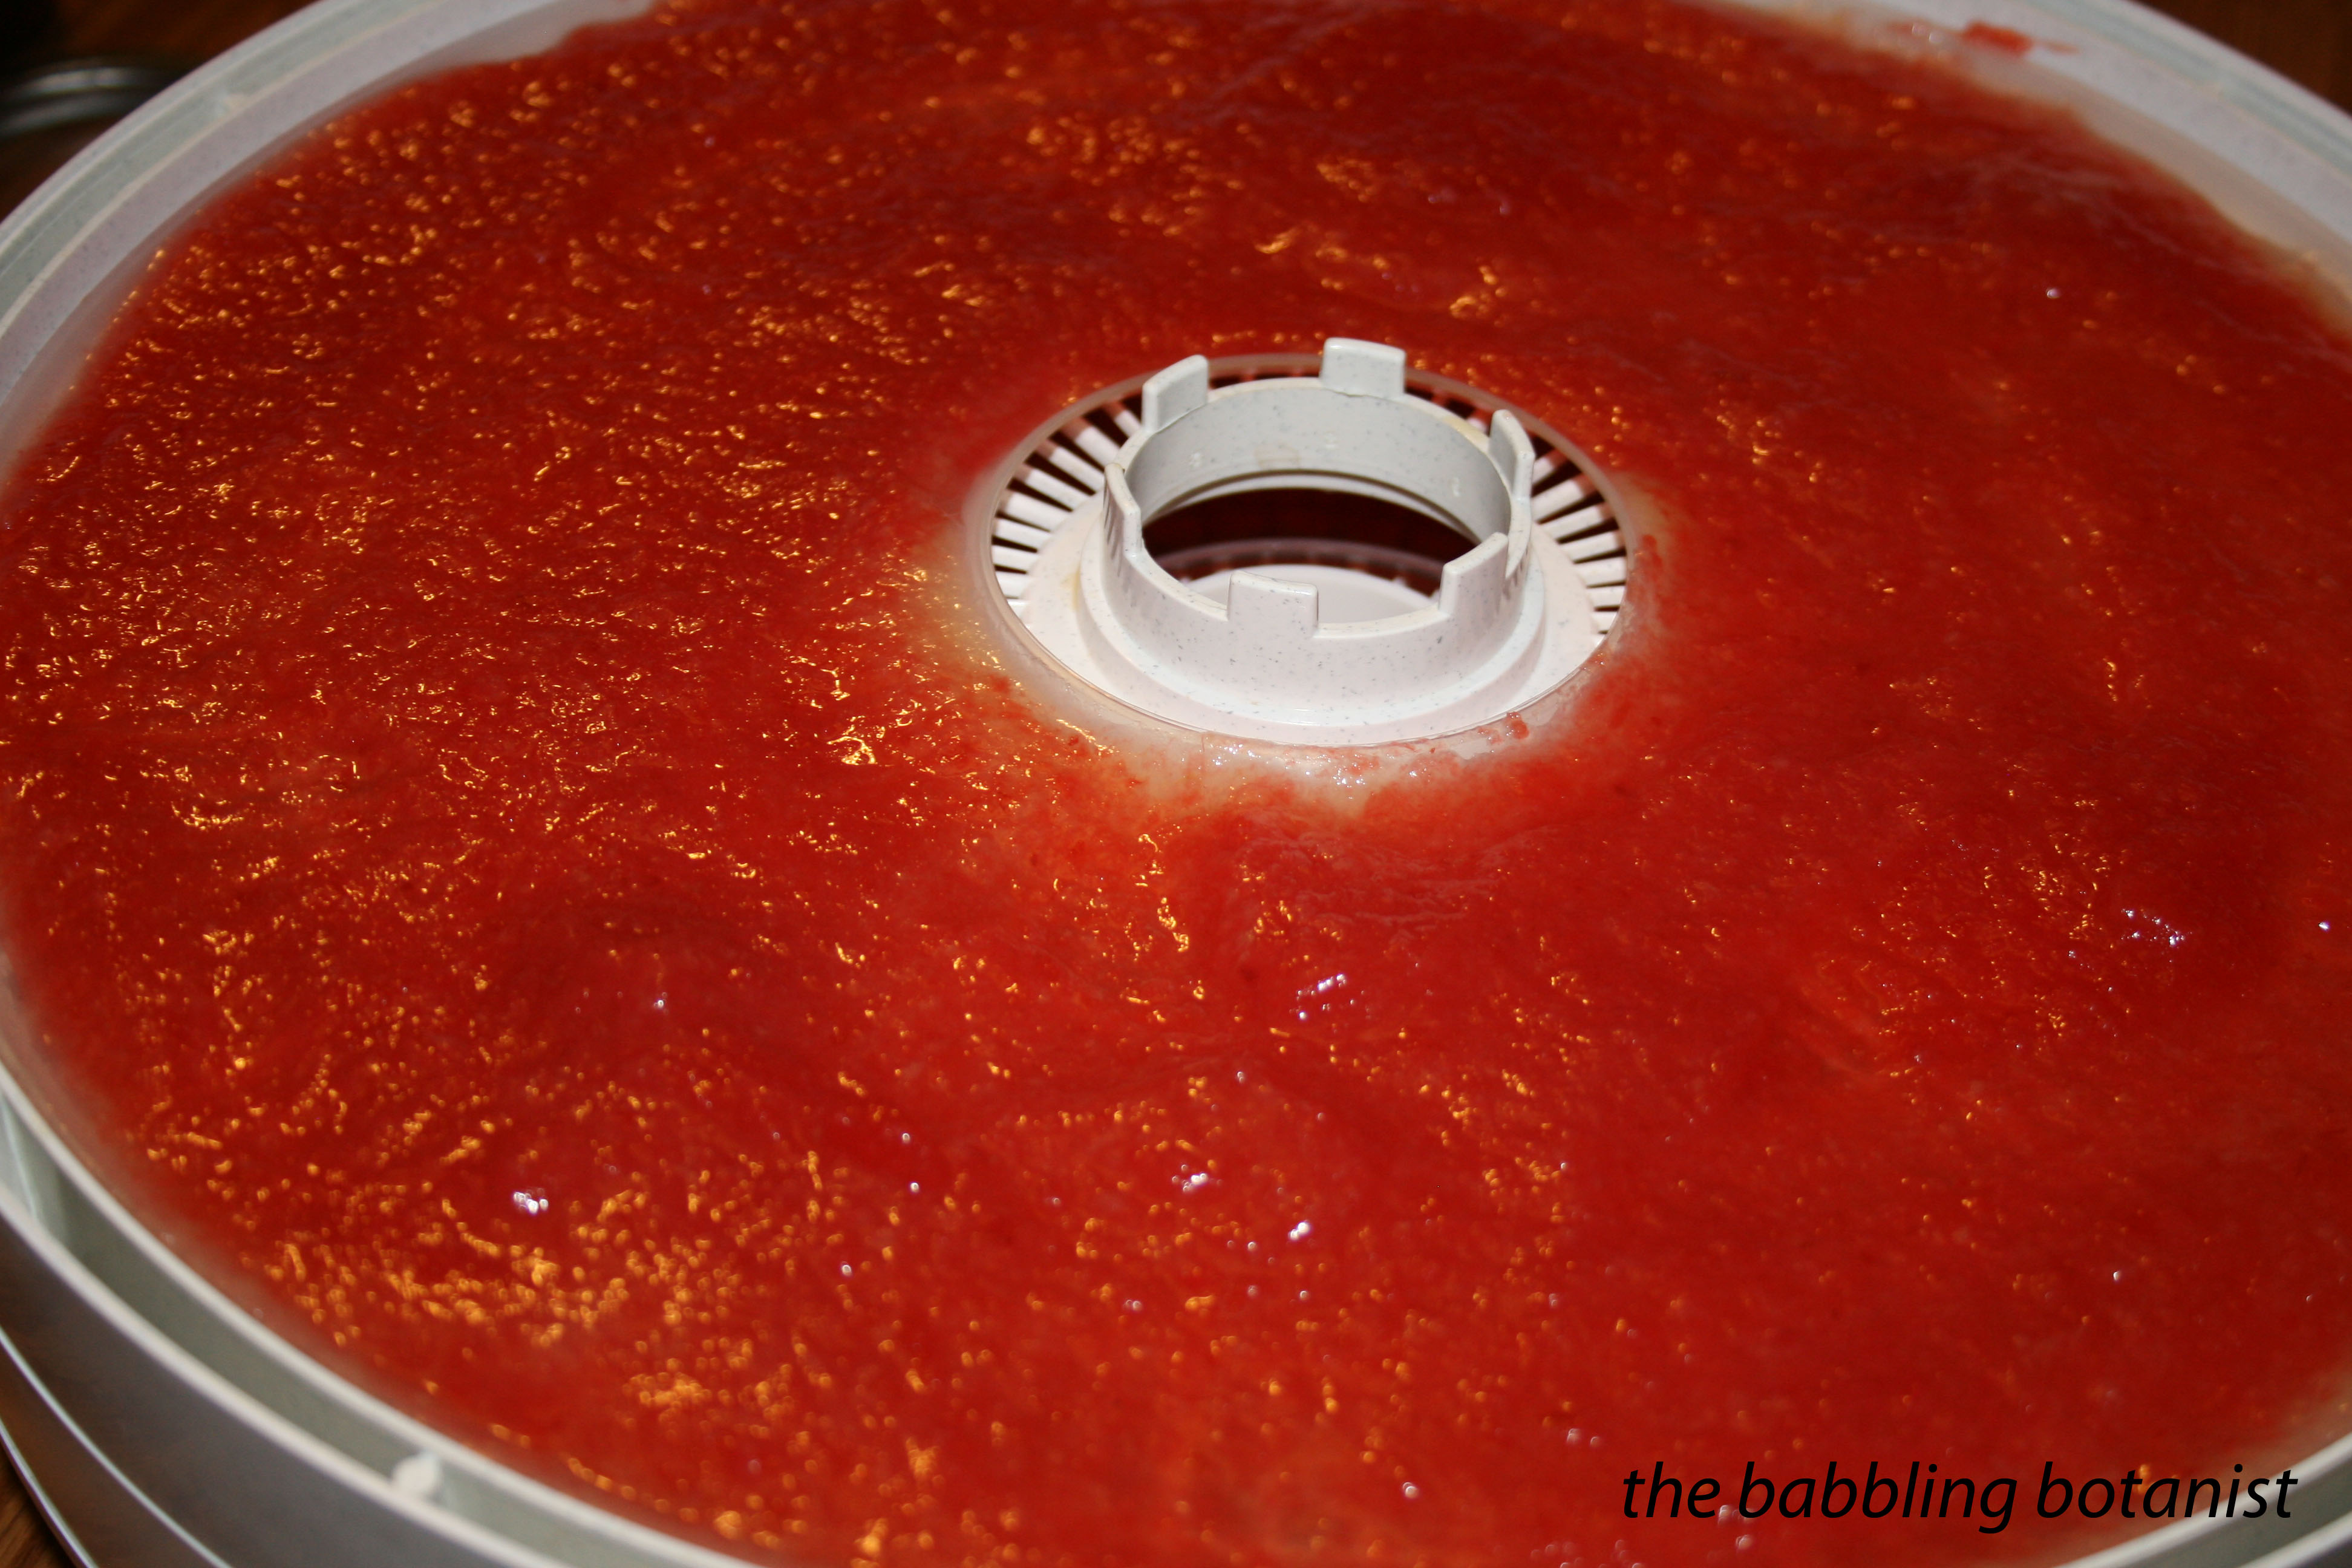
Blackberry applesauce.

IMG_5353 copy

I love making this just before I go to bed, because it takes at least 8 hours with a full dehydrator.  It’s nice to just wake up and it’s almost done! After 8 – 10 hours you have fruit leather! The publication says 4-8 hours, but I’m thinking 4 must be with one tray, using their precooked method. You know it’s done when there are no wet spots and peels off but still it’s still slightly tacky. Maybe try it during the day for the first time, but I’ve got the timing down well in my dehydrator and can wake up and it’s done 🙂

IMG_5362 copy

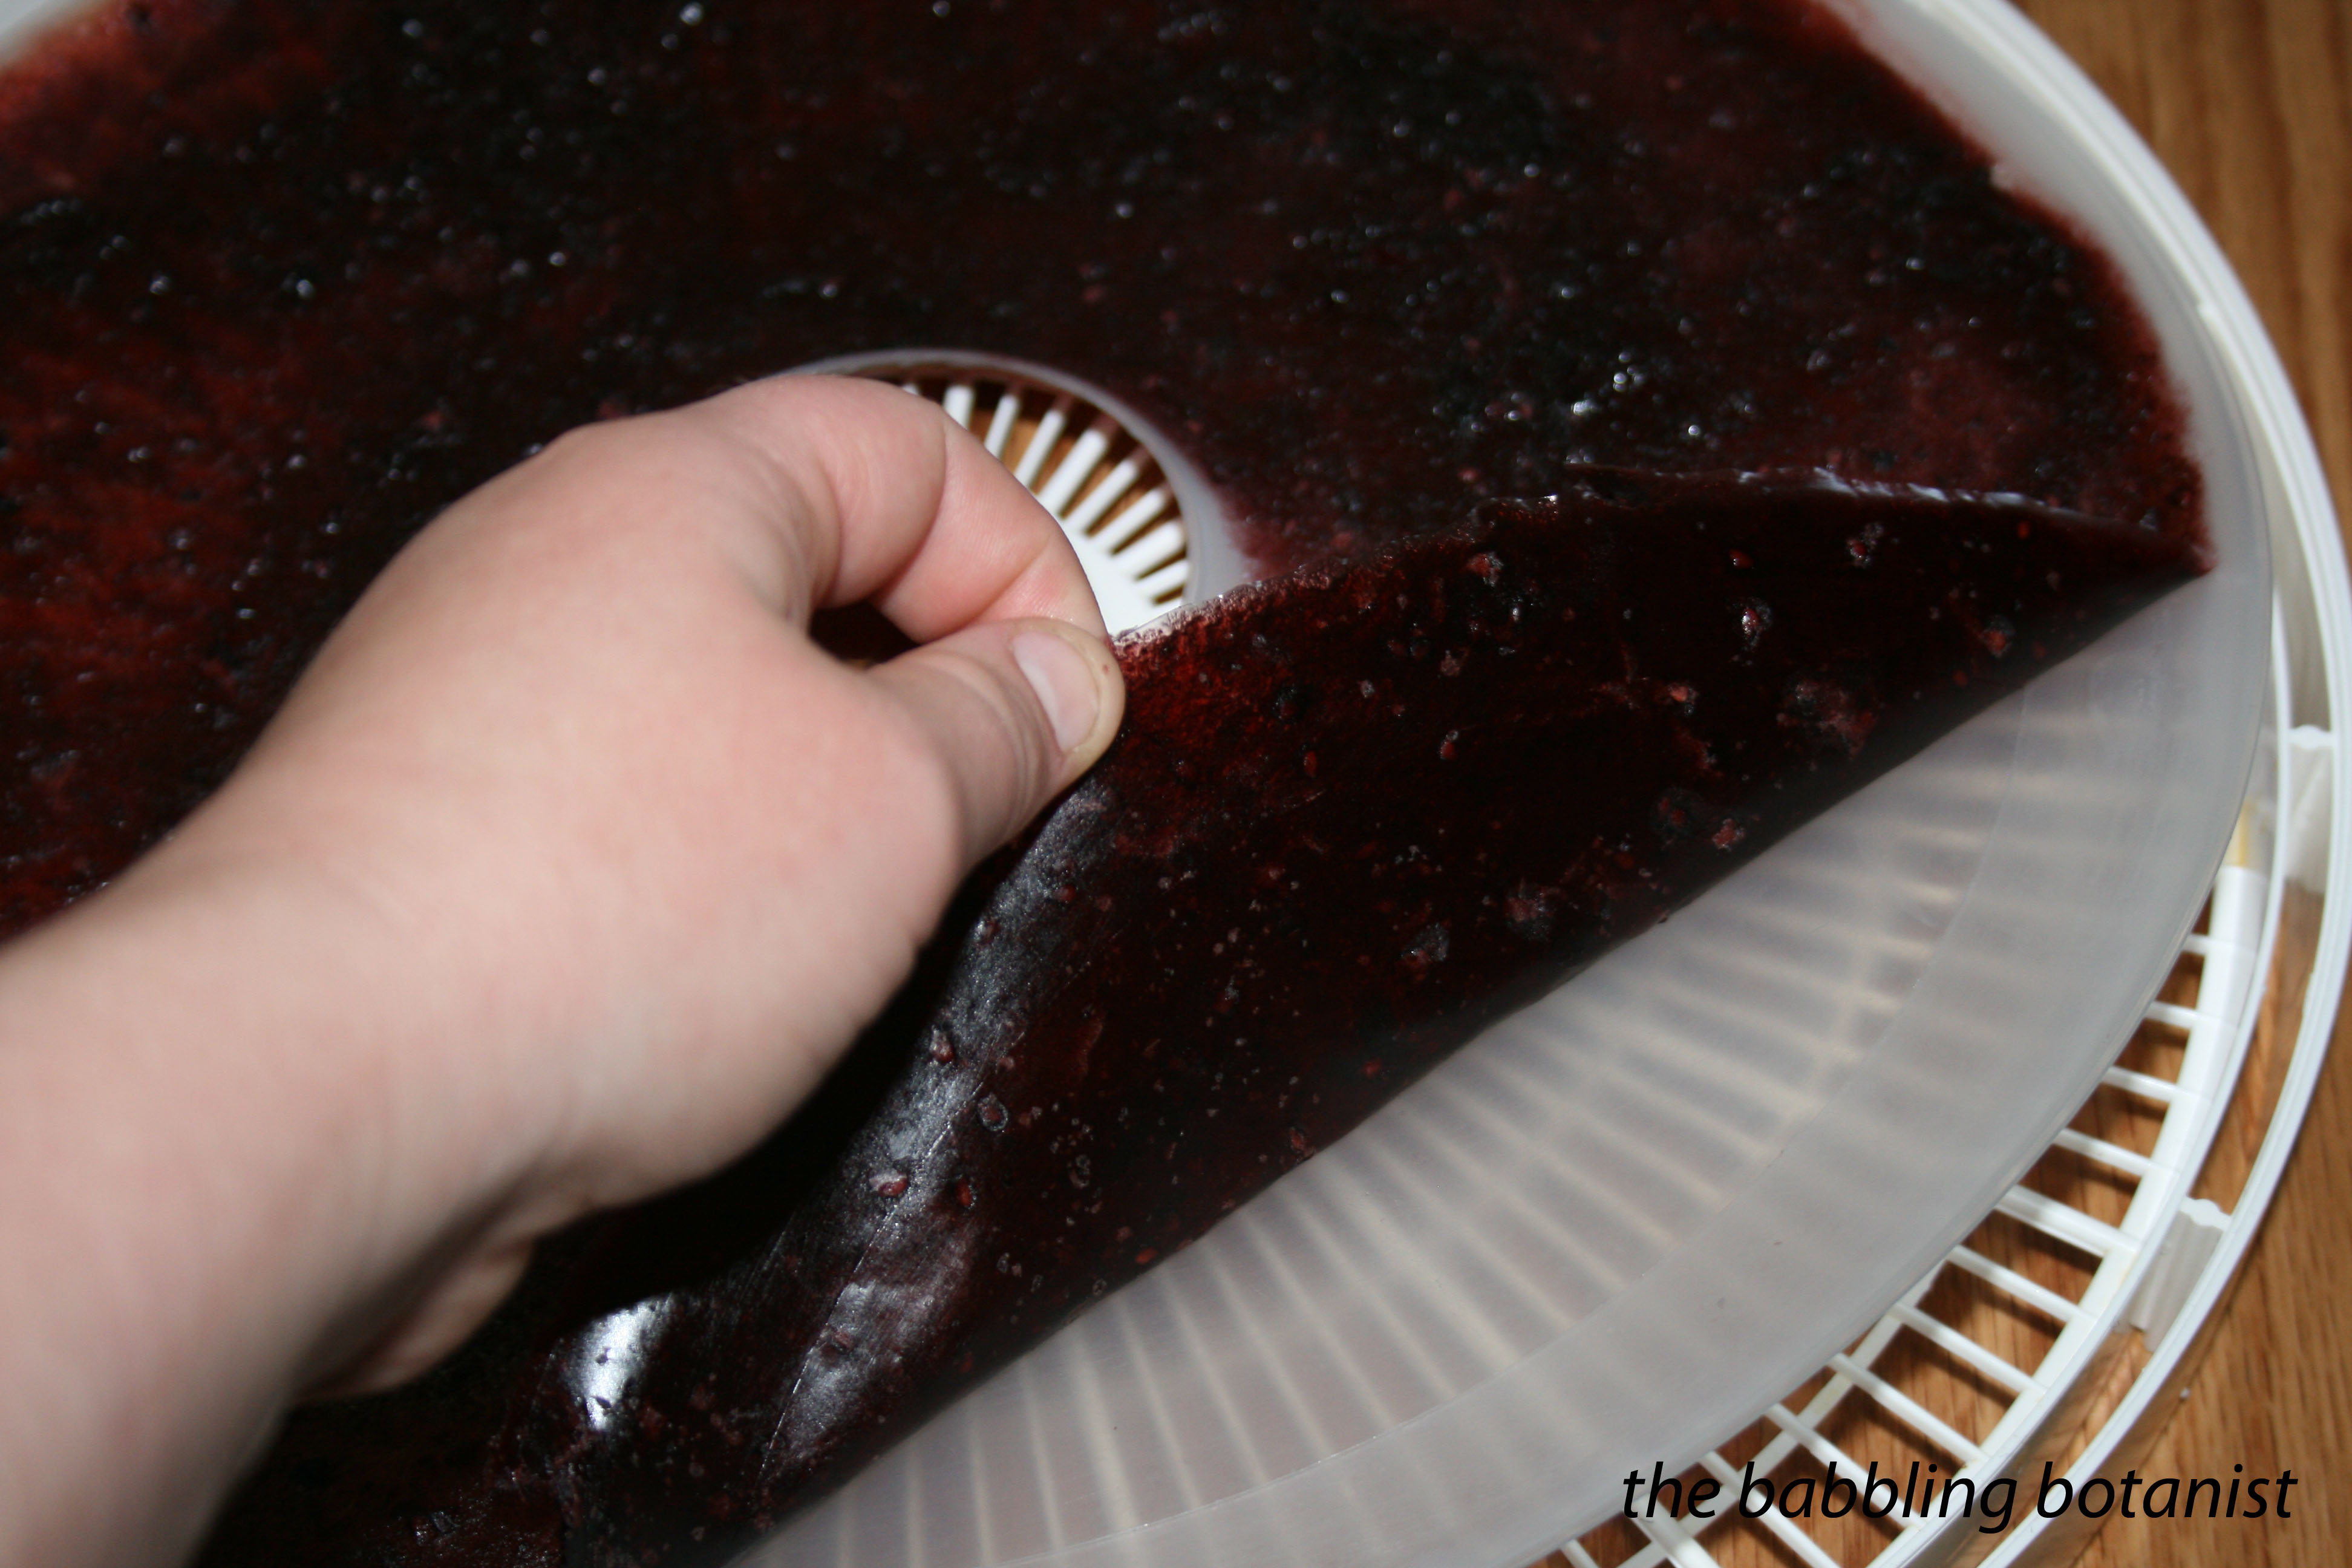
After it is dry, peel it off the trays. If you are having trouble getting it started, I find slipping a butter knife under works well.

IMG_5360 copy

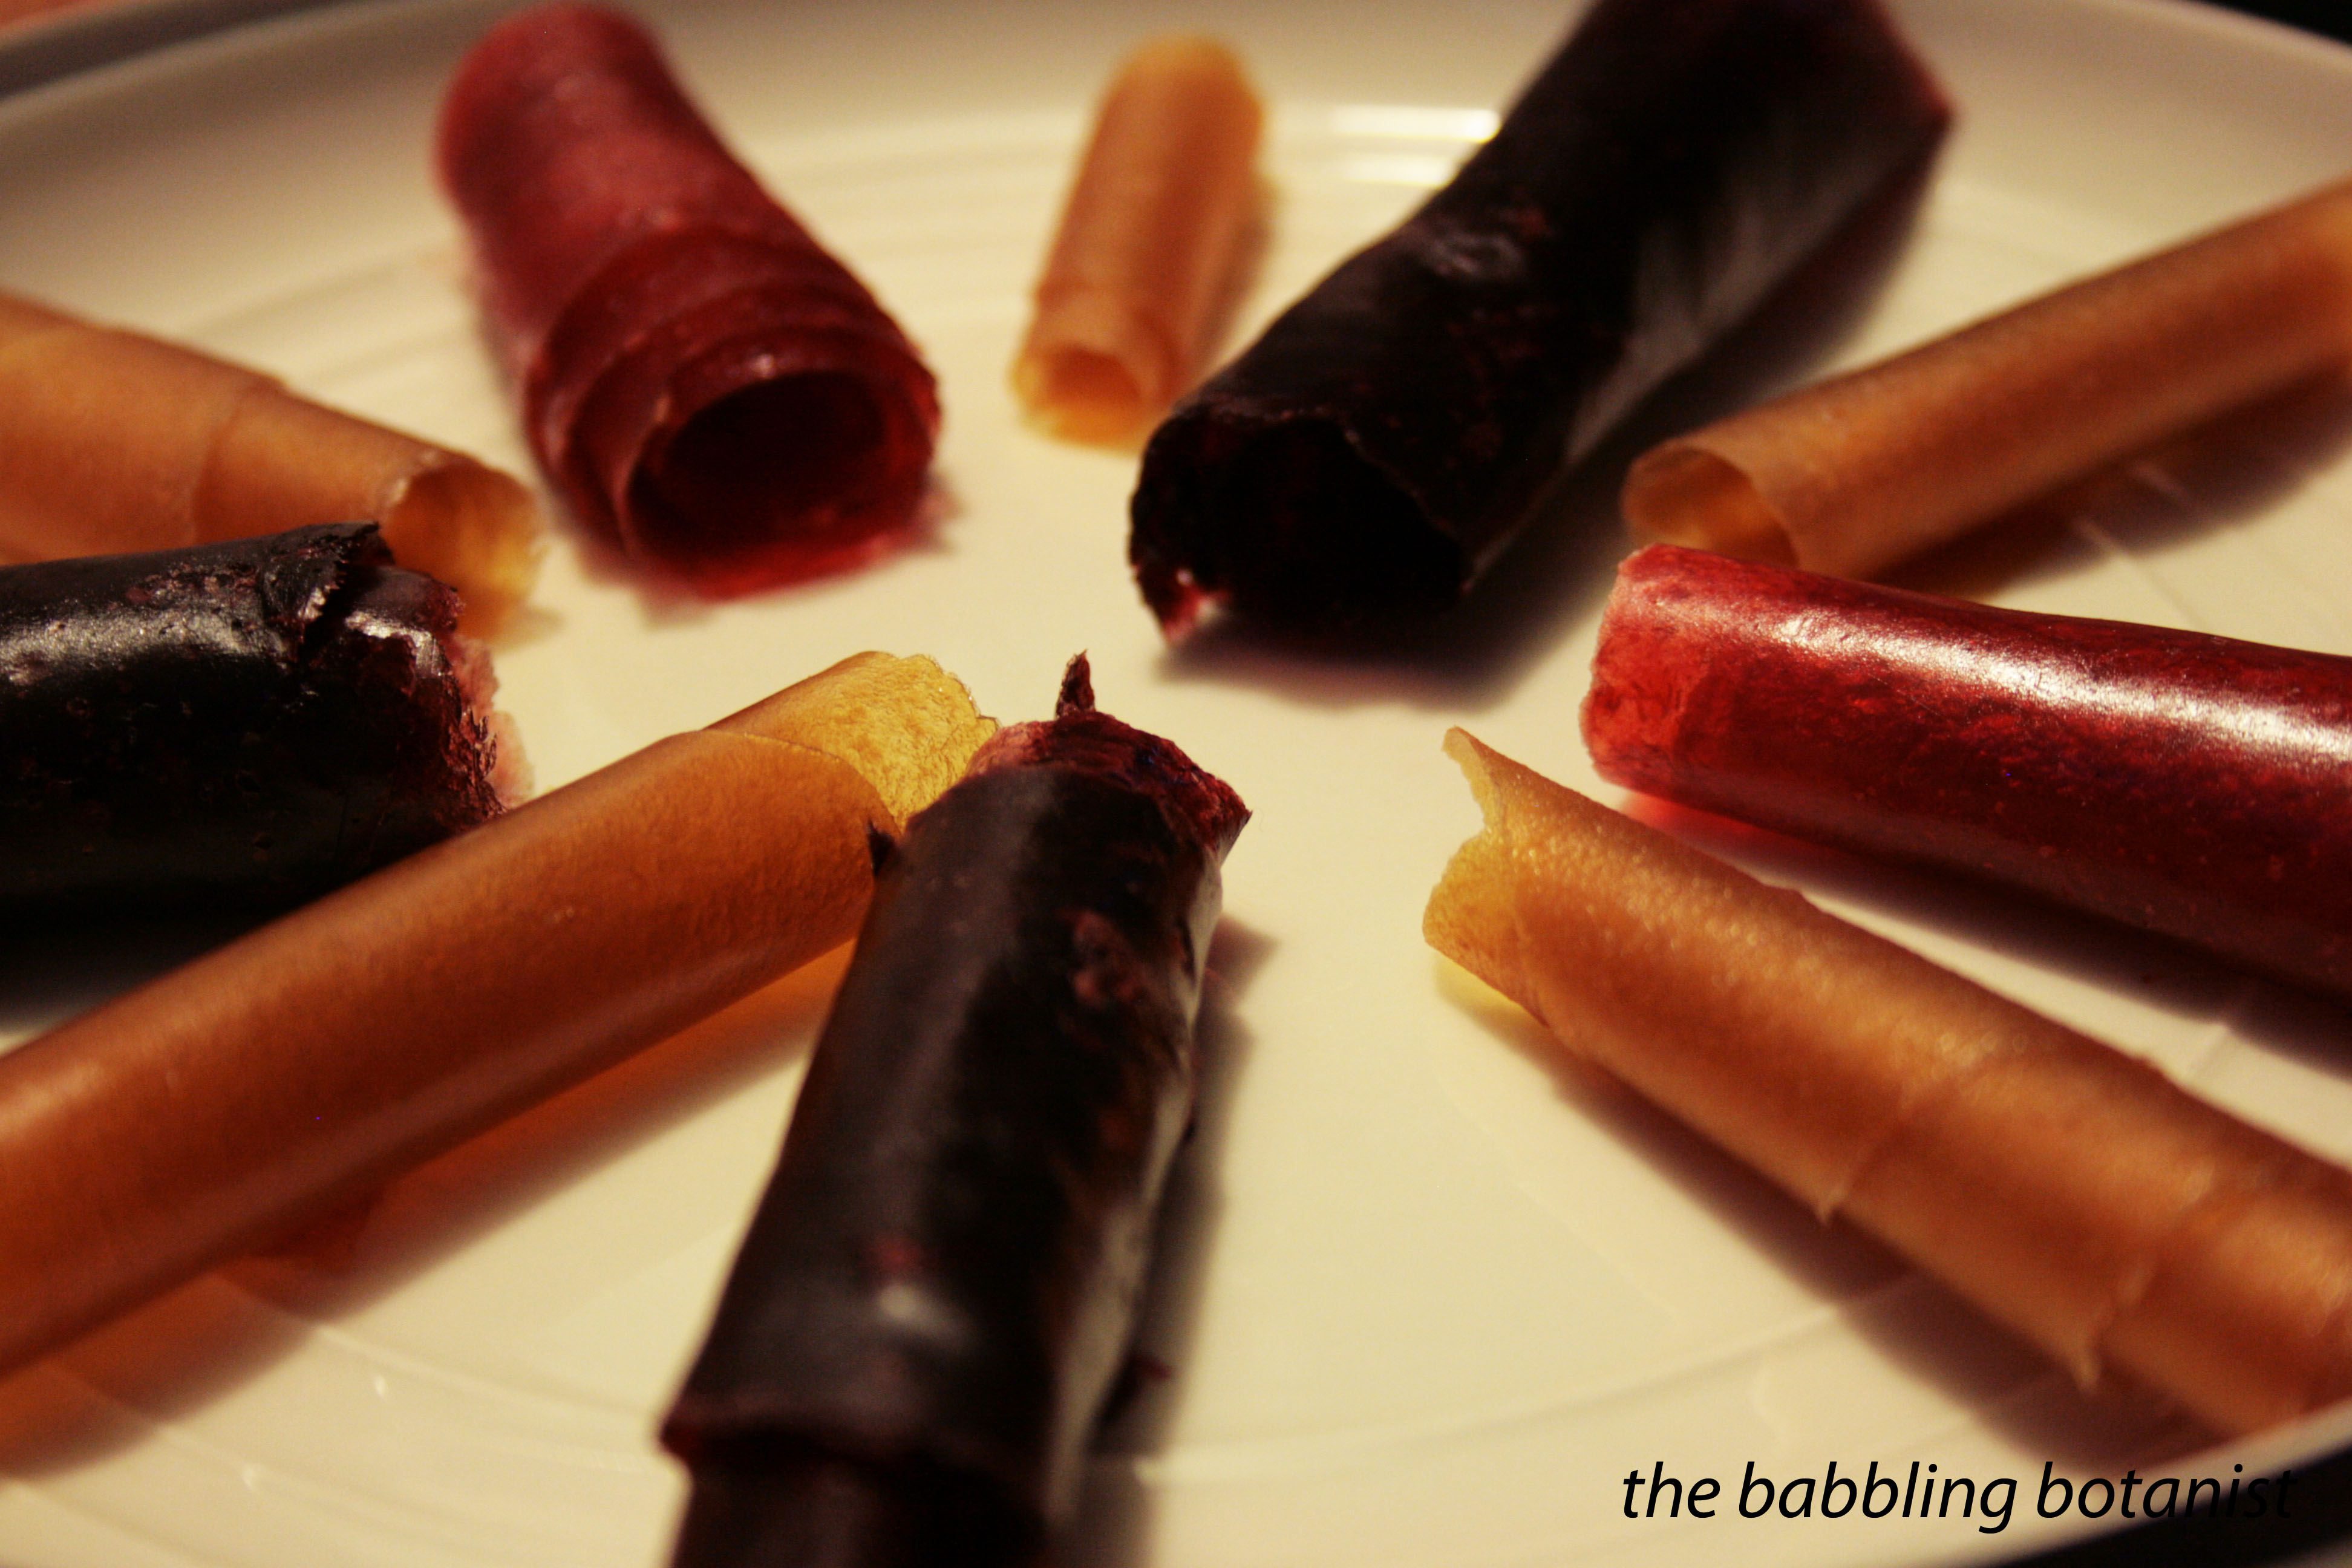
Roll it up and store! You can store a whole sheet, or cut it into smaller pieces. You can roll it up with plastic wrap so it doesn’t stick to itself, but I don’t really like using all that plastic wrap so I usually just deal with a few stuck together pieces.

IMG_5365 copy

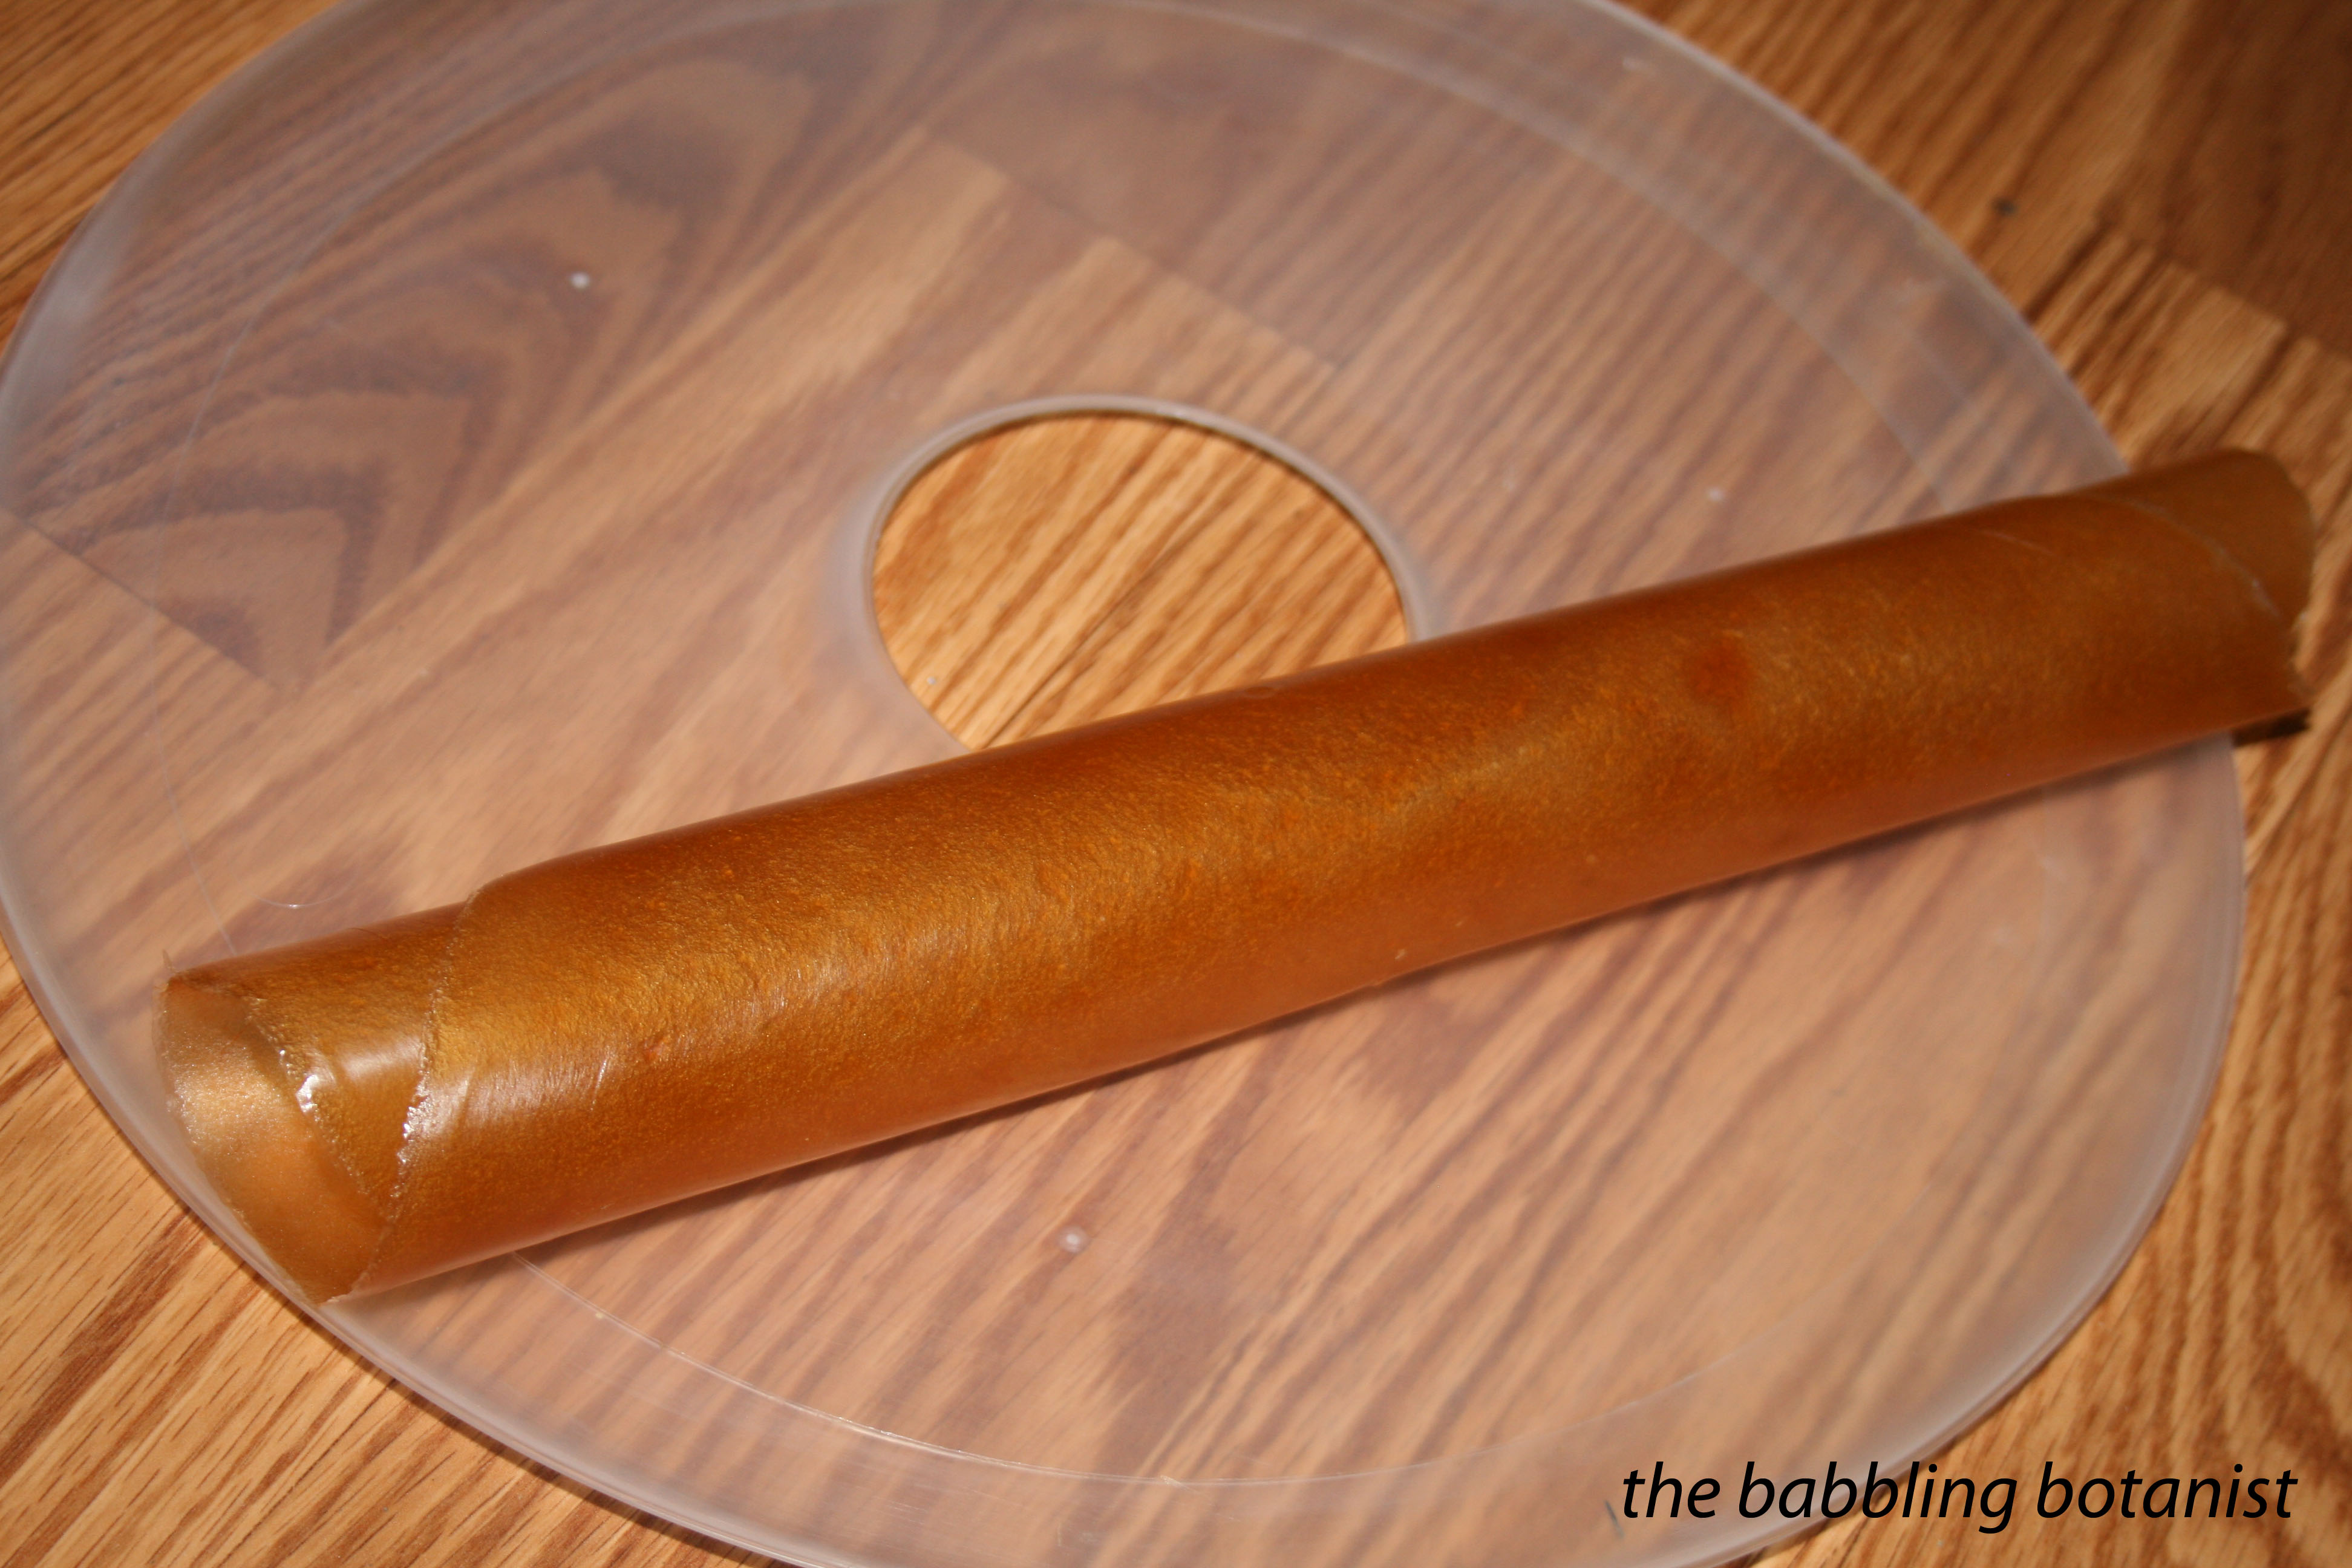
So beautiful! For more ideas check out the OSU extension publication linked to below.

IMG_5382 copy

*this post contains affiliate links, please see the “About the Blogger” page for more information

Used for this project:
Nesco dehydrator
Extra trays
Applesauce
Fruit leather publication

Master Food Preserver Class – Week 1

Week 1 of my Master Food Preserver class was pretty fun. We didn’t get to a ton of food preservation being the first week, but we did start sauerkraut and can up some apples. The major thing we got through was a lot of food safety, which makes sense for week 1. There honestly weren’t too many things that were news to me, but here are some interesting tidbits from the day that you may or may not be aware of.

“Danger zone” is not just a song. It’s also a range of temperatures which are optimal for bacterial growth, and therefore not optimal for food safety. 40-140 degrees Fahrenheit. Food shouldn’t remain in the danger zone for more than 2-3 hours or it can be unsafe. For me I think my biggest offence against this would be putting a really big pot of something in the fridge. It cools slowly enough that it can remain in the danger zone too long. Spreading food out in shallower dishes would help me to avoid remaining in the danger zone.

We also learned about foods that are more likely to be contaminated by bacteria (and should therefore be avoided by the young, sick, pregnant etc.) I knew almost all of these, but didn’t realize the sprouts were due to bacteria related reasons, and didn’t realize lunch meat was on the list.
– rare ground beef
– unpasteurized apple cider/juice
– uncooked hot dogs/ lunch meat
– alfalfa and bean sprouts
– lox (cold smoked fish)
-raw milk and raw cheese
– soft cheeses (feta, Brie, Camembert, Roquefort etc.)
– raw eggs

We also talked about basic canning equipment, a bit about the history of canning, and basic canning guidelines. But I could write about that for pages and pages, so I think I’ll work on this as a page of it’s own to eventually bring this blog to a full canning resource. In the meanwhile, refer to the USDA National Center for Home Food Preservation website http://nchfp.uga.edu/publications/publications_usda.html 🙂

Another fun fact – the cut-off for what is a low acid food is pH 4.6. Anything above this must always be pressure canned. This includes all meats, vegetables, soups and stocks. And I’ll do full pages on these things some day because they are super interesting and important concepts.

Now for the fun part, we started out by getting sauerkraut started. Full recipe to come once it is ready. Yup, I’m going to make you wait.

Shredding the lettuce with a mandolin.

IMG_2101 copy

After letting it sit with salt, filling the jars.

IMG_2152 copy

So pretty!

IMG_2157 copy

We also canned apples. Honestly I wouldn’t normally can apple slices straight up, but it is a good way to learn the concept of canning sliced fruit.

IMG_2125 copy

And we did a fun experiment. We canned the apples in something like 16 different liquids, and we’ll taste test them later. I think this is a great idea because I’d never want to test these myself and then open all 16 at once, but there are almost 20 of us, including instructors, so I think it’s a great idea. I’m going to suggest we do it with pickle recipes too on that week. We did water, light syrup, medium syrup, heavy syrup, extra heavy syrup, brown sugar, honey, agave, stevia, splenda, orange juice, cranberry juice, pineapple juice, grape juice, apple juice… there may be one more I’m forgetting. But yes – what a fun idea!

IMG_2136 copy

Well that about sums up the highlights for the day. More next week, mostly about jams and jellies, fruit pie filling, and freezing. Fun fun!!


Applesauce

Well as much as I hate to admit it, autumn is upon us. But don’t fret – there are still a few more canning adventures ahead! Fall means apples, so I canned up some applesauce!

20131010-155125.jpg

My strategy to avoid burning is to peel and eighth the first few apples and get them heating over medium high heat, stirring frequently.

20131010-174344.jpg

After the first few are going I get lazy and stop peeling them – I know Victorio will save me from the peels. If you don’t have a strainer though, you probably want to peel them. Get the canner, jars and lids ready while it heats.

20131010-174533.jpg

Once all the apples were heated and starting to fall apart I ran them through the strainer. Look how pretty that is! Heating them takes 10 to 20 minutes depending on the apple variety and how many you do. If you don’t have a strainer puree them in a blender or food processor.

20131010-174722.jpg

Return the sauce to the pot and bring it to a boil. This is when you would add a little sugar to taste if you like, or some nutmeg, cinnamon or other spices. In this case, I just left it plain and will add things when I open it because some of them I plan to use in baking. You can also add a little lemon juice for added safety since some apples are less acidic than others. One tablespoon per quart.

20131010-174850.jpg

Maintain the boil while you fill jars with hot sauce leaving a half inch head space. Wipe rims, apply lids, and tighten the bands finger tip tight. Process the jars at full rolling boil for 20 minutes. When the time is up remove the canner lid, wait 5 minutes and remove the jars to a hot pad or towel. 12-24 hours later check the seals, remove the bands, wipe clean and store.

20131010-174911.jpg