July Garden Tour

We’ve been having nearly 100 degree heat the past week or so and the garden is love love loving it. Here’s a little tour! It’s amazing how much has changed since my June 1 garden tour.

Tomatoes loving the heat.

IMG_5562 copy

Broccoli. Wishing I got it in earlier because this heat’s not doing it any favours.

IMG_5564 copy

The first few roma VF tomatoes.

IMG_5566 copy

Pepper experiment is looking awesome! They are also loving the heat. So far I’d say no differences between the pepper sizes, however they are about to that size where the competition within a pot of multiple peppers might be starting to matter. Soon we’ll have peppers coming out our ears!

IMG_5571 copy

The first bell pepper.

IMG_5574 copy

The first jalapeno.

IMG_5575 copy

More tomatoes. I am really making an effort to prune this year and keep them better guided into their cages than in previous years. I think it’s going well.

IMG_5576 copy

The whole yard. I think I do pretty well with the little space I have 🙂

IMG_5579 copy

Pretty purple pole beans.

IMG_5582 copy

Purple!!

IMG_5583 copy

Climb climb climb.

IMG_5584 copy

More tomatoes, basil, and calendula.

IMG_5585 copy

The chaos of a calendula, tomatoes that grew from seed on their own, and some dill that also grew on it’s own.

IMG_5587 copy

Brandywine tomato.

IMG_5590 copy

Carrots and cucs.

IMG_5593 copy

The cucumbers are also loving this heat. I planted the exact same cucumbers as the last two years, like from the same exact seed packet, and the leaves of these plants are HUGE compared to last year. It’s going to be a gooooood cuc year.

IMG_5596 copy

Babies!

IMG_5597 copy

Massive zuch!

IMG_5600 copy

Beets that really need to be eaten.

IMG_5602 copy

Indigo rose tomatoes.

IMG_5607 copy

Peas are dying, so I’m going to pull them shortly and plant some more beans. I’m definitely doing a better jobs at succession planting this year too.

IMG_5608 copy

And that’s all folks! Having a good garden year?

Zucchini Chips

Are your zucchini exploding out of control? Are you overwhelmed? Need a solution? Try making dehydrated zucchini chips!

Haha. Yes, I meant for that to sound like an infomercial.

Making zucchini chips is so easy and it really makes a great use of your excess, because they keep for a long time once they are dry and compress down a lot for storage. All you need to do is cut them up in evenish slices, which is much easier with a mandolin. Arrange them on your dehydrator trays without overlapping.

IMG_4059 copy

For this, I used two medium large zucchini to fill 4 dehydrator trays. Spice the zucchini if you would like. Here I salted them and added cayenne. Don’t add too much though, they are really hot the way I made them! I’ve also seen people toss the slices in a bowl with a bit of olive oil, salt and pepper before drying, which would be super delicious also.

IMG_4061 copy

Dry the zucchini at 135-140F. I like to dry them until they are pretty dry and crispy but some people like to leave them a little moister, so it’s really up to personal preference. Dried until the are still slightly pliable is most people’s preference.

IMG_4063 copy

Store in an airtight container. This is two zucchini, four fully loaded trays and they don’t even fill one quart jar. Eat and enjoy!

IMG_4100

Want to make this but need a dehydrator? I have this one and love it.

*this post contains affiliate links, please see the “About the Blogger” page for more information

July Garden Tour

I just can’t get over how the garden looks compared to what it looked like one month ago today, in my June garden update. And also compared to last year things are much further along!

The side garden has 4 tomato plants, but they appear to have merged into one mega bush. The peas are basically done, and I will replant those for a fall crop this weekend.

20140722-163059-59459132.jpg

The zucchini is out of control. Time for some more relish soon I think!!

20140722-163208-59528581.jpg

The potatoes have all died back, so I’ll harvest those this week and see what we’ve got. I will likely replant and see what I can get for a second crop too.

20140722-163425-59665123.jpg

Even this tomato, which is only in a 6 inch deep raised bed with pretty rocky and gross soil is kicking butt! I think I can only credit the climate and my ability to water for these successes, I’m not sure what all I’m doing right!

20140722-163555-59755173.jpg

The fig tree that was killed by the cold winter is starting to resurrect!

20140722-163555-59755797.jpg

We’ve got beans and basil galore.

20140722-163815-59895666.jpg

Tons of carrots are ready, and the cucumbers are heading up the trellis. Can’t wait to make some more of these pickled carrots.

20140722-163915-59955425.jpg

Adorable pickling cucs!

20140722-163938-59978129.jpg

I have some mondo beets that I really need to pick. Maybe I’ll make more pickled beets or just grill them up with one of these recipes.

20140722-164552-60352185.jpg

And the kale has been a little neglected as well. Excellent kale salad recipe coming your way soon. Or I’ll make some kale smoothies.

20140722-164710-60430857.jpg

And my pride and joy, more tomatoes!

20140722-164053-60053048.jpg

One of the San marzano plants is actually taller than me!! (not that I’m that tall, ya ya let the short jokes come in). Although, since I fail at pruning (and by that I mean I don’t even try), they are a lot of leaves and maybe not as many maters as there could be. But I can’t really say I expect any sort of shortage 😉

20140722-164255-60175240.jpg

How is your garden looking? Is there anything you are drowning in or anything that isn’t doing so hot? Got any great zucchini recipes you want to share??

Garden update, and more on the potato box!

I have been meaning to do this update for aaaaggees and I’m not sure why it keeps getting delayed. And every time I go to do it the plants have grown even more and I need to take new pictures. It’s crazy how fast everything is growing! So here we go finally, the first day of summer and the garden is booming!

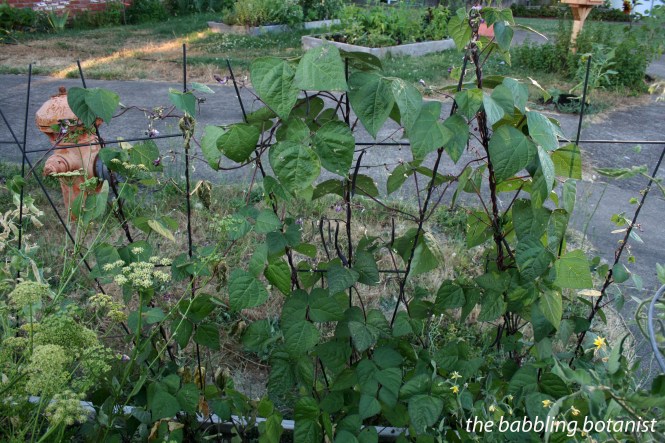
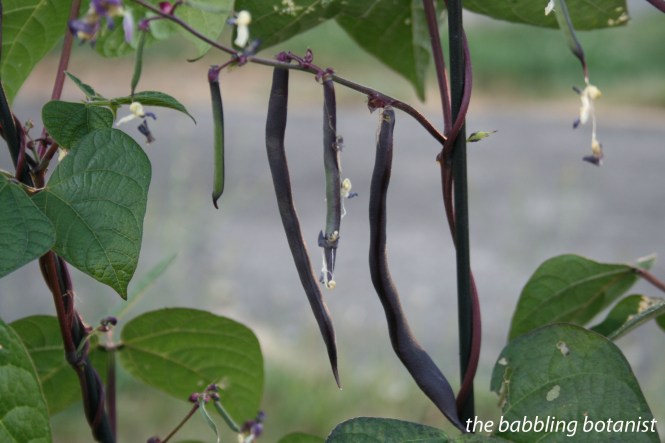
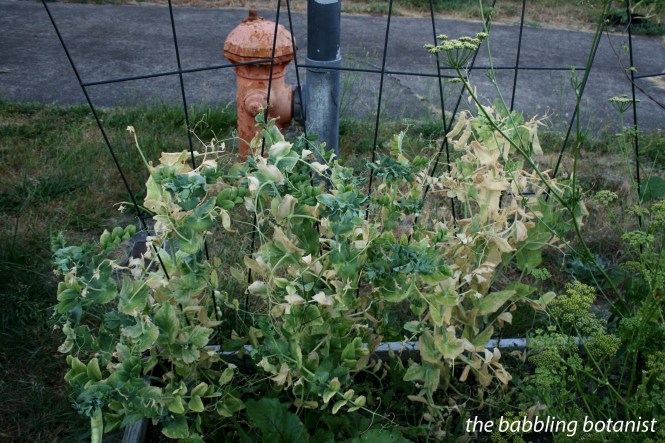
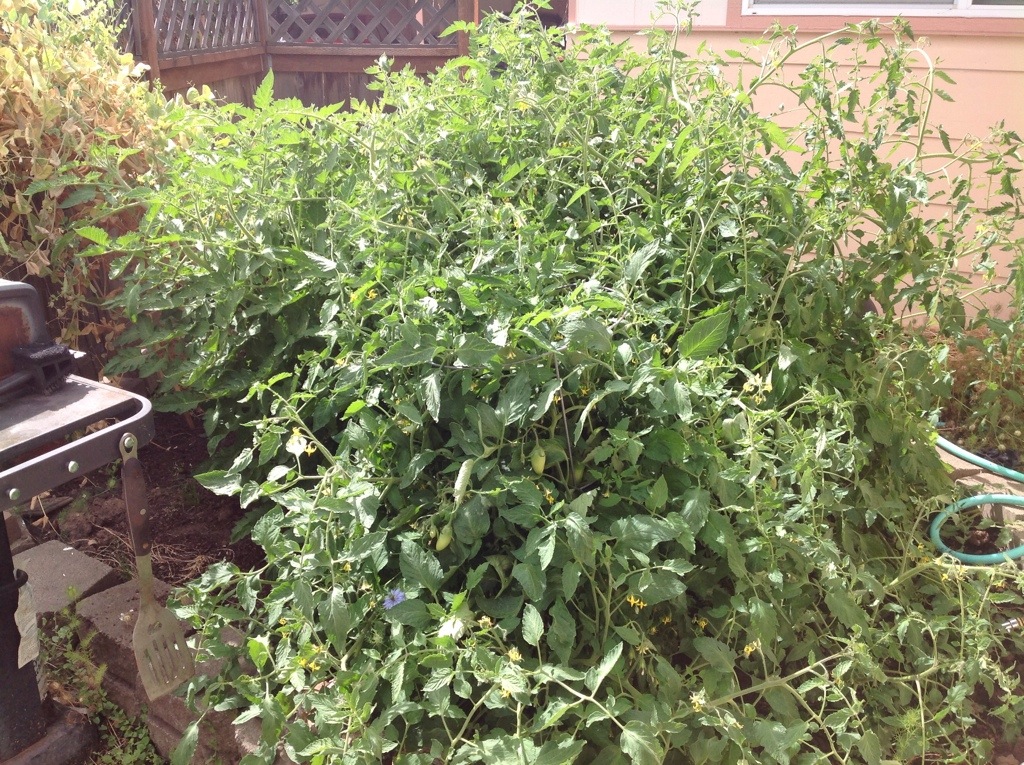
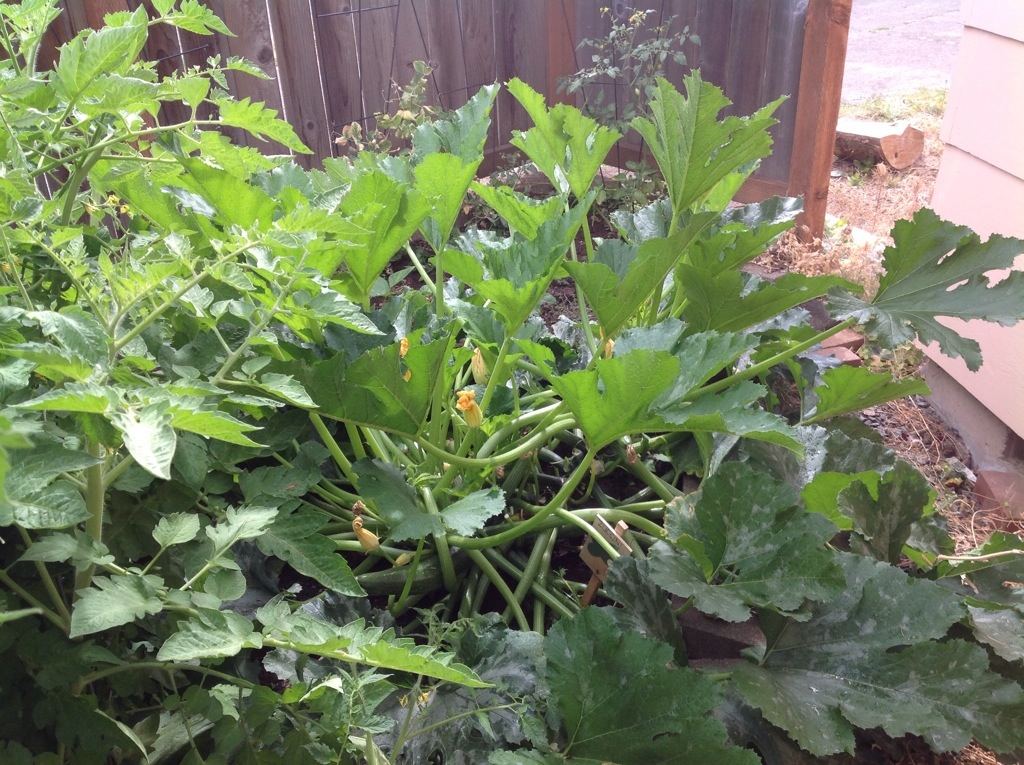
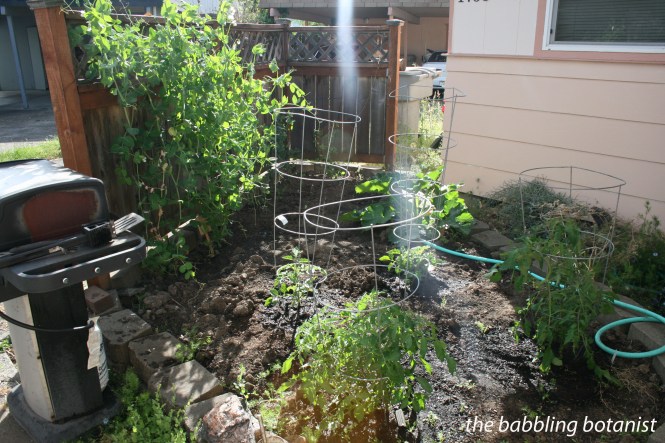
The peas have reached the top of the fence and are going crazy 🙂 We’ve also got 4 tomatoes and the zucchinis in the side garden.

IMG_3676 copy

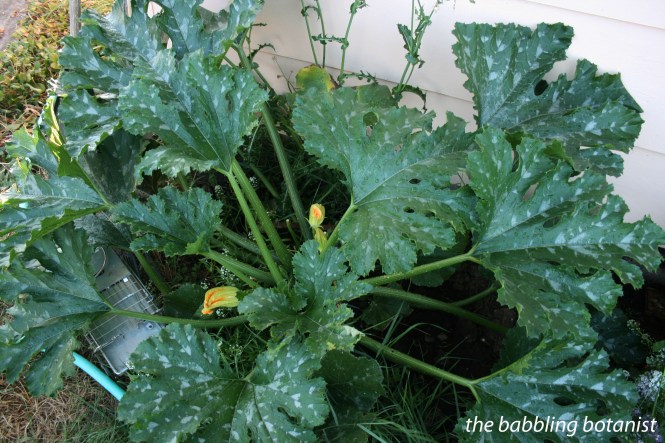
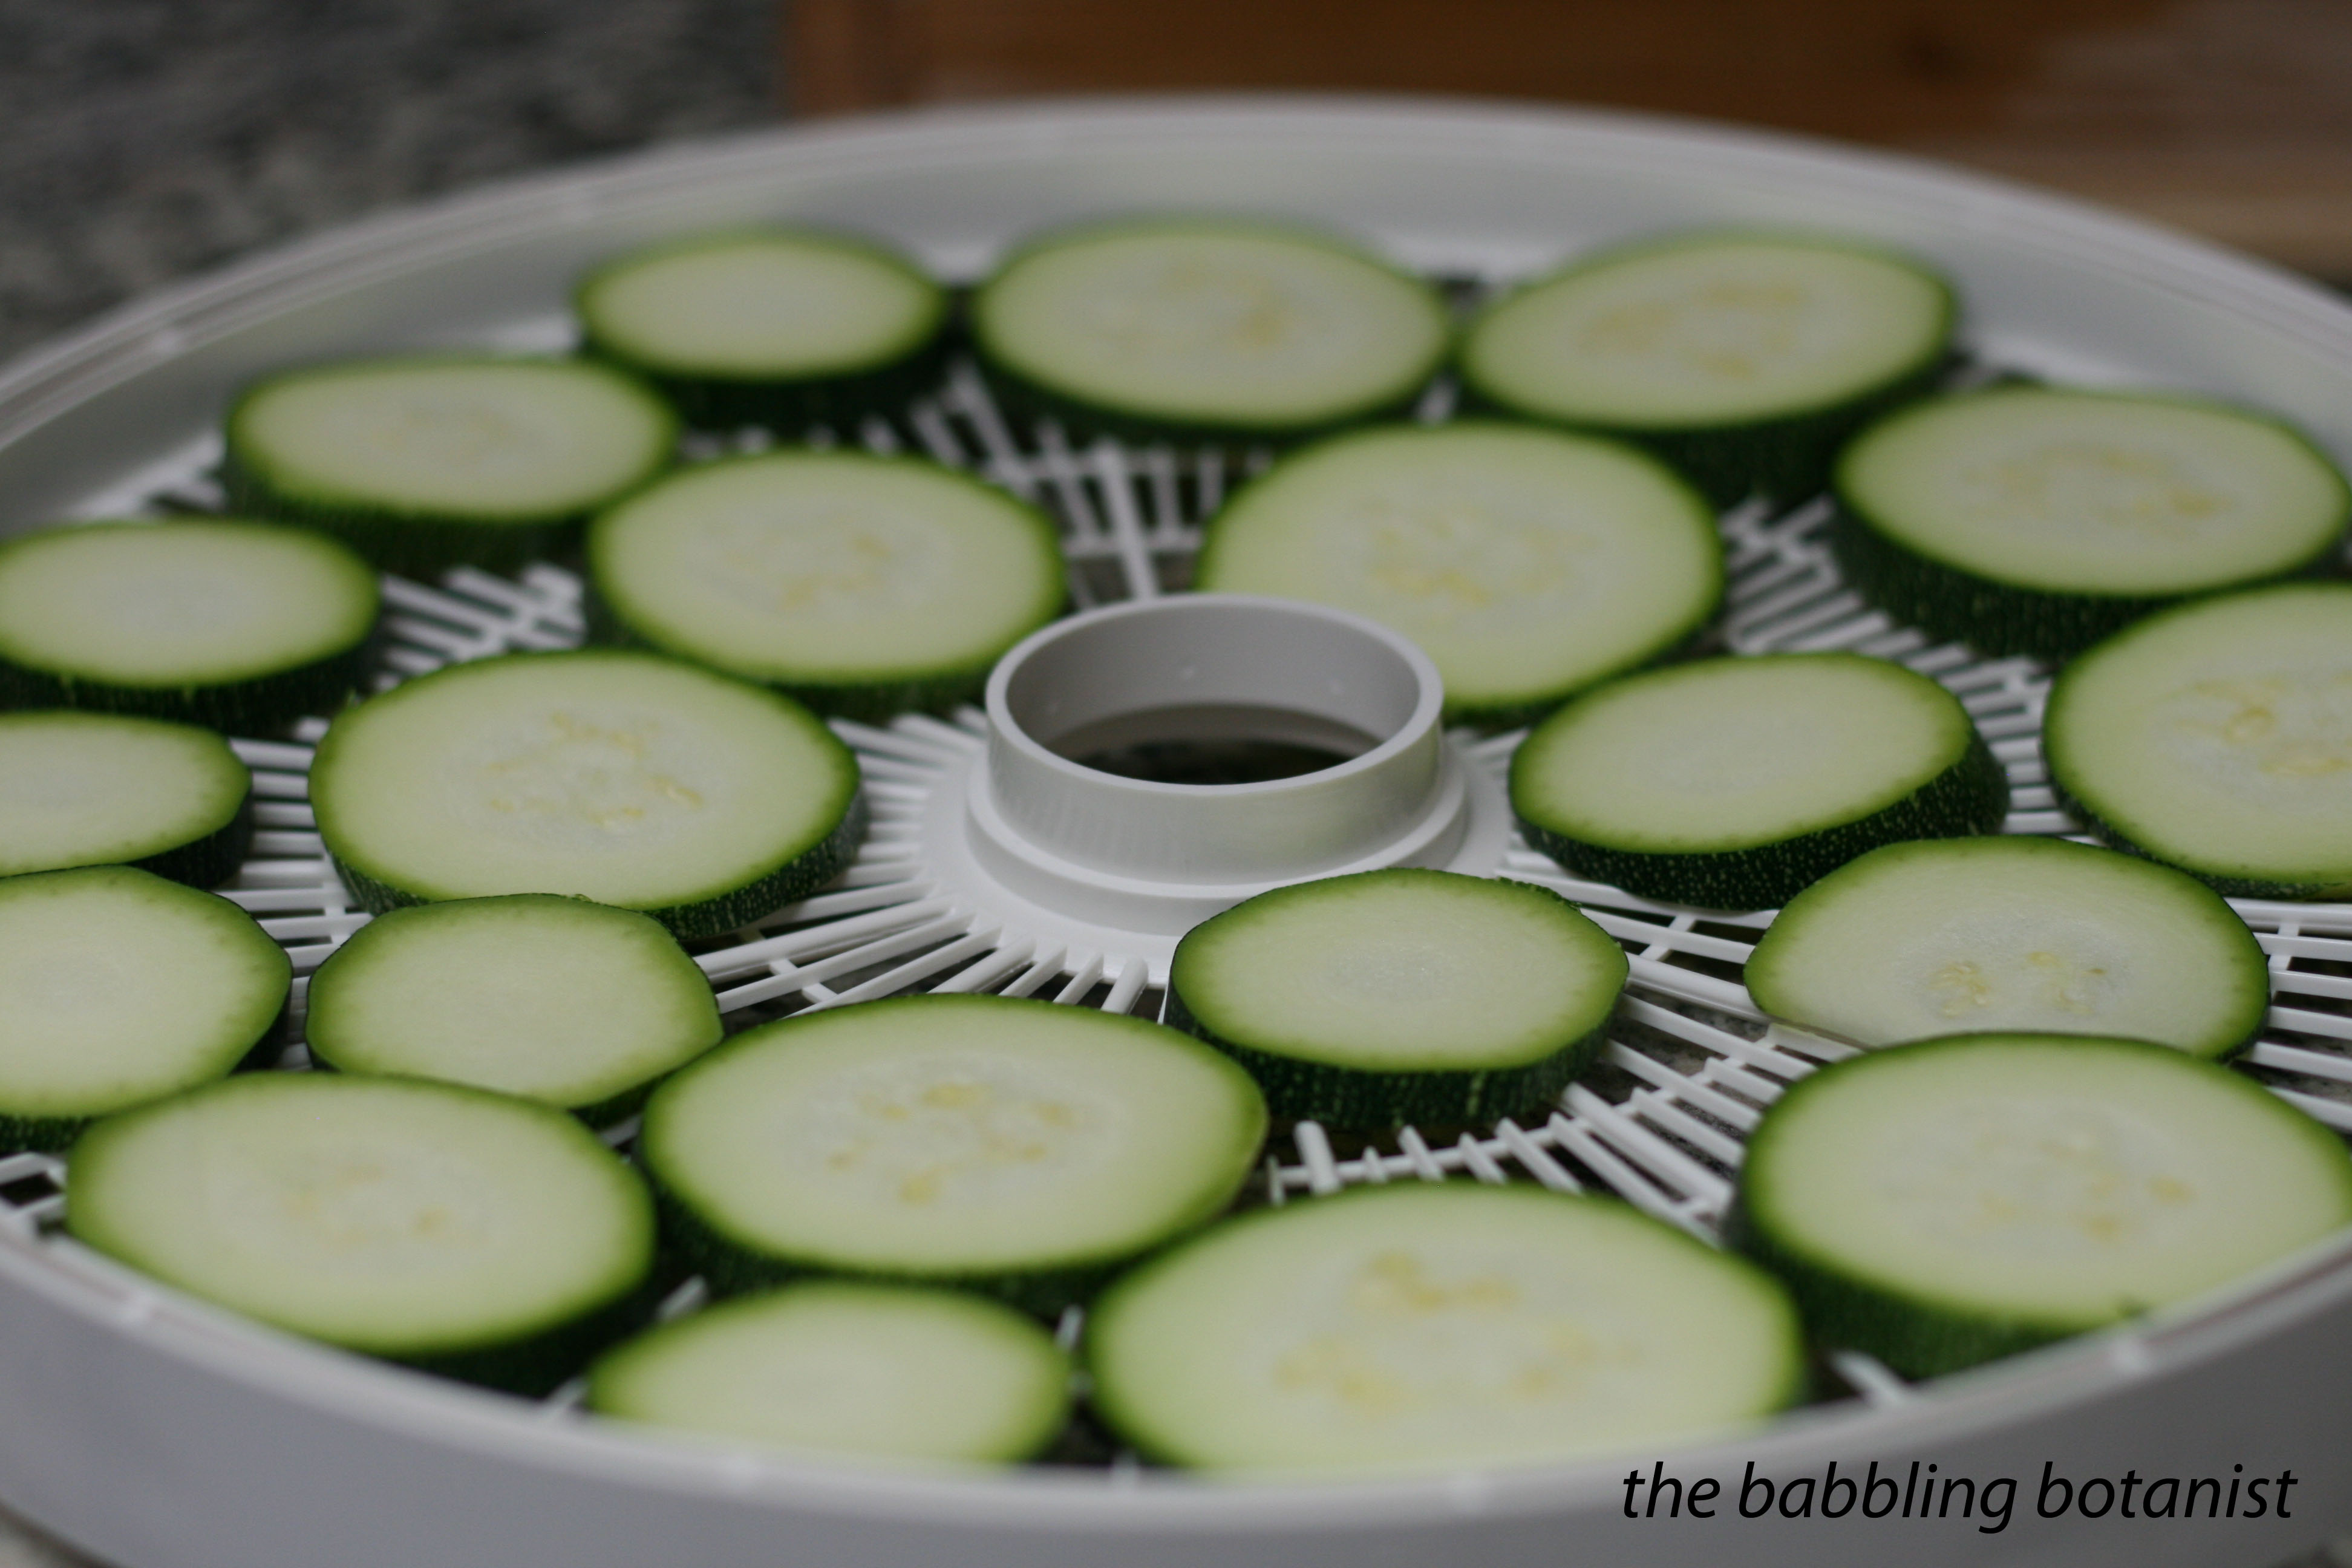
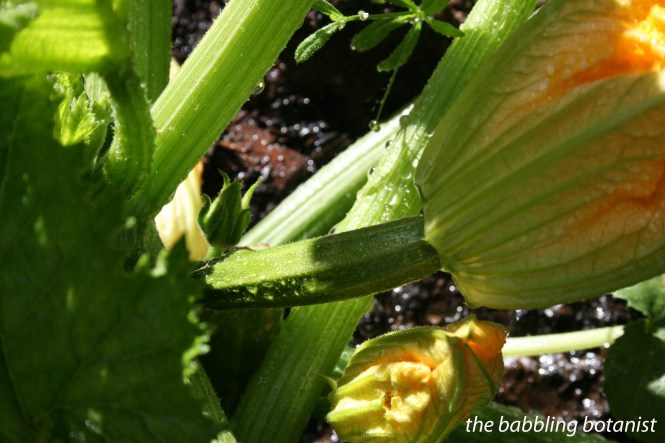
The first zucchini of the season is growing! Look at that cutie pie.

IMG_3680 copy

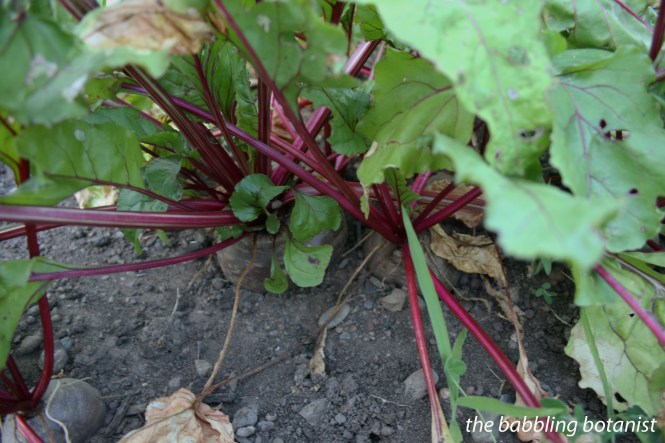
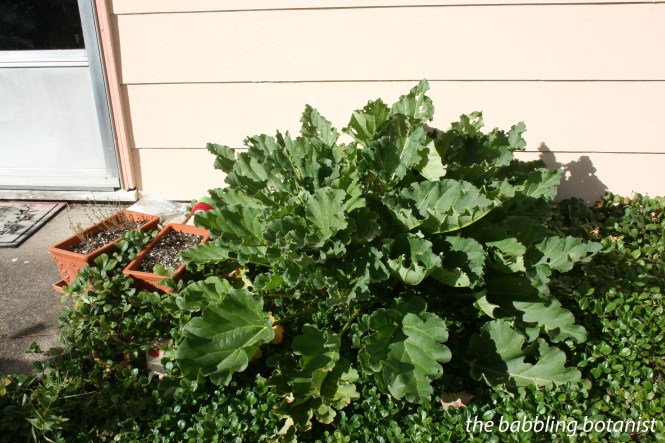
I’ve harvested my rhubarb twice already and look at it! Many more rhubarb treats still to come. I’m not sure if it’s the climate here or what, but rhubarb grows amazingly well.

IMG_3682 copy

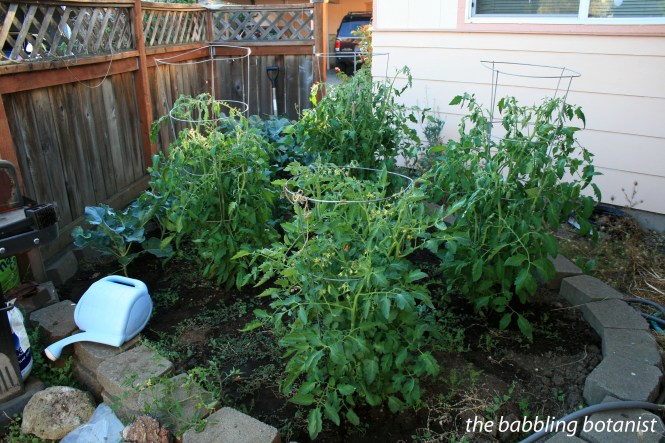
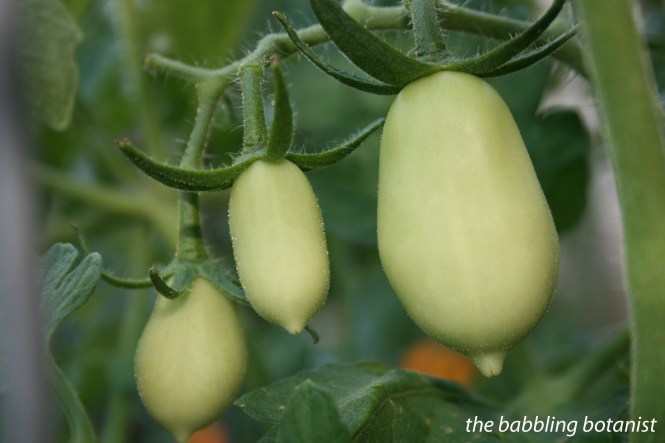
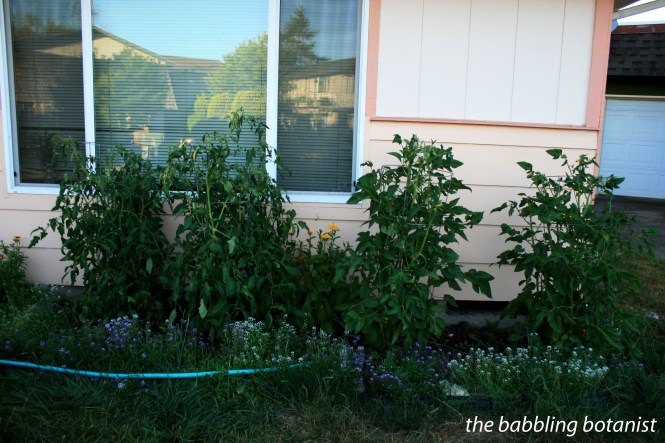
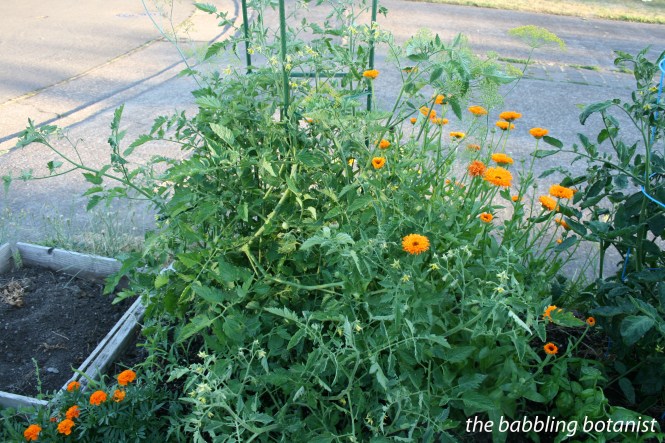
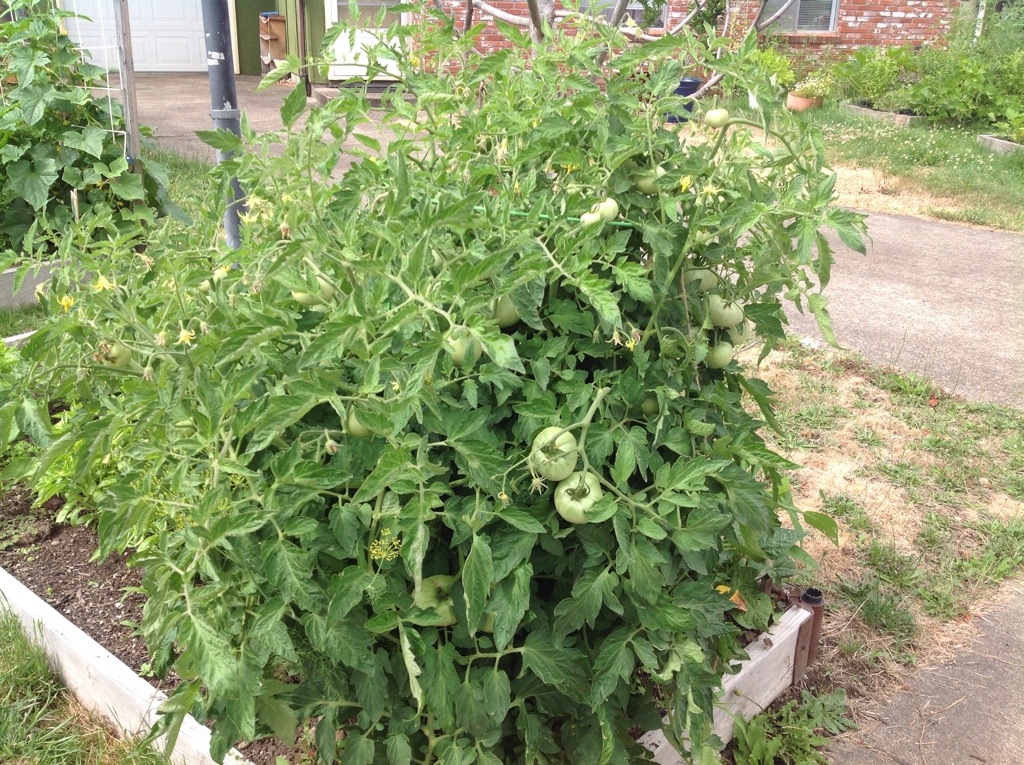
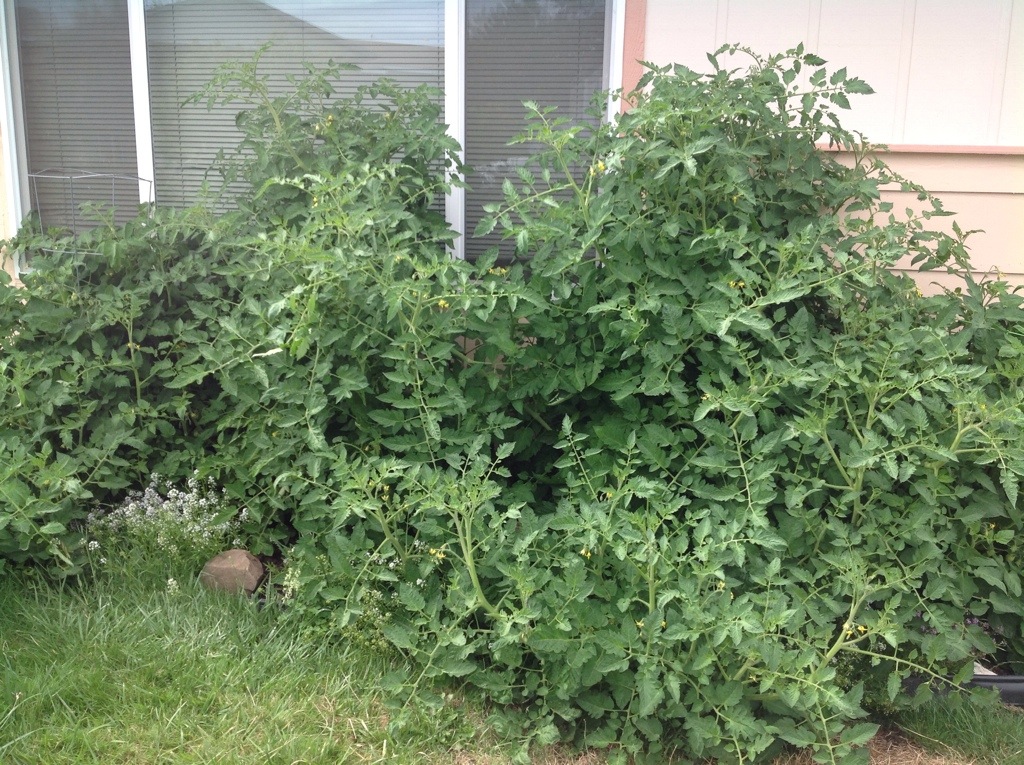
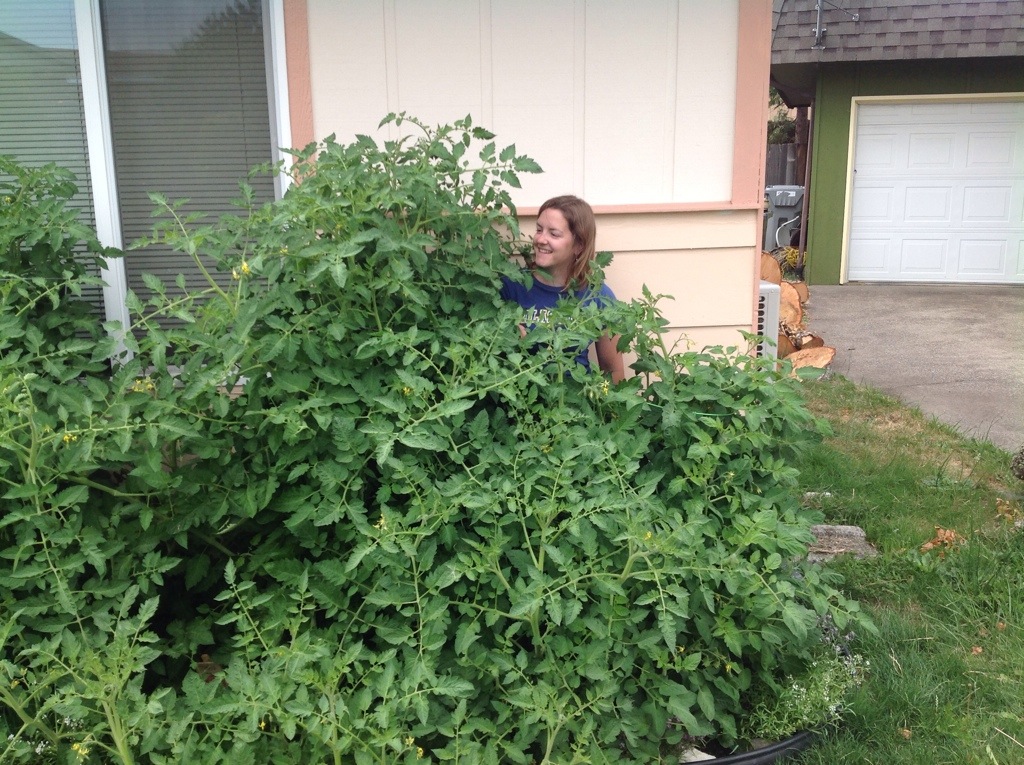
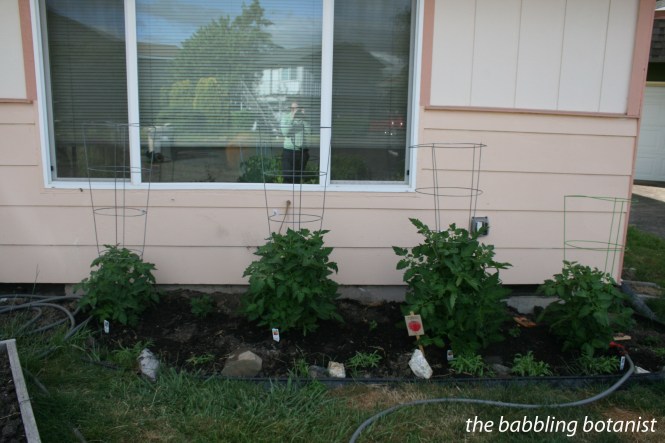
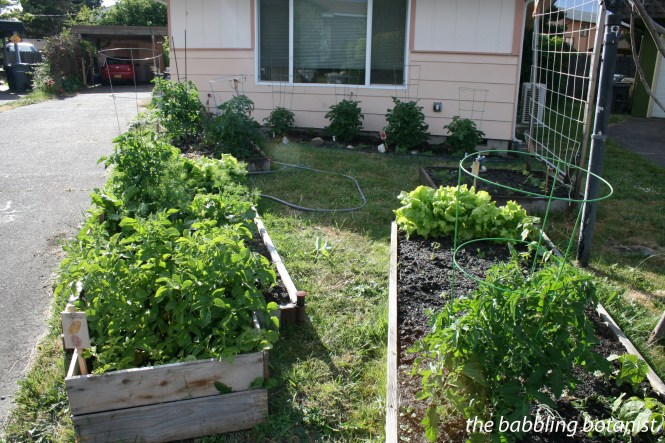
I went for 4 tomatoes in the front of the house, and more throughout the raised beds, 12 in total. This year I did lots of romas, san marzano and grand marzano, then 1 grape tomato, an early girl, and an Oregon spring. Lots of canning in my future! Last year the san marzanos were amazing so I am super excited for them again this year.

IMG_3683 copy

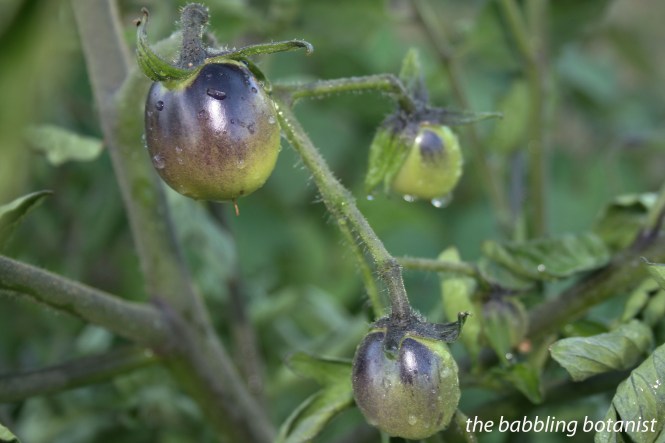
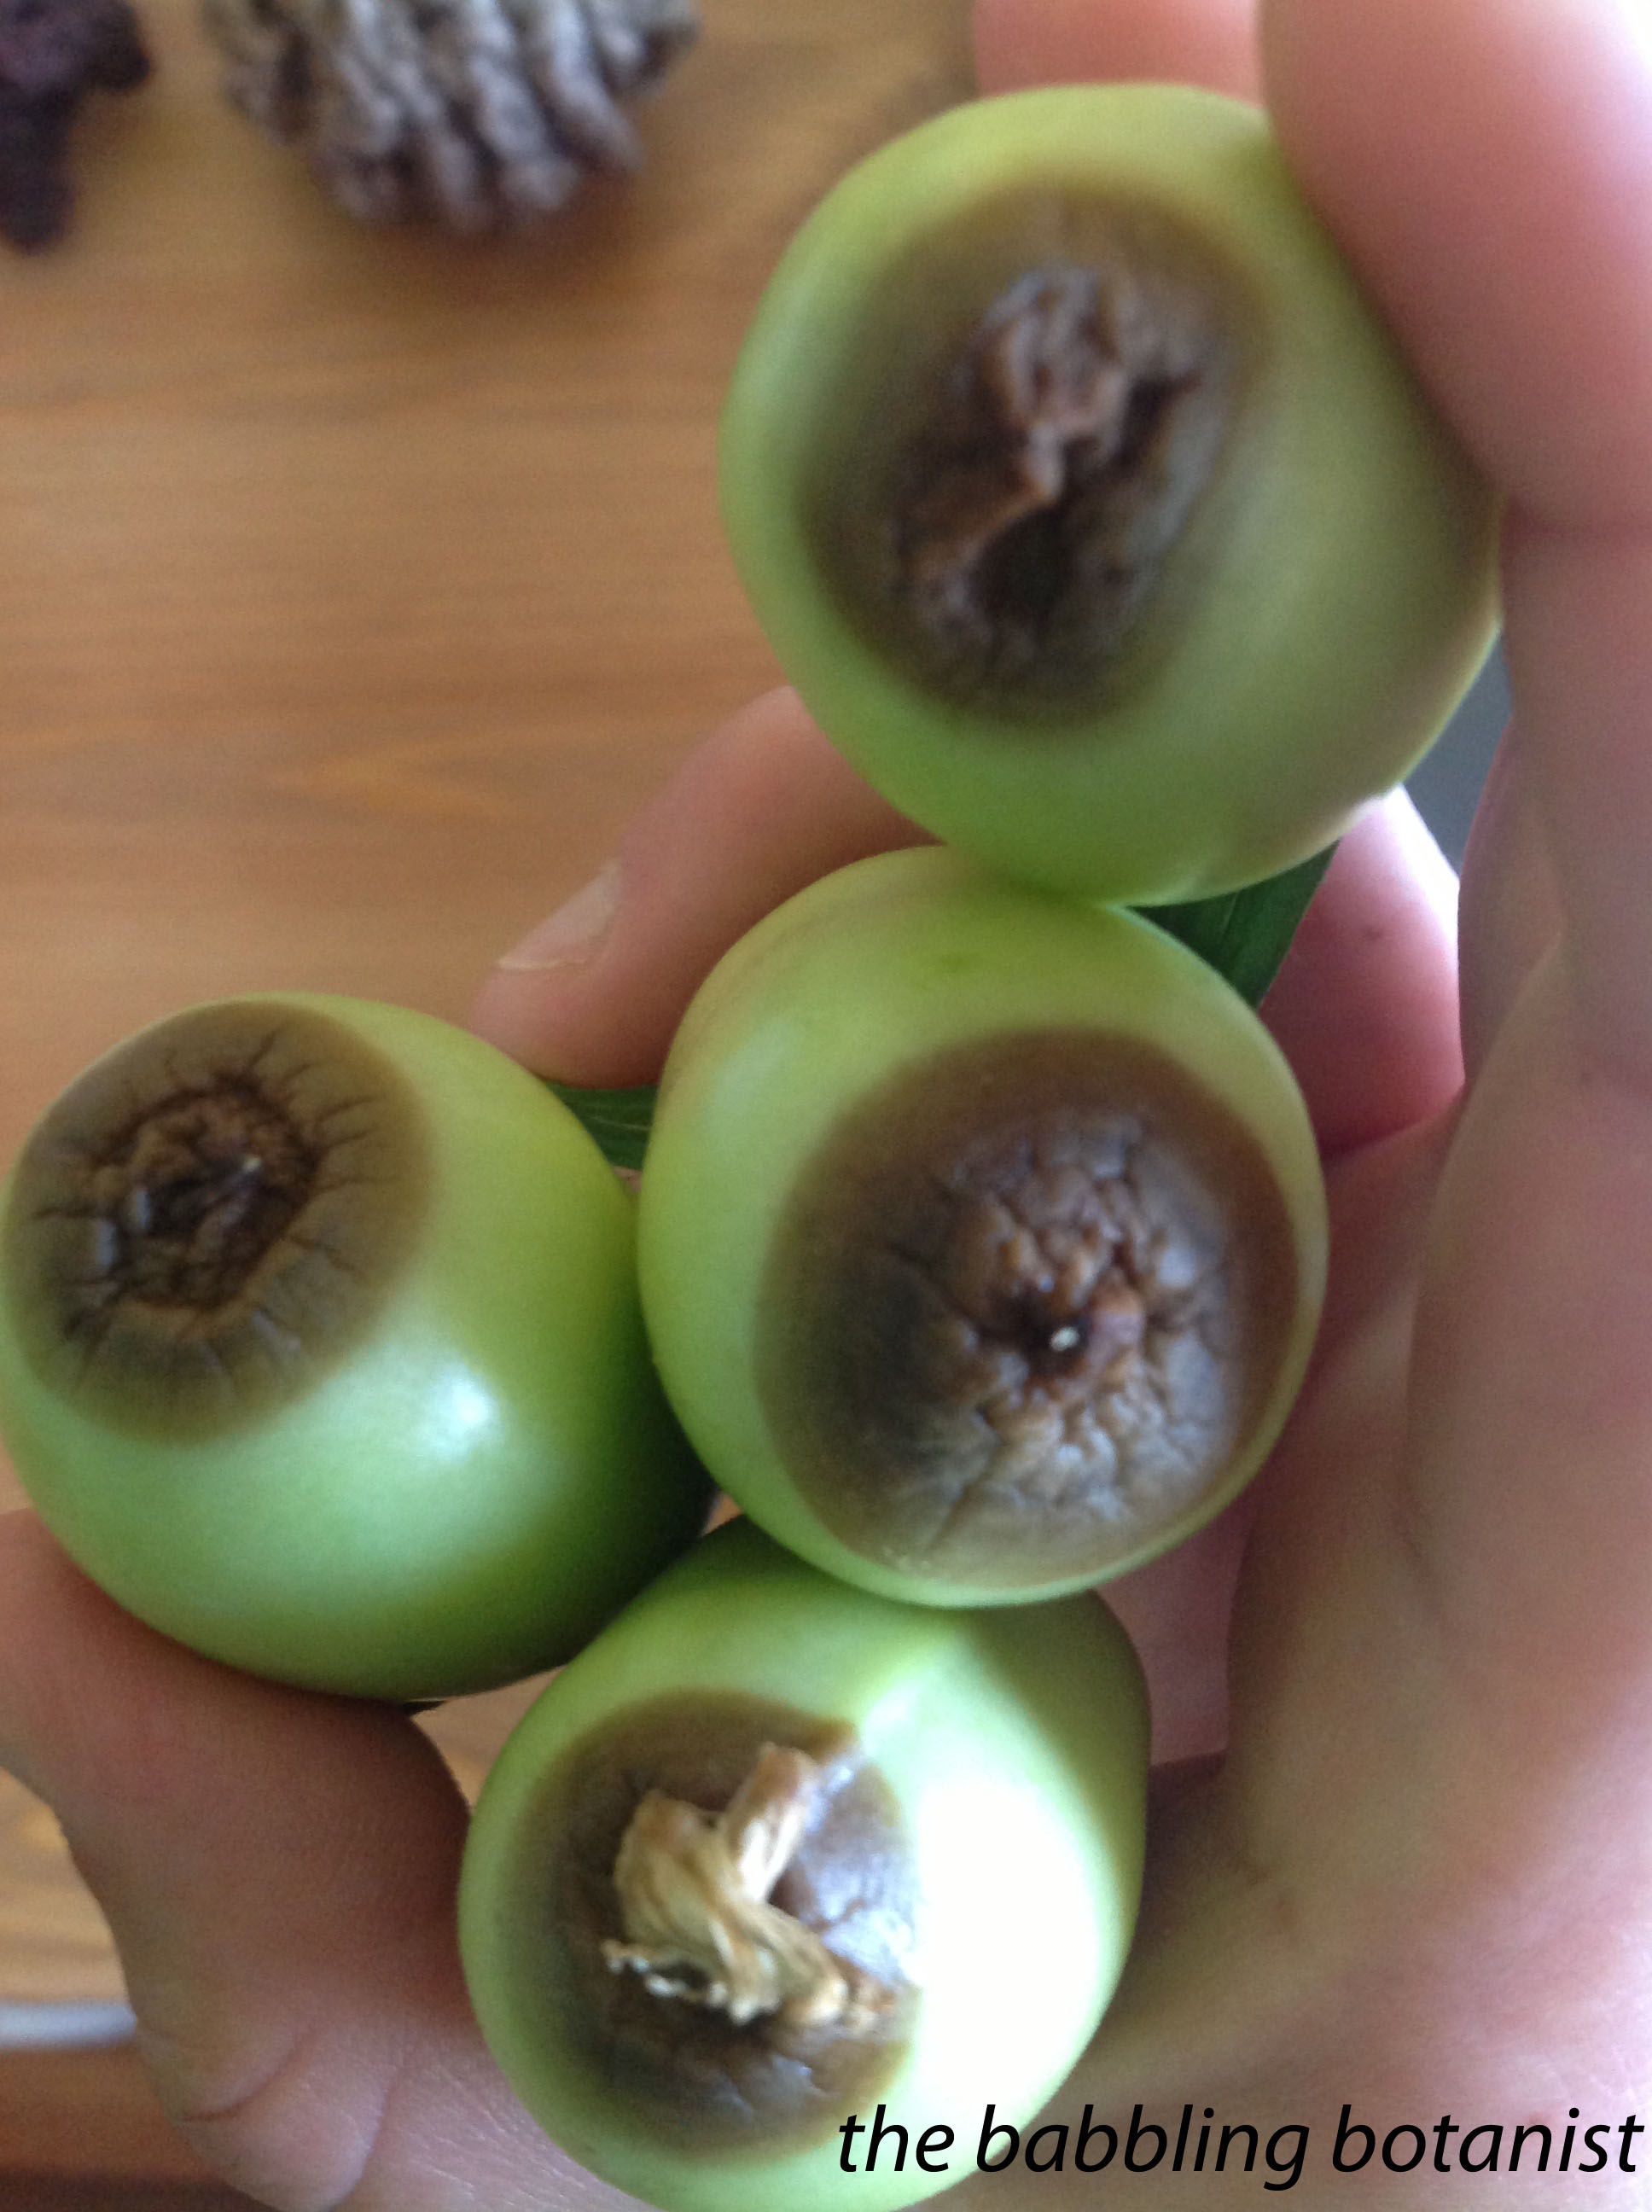
But speaking of tomatoes, we did have one problem with our tomatoes last year. Man! While I don’t claim to be an expert gardener by any means, I will make one recommendation here from what I learned. If you haven’t already, get out there and mix some lime into your soil. Quickly! Like now before even finishing reading this! The picture below is blossom end rot, and it can be caused either by calcium deficiency or inconsistent watering. I definitely watered those babies well, like obsessively well, so I think I must have had a calcium issue. I guess low calcium in the soil prevents plants from absorbing other nutrients properly. Determinate tomatoes are more prone to getting end rot because the tomatoes all come in at once, creating more stress on the plant. You can just cut the end off if it’s not affecting the whole tomato, but I am really hoping I limed enough to avoid it this year.

blossom rot

And here is the whole yard! I’ve got lettuce for days!

IMG_3685 copy

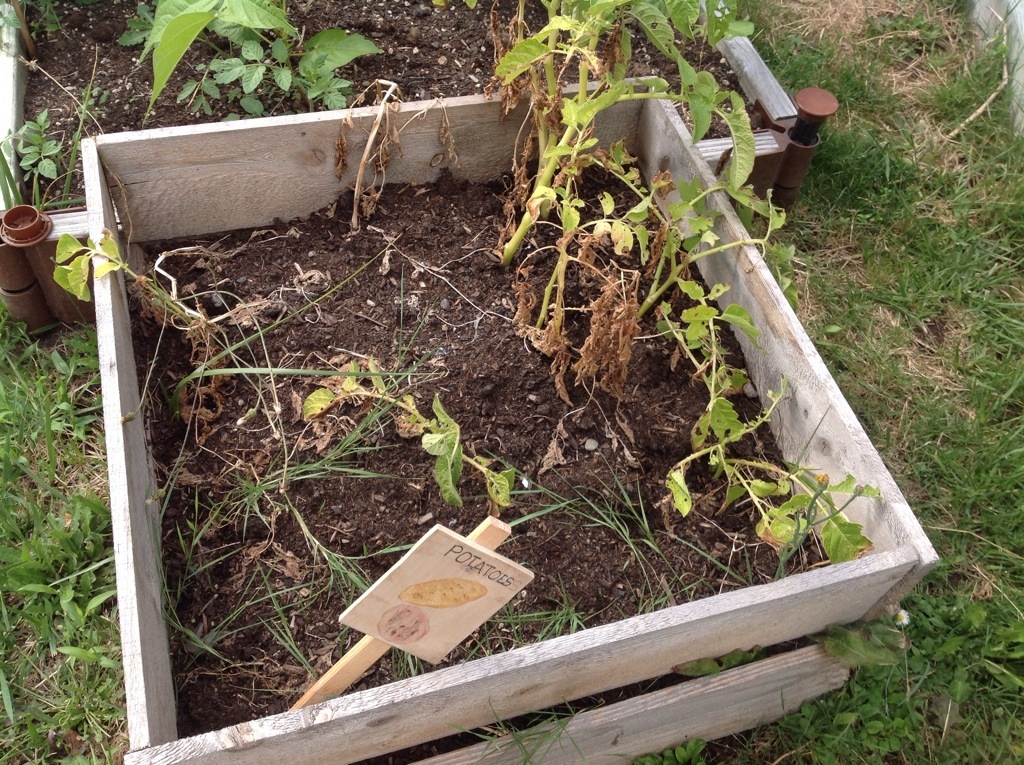
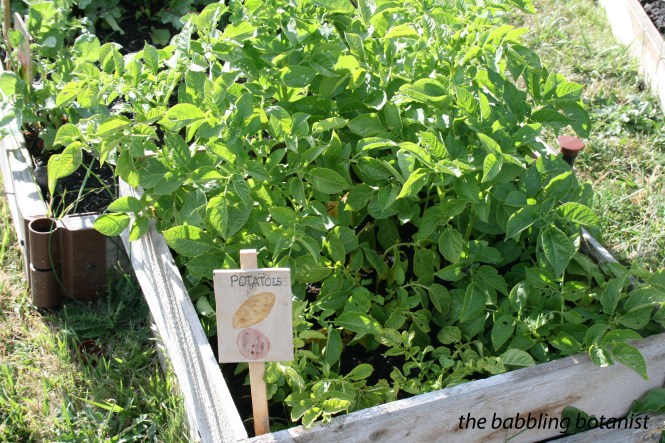
OK, now let’s talk about the potato box! The idea behind growing potatoes in a box is that as the greenery grows up taller, you mound the dirt around them, add more layers of box, and presto, you’ve got potatoes! It’s a great way to grow potatoes, especially in a small area, mine is only 2 feet by 2 feet. When I first decided to build one, I tried finding others who had success with it. I watched a bunch of youtube videos of excited gardeners opening up their boxes, and most of them were complete failures! Very few or no potatoes 😦 So, instead of realizing maybe it doesn’t work, and deciding not to build one, I thought I’d see if it would work for me. We shall see! Last year I got them started a little too late, but still had some potatoes, so I am excited to see how it works out this year. They sure are growing lots of leaves, hopefully there are taters under there!

IMG_3688 copy

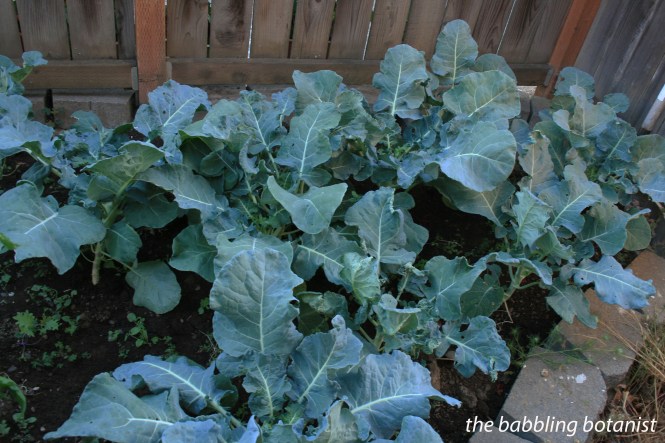
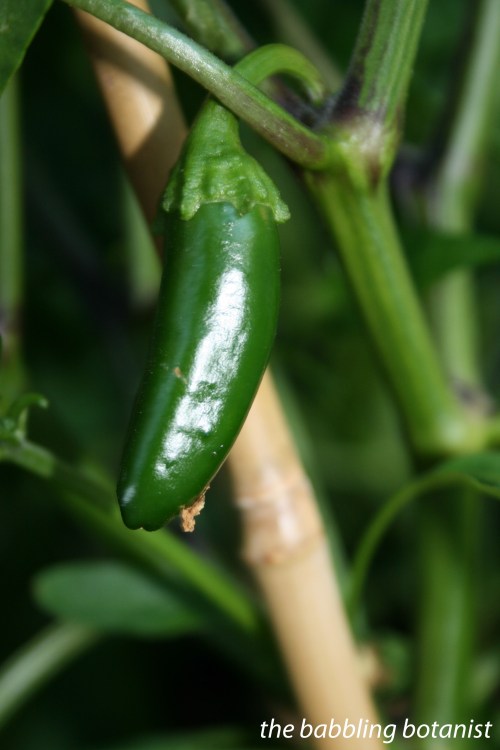
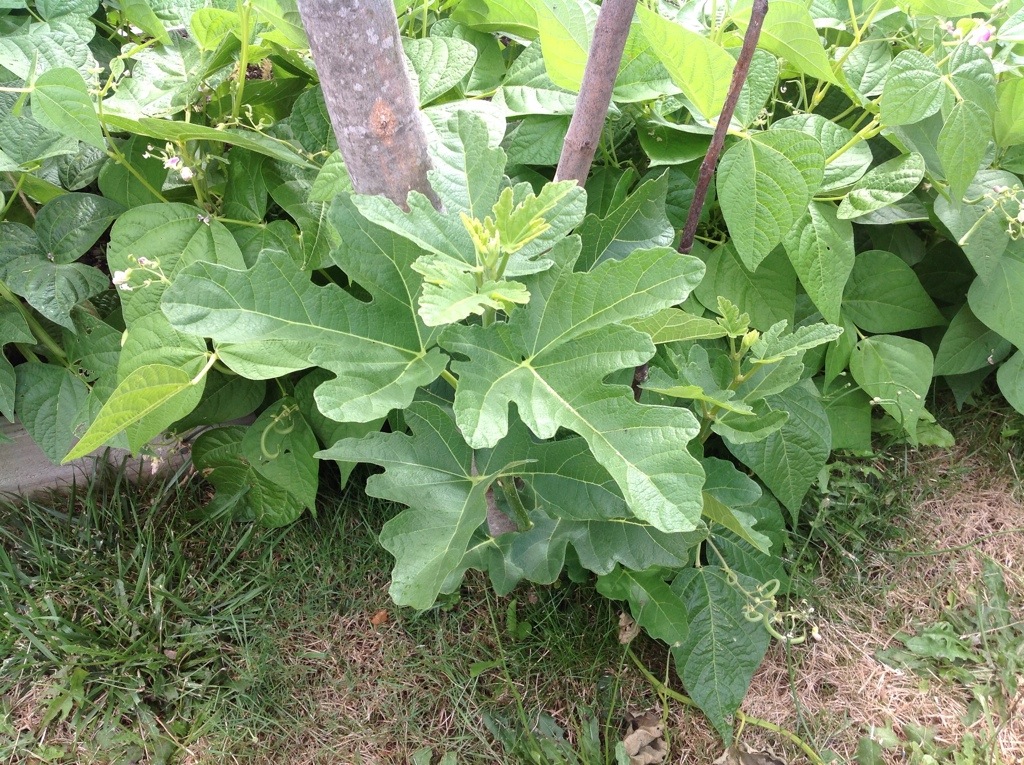
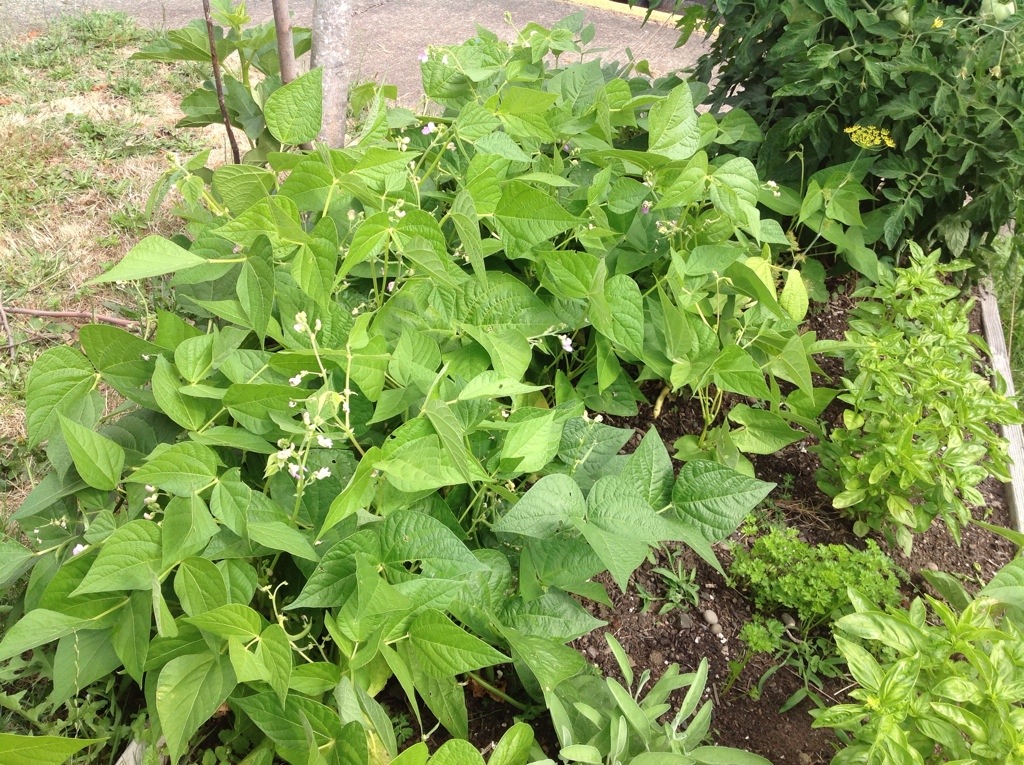
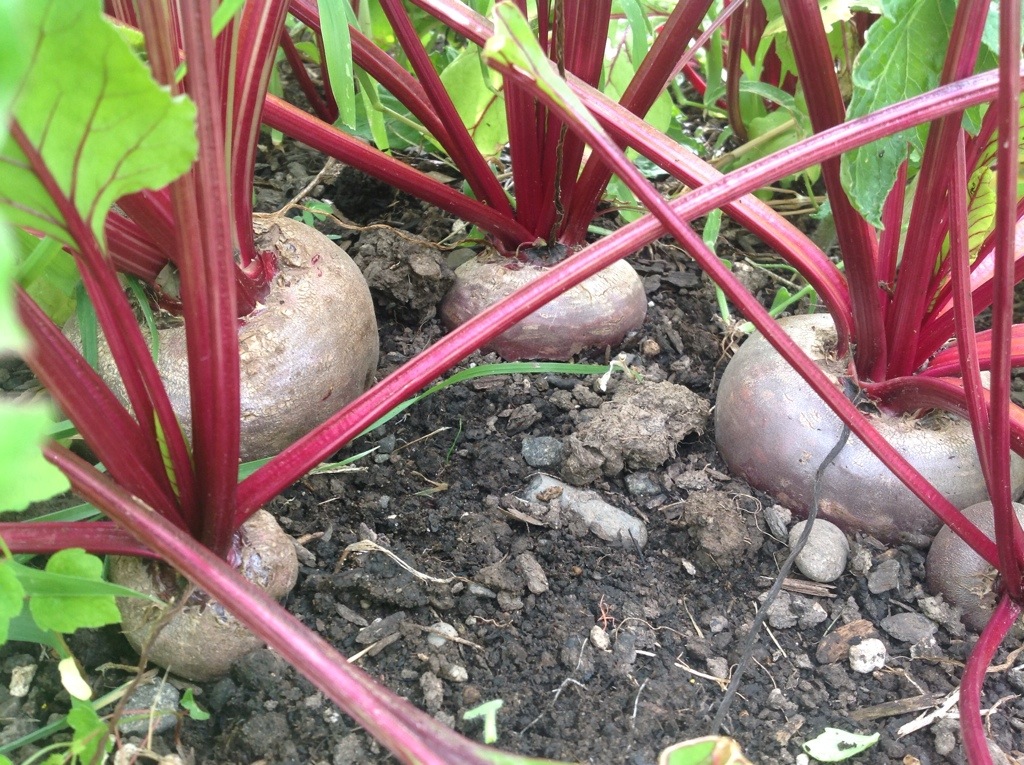
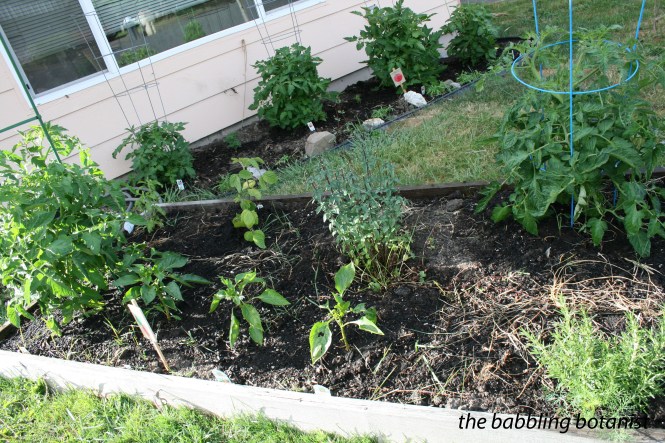
My other beds include more tomatoes, peppers, beans, herbs, edamame, beets and stevia. I also have a bunch of dill growing in random places because I had some go to seed in the garden last year. It’s going to be ready way before the pickling cucs, dang it! And it looks like I forgot a picture of my beety delciousness. Next time I guess!

IMG_3690 copy

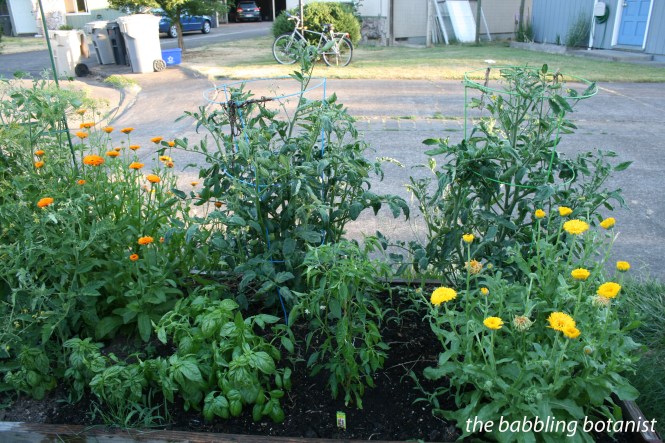
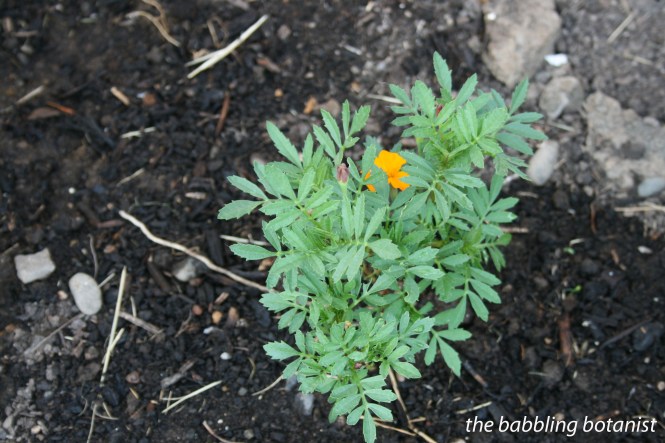
The marigolds I started from seed aren’t too happy, but I’m hoping they start busting out soon.

IMG_3696 copy

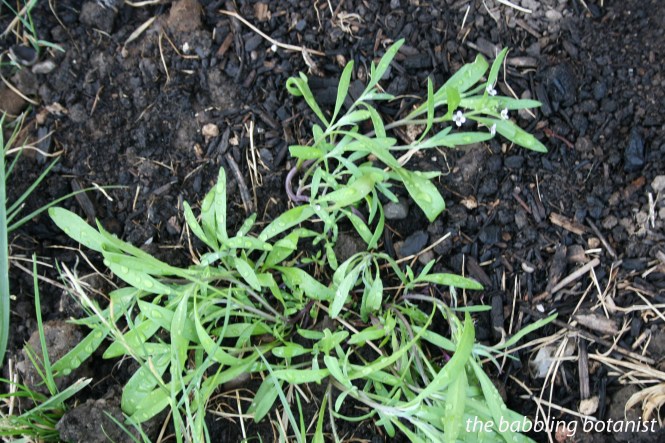
And the alyssum I also started from seed. They were looking teeny and pathetic, so I planted them anyways… now they just look weird and sad. So we’ll see what happens there too. They have a few flowers, but look kind of weird. Not sure what went wrong, oh well.

IMG_3697 copy

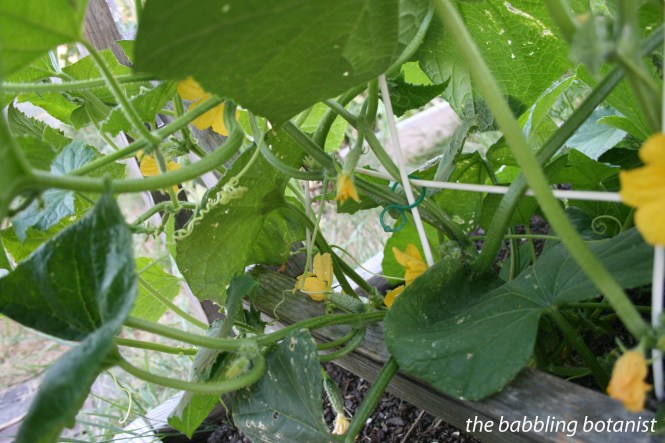
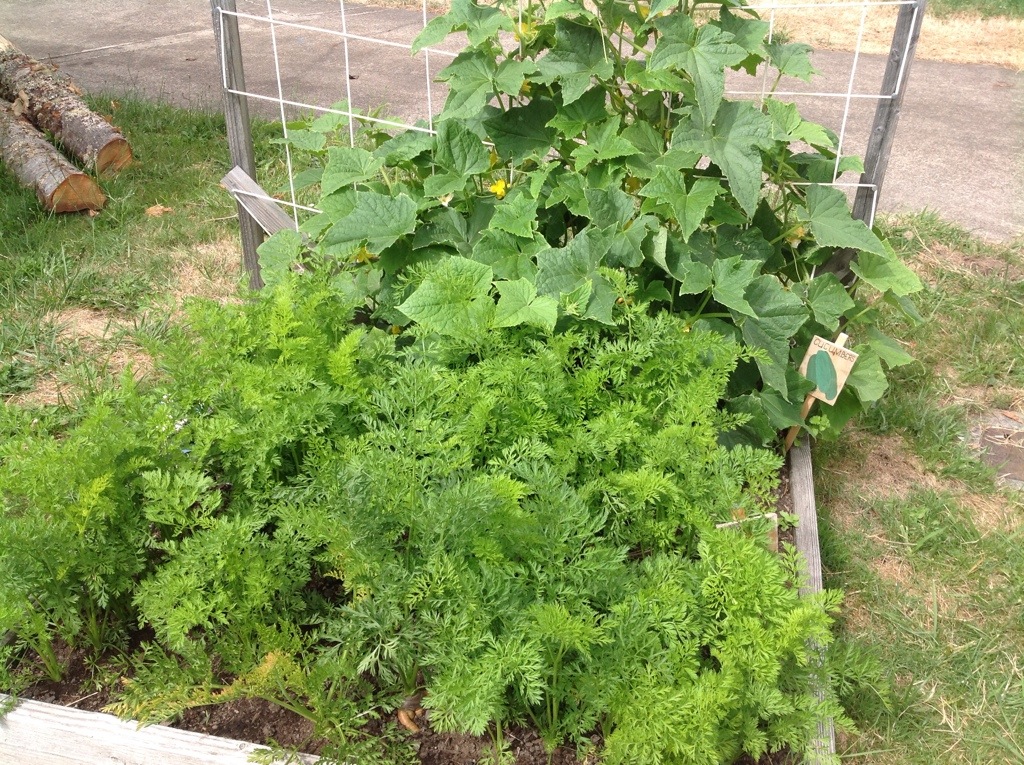
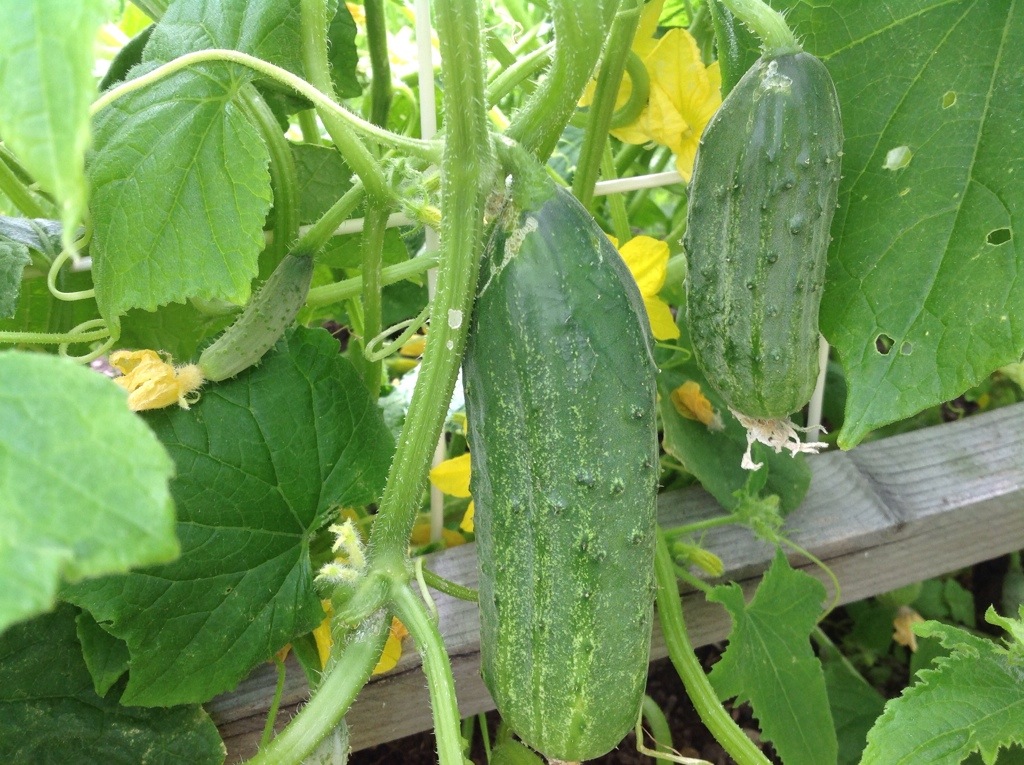
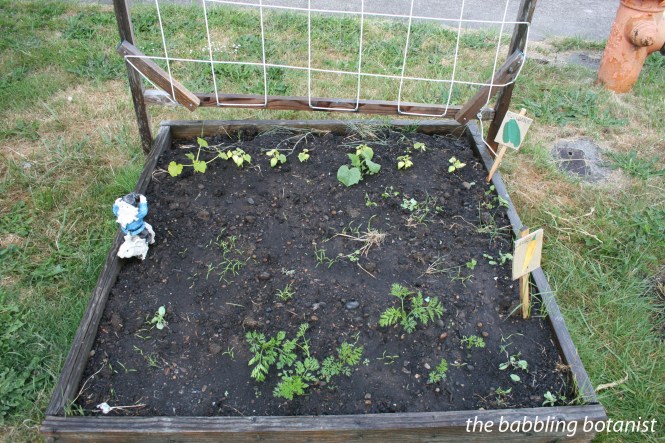
Cucs and carrots. These babies are looking good 🙂 I could have got the carrots in a little sooner than I did, but oh well, we’ll have lots soon.

IMG_3698 copy

OK wow, I realize there were a lot of exclamation points in there. But I am so excited for summer!! YAY GARDEN! This year I stuck with mostly tried and true favorites, with the addiction of stevia and edamame. What are you growing? Any new adventurous plants?

Zesty Zucchini Relish

If you have zucchinis growing in your garden, by mid summer you are probably desperate like me for new and exciting ways to use them up. This zucchini relish, modified from the Ball Complete Book of Home Preserving is a delicious way to do just that. I am not a huge fan of the sweet commercial relishes, so tried a small batch of this at first, but it is so good (not sweet, it has a nice ZESTY flavour). I had to make more! Awesome on hot dogs or sausages!

20130903-211321.jpg

Ingredients:
12 cups finely chopped zucchini
4 cups chopped onions
2 red bell peppers, finely chopped
1 green bell pepper, finely chopped
1/3 cup of canning salt
2.5 cups granulated sugar
2.5 cups white vinegar
1 tbsp ground nutmeg
1 tbsp ground turmeric
1 chili pepper, including seeds, chopped

The recipe also calls for 4 tbsp prepared horseradish, but I find horseradish’s flavour screams “Hi I am horseradish, I am ALL you can taste,” so I leave it out. If you like it though, it could be a nice addition to the recipe. Makes about 5 pints.

Here is what I did:

Finely chop the zucchini. 12 cups took me freaking forever though, so I might recommend trying to whip this up in a food processor. I just like the little cubes, but it was a lot of chopping.

20130902-232050.jpg

Chop the green and red bell pepper, onion and mix them together with the zucchini and the salt.

Cover and leave in a cool place overnight (12 ish hours).

20130902-232114.jpg

The next day, rinse the mixture off in a colander. Squeeze out as much moisture as you can. Get your hands in there and squeeze a handful at a time, and put it in a pot.

20130903-211225.jpg

Add the vinegar, sugar, chili pepper, turmeric and nutmeg (and if you want horseradish) and bring to a boil over medium-high heat.

20130903-211255.jpg

Continue to boil the relish over medium heat. After about 45 minutes or so it should be a pretty good consistency.

While the mixture is boiling down, prepare the canner, jars and lids.

20130903-211355.jpg

Fill the jars, leaving a half inch heat space. Debubble the jars, wipe the rims, place on the lids and tighten the bands finger tip tight. Processing time is 15 minutes for this recipe. Place the jars in the canner covered by at least 1-2 inches of water. Bring to a full rolling boil. After the 15 minutes, turn off the heat, remove the canner lid and wait 5 minutes before removing the jars to a hot pad or towel. Listen to the delightful ping of the jars sealing!

20130903-211453.jpg

Mmmmmm relish.

20130903-211855.jpg

*This post contains affiliate links. Check out the “About the Blogger” page for more information.