Two in One Barbecue Sauce

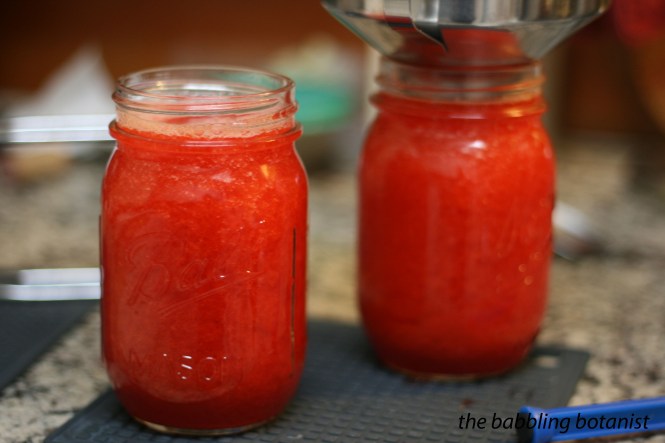
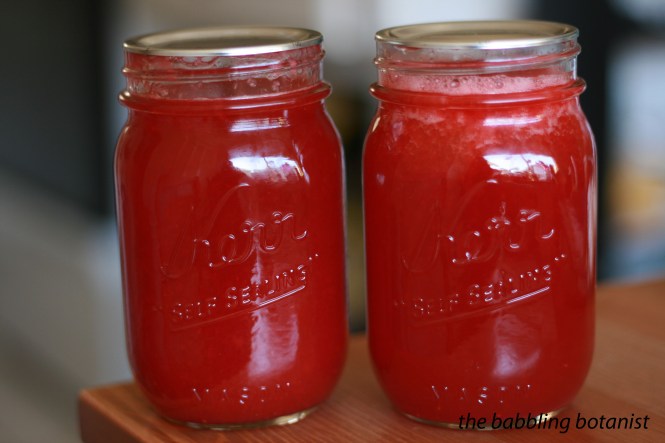
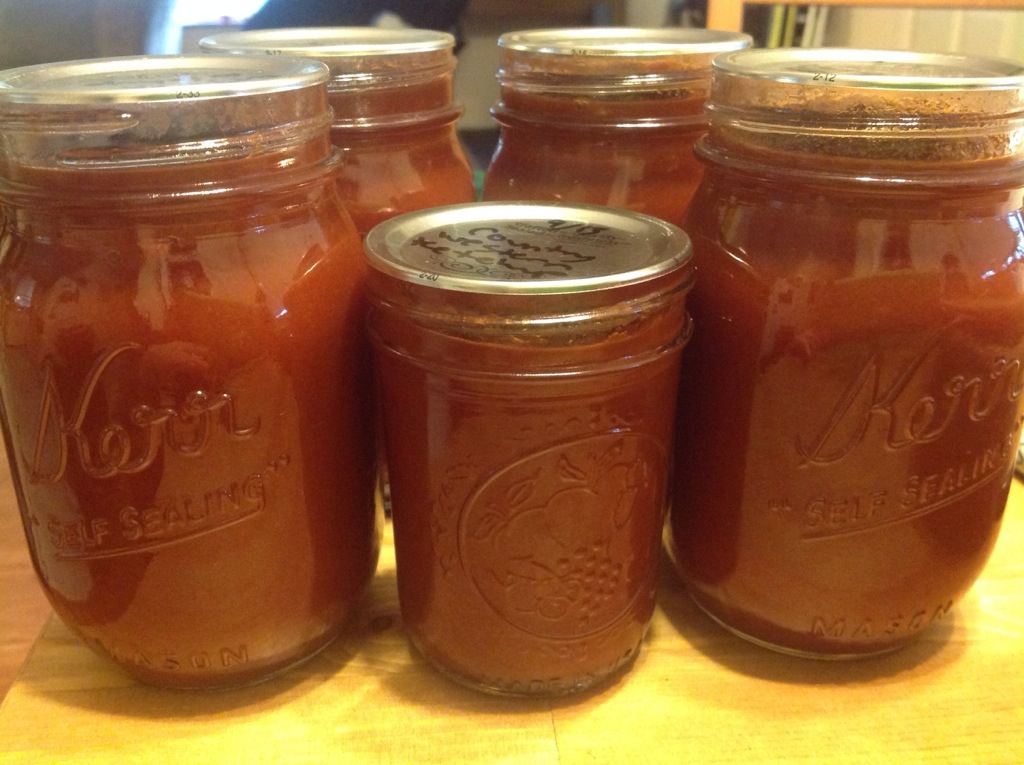
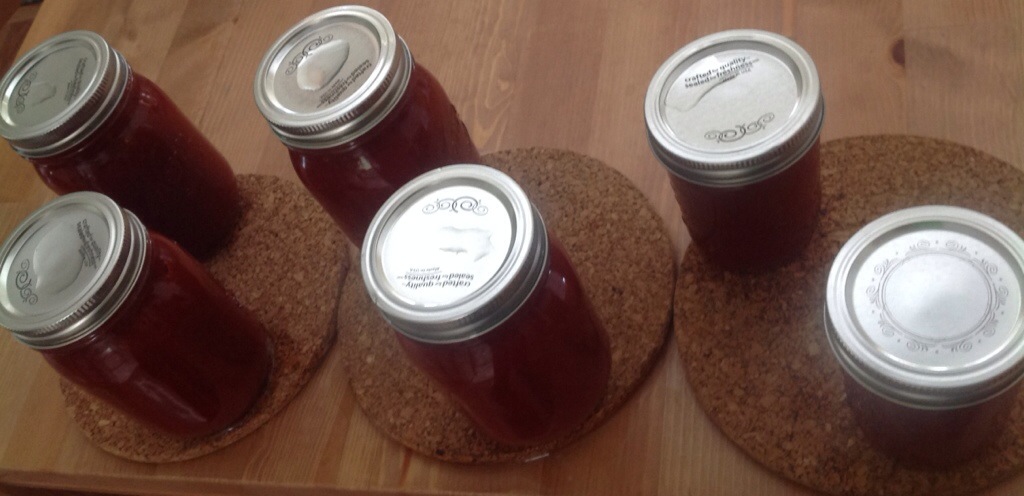
Oh Ball, you have out done yourself on this one. This recipe, from the Ball Complete Book of Home Preserving, makes two awesome barbecue sauces, a stampede style sauce, and a sweet and sour sauce. Make both, or just make one. Left  is the stampede style, and right is the sweet and sour.

IMG_4242

Ingredients:
Base:
16 cups seeded, peeled, pureed tomatoes
2 1/4 cups seeded, pureed green bell peppers
2 cups pureed onions
3 cloves garlic, finely chopped
2 tbsp mustard seeds, crushed
1 tbsp celery seeds
2 dried chili peppers, seeded and crushed

Stampede-Style ingredients:
3/4 cup mild flavored or fancy molasses
3/4 cup malt vinegar
1/3 cup Worcestershire sauce
2 tbsp chili powder
2 tsp freshly ground black pepper

Sweet and Sour Sauce:
1 tbsp finely chopped ginger root
3/4 cup honey
3/4 cup cider vinegar
1/2 cup soy sauce
2 cups canned crushed pineapple, with juice

Here’s how to make it. Just as a note, since I was slightly confused until I reach the sidebar. This recipe is designed to make 6 pints, 3 of each type of sauce. So, if you just want to make one of the sauces, you’ll want to make the base sauce, and then double the ingredients from the one that you want to make. Otherwise what we’ll be doing is making the base, then splitting it into two pots and making 3 pints of each sauce.

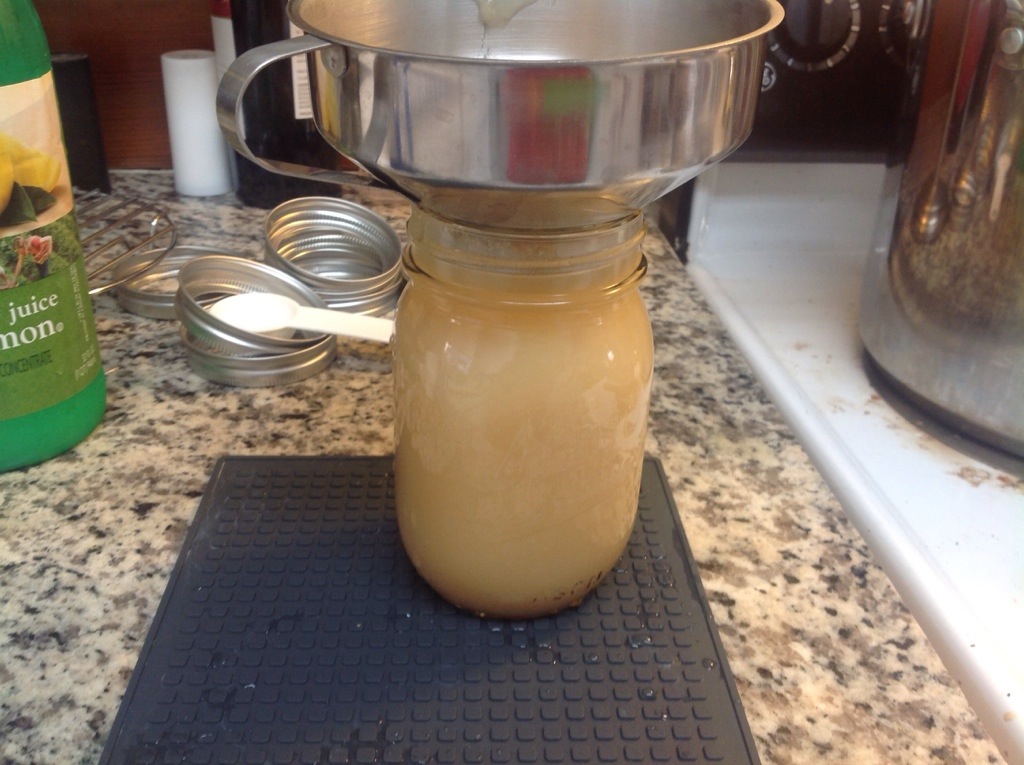
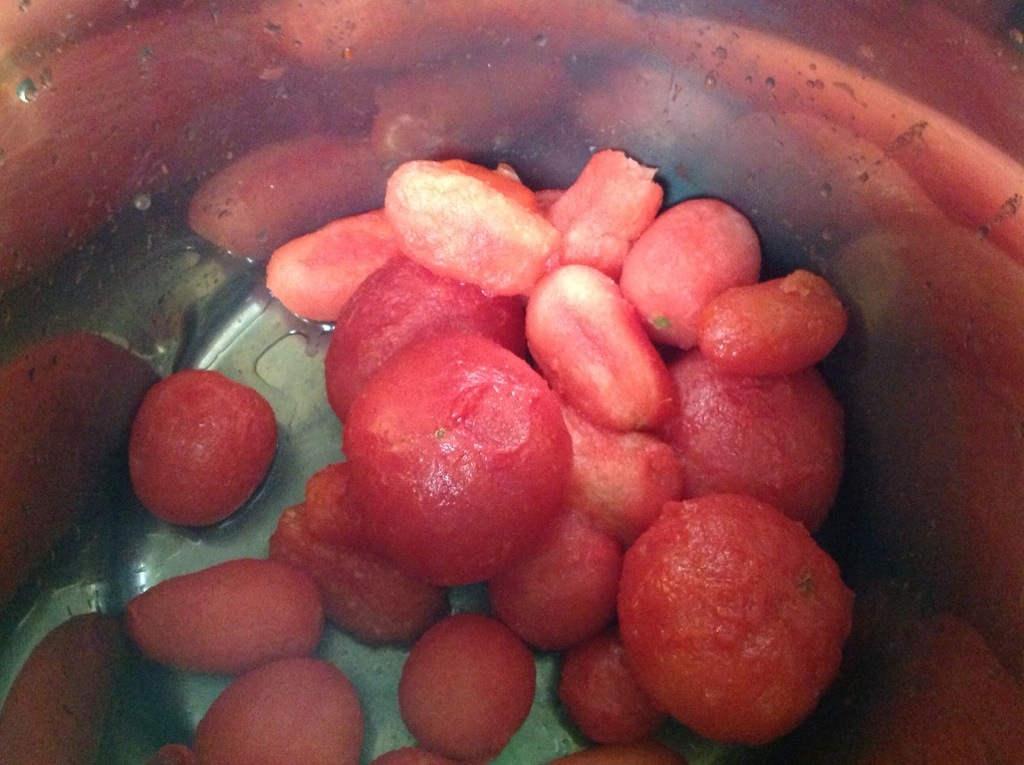
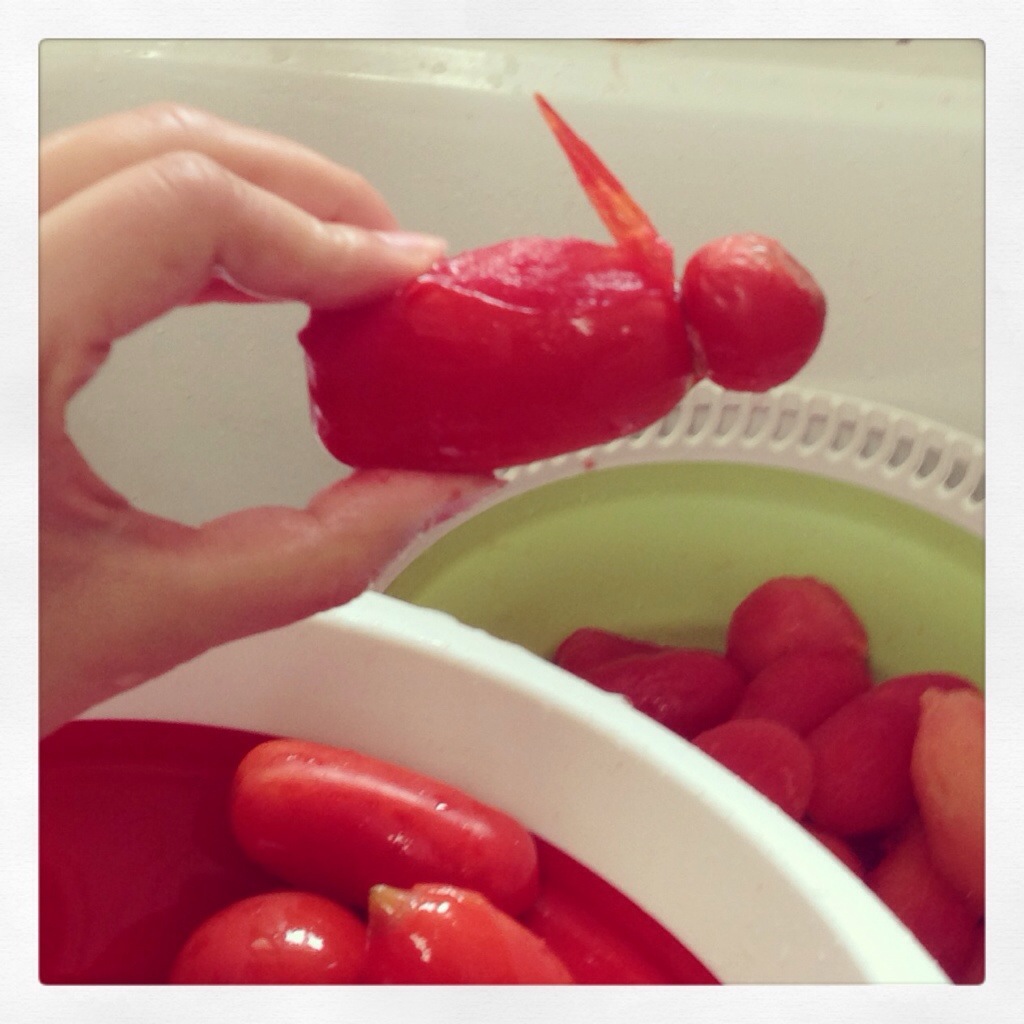
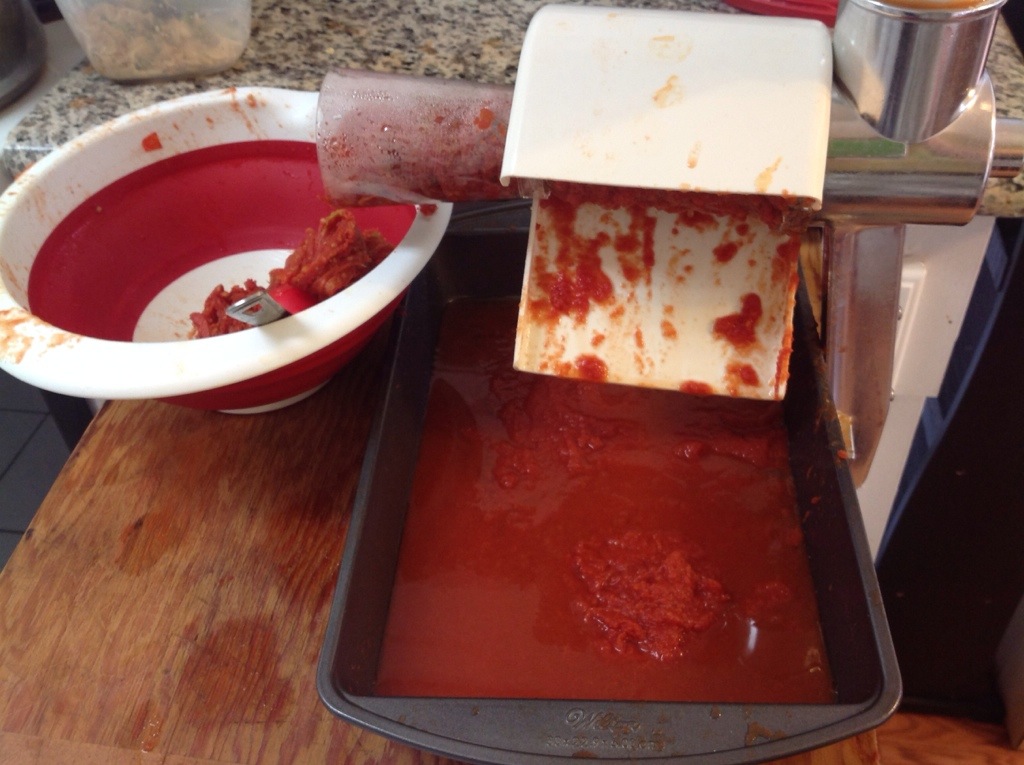
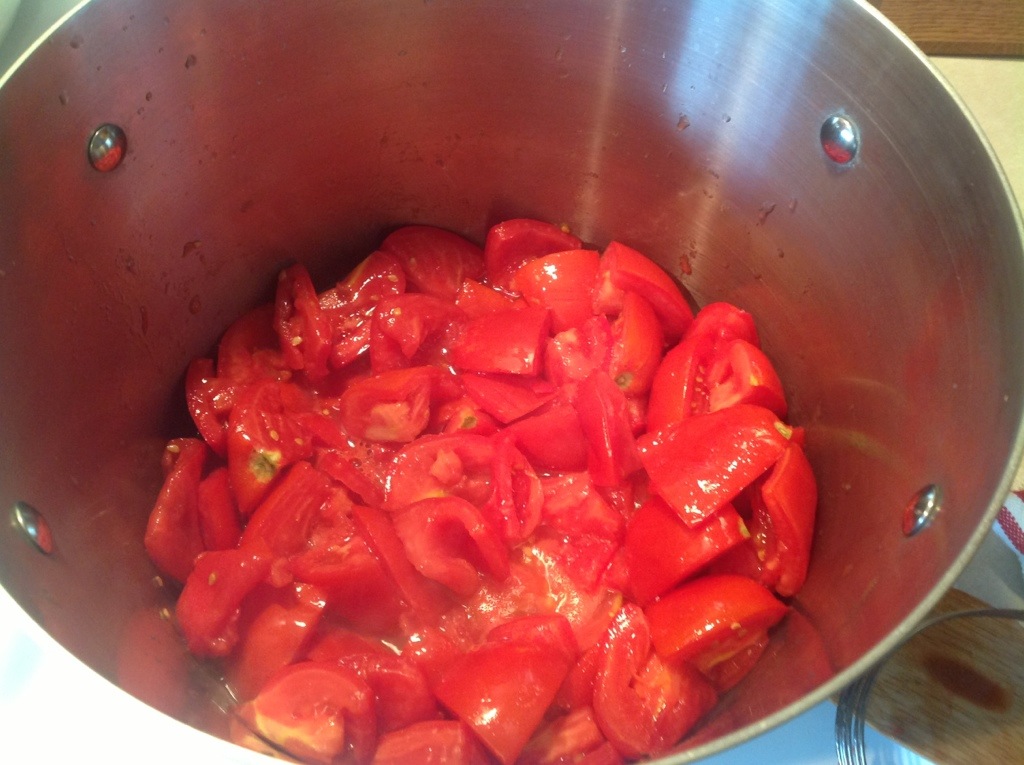
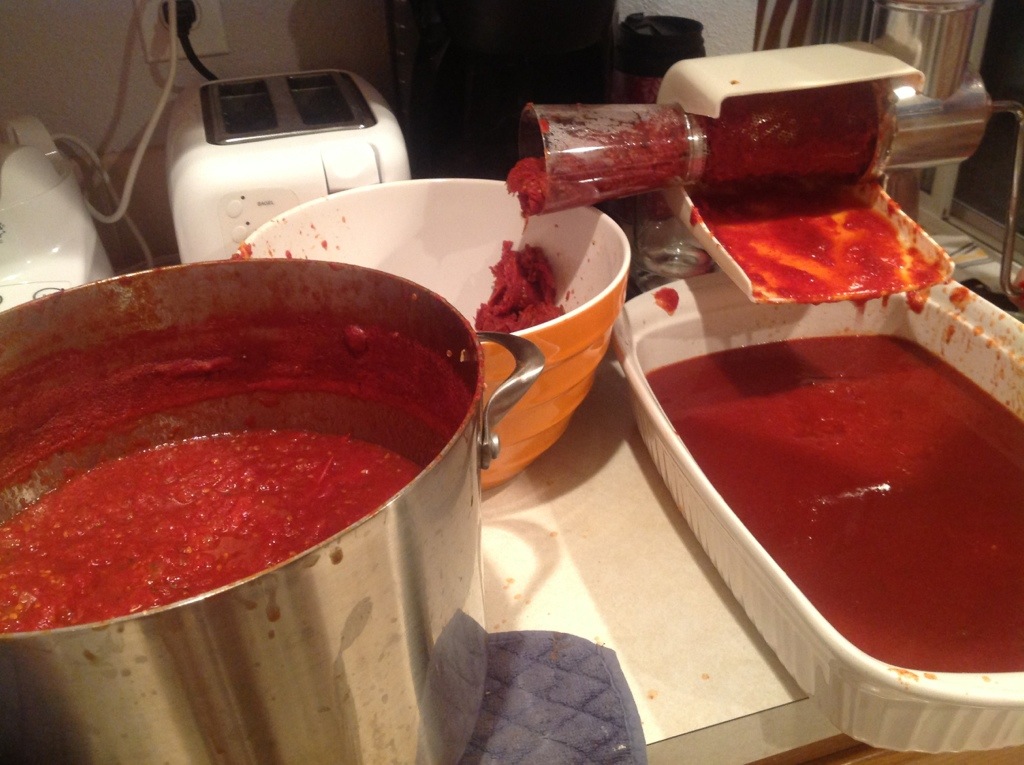
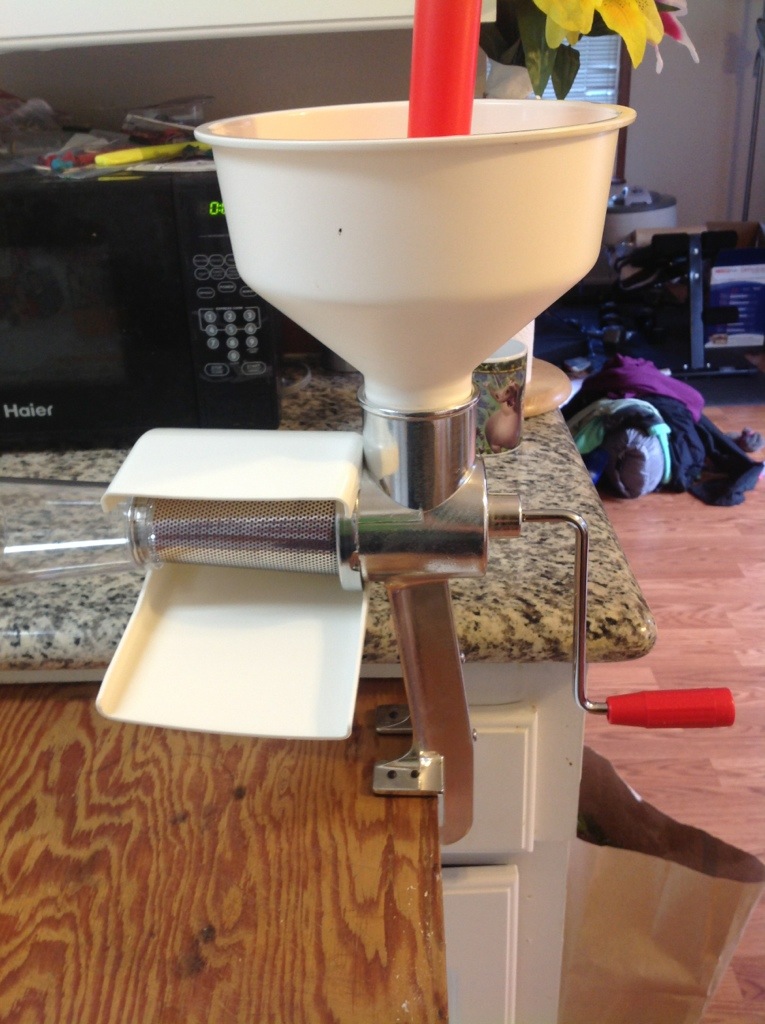
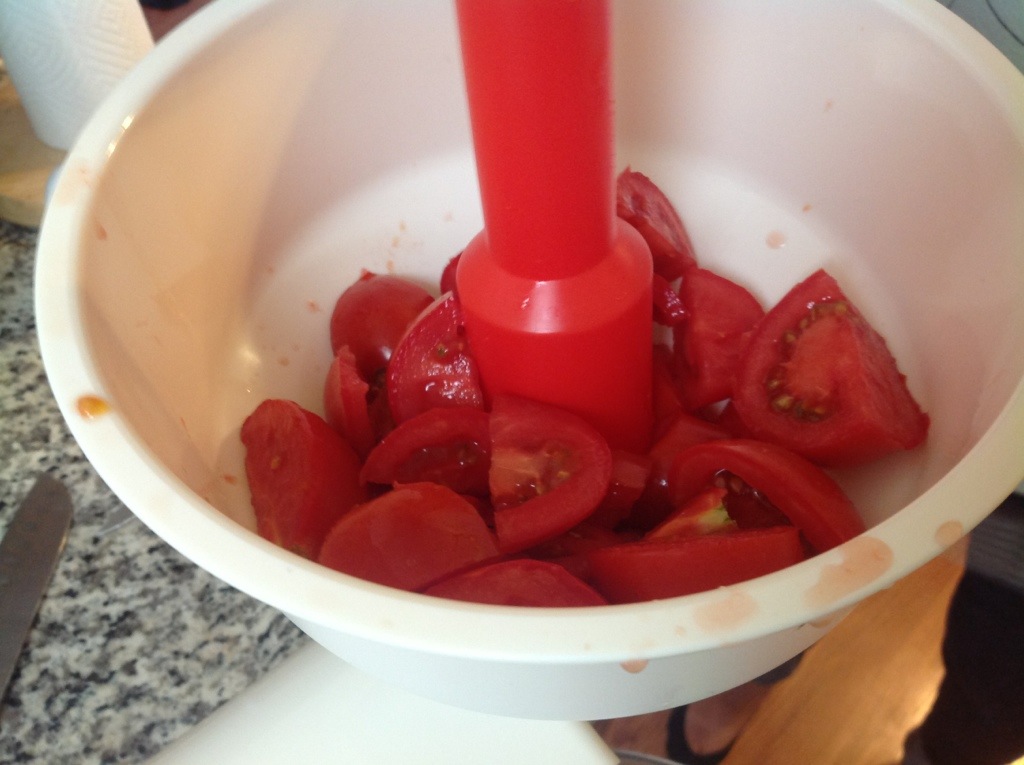
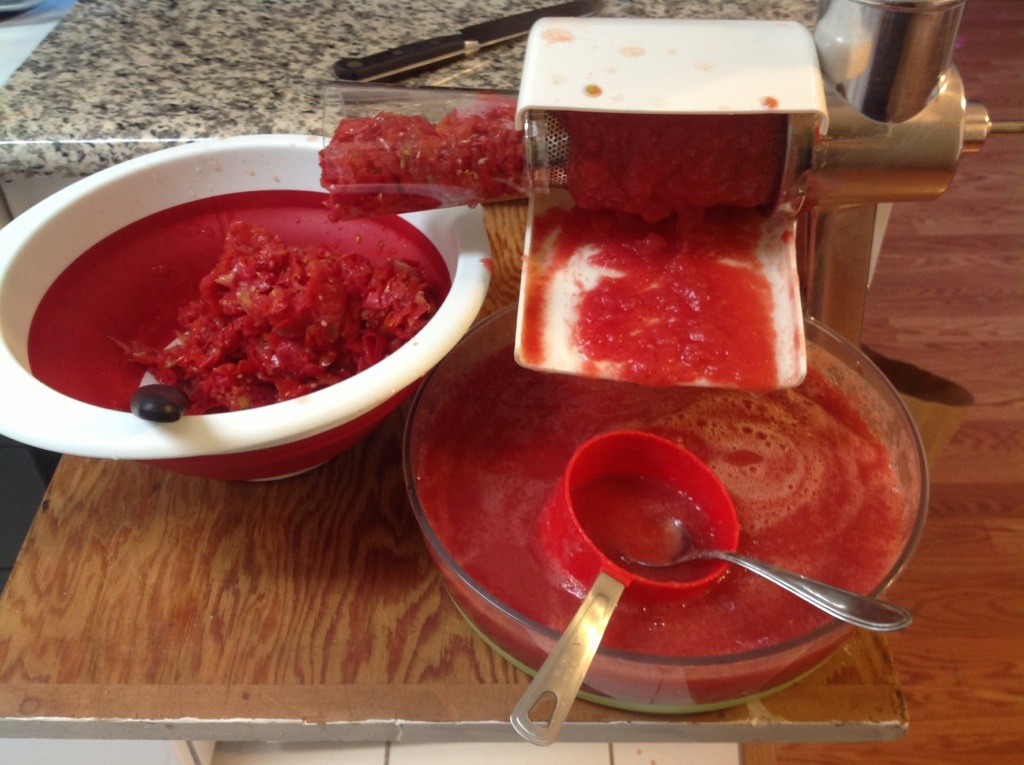
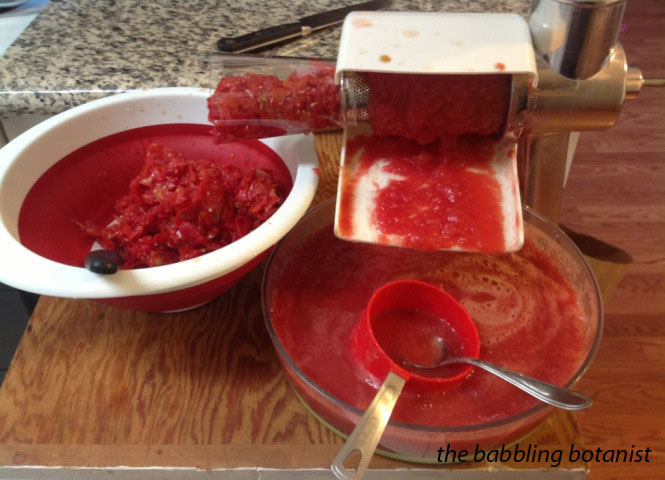
Step 1. Puree the tomatoes. Of course, this is much easier with a food strainer, like this Victorio Strainer pictured below. If you don’t have one though, never fear. Peel and seed your tomatoes, and them blend them to puree. Or just buy a strainer.

20130902-111511

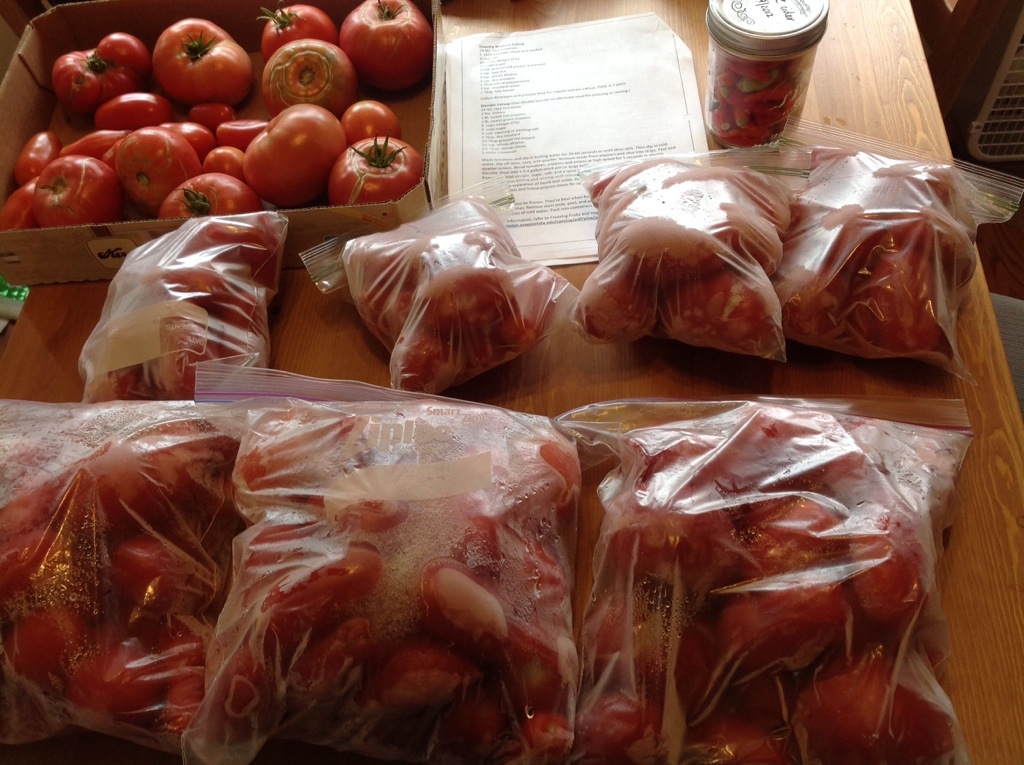
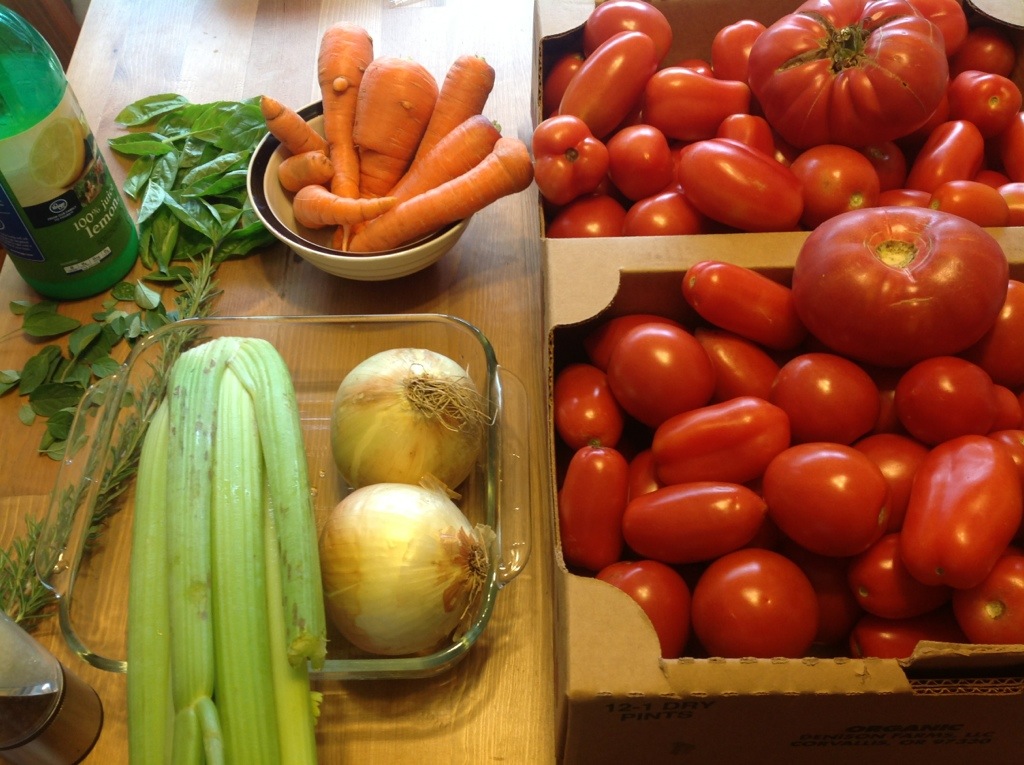
For this endeavor, Kiki had texted me that she had scored some tomatoes for dirt cheap, and asked if would I help her process them. I was thinking she’d probably have a small box we could just add to the sauce I was already making, but she showed up with a giant box that I now wish that I had weighed. We had a TON of puree when we finished, and through some ridiculous canning miracle it was actually almost exactly 32 cups, so we doubled the recipe.

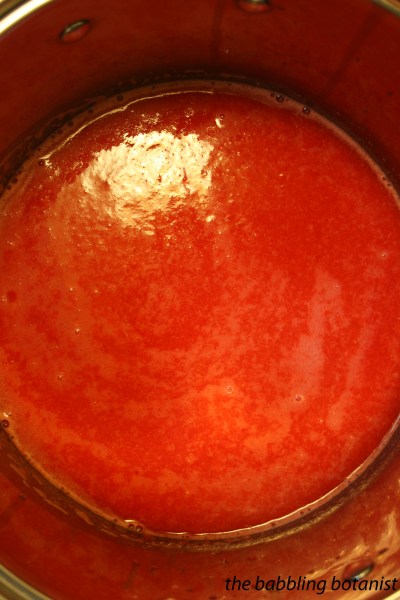
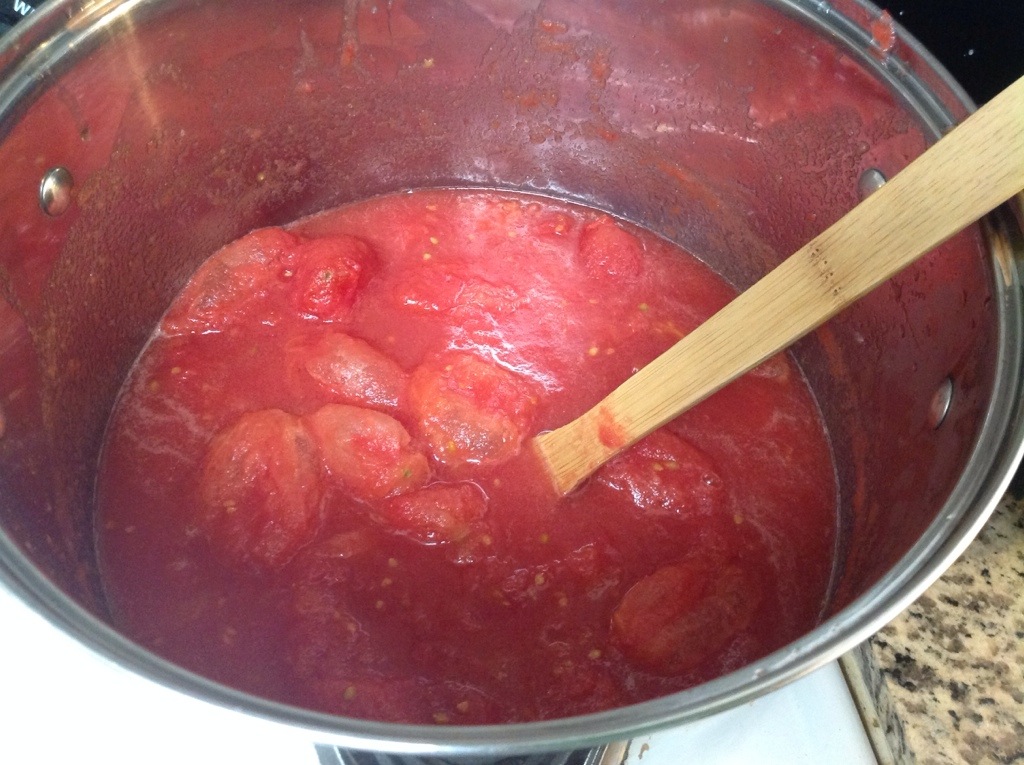
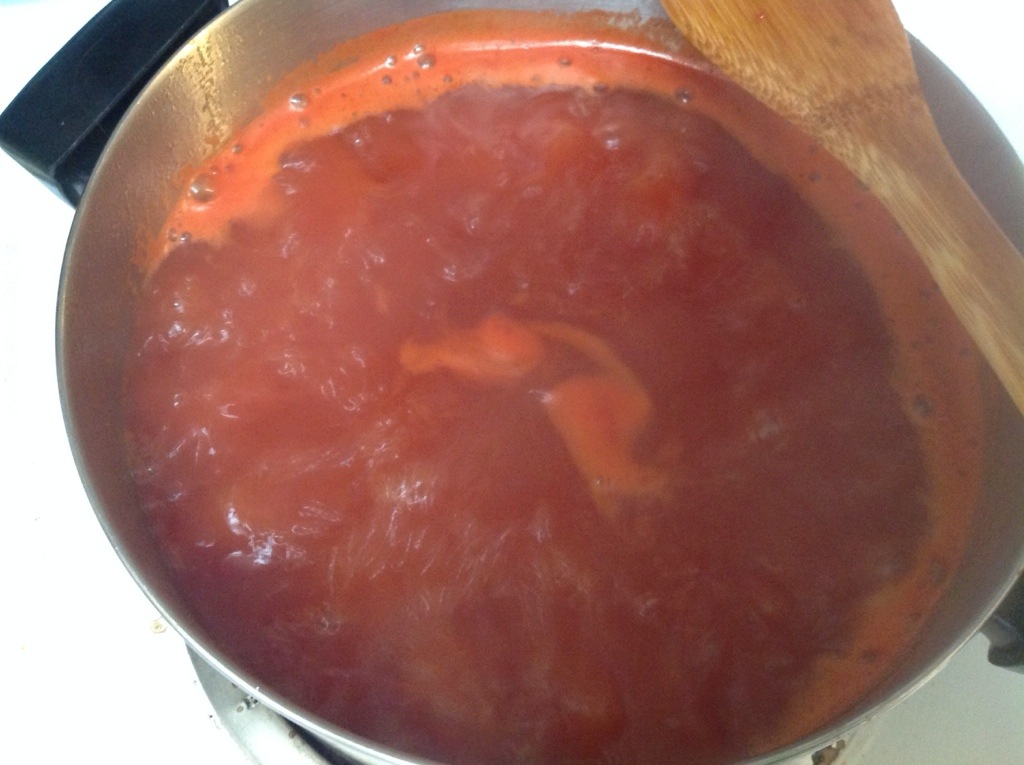
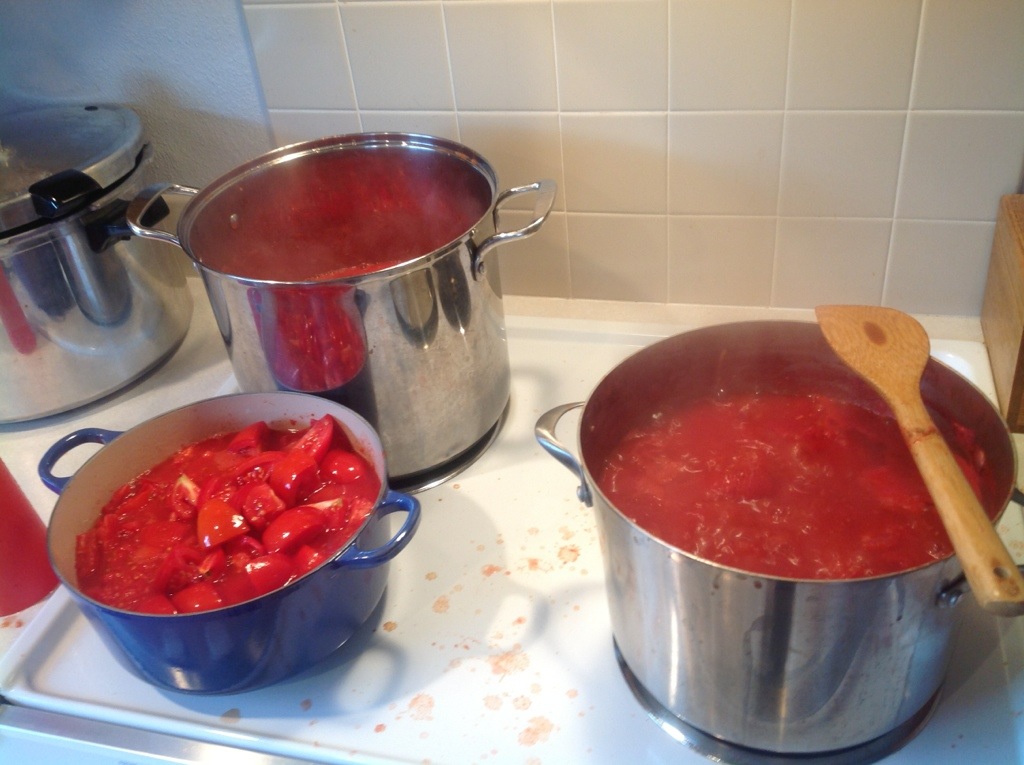
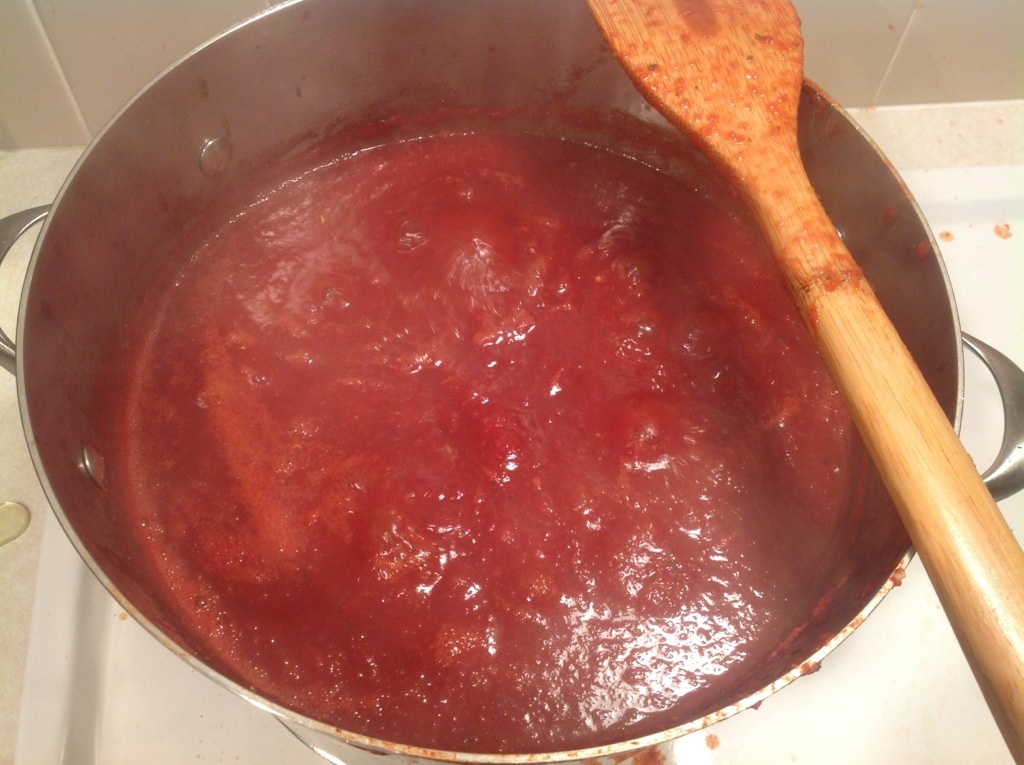
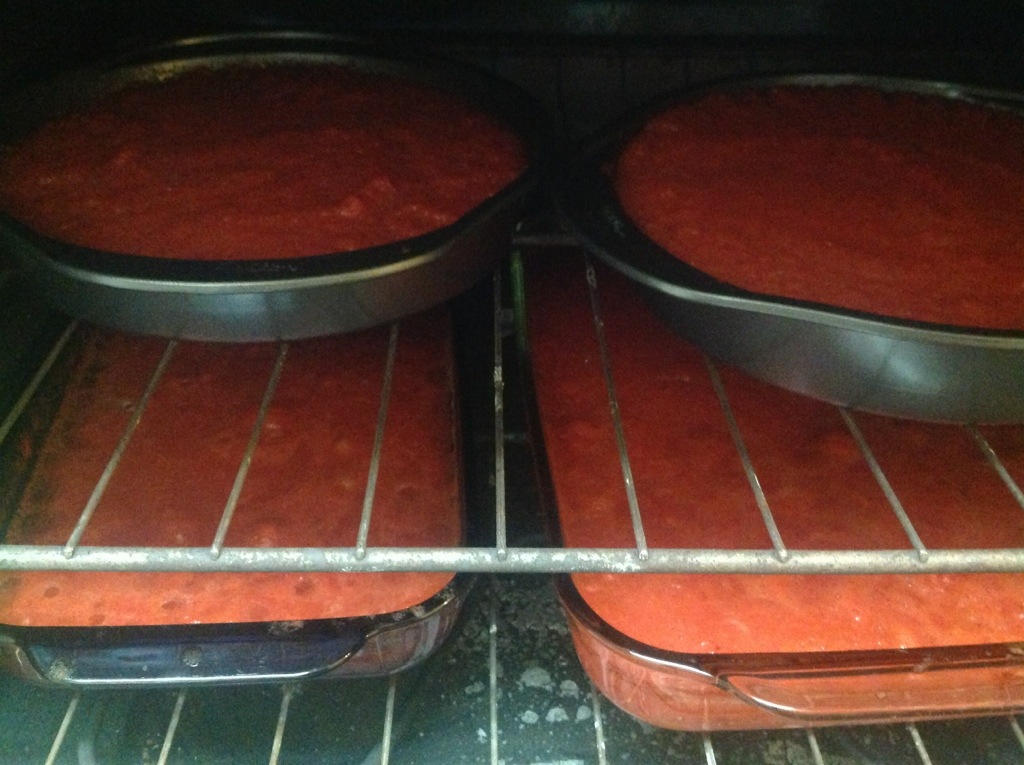
While you prepare the rest of the ingredients you’ll want to get the tomato puree going on the stove so that it will reduce down to make you a nice thick sauce. Add some of it to a large stainless steel pot and bring it to a boil over high heat. Gradually add in more puree, maintaining the boil and stirring constantly, until it’s all in the pot. Continue to boil for at least an hour, or until reduced by about a half. If you are just doing a relaxing session, reduce the heat and let it simmer away for a while. If you want to reduce it faster, you could also divide it up into multiple pots for a while, and recombine it later.

IMG_4165 copy

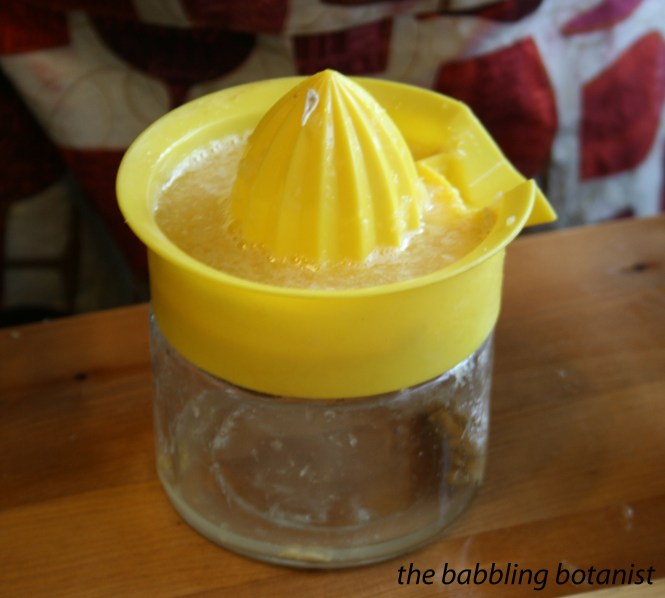
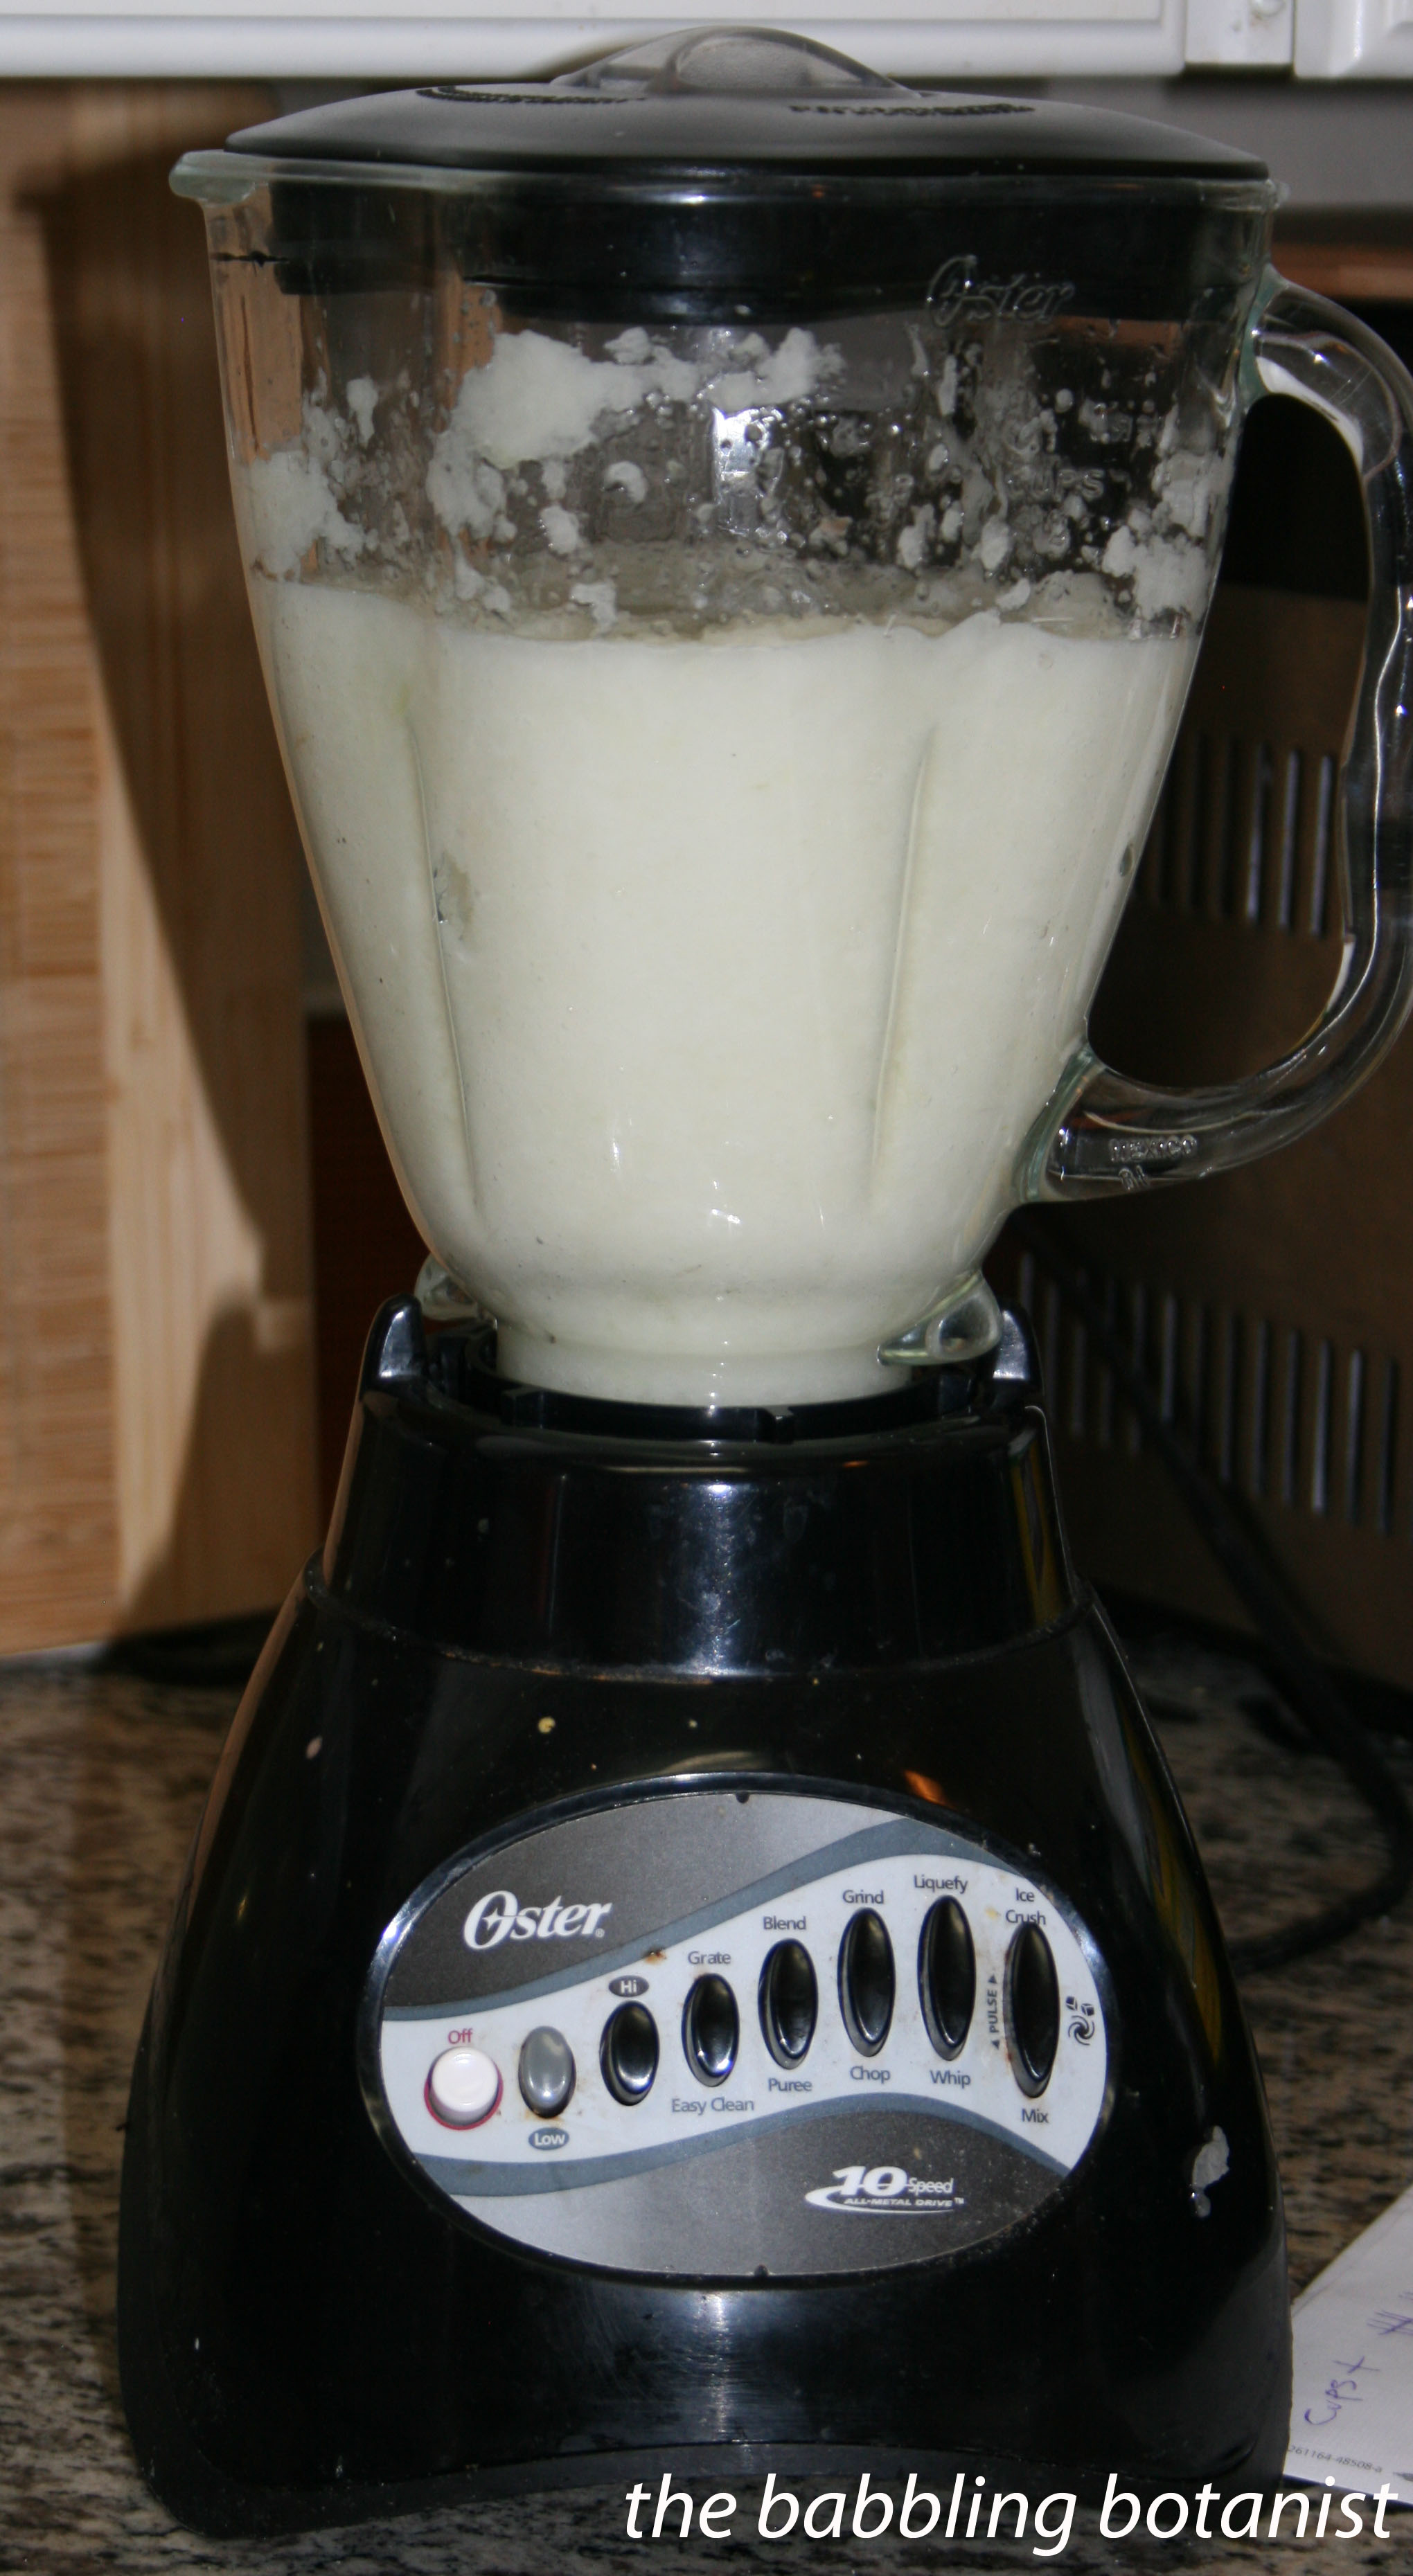
Meanwhile, puree the onions in the blender. The best way to get it going if you just have a normal old crappy blender is to cut some of them quite finely at the beginning, so that you can get some liquid onion. Once you’ve got a bit already pureed you can add pieces that are a bit bigger. Don’t mistake this concoction for a piña colada. It sure looks like one, but would certainly not go down so smooth.

IMG_4169

Next you want to puree the peppers, following the same procedure. We used almost all green but had a small red one too you can see we threw in there. Looks pretty nasty at this stage.

IMG_4173 copy

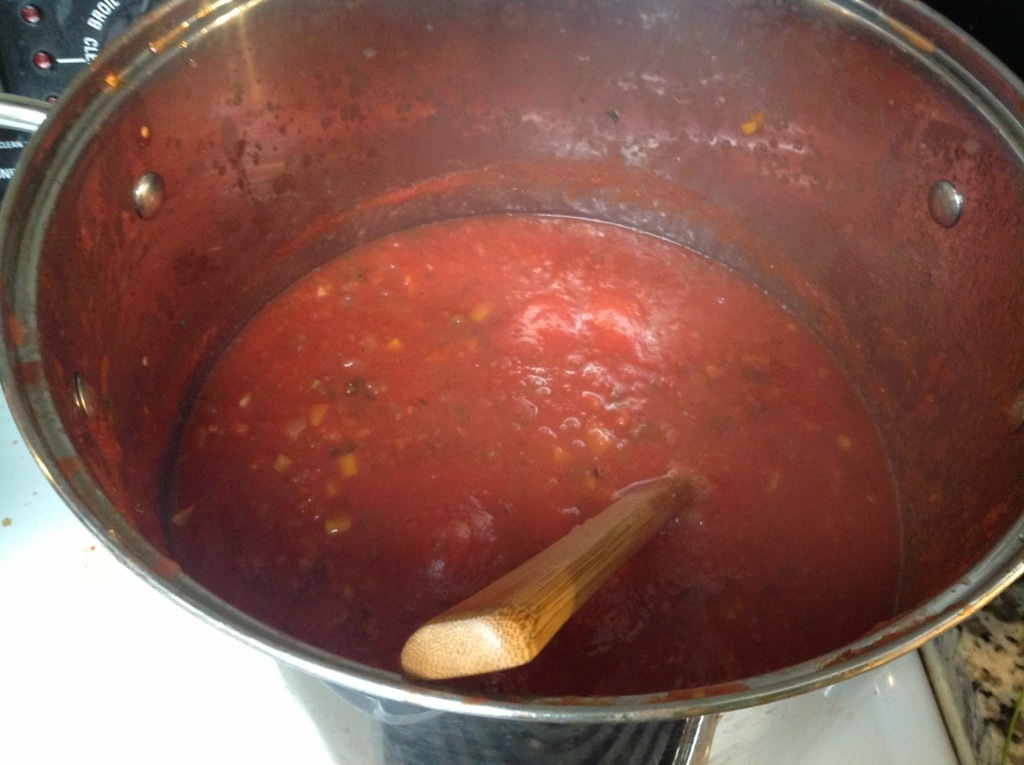
After the tomatoes are fairly well reduced, add in the pureed peppers and onions. You’ll want everything in one pot now if you had separated it into multiple pots. Add the rest of the ingredients for the sauce base, the garlic, mustard seeds, celery seeds and crushed chili pepper. We found it kind of difficult to crush the mustard seeds, so used some but then also topped it off with ground mustard. I feel like you’d want less ground, not a 1:1 change out, but ground is definitely an option.

IMG_4183 copy

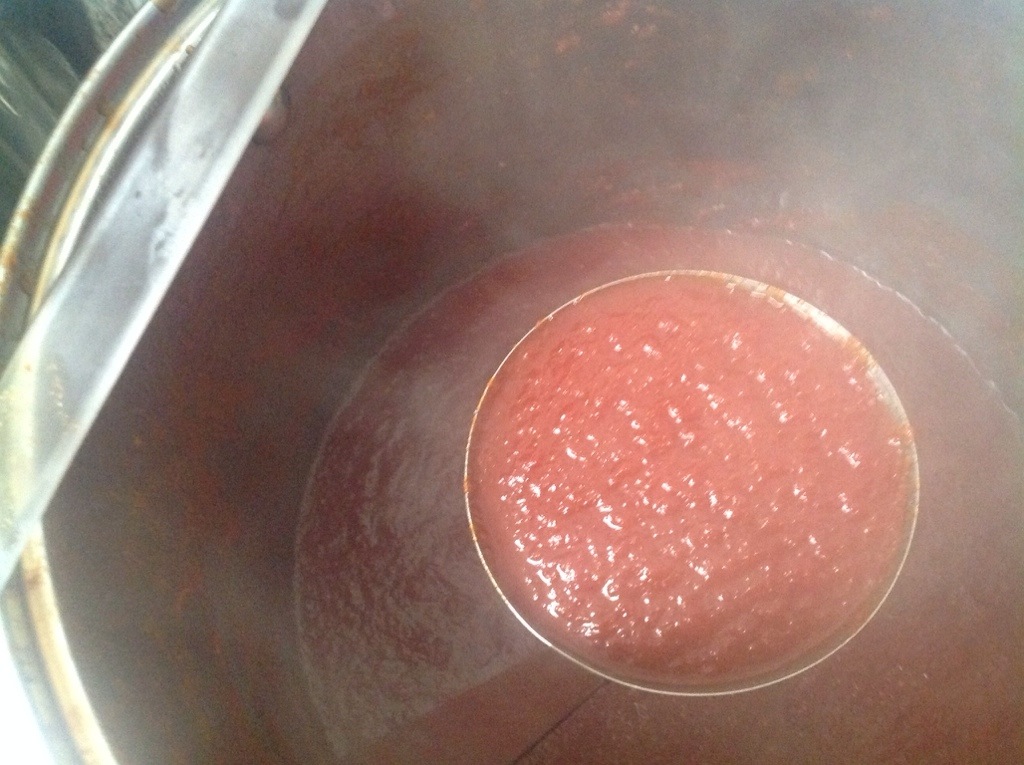
Cook this down for at least 10 more minutes, until the peppers and onions are cooked. When you are happy with the base sauce, it’s time to divide and conquer. Take out half and put it into a different pot.

Below is the stampede style sauce first. Add all the ingredients for it to one of your pots.

IMG_4187 copy

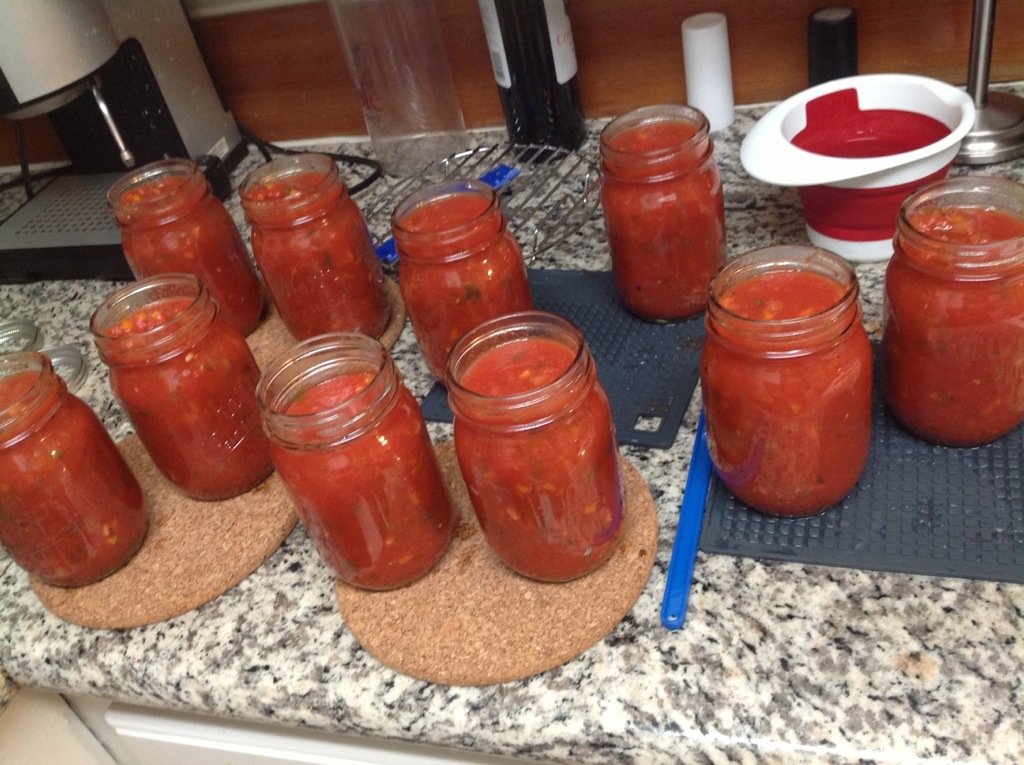
The other sauce is the sweet and sour sauce. Add all the ingredients for this sauce to your second pot. Continue to boil both mixtures gently, stirring frequently. You want to achieve the consistency of a thin commercial sauce, which will take about 45 minutes. However, I always tend to reduce things longer than Ball suggests, so use your judgement for a barbecue sauce consistency.

IMG_4202 copy

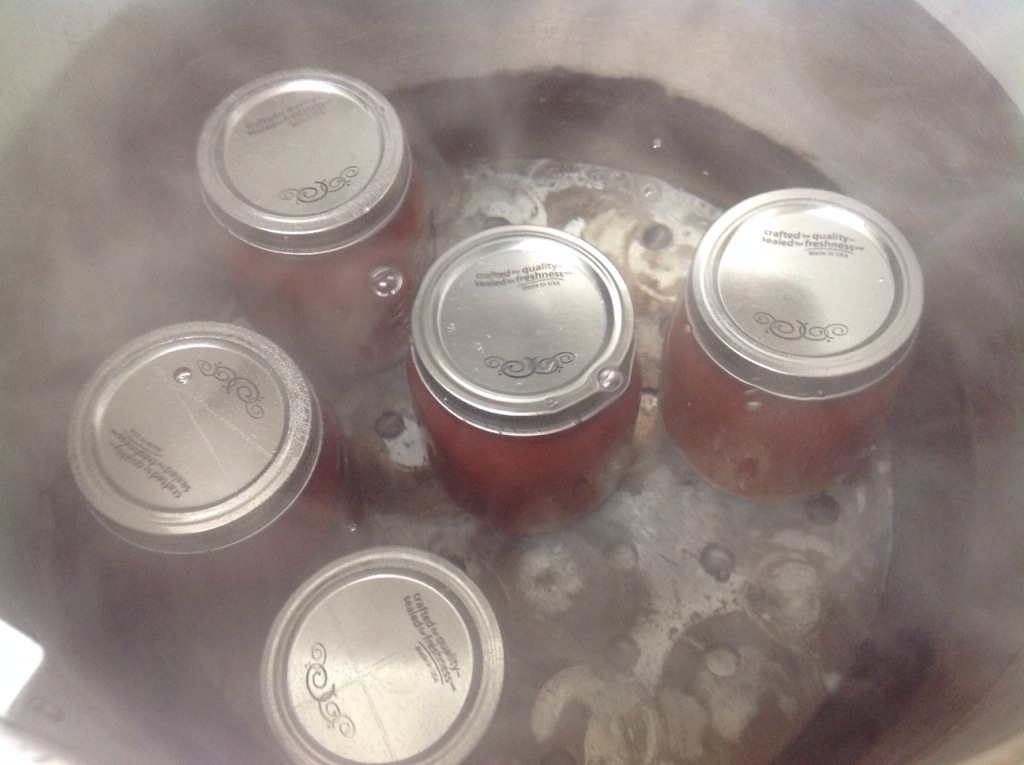
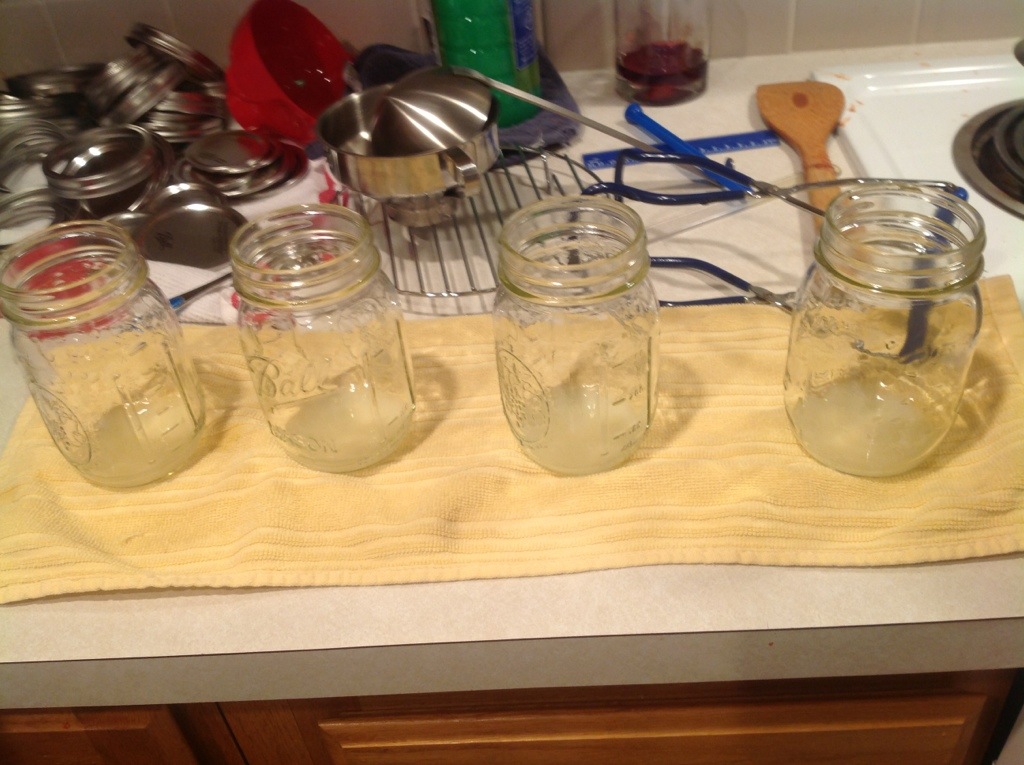
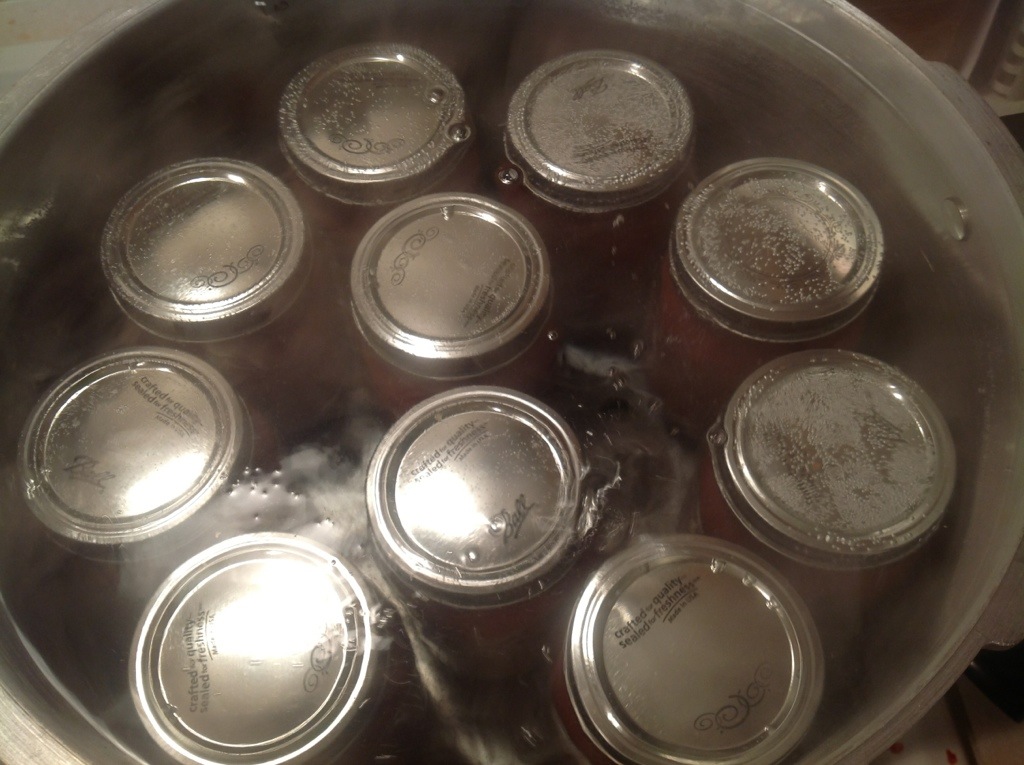
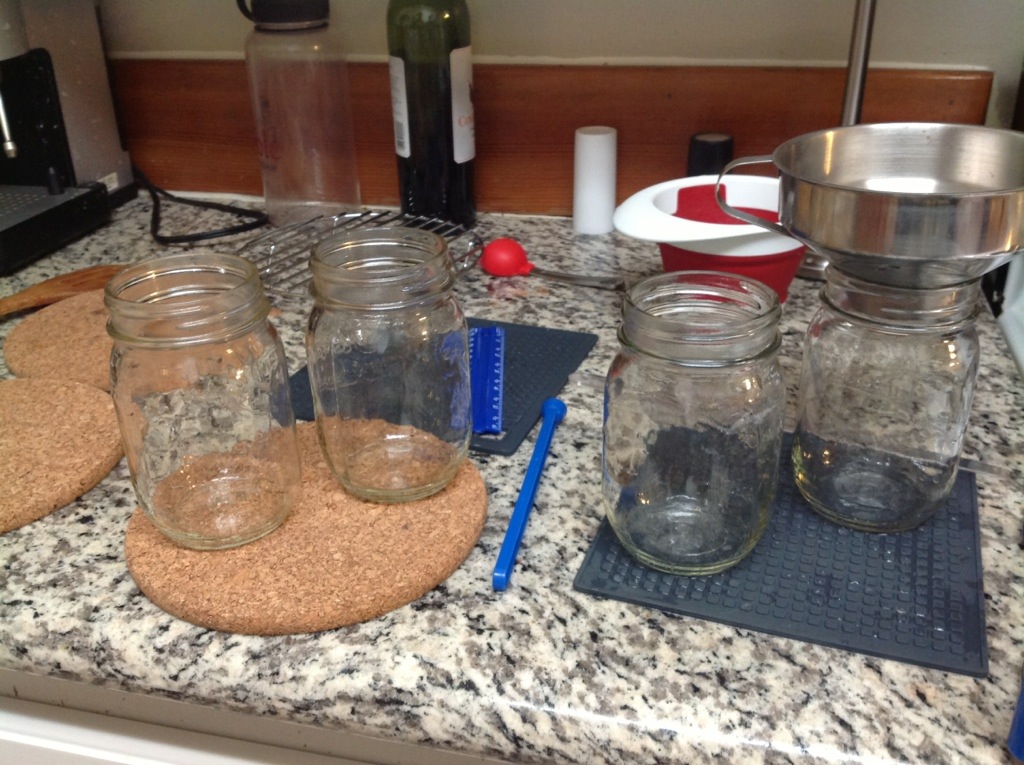
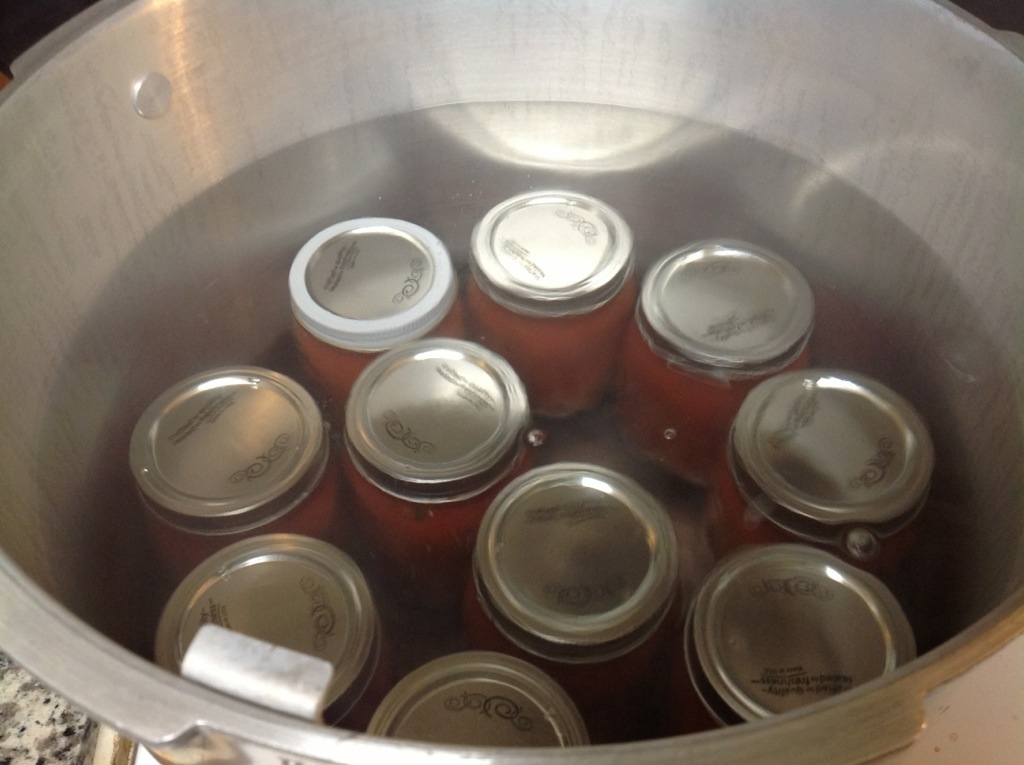
While they continue to cook down, prepare the canner, jars and lids. you will likely get a bit more of the sweet and sour sauce, since it has more added ingredients. Probably close to 3 pints for the stampede and 4 for the sweet and sour, depending of course how long you reduce it for. Once it’s ready, fill your hot jars with hot sauce, leaving a half inch head space. Wipe rims, apply lids, and tighten bands finger tip tight. Place the jars in a boiling water bath canner covered by at least 1-2 inches of water. Process for 20 minutes, starting the time when a full rolling boil is reached.

IMG_4189

After 20 minutes, turn off heat, remove canner lid, wait 5 minutes and remove jars to a hot pad or towel. Cool 12-24 hours, remove bands, check seals, wipe clean, label and store.

IMG_4207 copy

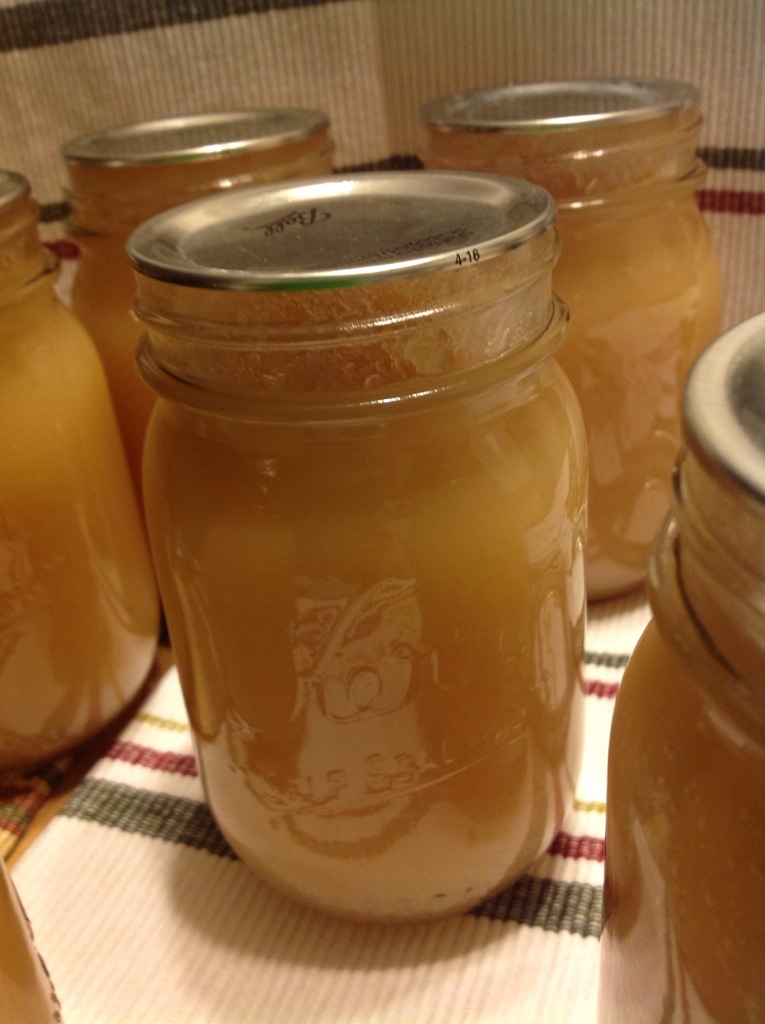
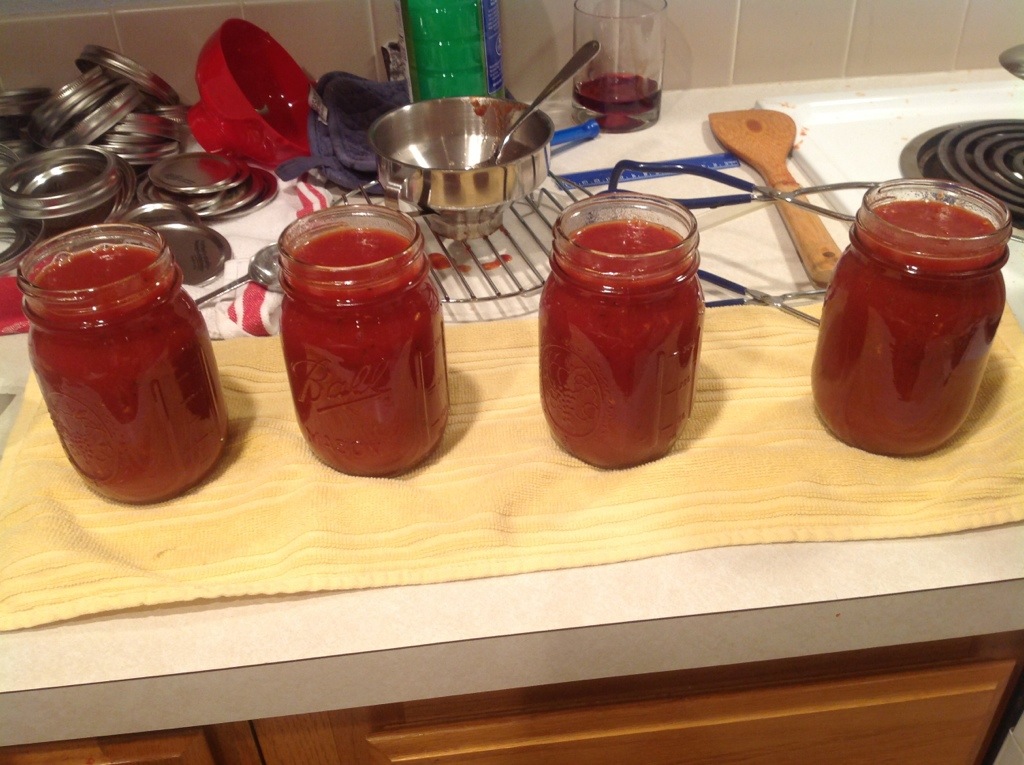
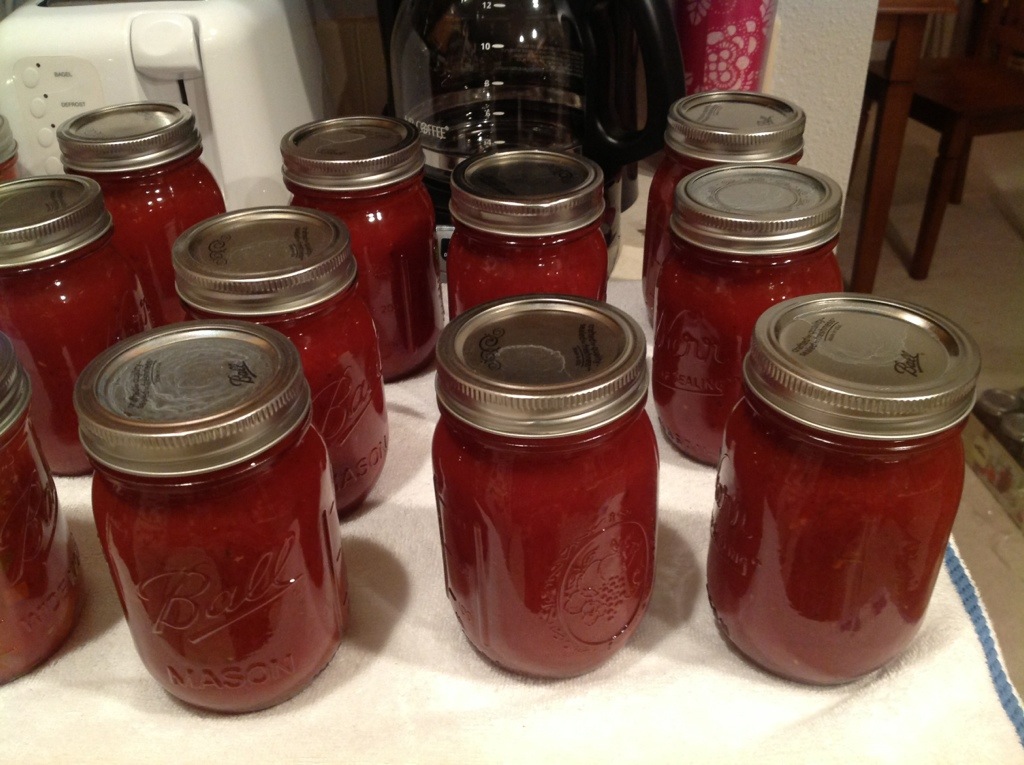
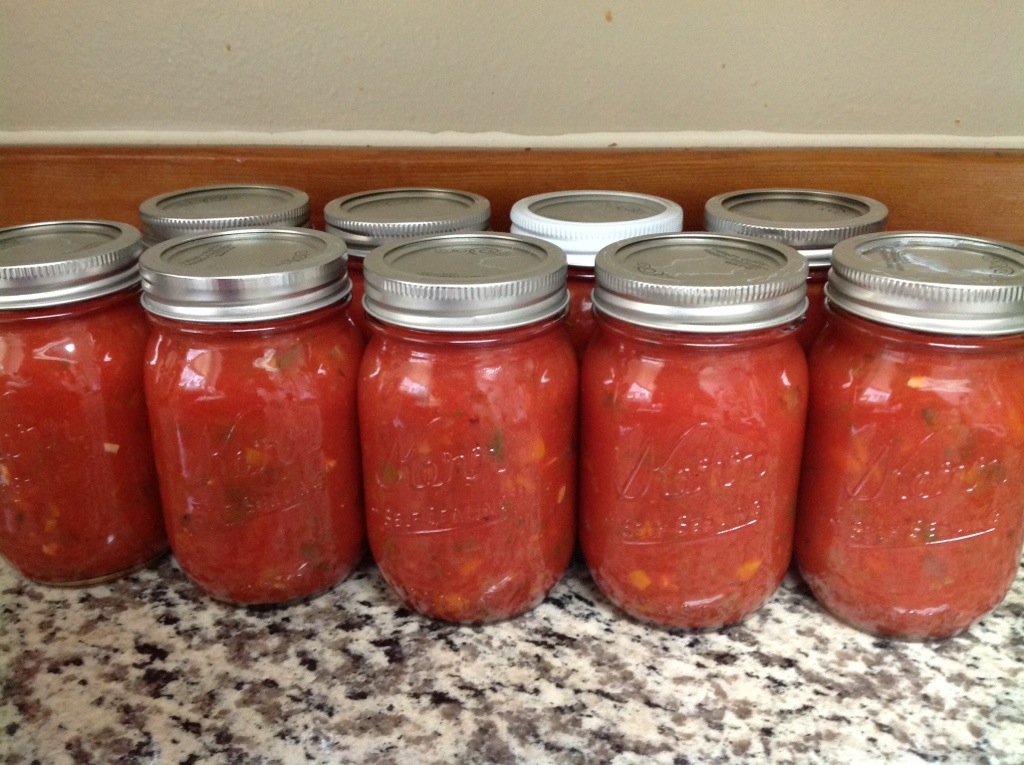
Two beautiful and delicious sauces. Stampede on the left in the Ball jar. A slightly spicy, peppery sauce, and sweet and sour on the right in the Kerr. I must admit I was much more excited for the stampede style, but that sweet and sour is also to die for. I highly recommend making both. If you are also looking for an awesome ketchup recipe, check out my country western ketchup post from last summer. Happy canning!

IMG_4251

*this post contains affiliate links, please see the “About the Blogger” page for more information

Strawberry Lemonade Concentrate

This recipe is one I’ve made every year since I started canning, from the Ball Complete Book of Home Preserving. I’ve never made the rhubarb drink on the next page, but am really excited to try that one too. Stay tuned. When I got really excited to make the rhubarb one as well, saying it would be excellent with gin, Kiki called me out, saying we can’t make things just because they taste good with gin. Or can we? My favourite way to use this concentrate is actually with just a couple tablespoons in my gin and tonic. I swear, I really don’t drink that much gin. Of course you can just drink it as lemonade by adding water, tonic water, or ginger ale. I bet this would be amazing if you used a soda stream for some carbonation! Mix 1:1 or 2:1 water to concentrate, although I usually make it even weaker since it is really quite flavourful.

IMG_3736 copy

Ingredients:
6 cups hulled strawberries
4 cups freshly squeezed lemon juice
6 cups granulated sugar (or much less if you like it the way I do!)

Here’s how we made it:

First, prepare the berries. Ball tells you to simply puree the strawberries in a blender. By all means you can totally do it that way if you like, and I have made this 3 or 4 times that way, but this year I decided to try and get rid of some of the seeds. To make the lemonade seedless, and partially because I just love an excuse to use it, I cracked out the Victorio food strainer. I ran my 6 cups of berries through multiple times, to get rid of the seeds. It’s kind of nice not having those pesky seeds in a beverage. I don’t mind them in jam, which is why we just used the extra poop you see coming out the left there in the jam we were making.

IMG_3597 copy

Next juice a bagillion lemons. OK maybe not a bagillion. We found that 4 large lemons were pretty close to a cup of juice. A fun tip to get more juice out of them is to microwave them for 20-30 seconds. It really did seem to help.

IMG_3605

Combine your lemon juice, strawberry puree and sugar. We actually decided to do 1/4 of the sugar in this recipe. You can certainly adjust it to taste, or maybe try sweetening with honey or something. That could be really good. It definitely decreased the yield quite a bit, but this actually means you use less jars and lids, and if you decide it’s not sweet enough you can always add more sweetener when you open up the jar later. Heat the lemonade over medium high heat. Don’t boil though, bring it up to 190F.

IMG_3610 copy

Remove from the heat, and fill your jars, leaving a quarter inch head space. Wipe the rims, apply the lids, and tighten the bands finger tip tight.

IMG_3620 copy

Process in a boiling water bath canner for 15 minutes. After 15 minutes, turn off the heat, remove the canner lid, wait 5 minutes and remove the jars to a hot pad or towel. Cool 12-24 hours, check seals, remove bands, clean, label, and store. Enjoy a nice summer treat all winter long! Or just make it and consume immediately!

IMG_3725 copy

*this post contains affiliate links, please see the “About the Blogger” page for more information

Applesauce

Well as much as I hate to admit it, autumn is upon us. But don’t fret – there are still a few more canning adventures ahead! Fall means apples, so I canned up some applesauce!

20131010-155125.jpg

My strategy to avoid burning is to peel and eighth the first few apples and get them heating over medium high heat, stirring frequently.

20131010-174344.jpg

After the first few are going I get lazy and stop peeling them – I know Victorio will save me from the peels. If you don’t have a strainer though, you probably want to peel them. Get the canner, jars and lids ready while it heats.

20131010-174533.jpg

Once all the apples were heated and starting to fall apart I ran them through the strainer. Look how pretty that is! Heating them takes 10 to 20 minutes depending on the apple variety and how many you do. If you don’t have a strainer puree them in a blender or food processor.

20131010-174722.jpg

Return the sauce to the pot and bring it to a boil. This is when you would add a little sugar to taste if you like, or some nutmeg, cinnamon or other spices. In this case, I just left it plain and will add things when I open it because some of them I plan to use in baking. You can also add a little lemon juice for added safety since some apples are less acidic than others. One tablespoon per quart.

20131010-174850.jpg

Maintain the boil while you fill jars with hot sauce leaving a half inch head space. Wipe rims, apply lids, and tighten the bands finger tip tight. Process the jars at full rolling boil for 20 minutes. When the time is up remove the canner lid, wait 5 minutes and remove the jars to a hot pad or towel. 12-24 hours later check the seals, remove the bands, wipe clean and store.

20131010-174911.jpg

Country Western Ketchup

It’s time for some more terrific tomatoes! For this adventure in deliciousness we turned to an OSU Extension Service publication. This is a delicious ketchup with a little more spice than a traditional ketchup, not hot spice, just really flavourful – I personally think it’s freaking fantastic.

20130923-160501.jpg

Ingredients:

24 pounds of tomatoes
5 chili peppers, sliced and seeded
1/4 cup salt
2 2/3 cups vinegar (5%)
1 1/4 cups sugar
1/2 tsp ground cayenne pepper
4 tsp paprika
4 tsp whole allspice
4 tsp dry mustard
1 Tbsp whole peppercorn
1 tsp mustard seeds
1 Tbsp bay leaves

In my opinion, you don’t really want to cut this recipe down at all because cooking down to the consistency of ketchup only leaves you with 6-7 pints. Halving it would only get you 3 or so which would just be sad!

Here is what we did:

Our tomatoes aren’t coming in quite fast enough to have 24 ripe pounds at a time, so I have been chucking them in the freezer. This is the perfect thing to do if you don’t have enough yet, or don’t have time to deal with them. They make great sauce or ketchup still after freezing and it eliminates the need to blanch!

20130923-161000.jpg

Thaw the frozen tomatoes either with patience, your mind power or by running them under hot water, and the skin comes off super nicely! If you didn’t use frozen like me just blanch and peel and put them in your biggest pot.

20130923-161030.jpg

Keep yourself entertained while peeling like we do. Weee it’s a tomato super hero! I will post it to Instagram! Ahem, I mean bring the tomatoes to a boil over medium high heat.

20130923-161224.jpg

Add in all the tomatoes and the chili peppers, mash them up a bit, and simmer uncovered for at least 20 minutes (note: I know what you are thinking, no this picture is not all the tomatoes).

20130923-161455.jpg

Meanwhile prepare the spice bag. Put the spice bag into a pot with the vinegar and bring to a boil. Turn off the heat once it is boiling and let it steep in the vinegar at least 20 minutes. After 20 minutes, remove the spice bag and pour the spiced vinegar in with the tomatoes. Cook at least another 30 minutes.

20130923-161519.jpg

Strain time! Turn off the heat and let the ketchup cool a bit. Then put the mixture through a food mill or strainer. I ran it through the Victorio a couple times.

ASIDE: Make sure you carefully assemble your strainer if this is the type you are using and have the screw tightly attached because at this point we had a TOMATO EXPLOSION! The screw must not have been in tight and the metal grate piece popped off while we were cranking and we lost a few cups of juice to the floor. It was very sad but at least we lost only what was in the hopper and strainer part at the time.

20130923-161556.jpg

Return the mixture to the pot, add the sugar and salt and boil gently until it reaches ketchup consistency. It takes a long time but it is worth the wait! Stir occasionally.

20130923-161919.jpg

This is what ketchup consistency looks like. Sorry for the terrible quality pictures, too much steam! But anyways if it mounds nicely on your spoon and looks generally ketchup like it is ready to be canned. Prepare the canner, jars and lids a little bit before it is ready.

20130923-162007.jpg

Ladle the hot ketchup into hot jars leaving 1/8 to 1/4 inch head space. Wipe the rims, apply the lids and tighten the bands finger tip tight.

20130923-162109.jpg

Process pints or half pints for 15 minutes in a boiling water bath canner. Cover by at least 1-2 inches of water and start timing when the water is at a full rolling boil.

20130923-162310.jpg

After 15 minutes remove the canner lid, wait 5 minutes and remove the jars. Let cool 12-24 hours then remove bands, label and store. Mmmm countrified deliciousness.

20130923-162455.jpg

Seasoned Tomato Sauce

Last night was a canning EXTRAVAGANZA! An adventure in awesomeness! A deed of deliciousness! A ….slight screw up on one recipe, but we’ll get to that. I was canning with a friend, so I showed up at her house with 60 pounds of tomatoes! This sauce is what we did with half of them. The recipe is super nice if you don’t like a chunky sauce. You an still reduce it to a thick enough sauce, but it’s not chunky because you run it through a strainer after cooking it. It is also from the Ball Complete Book of Home Preserving like many of my faves.

20130907-190820.jpg

Ingredients:

10 pounds of tomatoes, cored
2.5 cups finely chopped onions
3 cloves minced garlic
1.5 tsp dried oregano (I like more personally)
2 bay leaves
1 tsp salt
1 tsp freshly ground black pepper
1 tsp granulated sugar
1/2 tsp hot pepper flakes

We did 30 lbs so exactly tripled the recipe. However, we got about 11 pints even though the recipe said it would make 6, so we must have reduced it longer.

Here is what we did:

Wash and core the tomatoes. Quarter the tomatoes and fill the pot one layer deep. Crush the tomatoes with a potato masher, or in our case a plastic cup because I forgot the masher, and bring to a boil over high heat. Stir constantly! Here is our mistake, we got some burnage happening on the bottom of the pot. Burnt=bad! Continue adding, crushing, stirring, adding, crushing, stirring, adding, stirring, crushing, adding, stirring, adding, crushing, stirring, adding, stirring, crushing, adding, crushing, stirring, adding, stirring, crushing, adding, stirring, crushing, stirring, until all the tomatoes are in the pot. Maintain a boil the whole time and stir!

20130907-183211.jpg

We had tripled the recipe so had this going in three pots. Once the tomatoes are all added, add the chopped onions and spices (everything but the lemon juice). You are allowed to add more garlic, or oregano, or add some basil or parsley if you desire as well. Reduce the heat to medium after you have it boiling again so you don’t burn the sauce! To get a good consistency, reduce by about half, which takes 2 or so hours. We did another recipe now, so there is certainly time, just watch it and stir so it doesn’t burn.

20130907-183321.jpg

mmm sauce. After it is done reducing, remove it from the heat. Prepare the canner, jars and lids.

20130907-183354.jpg

In batches, run it through a strainer/food mill. Using Mr. Victario we found that not all the good stuff strained out the first go around, so we actually put it through a few times. With just a strainer you are pressing it through I imagine this would be less of an issue.

20130907-183417.jpg

Once you’ve got all the good stuff, return the sauce to a boil. This is important because the processing time is based on hot sauce, not lukewarm sauce, so don’t be lazy and can the warm sauce or you could be making an unsafe product.

20130907-183448.jpg

Before filling each jar with sauce, add one tablespoon of bottled lemon juice (or 1/4 tsp citric acid if you prefer) to each hot jar.

20130907-183512.jpg

Then fill each jar leaving a half inch head space. Wipe the rims, apply the lids, and tighten the bands finger tip tight.

20130907-183533.jpg

Place the jars in the canner, covered by at least 1-2 inches of water and bring to a full rolling boil. Process for 35 minutes (for those of us less than 1000 feet in altitude). After 35 minutes turn off the heat, remove the canner lid, wait 5 minutes, and remove the jars to a hot pad or towel. Listen to the pings! PING PING PING!

20130907-183656.jpg

12-24 hours later, check the seals, remove the bands and wipe down the jars; label and store! Enjoy all winter (or as long as you manage to make them last).

20130907-183737.jpg

*This post contains affiliate links. Check out the “About the Blogger” page for more information.

Tomato Sauce

The tomatoes are still flowing in like crazy so the next great mission was tomato sauce! There are a TON of great tomato sauce recipes out there, so I hope for this to be one of many delish recipes I post. Another favourite from the Ball Complete Book of Home Preserving. If you are looking for it, it’s the Italian style sauce in the book.

20130902-110151.jpg

Ingredients:

8 cups of fresh plum tomato purée
2/3 cup finely chopped onion
2/3 cup finely chopped celery
1/2 cup finely chopped carrot
2 cloves garlic
4 tbsp bottled lemon juice
2 tsp salt
1/2 tsp finely ground black pepper
1/2 tsp hot pepper flakes
herbs (oregano, basil, parsley, rosemary) to taste

As written above this recipe makes about 3 pints. I had 22 pounds of tomatoes for this mission, which when pureed was 28 cups of purée. So we did a batch about 3.5x this recipe.

Here is what we did:

Tomato sauces are a lot more manageable with a friend, so Kiki and I set off on another tomatoey adventure. We also invited another good friend – VICTORIO!

20130902-111325.jpg

If you plan to do a lot of sauces, pastes, purées etc. a Victorio strainer is an awesome investment. Plus, it’s so fun to use! Assemble your strainer. Wash and quarter the tomatoes and chuck them into the hopper! Plunge and crank those delicious babies through the strainer.

20130902-111359.jpg

All the good stuff comes flowing out the front and the “waste” gets pooped out the side. This is the skins and seeds, stuff you’d rather not have in a good sauce. BUT see my dehydrating post for something to do with the skins if you want to use the whole tomatoes!

20130902-111511.jpg

Tomatoes can be really juicy, even romas, so I like to reduce them for at least an hour or two. Measure the juice and reduce it either in a pot on the burner, or in the oven. I put the juices in a bunch of trays and reduce it in the oven at 300F. If you are just doing a single batch though, this recipe does reduce fine on the burner. Combine the chopped veggies with a cups of the tomato juice and boil for about 5 minutes. Then add 1 cup of juice at a time so you can maintain the boil. When doing a large batch I like to do a combo of the two methods, reducing some of the juice in the oven first.

20130902-111752.jpg

Once all the tomato business is dealt with, chop up the carrots, onions, celery and garlic. Or perhaps you did this recipe the other way and already added them. I like them pretty finely chopped, but it’s up to you. Try for consistent sizes so they are cooked evenly.

20130902-111538.jpg

Get everything boiling over medium high heat. I did this first with a fraction of the tomatoes, while leaving the rest to reduce in the oven. As the trays in the oven become reduced enough, add them to the main pot. However you want to do it is fine, then reduce it until your desired thickness, about by a third or so. Add seasonings if you desire, the garlic, salt, pepper, hot pepper flakes and lemon juice. SAFETY NOTE: The lemon juice is added to make this recipe safe for hot water bath canning. Make sure you have measured how much tomato juice and everything else you added so you can add enough lemon juice. And don’t add more carrots, onion and/or celery than the recipe calls for. I wouldn’t want you to give your family botulism!

20130902-111828.jpg

While the sauce is reducing and cooking, prepare the canner, jars and lids.

20130902-112050.jpg

Fill the jars leaving a 1/2 inch head space. De-bubble the jars, wipe the rims, and place on the lids and bands, finger tip tight.

I had 10 pints almost exactly – the capacity of the canner. It’s a canning miracle!

20130902-112344.jpg

Place the jars in the canner, covered by at least 1-2 inches of water. Bring to a full rolling boil and process for 35 minutes. Following the 35 minute time, turn off the heat, remove the canner lid, let cool for 5 minutes and remove the jars onto a towel or hot pad. Listen for the 10 pings!!

20130902-112415.jpg

Let them cool for 12-24 hours. Check the seal and wipe the jars down.

Label, store and enjoy!

20130902-112937.jpg

*this post contains affiliate links, please see the “About the Blogger” page for more information