Book Review – The Hands-On Home

Today’s post is a review of a great book on keeping a natural, healthy home. I’ve already bought 3 copies of it – for myself, my mom, and my sister, and wanted to give you a peak into the book!

IMG_5918

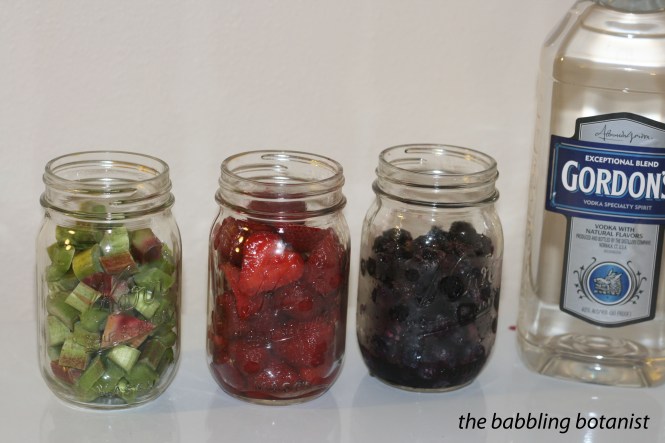
The Hands-On Home is written by Erica Strauss, the author of my favourite blog – NW Edible Life. If you love food preservation, growing food, or eating food and are not reading this blog, you are missing out. Erica writes about all sorts of gardening, food preservation, and urban homesteading topics, and is always my go-to resource for when to plant my garden (she’s just north of me in Seattle), and she’s always good for a fun cocktail recipe too. I love the blog because her posts are not only educational, but she injects humour, and I feel like we would get along if I knew her in “real life.” Her book is extra special to me because I heard about it long before it came out, and tested some of her recipes in the early stages of book writing. I actually managed to get my name in the acknowledgements for the tiny bit of work I did! Fun! So I may be a bit biased in my love for this book, but here is my take, and a little bit more about what I like about the book.

IMG_5945

The Hands-On Home is organized by season, and by topics within each season. Within a season it features seasonal recipes for cooking, preservation, home care, and personal care. It also features some great year-round information like recipes that are great for all seasons, cleaning techniques and recipes for natural cleaners, food preparation and preservation techniques.  I like the seasonal organization of the book, because I can flip to winter, and make a dish that features ingredients that are actually in season in the winter, or get an idea of a food preservation idea for the winter. The personal care products are nicely organized by season as well, like a summer after-sun gel, or a winter lip balm, although many are also great across seasons.

IMG_5921

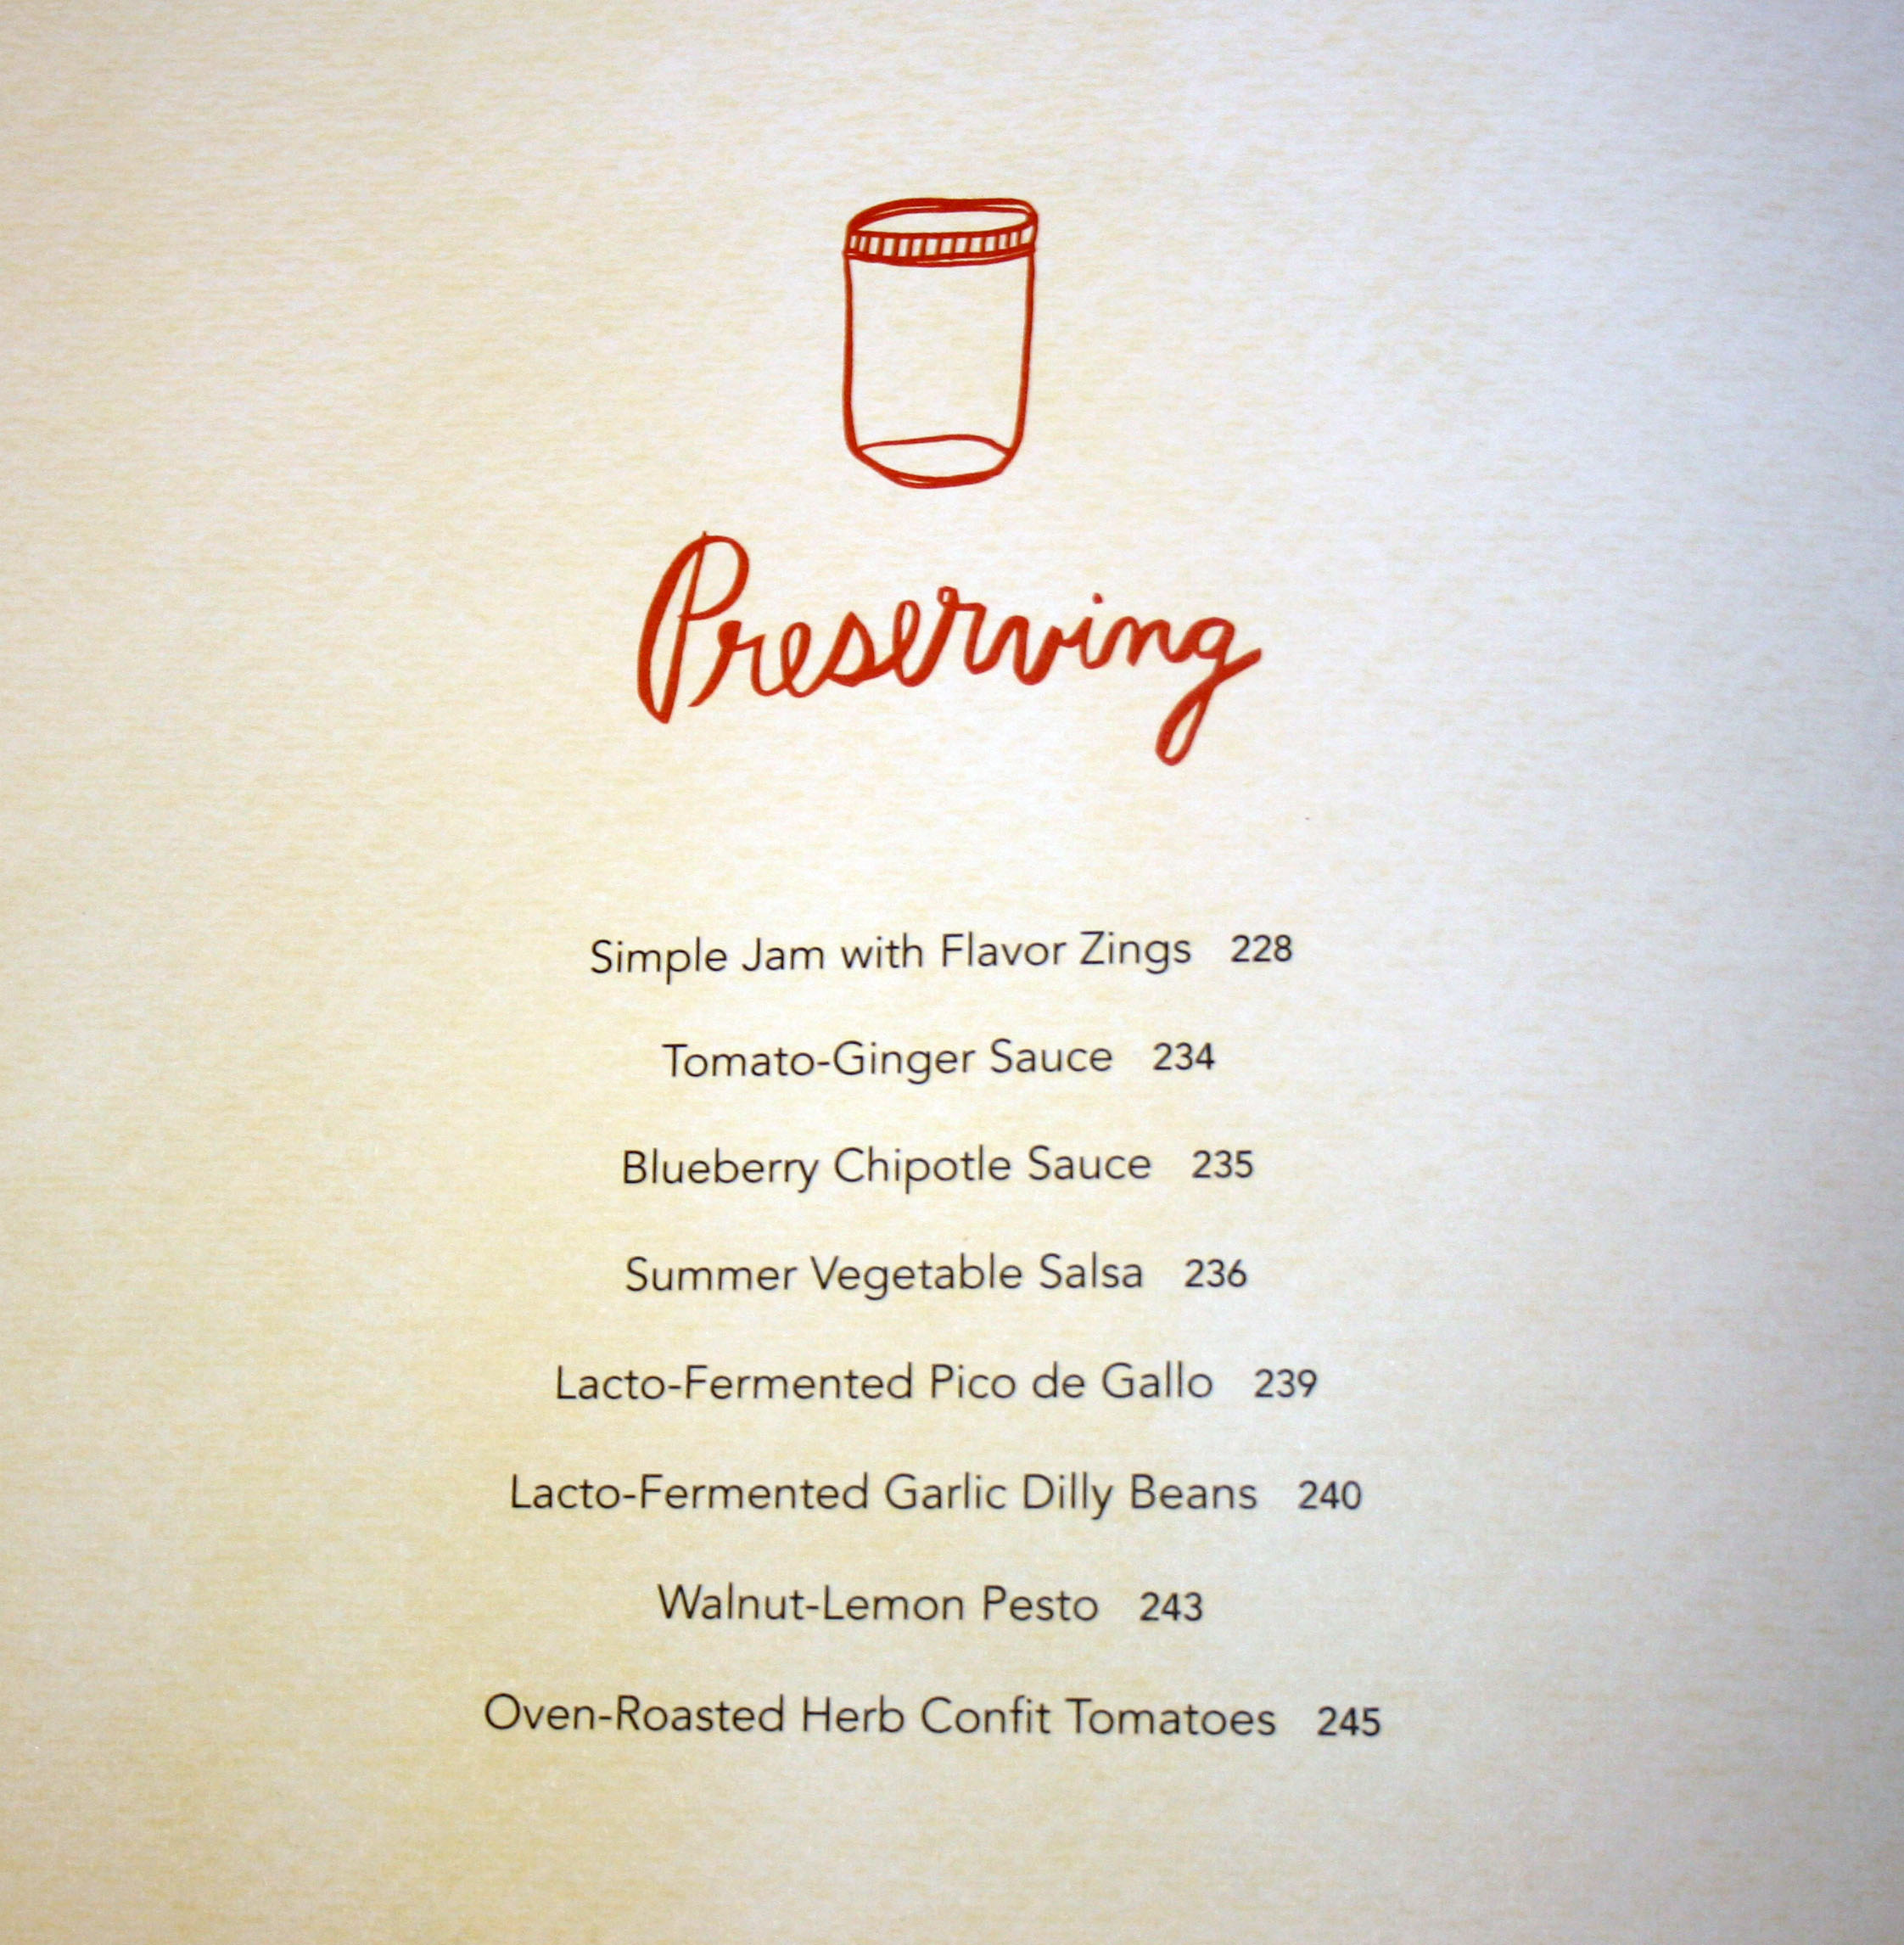
The contents for the summer preserving section.

IMG_5931

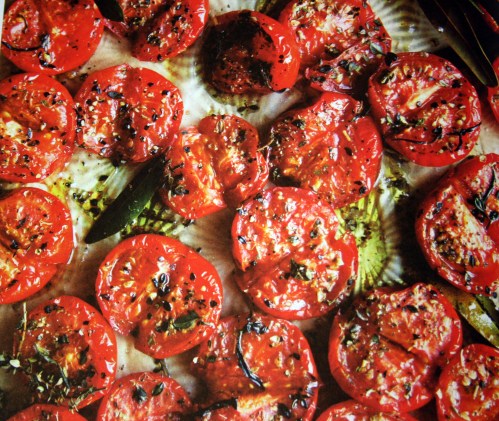
The Hands-On Home is also very well illustrated. The pictures are gorgeous and will leave you wanting to make every recipe in the book. So far all the recipes I’ve made have been delicious! From a Kamut salad with delicata squash and dried cherries, to homemade granola, or oven-roasted herb confit tomatoes, this book has recipes for everyone.

IMG_5938

One of the recipes I actually tested in the early stages that ended up in the book was this delicious shrimp dish with a fresh basil, corn, black beans, and avocado salad. So good!

IMG_5940

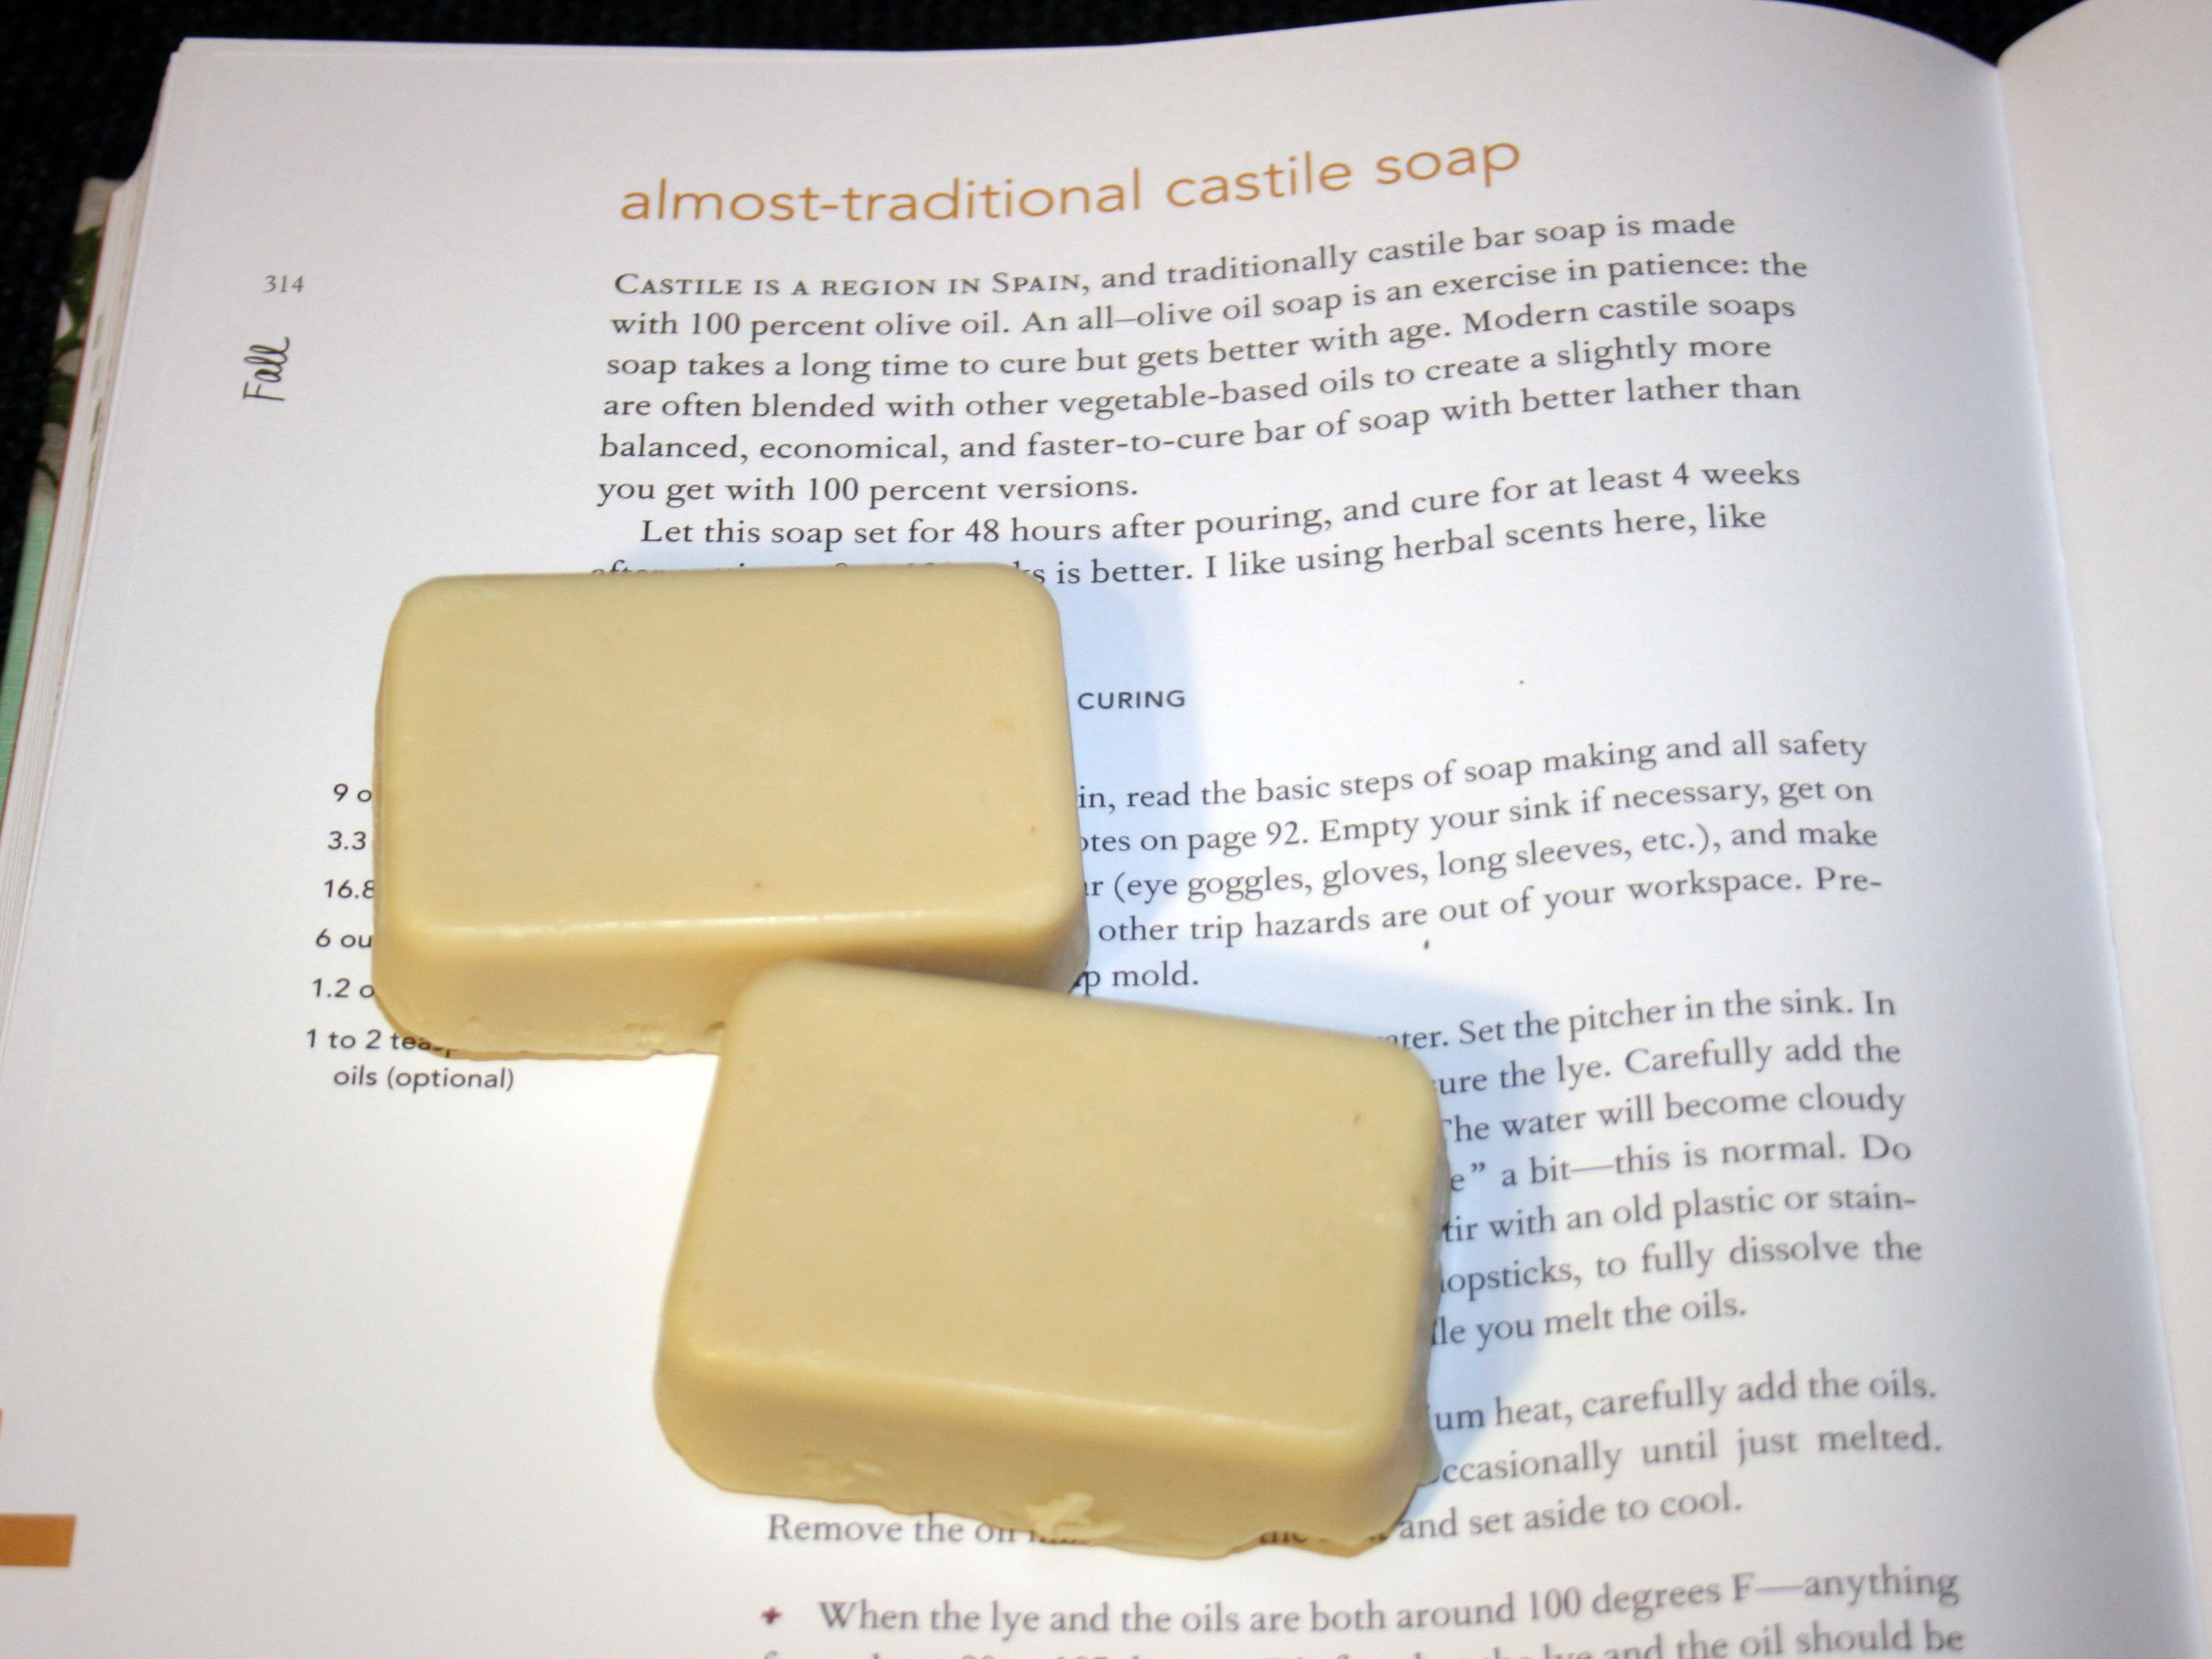
I’ve also been really into homemade personal care products lately, and I’ve enjoyed making many of the home and personal care recipes. So far I’ve made Erica’s lip balm, bath bombs, bath salts, laundry detergent, and bar soap. See my bars below! I’ve actually been making a lot of soap recently, and this was one of the favourites when my family tested my bars.

IMG_5932

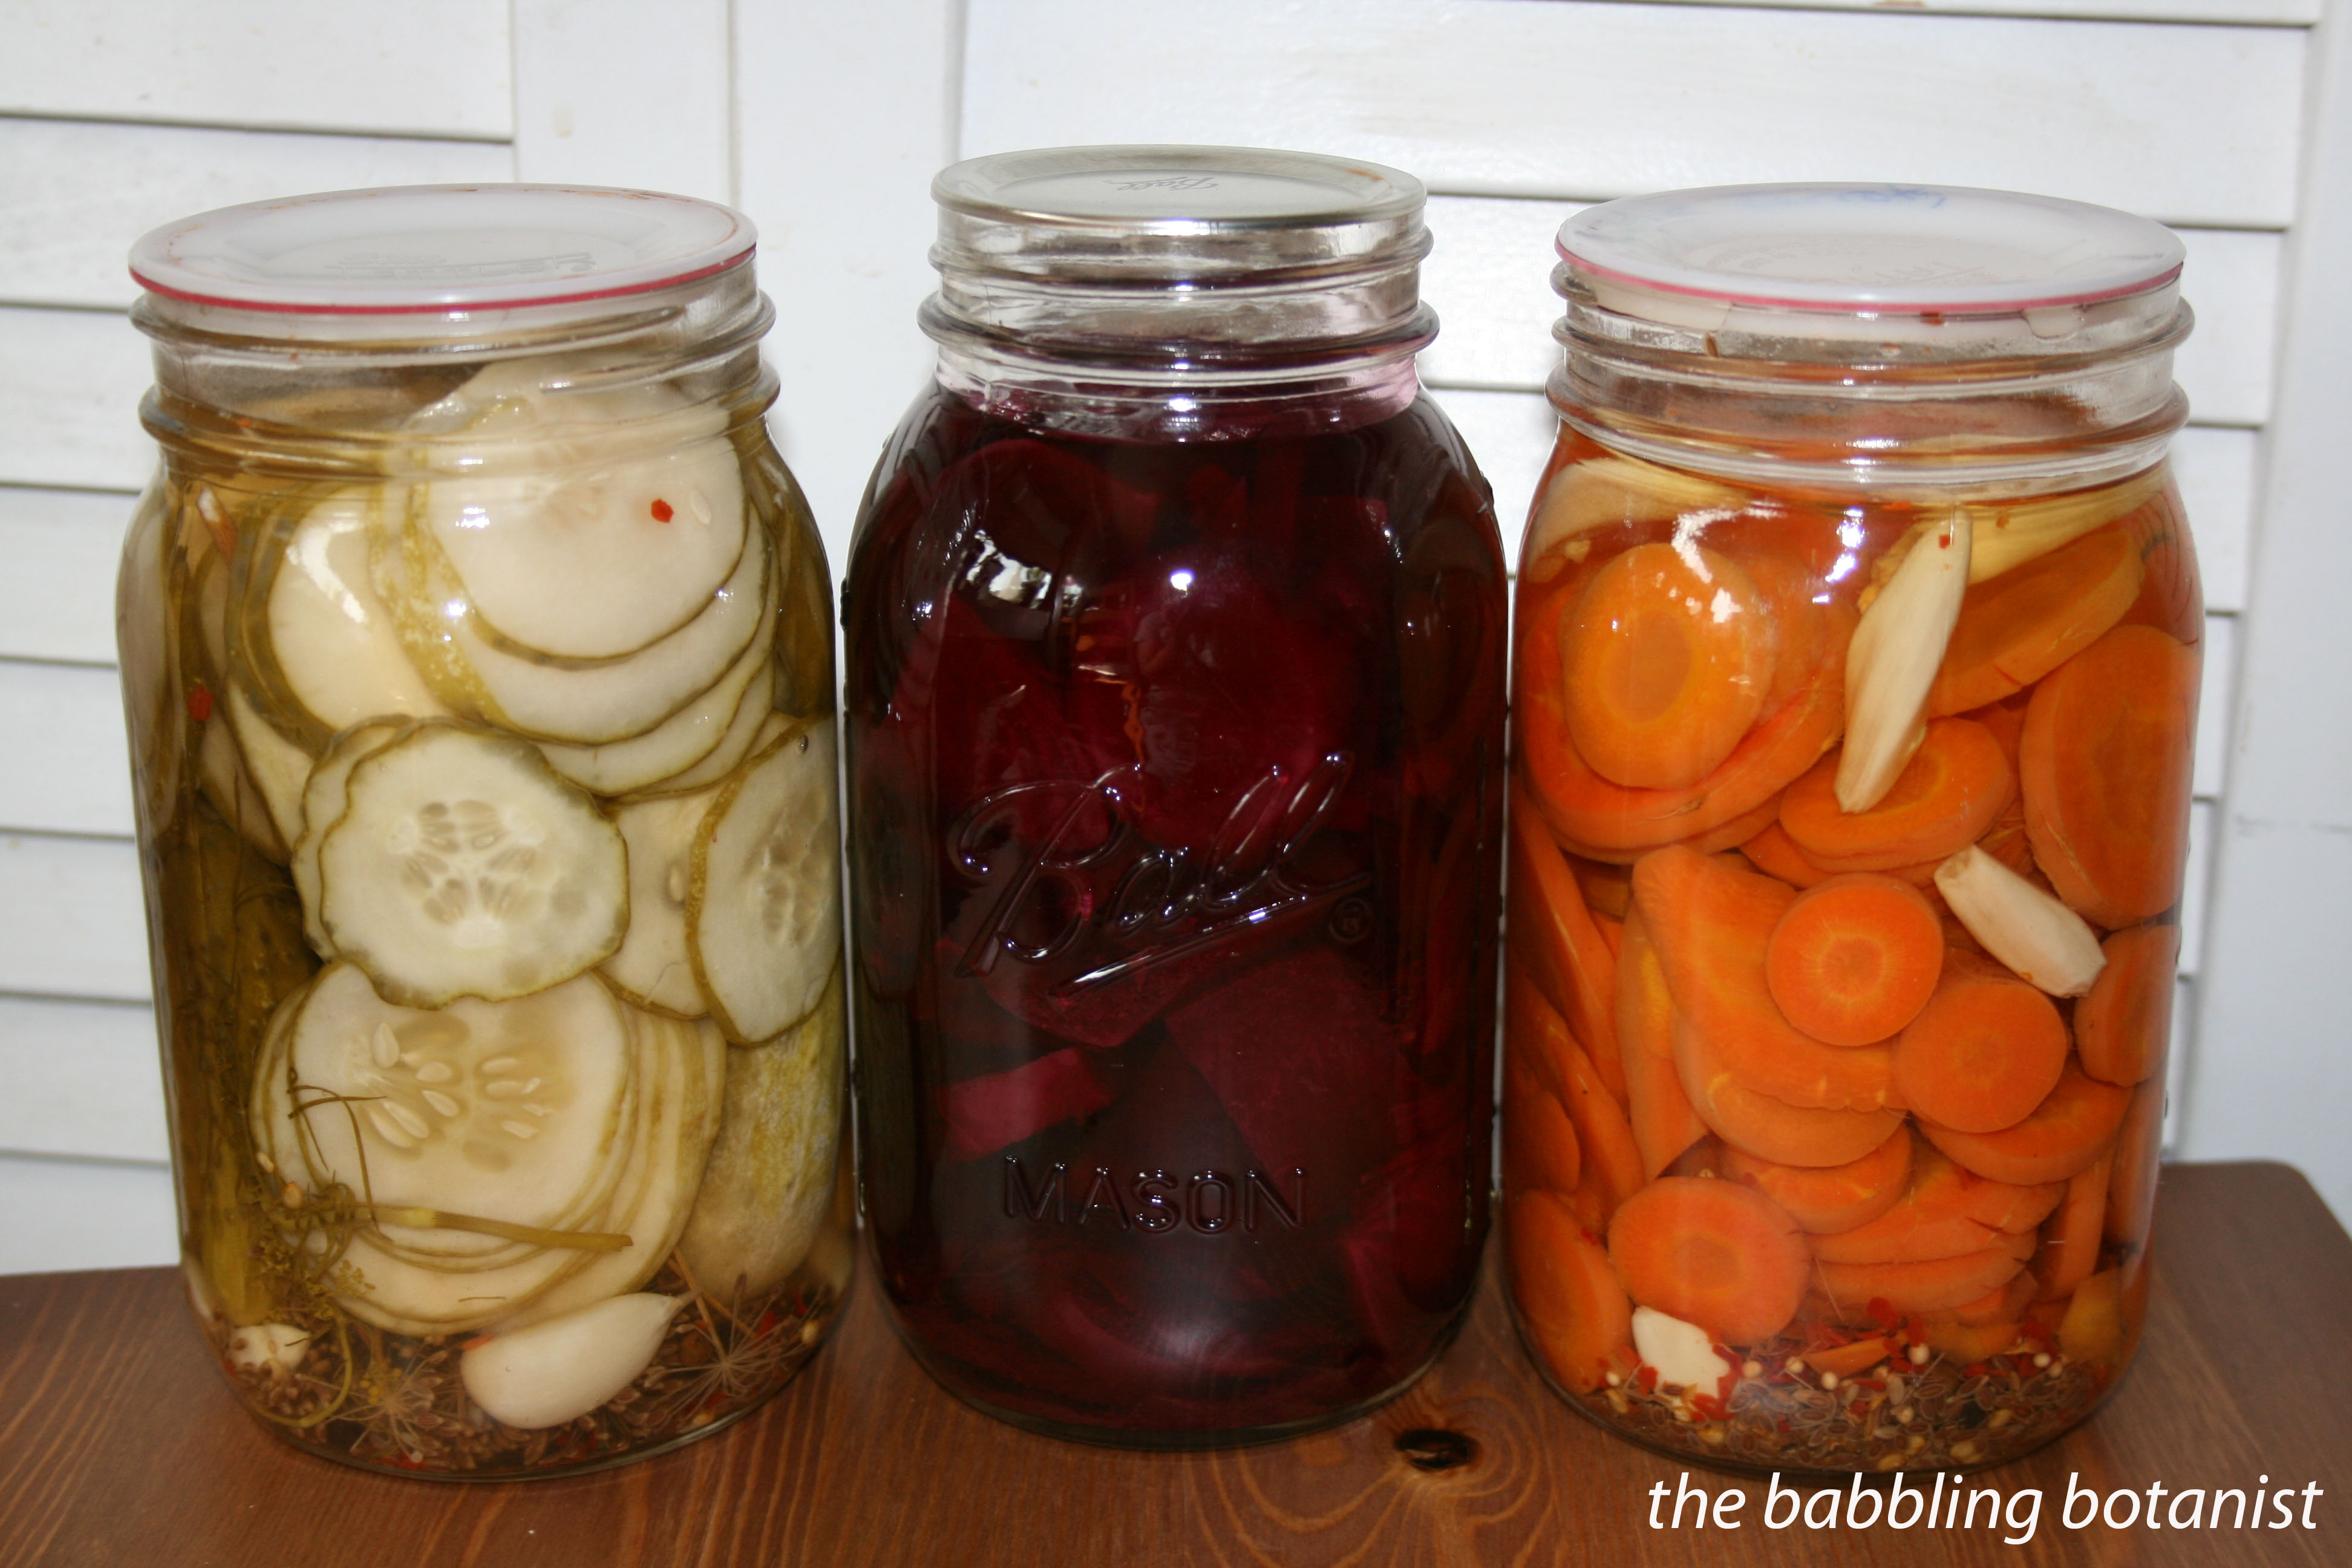
So if you are looking for a great book with everything from DIY hair-styling wax to recipes for preserved mustard or lacto-fermented pico de gallo, you’ll love this book. I can’t wait until canning season rolls back around to try some more of the canning recipes!

*this post contains affiliate links, please see the “About the Blogger” page for more information

End of Season Freezer Tour

We officially had the first frost of the season, which means the bulk of the preservation season is over. I do still have some carrots, beets, and broccoli alive in the garden, but the tomatoes and peppers are toast. Sad, but luckily now we enter the phase of eating all these goodies which is also great! Being so busy this summer, I didn’t do nearly as much canning as last summer, but one thing that helped some with my time crunch was having a freezer this year. A chest freezer is really a great investment if you have the space, and I have not even noticed a change in the power bill. At this time of year it’s a great idea to go through your freezer, sort it, and determine what you have so that you ensure you actually eat those things throughout the winter. I just went through mine, so thought I’d give you a tour of it!

On the bottom here you can see that I had a very successful berry season. I tried to layer the bottom of the freezer with the berries, since I have so many, then have one of each bag more accessible, and I can grab another as needed.

IMG_5900

On top of the berries I have some vegetables and meat that I froze this summer. Home grown broccoli vacuum sealed using my new food saver, corn from the local farm stand that I got when they were having an awesome sale, tomatoes from near the end of the season when they were growing slowly so I accumulate them until I have enough for some sauce, and some meats that I bought either on sale or in bulk from Costco.

IMG_5903

On the next layer we have in that bag a turkey carcass which I plan to take out when I have more time and make stock with, we also have some corn dogs (mostly the boy – but everyone can’t be perfect in what they have in the freezer right?) and in the basket some bread and the last bit of smoked salmon from this summer.

IMG_5907

All in all I think I did pretty well on berries (more than enough probably!) but would have liked to freeze a little more in the way of veggies. I do have winter squash that I still plan to cook, puree and add to my freezer stash, and once that carcass is out I’ll have a little more room for that, but overall I think the season was a success – the freezer is nearly full after all. I did also eat some of the things I preserved earlier this season – as it should be! Now go check out you freezer, and don’t let that stuff in the bottom sit there for the rest of eternity – eat it!

What things do you like to preserve by freezing? How was your preservation season this year?

Adventures in Smoking Salmon (Safely)

IMG_3144

During the time I spent in Alaska I was able to enjoy a lot of salmon, especially smoked salmon, but it wasn’t until becoming a Master Food Preserver that I attempted to make smoked salmon myself. It’s not terribly hard, but you do of course need a smoker, some wood chips, and some patience. To make sure it’s done safely, a good thermometer, and preferably one you can leave inside the fish like this one, is also important. Now if you love smoked salmon as much as us, you know how expensive it is to buy, so gather up some gear and try it yourself. Also check out the publication on this topic PNW 238 Smoking Fish at Home – Safely and if you want to can your fish, check out Canning Smoked Fish at Home for how to safely can home smoked fish.

Here’s how it’s done. First, brine your fish in a salt water brine. If you want a sweet or spicy brine, you can certainly also add some brown sugar, spices, or whatever at this point, but salt is the key ingredient to help get the fish to dry out. The extension publication recommends a brine of 7 parts water, to one part salt to ensure enough salt in the final product. Place your fish in a single layer in a shallow pan, mix the salt and water (and whatever else you want to add) in a separate bowl, and pour it over your fish to completely submerge it in brine.

IMG_5674 copy

Large pieces of fatty fish require the longest brine; smaller, leaner fish require less brine time. I brined the salmon (in the fridge) for close to two hours, as they were fairly large fillets. After the brine time completes, rinse the fish lightly, and leave it out to dry. You want a pellicle to form on the fish, which is basically a tacky clear film on the surface, because this will absorb in the smoke flavour much better than if we began smoking right away. It also helps to prevent spoilage. Placing the fish in front of a fan can speed up the process, but you’ll want to leave it for about an hour.

When you are getting a good pellicle, start up your smoker. We used a Smoke Hollow smoker like this one but others function similarly. Follow the manufacturers instructions, but basically there is usually one tray that you fill with water and another that you fill with wood chips. Use hard woods for smoking, as soft woods will leave an undesirable flavour on the fish. Fill these and start the smoker on a low temperature to start getting some smoke going.

IMG_5681 copy

Place the racks full of fish into the smoker and close the door. Keep the heat around 90 F, bascially you want it hot enough that it is producing smoke, but not so hot that you are just cooking the fish. We want to first smoke it, then cook it. Smoke the fish for up to 2 hours at these low temperatures, and then increase the temperature of the smoker to between 200 – 225 F. To ensure your fish is safely cooked, we want to reach an internal temperature of 150-160 F and hold it there for 30 minutes. Now is the time you want your thermometer in the thickest piece of fish, on the top shelf where it’s coolest, and make sure you hit that temp. It’s nice to have one with a cord or long stem so you can feed it through the vent hole in the smoker and not have to open the door to continually check the temp. If you have a thermometer that alarms when you hit your set temperature, then even better! Hit that temp and maintain for 30 minutes.

lIMG_5684 copy

Now your salmon is done! Take it out and give it a taste. Deeeeelish! Refrigerate the fish for up to two weeks, or freeze for long term storage.

IMG_5690 copy

To maintain the best quality product, vacuum seal your delcious bounty using a product like a Food Saver. I finally invested in one this year when Costco was having a sale since I now have a good sized freezer, and it’s really helping me maintain my food quality! mmm. Now this has made me hungry, off to make some salmon dip.

IMG_5694 copy

*this post contains affiliate links, please see the “About the Blogger” page for more information

Freezing Vegetables

This spring I bought myself a great present – a freezer. Thanks self!! Therefore, I have been doing a lot of freezing preservation this summer in addition to my usual canning. I must say I am love love loving it! Freezing is very easy, and some things of course do much better being frozen. Can you imagine canned broccoli? Ick, that would be gross. Anyways, there is basically just one very simple step needed to prepare vegetables for freezing. Most vegetables need to be blanched before freezing to stop the action of enzymes that will cause the quality of food to degrade. Blanching helps preserve texture, nutrition, and flavour of vegetables. One of our lovely master food preservers tested the utility of blanching by doing a batch of broccoli both with and without blanching and it really matters! Without blanching the broccoli had a much stronger, less desirable flavour. So don’t skip it! Here’s how:

IMG_5697 copy

Step one is to harvest high quality veggies and process them as soon as possible. This year I actually had a successful broccoli crop – wooo! But by myself I am certainly not going to eat 5 heads at a time, so I froze a bunch.

Wash and trim your vegetables as you would plan to use them when you eat them.

IMG_5699 copy

Blanch vegetables in boiling water or in steam. PNW 214 is a great resource for looking up how long different vegetables need to be blanched. For broccoli it is three minutes in boiling water or five minutes in steam. I love my blanching pot for this. Bring the water to a boil, add veggies, and start the time when the water returns to a boil.

IMG_5704 copy

Cool vegetables under cold water for about the same amount of time as you blanched them.

IMG_5705 copy

Dry and freeze! That’s all there is to it. With many things it works best to first spread things out on a baking sheet and freeze them, then package them once they are frozen. For best quality, package things in airtight containers. Air causes freezer burn and food quality to degrade more rapidly. I just got a FoodSaver to go along with my freezer (and by that I mean it went on sale at Costco so I impulse bought it) and something like this really helps maintain quality. If you don’t have one just try and remove as much air from bags as you can. I admit that I’ve sucked air out of berry bags with my mouth… silly but actually fairly effective. Don’t say I never suggested more economical methods 😉

IMG_5787 copy

Have other questions about freezing? Ask me or check out the National Center’s FAQs here.

*this post contains affiliate links, please see the “About the Blogger” page for more information


Packing that Perfect Pickle Punch – Ten Tips for Firm Quick Pickles

There is nothing worse than opening a jar of homemade pickles, biting into one, and finding that they are all soggy and nasty. Blech! OK, nothing worse might be slight hyperbole, but you know what I mean. Many MFPs I know don’t even like making homemade pickles because they get so soft. But alas, I am here to help! Here are my top ten tips for keeping pickles firm and crispy – from the least, to most useful (in my humble opinion – I did reorder quite a few times). This is the publication where I got some of this info – here.

IMG_5660 copy

10. Always use cucumber varieties meant for pickling – a pickling cucumber and cucumber for your salad were bred for different purposes.

9. Don’t bother with alum. OK this one is more of a tip of what not to do, but some recipes you will see, especially online or in older pubs, still call for alum. It actually doesn’t do much for your quick pickles, but may be somewhat useful in fermented pickles. So skip the alum and try #4 instead if you want.

8. Pickling lime.  The calcium in lime will help firm pickles. However, lime also lowers the acidity, so you have to soak cucumber in water multiple times following the soaking in lime to remove the excess lime for safety. It does really work, but to me it’s too much work.

7. Soak cucumbers in ice water. This helps firm the veggies as well, I could postulate on why but couldn’t find a good source for why it works. Perhaps it hydrates them, and the cooling keeps them firm somehow too. Ahem, because science.

6. Grape Leaves. Some people swear by using a grape leaf in each jar of pickles for keeping them firm, but apparently a grape leaf’s tannins keep the cucumbers firm by counteracting the enzymes found in the blossom end (see number 5). Thus, if you removed that the grape leaf may not add any more. But maybe you missed a blossom end, who knows.

5. Remove the blossom end. When your cucumber is growing, the bottom end of it is called the blossom end (where the flower was). Trim this end off of your cucumbers, as it contains enzymes that soften pickles. Just a little sliver off the end takes care of those enzymes.

4. Pickle crispPickle crisp is a Ball product, but I’m sure others make it too, as it is simply calcium chloride. Pickle Crisp helps keep pickles firm because the calcium helps firm the pectin in the cucumber, the same way lime does.

3. Don’t pickle over-mature cucumbers – start with a good quality veggie. Yes, sometimes the garden gets away from us and there are suddenly some big ole cucs on the vine and we are tempted to pickle them anyways. Don’t bother, unless you like mush. Big cucumbers may be hollow, or just be softer in the middle where the seeds are growing. Chop those up for your salad. Yes, I realize what I said in #10, but it works in this direction.

2. Pickle immediately. If you have your own garden this is easier, but do your best to pickle cucumbers as soon after picking them as you can. If buying them, ask the farmer when they were picked, or at least process them as soon after buying them as you can. Cucumbers will lose their firmness the longer you wait. Within 24 hours is ideal.

1. Low temperature pasteurization. To me this is the number 1 way to keep pickles firm, and often one overlooked because a lot of people don’t know it’s a thing. It might not be more important than using a good quality cuc to start with, but I put it first because so many people don’t know about it. Basically, overprocessing pickles can cause them to become soft. With low temp processing, you can process the recipes from this publication PNW 355 at 180-185 F instead of a full rolling boil. It works, it really works. For more on that see my experiment from last year – here.

Get picklin’!

Blackberry Cabernet Jam

Last weekend after picking a ton of blackberries I was thinking about what delicious blackberry creation I could come up with, and was reminded of the strawberry Pinot Noir jam that I made two summers ago. Blackberries and wine? Yes please! That sounds like a great idea. Blackberries are bold though, I thought to myself, they need a bolder wine, thus was born the blackberry Cabernet jam. This jam is a real time commitment, as it is pectin free, and has an entire bottle of wine in it. However, if you’re feeling slightly more impatient the Ball Complete Book of Home Preserving does have a berry wine jelly using liquid pectin that you could whip up faster. Alternatively, make a half batch and drink the other half of the wine.

Ingredients:
15 cups blackberries
2.5 cups sugar
One bottle of your favourite Cabernet Sauvignon or other bold wine
1 tbsp of lemon juice

IMG_5507 copy

Here’s what I did:

Prepare the canner, jars, and lids (and by prepare I really mean start pondering it, because you actually won’t need to prepare for like 4 more hours). Depending on how long you cook this jam, it will yield about 6-8 pints. Mash the berries to your preferred level of mashiness in a large pot, and add the sugar, wine, and lemon juice. Leave a small amount of wine in the bottom of the bottle to sip on while you bring the jam to a boil.

IMG_5509 copy

Bring to a boil over medium/high heat. Reduce and maintain a gentle boil for a good many hours, stirring occasionally. I think I ended up cooking this for nearly 5 hours. Be patient, or play with adding some liquid pectin of you want a firmer set. Near the end of the cook time, pay close attention to avoid any burning on the bottom of the pot.

IMG_5520 copy

Fill hot jars leaving 1/4 inch head space. Wipe rims, apply lids, and tighten bands finger tip tight. Process in a boiling water bath canner for 10 minutes.

IMG_5528 copy

Deeeeelicious. And oh so pretty. Now who wants to host a cocktail party or wine night so that I can bring some of this jam? 😉

IMG_5556 copy

Boozy Infusions and a Homemade Strawberry Daiquiri

If you enjoy the occasional cocktail, as I do, a great way to improve a cheap bottle of vodka (or I bet this would be good with gin too) is to infuse the vodka with your favourite berry or fruit. It’s so simple, and so delicious. All you need to do is fill a jar about 3/4 full with the fruit of your choice, and cover with vodka. If you like, you can first add a bit of sugar to the fruit, shake the jar to cover the fruit, let sit a few minutes, and then add the vodka. I did this only with the rhubarb, because it helps draw the moisture out of the rhubarb a bit more. Most berries are plenty sweet and give up their juices easily, so in my opinion don’t need the added sugar.

IMG_5465 copy

Close the jars, give them a shake, and wait. The strawberry and raspberry that I made actually tasted pretty good after only a few days, but I’d leave rhubarb a bit longer. I left them all a couple of weeks before straining. Occasionally, when you pass them and think of it, give the jar a shake.

IMG_5467 copy

Gorgeous!

IMG_5286 copy

Taste it every few days, or just leave it for a couple weeks. After the taste of the vodka meets your satisfaction, strain the fruit through cheesecloth or or a coffee filter.

IMG_5495

Straining the rhubarb vodka.

IMG_5301 copy

A few weeks later, host a delightful cocktail party! 😉 Mix with tonic water and enjoy.

IMG_5319 copy

With the vodka soaked strawberries I decided to make a homemade daiquiri. All I did was combine the berries with about 8 ice cubes, a splash of lime juice, and a tiny bit of sugar and blended it up in the blender. Oh man. So good. I could probably use the blueberries for something delicious too, but the rhubarb I’m not sure. Add it to a pie?

IMG_5501


Infuse your booze!

A “berry” good weekend – things to do with strawberries

Believe it or not, strawberry season is wrapping up here next week! So sad! However, I did do a pretty good job taking advantage of the berries this year. We bought a chest freezer, so I’ve frozen a bunch, and I did some dehydrating, canning, and wine making with the rest last weekend. A berry good weekend indeed. For many of you, berry season is probably just beginning, but whether this is your last week, or first, here is some inspiration for things to do with your berries.

Strawberry Rhubarb Pie Filling – my first blog post ever, and still one of my favourite recipes. The universe is telling us to put these two awesome items together by having them mature at the same time – you should really listen.

20130822-212438.jpg


Strawberry Fruit Leather – Since this post, I’ve learned adding some apple sauce or other more fibrous fruit helps with the cracking and crispiness issue. But I also still love it with just strawberries.

20131025-225202.jpg


Strawberry jam – a classic favourite of course. Or on the wilder side, add some wine to your jam and try this strawberry pinot noir jam.

IMG_2031 copy

Strawberry wine – heck yes! It’s really not as hard as it seems by the length of the post. You should really really try it. Shorter, point form directions coming soon to entice you more, since not all of you have the attention span for this novel of a post.

IMG_4461 copy

Or a non-alcoholic beverage  (or alcohol optional I should say) – strawberry lemonade concentrate!

IMG_3736 copy

Got a couple handfuls left over still? Flavour some vinegar (or vodka? Post coming soon on that, but it’s basically the same as vinegar)

IMG_4704

Now go, quickly, before they are gone!! Pick some berries! Eat some berries! Can some berries! Dry some berries! Love the berries! And don’t forget to eat some fresh – sometimes it’s easy to get caught up in preservation.  And lay off the caffeine! (Oh wait, that one’s for me.)

Applesauce Fruit Leather 

IMG_5375 copy

This time of year, when canning season is just beginning, is a great time to inventory what you have left in your pantry from last season. In my inventory one thing I noticed that I still had a lot of was applesauce. I haven’t been cooking with it as much as I thought I would, and I just don’t eat it plain often either. I also had a couple flavoured applesauces that friends gave me, including a blackberry one and a cinnamon one (made with cinnamon candy I think).

IMG_5327

So, I decided to repurpose it as fruit leather. I really enjoyed snacking on strawberry fruit leather last summer in the field, so thought I’d free up some spaces in the pantry and dry a few jars of applesauce.

I spread the applesauce out on my fruit leather trays and dried it at 135 F in my dehydrator. 12 oz was about perfect for one tray; I needed to mix a little extra into the 8 oz jar to cover the whole tray.

Here’s the plain applesauce.

IMG_5356 copy

Cinnamon applesauce.

IMG_5349 copy

Blackberry applesauce.

IMG_5353 copy

I love making this just before I go to bed, because it takes at least 8 hours with a full dehydrator.  It’s nice to just wake up and it’s almost done! After 8 – 10 hours you have fruit leather! The publication says 4-8 hours, but I’m thinking 4 must be with one tray, using their precooked method. You know it’s done when there are no wet spots and peels off but still it’s still slightly tacky. Maybe try it during the day for the first time, but I’ve got the timing down well in my dehydrator and can wake up and it’s done 🙂

IMG_5362 copy

After it is dry, peel it off the trays. If you are having trouble getting it started, I find slipping a butter knife under works well.

IMG_5360 copy

Roll it up and store! You can store a whole sheet, or cut it into smaller pieces. You can roll it up with plastic wrap so it doesn’t stick to itself, but I don’t really like using all that plastic wrap so I usually just deal with a few stuck together pieces.

IMG_5365 copy

So beautiful! For more ideas check out the OSU extension publication linked to below.

IMG_5382 copy

*this post contains affiliate links, please see the “About the Blogger” page for more information

Used for this project:
Nesco dehydrator
Extra trays
Applesauce
Fruit leather publication

Master Food Preserver Manual

I recently added a “resources” tab to my blog, to which I have been adding some of my favourite extension service publications, and products I love. In preparation for the upcoming preservation season, I had been thinking to myself, “how could I make this as useful and accessible to people as possible?” What I came up with was to provide you with all of the resources that are available in my Master Food Preserver notebook. When I started the MFP program last year, I got the notebook pictured below, which has a ton of different extension service publications complied into one handy (albeit giant) binder. So I wanted to make that virtually available to you in a well organized fashion, until I found out it is already available online! So exciting!! So if you are looking for basically all the publications that you need to safely prepare and preserve food safely at home click here. It’s all available free online on the OSU extension website – who knew! This is an amazing and FREE resource, check it out! The key was that it’s under faculty resources. All these publications are available online, but this is the first time I’ve seen them all organized together. Of course the tips for volunteers section isn’t important for you, but the rest of the chapters are nicely laid out and accessible. Enjoy, and happy preserving! 

20140429-211826.jpg

Do you refer to extension service publications? What’s your go-to source for recipes and instructions?