Tomato season is here at last, and that of course means salsa season! So yesterday I grabbed my good pal Kiki, picked all my red tomatoes and set out to make some salsa. I first made this salsa last year and it was so delicious it had to be the first thing I used tomatoes for this year. This recipe is from the Ball Complete Book of Home Preserving. Warning, if you make this salsa you will never want to eat store bought salsa again!
The recipe as listed below makes around 5 pint jars of salsa.
Ingredients:
7 cups peeled, chopped, cored tomatoes
2 cups coarsely chopped onion
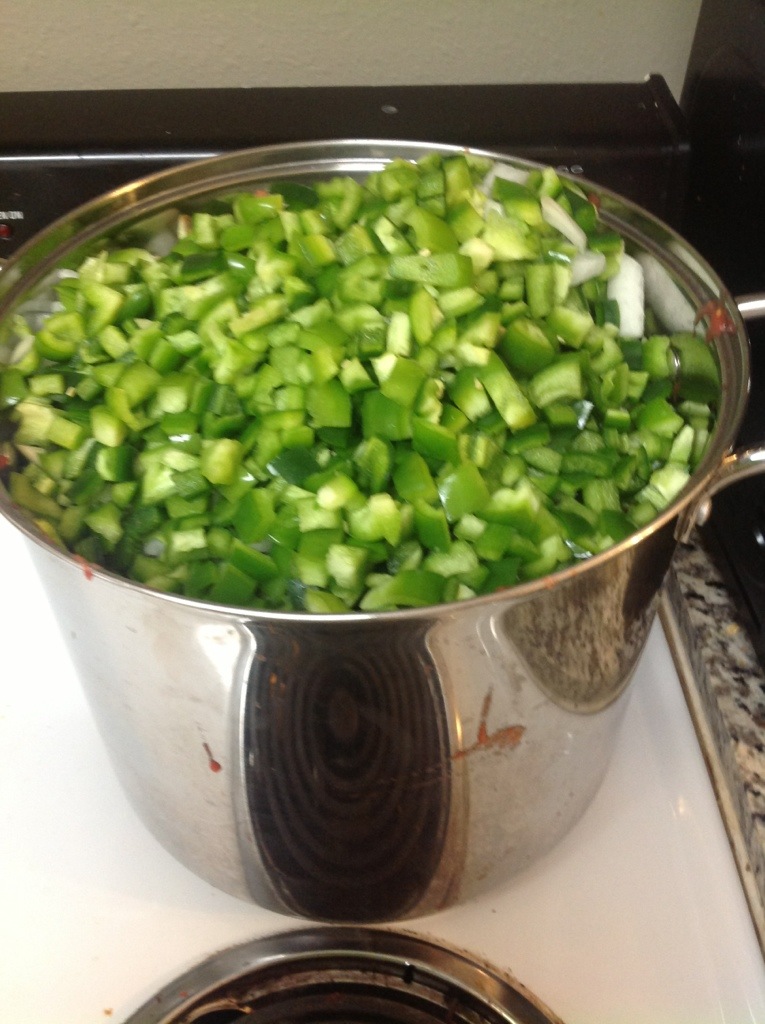
1 cup coarsely chopped green bell pepper
8 jalapeño peppers, seeded and finely chopped
3 cloves garlic, finely chopped
1 can (5.5 oz) tomato paste
3/4 cup white vinegar
1/2 cup cilantro, loosely packed and finely chopped
1/2 tsp ground cumin
Reminder: salsa is one of those foods that can be borderline acidic enough for hot water bath canning, so never alter the ratios in a recipe. It is not safe, for example, to add extra peppers because they reduce the overall acidity. Adding more vinegar for acidity can compensate, but never “guesstimate,” look for a trusted and tested recipe if you like a different ratio of ingredients in salsa.
How to make it:
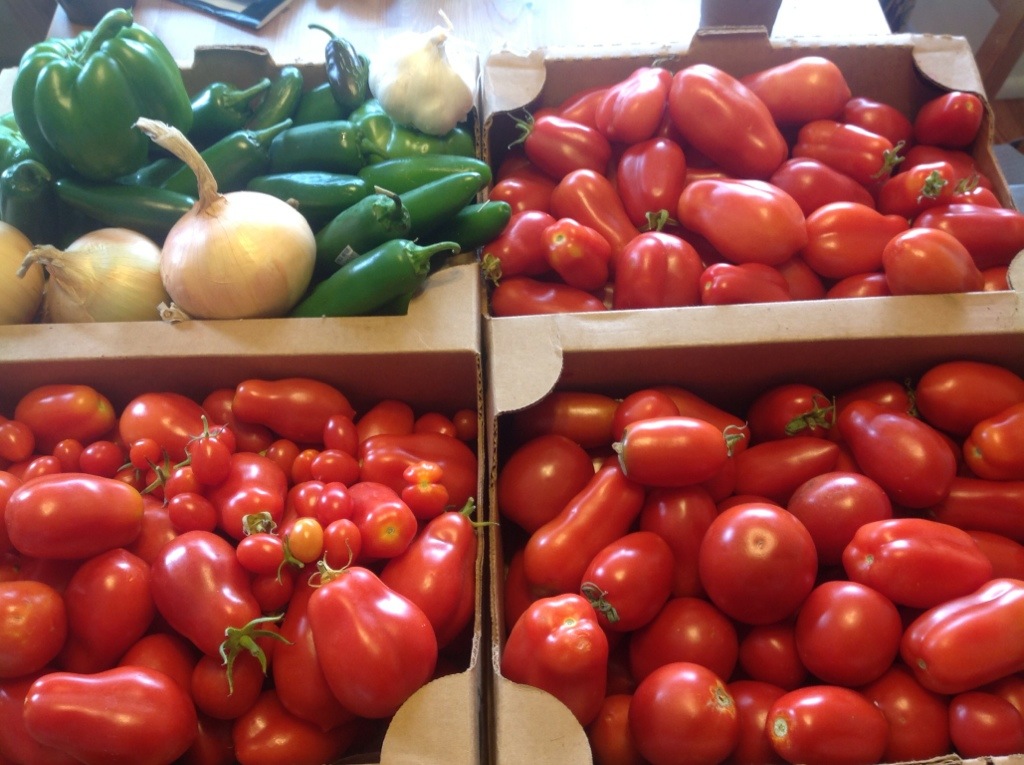
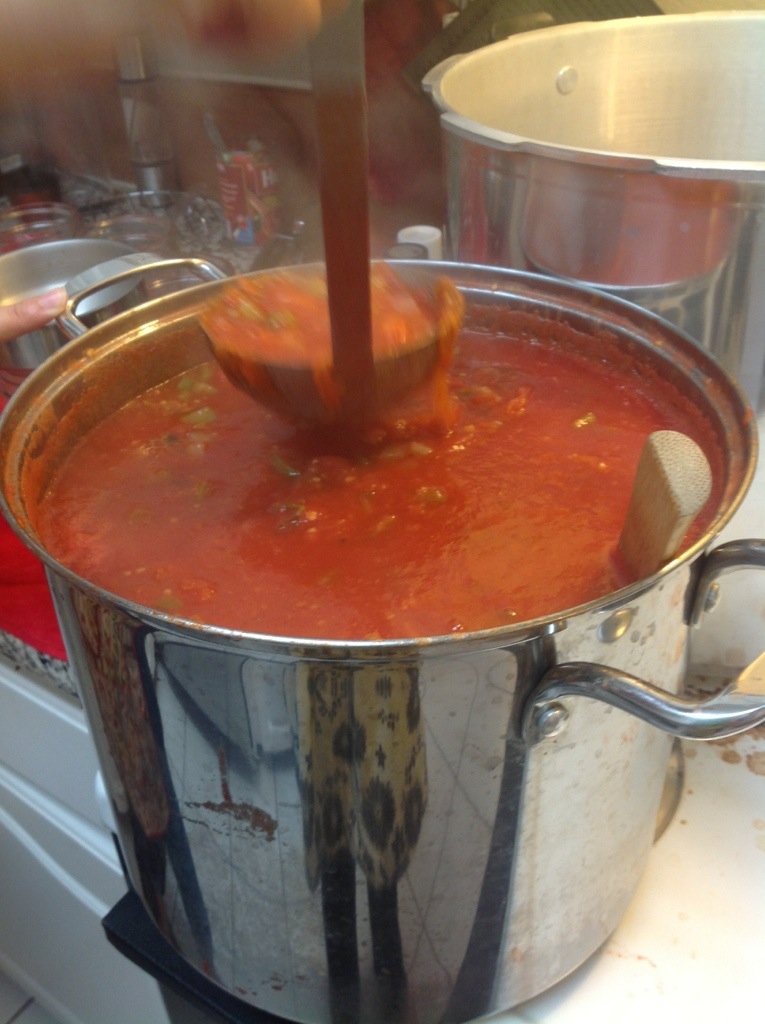
Keeping true with my large batch style of canning, I picked every single red tomato in my garden for this canning session. I have an array of Roma varieties ready and had around 27 pounds when all was said and done. After peeling and chopping we had 33 cups of tomatoes! So we did about 4.7x the recipe as written, which it turns out is pretty much the capacity of my stock pot. To simmer the mixture I actually ended up spreading it out over a couple pots and mixing it all back together at the end.
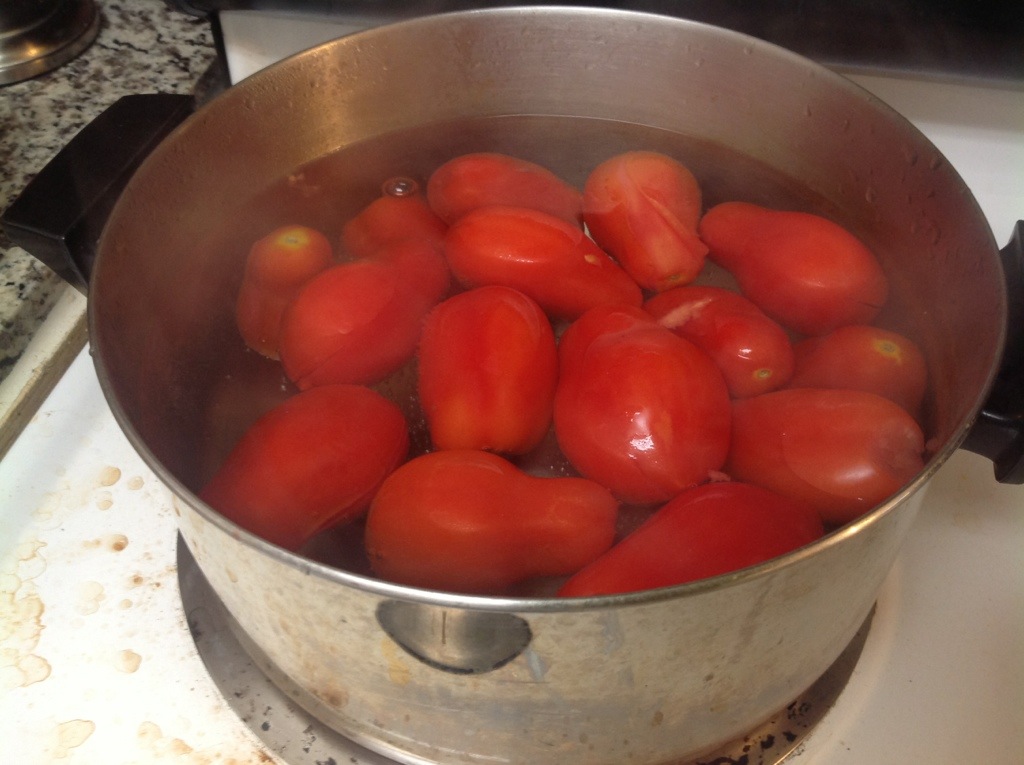
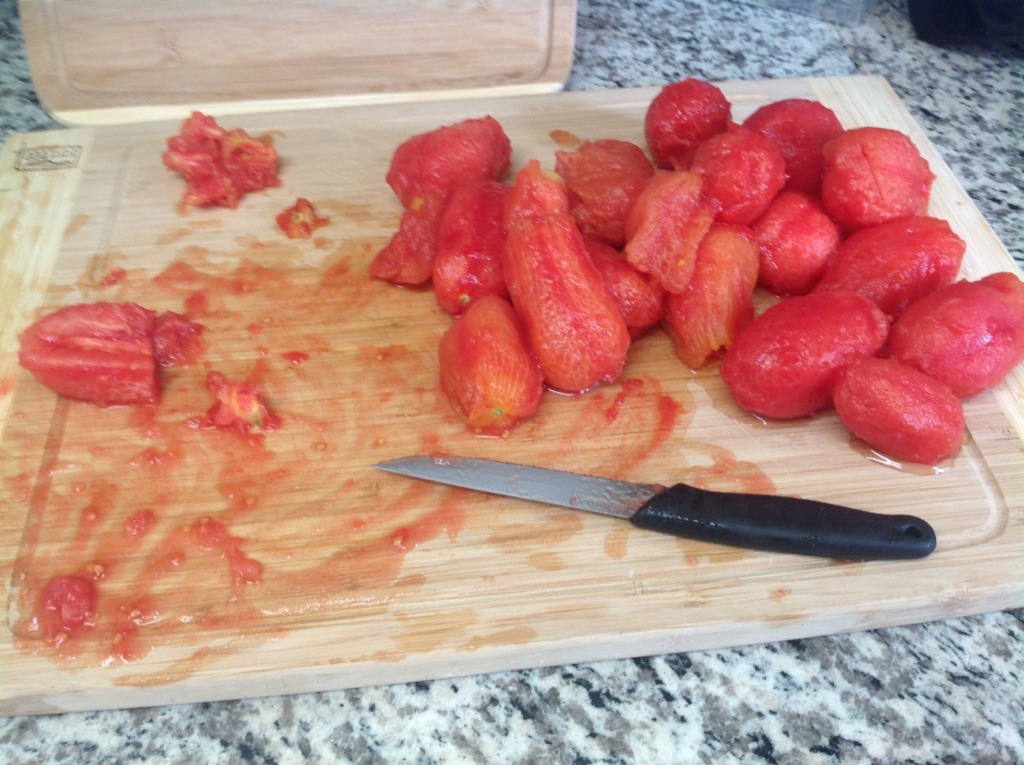
The biggest task for this recipe is to peel and chop the tomatoes. This is exponentially easier if you first blanch them. If you want, cut a small x in the bottom of the tomato.
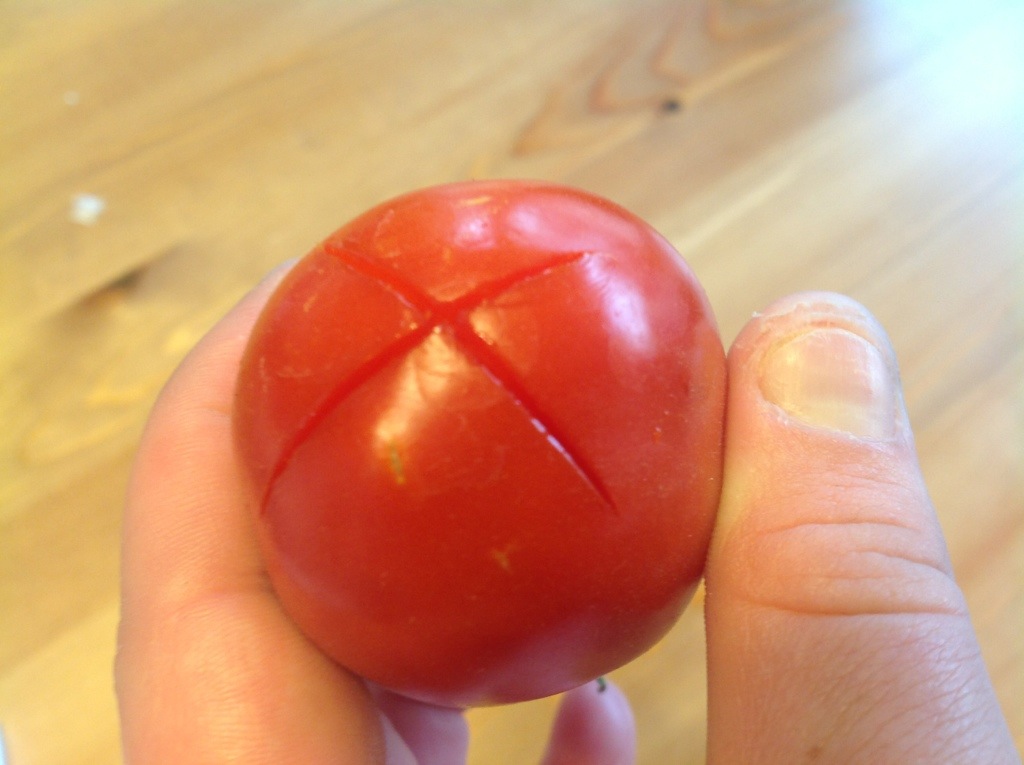
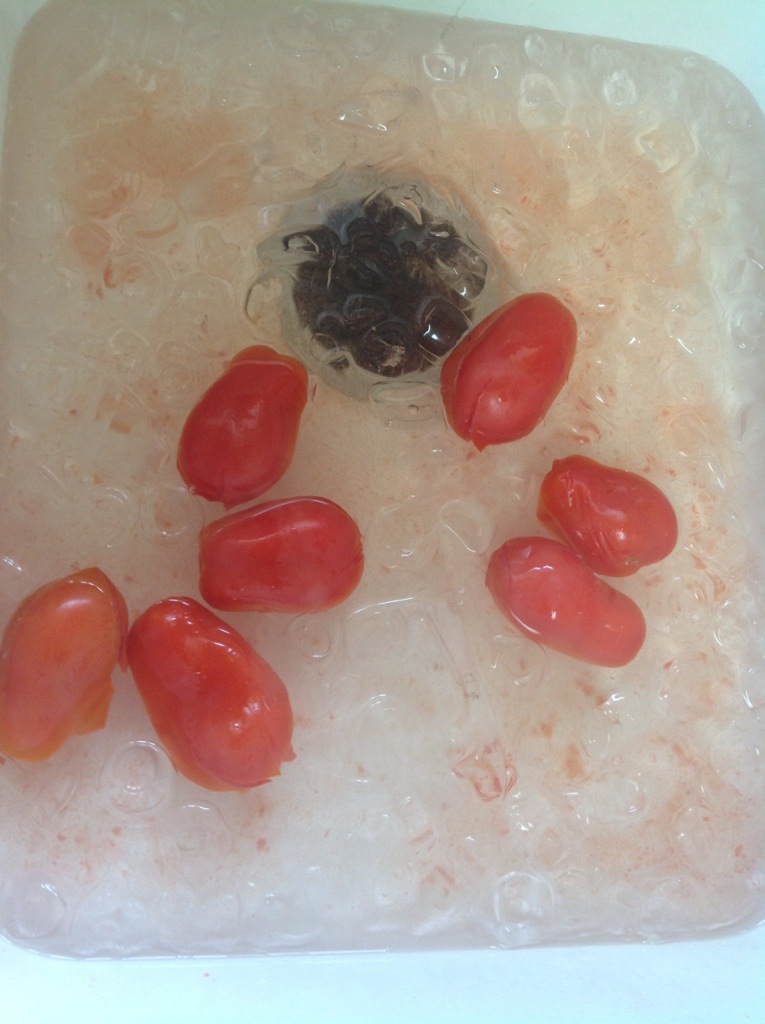
Toss them in boiling water for 30-60 seconds.
Then into ice water. The skins on these Roma’s came off so easily, which makes for a happy canning session.
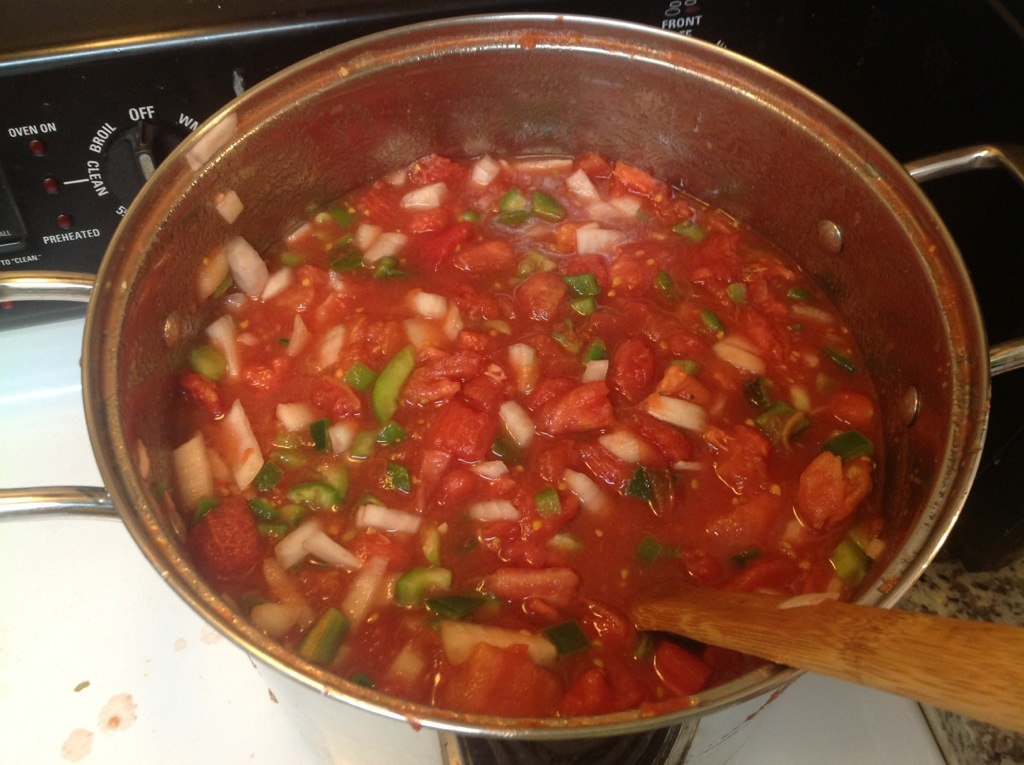
Chop the tomatoes, onions, peppers and garlic. Make sure to wear gloves to chop the jalapenos! A little bit of jalapeno seeds really go a long way in this recipe so I like to leave the seeds and veins aside and add them in to taste when I get all the ingredients together.
Mix all the ingredients in a large stock pot. I am actually not a huge cilantro fan, so I leave it out of this recipe or add a little parsley instead.
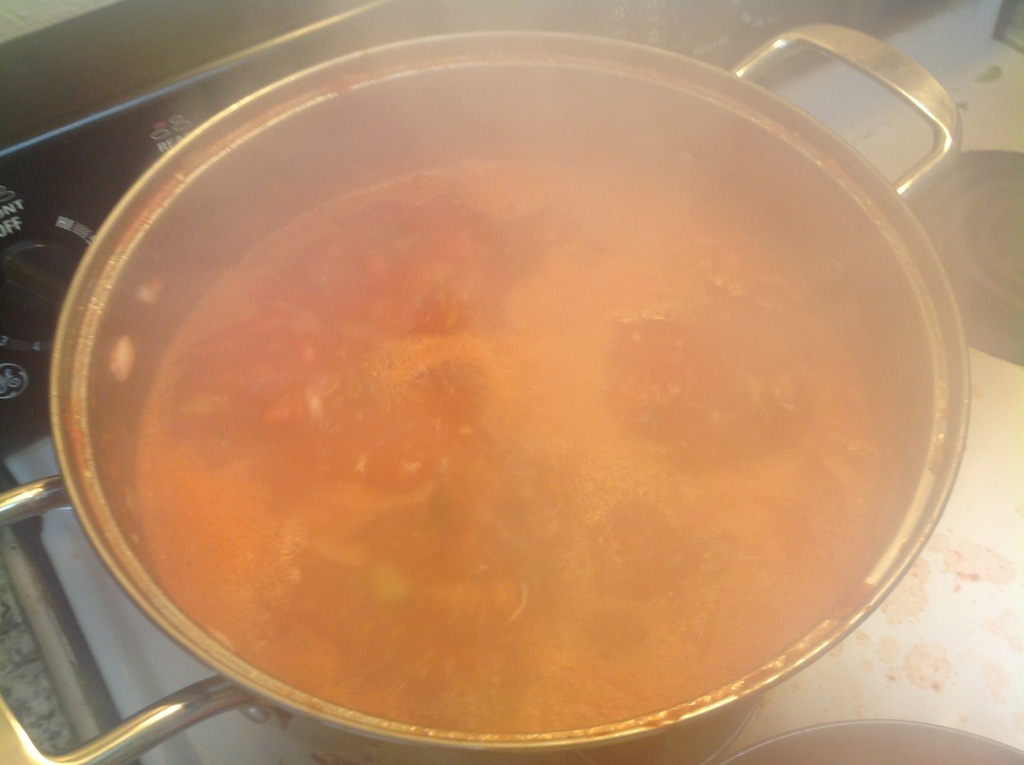
Bring to a boil over medium-high heat. Reduce heat and simmer for 30 minutes or so to cook the veggies and thicken the mixture.
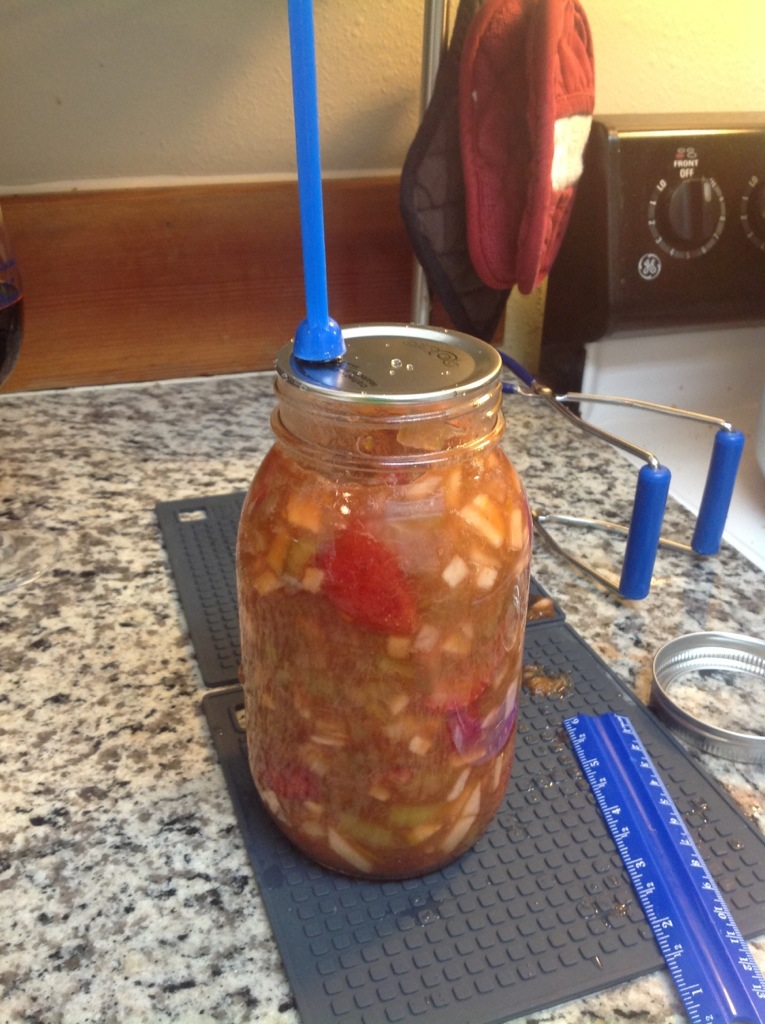
While the salsa is cooking, prepare the canner, jars and lids. I like to use wide mouth pints for this because then I can easily dip a chip right into the jar. When the salsa is done, fill the jars leaving a half inch head space. Wipe the rims, place the lids on, and tighten the bands finger tip tight.

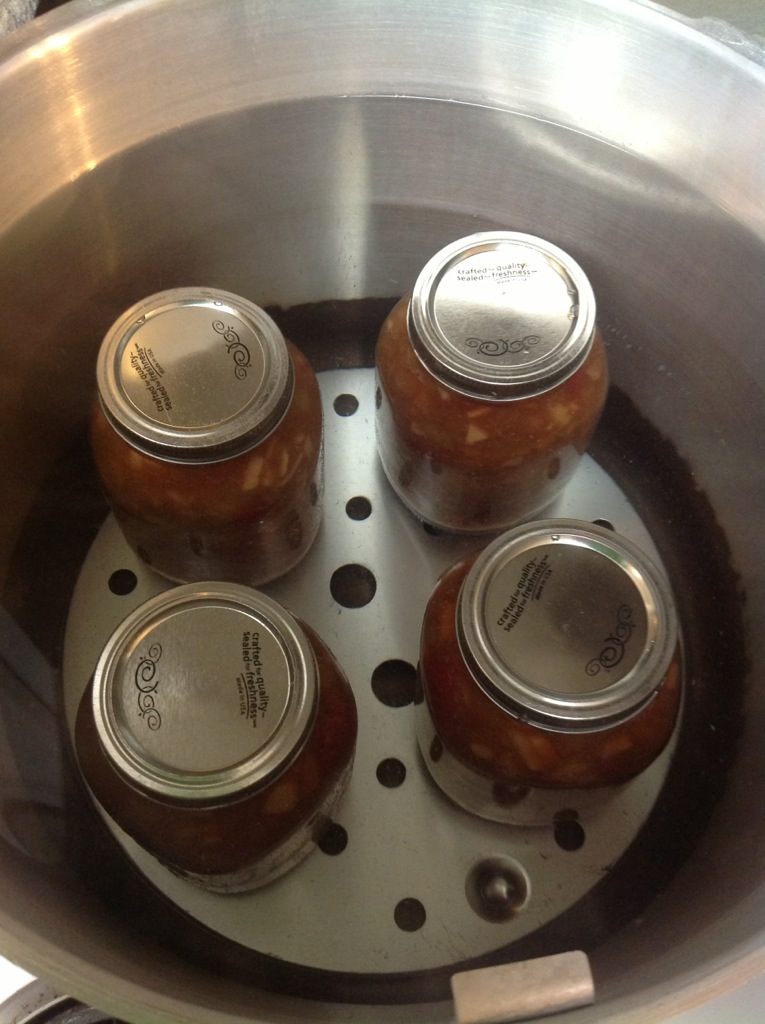
Place the jars in the canner covered by at least 1-2 inches if water. Process jars for 20 minutes, beginning the timer when your hot water bath canner reaches a full rolling boil. After the 20 minutes, turn off the heat, remove the canner lid, wait 5 minutes then remove your jars to a cloth or hot pad on the counter, leaving at least a couple inches between them. Listen to all the jars sealing!
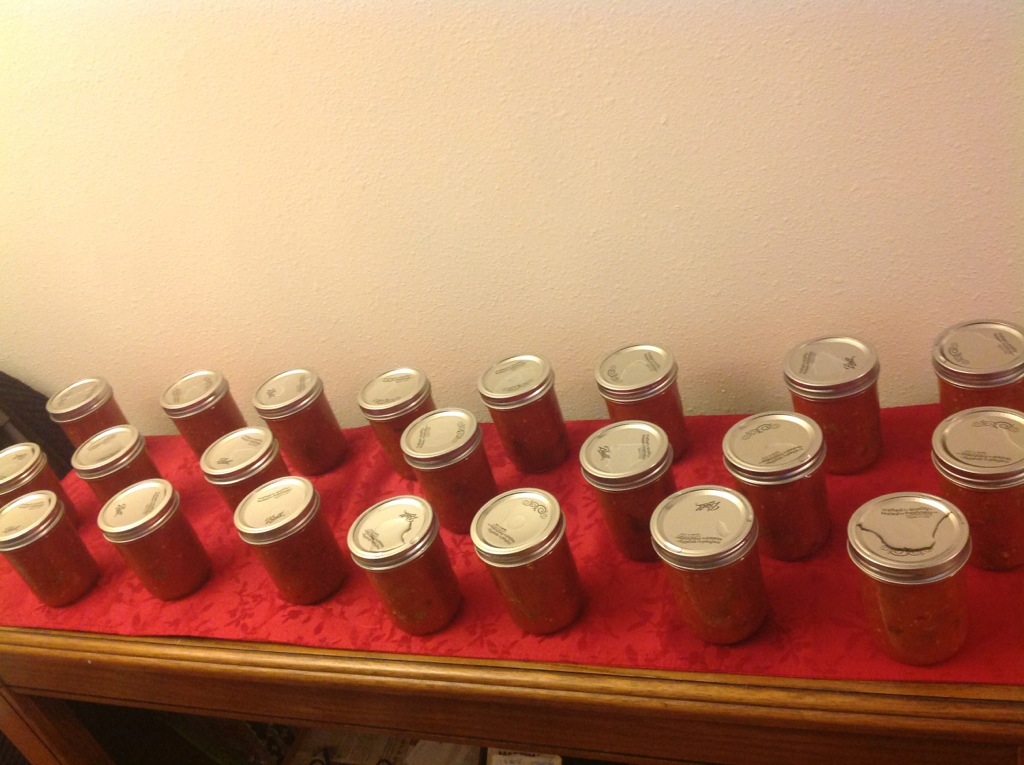
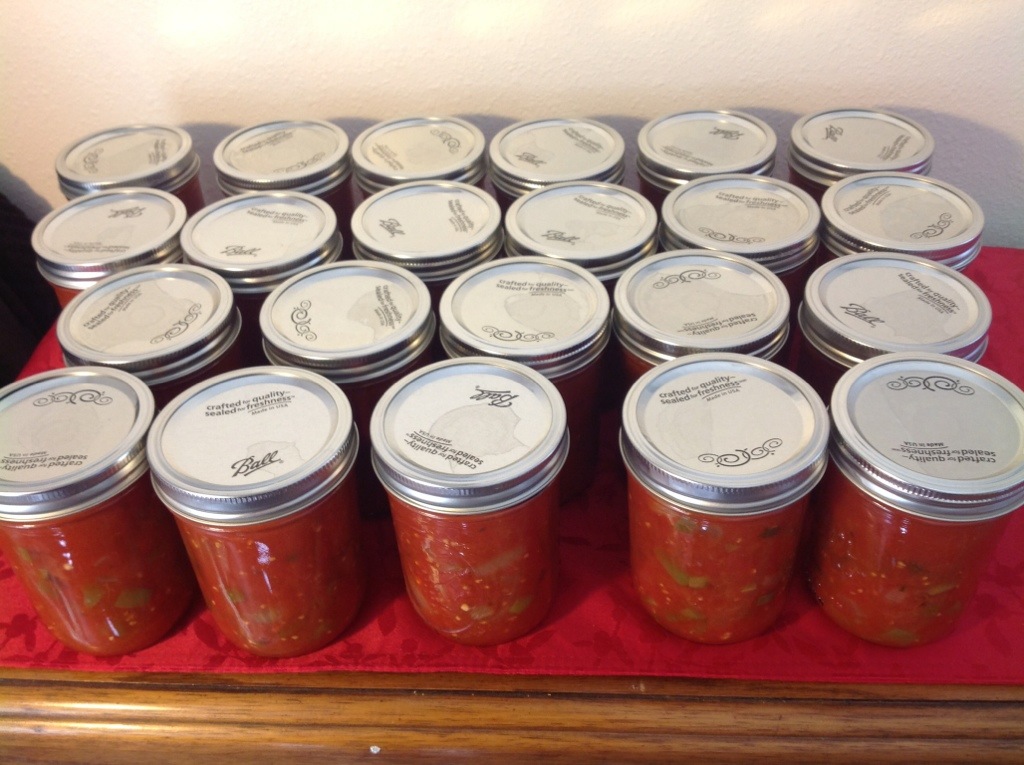
For this giant batch of salsa, we ended up with 22 pints, plus a half pint left over for eats. This took 3 canner loads because only 8 wide mouth pints fit in my canner, so just keep the salsa simmering in between if you do more than one load.
Enjoy any little bit left over! Mmm. Although, I think if you leave it a couple weeks for the flavours to commingle it tastes even better. Deeeelish!
*This post contains affiliate links. Check out the “About the Blogger” page for more information.