Coconut, carrot, date, and sesame seed “cookies” – Go Raw clone recipe

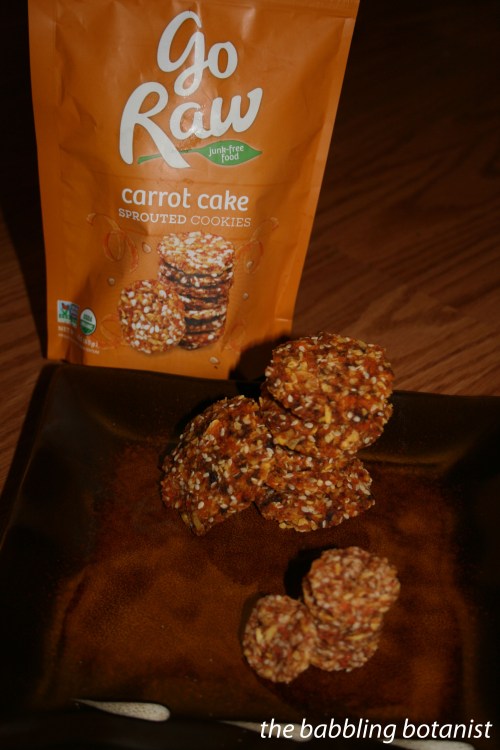
My go to field snack is always granola bars, so last summer I was trying to mix things up and I discovered these delicious Go Raw cookies. They are tasty tasty! And pretty good for you – sprouted sesame seeds, carrots, coconut, dates and no added sugar. However, they are absurdly expensive, so I decided to try and make them myself. I finally got around to it last week when I harvested a bunch of carrots. They only have 5 ingredients, so I figured I could clone the recipe pretty easily. Here is what I came up with!

IMG_5862 copy

Ingredients:
1/2 cup finely shredded carrots
1/2 cup shredded coconut
1/2 cup sesame seeds
1/2 cup chopped dates
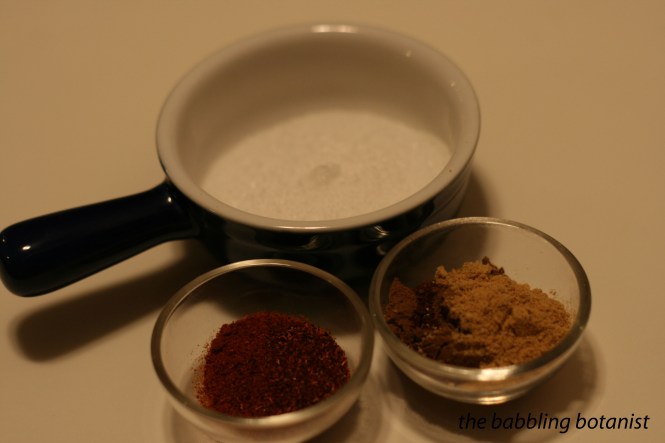
1/2 tsp nutmeg

This recipe will fill approximately one dehydrator tray (quite fully), so multiply accordingly. I tried a few different ratios of the ingredients, and this one to one ratio was the one I liked best. I think it might be more dates than the Go Raw recipe, but it’s really tasty, and 1:1:1:1 is easy peasy to remember, to double, etc.

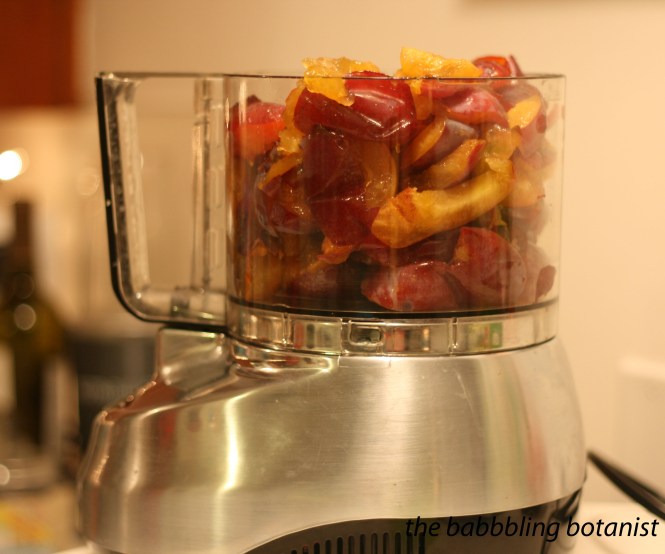
First I shredded the carrots through my food processor, then pulsed them to chop them up even more. For the dates, I pitted them and pulsed them in the food processor as well.

IMG_5829 copy

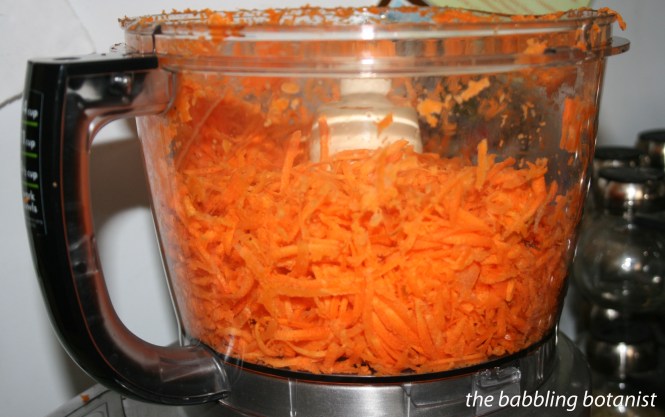
Measure equal parts of the 4 ingredients and combine in a food processor. Add a bit of nutmeg, 1/4-1/2 tsp or to taste. If you don’t have a food processor do small batches in a blender, or mix it up by hand in a large bowl.

IMG_5831 copy

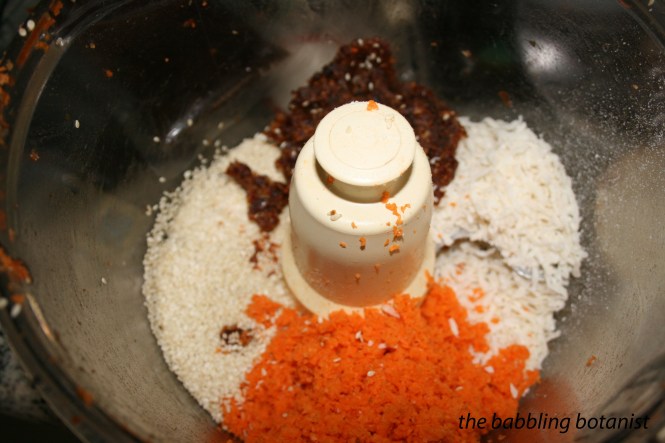
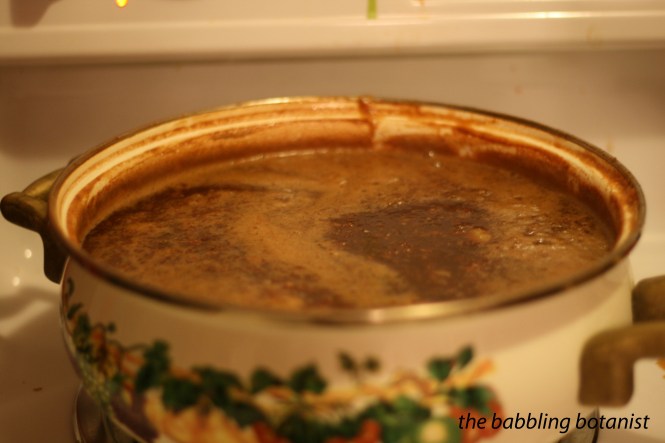
Nom nom nom. Pretty and tasty!

IMG_5832 copy

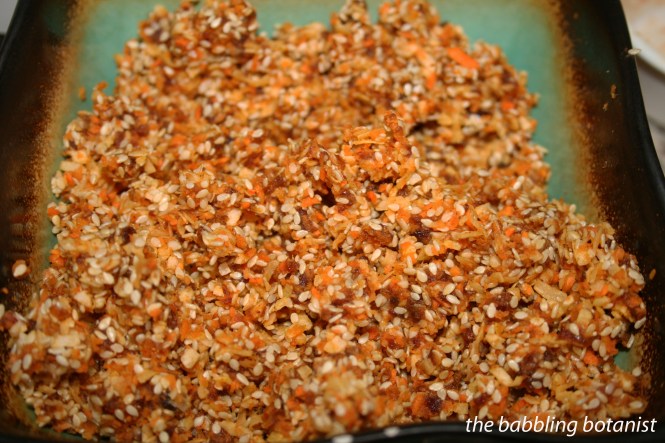
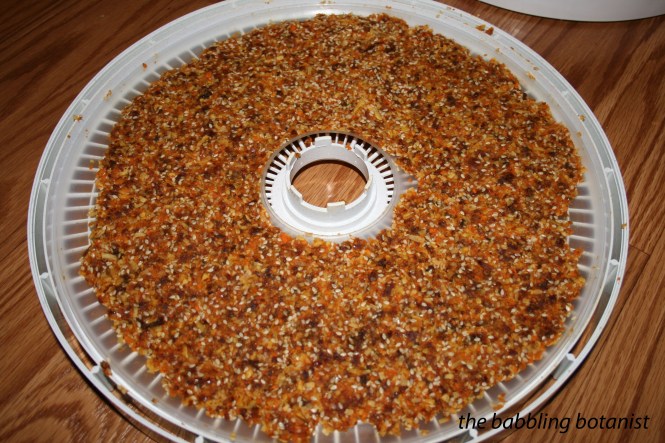
For drying you have two options. For option one I spread the mixture out evenly across a fruit leather tray on the dehydrator, then just broke it into pieces once dry.

IMG_5834 copy

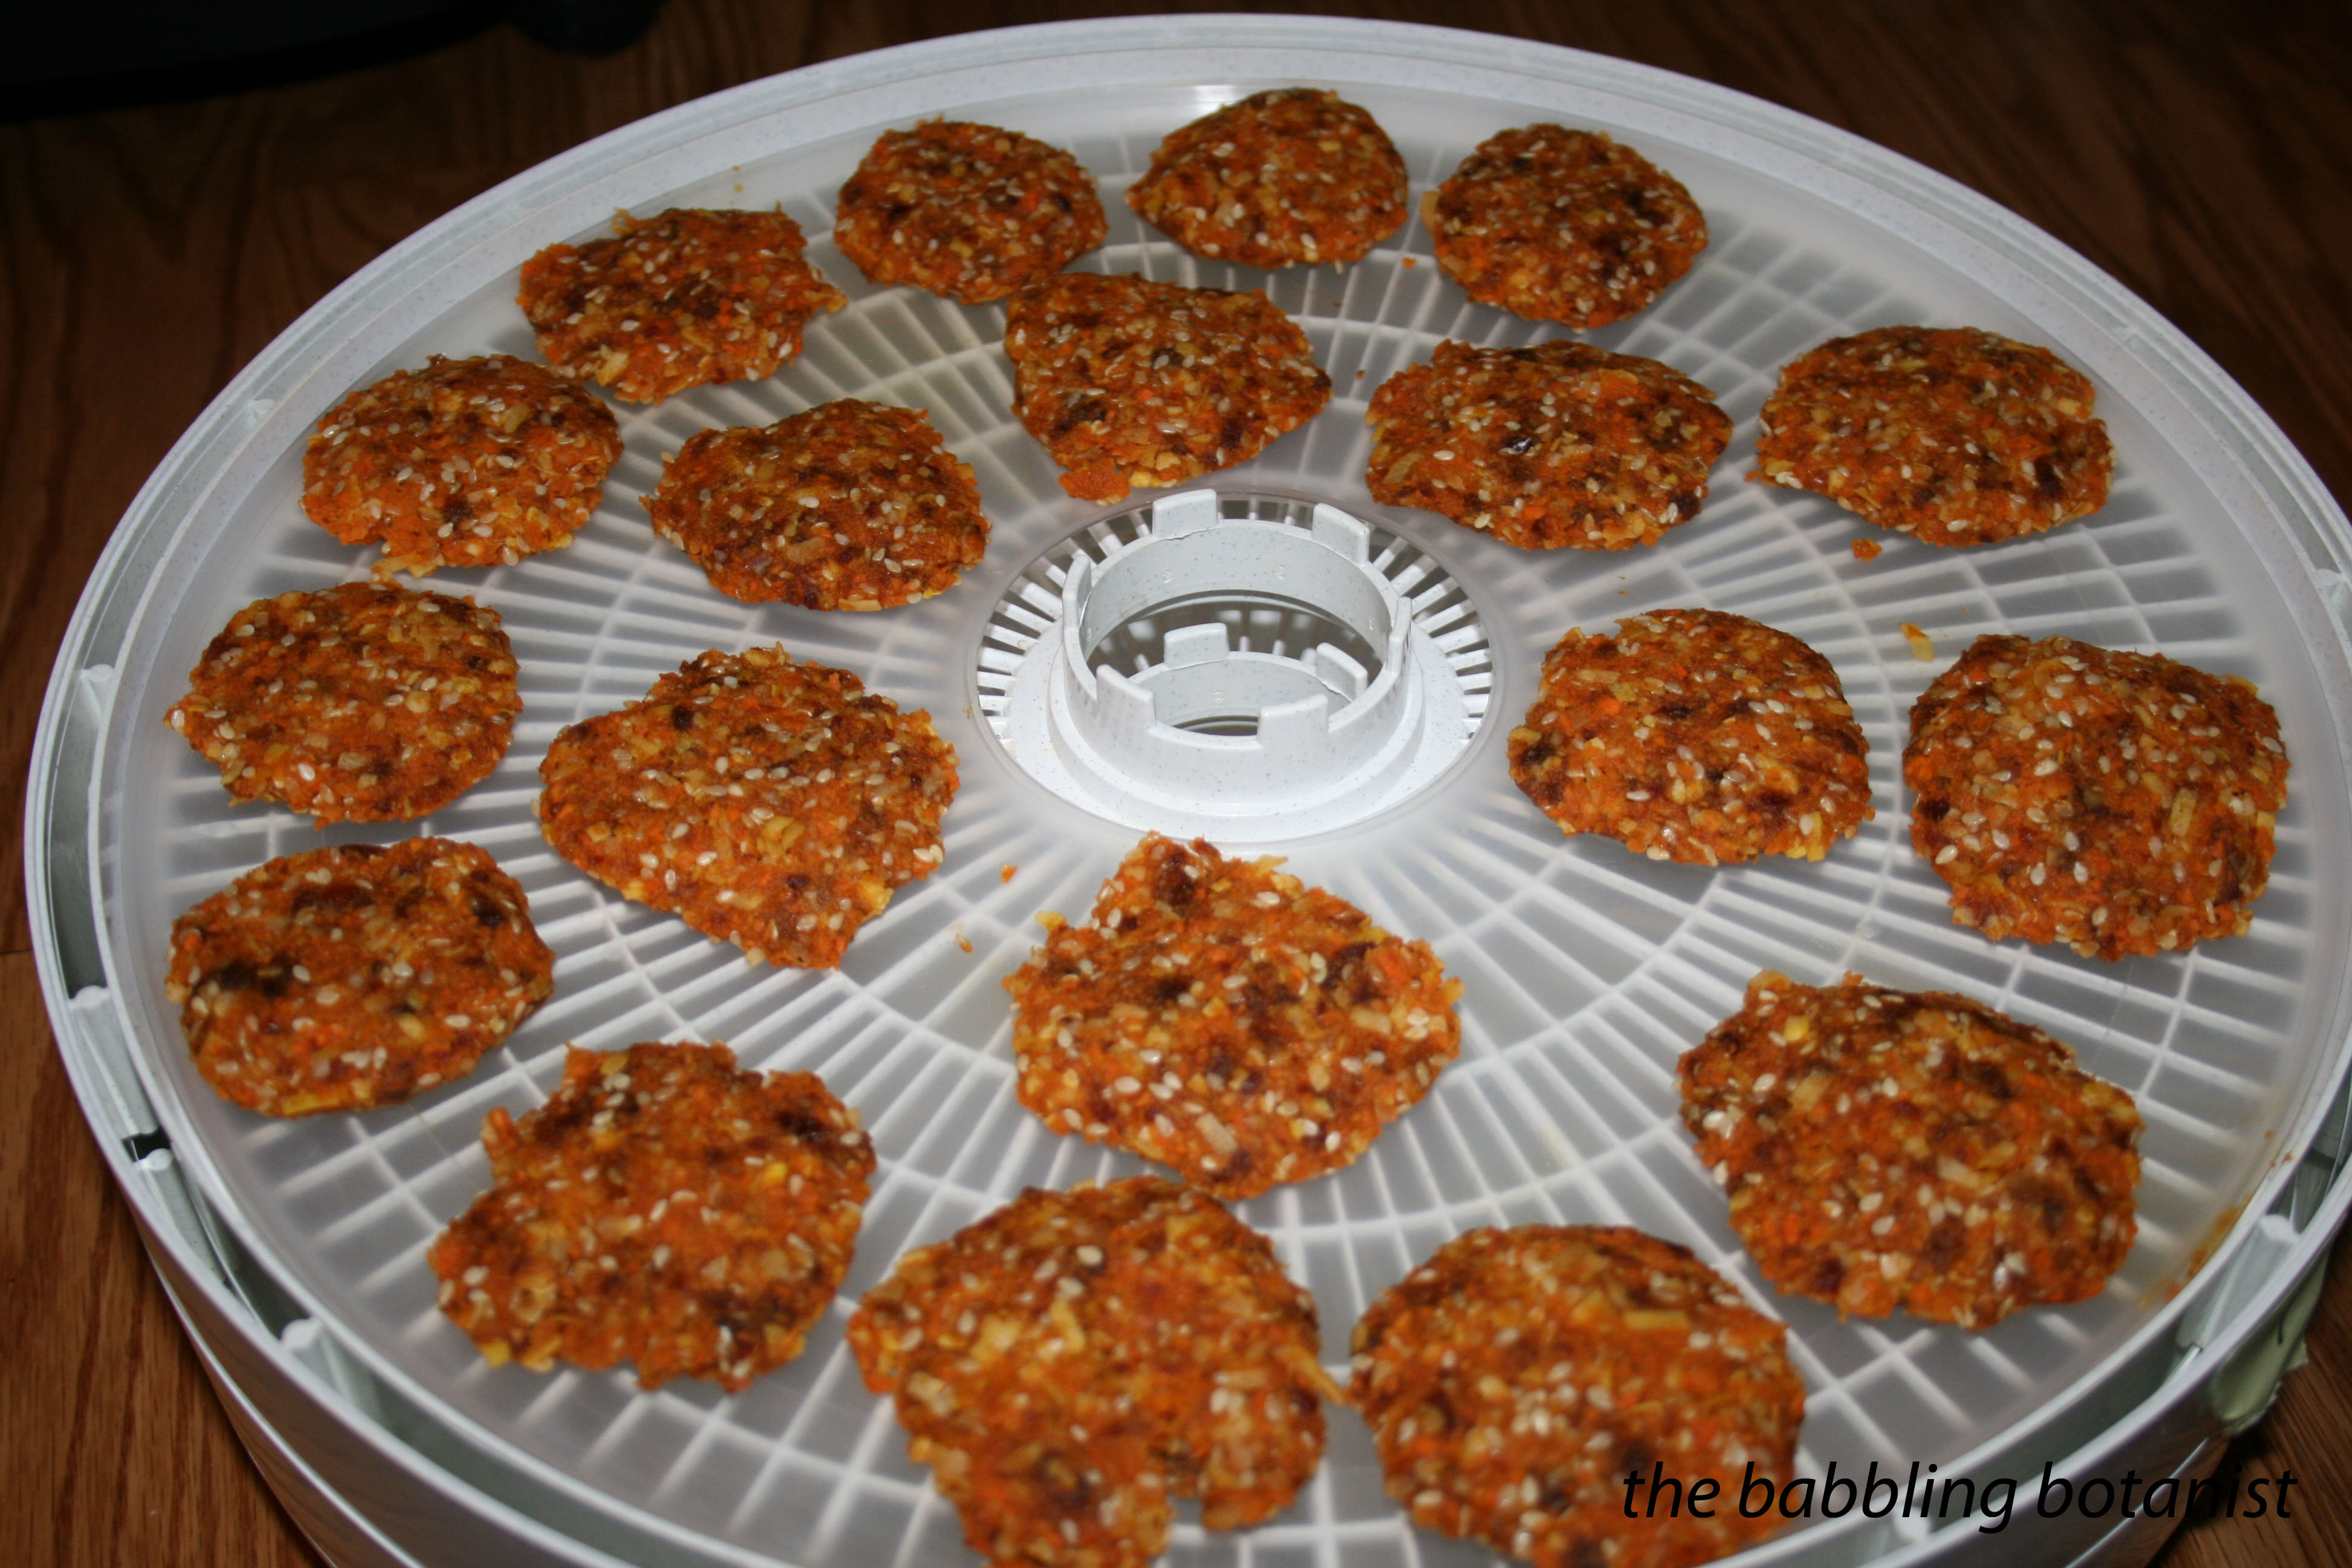
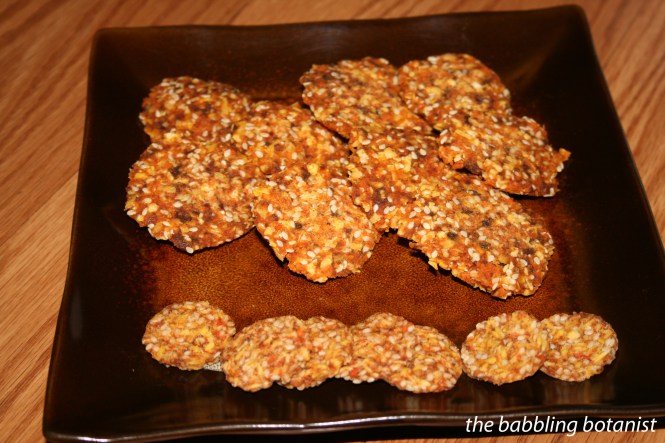
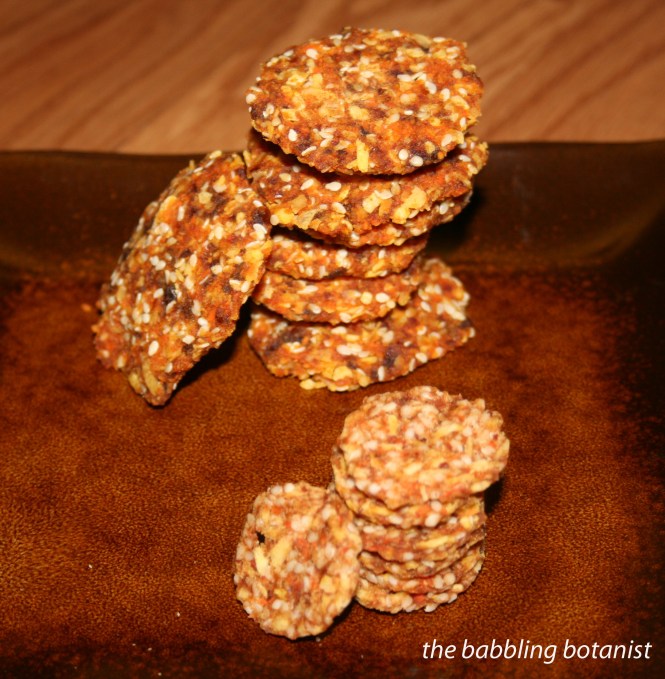
Alternatively you can form them into cookies. Mine were pretty large, much larger than the Go Raw cookies I was trying to clone, but you could make them any size. Smaller would of course dry faster. I was thinking that you could also roll this out almost like dough and use cookie cutters or cut it into squares with a knife. I think I’ll try that next time.

IMG_5838 copy

Mine in back, Go Raw in front!

IMG_5856 copy

I dried them for about 16 hours and they still weren’t quite crispy, but  they were a somewhat soft consistency that I liked. I think they might have been a little wetter too because I had more dates than the Go raw recipe. Dry until your desired consistency.

IMG_5859

Enjoy!

Tools I used for these:
My food processor
NESCO dehydrator
Fruit leather sheets

*this post contains affiliate links, please see the “About the Blogger” page for more information

Asian Plum Sauce

Plum sauce has a lot of great uses, and home made is so much better than anything you can buy in the store. This sauce makes a delicious dipping sauce, is great for meat, such as pork, and is also great as a stir-fry sauce. I hope plums are still in season in your area so you can whip up a batch!

IMG_4518 copy

This recipe comes from this small-batch preserving book. We only made a couple modifications, including using dates instead of raisins, and doing a larger batch (3 cup yield – I think not!!), so as written here this will yield 6-7 half pints.

Ingredients:
18 – 20 plums (about 3 pounds)
3 cups brown sugar
3 cups finely chopped onion
2 cups cider vinegar
1/2 cup dates
1 tbsp soy sauce
6 cloves of garlic
1 tbsp salt
1/2 tsp chili powder
1/4 tsp ground cloves
1/4 tsp cinnamon
1/4 tsp ginger
1/4 tsp allspice

Here’s how we made it.

Chop or food process the plums. The one pictured is actually at a friend’s house, but I just got this one and am l loving it so far. Soup and sauces galore! And I just used it to slice a ton of carrots into coins to make pickled carrots and it was aweeesome! But I digress, back to the sauce.

IMG_4422

You should end up with about 3.5 cups of plum puree. Chop or food process the onions and dates as well and set them aside. I like a pretty fine chop for this sauce.

IMG_4431 copy

Combine the plums, sugar, vinegar and salt. Bring to a boil over high heat, stirring constantly. If you’d rather not use sugar, I bet that honey to taste would be super delicious in this recipe as well. Boil the mixture for a few minutes, then add the remaining ingredients.

IMG_4440 copy

Look at those adorable little cups!

IMG_4435 copy

Return to a boil and reduce the heat. Allow the mixture to simmer, uncovered, until the desired thickness is achieved. Continue to stir occasionally, and prepare the canner, jars, and lids when you are approaching a nice consistency. 45 minutes to an hour is probably good.

IMG_4446 copy

Fill the hot jars with the sauce, leaving a half inch head space. Wipe rims, apply lids, and tighten bands finger tip tight. Process the jars in a boiling water bath canner, covered by at least 1 inch of boiling water, for 15 minutes for half pints. After the 15 minutes, turn off the heat, remove the canner lid, wait 5 minutes, and remove the jar to a hot pad or towel. Cool 12-24 hours, remove bands, check seals, wipe, label, and store.

IMG_4518 copy

Enjoy this delicious sauce as a stir fry sauce, dipping sauce or however else you desire.

IMG_4500 copy


*this post contains affiliate links, please see the “About the Blogger” page for more information