Can it forward day. A giveaway!

Happy international can it forward day! I hope that you all canned something today and/or ate something that you had canned to celebrate. To me, can it forward day is basically everyday, as I love to get others on to the canning train. I didn’t actually can today, because I just got home from a conference late last night, but zucchini relish and tomato sauce are on the roster for tomorrow. But anyways that brings me to the reason for this post. A can it forward day giveaway!! Pictured below are my giveaway items. I’ve decide to include 4 canned goodies, the zesty zucchini relish and tomato sauce are the two pint size jars, and you will get the fresh stuff I make tomorrow. The half pints are strawberry jam and Victorian barbecue sauce. Yum yum yum. The other exciting thing is that I will be giving away a copy of So Easy to Preserve, which is written by the University of Georgia extension service. This book is an amazing resource with many scientifically tested and trusted recipes. The one caveat, however, is that they are coming out with a new edition at the end of the month so I don’t yet have this book in my possession. What that means is I will likely ship (or give to in person depending who wins) the winner the other prizes first, followed by the book when it comes out. But what this does mean is you’ll be getting the most up to date awesome recipes!

IMG_2312.JPG

OK here is how to enter. There are going to actually be multiple ways that you can enter this contest. First you will receive one entry for commenting on this page and telling us who first introduced you to canning. Was it a parent or grandparent, a friend, or something you just started doing on your own? I love to hear how people got started, so that will earn you an entry. You can also earn an entry by liking the babbling botanist Facebook page and inviting others to do so. In the spirit of canning it forward I’d like to be able to reach more people and Facebook is a great way to do so. This is going to get complicated for me to tally up, but this is my plan. Anyone you invite gets an entry, but it also earns you an entry if they post the name of the person that invited them like my page on my Facebook wall. I hope this doesn’t get too confusing for everyone involved, but I’m going to give it a shot! The contest will close on the one year anniversary of me starting this blog, August 22 2014 at 9pm Pacific time.

Happy canning! And sorry, but I can ship to Canada and USA only.

Thanks y’all, this giveaway is now CLOSED.

An obsolete tool due to new recommendations

There is big news in the canning world people, hot off the presses! This comes straight from my Master Food Preserver meeting this month, and you’ll start to see the recommendations coming out on the packaging soon. What packaging? Your canning lids! The tool you are looking at pictured below will never be needed again. Yep, that fun lid magnet that is either barely magnetic enough to pick up a hot lid, or so magnetic it picks up 4 (like the one in MFP class) is no longer a necessary tool in your canning kit. We no longer need to preheat our jar lids people!

IMG_4014 copy

According to new recommendations by the makers of Ball and Kerr lids, there is no need to heat your lids anymore. This is the last picture you’ll see on my blog of jar lids warming before they are put on the jars. They’ve been testing the lids, and with the sealing compound they make these days, they don’t seal any better if they are heated before going on the jar. So, you can start skipping that step. Wooohoooo 15 seconds saved! But really, I am quite happy to hear this because it always seemed unnecessary to me, but being a good little rule follower I usually remembered to do it. Or at least remembered at the last second and dipped my lids for a second into the canner that was warming up and figured that was good enough. Hopefully none of you bought this ridiculous tool recently or you’ll be looking for some other use for it. Good luck. That’s $9.14 well wasted. I guess if you ever needed to sterilize the lids for another purpose you could still use it?? Ha. But anyways, the official ruling is to just wash the lids as you would the jars, and use them. Remember, as always, they are still meant for single use. Happy canning!

IMG_2487 copy

Watermelon Jelly

Watermelons are a classic summer treat that we usually only get to enjoy for a few months while they are in season. These two delightful jelly recipes will allow you to preserve that taste of summer so that you can enjoy it all year long.

IMG_3889 copy

I made two versions of this recipe, one is the zesty watermelon jelly from the Ball Complete Book of Home Preserving, and the other is my own creation, where I simply subbed lemon juice in for the vinegar and omitted the lemongrass. Remember, lemon and lime juice are both better acidifiers than vinegar, which is why it is safe to sub it here. However, that extra acid is mandatory, watermelon is not acidic enough, and therefore not safe to waterbath can without it.

Ingredients:
6 cups crushed watermelon (enough to make 2 cups juice)
1/2 cup vinegar (use white balsamic, white wine or apple cider – I used apple cider here)
4 tablespoons lemon juice
5 cups sugar
1 stem lemongrass, finely chopped
2 pouches liquid pectin

or

6 cups crushed watermelon (enough to make 2 cups juice)
3/4 cups lemon juice
5 cups sugar
2 pouches liquid pectin

Here’s how to make it:

Crush up the watermelon and heat it gently for about 5 minutes.

IMG_3892 copy

Mash it up some more and strain through a dampened jelly bag, or cheesecloth/muslin with some sort of strainer or funnel like below. I don’t have a legit jelly bag setup, so I just used the hopper from the Victorio strainer and some muslin and strained it into a half gallon jar. This actually strained amazingly quickly, unlike some other juice for jellies. I guess they are called watermelons for a good reason.

IMG_3895 copy

Measure out two cups of the juice. If it’s been sitting a while and some of the sediment has settled out, you can stir it up a bit if you like, so that you get that pink colour. If you pour off the top with a lot of the sediment settled out your jelly will be much lighter.

IMG_3897 copy

Prepare the canner, jars and lids. This recipe yields about 5-6 half pints.

Combine all the ingredients except for the pectin in a deep stainless steel pot. Bring to a full rolling boil over high heat, stirring constantly. When the boil is reached, stir in the two packets of pectin quickly and return to a boil. Maintain a hard boil for 1 minute.

IMG_3915 copy

Remove from heat and quickly skim any foam.

IMG_3918 copy

This jelly starts to set up really quickly, so you need to work fast filling the jars. If you have a helper when you are making this, have them get the hot jars ready as you are stirring so you can fill quick like a bunny. Fill the jars leaving a 1/4 inch head space. Wipe the rims, apply the lids, and tighten the bands finger tip tight.

IMG_3922 copy

Process the jars in a boiling water bath canner for 10 minutes, ensuring the jars are covered by at least 1-2 inches of water, and beginning the time when a full rolling boil is acheived. After the ten minutes, turn off the heat, remove the canner lid, wait 5 minutes, and remove the jars to a hot pad or towel. Cool 12-24 hours, remove bands, check seals, wipe down, label and store.

Pictured here is the zesty watermelon jelly on the left, and on the right is the version with just lemon juice. I think the colour difference is in part due to the cider vinegar, but also because I made the right one second and I think had more of the sediment in that batch. They are both pretty, but I was hoping for pinker, and think I might need to experiment with using less sugar to achieve that. But the flavour is certainly delicious!

IMG_3937 copy

*this post contains affiliate links, please see the “About the Blogger” page for more information

Watermelon Jelly on Punk Domestics

Blueberry Lime Jam

I do love blueberries on their own, but sometimes you just need a little something extra to really bring out the flavour of a berry. If you are looking for a jam that really kicks it up a notch, you’ve come to the right place. Adding the juice and zest of a lime or two really enhances the flavour of the blueberries and makes a delicious jam. This recipe is from the Ball Complete Book of Home Preserving. The only change that I make is to use a lower sugar pectin and less sugar, and two limes rather than one, but here it’s written as in Ball.

IMG_3775 copy

Ingredients:
4.5 cups crushed blueberries
5 cups sugar
Zest and juice of 1-2 large limes
1 package of regular pectin (or use low sugar pectin and adjust sugar accordingly)

Here’s what we did:

Prepare the canner, jars and lids. This yields around 6 half pints unless you reduce the sugar.

In a stainless steel pot, combine the crushed berries, lime juice, lime zest, and pectin. Mix well to combine all the ingredients.

IMG_3778 copy

Bring the jam to a full rolling boil over high heat, stirring constantly.

Add the sugar all at once when the boil is reached, and return to a boil. Boil hard for 1 minute, then remove from heat and skim off any foam.

Fill the hot jars leaving a 1/4 inch head space. Wipe rims, apply lids, and tighten the bands finger tip tight.

IMG_3788 copy

Process the jars in a boiling water bath canner, covered by at least 1-2 inches of water for 10 minutes, starting the time when the water reaches a full rolling boil. After the 10 minutes, turn off the heat, remove the canner lid, wait 5 minutes and remove the jars to a hot pad or towel. Cool the jars 12-24 hours, remove bands, check seals, wipe clean, label and store.

IMG_3826 copy

*this post contains affiliate links, please see the “About the Blogger” page for more information

Master Food Preserver Class – Week 7

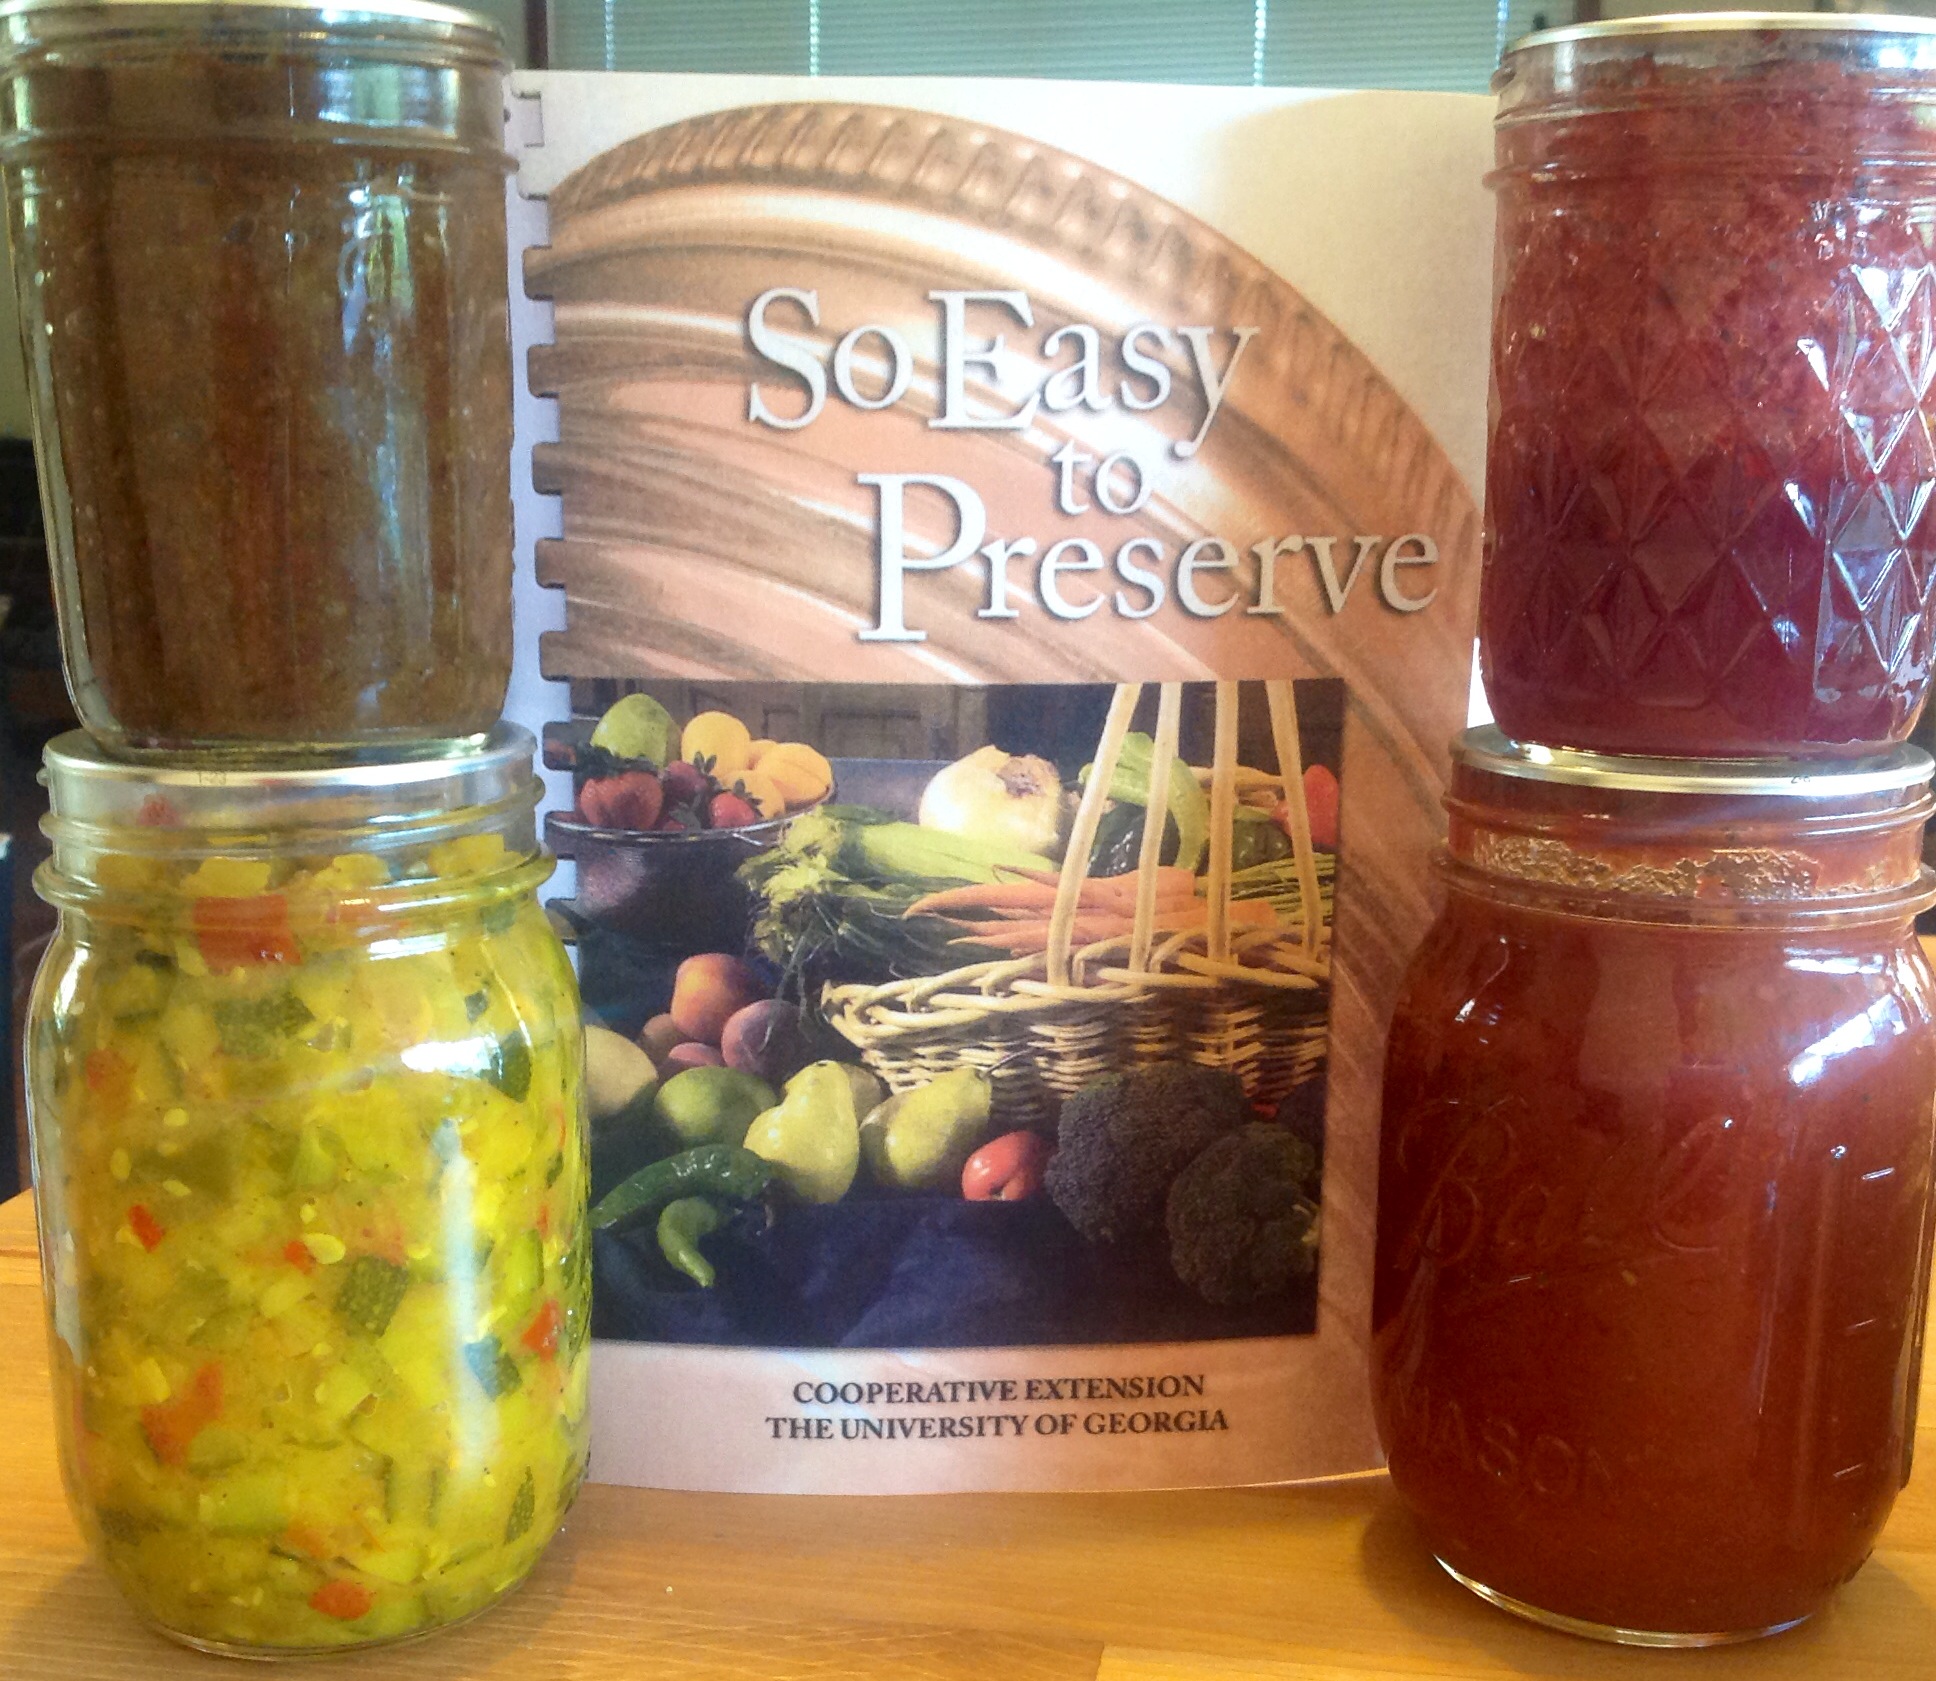
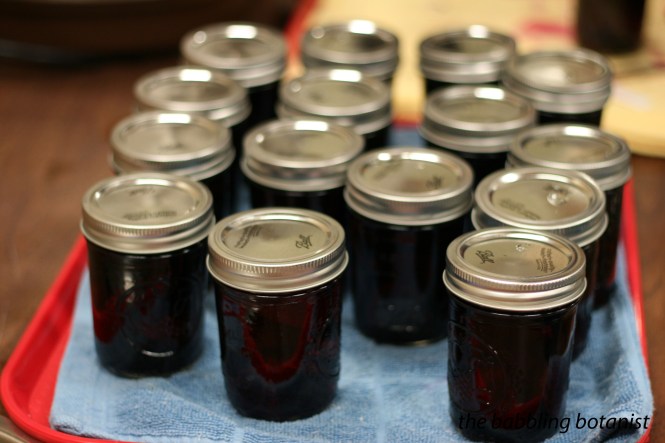
Week 7 of the Master Food Preserver class was a big old meat fest. We made jerky, smoked fish, pickled fish, and cooked up some summer sausage. This post will be the last in the Master Food Preserver series (I know, so sad), as week 8 was just our presentations and planning for the epic events of this summer. But don’t worry, there is still much more knowledge in that massive notebook of mine that I will continue to share with you all.

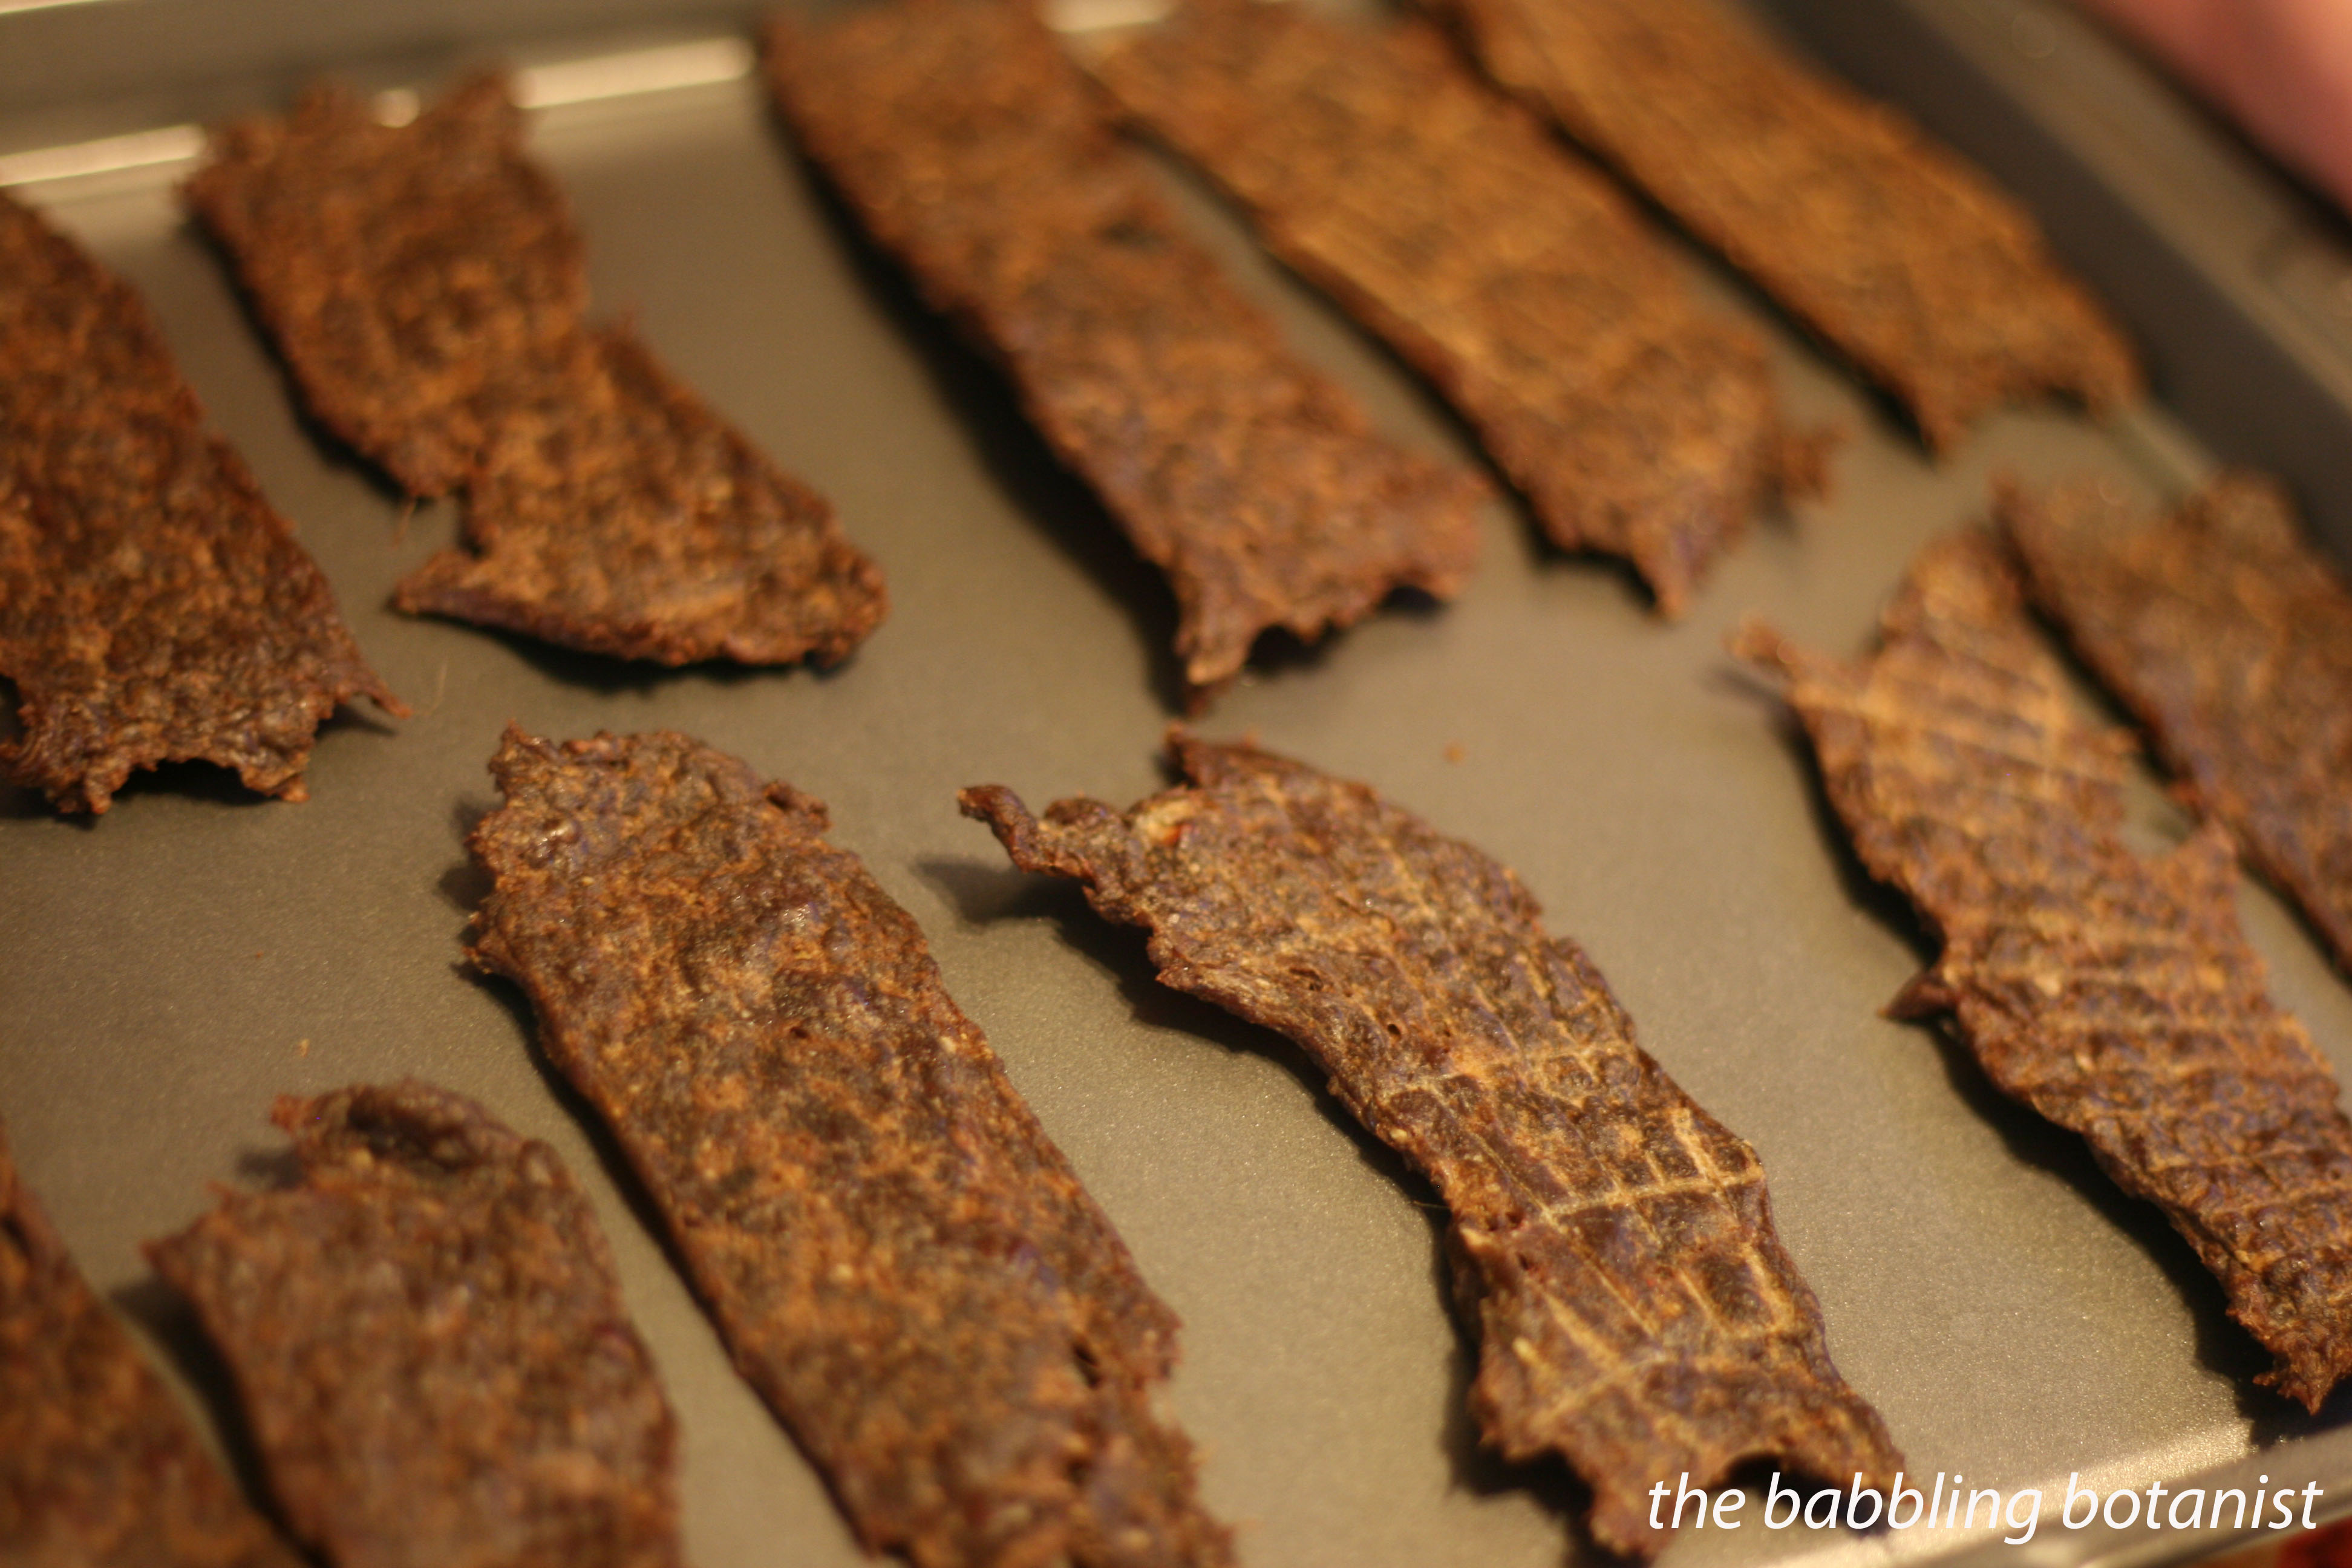
The first thing we did in class was make beef jerky. Beef jerky can be made safely at home, but there are just a couple of precautions that you need to take to ensure it is safe. The PNW 632  publication (click it for the link) is full of excellent information for making jerky, but I’ll give you the summary version here.

IMG_3664 copy

Bacterial contamination is a concern when making jerky, which is why it needs to be sufficiently heated to ensure any pathogens are destroyed. Three methods can be used to do this: post-drying heating, precooking the meat, and a vinegar soak. The post drying heating is perhaps the easiest, all you do is cook the jerky in the oven at 275F for 10 minutes after it is done. This is the method I tend to use. Preheating is done either by cooking the jerky strips in hot brine for about 1.5-2 minutes, which obviously doesn’t really work for ground meat jerky, or by cooking in the oven at 325F until an internal temperature of 160F (165F for poultry) is reached. You need a nice thin tipped thermometer for this. Lastly, soaking the meat in vinegar has been shown to be effective as well, but of course gives the jerky a very vinegary flavour. It’s also not been tested for game meats. And that’s basically all there is to it for safety. Jerky can be dried at the highest setting in a dehydrator (145-155F) or in an oven. But for the oven you really need to test if it can maintain those temperatures first.

Other notes about jerky:
– Yes, you can use other meats like poultry, fish and game meats.
– Just recently the recommendations have changed and it is okay to use ground meat, so long as you post dry heat it. Get the leanest meat possible, 93% lean or greater. The concern with ground meat is that the bacteria that could have been on the surface is distributed throughout by grinding, so use extra caution when making ground meat jerky.
A jerky gun can be useful for shaping ground meat into strips.
– To easily cut jerky from steaks, partially freeze it so you can cut even strips; aim for about  1/8-1/4 inch thick.
– To test for doneness, cool the jerky slightly and try bending it. If it bends and cracks it is done. You don’t want it to snap right in half or it’s over done but if it is bendy but still doesn’t really break it’s not done. Ya, it sounds a bit wishy washy, but you get the feel for it pretty quickly.
– When the jerky is done, condition it in a jar or other container, loosely packed. Conditioning basically just means they sit there for a couple says and equalize in moisture content. Shake it occasionally. If you see moisture collect in your container, they are not dry enough.
– Store jerky in a cool dark place. I like to just store it in a quart jar. It will keep for 2 weeks at room temperature, 3-6 months in the refrigerator, and up to a year in the freezer.
– Nom nom nom

IMG_3570 copy

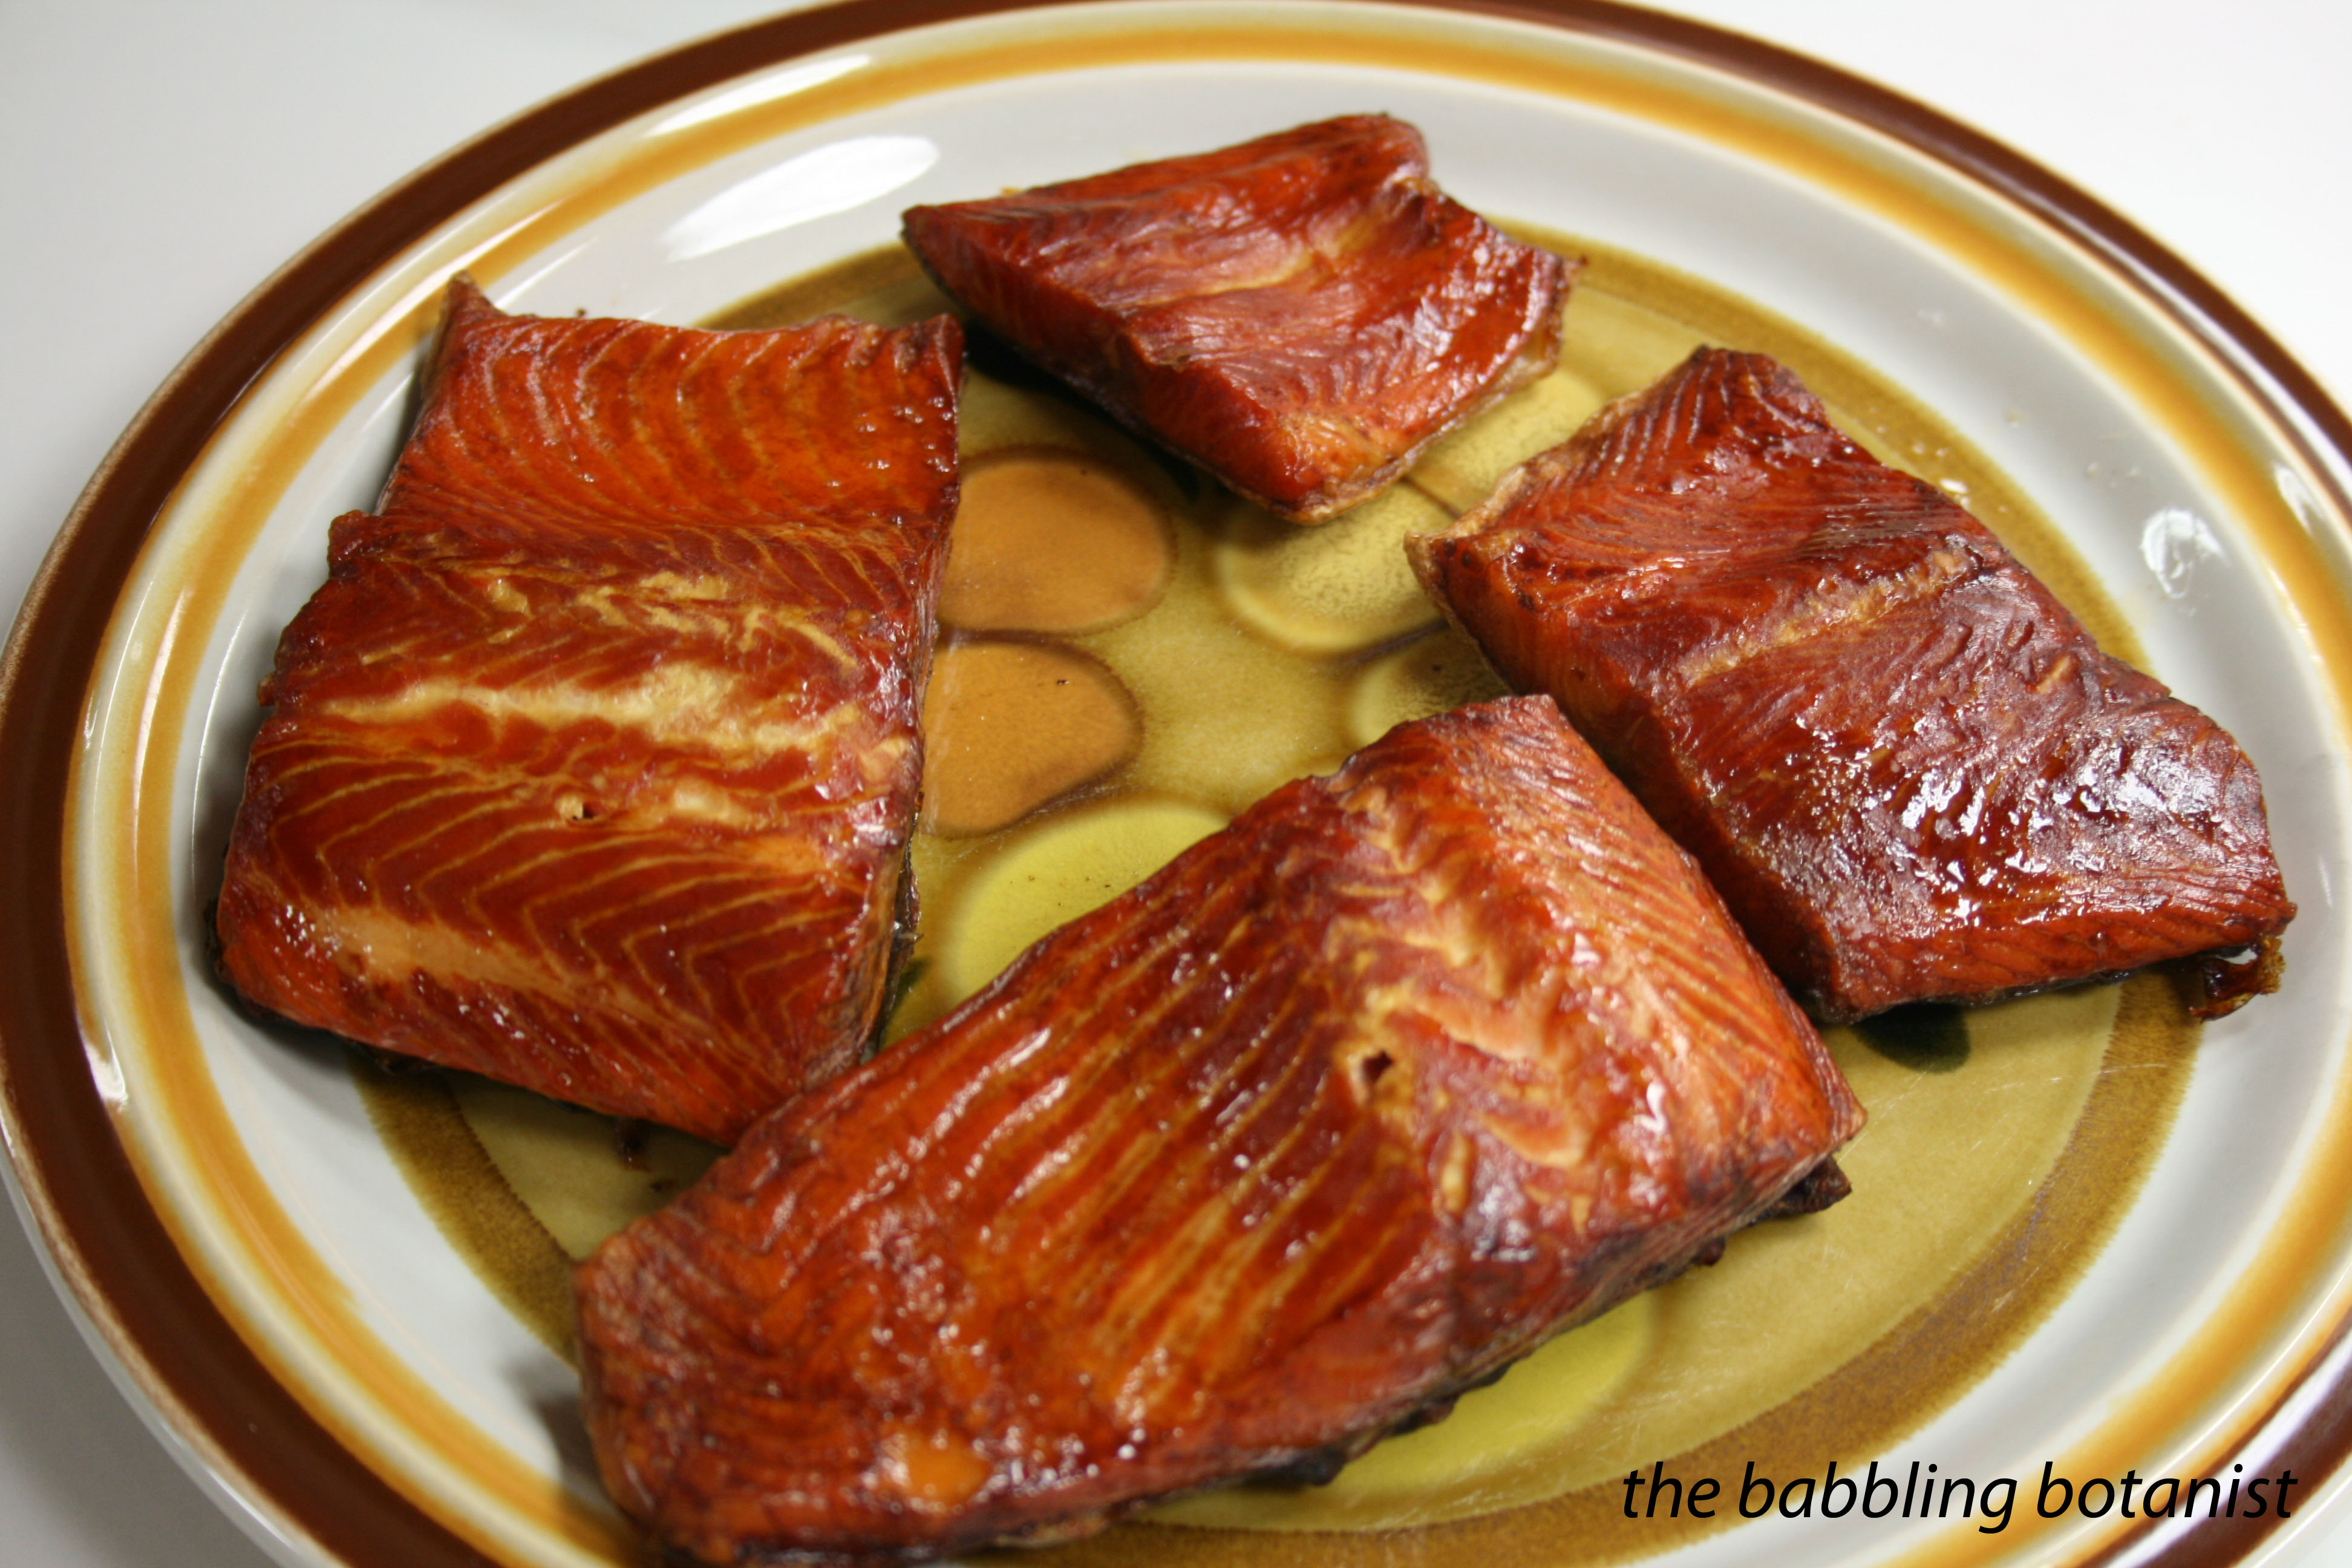
The next thing we did for meat week was to learn about smoking fish. As with jerky, this can be done safely at home, but there are precautions you should follow to ensure a safe product. Additionally, products need to be refrigerated or frozen when made at home as a precaution, even though you can find commercial products that are safely stored at room temperature. This is due to us not being 100% certain of the salt and moisture content when making it at home. Canning your smoked fish is also an option.

If you want more information beyond what I provide here, the publication for this one is PNW 238 (again click for the link).

In summary:
– Smoked fish must reach an internal temperature of 150F (preferably 160F) and hold at that temperature for 30 minutes. This is important to kill bacteria such as Clostridium botulinum.
– Fish must be salted or brined, and since at home it is difficult to measure salt content, this is why as an added precaution the product must be refrigerated.
– Salt fish in a solution of 1 part table salt to 7 parts water, by volume. Brine for about an hour, although fatty or larger pieces of fish need 2 hours. Less fat = less brine time. Experiment with your fish – it should taste salty, but not unpleasantly so.
– After brining, fish is air dried until a pellicle (shiny, tacky skin) forms. This is usually at least 1 hour. After it forms it is ready to be smoked.
– Fish should be smoked then cooked. Smoke at 90F for up to 2 hours, then increase the temperature until the internal temperature of 150F is reached and maintained. This means the smoker temperature needs to be around 220-225F. If this cannot be achieved in your smoker, heat the fish in the oven after it’s smoked.
– Use hardwood for smoking, soft woods make unpleasant fish.
– If canning your smoked fish, just smoke the fish lightly, for up to 2 hours, then can immediately. Pints will need to be canned for 110 minutes. For full instructions follow the PNW 450 publication.
– Don’t store longer than 2 weeks in the fridge, freeze or can if you want to store it longer.

IMG_3572 copy

I wish this were full and I got to take it alllllllll home with me.

IMG_3573 copy

Mmmm smoked salmon. Makes me want to take a fishing trip to Alaska so badly!

IMG_3582 copy

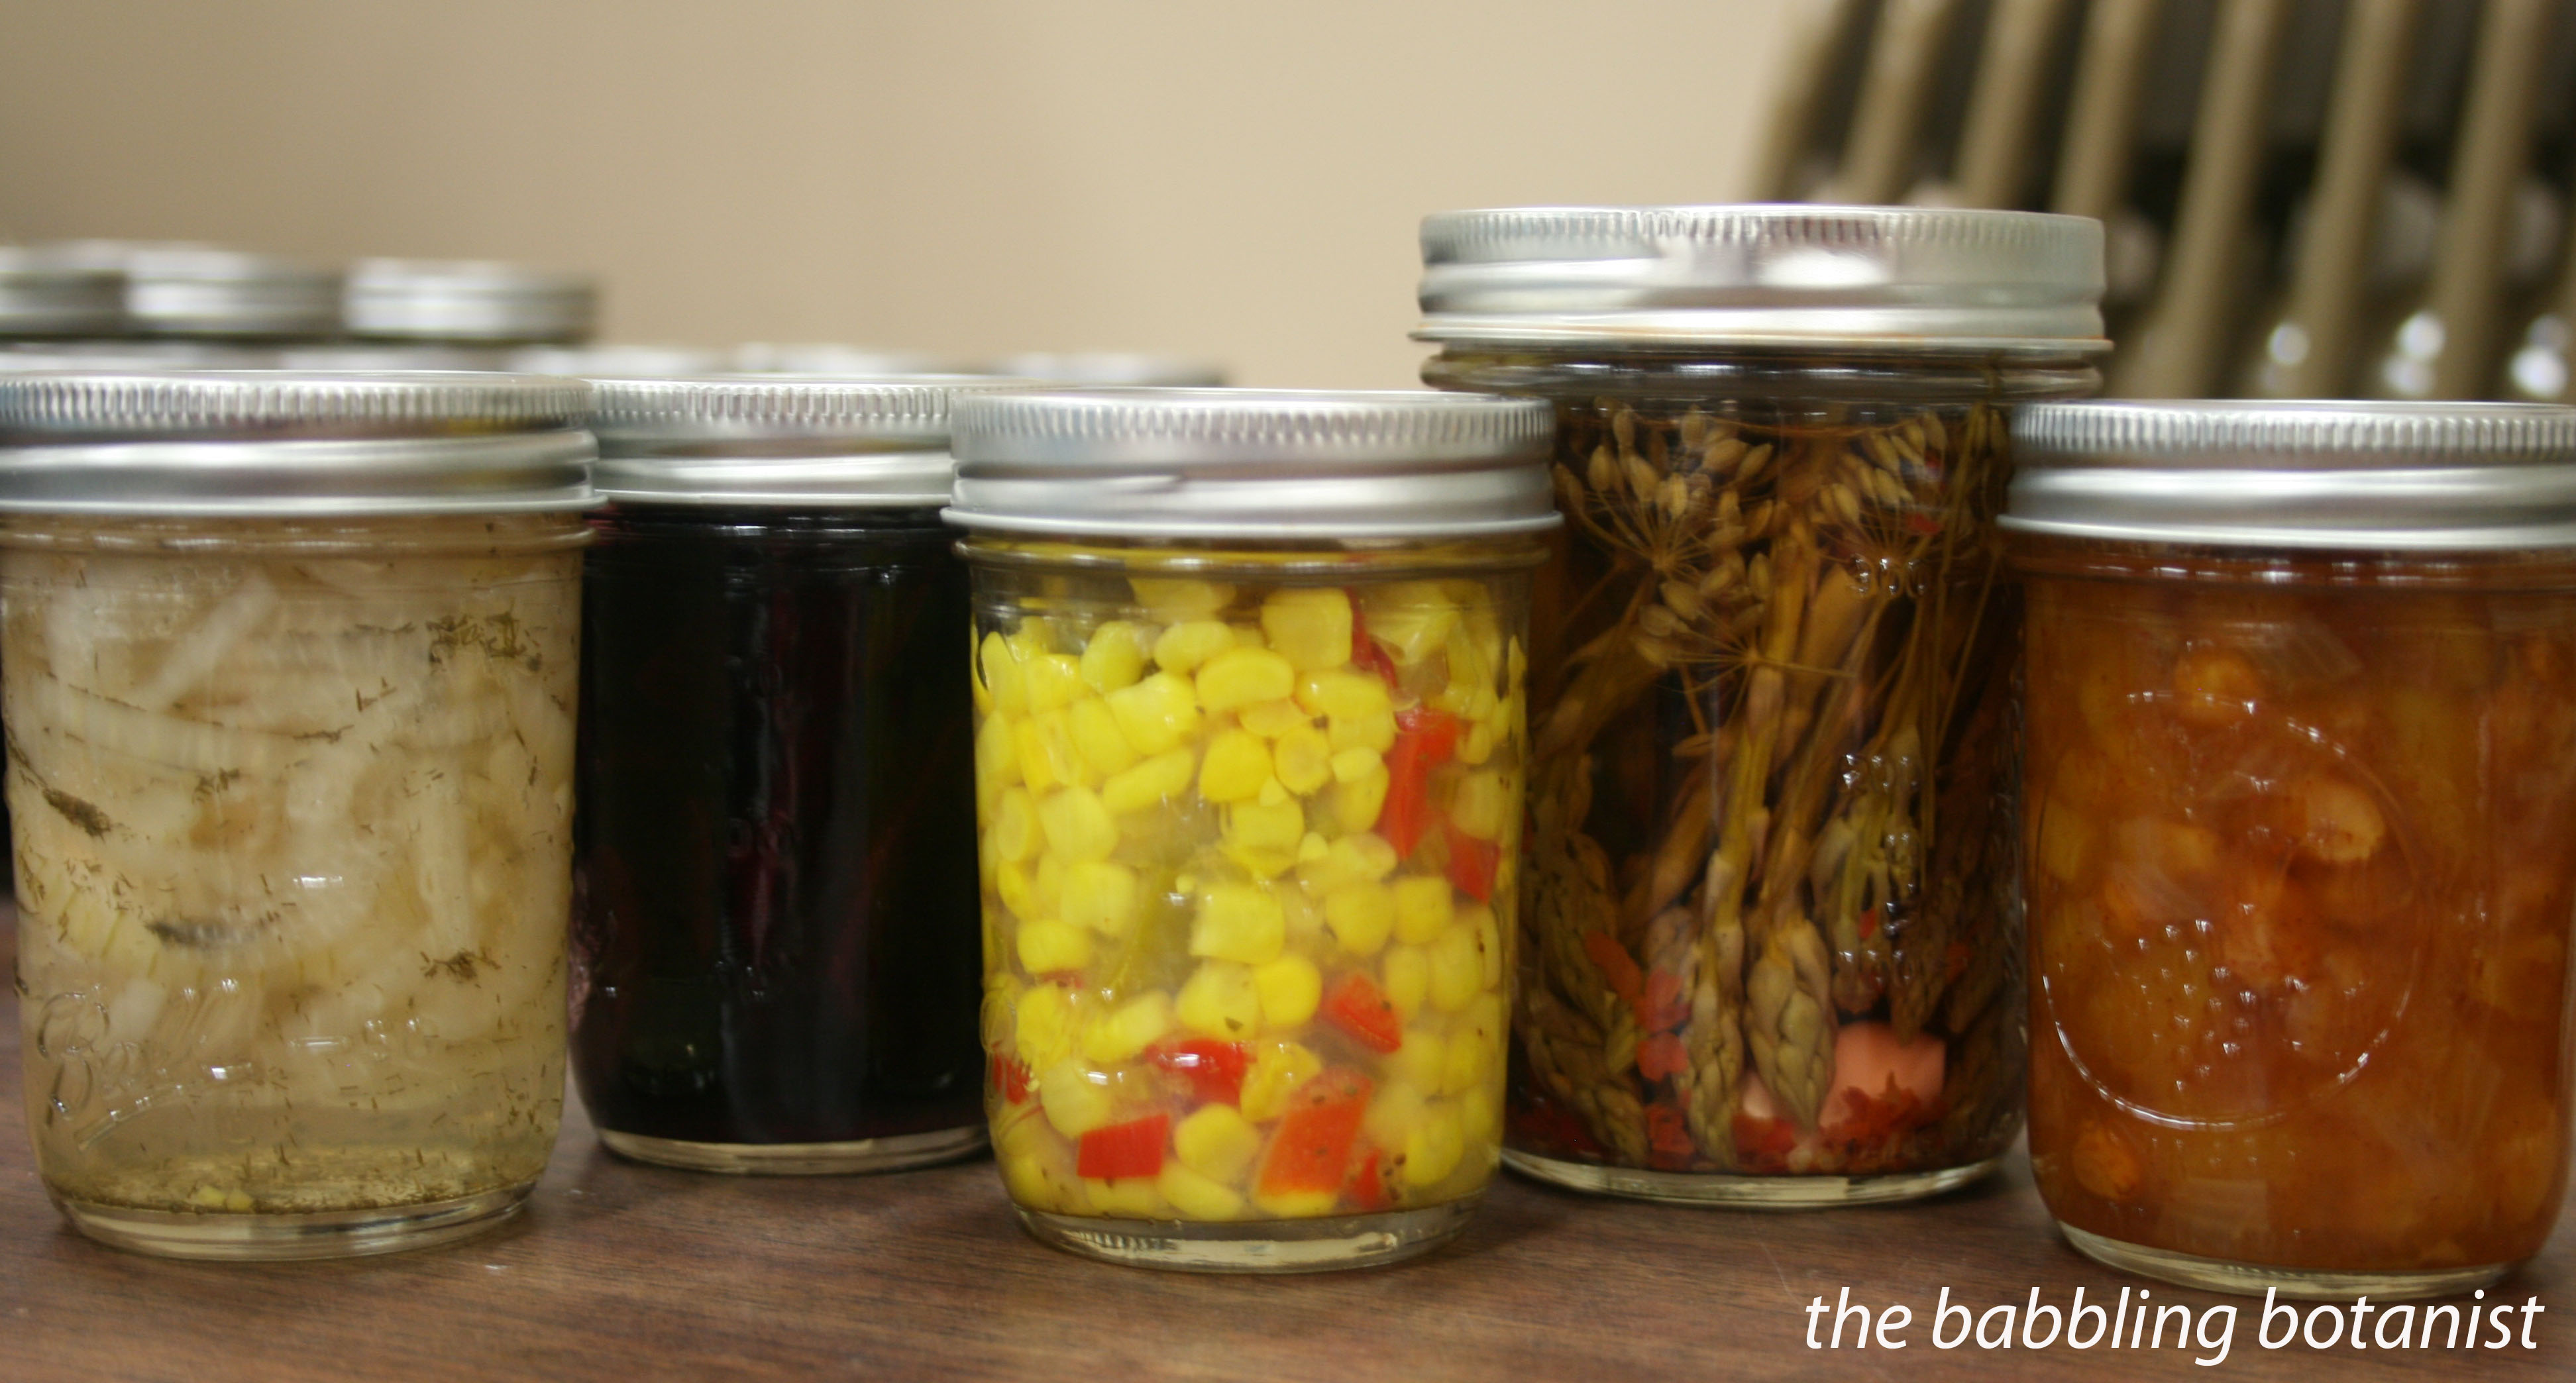
Honestly, I didn’t even taste the pickled fish because it seemed gross, but I promise I will, so for now I’m just going to provide you that publication, PNW 183, because I can’t really claim any insight here.

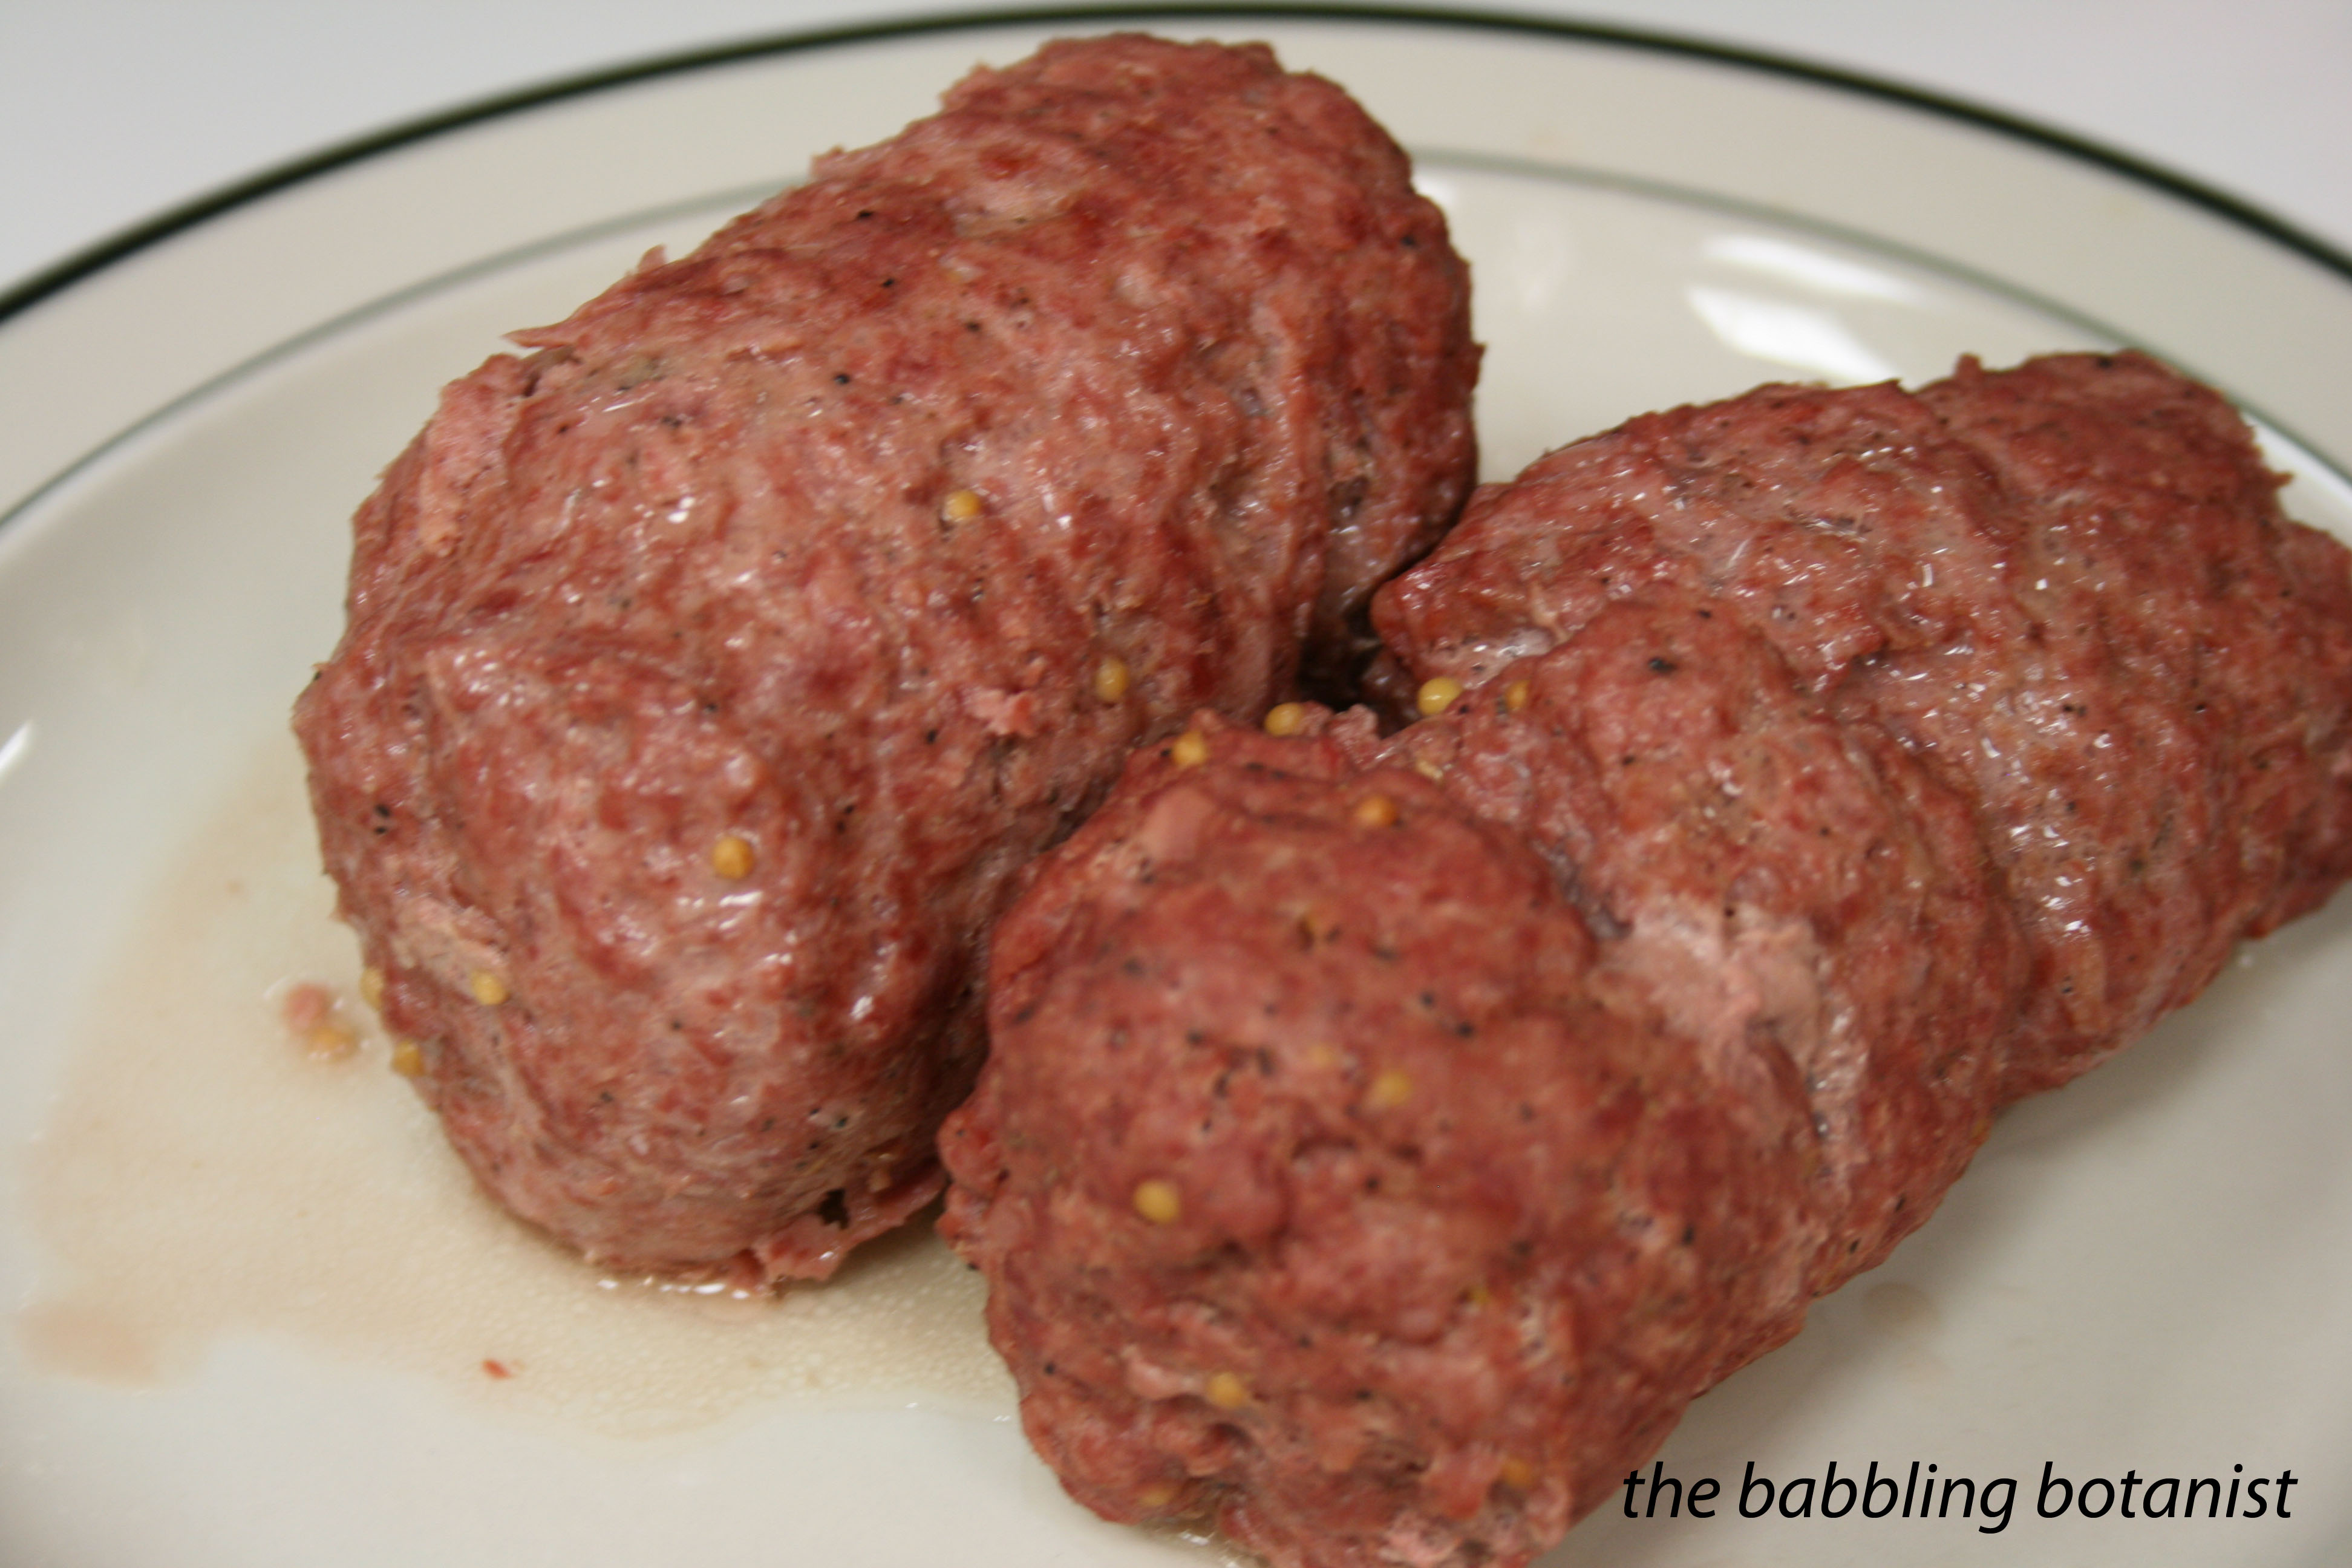
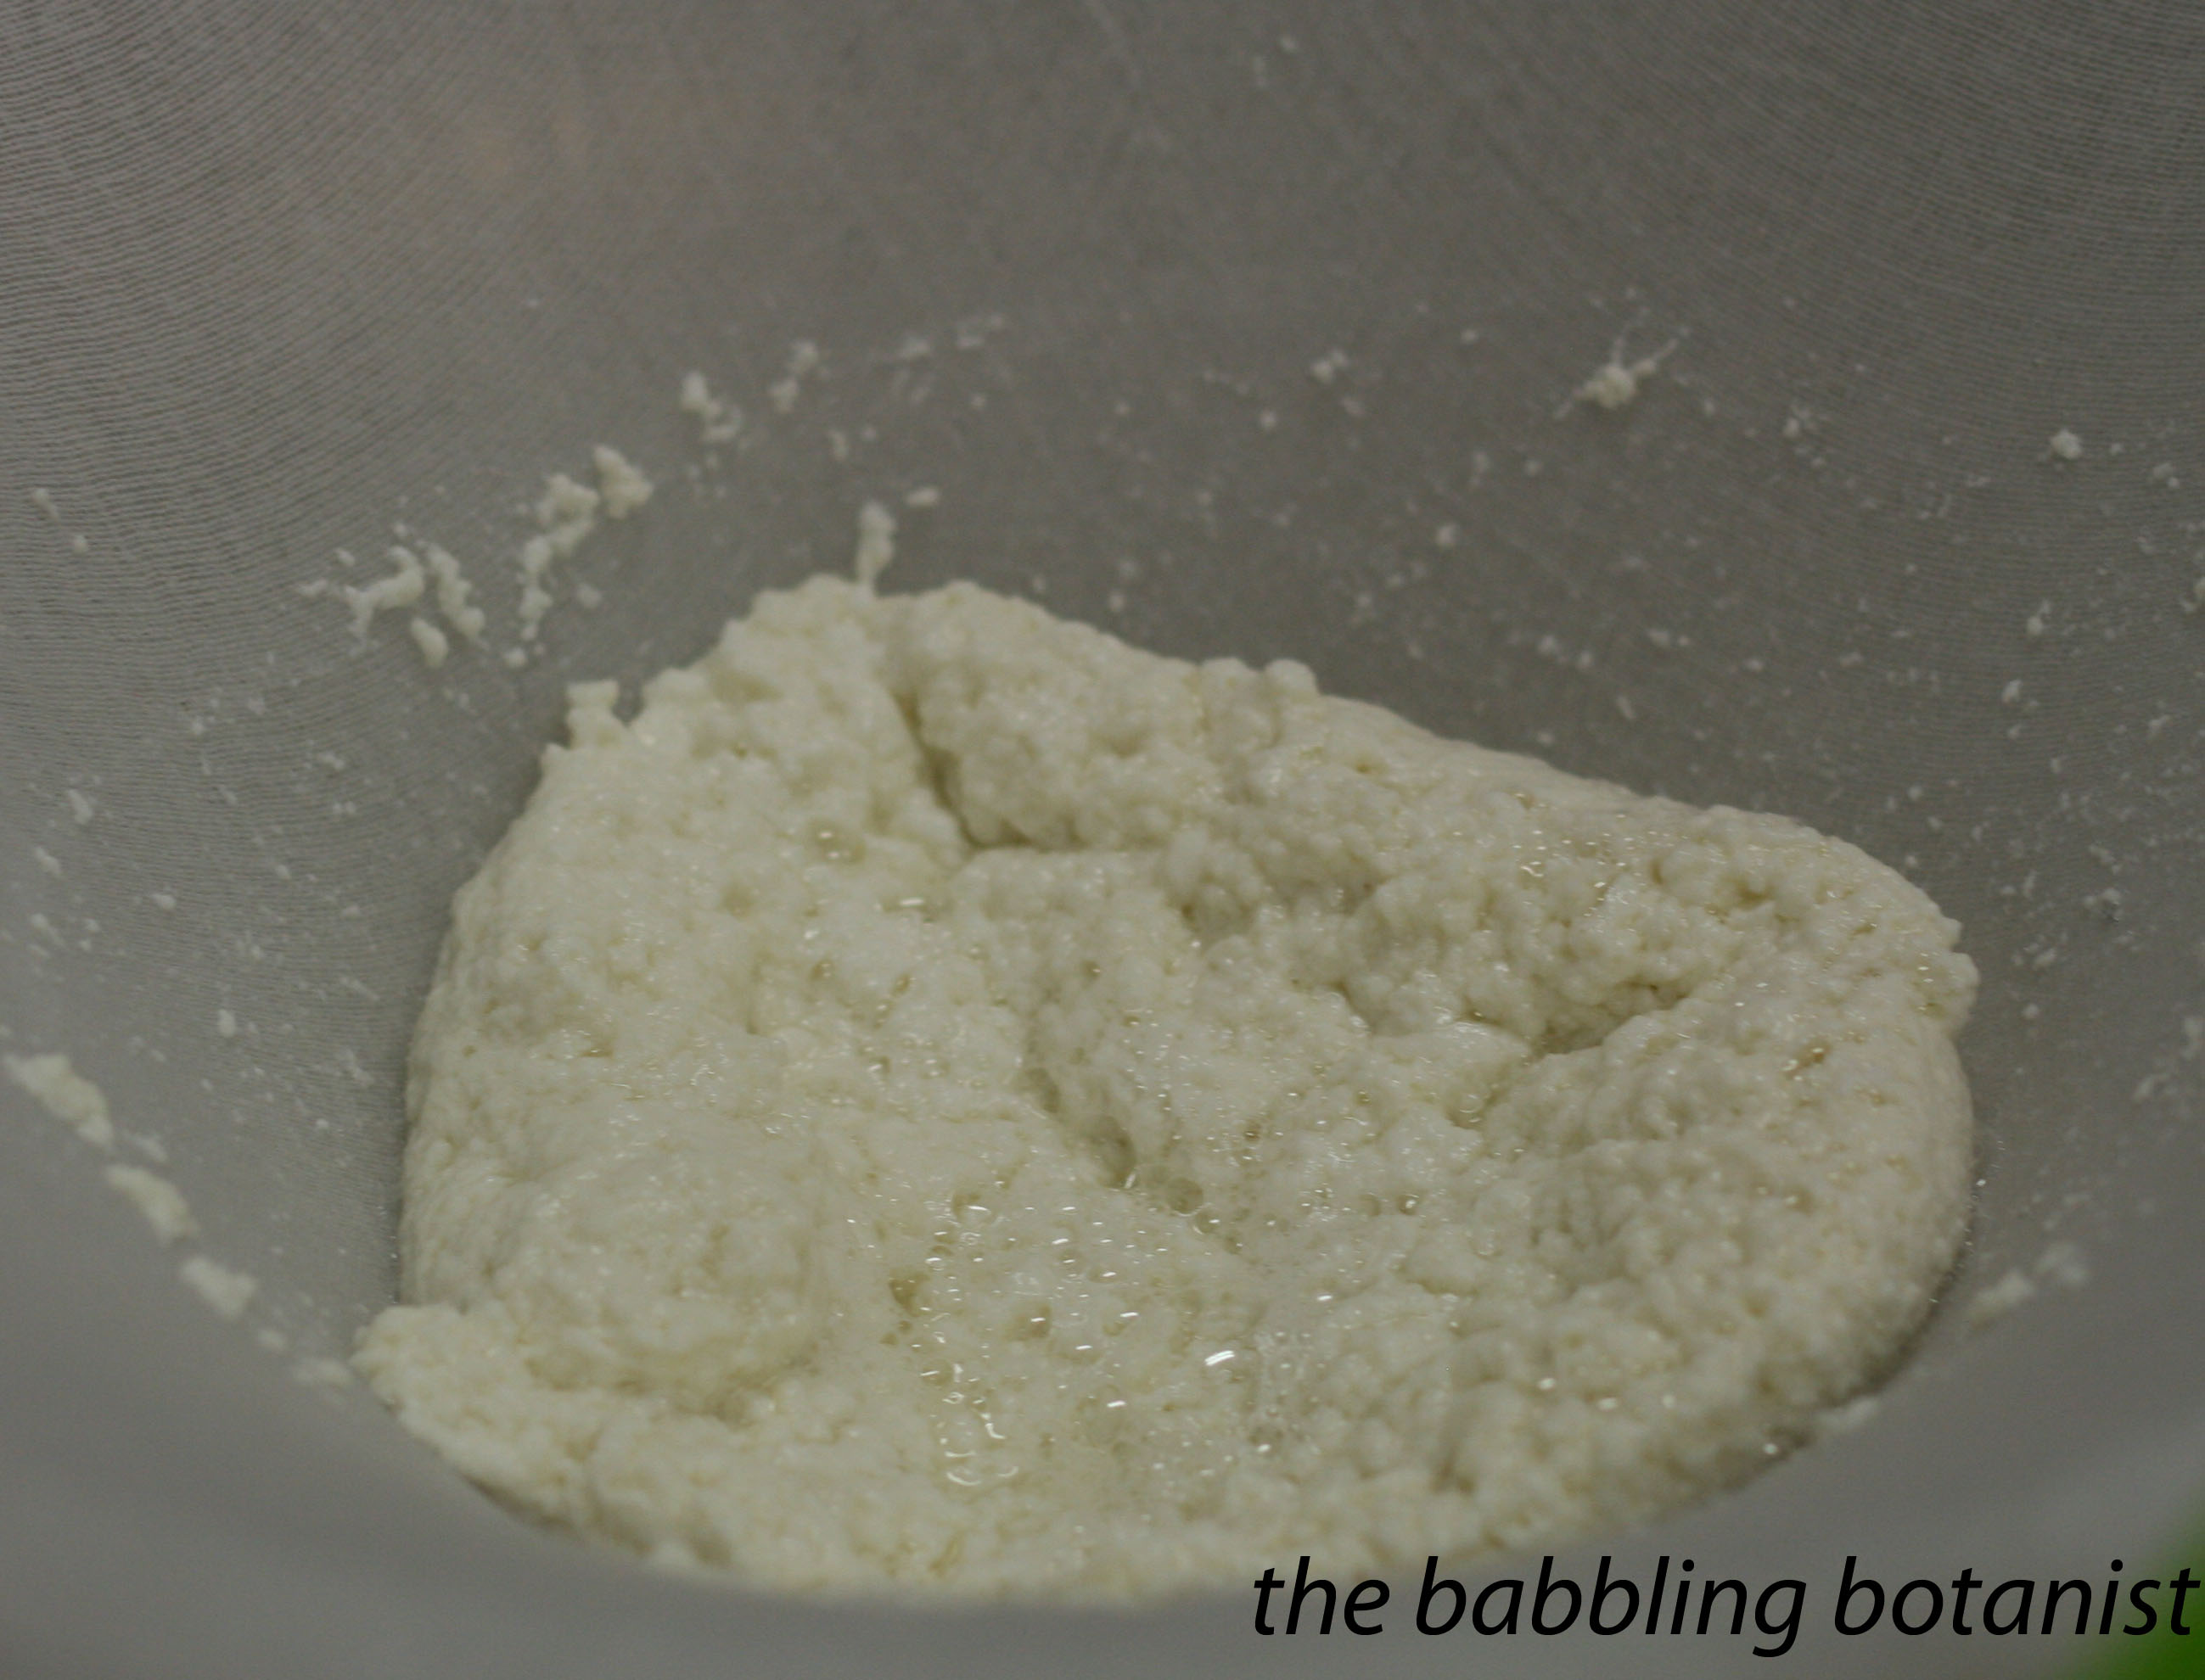
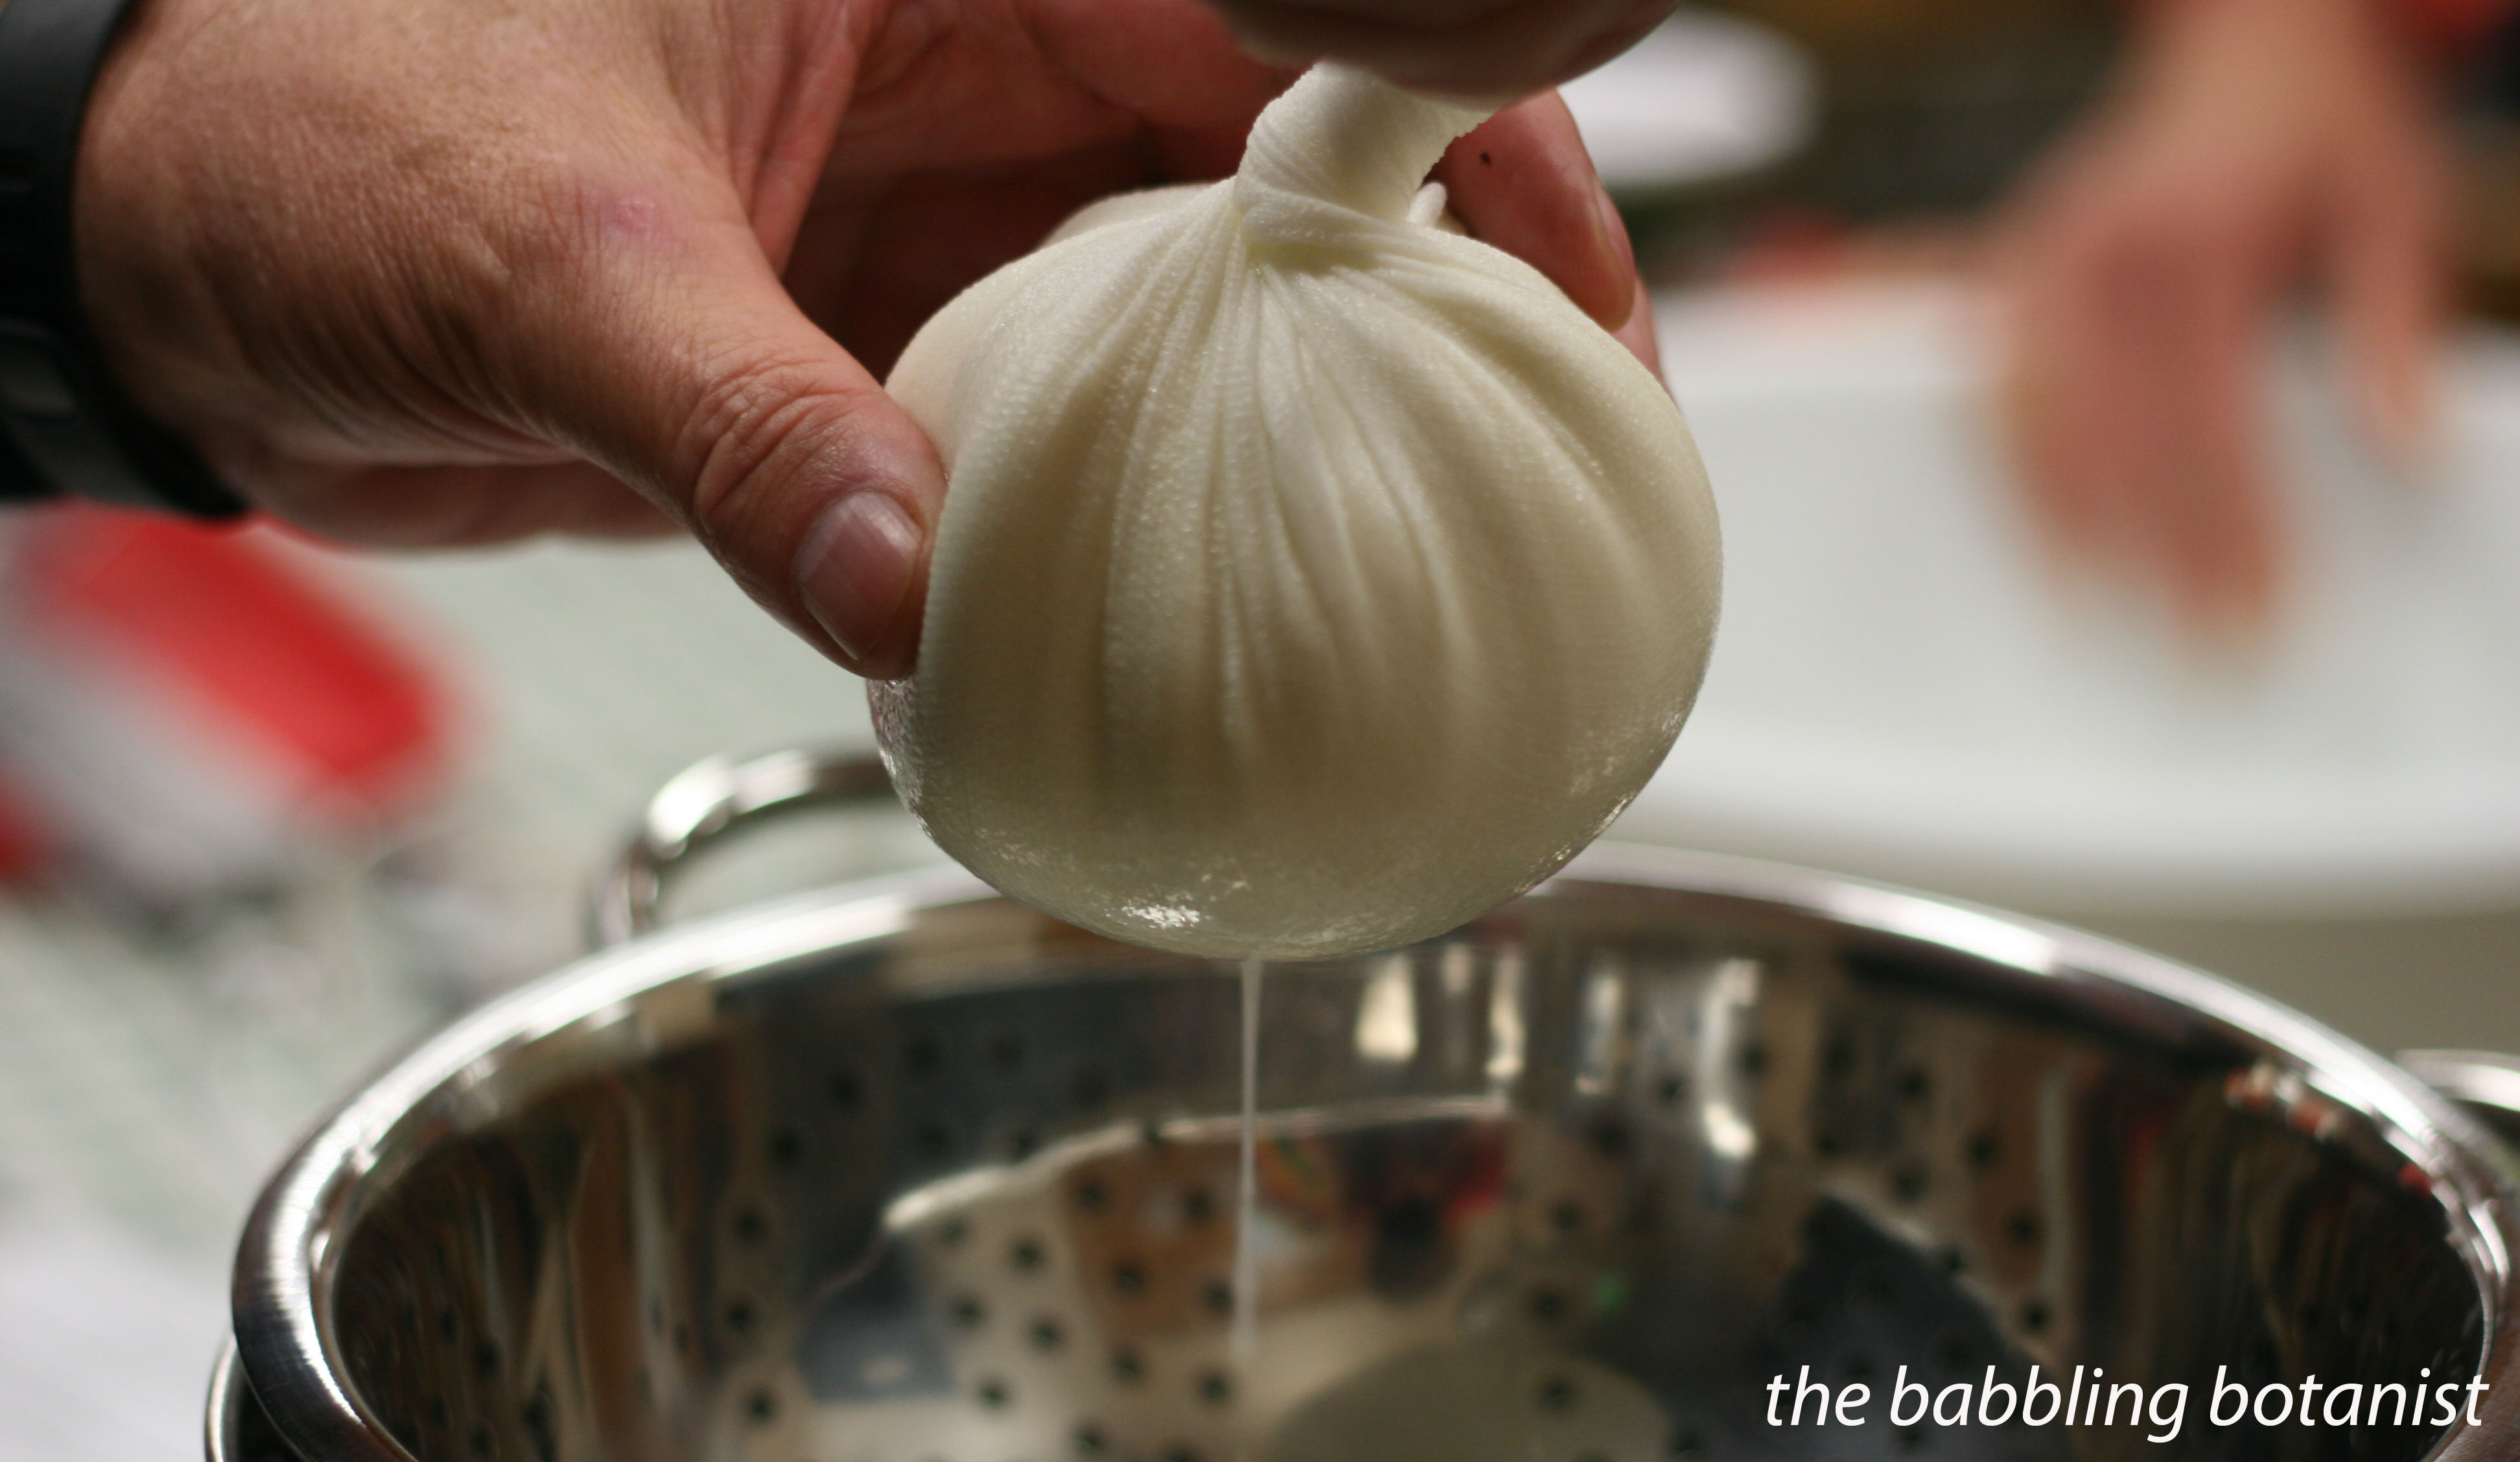
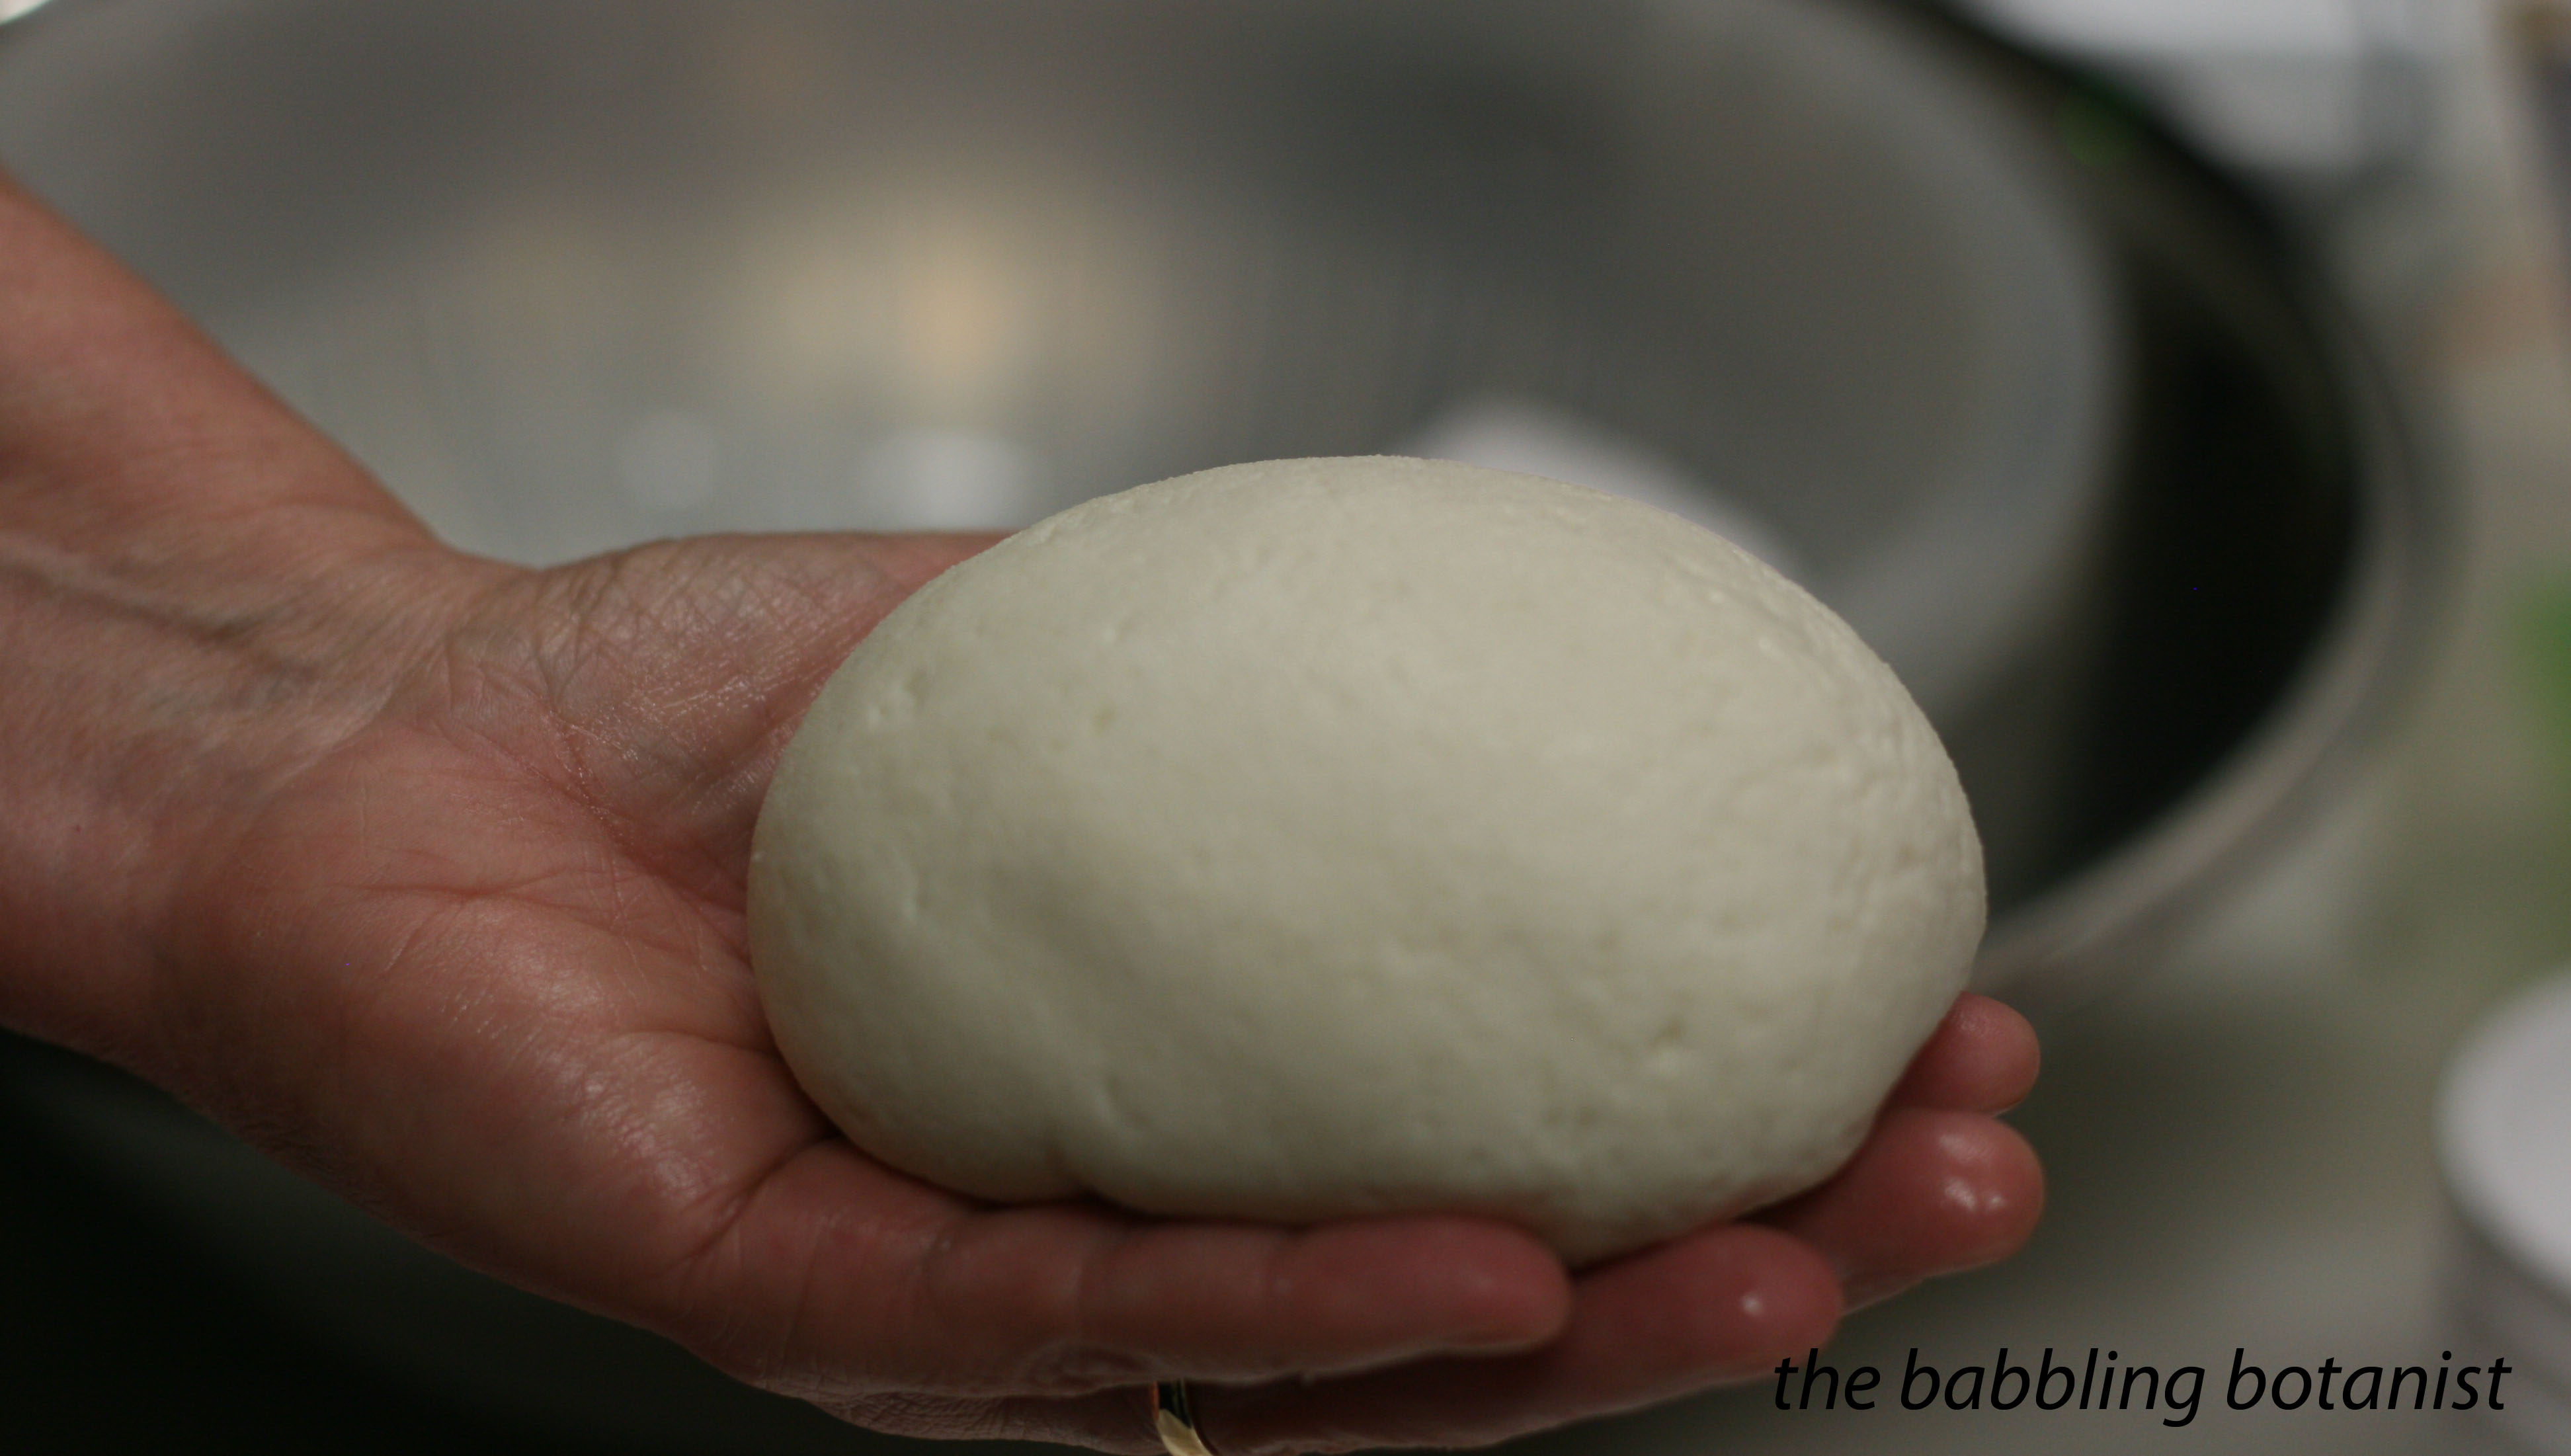
The last and meatiest product we made was summer sausage. In contrast with jerky, for summer sausage you want fatty fatty fattiness. It tastes pretty good, but I have to admit that I was a little bit grossed out making it. Honestly I don’t think it’s something I will really try making at home, but it was interesting to learn about. The extension service publication that you can refer to is SP 50-735. My only real original thought on the subject, since this was the one and only time I’ve experienced homemade sausage, is that I preferred the texture when we cooked it in the oven, as opposed to a pressure cooker. Both tasted very similar, but it was the texture that I found I preferred. So, that’s all I really have to say on that…check out those sausages.

IMG_3577 copy

So! If you’re a meat lover, get out there and make some meaty meaty products!


*this post contains affiliate links, please see the “About the Blogger” page for more information

Kiwi Daiquiri Jam

The other day they had local kiwis for sale at one of my favourite farm stands just outside of town. “Local Kiwis! Whaaat. Don’t mind if I do,” I thought to myself. So of course, despite having any idea what I might do with them, other then eat a few, I bought a box. Luckily, I found this recipe for Kiwi Daiquiri Jam in my Ball Complete Book of Home Preserving.

IMG_3623 copy

Kiwis are so pretty! Doesn’t it look like eyes with really long lashes?

IMG_3632 copy

Ingredients:
2 cups crushed, peeled kiwifruit
2/3 cups unsweetened pineapple juice
1/3 cup lime juice
1 package regular powdered pectin
3 cups granulated sugar
1/4 cup rum (plus a shot for yourself)

Here’s how we made it:
Prepare the canner, jars and lids. This yields about 4-5 half pint jars.

Peel and crush the kiwi. Combine in a stainless steal pot with the pineapple juice, lime juice and pectin. Premeasure the sugar into another bowl for later, the rum into a measuring cup, and a shot for yourself into a shot glass (and one for your helper if you have one).

IMG_3633 copy

Heat the jam to a boil over high heat, while stirring frequently. Once you reach a boil that can’t be stirred down, add the sugar all at once. Return to a boil, and boil for one minute, starting the time once a full boil is reached. After the one minute, pour the 1/4 cup of rum into the jam, and take your shot. Stir it in, and remove from heat.

IMG_3647 copy

Fill the jars, leaving a quarter inch head space. Wipe rims, apply lids, and tighten bands finger tip tight. Process in a boiling water bath canner for 10 minutes covered by at least 1-2 inches of water, starting the time when a full rolling boil is reached.

IMG_3656 copy

After 10 minutes, turn off the heat, remove canner lid, wait 5 minutes and remove the jars to a hot pad or towel. Cool 12-24 hours, check seals, remove bands, and wipe clean. Label and store.

Gosh dang that’s a pretty jam. This one would make a really pretty gift. And the combo of pineapple, lime and kiwifruit makes for a lovely, tropical flavour.

IMG_3733 copy


Kiwi Daiquiri Jam on Punk Domestics

*this post contains affiliate links, please see the “About the Blogger” page for more information

Strawberry Lemonade Concentrate

This recipe is one I’ve made every year since I started canning, from the Ball Complete Book of Home Preserving. I’ve never made the rhubarb drink on the next page, but am really excited to try that one too. Stay tuned. When I got really excited to make the rhubarb one as well, saying it would be excellent with gin, Kiki called me out, saying we can’t make things just because they taste good with gin. Or can we? My favourite way to use this concentrate is actually with just a couple tablespoons in my gin and tonic. I swear, I really don’t drink that much gin. Of course you can just drink it as lemonade by adding water, tonic water, or ginger ale. I bet this would be amazing if you used a soda stream for some carbonation! Mix 1:1 or 2:1 water to concentrate, although I usually make it even weaker since it is really quite flavourful.

IMG_3736 copy

Ingredients:
6 cups hulled strawberries
4 cups freshly squeezed lemon juice
6 cups granulated sugar (or much less if you like it the way I do!)

Here’s how we made it:

First, prepare the berries. Ball tells you to simply puree the strawberries in a blender. By all means you can totally do it that way if you like, and I have made this 3 or 4 times that way, but this year I decided to try and get rid of some of the seeds. To make the lemonade seedless, and partially because I just love an excuse to use it, I cracked out the Victorio food strainer. I ran my 6 cups of berries through multiple times, to get rid of the seeds. It’s kind of nice not having those pesky seeds in a beverage. I don’t mind them in jam, which is why we just used the extra poop you see coming out the left there in the jam we were making.

IMG_3597 copy

Next juice a bagillion lemons. OK maybe not a bagillion. We found that 4 large lemons were pretty close to a cup of juice. A fun tip to get more juice out of them is to microwave them for 20-30 seconds. It really did seem to help.

IMG_3605

Combine your lemon juice, strawberry puree and sugar. We actually decided to do 1/4 of the sugar in this recipe. You can certainly adjust it to taste, or maybe try sweetening with honey or something. That could be really good. It definitely decreased the yield quite a bit, but this actually means you use less jars and lids, and if you decide it’s not sweet enough you can always add more sweetener when you open up the jar later. Heat the lemonade over medium high heat. Don’t boil though, bring it up to 190F.

IMG_3610 copy

Remove from the heat, and fill your jars, leaving a quarter inch head space. Wipe the rims, apply the lids, and tighten the bands finger tip tight.

IMG_3620 copy

Process in a boiling water bath canner for 15 minutes. After 15 minutes, turn off the heat, remove the canner lid, wait 5 minutes and remove the jars to a hot pad or towel. Cool 12-24 hours, check seals, remove bands, clean, label, and store. Enjoy a nice summer treat all winter long! Or just make it and consume immediately!

IMG_3725 copy

*this post contains affiliate links, please see the “About the Blogger” page for more information

Sauerkraut

Sauerkraut is actually surprisingly easy to make, as it turns out. All you need is cabbage, pickling/canning salt, and a little bit of patience.

The first thing you need to do is prepare the cabbage. Wash it, remove the outer leaves, cut it in 4 and shred it. This can be done either by chopping it by hand, in a food processor, or with a mandolin.

IMG_2103 copy

If you are doing it by hand it is a little harder to get nice even shreds, which is why I really liked using the mandolin for this purpose. Plus it gets to be a crazy cabbagey mess pretty fast.

IMG_2101 copy

In clean and sterilized container, combine 5 pounds of cabbage with 3 tablespoons of salt. Sprinkle the salt evenly over the cabbage, and with clear hands mix it in well. Leave it until it starts to wilt, and release its juices. At the very least 15 minutes. Don’t reduce the salt in the recipe.

IMG_2104 copy

Next you want to transfer it into the container you plan to ferment it in. In class, and when I made it at home later, we just used large mason jars. I think this is easier than a pickling crock, but it’s up to you. The crock is of course nice for a gigantic batch. Push the cabbage tightly into the jar or crock, getting it to release more liquids. It should release enough that you don’t need added brine, but if you do, top it off with a brine that is 4.5 teaspoons of salt for every 4 cups of water. Leave at least 4-5 inches of headspace in your pickling vessel.

IMG_2152 copy

The thing that I liked about doing it in the jars was what we did next. We filled a plastic bag with the brine, and placed that in the top of the jar to hold the cabbage down. With the crock you need to weight it down with a plate or something, and it just seemed a little more difficult. The bag trick totally rocks. If you start to get a bit of scum, just remove the bag, wash it, clean out the scum, and put it back in. It seemed to me like you got a lot less though too with this bag method. Ball says you’ll have to skim it daily, and like this that is definitely not the case.

IMG_2453

Now comes the patience part. Fermenting your cabbage will take a few weeks, so now we wait, and let the magic happen! OK, it’s not magic, it’s science! Bacteria will get to work on that cabbage, making the lactic acid that give sauerkraut its tart flavour. It can take up to 6 weeks, so be patient. Keep it at room temperatures, about 70-75F (21-23C).

IMG_2157 copy

The way that you know your sauerkraut is ready is that it will be sour when you taste it. Do not can it until it tastes sour, or it is not acidic enough, and not safe to can. As you can see below, when it’s done it is a little lighter in colour, and loses a bit of the green colour.

IMG_3252 copy

So now that it’s done what do you do? Well you have a few options. It keeps for a few months just fine in the fridge, so that’s a good option, especially if you only made a small batch as I did at home. I did 4 cabbages and filled 3.5 quart jars to give you an idea of how much it compacts. You can also can it though, if you so desire. It can be raw or hot packed. For both, prepare the canner, jars and lids. For the raw pack, you pack the kraut into hot jars, remove air bubbles, leave a half inch headspace, and process pints for 20 minutes and quarts for 25 minutes in a boiling water bath canner. If you hot pack it, you bring it to a simmer with the brine over medium high (don’t boil), then fill the jars, again leaving a half inch head space and removing bubbles. For the hot pack though, you only need to process 10 minutes for pints and 15 for quarts, since you already warmed it up. For both of course process at a full rolling boil with the jars covered by at least 1-2 inches of water. After the processing time is done, turn off the heat, remove the canner lid, wait 5 minutes and remove the jars. I have no pictures, however, because I plan to just keep it in the fridge. So, there you have it – you can choose from three ways to store it, and it’s super easy to make. Now get out there and kraut!

Master Food Preserver Class – Week 5

Tomatoes are one of my very favourite things to preserve, so I was pretty happy that week 5 of our Master Food Preserver class was devoted to tomatoes (and also cheese!). No, it’s not tomato season here in the PNW, but hey class has to cover everything before the season ramps up, so we got a little tease and now have to wait a few months before we can make all these recipes.

IMG_2797 copy

Canning tomatoes is awesome and amazing and definitely something that you should do, but it’s an area where you definitely need to be following tested and trusted recipes for things like salsas and sauces. Tomatoes are acidic enough to hot water bath can, but they are on the borderline between low and high acid, so we must add a little extra acid when we can them. This is because some may not be quite acidic enough, and if they are not remember we have the potential for botulism growth. We also learned that there are a couple bacteria that are only really found on tomatoes, and these bacteria can reduce the acidity and create conditions that are ideal for botulism. Adding that extra acid eliminates these risks.

In class we canned crushed tomatoes. When filling the jars, you add a bit of extra acid to each jar. 1 tablespoon of lemon juice per pint or 1/4 teaspoon of citric acid. This ensures your tomatoes are definitely out of the pH range in which botulism can grow. It takes two extra seconds to do, so don’t skip it.

The hardest part of canning tomatoes is the peeling. I always can with a friend doing tomatoes because it’s a lot of work. But totally worth it. Look at those naked ‘maters!

IMG_2810 copy

For the crushed tomatoes, we hot packed them. Here we are bringing them to a boil. Hot packing tomatoes is definitely the way to go, or else they have to process for 85 minutes!! That’s crazy talk!

IMG_2841 copy

Crushed tomatoes!

IMG_2866 copy

My favourite thing to do with tomatoes is to make salsa. We made three different salsas in class this week. Two tomato salsas and a tomatillo salsa. Salsa are delcious and amazing, but again, this is one area where you really need to follow a tested recipe, such as a recipe from Ball, So Easy to Preserve or from an extension service publication or the National Center for Home Food Preservation. The reason for this is that adding peppers and onions to the tomatoes to create salsa reduces the acidity, putting it into a range where botulism can definitely grow. Vinegar or lemon or lime juice must be added to compensate for these low-acid foods. But do you know exactly how much acid is needed for a cup of peppers or a cup of onions? No, so try out some of those tested recipes and find one you like. There really are a good number of options out there.

IMG_2823 copy

The one that I helped make is actually this one that I posted last fall. It’s a great one if you like a salsa with a lot of peppers in it. I would recommend making about a million jars of this come tomato season. It’s that good. Although one alteration from the way I did it would be to make the recipe as written, then repeat rather than trying to bring twice as much to a boil. It just took forever to boil and I think holds together better if you get it boiling and into the jars faster. You live and you learn.

IMG_2838 copy

OH MAN I JUST WANT TO EAT IT ALL RIGHT NOW!

IMG_2855 copy

The second recipe was also an OSU extension recipe but it’s more similar to the other one from Ball I posted last year, found here. This one has proportionally more tomatoes than pepper and onions, and has a bit of added tomato paste. They are both delicious and which one you like better will just depend on your taste for salsa.

IMG_2860 copy

Beautiful little fellows.

IMG_2876 copy

Finally, we made a salsa verde using tomatillos. You could also make this with green tomatoes as I did last year with this recipe.

IMG_2863 copy

Filling the jars.

IMG_2873 copy

OK. Well now I am drooling and wishing tomatoes were ready…. but never mind let’s not wish the summer away. Let’s talk about some salsa and tomato rules.

– I already mentioned this, but always follow a tested recipe when canning salsa
– Never reduce the vinegar or lemon juice or add extra vegetables
– Altering spices is OK, like adding some cumin, cilantro or oregano to your taste
– You can swap peppers for different peppers, like if you want your salsa milder or hotter – just ensure you use the volume of total peppers called for in the recipe
– Don’t can overripe, spoiled tomatoes, or those from frost-killed vines. They have lower acidity so may not be safe to can
– Tomatillos and tomatoes are interchangeable in salsa recipes
– Use 5% acidity vinegar and bottled lemon or lime juice in salsa
– Equal amounts of lemon juice can be substituted for vinegar but not vice versa since the lemon juice is more acidic
– Don’t use thickeners in canned salsas, this can cause uneven heating and produce and unsafe product

Whew! OK that seems a bit overwhelming, but basically just be safe and smart making salsa. Follow a tested recipe, don’t be stupid, and you will enjoy many a delicious jar of salsa.

The last thing we did in class was learn to make soft cheese! Honestly, I thought it was a bit of a gross process, but maybe now that I’ve done it once it won’t be so bad next time. ha. And the cheese did taste pretty good. We made queso fresco. I’ll do a full post on it when I have a chance, but here are some pictures.

Milk and buttermilk

IMG_2882 copy

The formation of the curd.

IMG_2886 copy

The curd is setting up.

IMG_2890 copy

Eww. Straining it.

IMG_2892

Squeezing out the whey.

IMG_2896 copy

Ta-da!

IMG_2903 copy

I think it was just the early stages and the smell that bothered me a bit. But it actually tasted surprisingly good. Have you ever made cheese? What’s your favourite kind to make?


Master Food Preserver Class – Week 4

Week 4 of Master Food Preserver class was all about pickling!

IMG_2807 copy

What is pickling anyway? Well Janice, our awesome instructor, had a funny quote up on the board: “A pickle is a cucumber soured by a jarring experience.” HA! Well, I was entertained at least. But this is not entirely true; A pickle doesn’t need to be a cucumber, and it doesn’t always need to be jarred either! In fact, there wasn’t one cucumber in class, we did all sorts of other types of pickles instead. Pickling is basically the process of adding a high concentration of acid to a food to prevent the growth of microorganisms.

There are 4 basic types of pickles – you can pickle a lot more things than just cucumbers!
– Fresh pack or quick pickles
– Brined of fermented pickles
– Fruit pickles
– Relishes and Chutneys

Quick pickles are made when you combine the ingredients and immediately process, versus a fermented pickle that sits for a few weeks and ferments, producing its own acids. Fermentation in vegetables and fruits is the anaerobic breakdown of sugars into acid. In veggies, naturally present bacteria breaks down the sugars, and in fruits, it is yeast that converts the sugar first to alcohol, then to acid. The acid formed is lactic acid, as opposed to the acetic acid from vinegar which we use in quick pickles.

Relishes are seasoned sauces made from chopped fruits or veggies, and chutneys are fruit relishes with fruits and/or veggies and nuts. They are a sweet and sour blend of vinegar and spices.

The first thing we did in class was asparagus pickles. This is a fresh pack or quick pickle, because what we did was combine the asparagus with spices, water, vinegar and salt, put it into jars, and immediately process it in a boiling water bath canner.

Asparagus ready to be pickled.

IMG_2653 copy

Mmmm. Now we wait a few weeks for them to absorb that vinegary deliciousness.

IMG_2721 copy

We then split into four groups and each made a different pickled product. One group was in charge of this mango chutney.

IMG_2667 copy

Chutneys are a little weird to me. I haven’t actually tried it yet, but I will let you know if I find an amazing use for my jar of this.

IMG_2694 copy

All prepared and in the jars.

IMG_2714 copy

Another group made this corn relish.

IMG_2699 copy

I was on team beet pickle. If you know me you know I love me some beets.

IMG_2659

It looks like a bit of a murder scene when you cut up beets. Especially precooked ones.

IMG_2677 copy

I would definitely recommend gloves, unless you love having red hands. It doesn’t really bother me, but it does stain quite nicely. Helps you understand the term “beet red” 😉

IMG_2681

I would not recommend doing this in half pints. This was simply so that the whole class got a jar to take home. Go pints or even quarts for sure. If you are looking for a recipe, I actually posted one a little while ago here.

IMG_2693 copy

And finally, we pickled some onions.

IMG_2662 copy

They made for a pretty attractive pickle.

IMG_2688 copy

Pretty good haul! I never really used to be a big fan of pickles, but they sure are growing on me.

IMG_2800 copy

OK now that you’ve enjoyed the picture show, we’ll finish with some pickling rules:
– Always use at least a 1:1 ratio of water to vinegar making quick pickles. It’s not safe to use less vinegar or more water. If it’s too tart for your taste, add a teeny bit of sugar
– Use vinegar with 5% acidity, there are some tricky brands out there that are only 4%
– When making fermented pickles, don’t reduce the salt. And if you want to can it, don’t do so until they have a sour flavour.
– Always use pickling/canning salt rather than regular table salt
– You can swap the type of vinegar, as long as it is 5% acidity. Some people prefer the milder flavour of cider vinegar, go for it!
– The spices can be changed to taste. Adding more garlic or dill to your pickles is a-ok. This is one thing that is not a safety issue.

The last thing we did on pickling day was make flavoured vinegar. And this is a nice way to end, because as Janice said – there are no rules. When you make flavoured vinegar, it’s basically safe to chuck in whatever you like. Buy some cheap white wine vinegar in bulk and flavour it yourself by filling a jar with whatever spices you like and cover with vinegar. We tried some delicious berry ones as well, and I am super excited to make some this summer for some delicious vinaigrette. These are fine stored at room temperature. Once they have steeped to your satisfaction, they can also be processed in a boiling water bath canner if you really want to.

IMG_2673 copy

My white wine vinegar, full of herbs, and a chive flower.

IMG_3260 copy