Victorian Barbecue Sauce

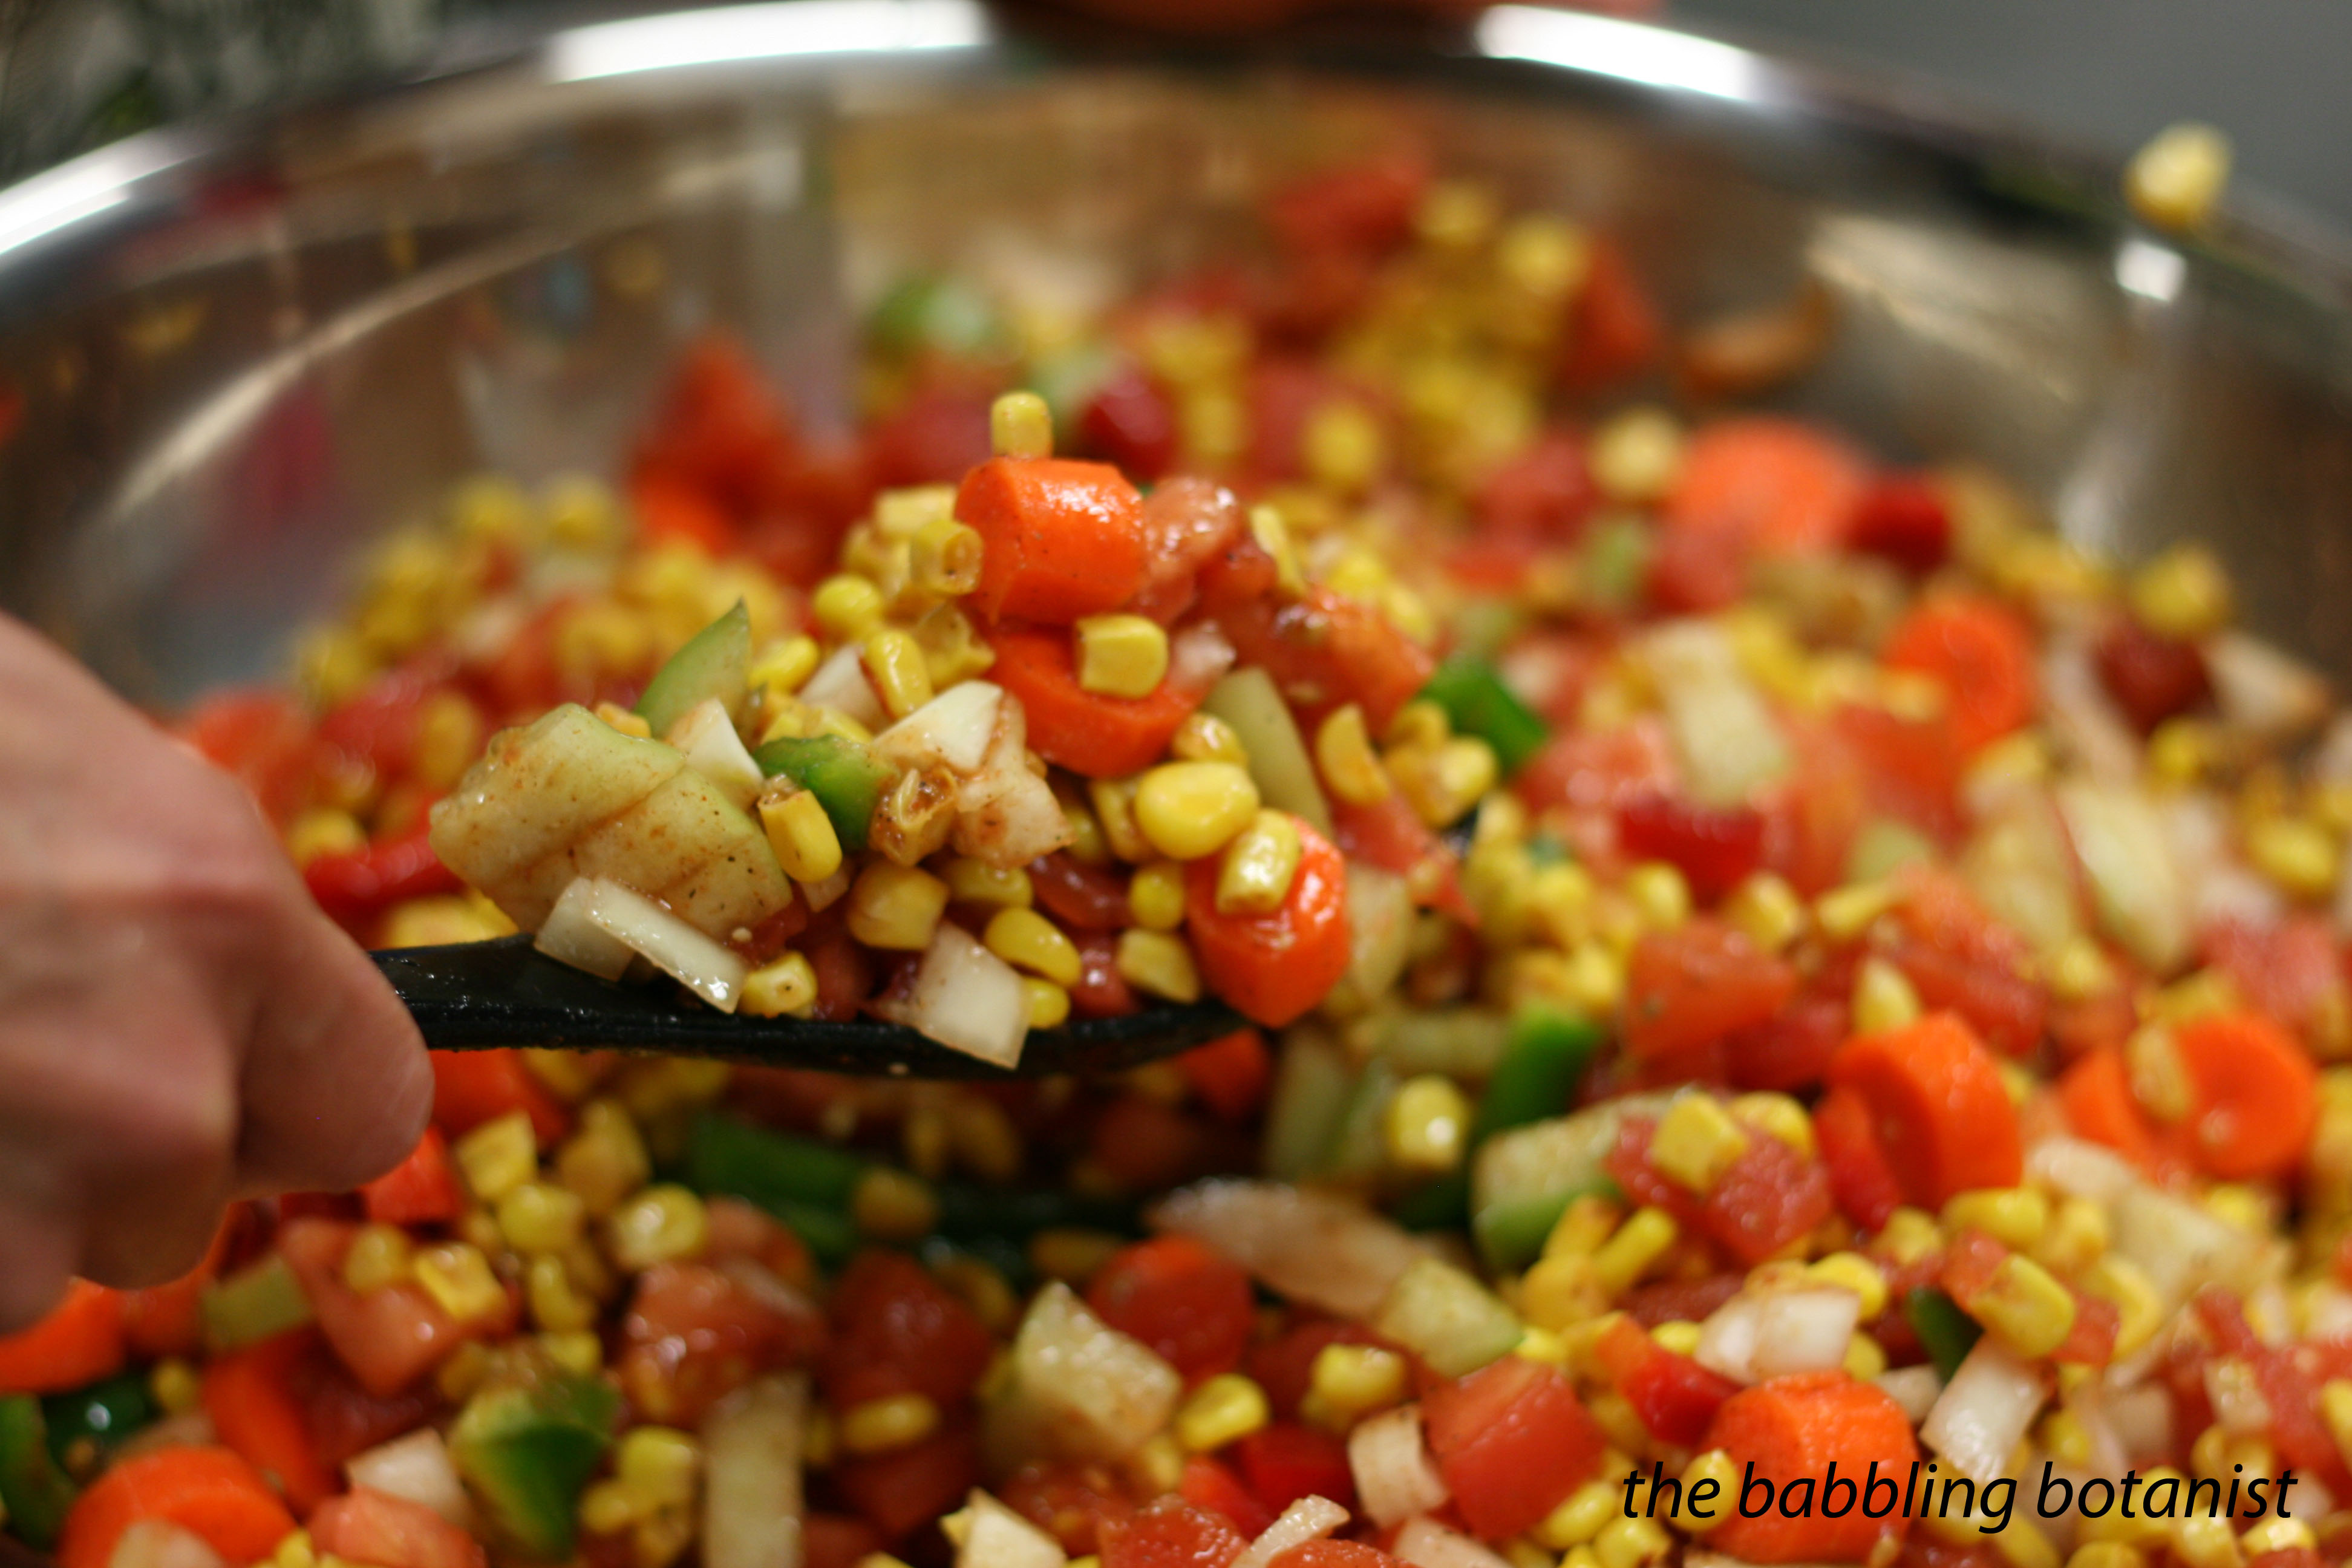
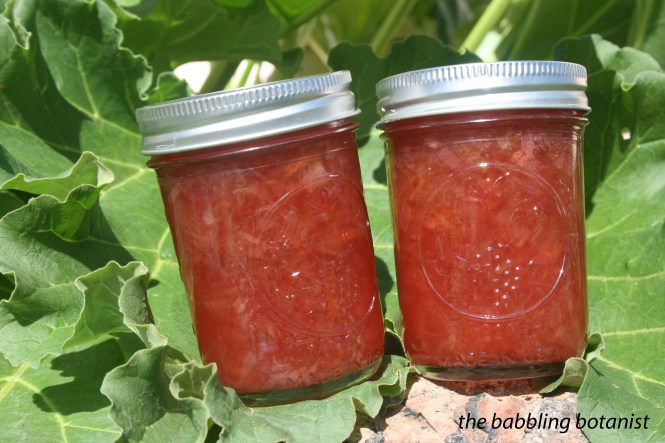
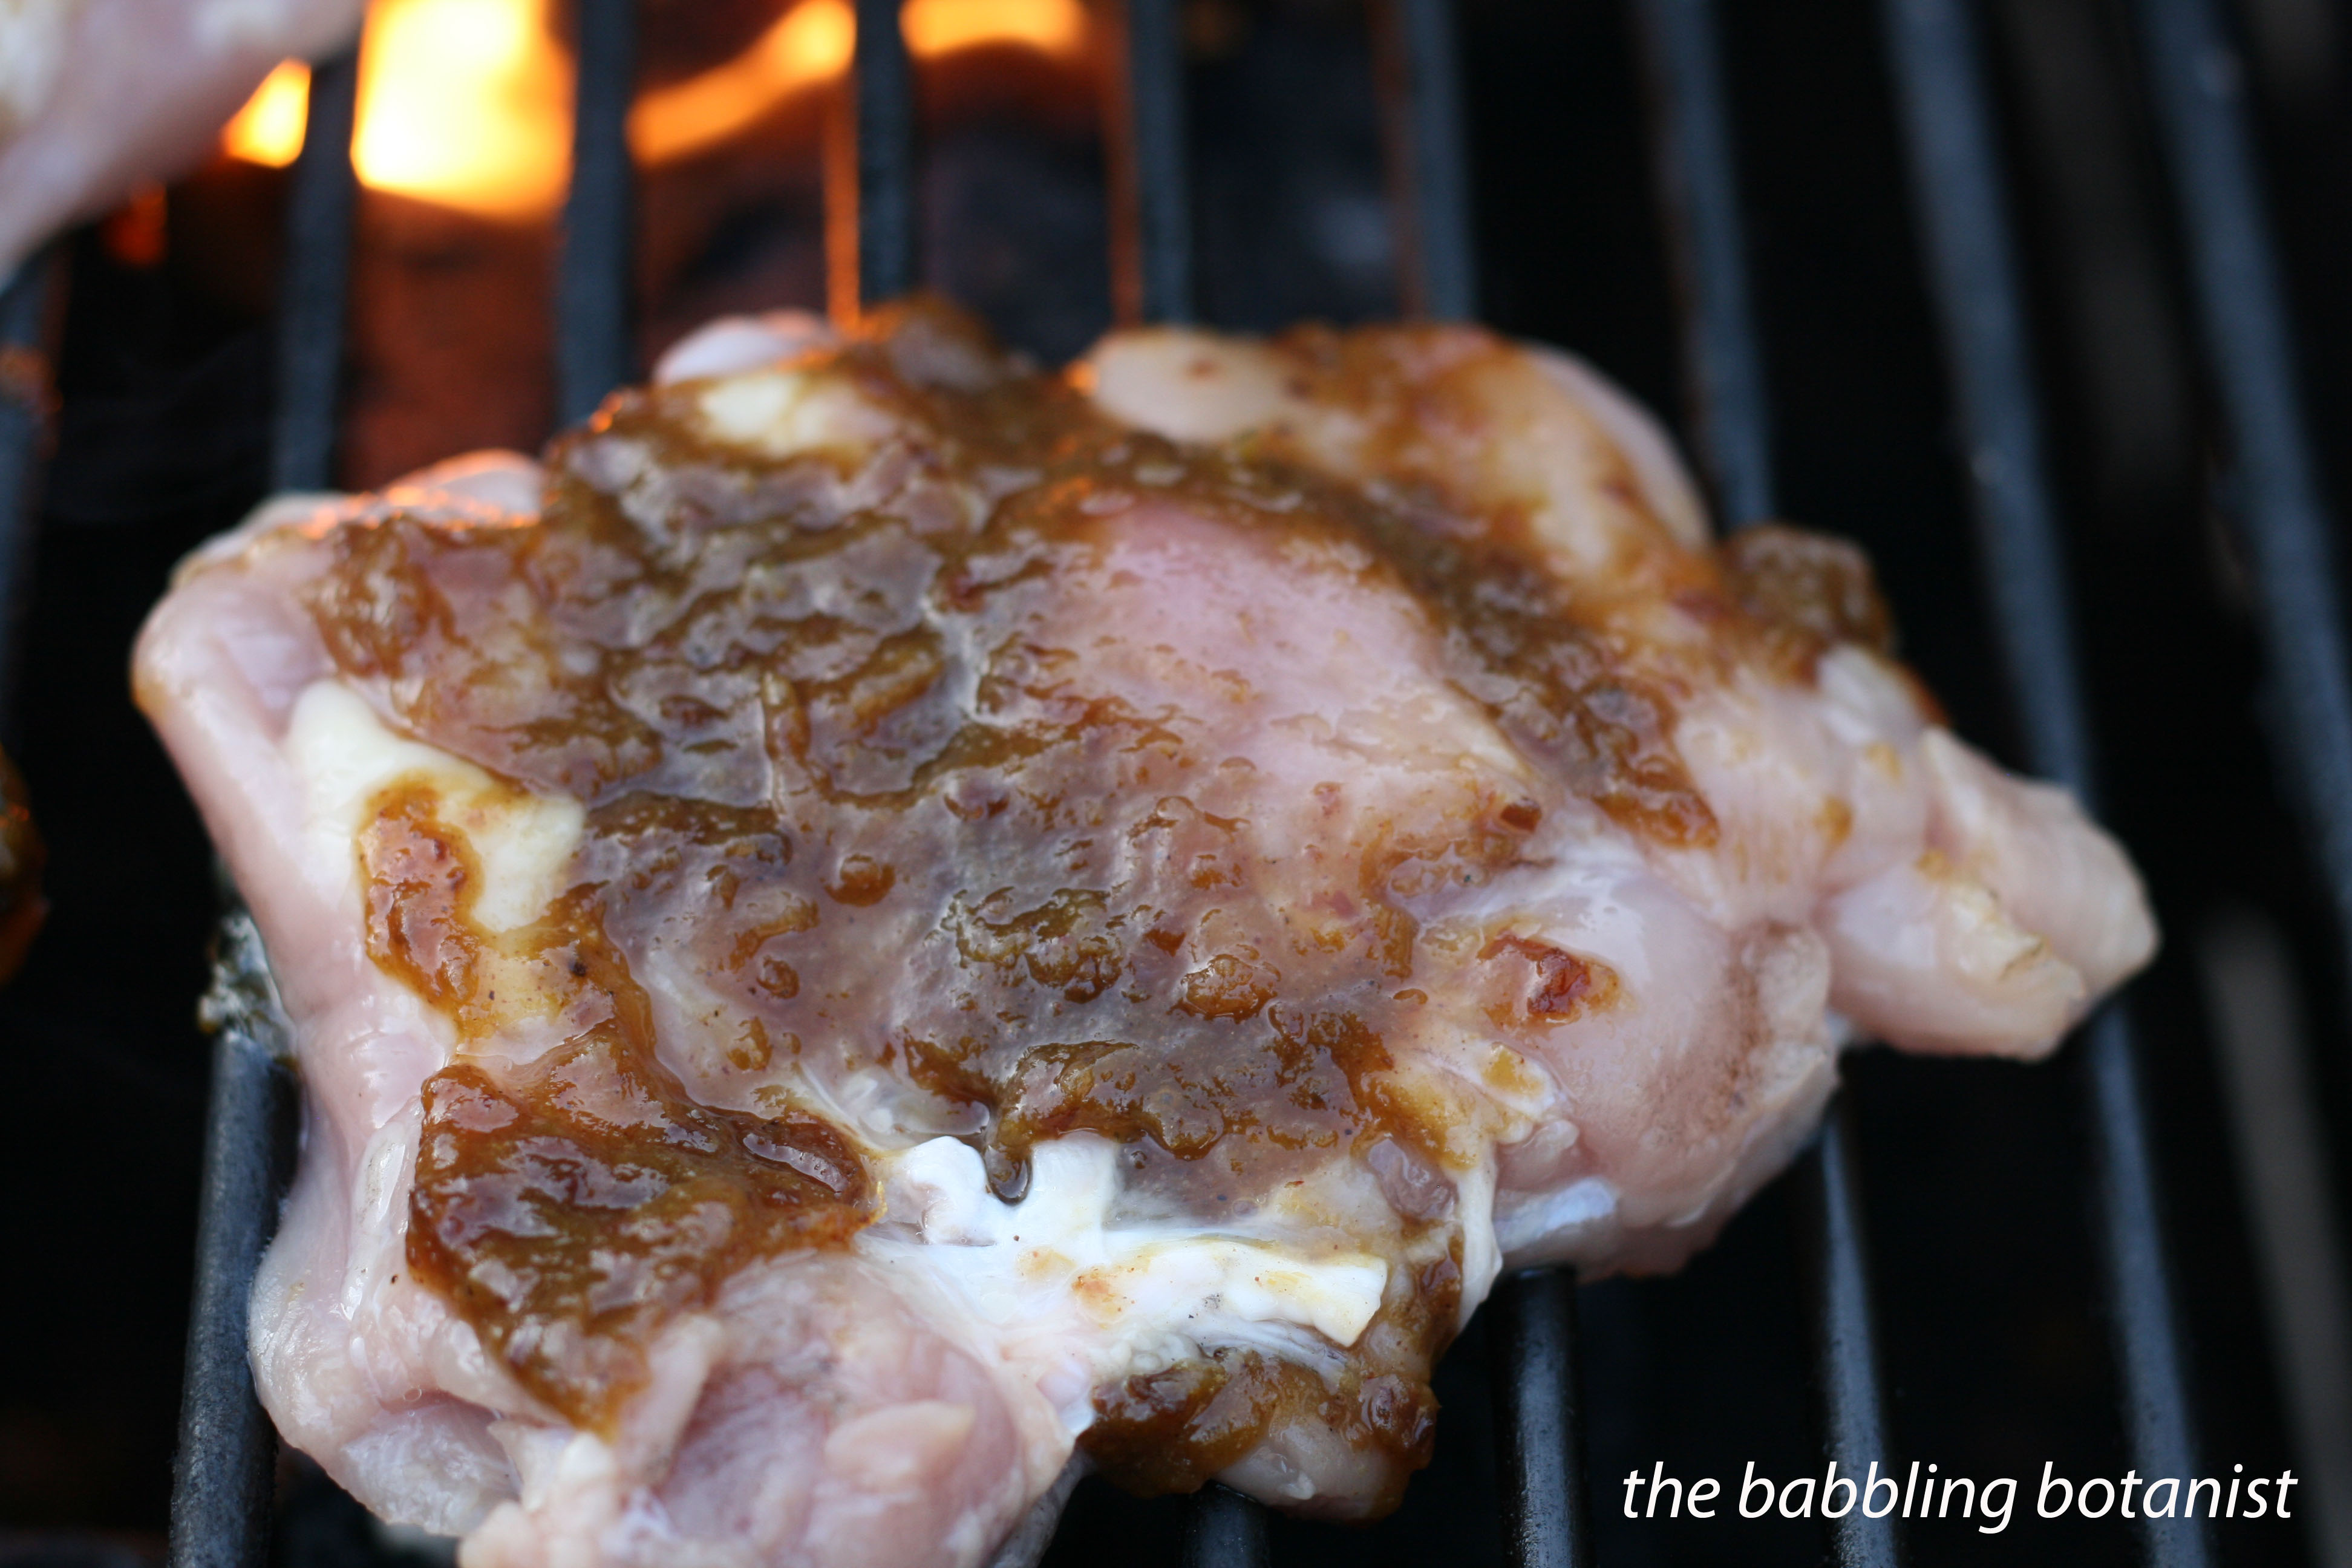
I’ve had a lot of rhubarb coming in lately, so I decided to go for something a little different this time, and whipped up some Victorian barbecue sauce from the Ball Complete Book of Home Preserving. This is great on chicken, and I bet it would be nice on pork as well. It tastes surprisingly good and is quite easy to make. I am trying to get away from store bought braises and sauces for meat, and this is a delicious replacement; a nice combo of sweet and tart.
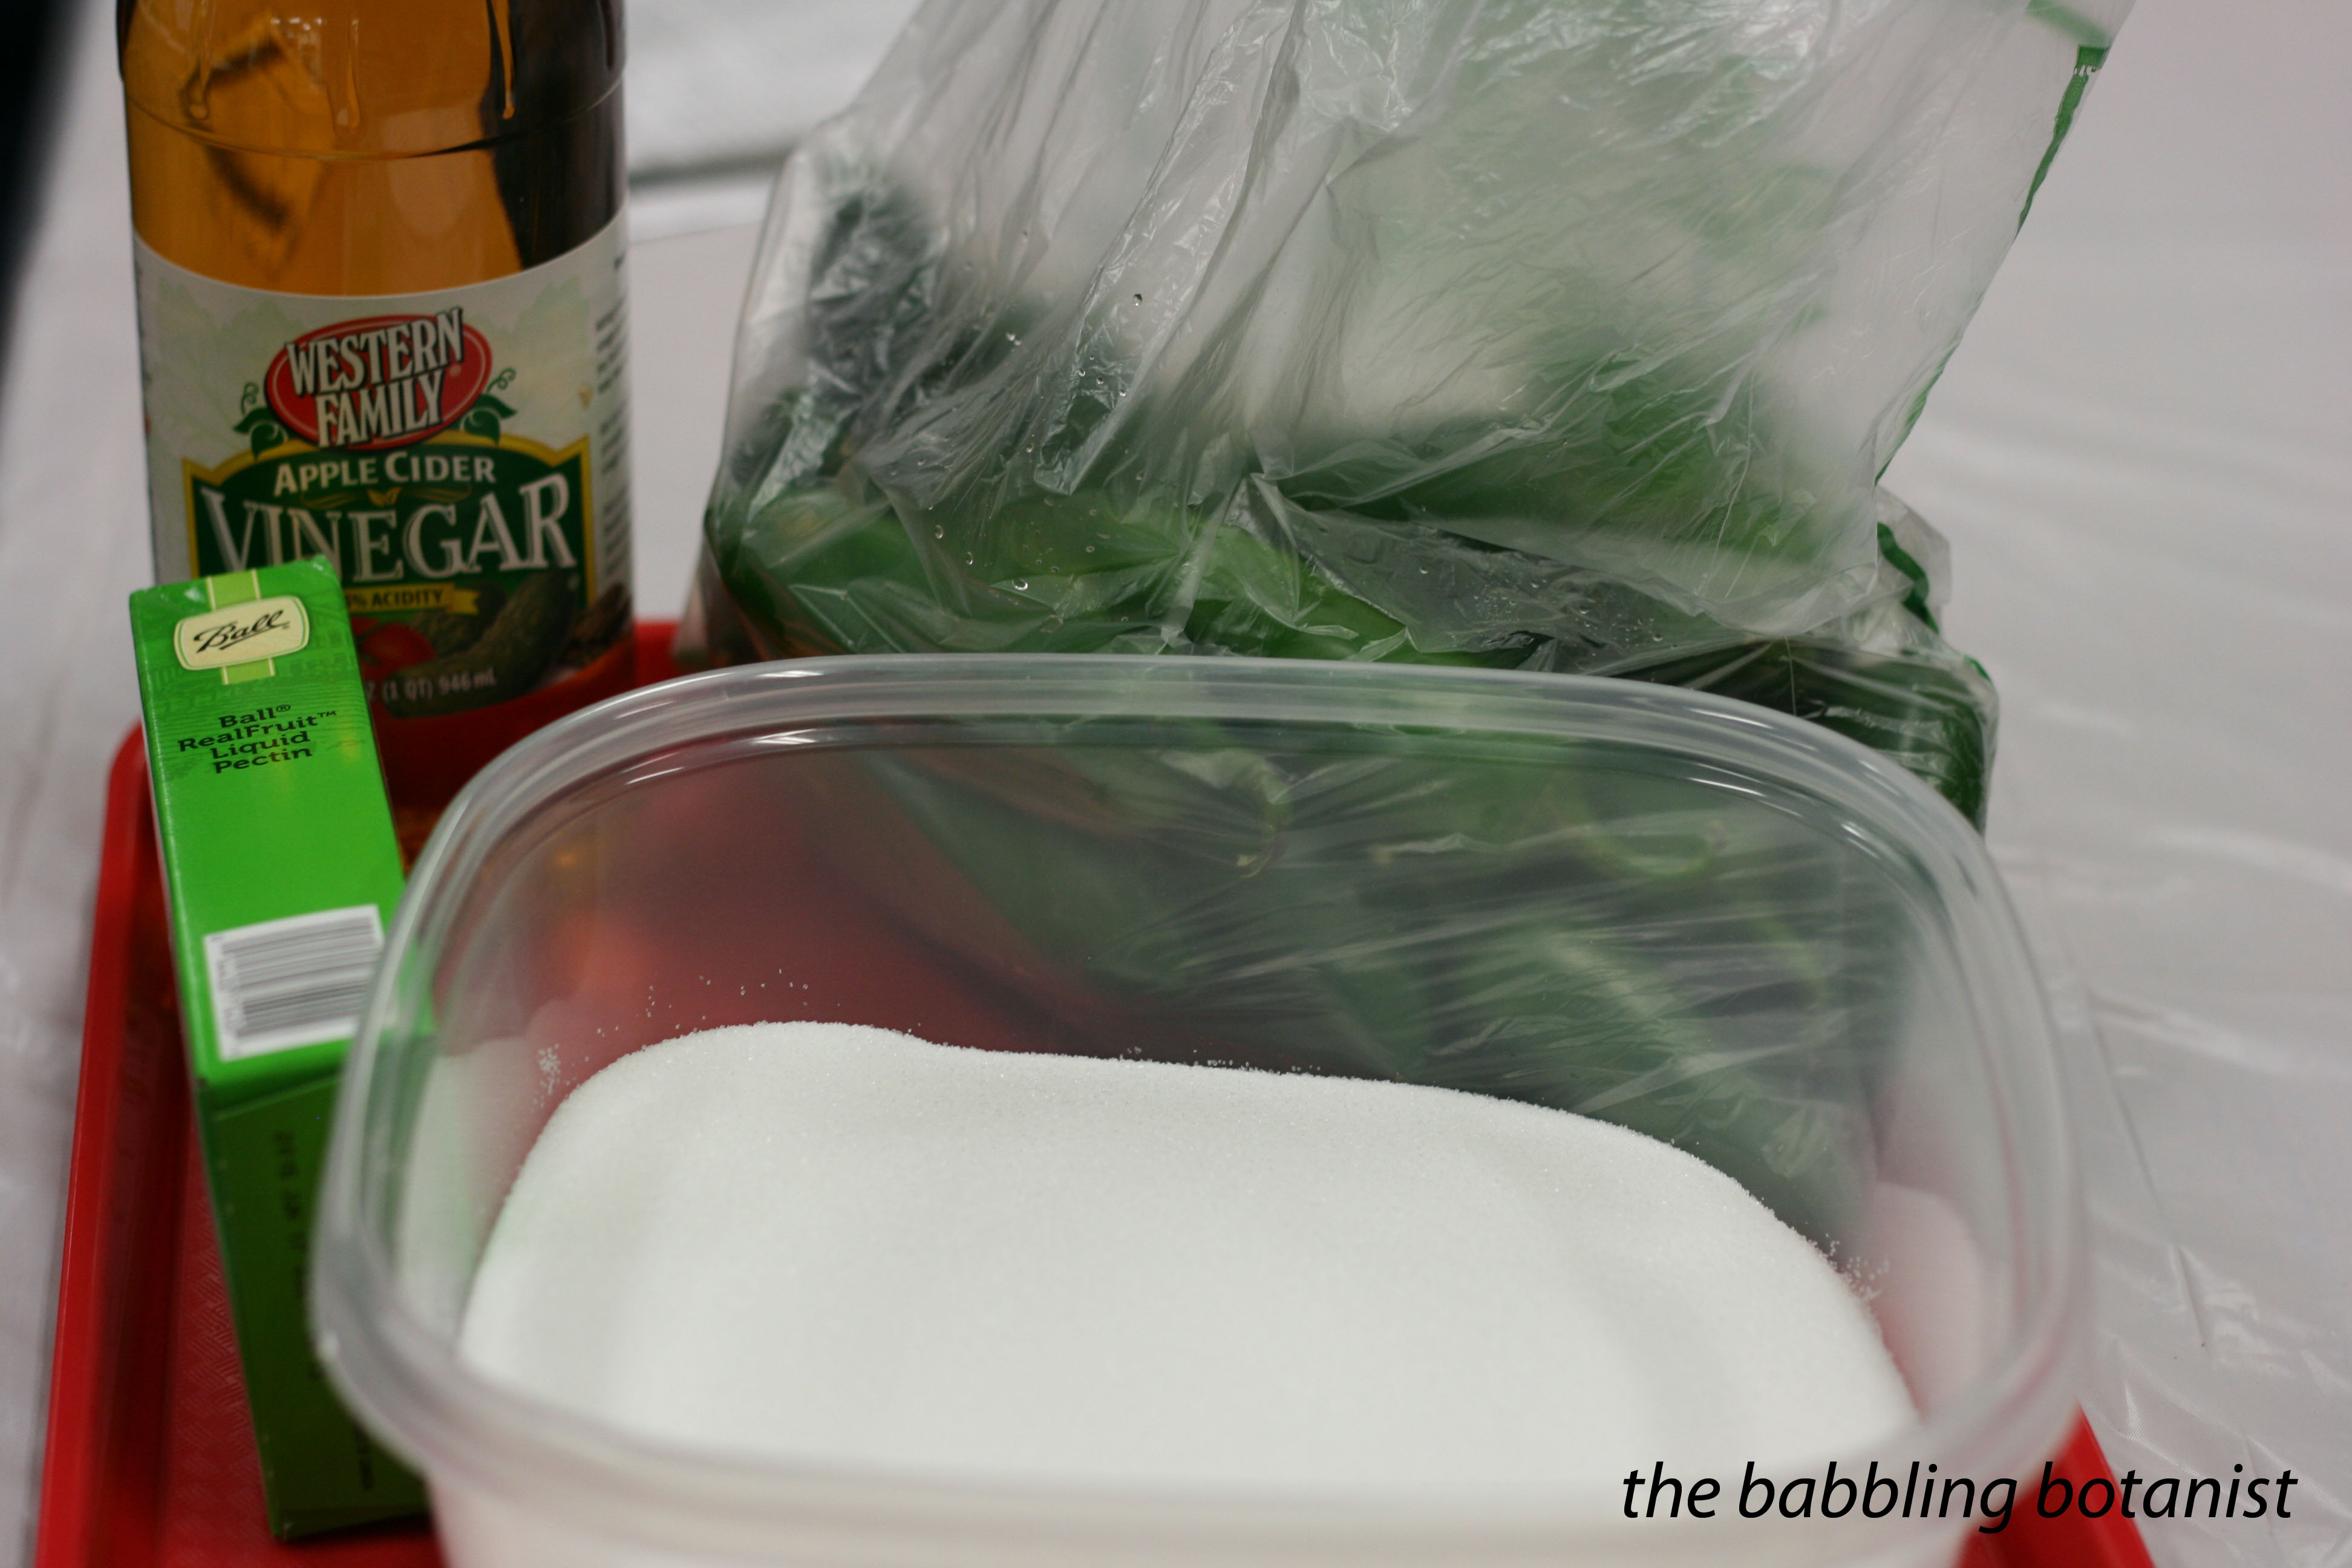
Ingredients:
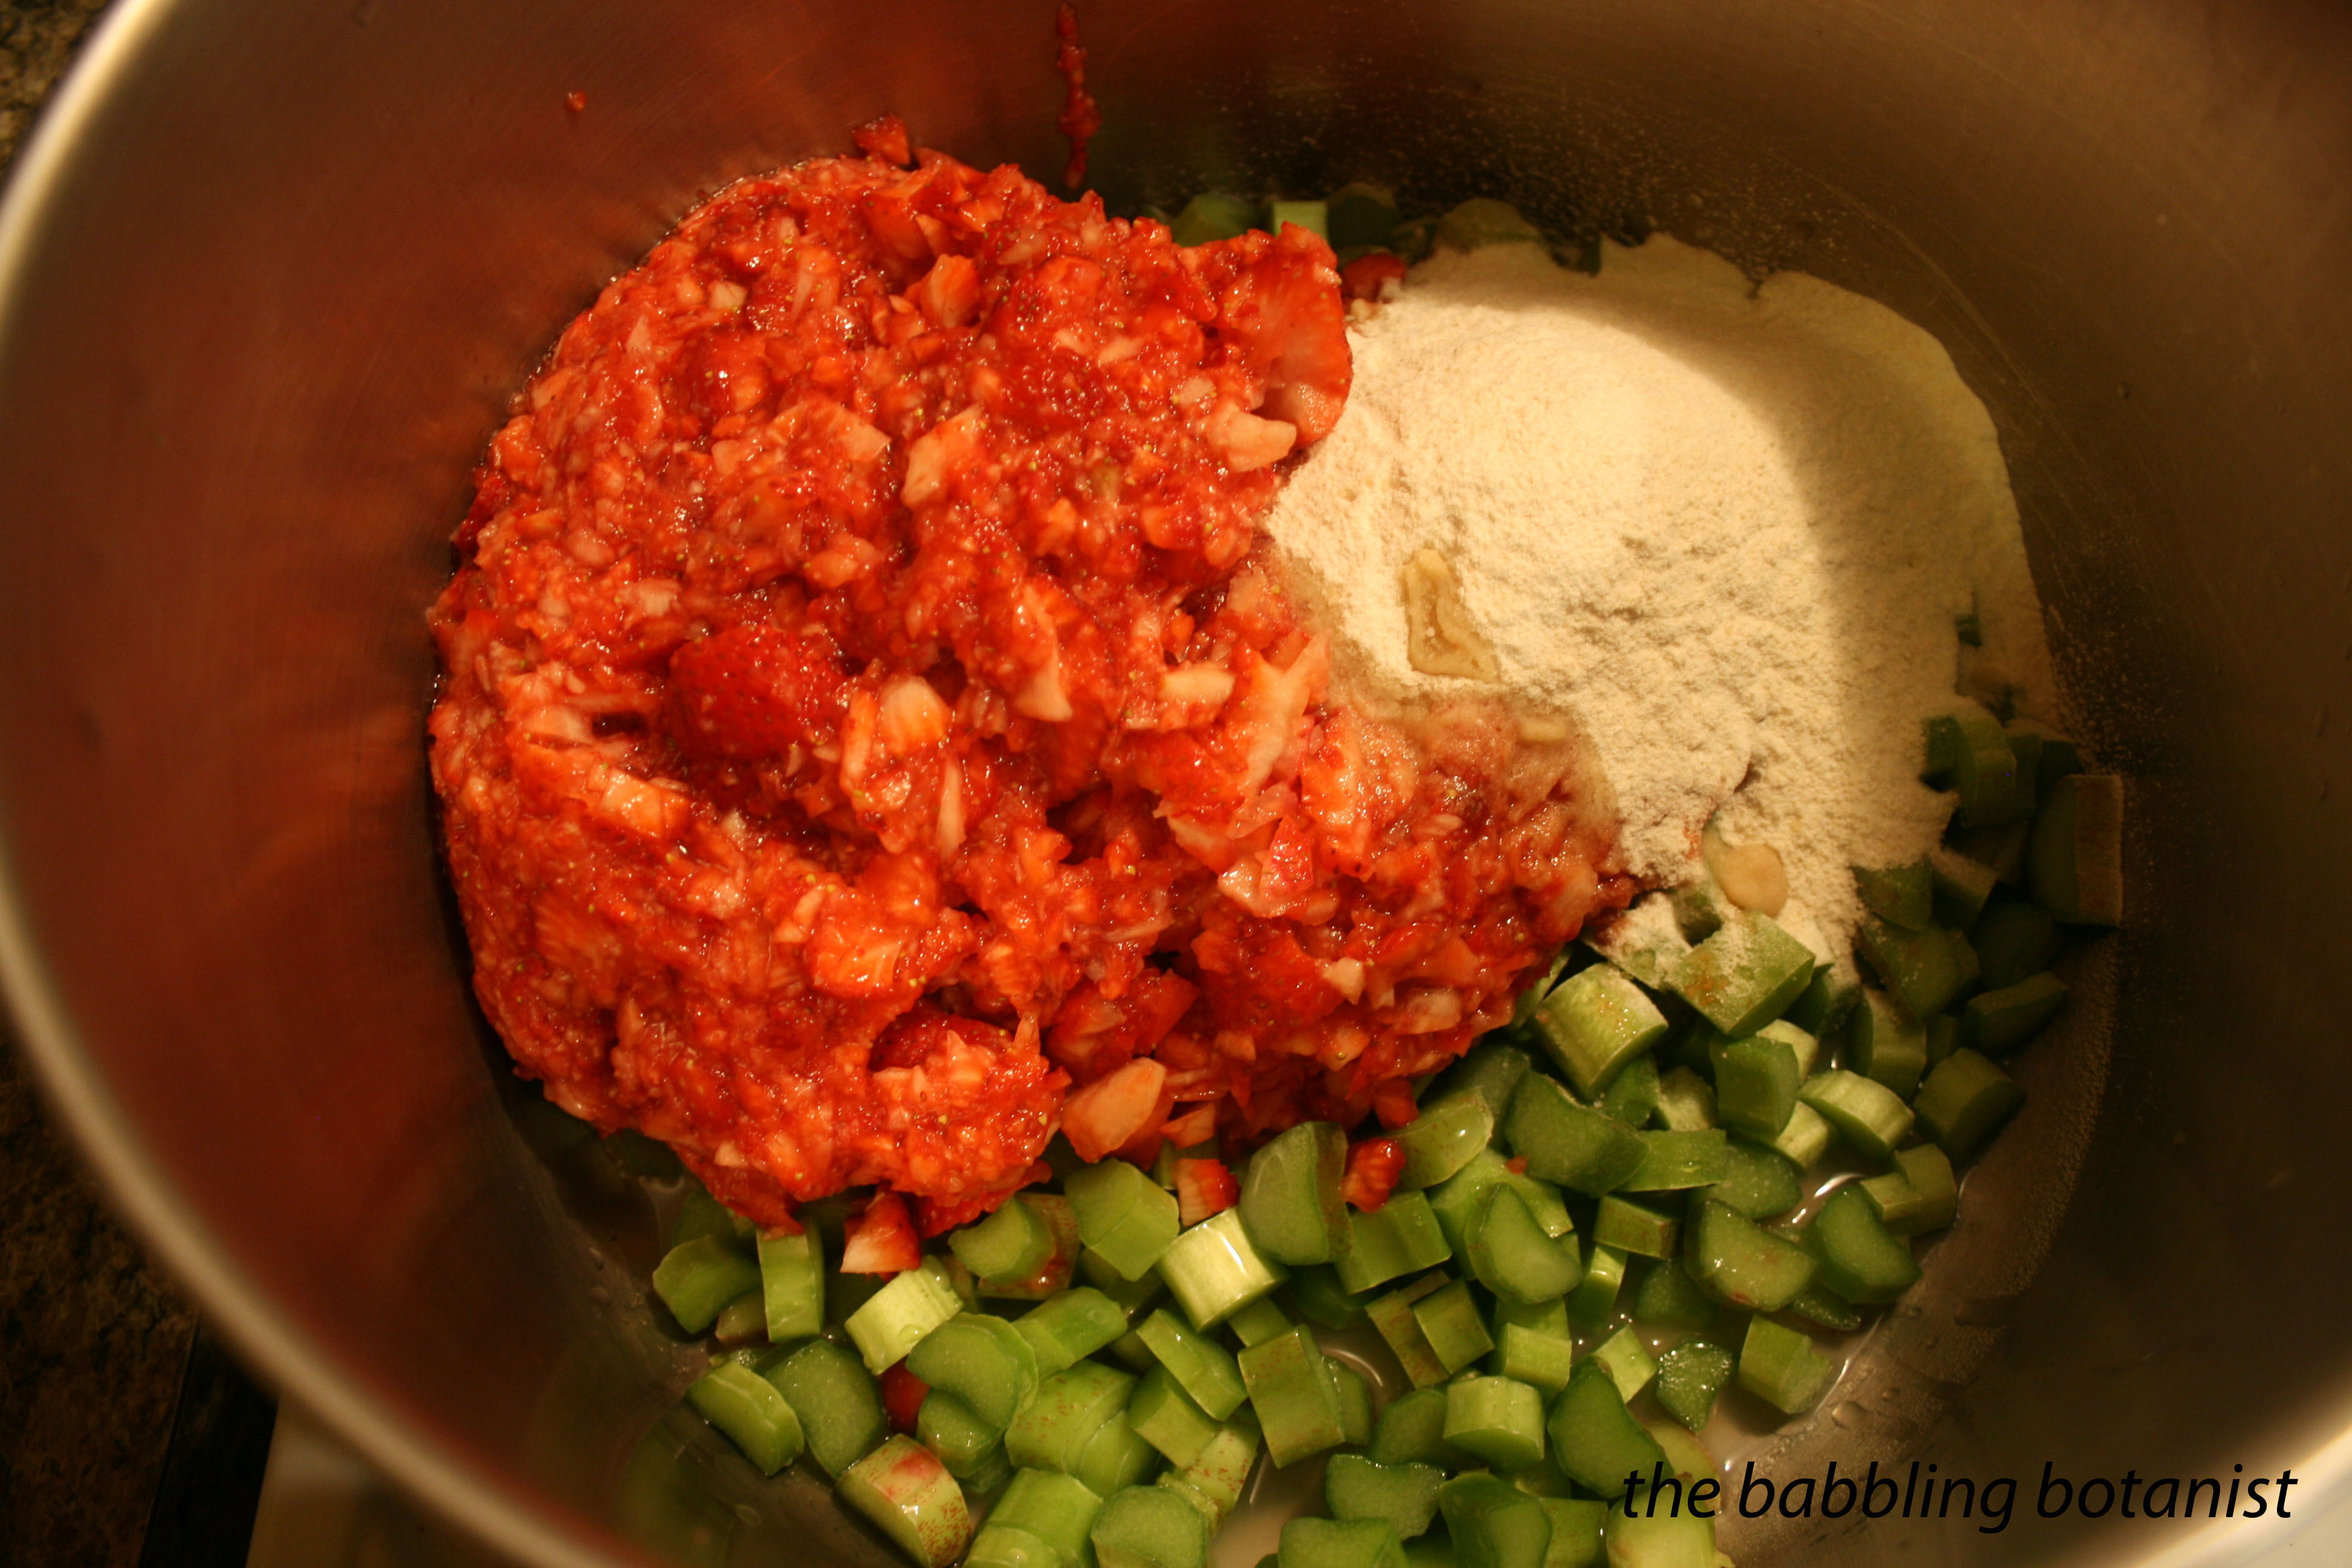
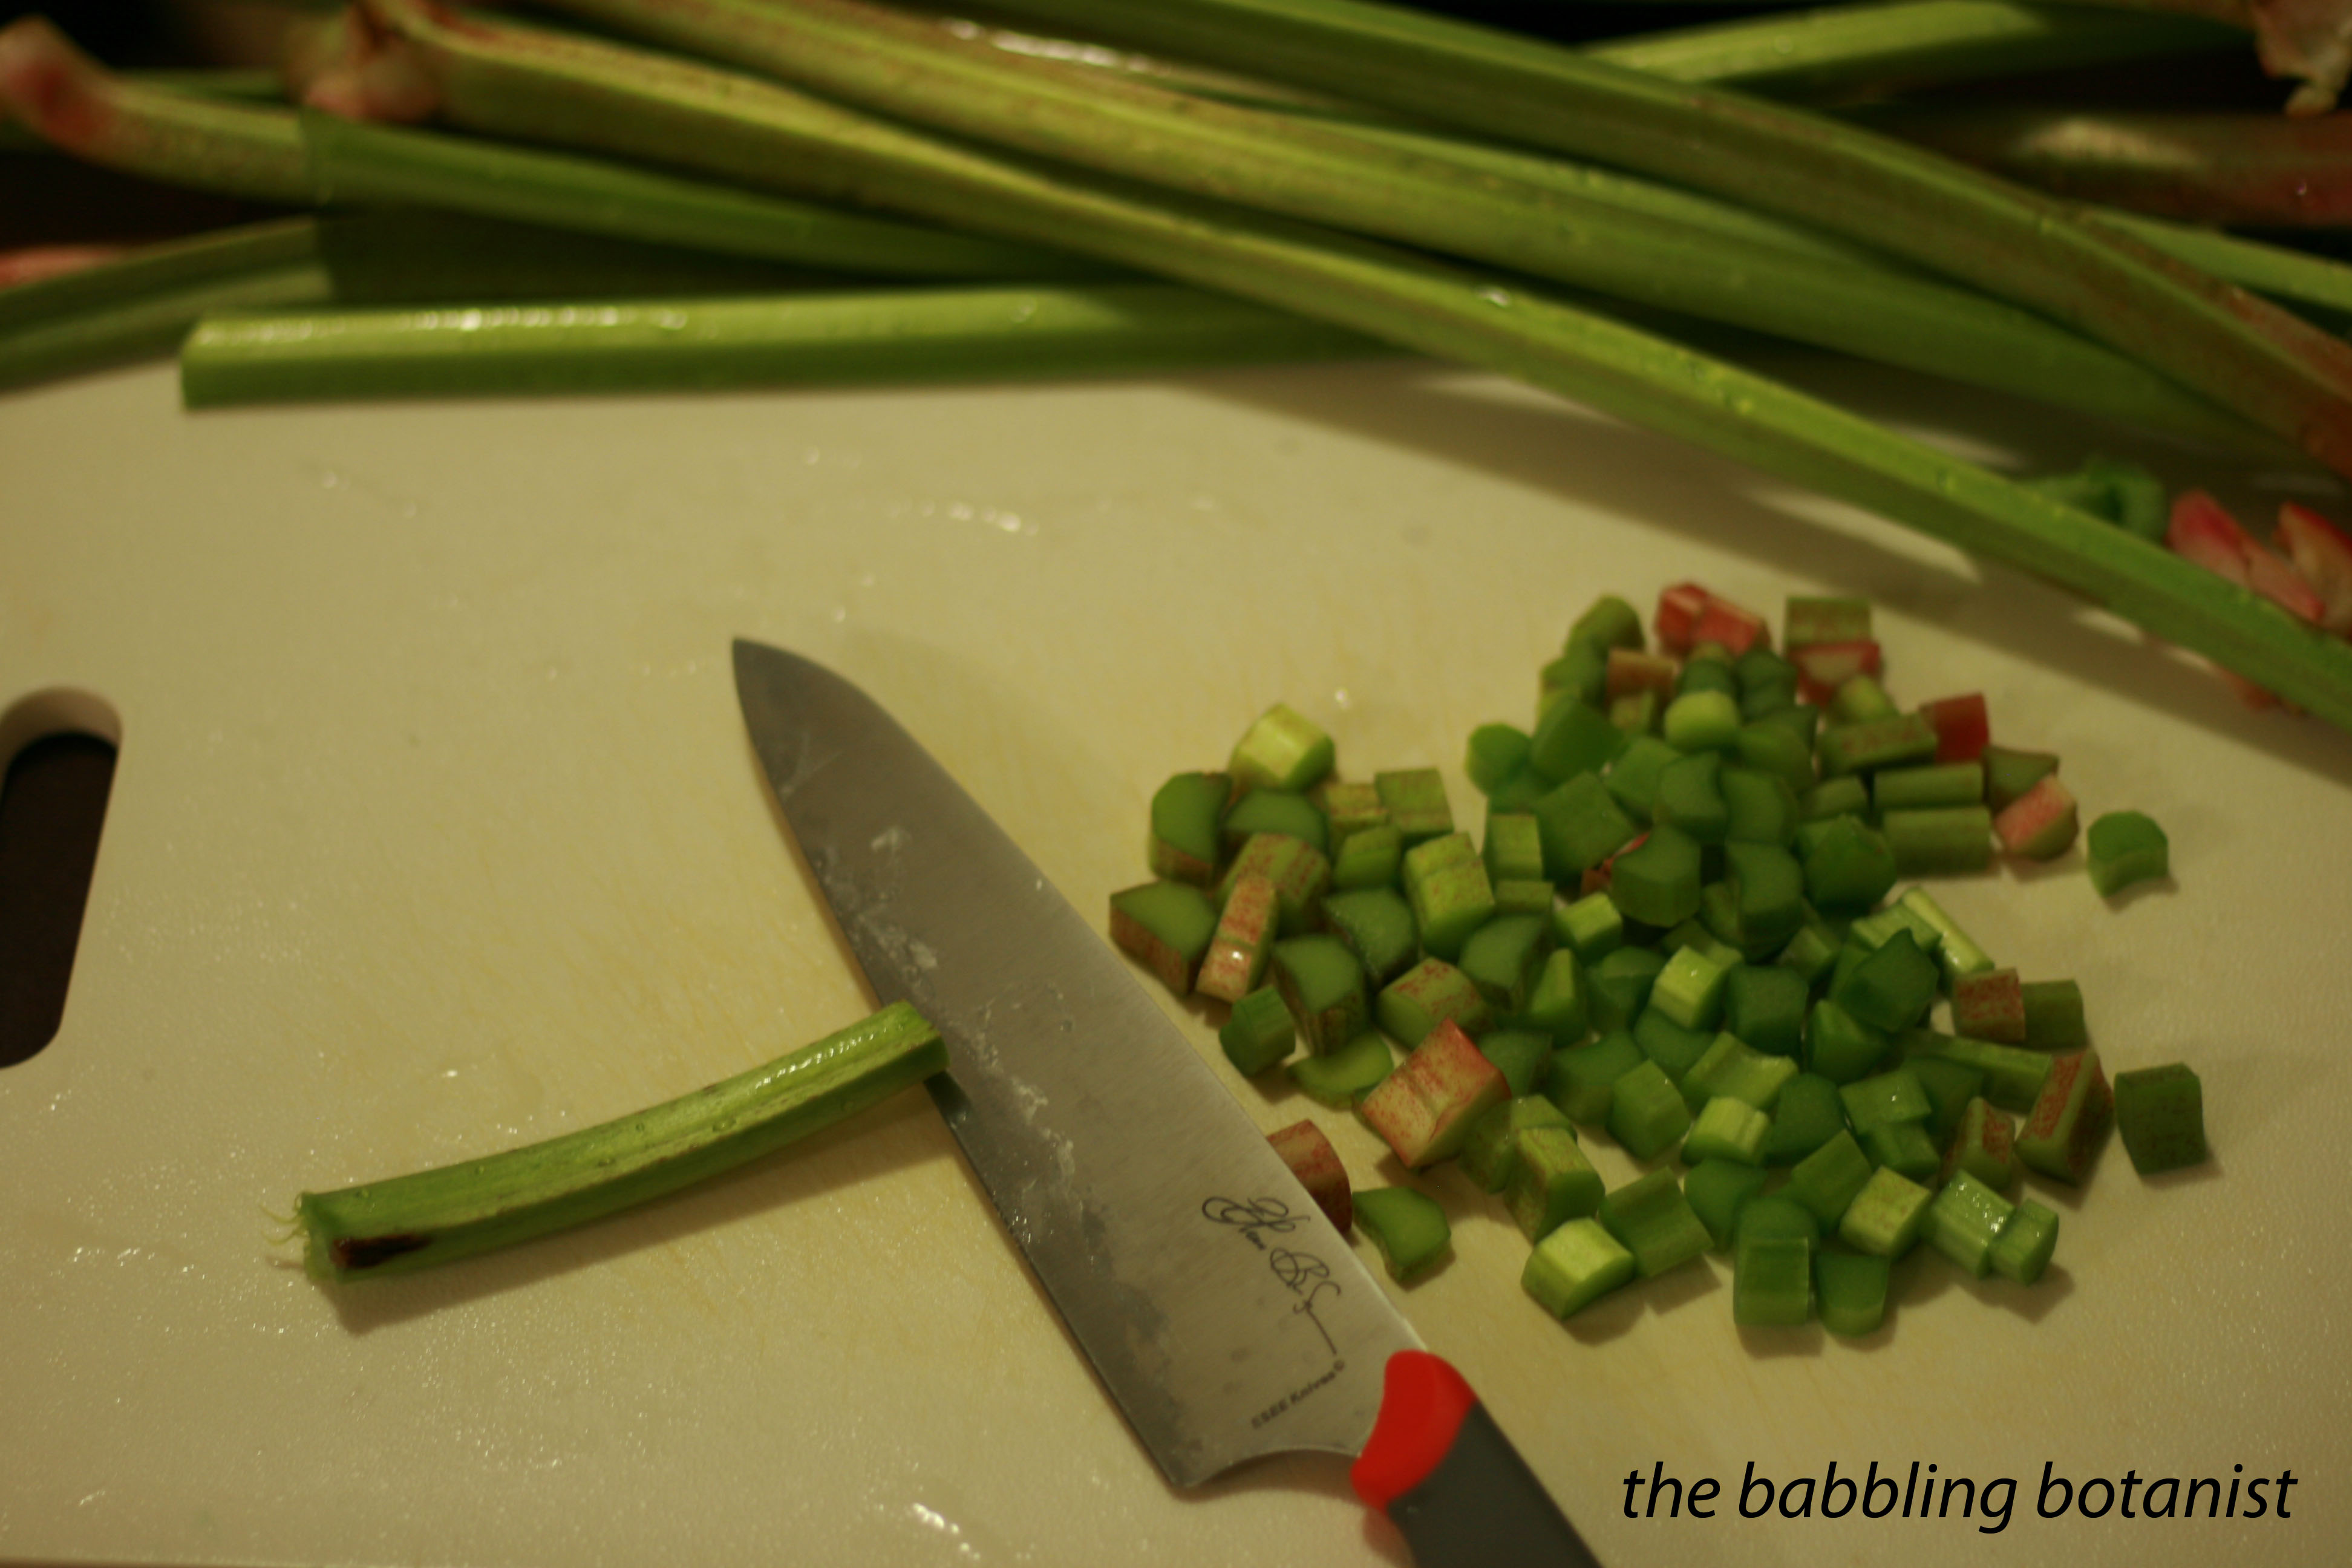
8 cups chopped rhubarb
3.5 cups lightly packed brown sugar
1.5 cups chopped raisins
1/2 cup chopped onions
1/2 cup white vinegar
1 tsp ground allspice
1 tsp ground cinamon
1 tsp ground ginger
1 tsp salt

Here’s how we made it:

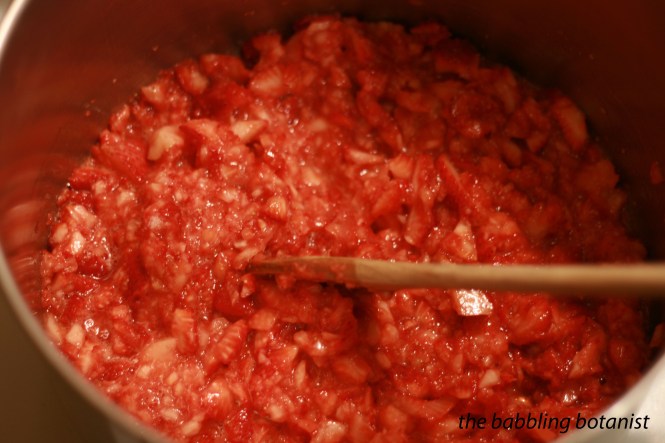
Chop up the rhubarb, onions, and raisins.

IMG_2444 copy

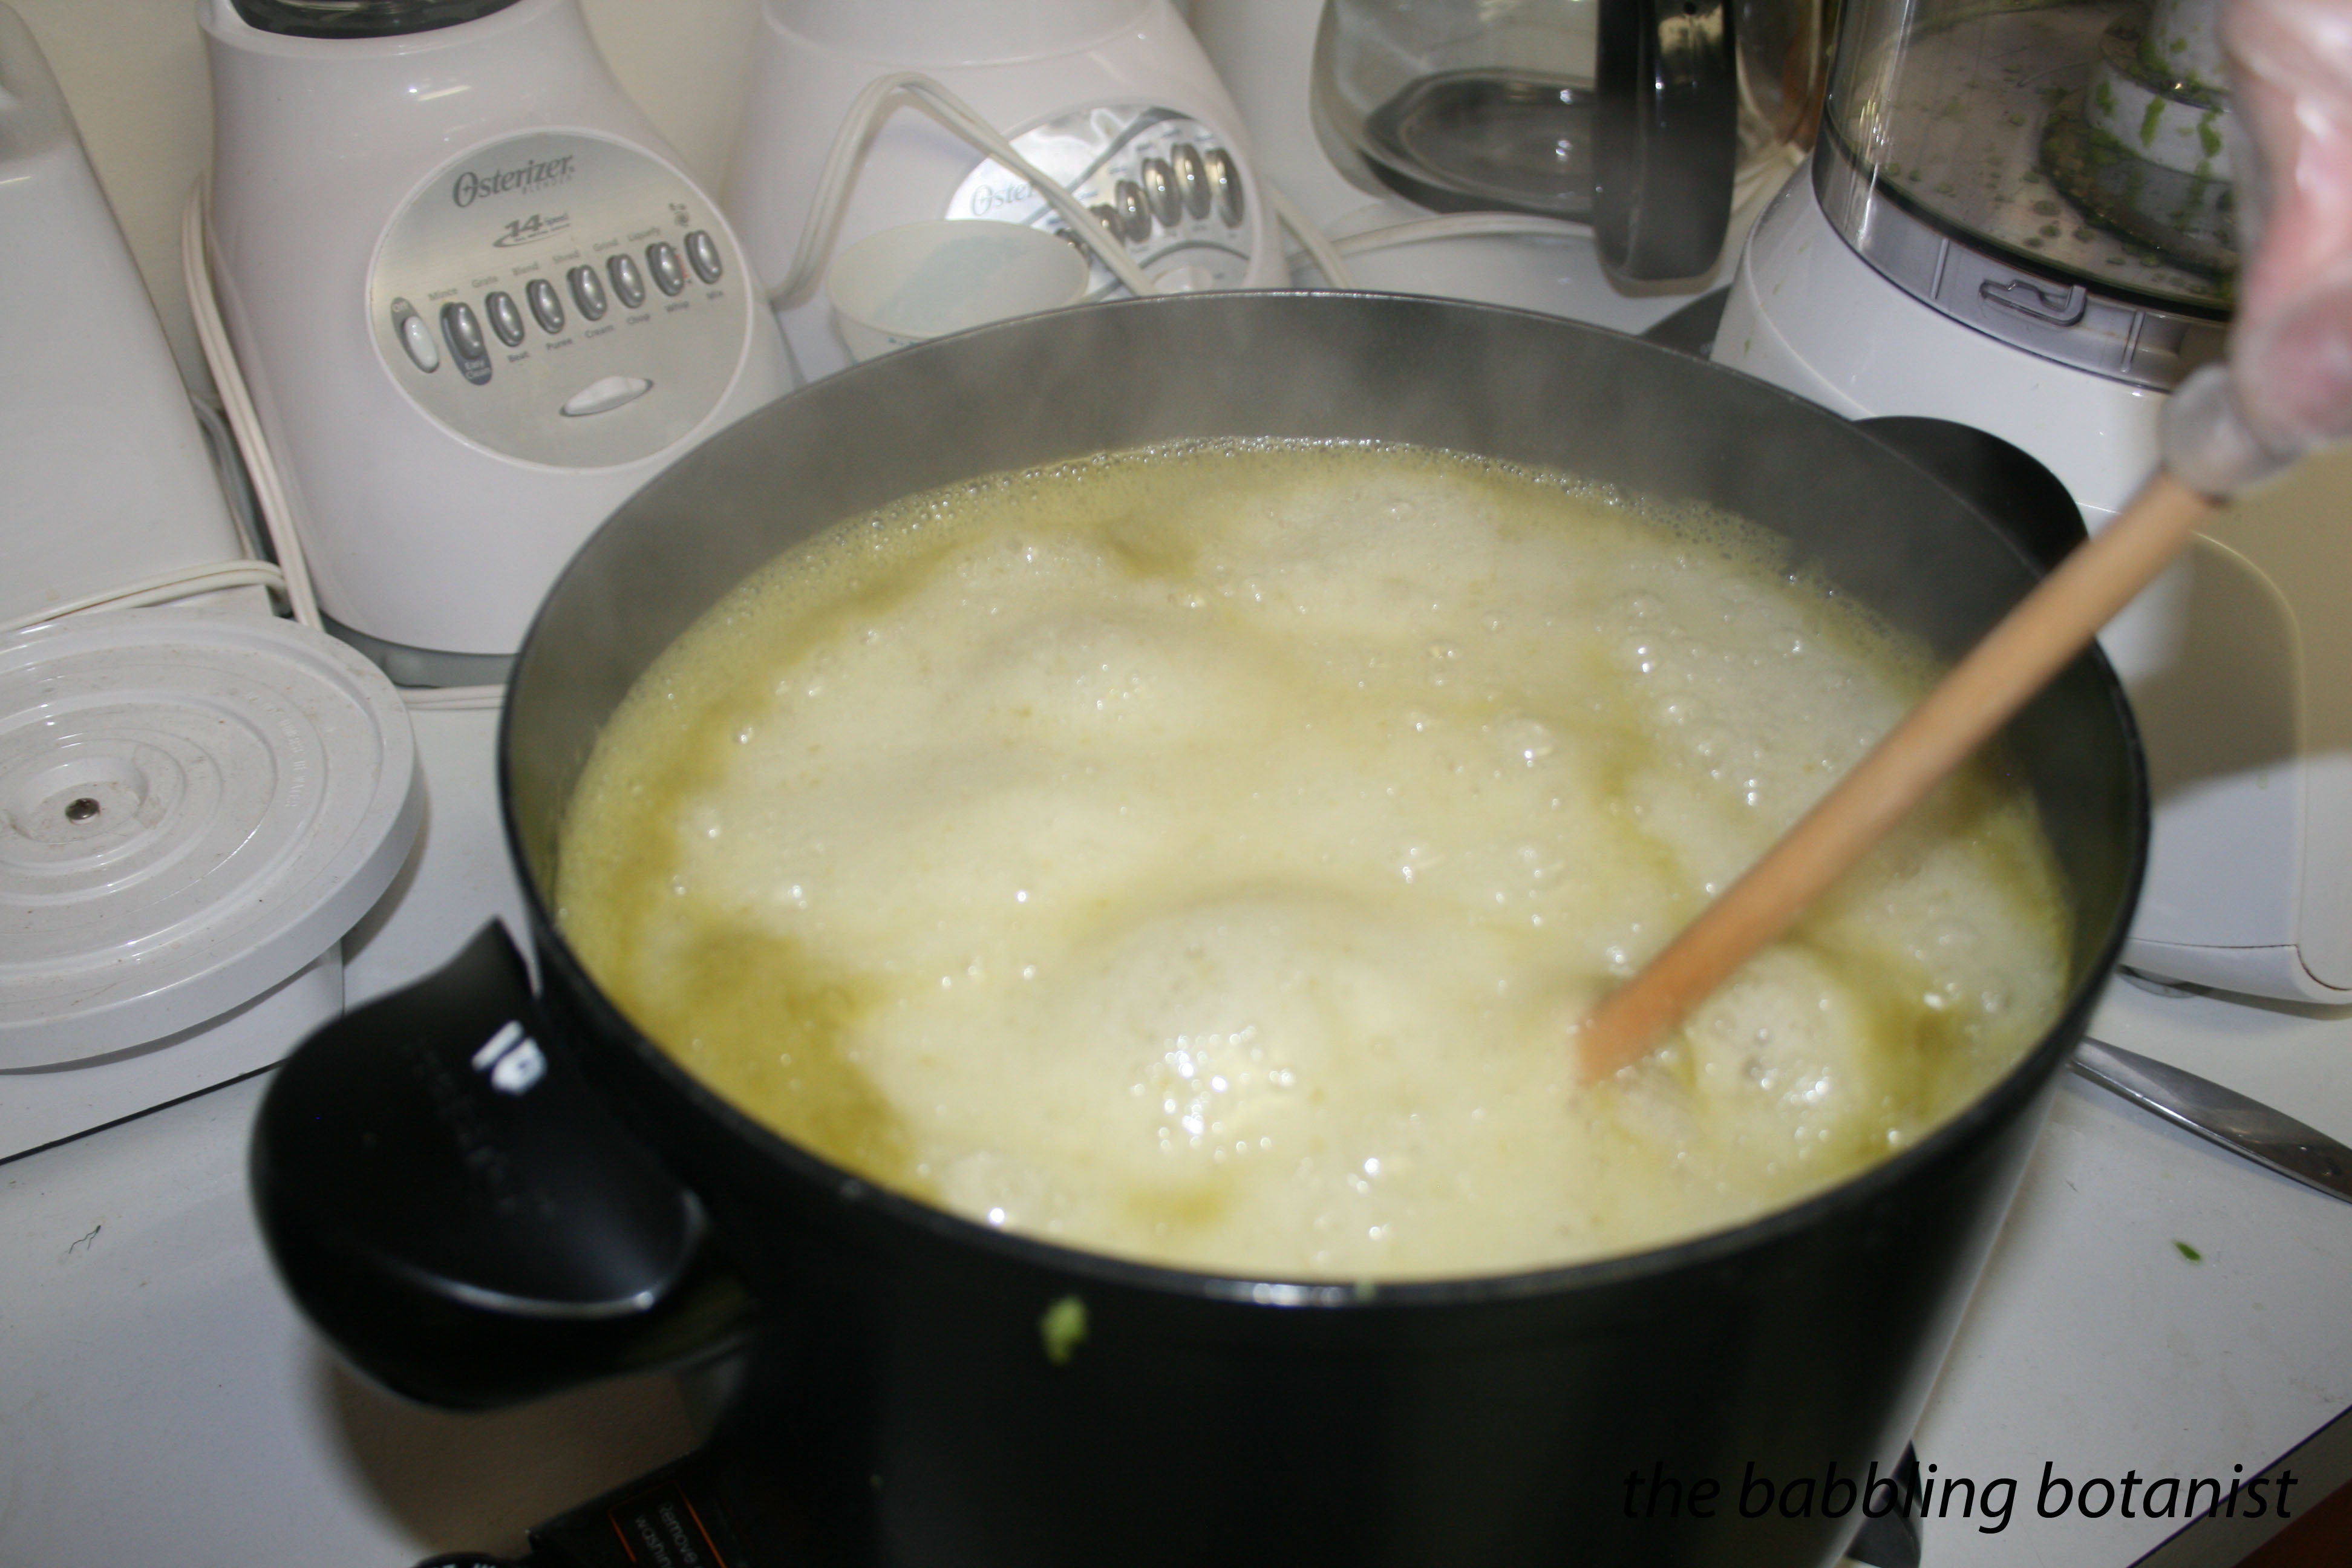
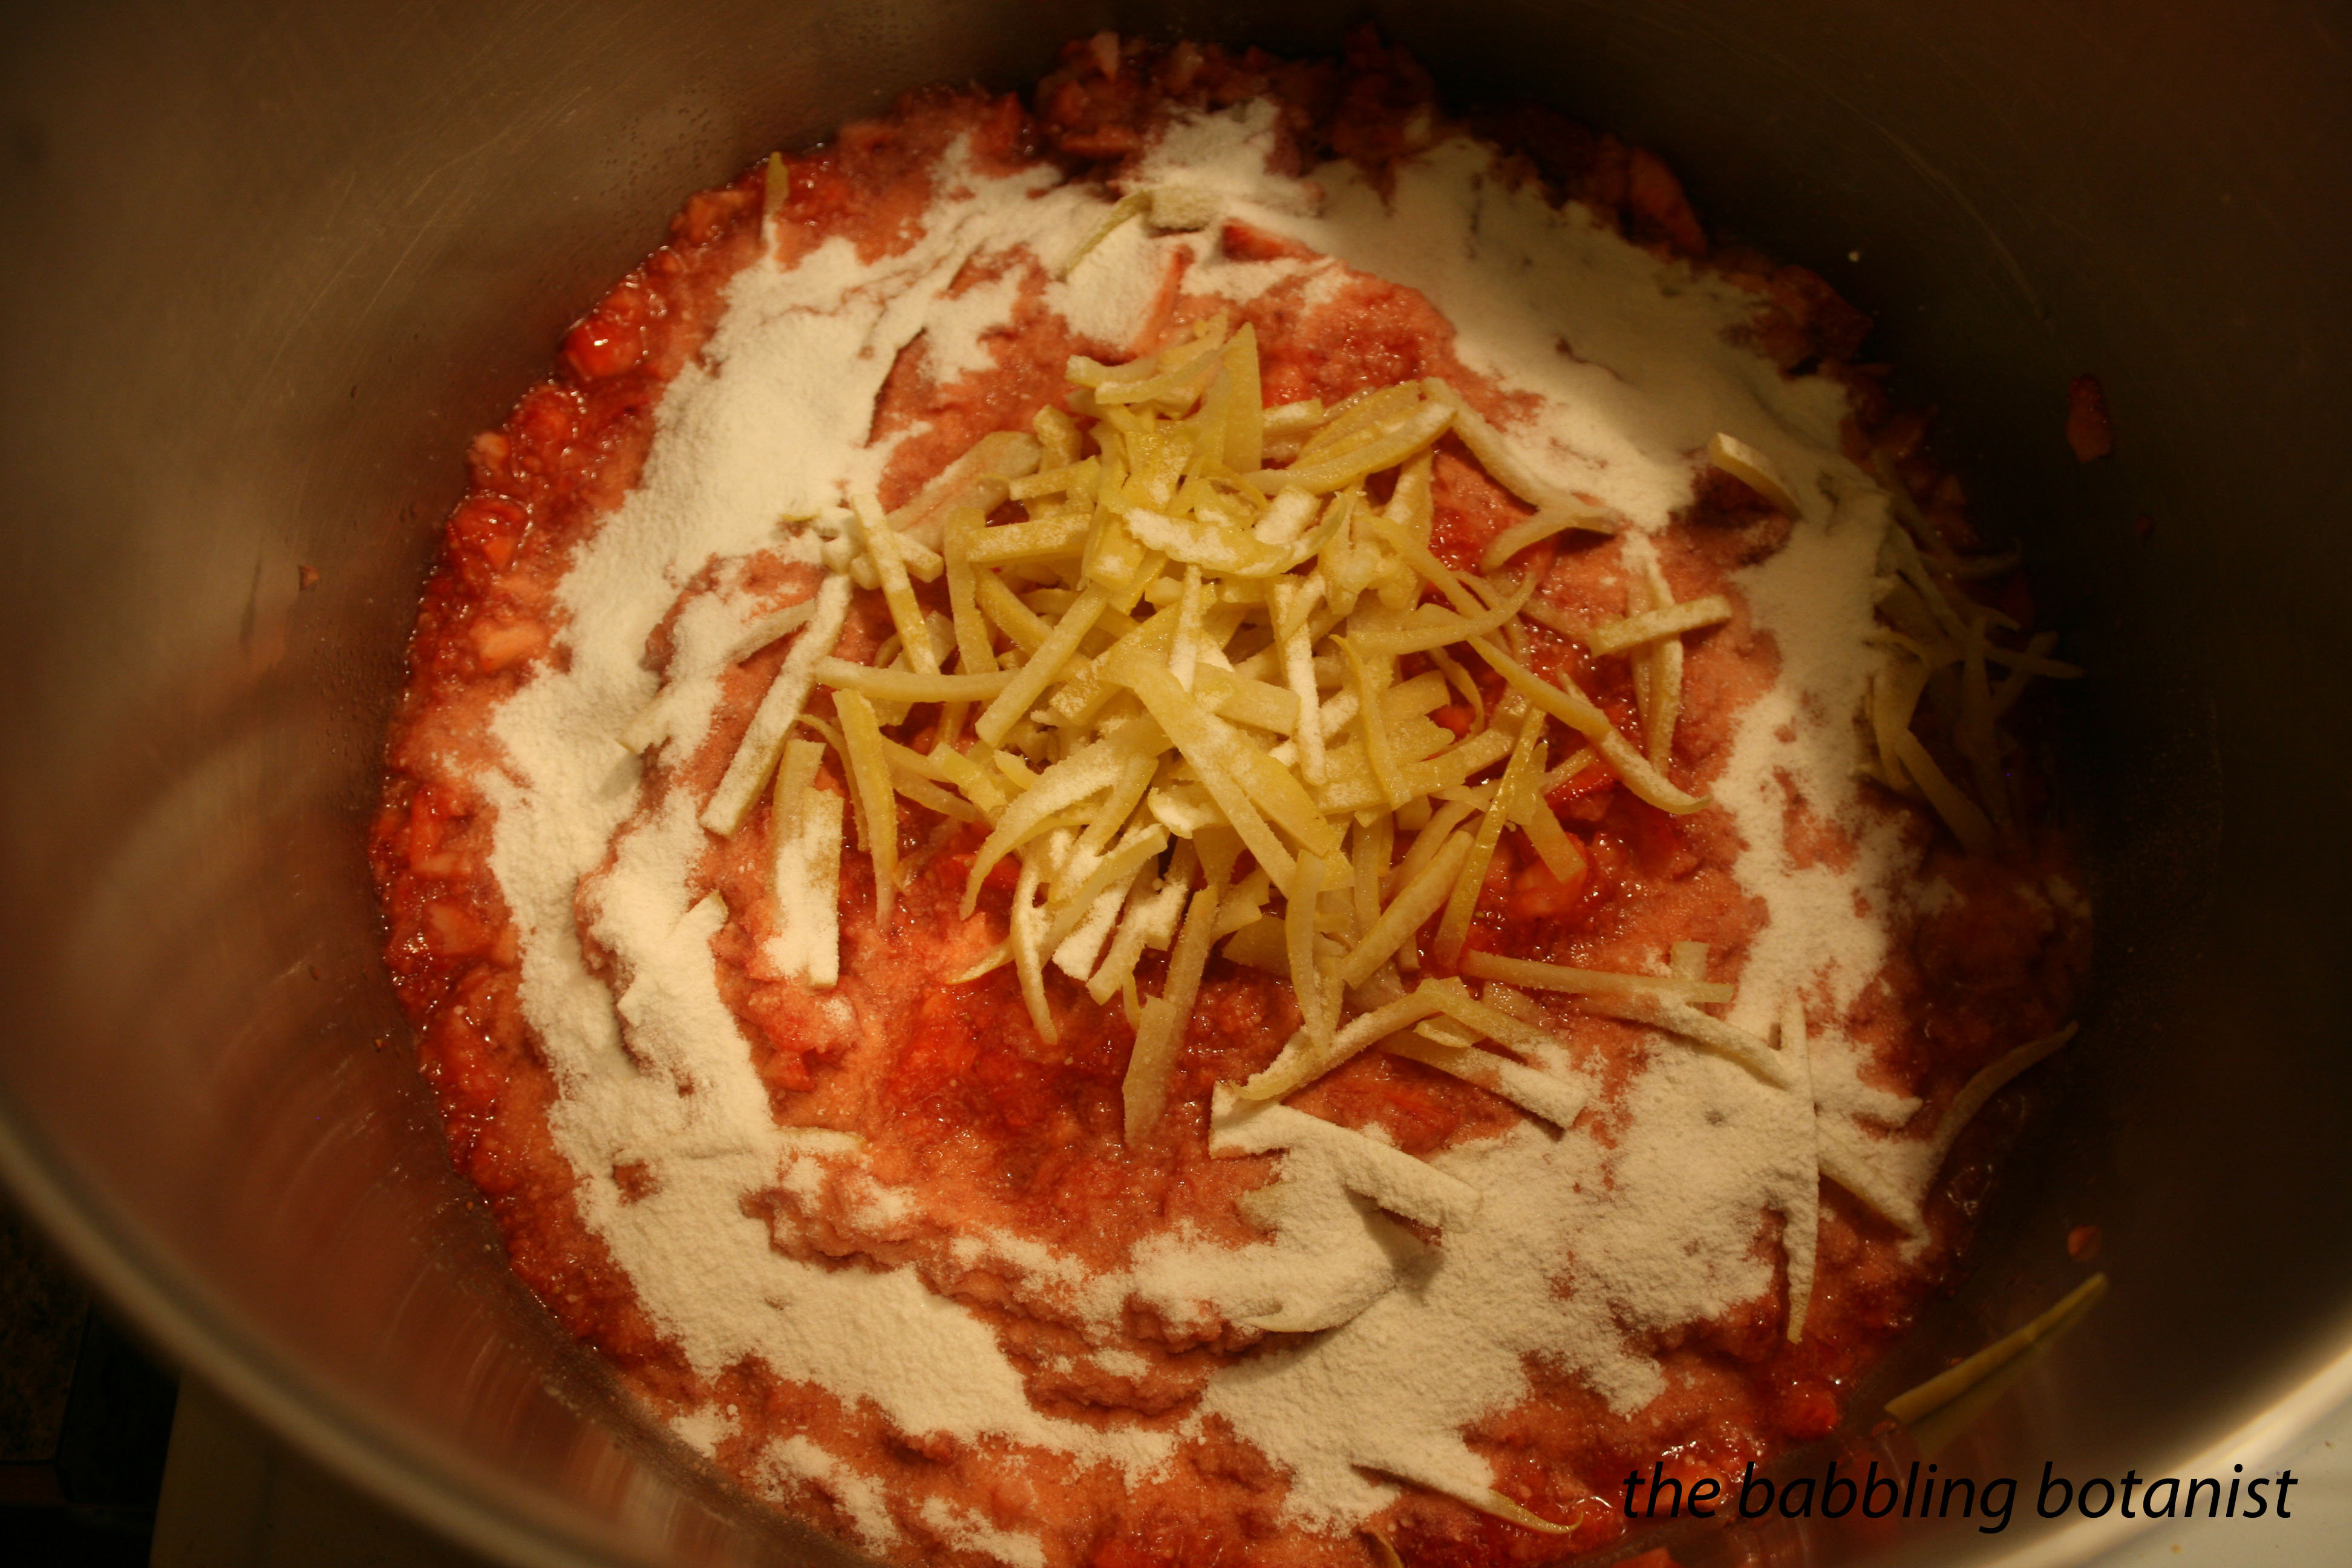
Combine all the ingredients in a stainless steal pot.

IMG_2447 copy

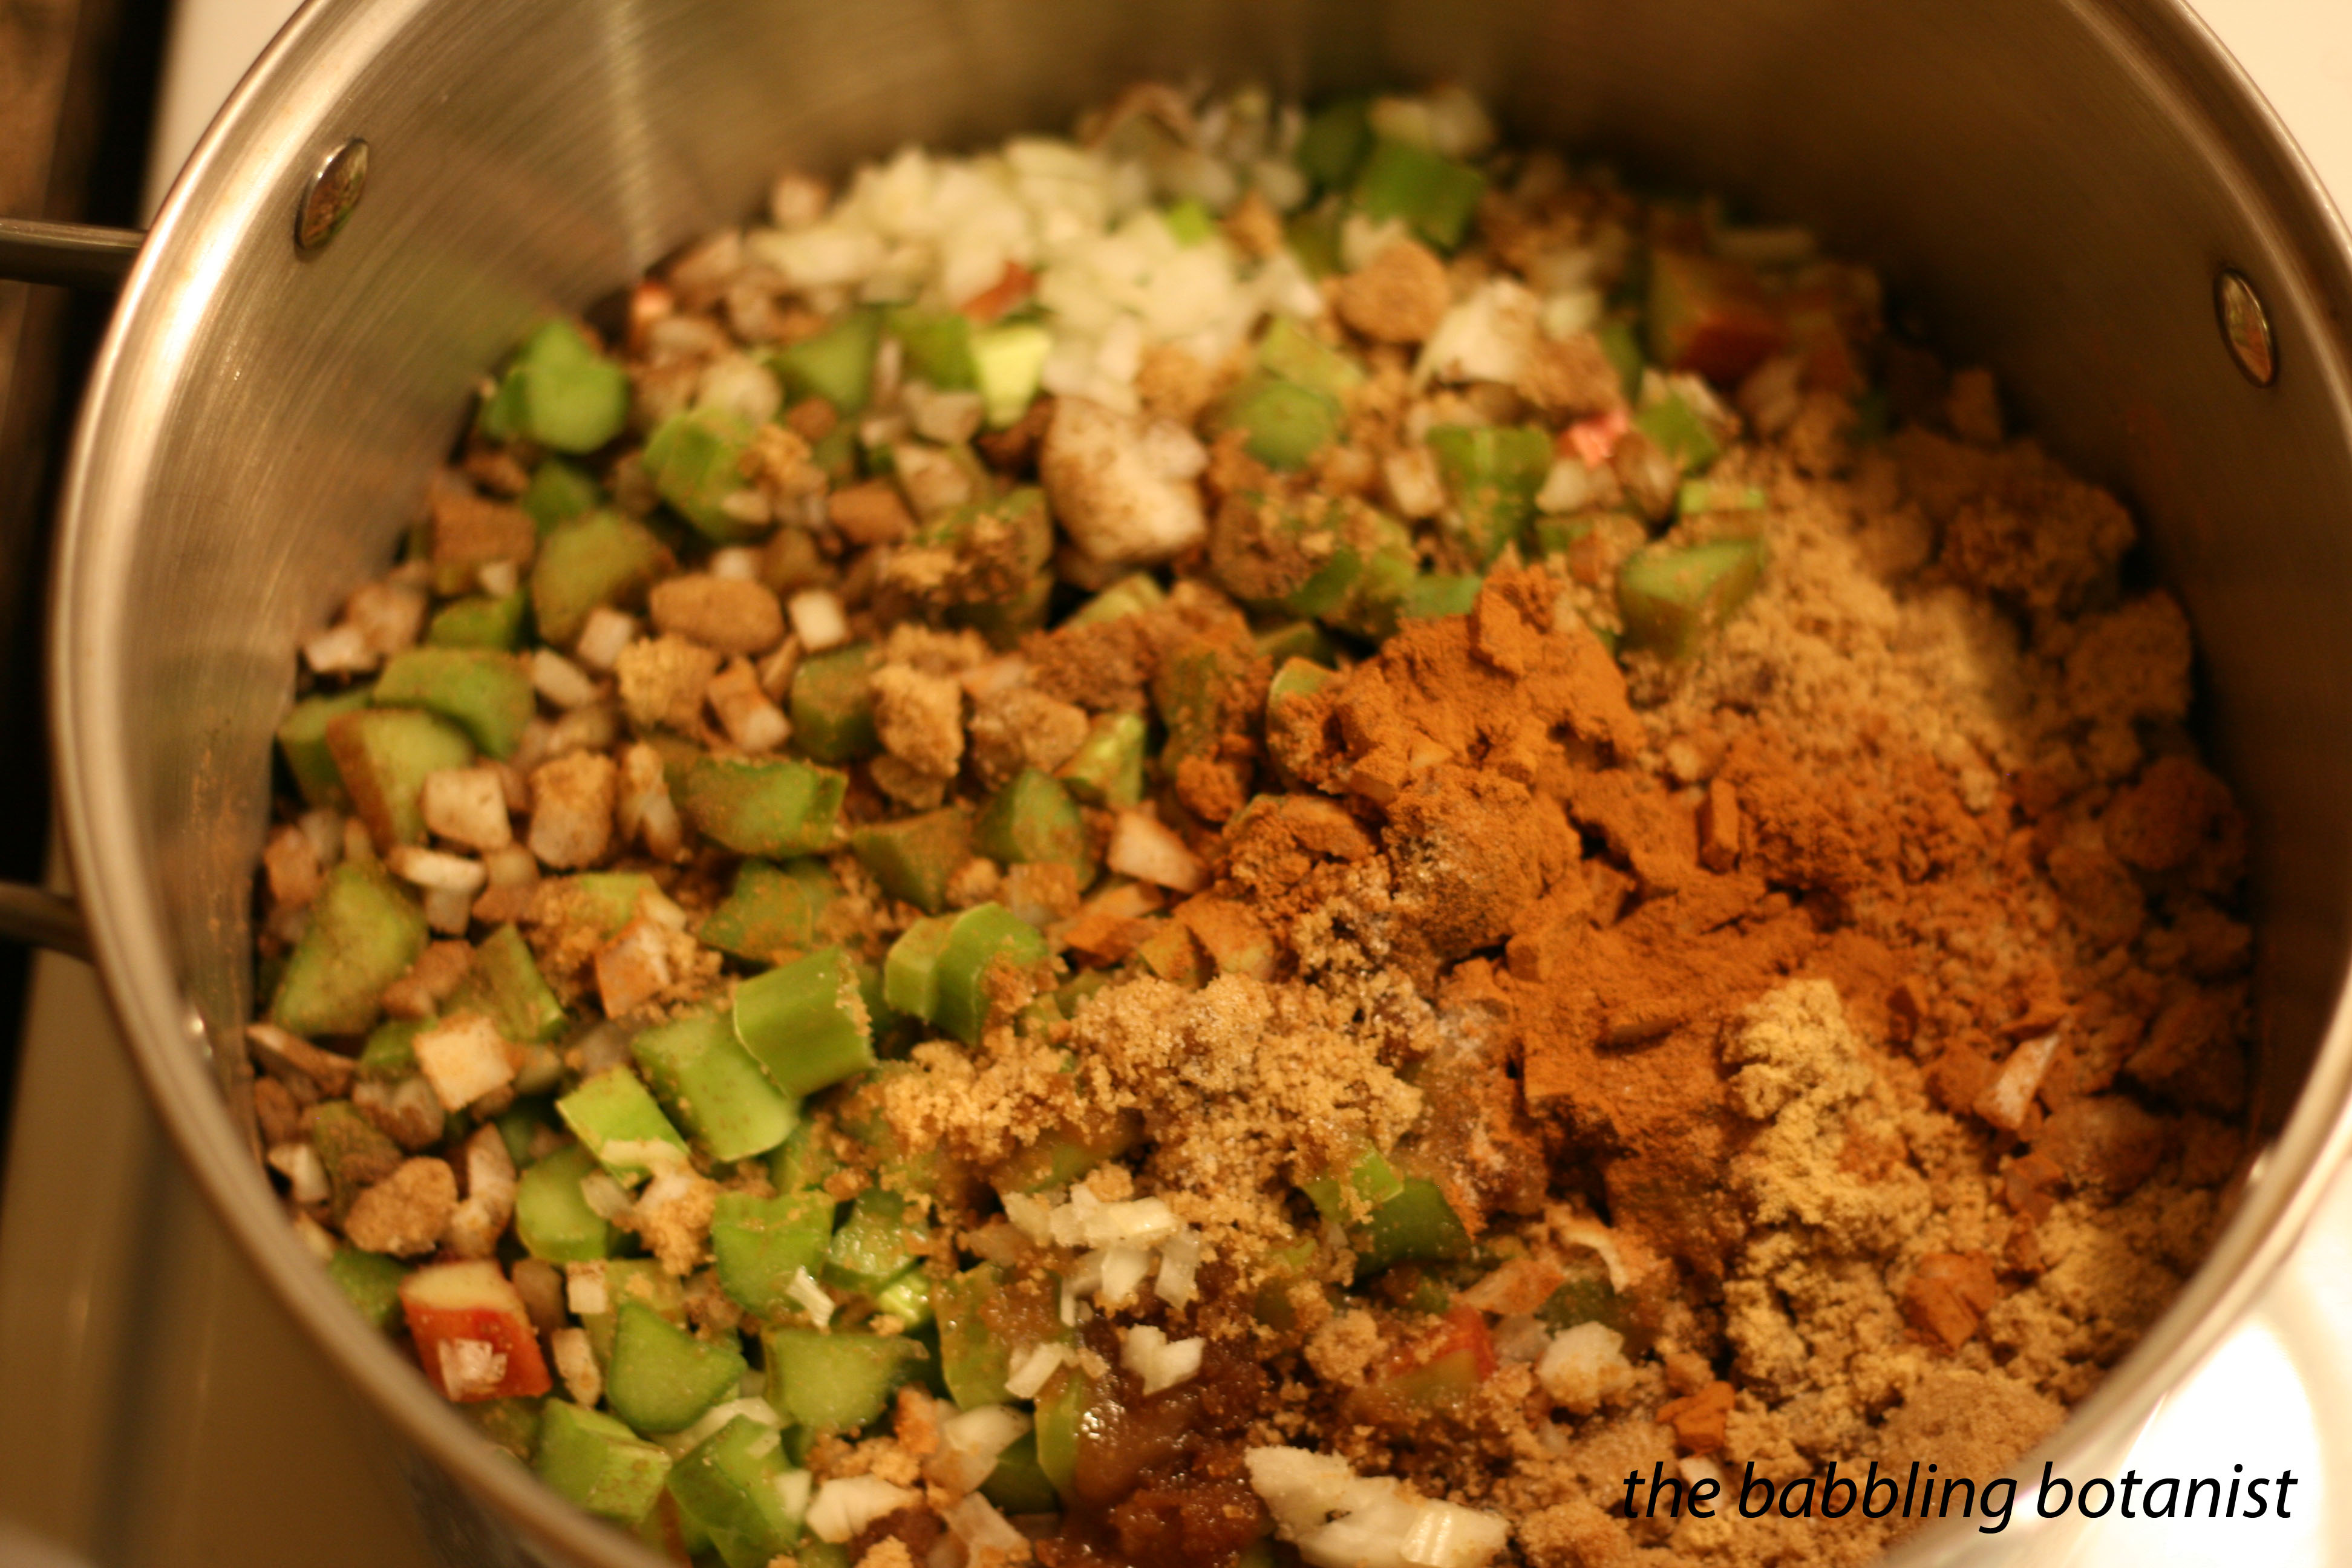
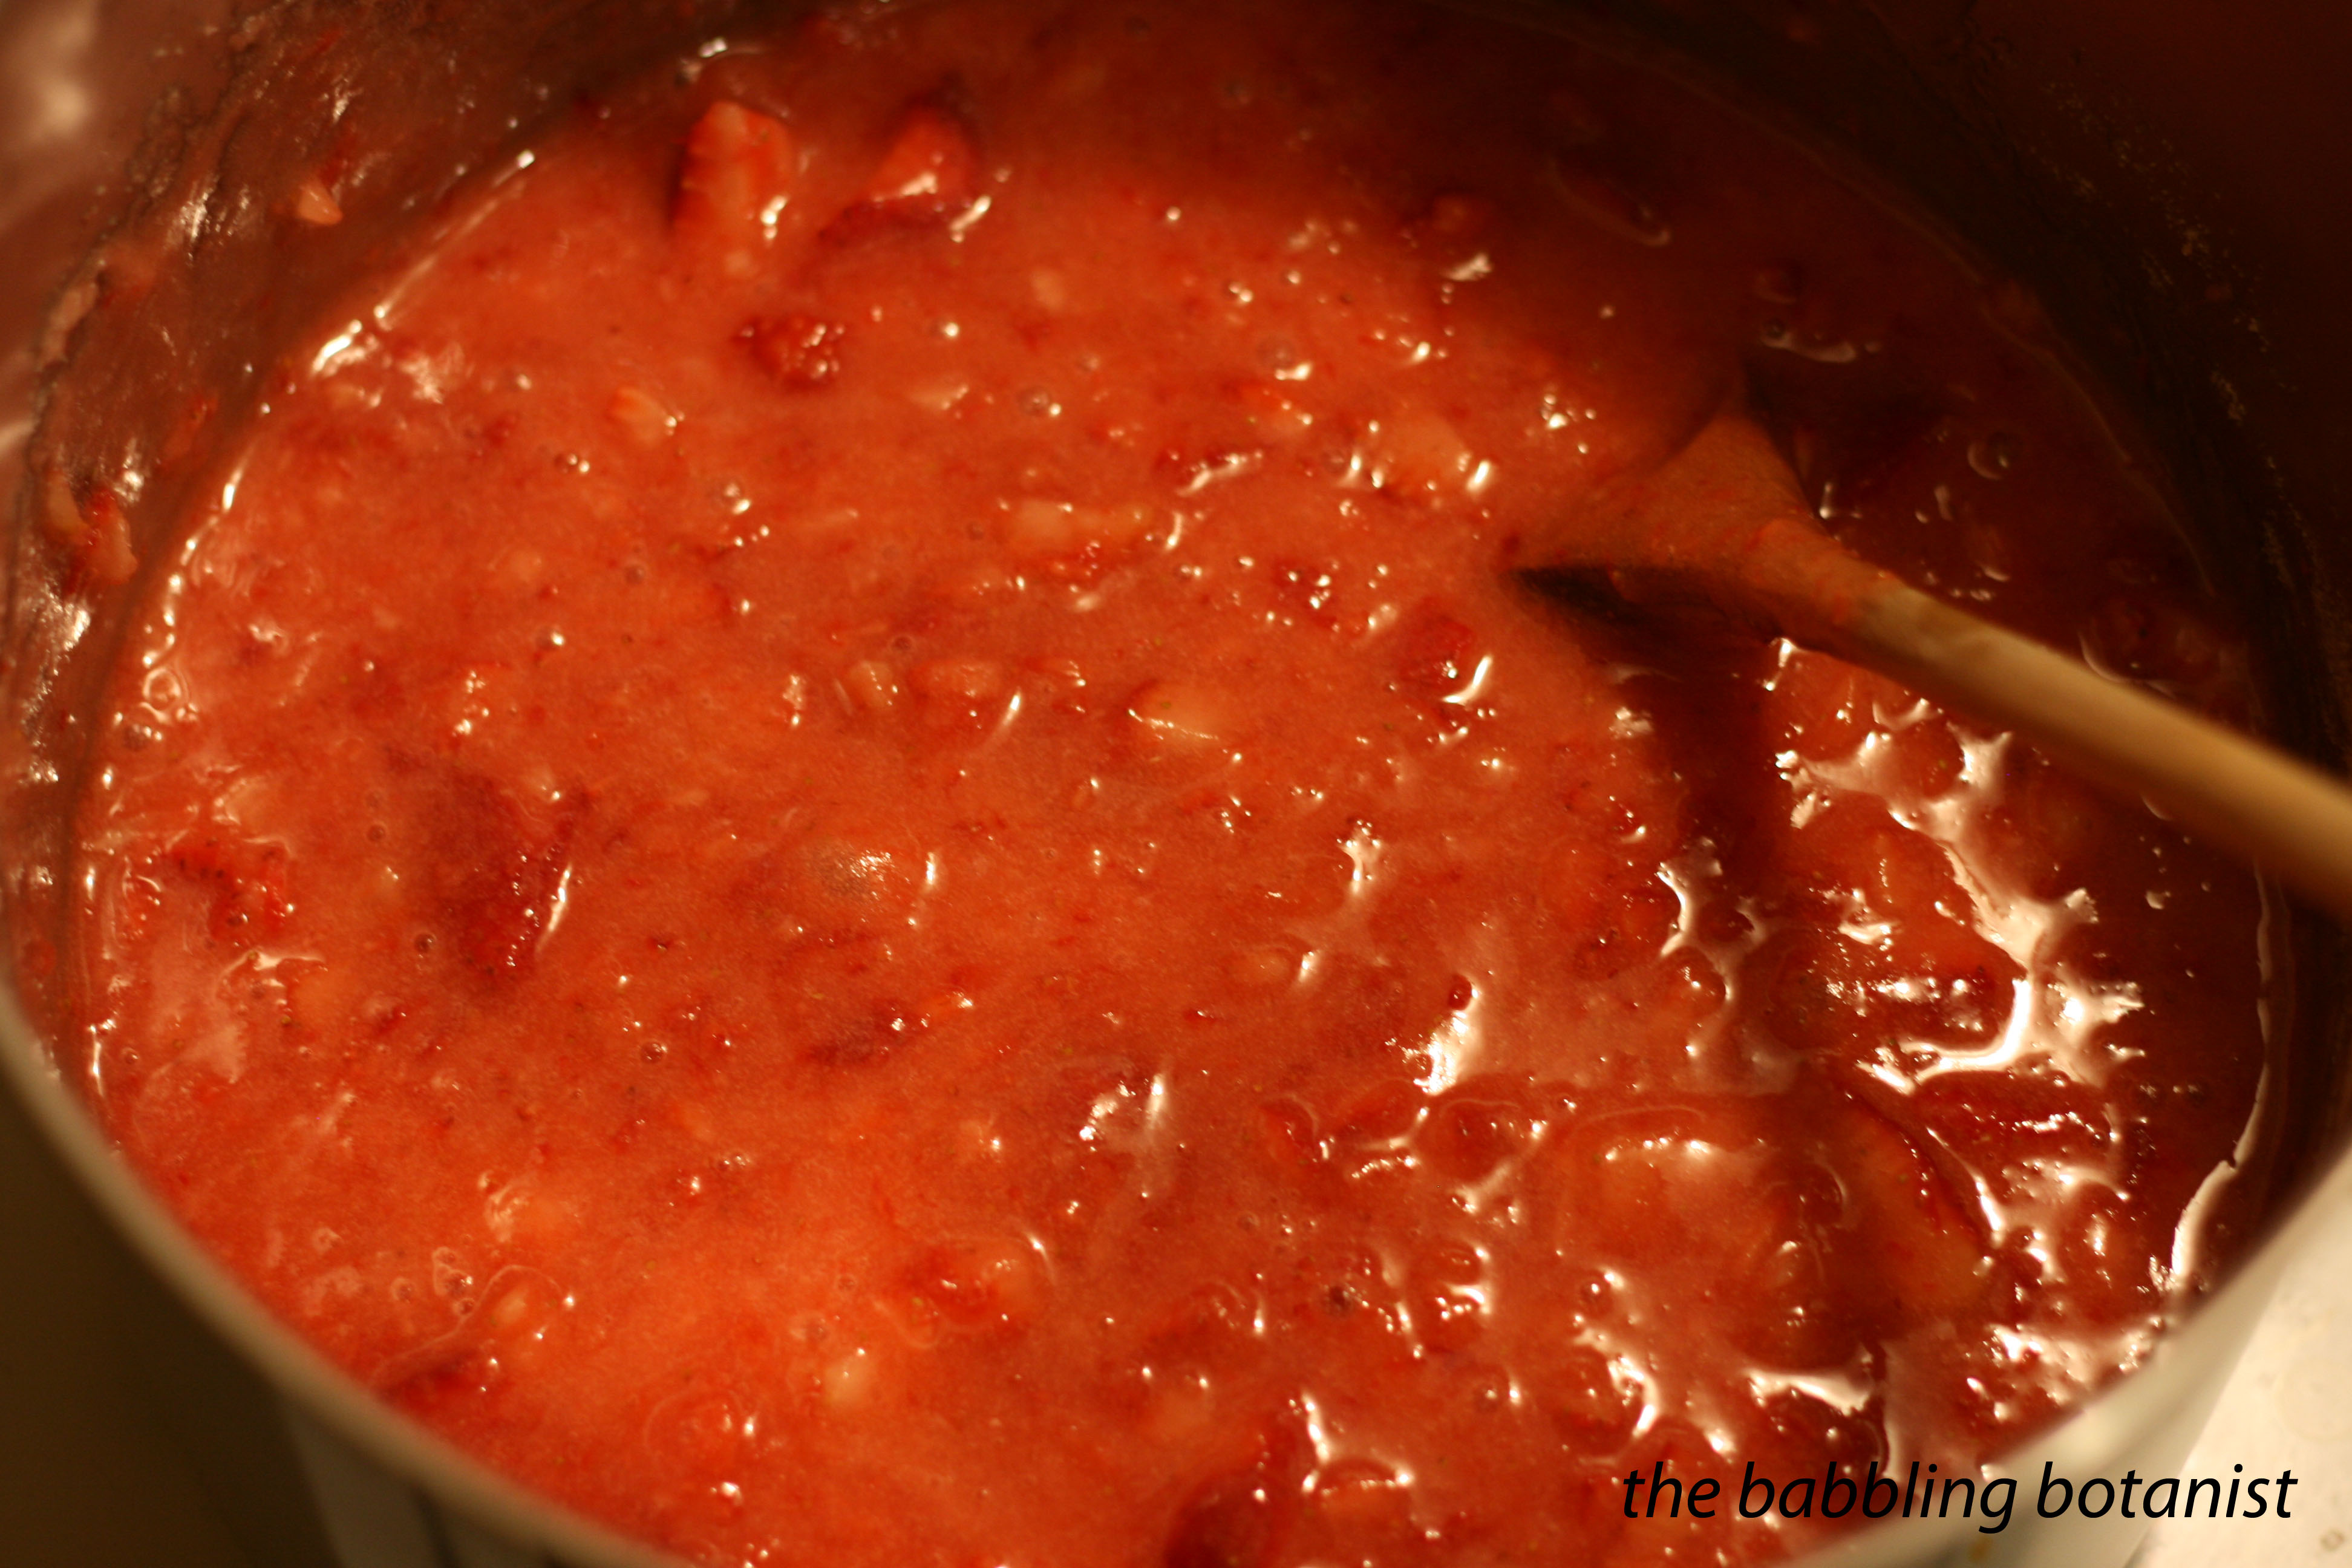
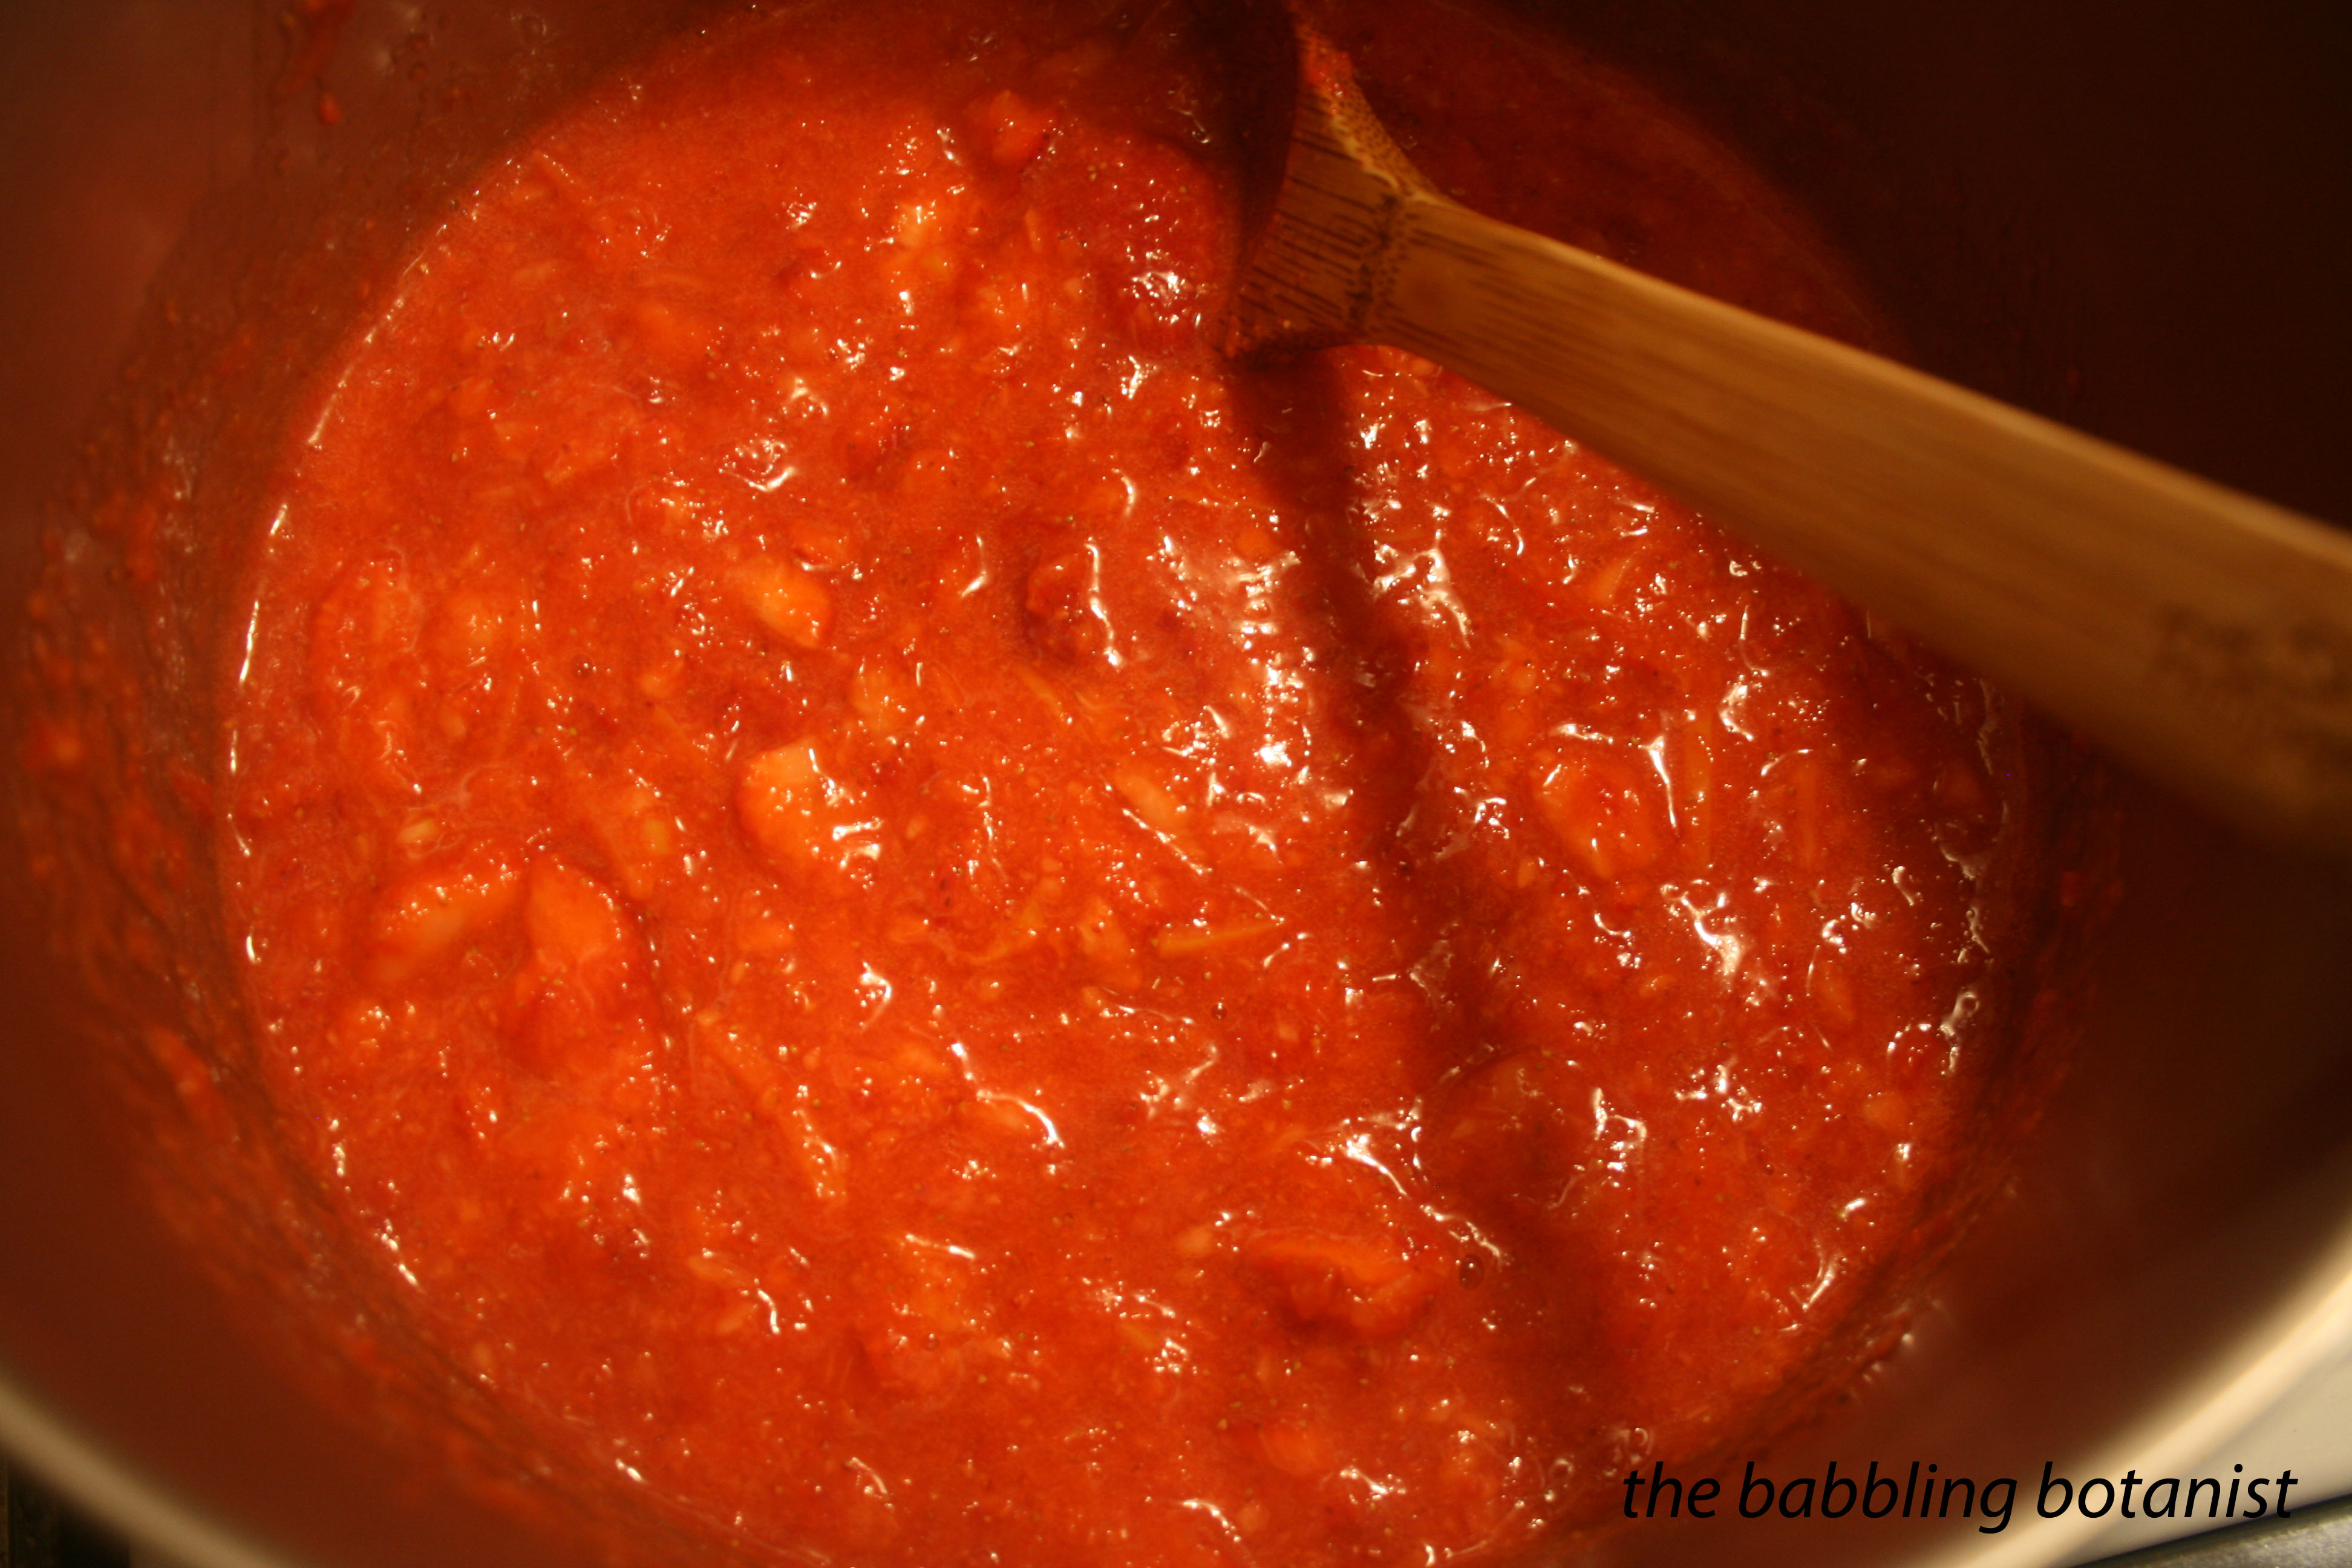
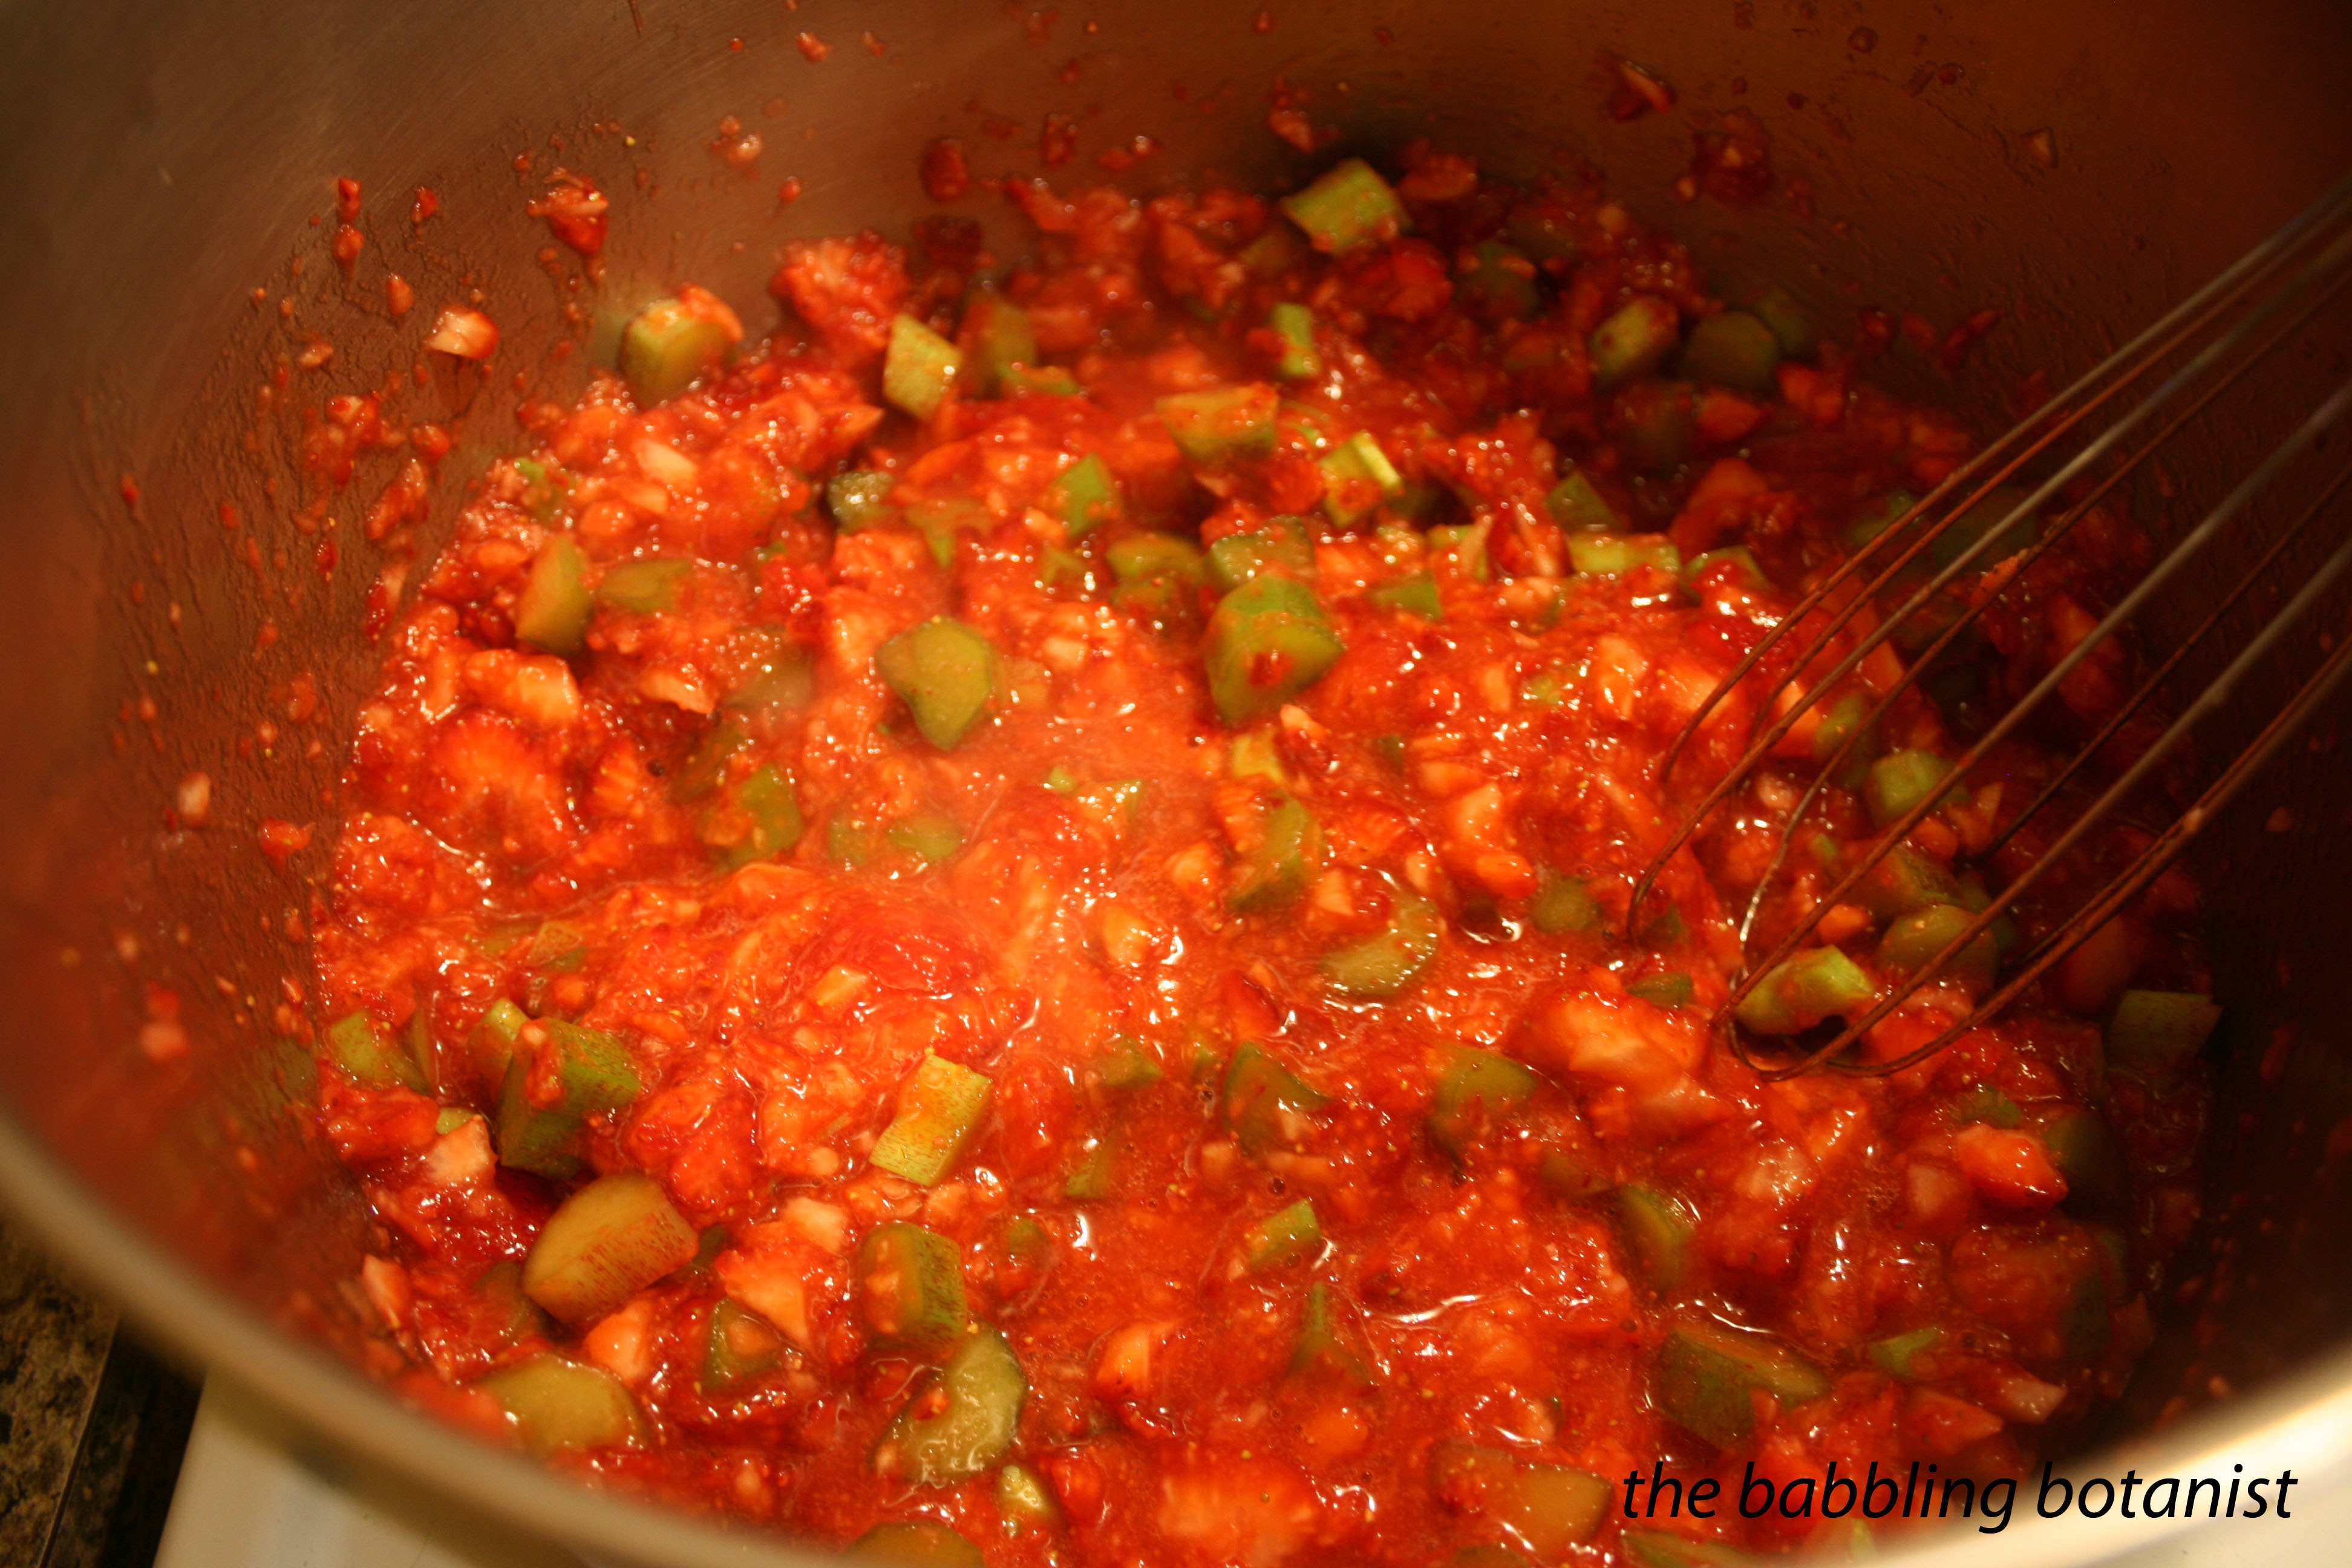
This turns to brown muck pretty fast! Bring to a boil over high heat. Stir frequently and reduce to a simmer. We cooked the sauce for about a half hour. You want it to be the consistency of a barbecue sauce. Not too thick though… spreadable.

IMG_2467 copy

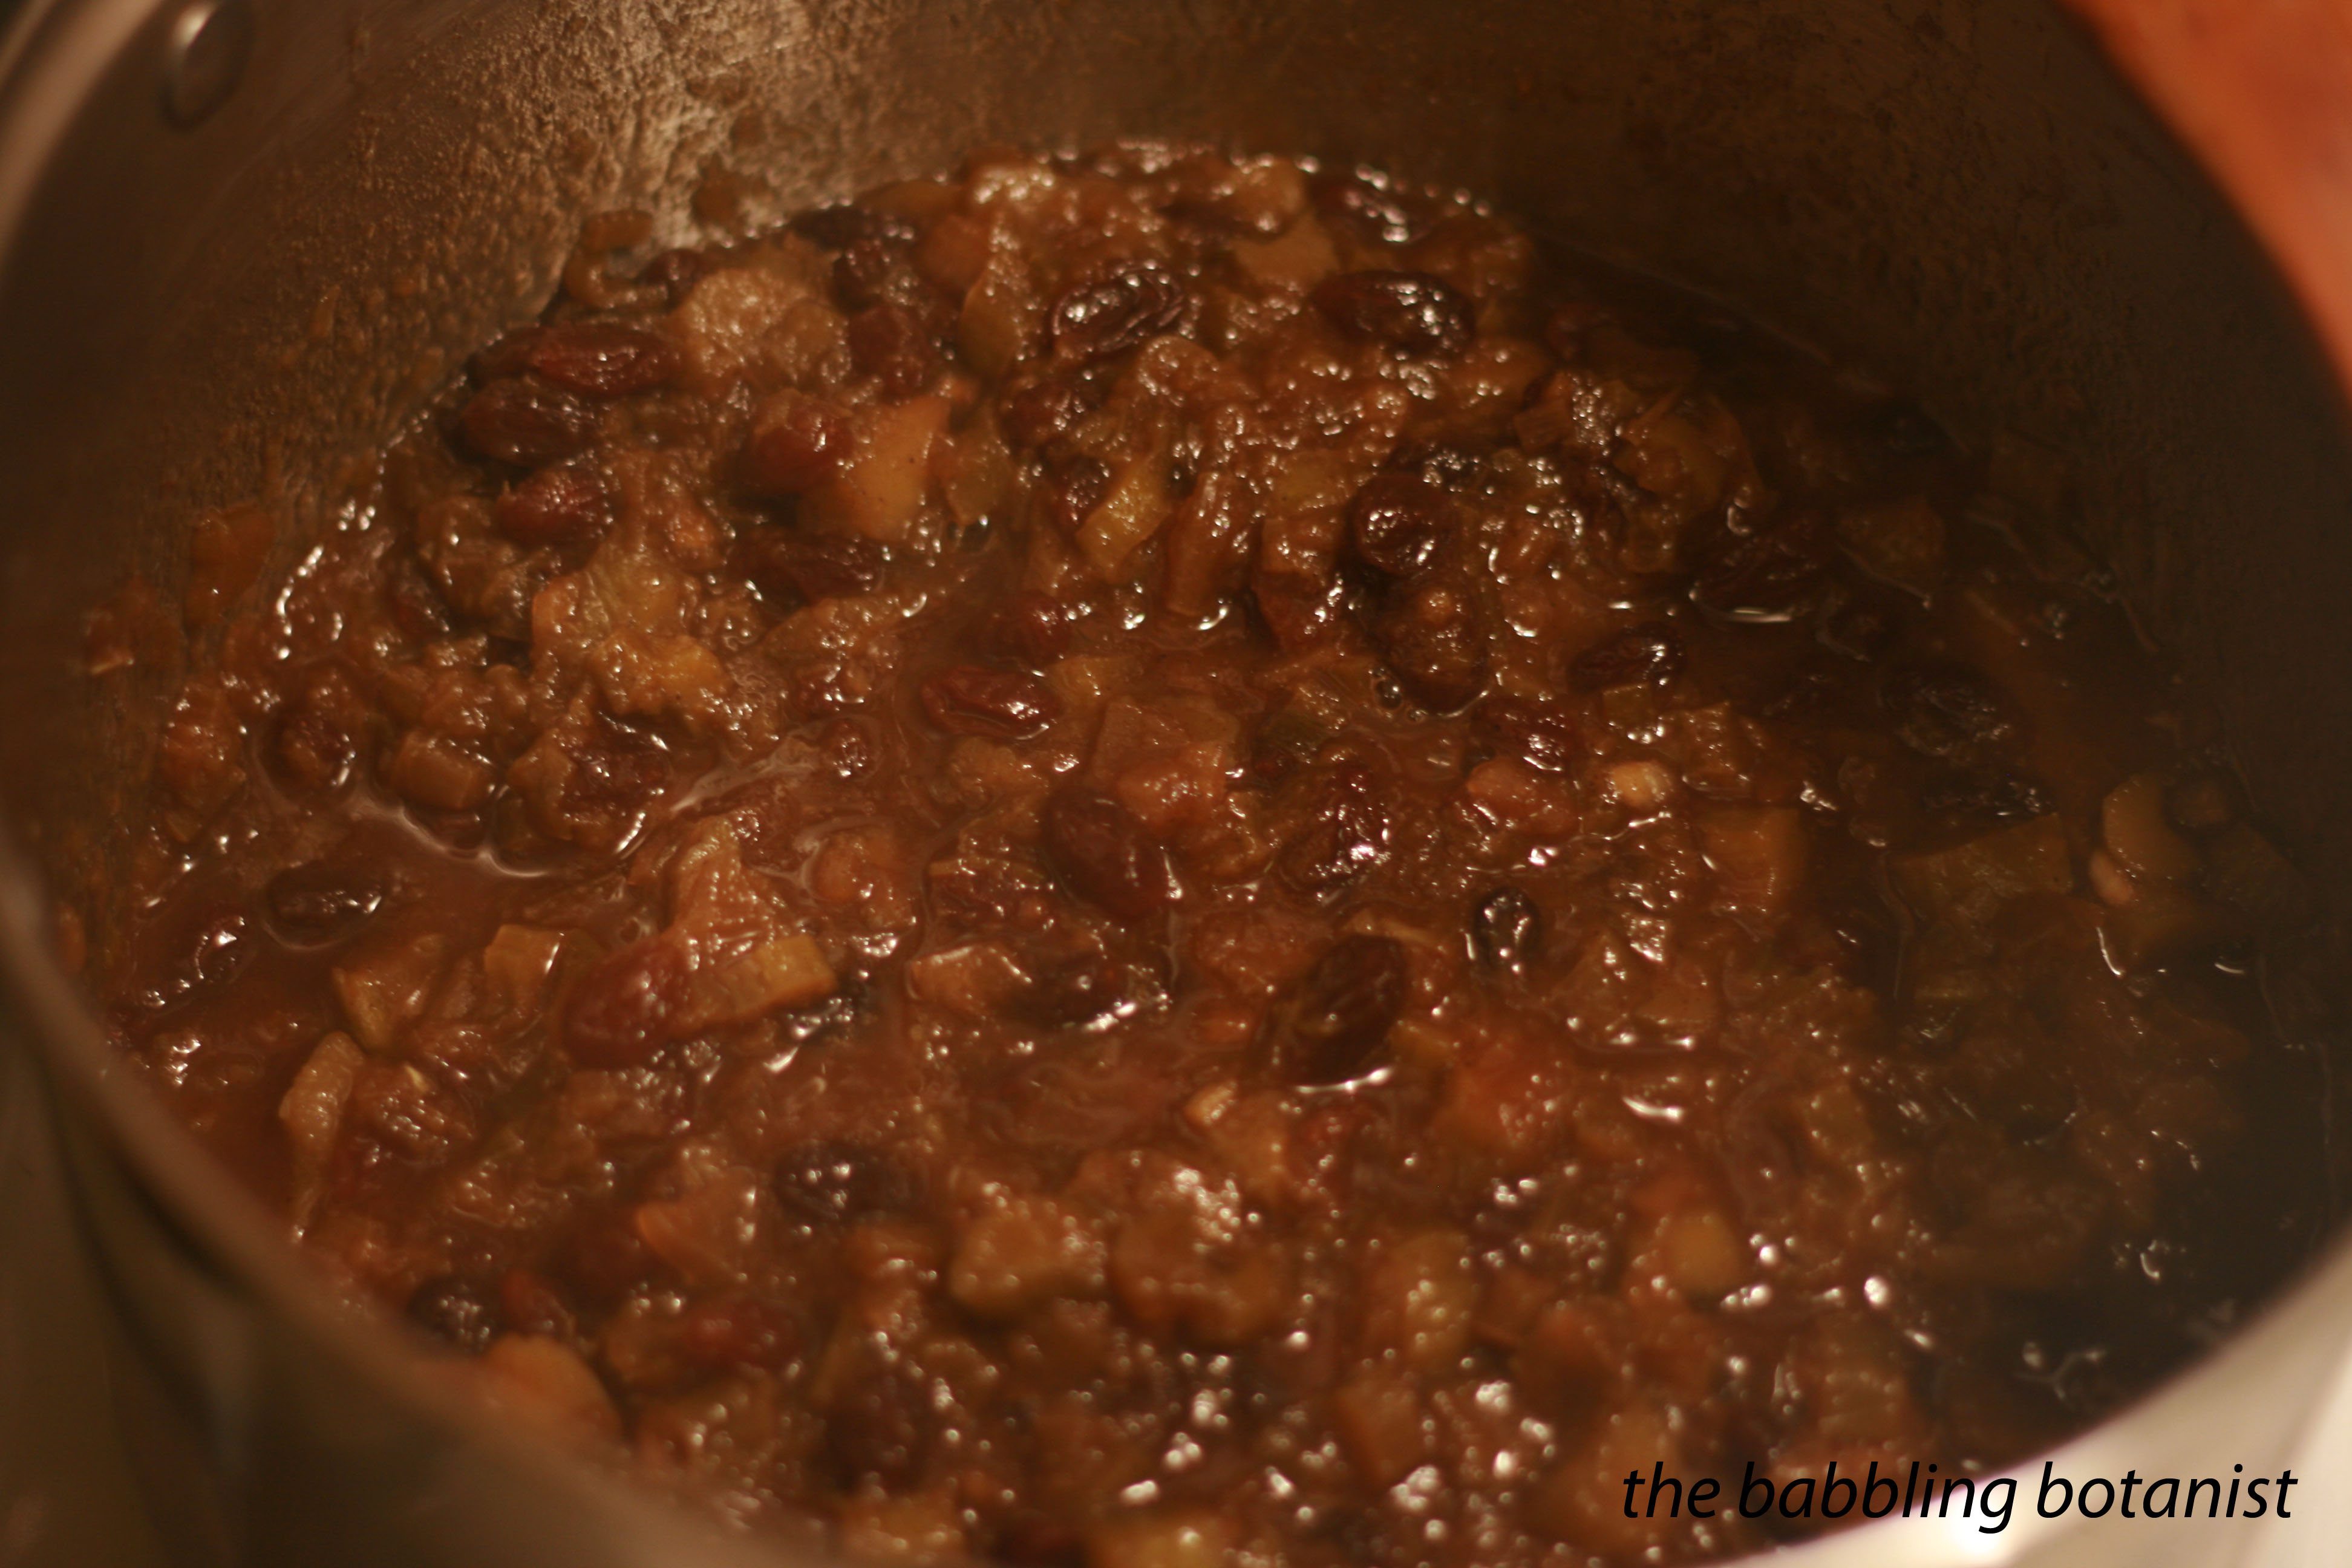
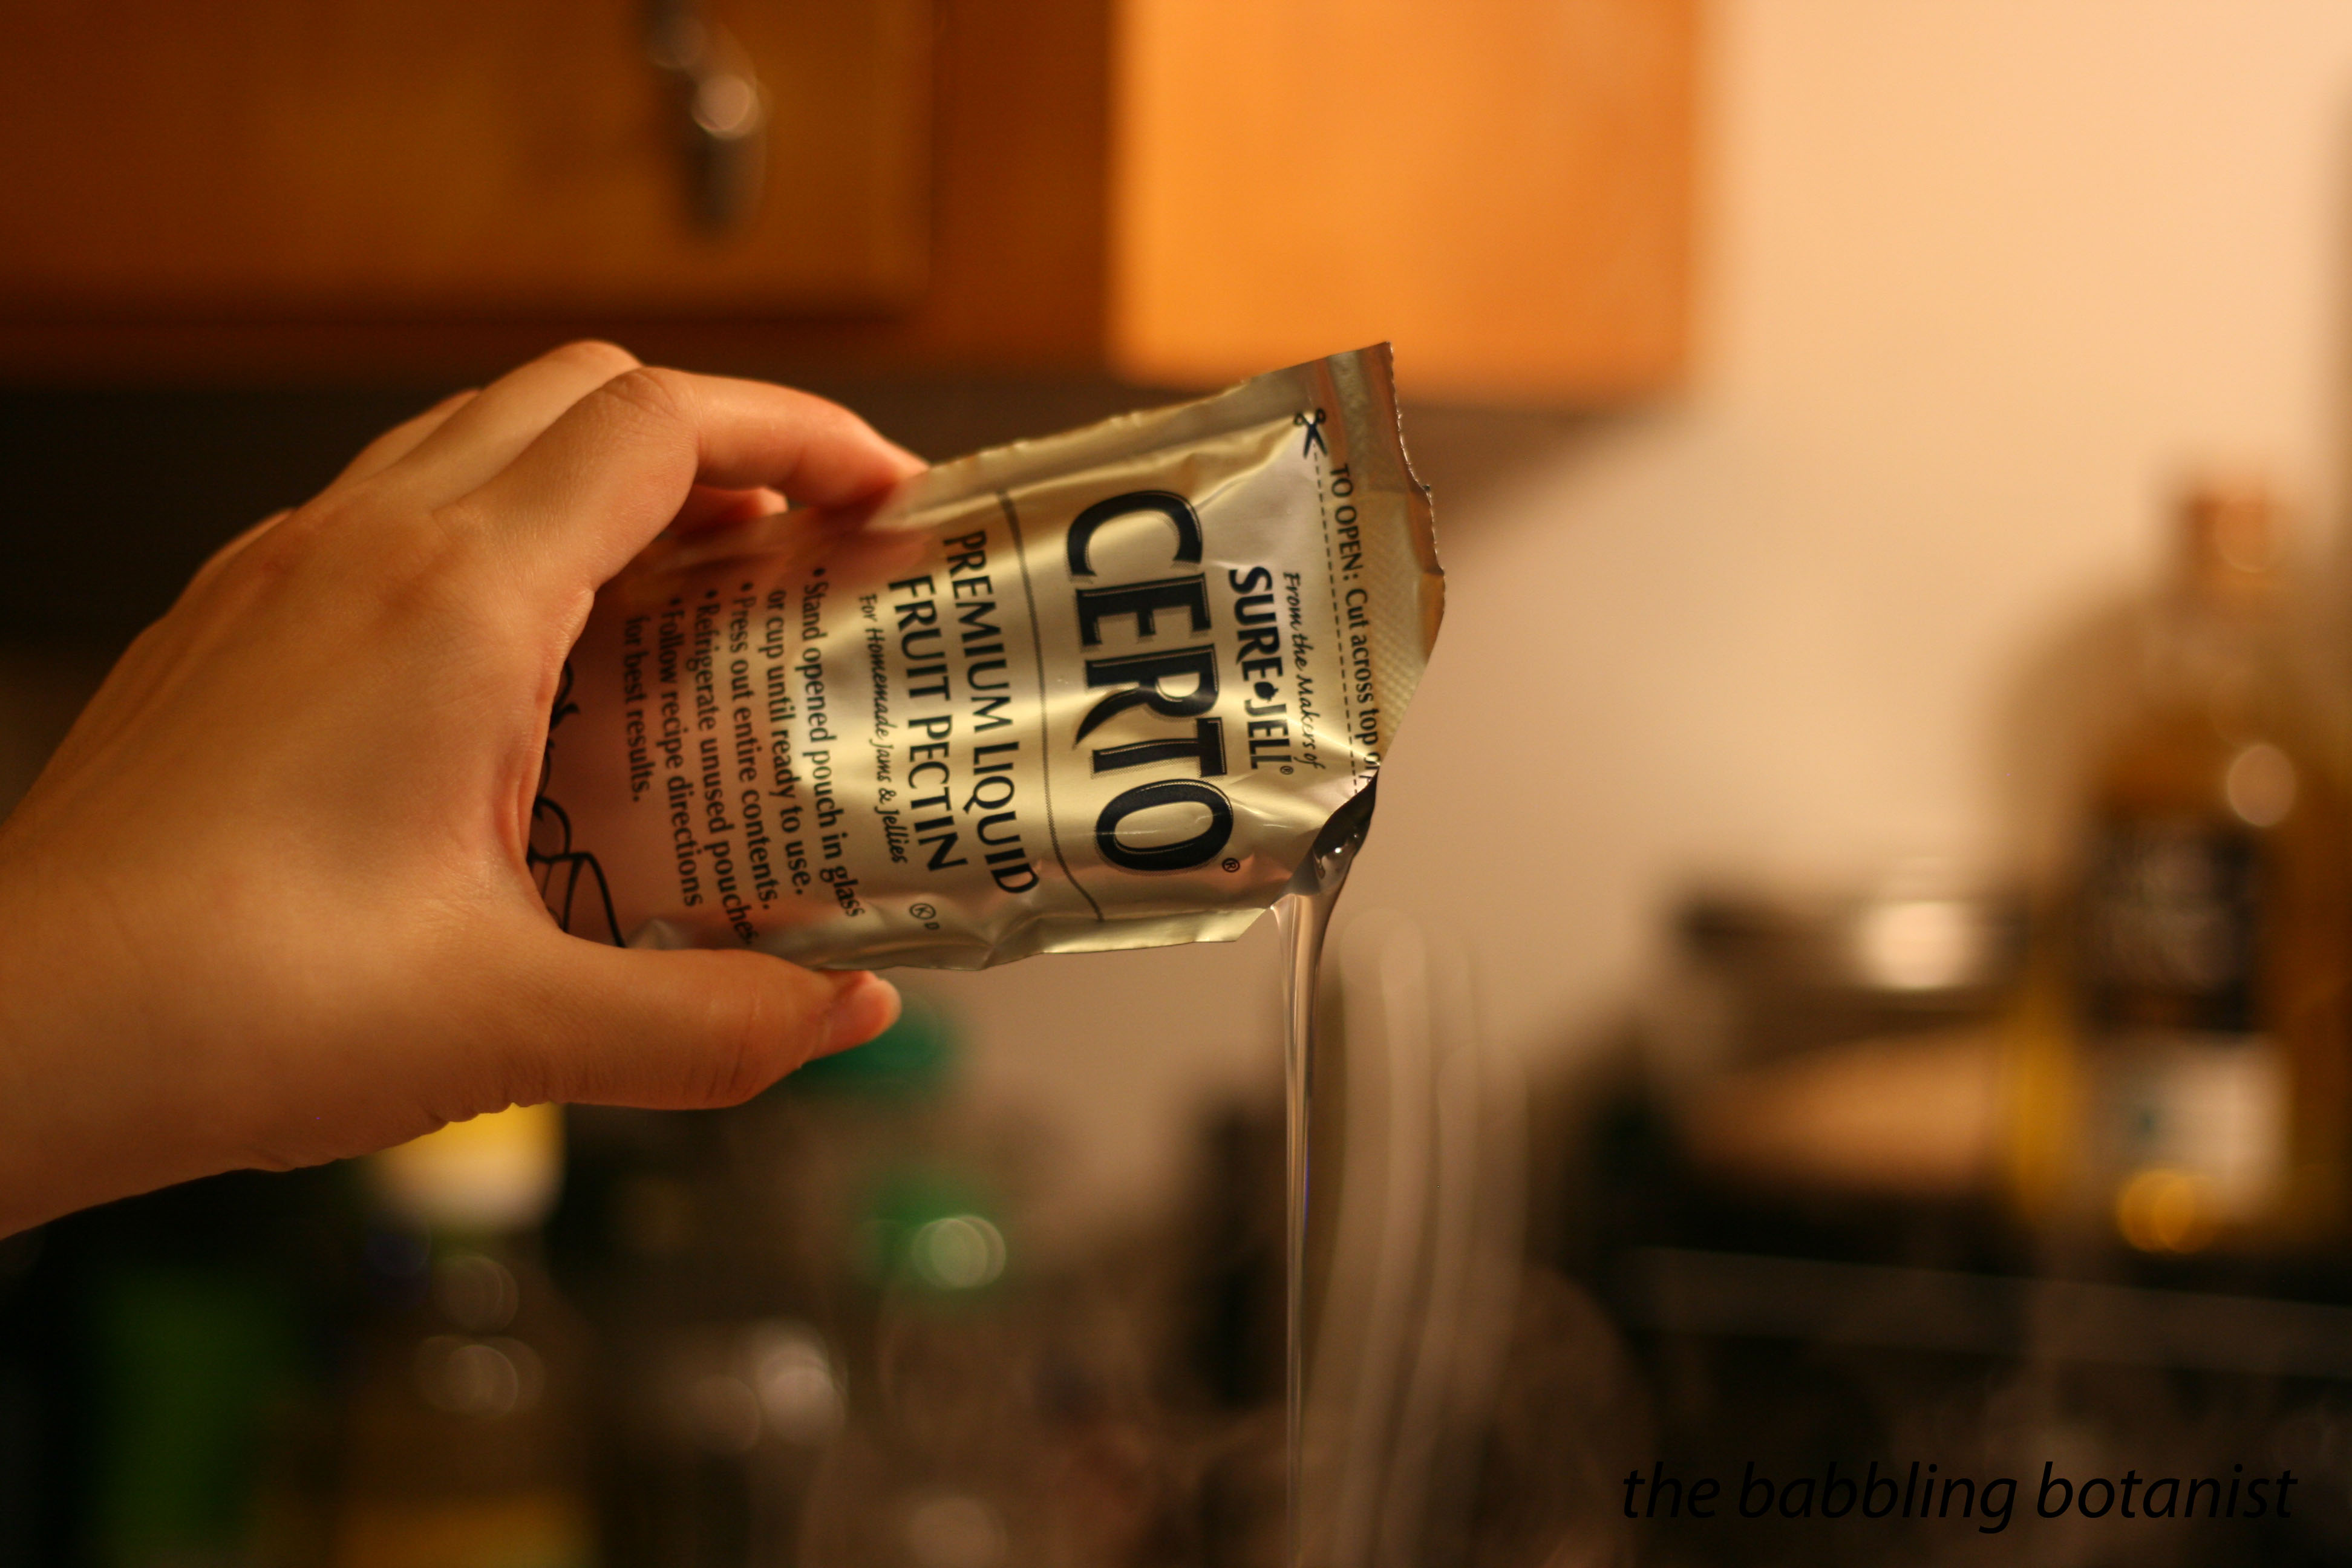
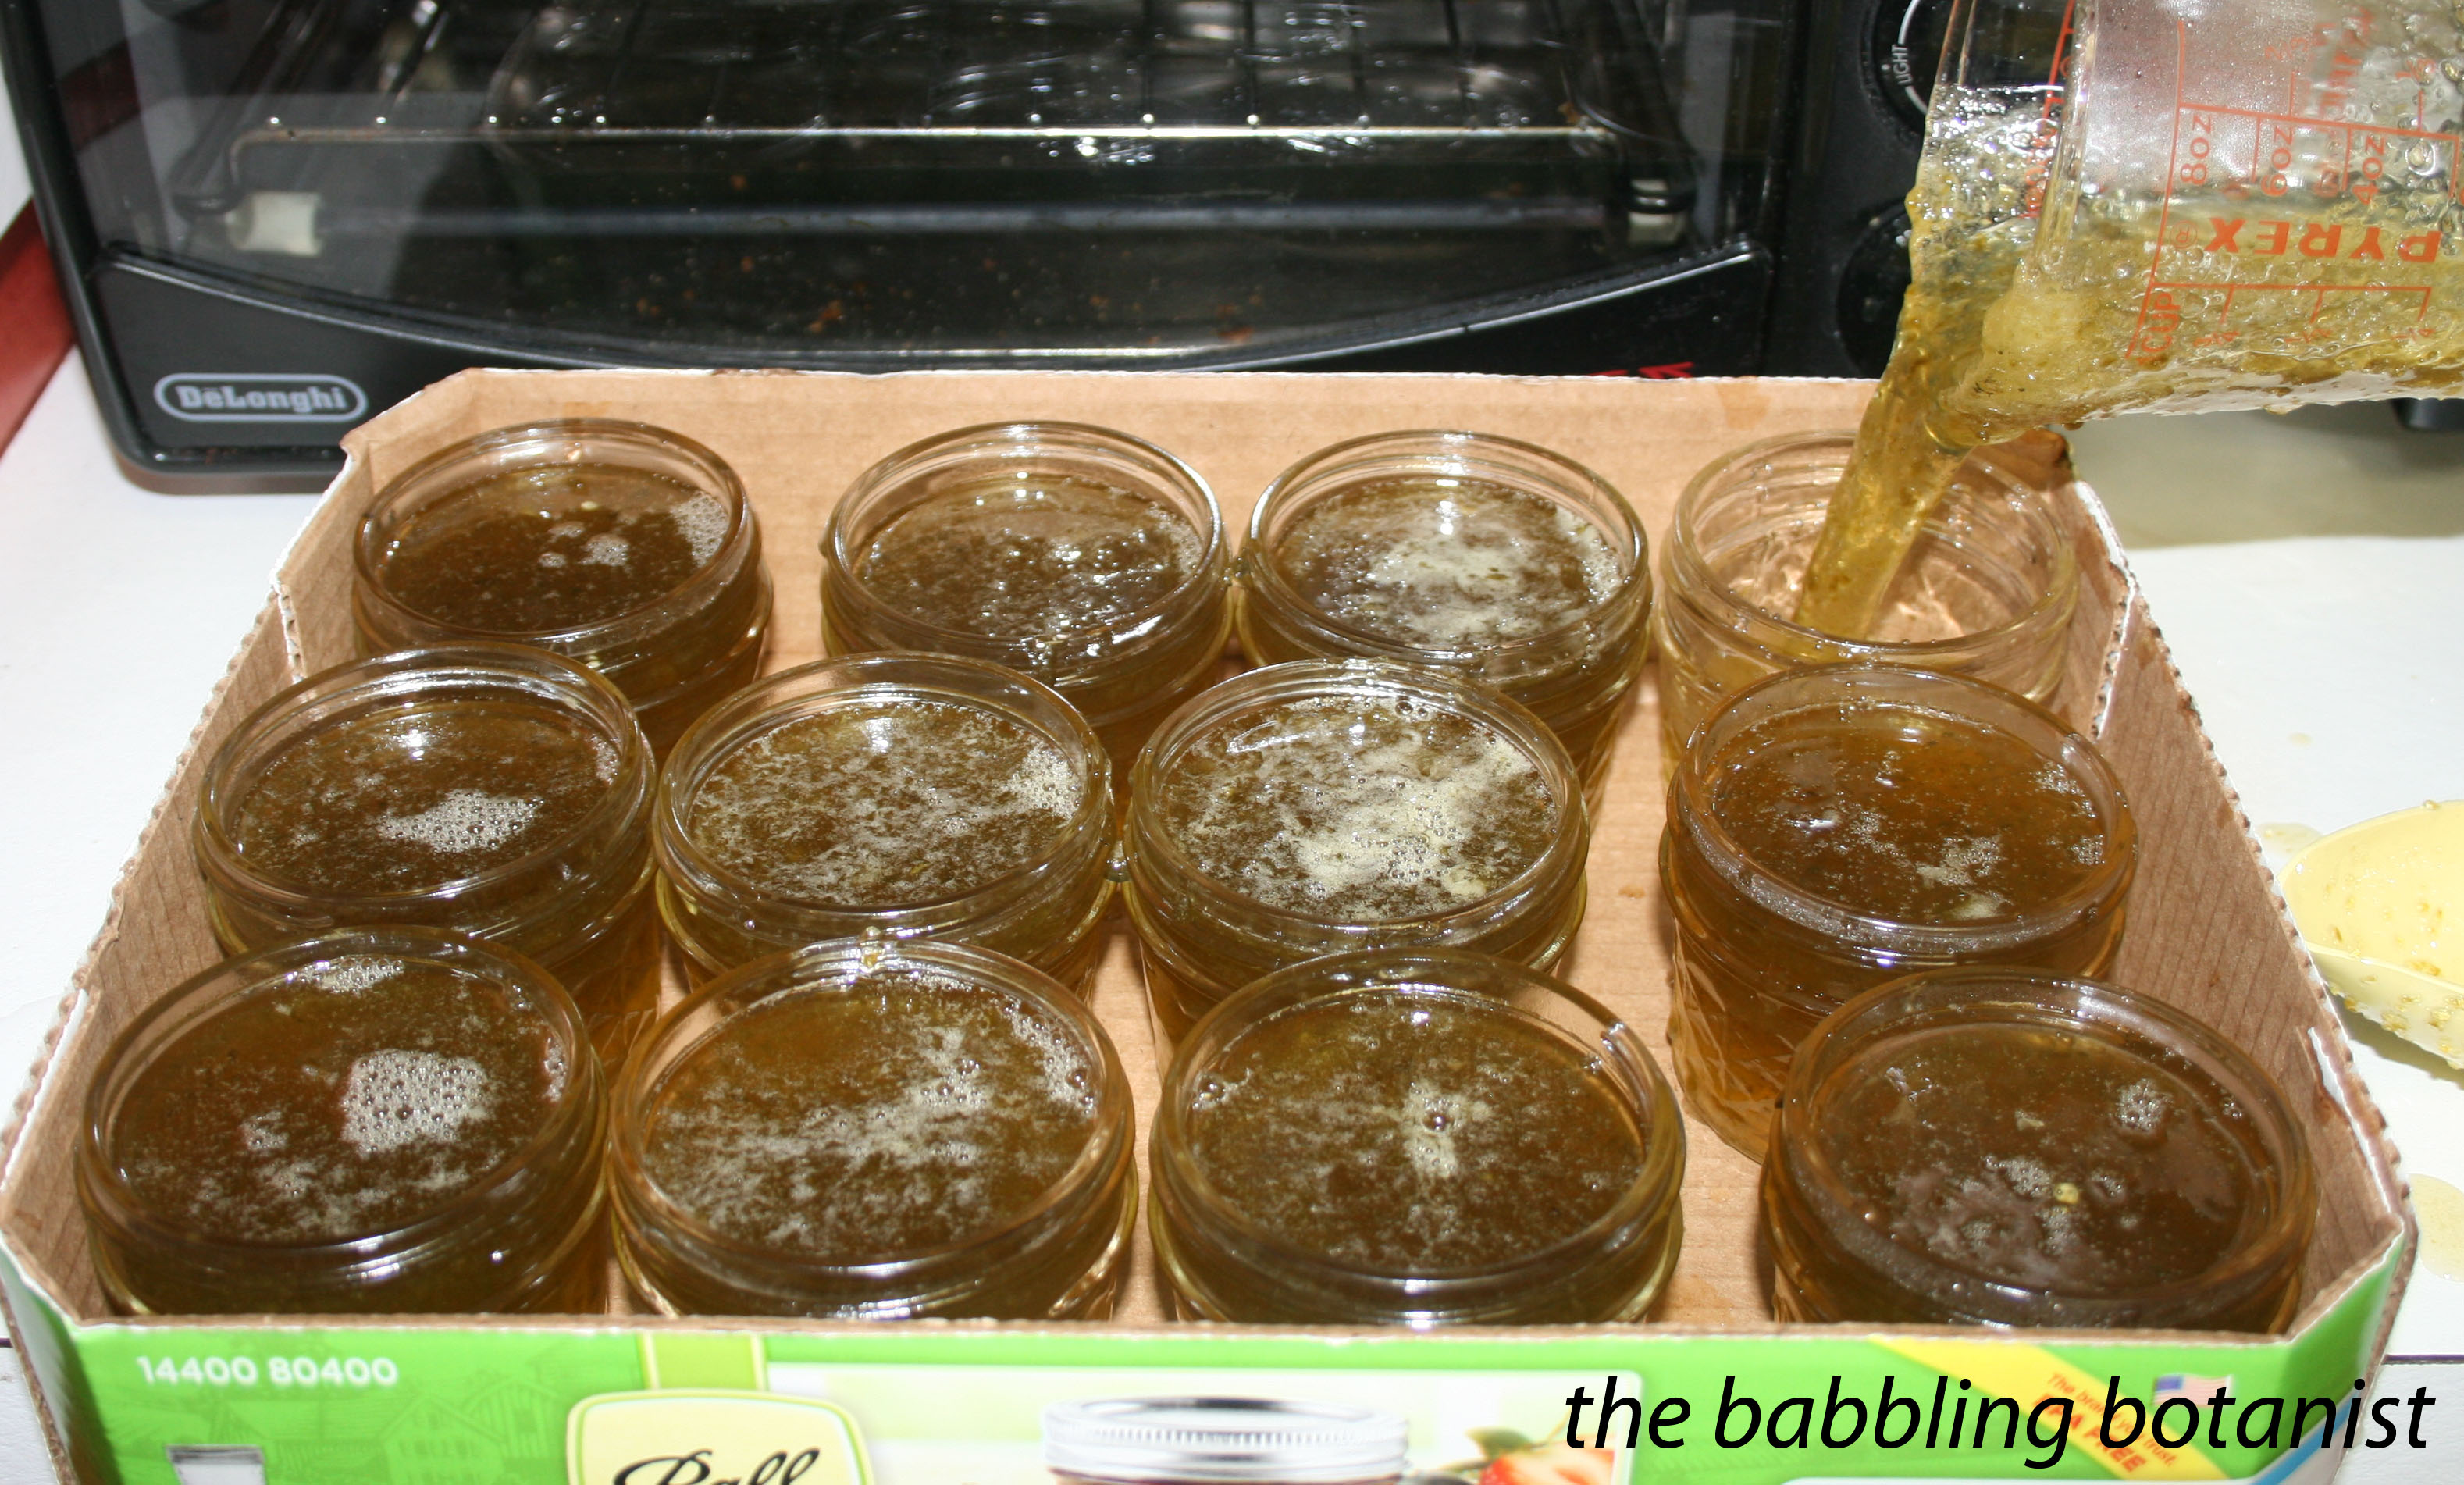
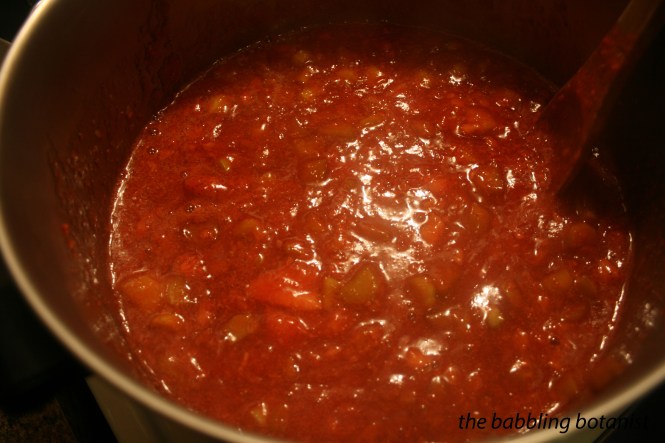
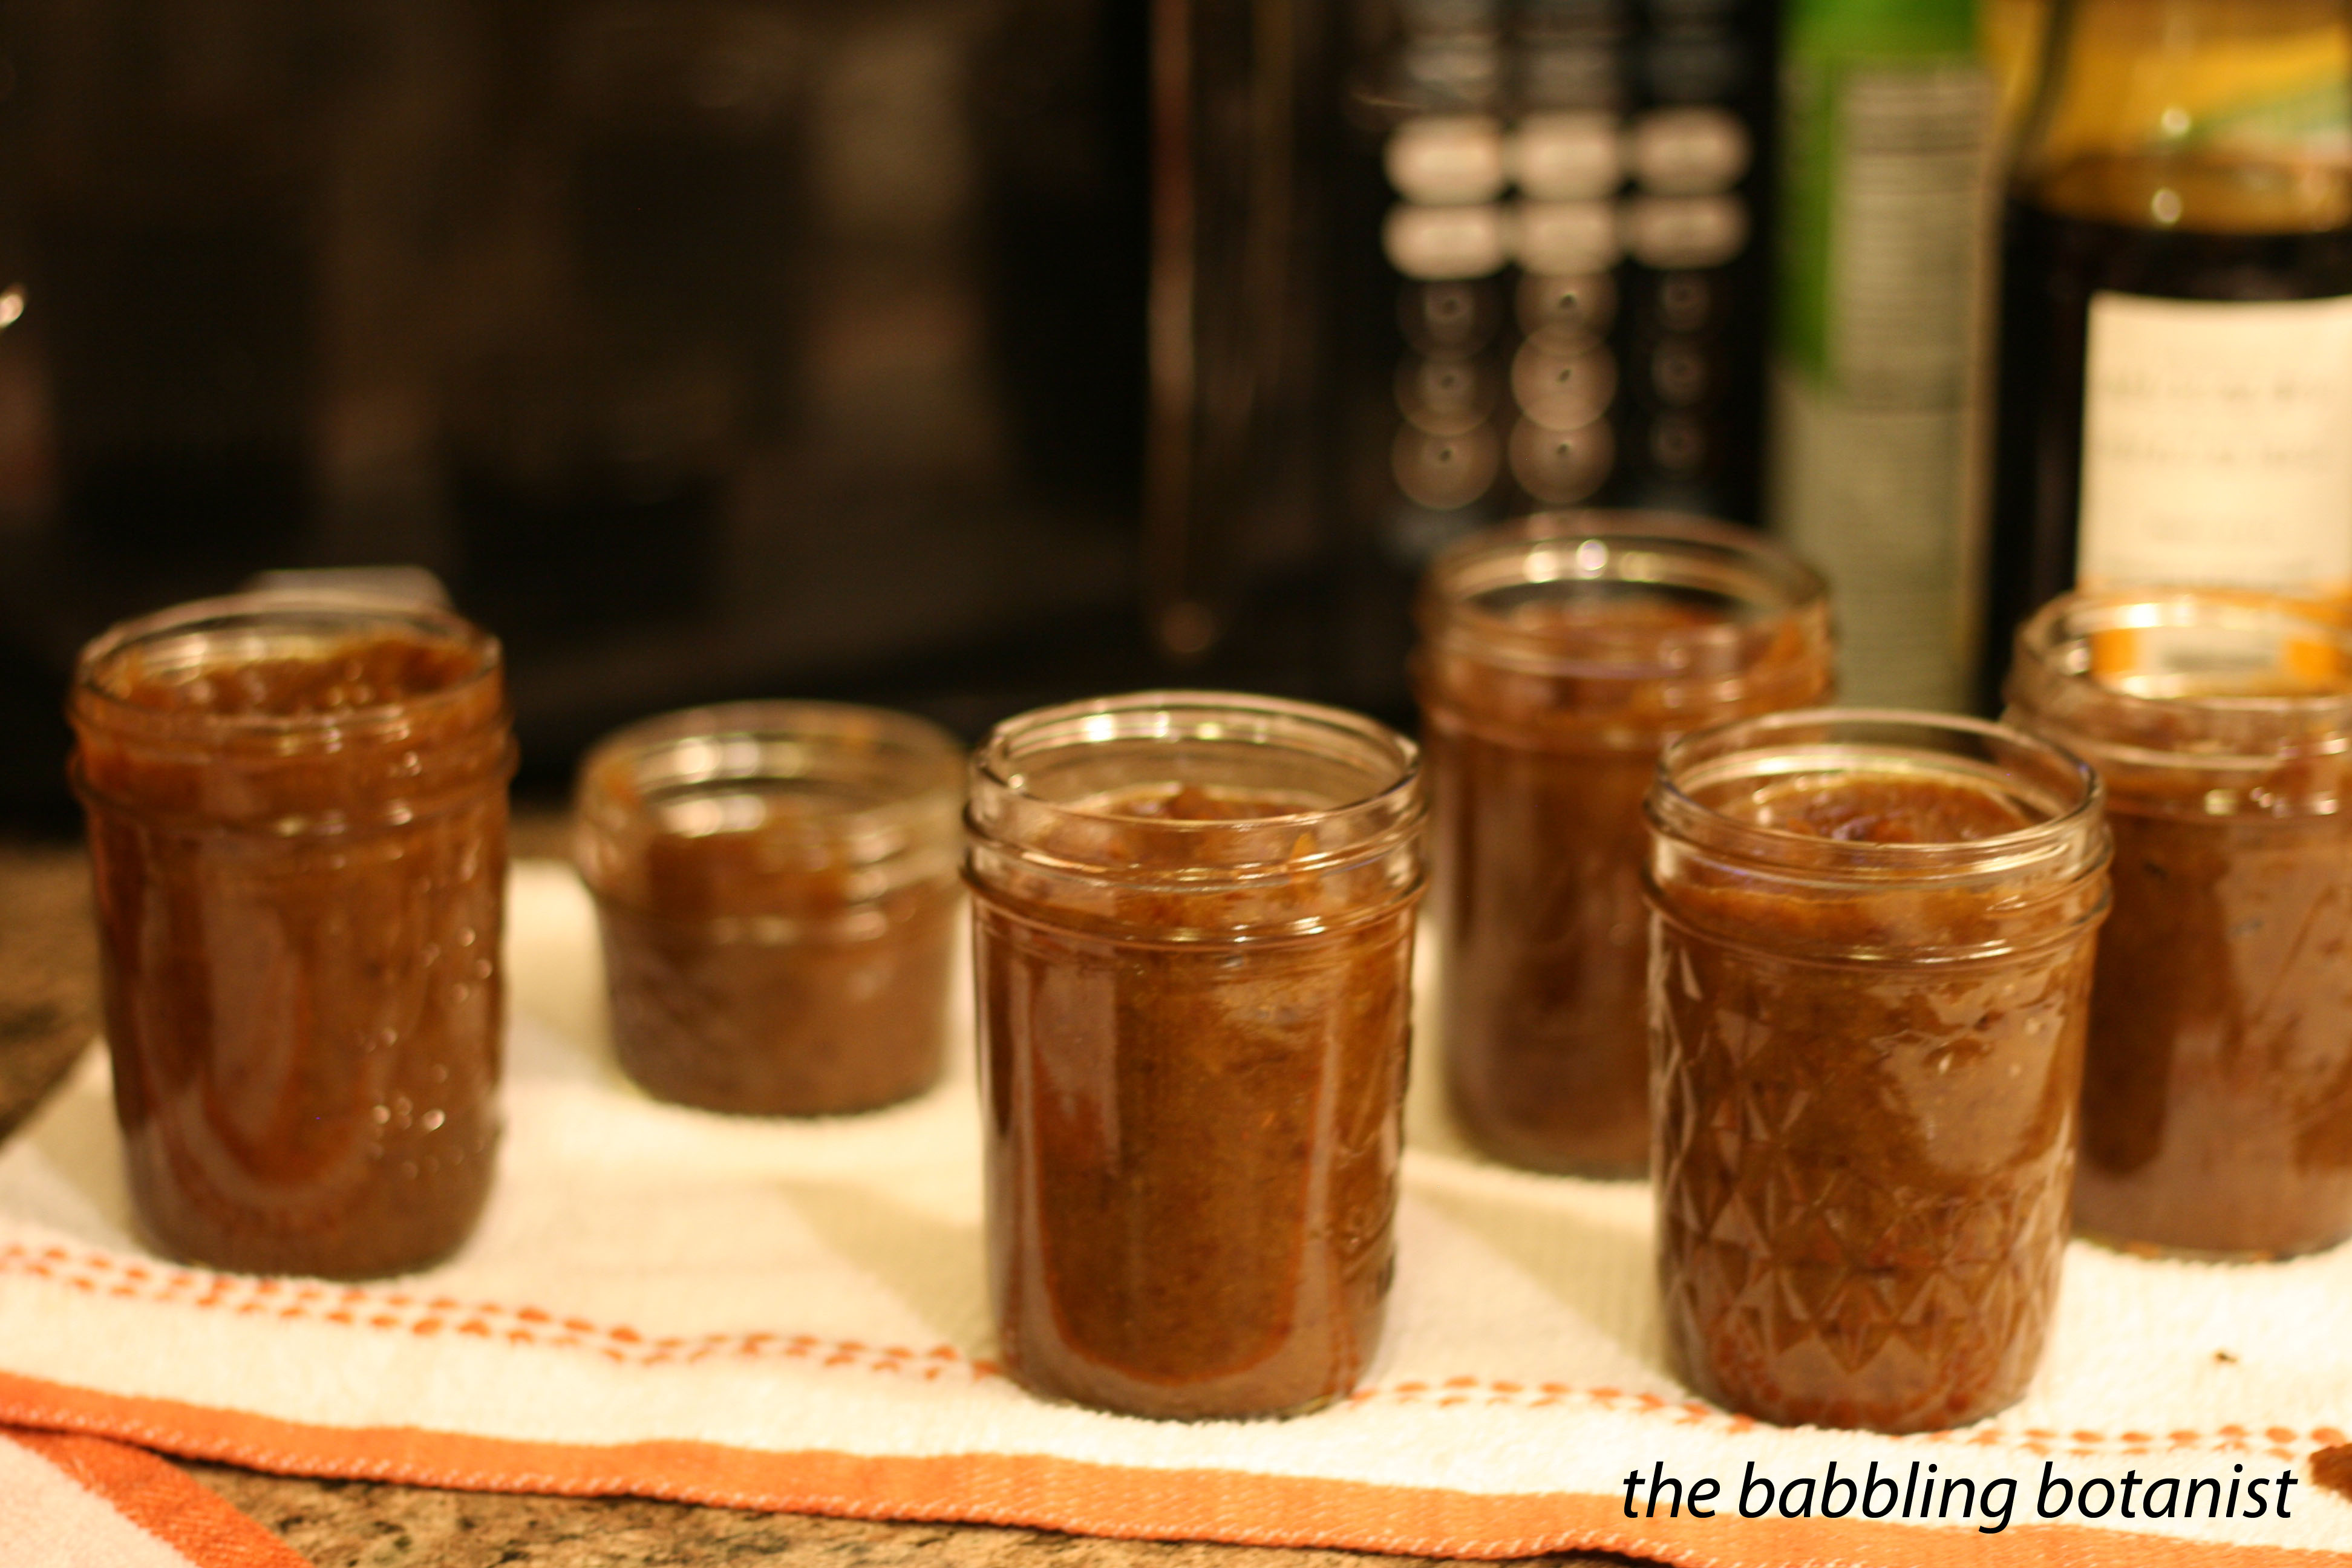
I ended up pureeing it because I forgot to chop the raisins. This dummie just through them in. It should kind of be a pureed consistency anyways since it’s a sauce, so just don’t forget to chop the raisins 😉 Meanwhile, prepare the canner, jars and lids. This makes about 4 pints.

IMG_2495 copy

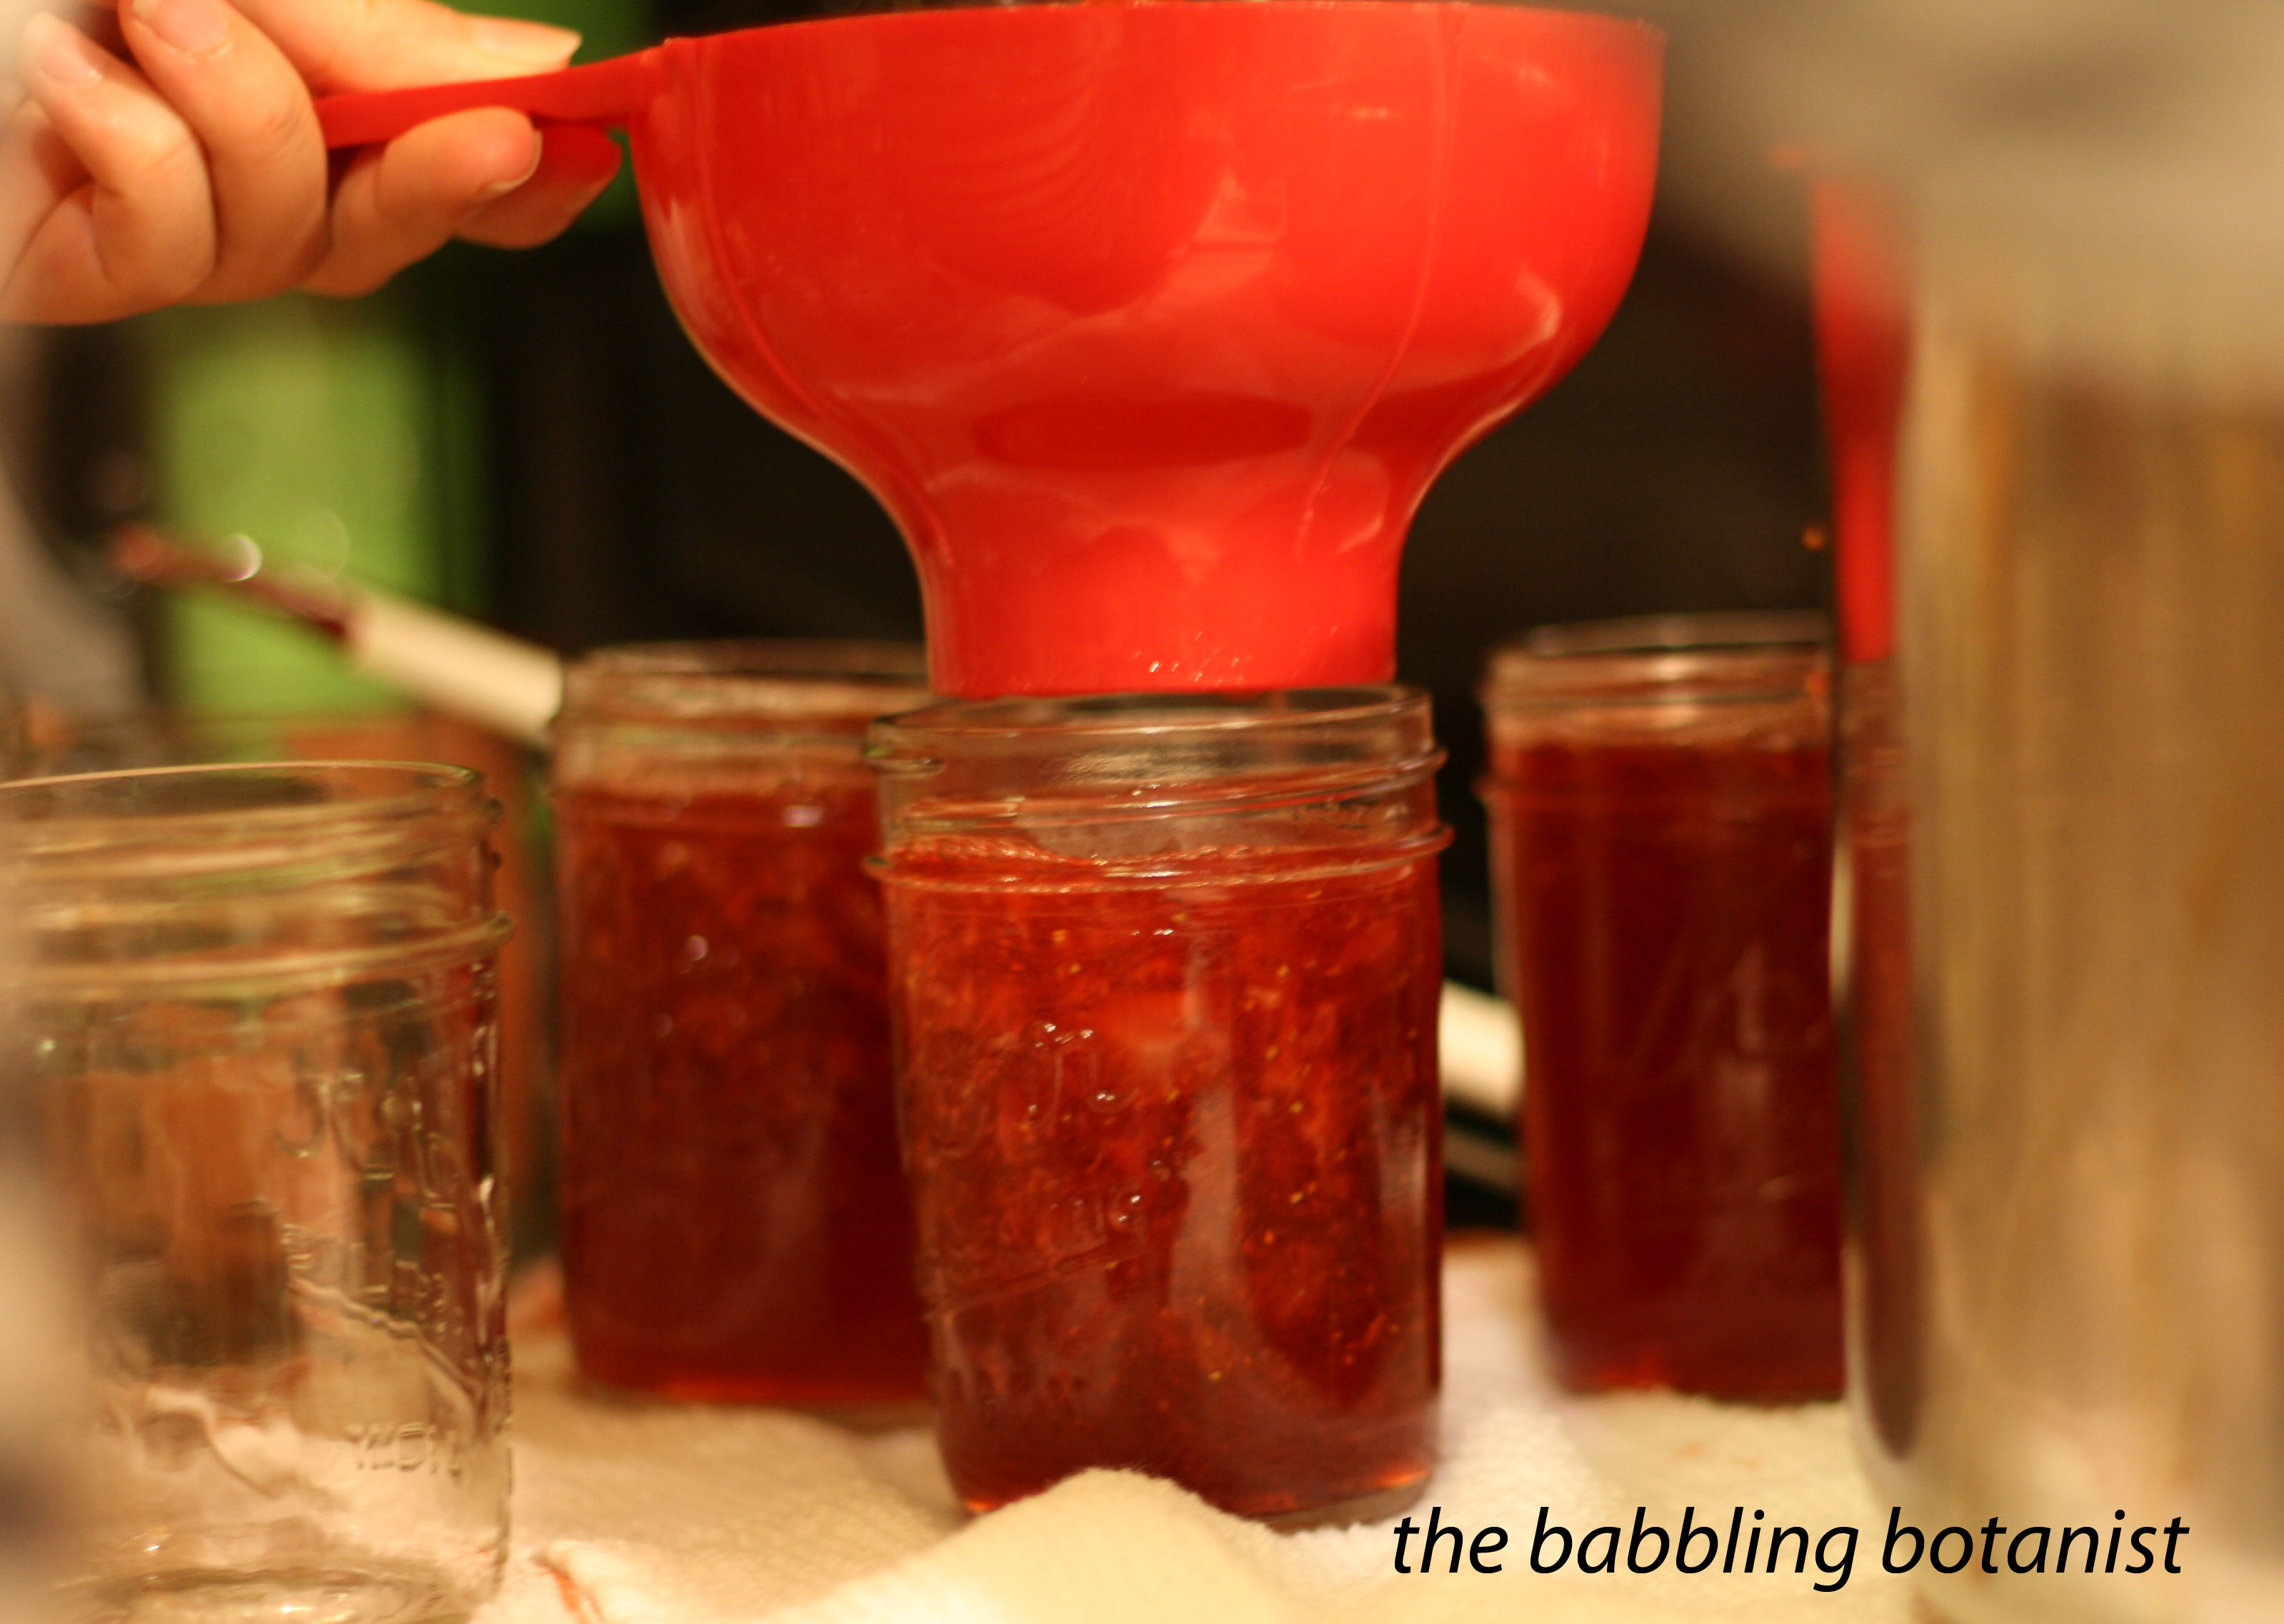
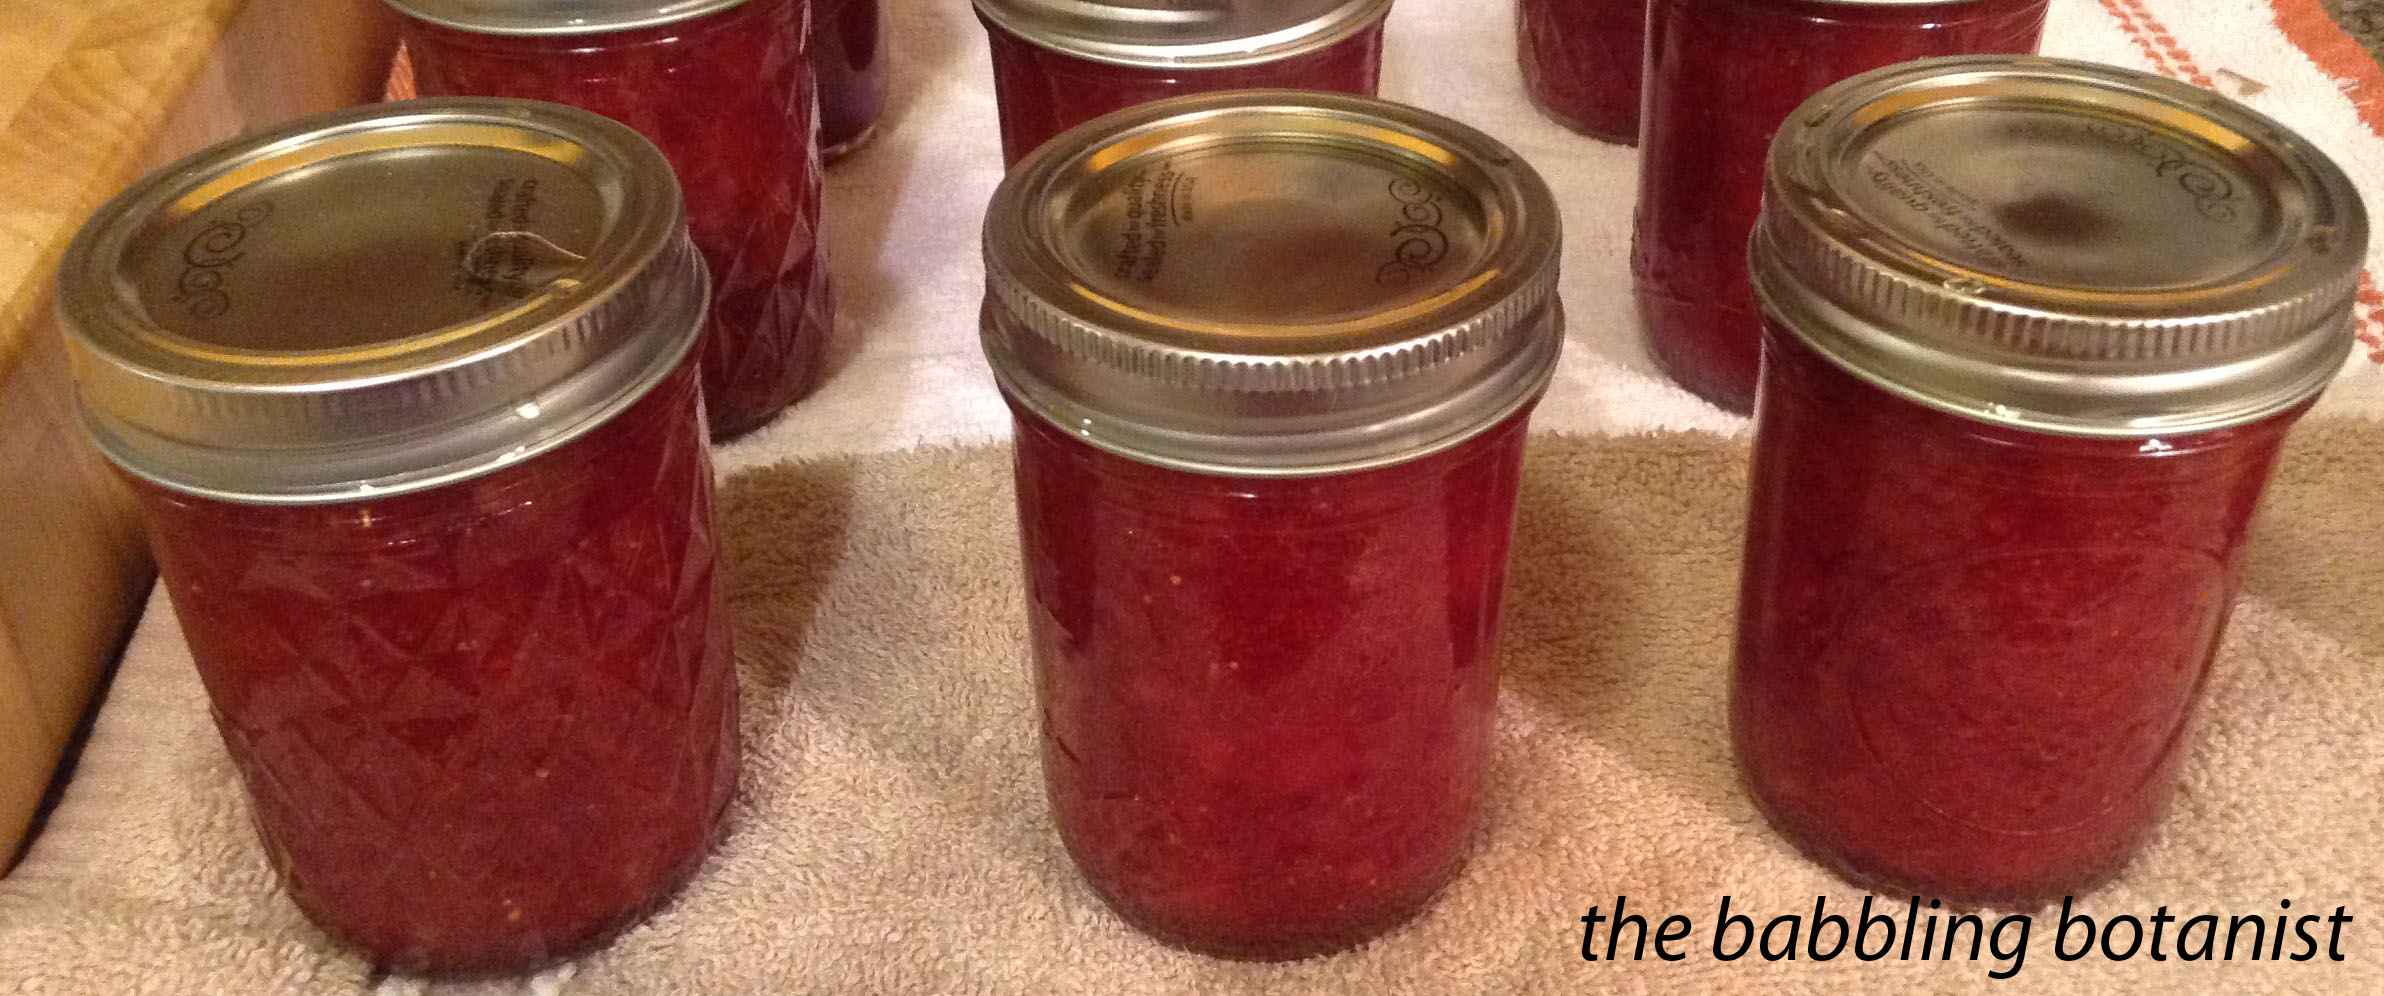
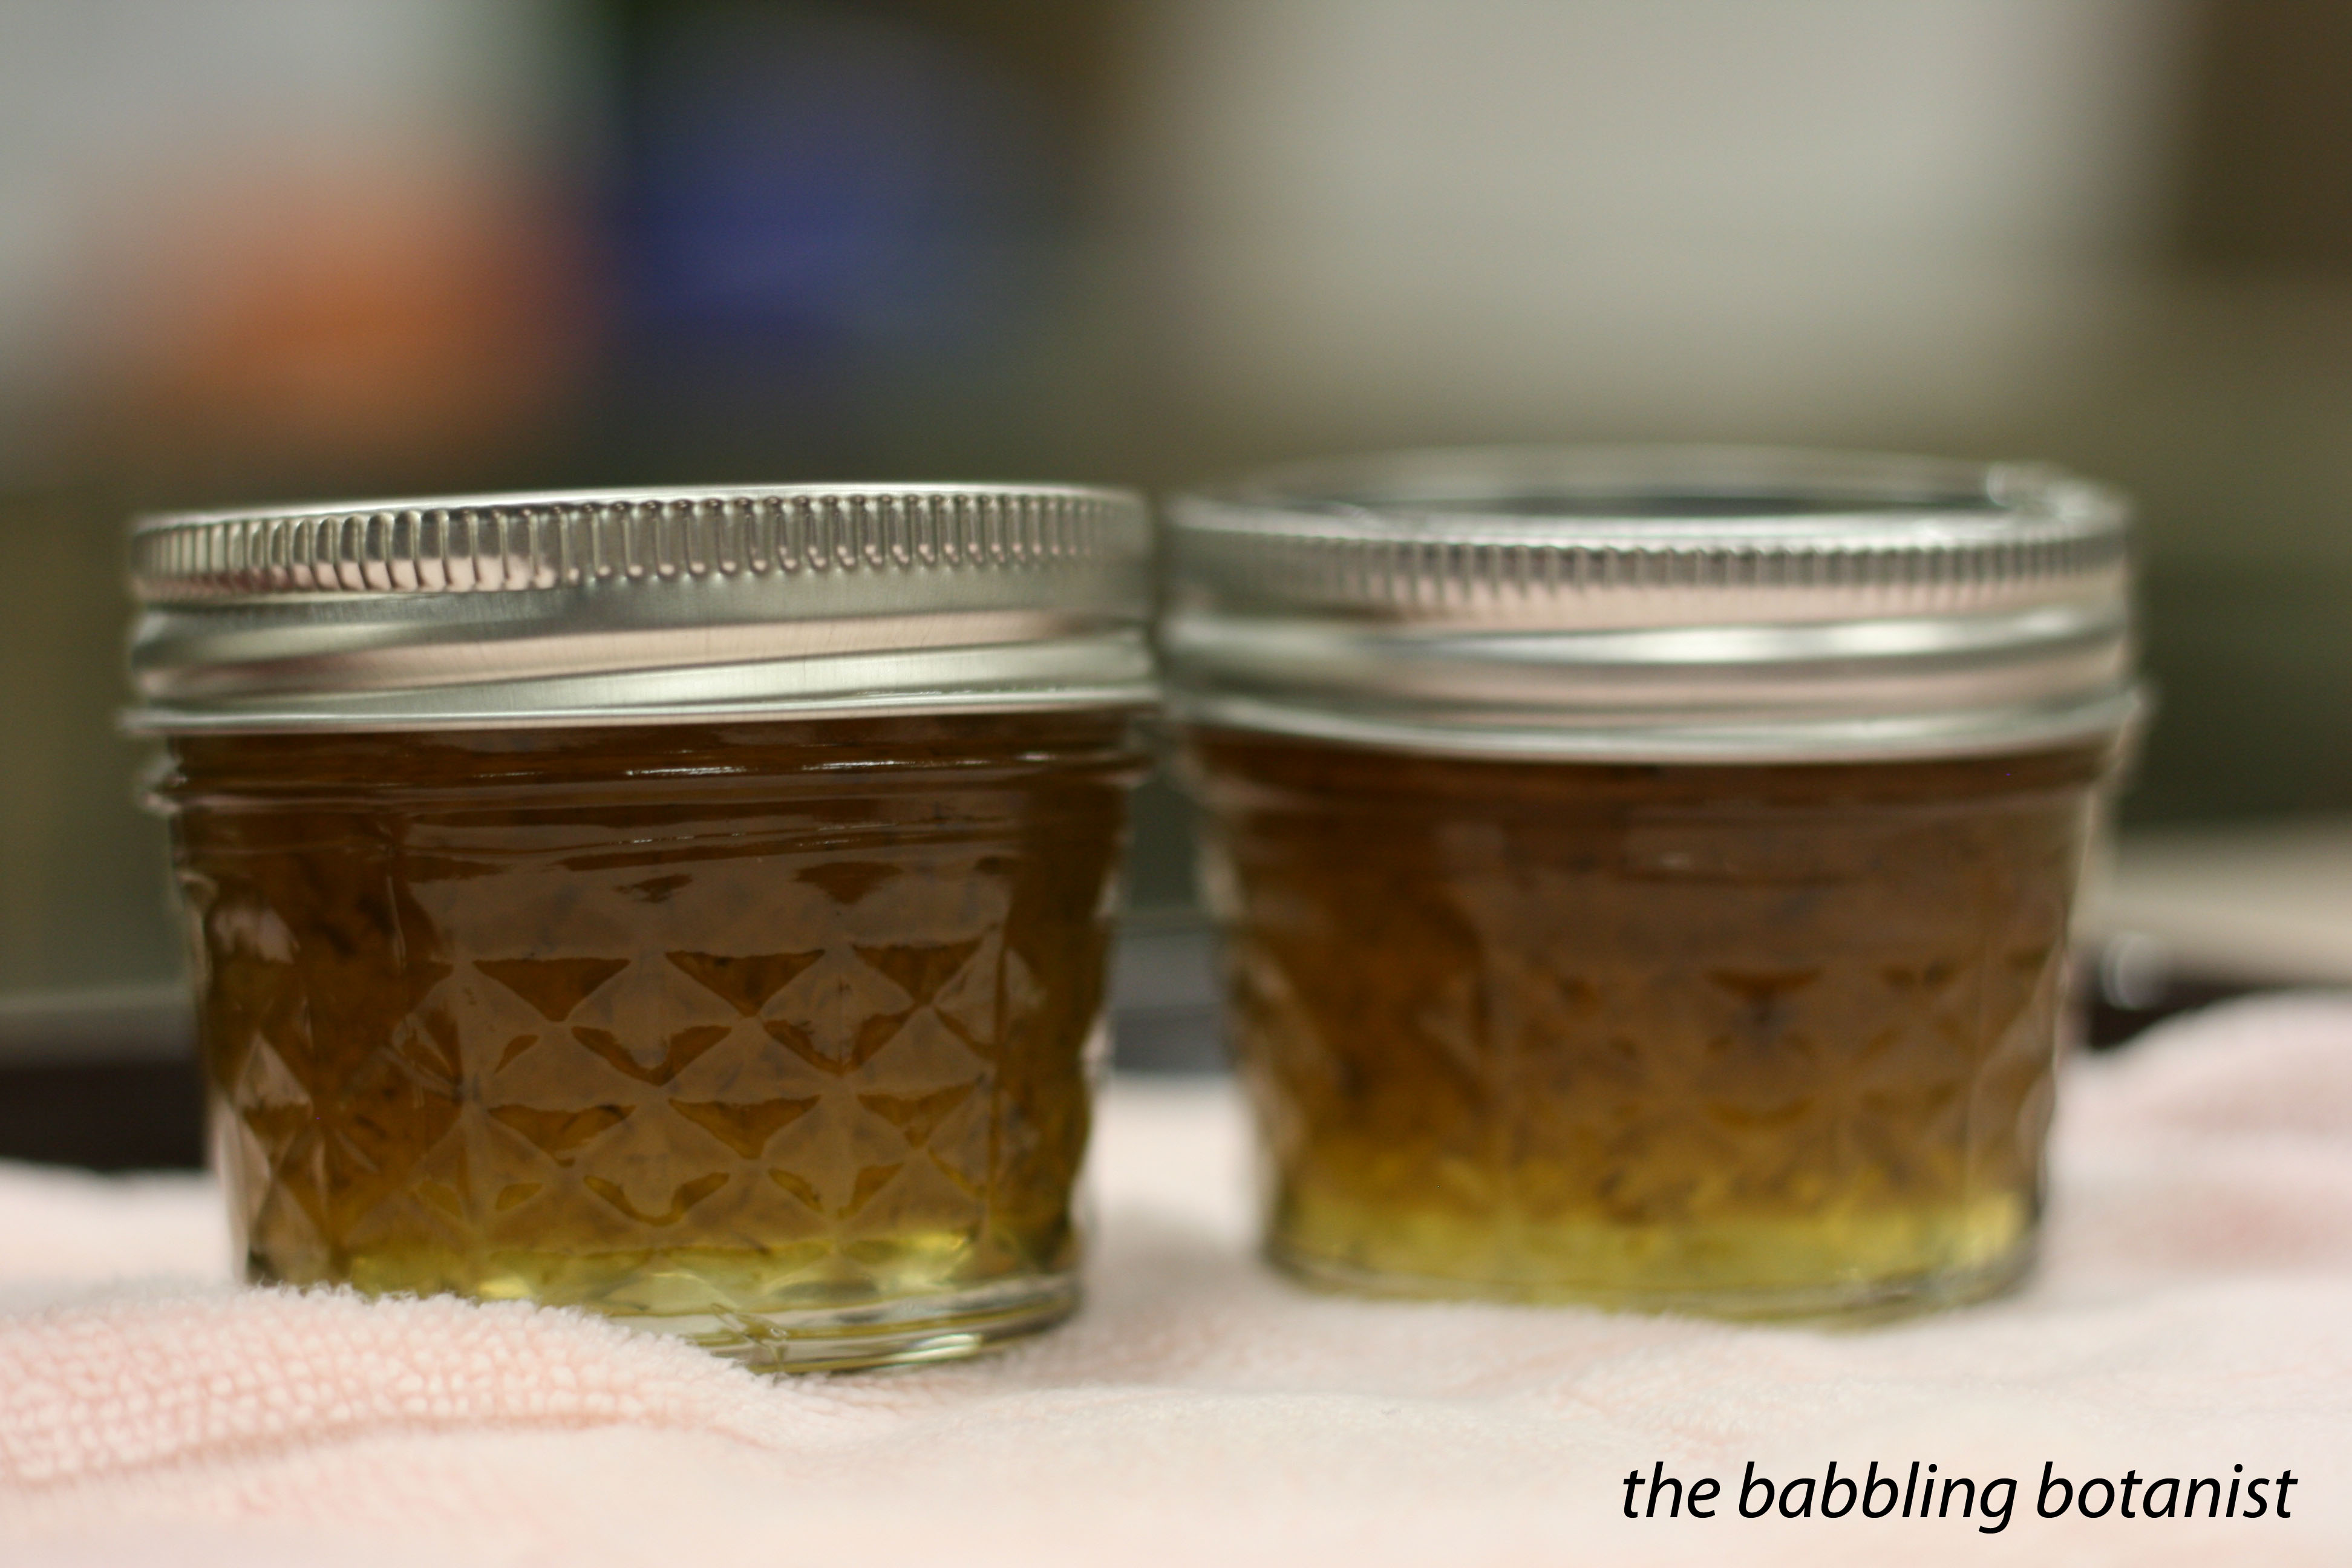
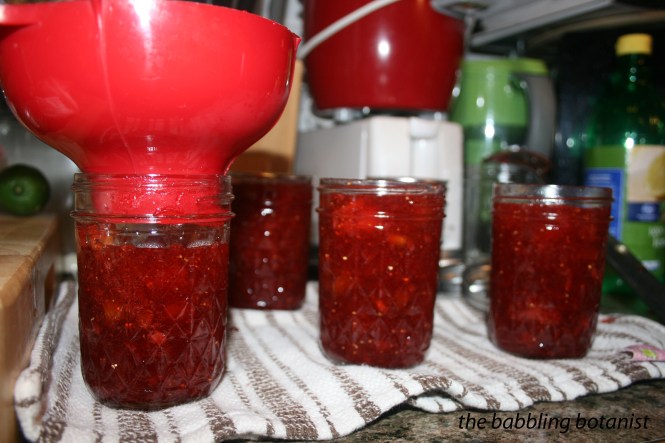
Fill the hot jars, leaving a half inch head space. I hate to say it, but it kind of looks like we were canning up diarrhea. Yep, I said it. Gross. But it tastes really good. Anyways, that was awkward. Wipe the rims, apply the lids, and tighten the bands finger tip tight. Place jars in canner, covered by at least 1-2 inches of water, bring to a full rolling boil and process for 15 minutes. After 15 minutes remove canner lid, wait 5 minutes, and remove the jars to a hot pad or towel. Listen to them ping! Cool 12-24 hours, wipe jars, label and store.

IMG_2501 copy

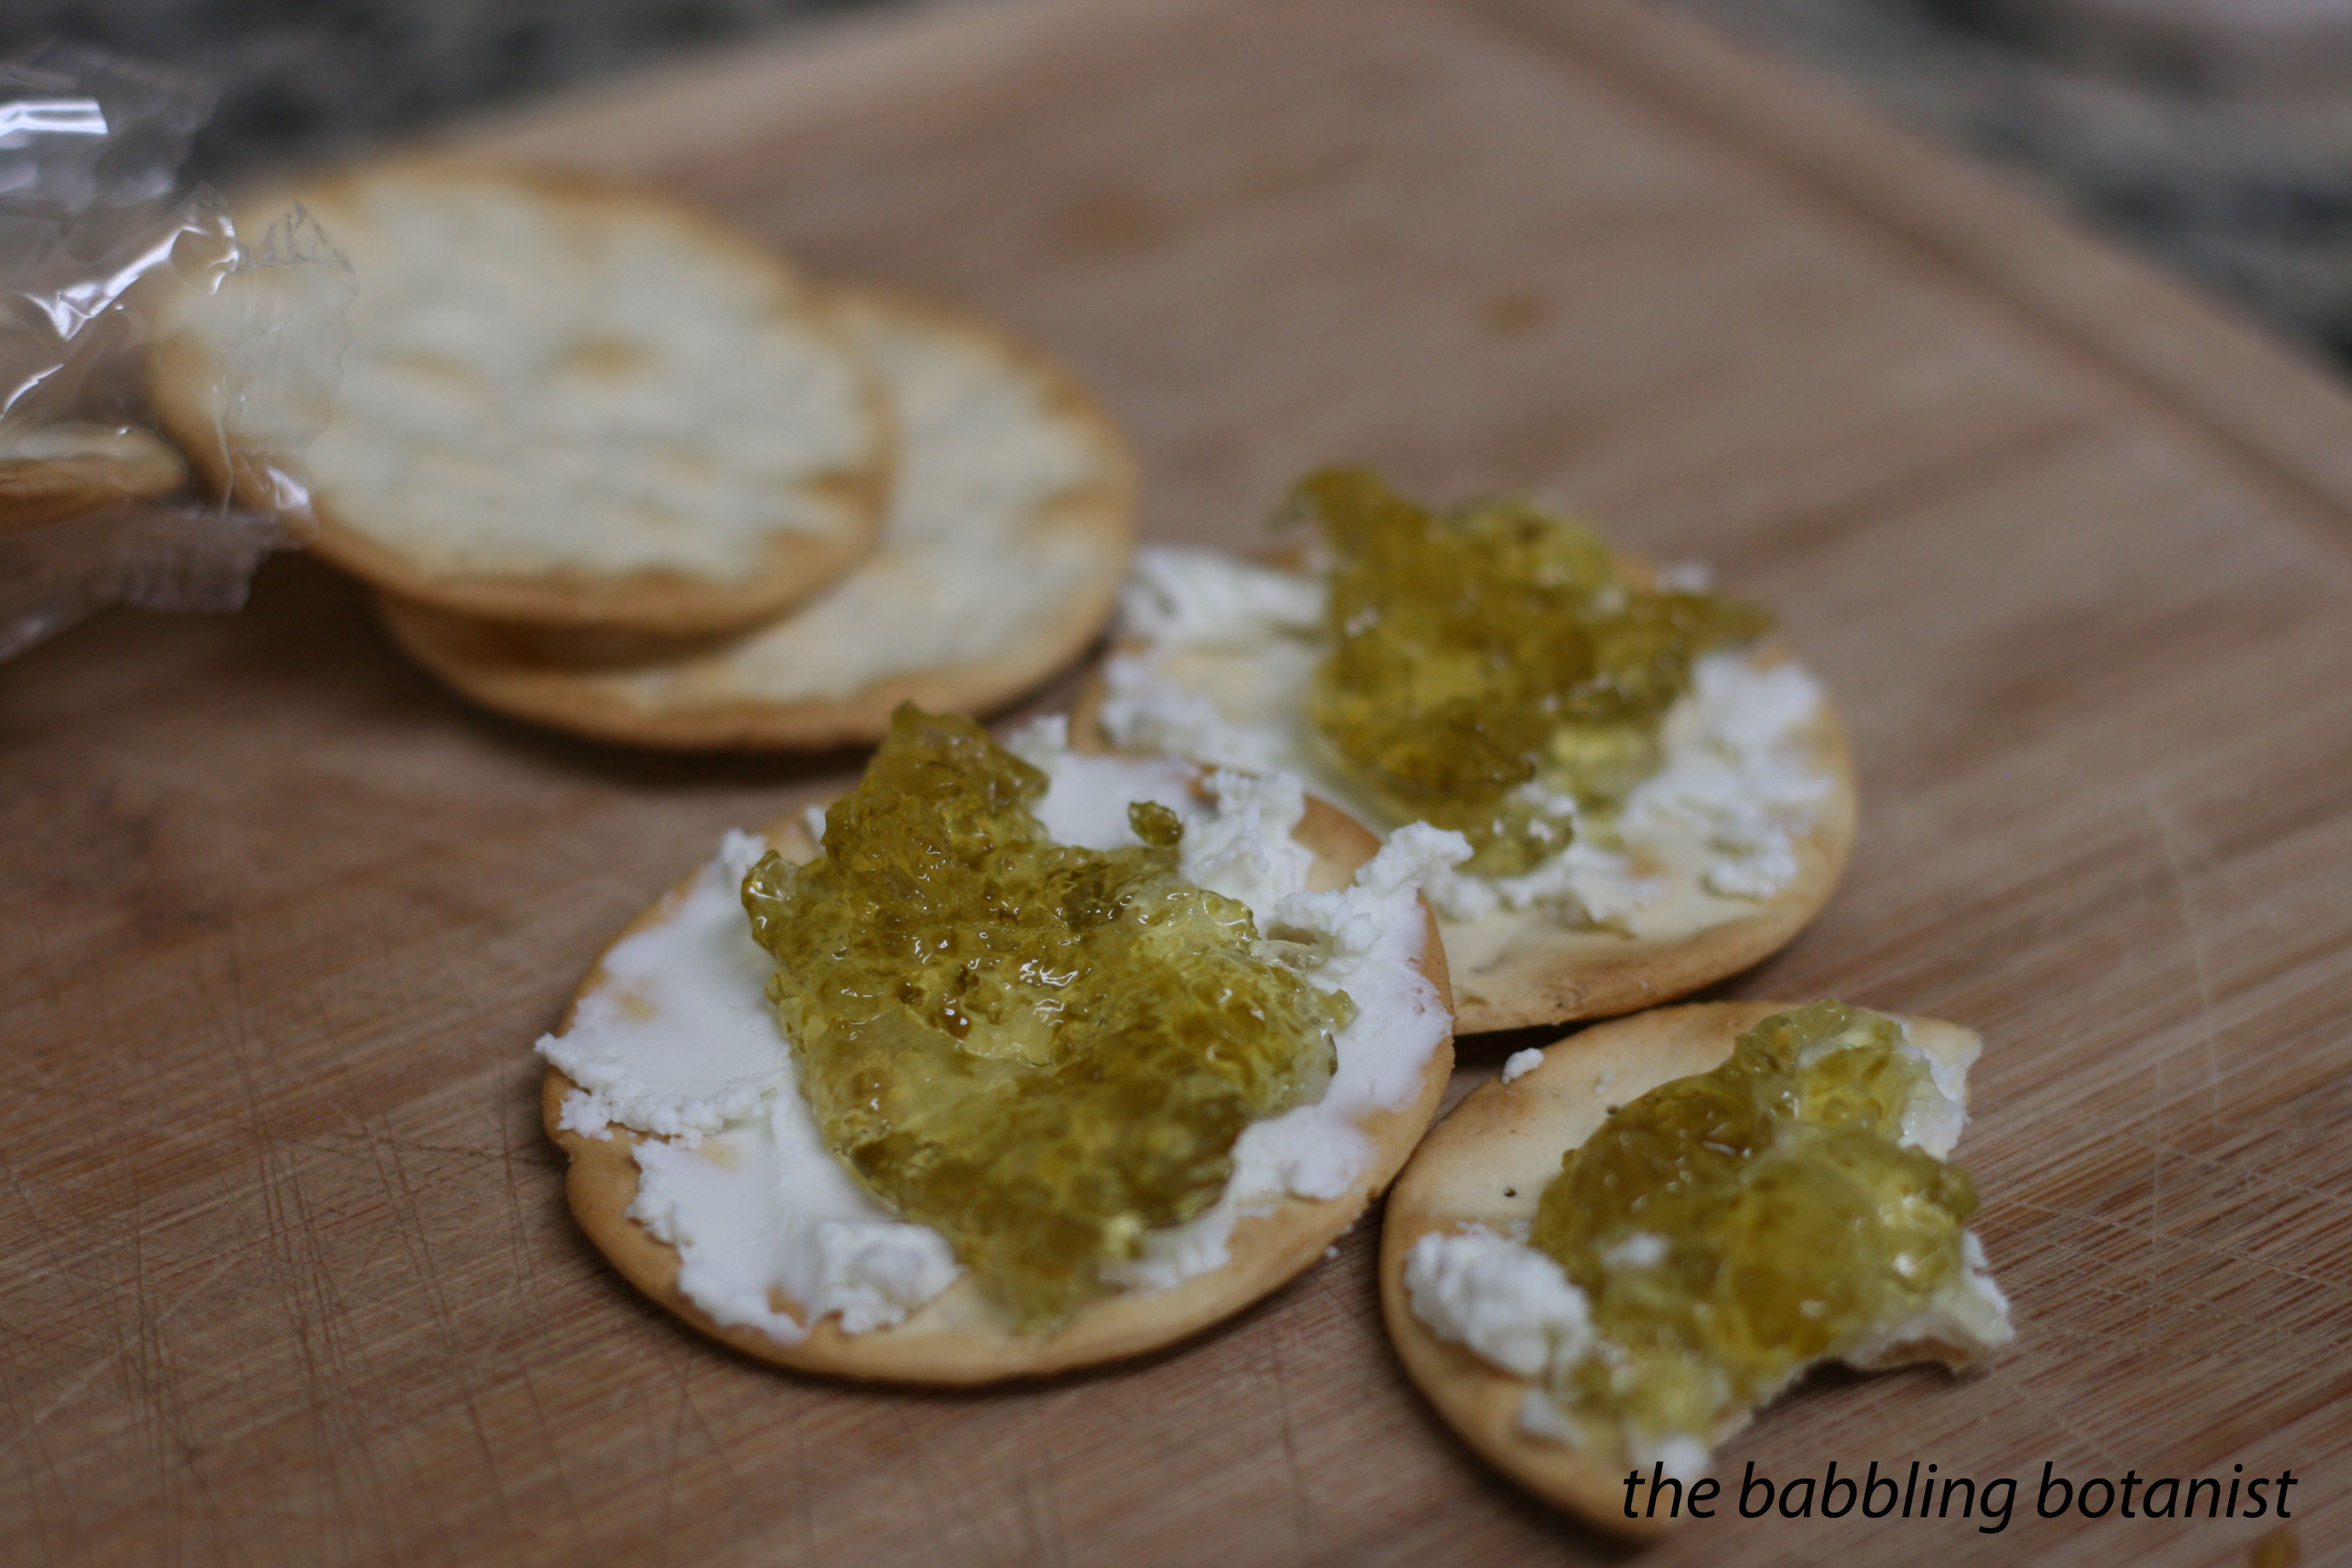
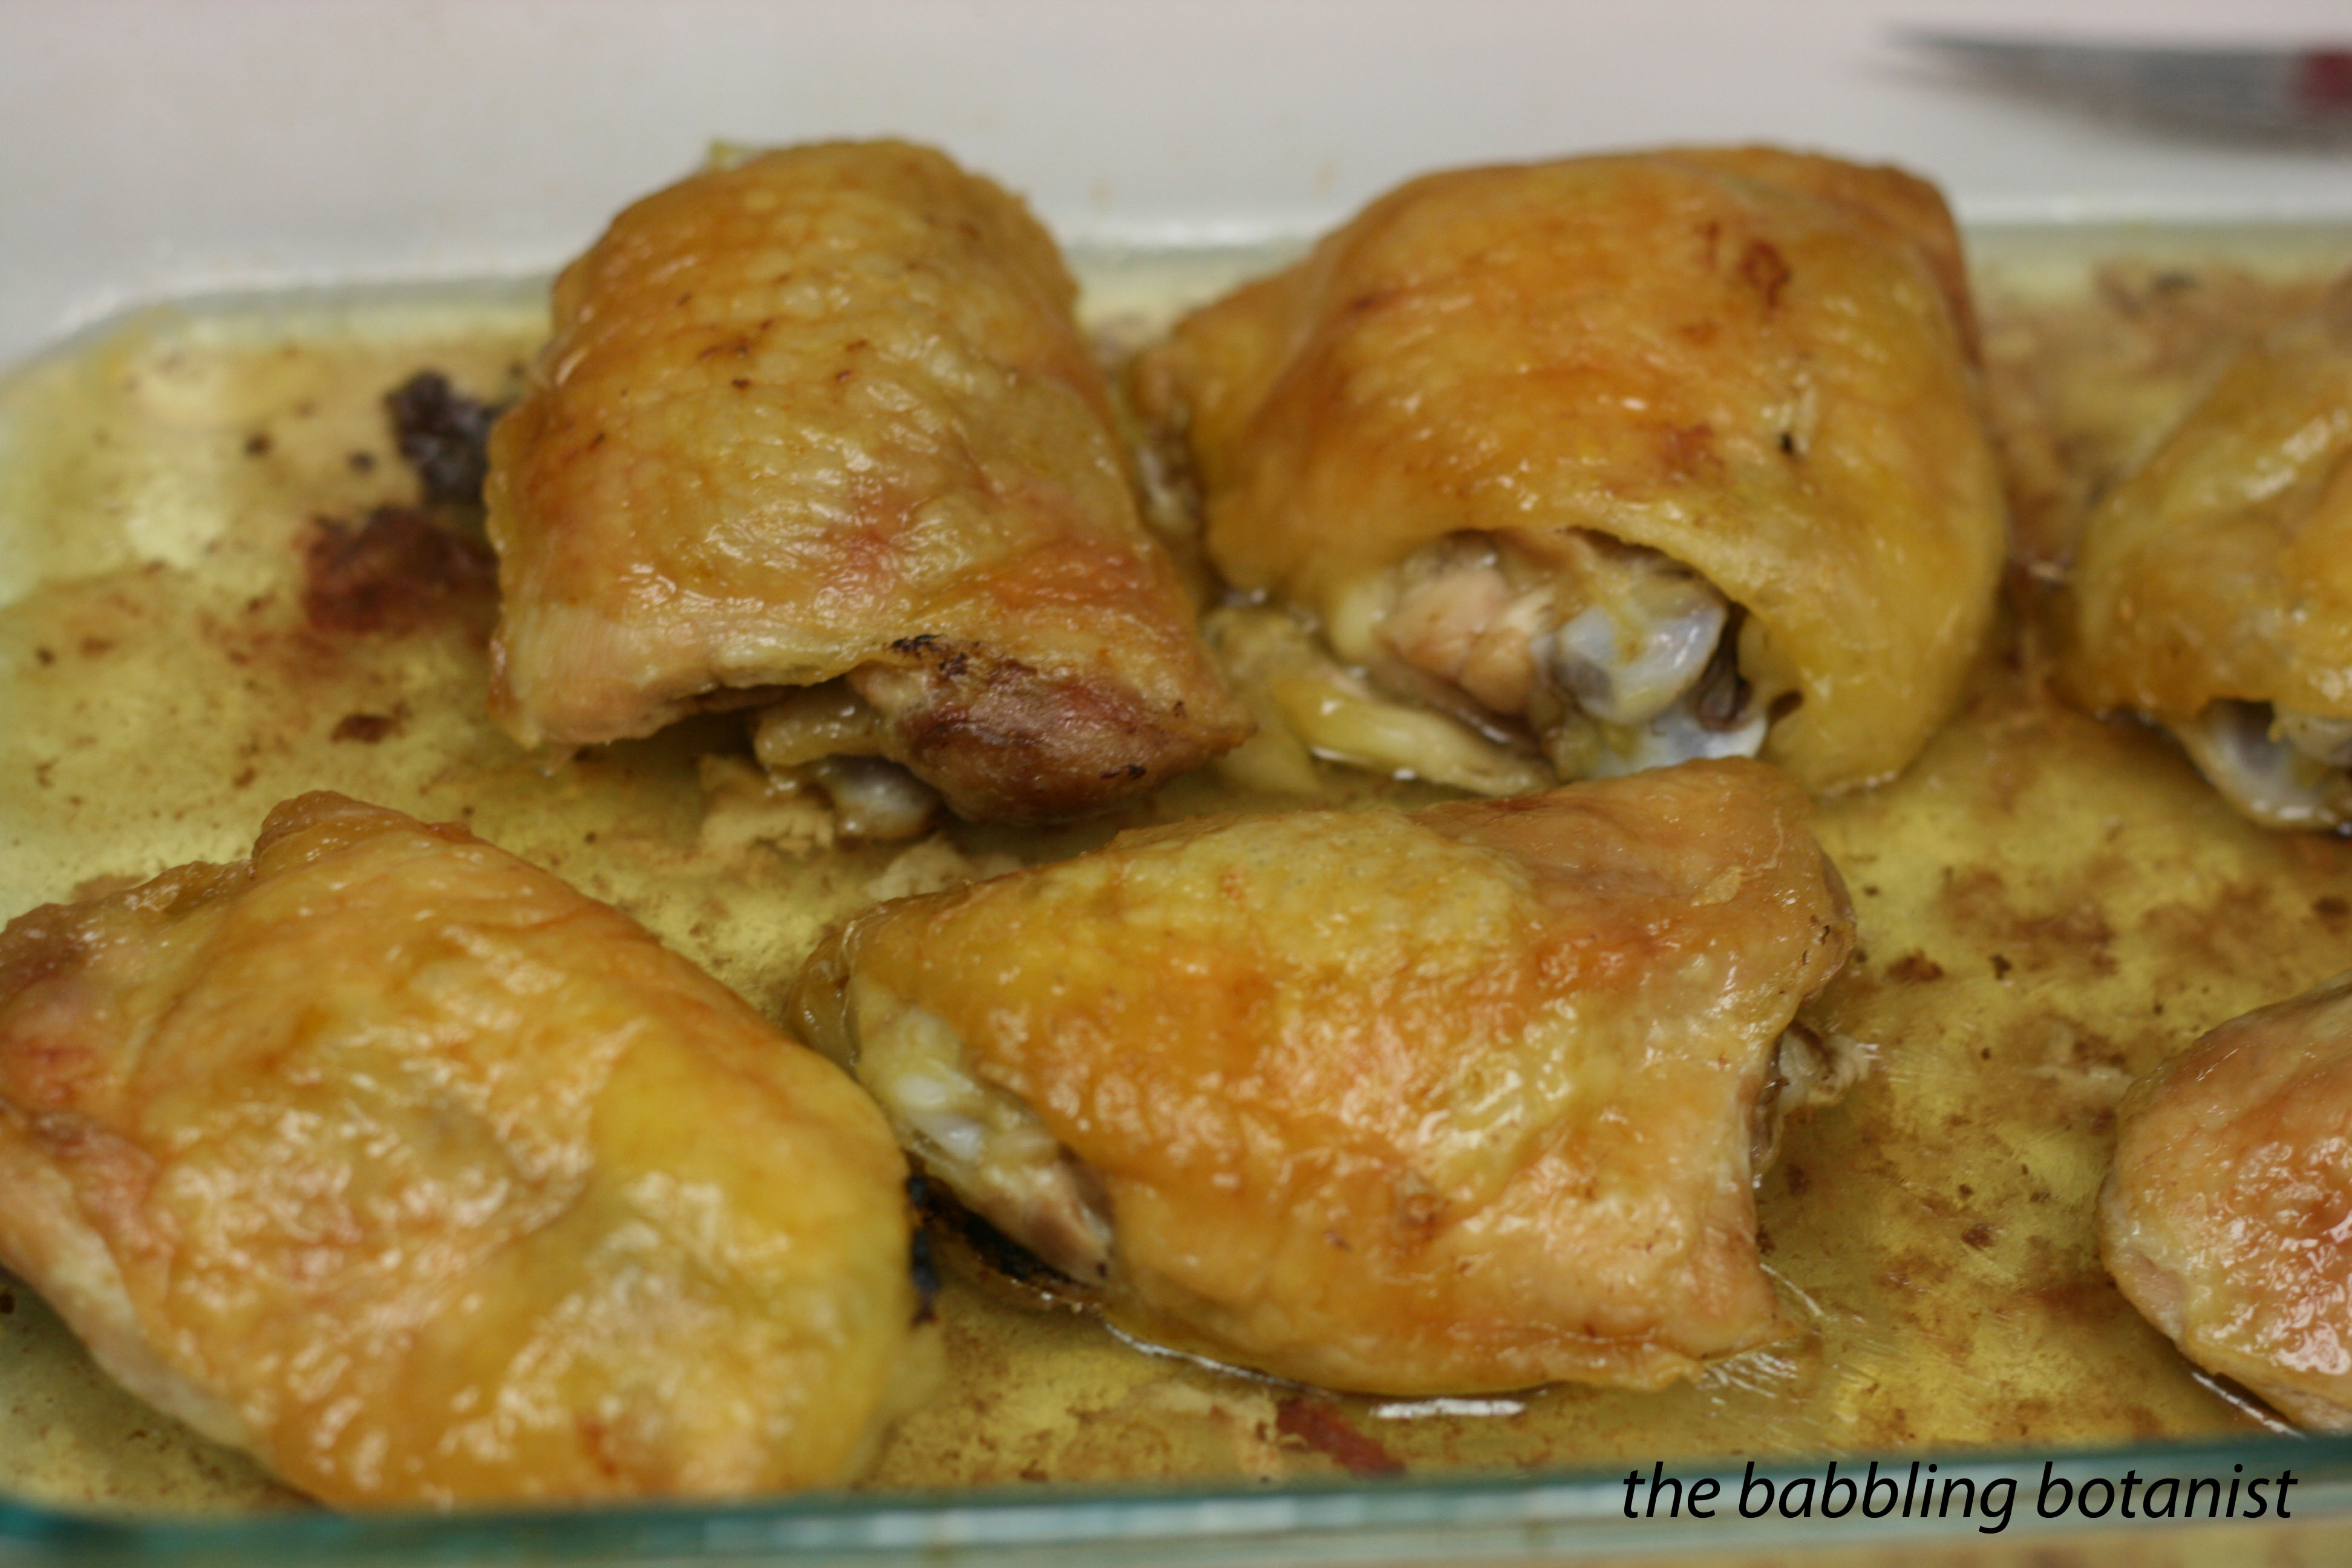
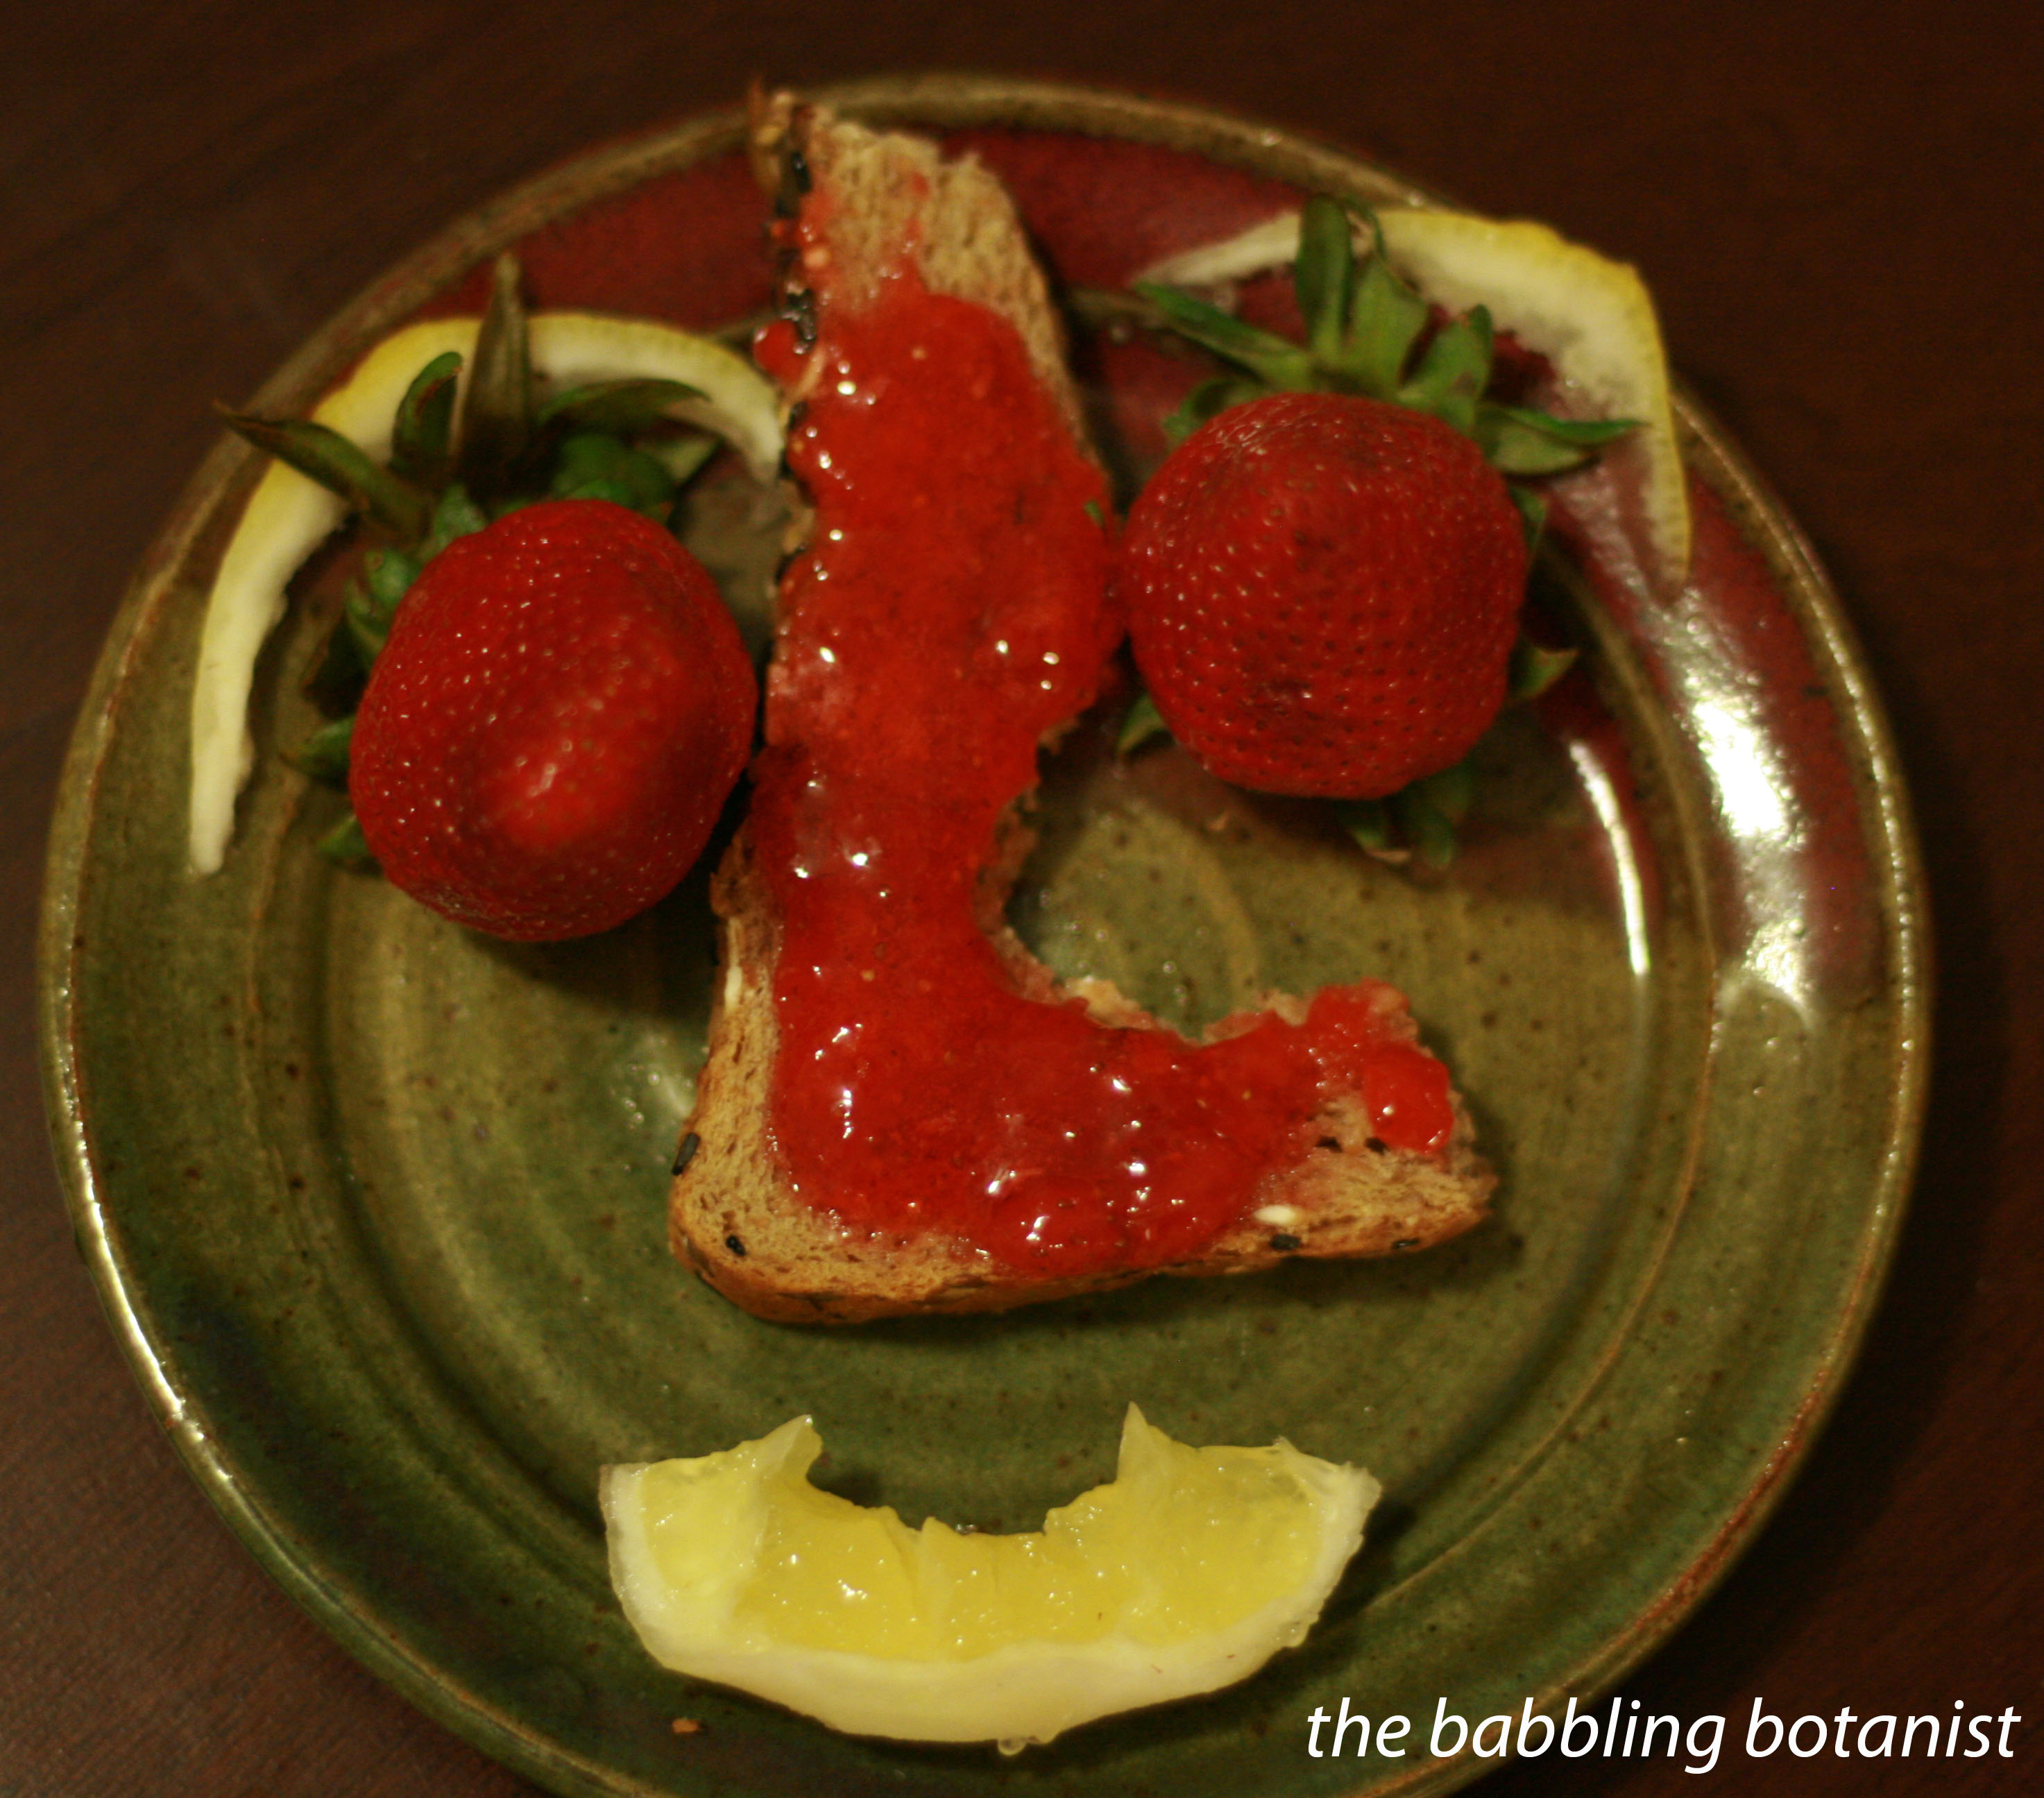
Try this sauce on barbecued chicken. It’s really delicious.

IMG_2634 copy

*this post contains affiliate links, please see the “About the Blogger” page for more information

Strawberry Jam with Liquid Pectin

Yes, I did already post a strawberry jam recipe a few weeks ago, you didn’t hallucinate it, but we made strawberry jam again and had liquid pectin on hand, so I thought this would be the perfect opportunity to highlight the difference between using powdered and liquid pectin. Also if I’m going to make every recipe in Ball I need to make the liquid pectin ones too of course 😉

Ingredients:
4 cups crushed strawberries
7 cups sugar
4 tbsp lemon juice
1 pouch liquid pectin

How to make it:
Crush the berries and put them in a deep, stainless steel pot.

IMG_2463 copy

Mix in the sugar and the lemon juice. This recipe has an absurd amount of sugar in my opinion and is too sweet, but liquid pectin doesn’t come in a low sugar version as far as I know. Yes, I’m posting a recipe I wouldn’t necessarily make again, I think it’s informative though. The sugar added here is the major difference when using liquid pectin. The sugar goes in at the beginning, then you bring the jam to a boil, then add the liquid pectin. With powdered pectin, the pectin goes in at the beginning and the sugar is added once you reach a boil. They are not always directly interchangeable, but you can often find a recipe for either, especially for berry jams. For example there is a lot more sugar in this recipe than the powdered pectin one I posted earlier, so you can’t just use the same recipe with a different pectin always.

IMG_2469 copy

Bring to a full rolling boil that cannot be stirred down, and squeeze in the pectin.

IMG_2476 copy

Boil hard for 1 minute, remove from heat, and skim the foam. Personally, I think that liquid pectin has it’s place, but this may not be it. The liquid pectin is great for jellies I think though, like the pepper jelly I posted recently. Adding the sugar at the beginning seems to cause this jam to get really foamy. Plus I like to reduce the sugar and use low sugar pectin with strawberries since they are so sweet already. But the full sugar makes a nice gift and could be good for later season, less sweet berries.

IMG_2485 copy

Fill the hot jars, leaving a 1/4 inch head space. Wipe rims, apply lids, and tighten bands finger tip tight. Place the jars in the canner, covered by at least 1-2 inches of water. Bring to a full rolling boil and process for 10 minutes.

IMG_2490

After 10 minutes, turn off the heat, remove the canner lid, wait 5 minutes and remove the jars to a hot pad or towel. Cool 12-24 hours, remove bands, wipe clean, label and store.

photo 32

Master Food Preserver Class – Week 3

Week three of Master Food Preserver Class was all about preserving low acid foods. Which means pressure canning! A lot of people are scared of pressure canning, and there are a few things that I think you should have a healthy fear of  – like botulism, but done correctly there is no reason to be afraid of pressure canning. Your pressure canner is not going to explode or anything like that. Even if you accidentally over pressurized it, there is a little safety value that pops off. So ya, you could have a mess on your ceiling, but that’s also only if you really aren’t paying attention. So, I am here to give you some facts about canning, and hopefully dispel some of the pressure canning jitters.

A pressure canner is mandatory if you want to can anything with a pH of 4.6 or above. These low acid foods include any vegetables, meats and combo foods like soups. To toss in some pictures, here is my very first canning project – green beans!

https://thebabblingbotanist.com/wp-content/uploads/2014/05/b9e96-5fc91546f2a411e2816722000a1f93c3_7.jpg

When picking a pressure canner, there are a couple things to consider. For one, to safely heat the food, a pressure canner must be large enough to hold 4 quart jars minimum. Most are designed for 7 quarts, and the taller ones can fit two layers of pints. The one below is mine, a 23-quart presto. There are two types of pressure canners: weighted gauge and dial guage (dial pictured below). Dial gauges need to be tested every year for accuracy, and the dial replaced if it is off by more than two psi. Usually they stay accurate a long time unless they are bumped, or dropped or something, but you definitely want to check it every year. Your local extension office should be able to do it for you! Dial gauge canners never need to be tested, but only do 5, 10 and 15 psi, so if you need to adjust for altitude, you have to use the 15psi weight. I prefer the dial gauge just because I am a very visual person and like to be able to see that I am at the correct pressure. Some weighted gauge ones also have a dial though. With the weighted gauge you just listen for it venting every 15-20 seconds.

OK, so why do we need pressure canners anyways? Why can’t we just hot water bath can everything? The answer to this is basically one bacteria – Clostridium botulinum, which is the bacteria that produces the botulism toxin, causing severe neurological illness. C. botulinum thrives at pH 4.6-7.0, which is why anything with a pH above 4.6 must be pressure canned (for extra safety most recipes are desgined with 4.2 as the goal). Ideal growing conditions for C. botulinum are anaerobic conditions (without air), moist conditions, around room temperature, with the pH 4.6-7. These are the exact conditions created in a canning jar. However, there is a way to kill C. botulinum, and that is by bringing it to a temperature of 240 F and holding it there for a set amount of time. This cannot be achieved in a boiling water bath – water boils at 212 F.

Other facts about pressure canning:
– When pressure canning (actually any canning) follow safe, approved recipes, like from Ball, So Easy to Preserve, or the National Center for Home Food Preservation website
– Canning times differ for different products due to their texture, density and pH
– Canning at sea level is at 11 psi. Always adjust for your altitude.
– If your canner ever drops below 11 psi while canning, return to pressure and start the time over
– Don’t skip the 10 minute vent time. This vents cold air from the canner to ensure proper processing.
– Pack the jars as listed in the recipe. For example, use appropriate head space. Also, for soups you need to fill half with solids (no more) and top off with liquid.
– Never try to force a canner to cool, just let it cool naturally at room temperature until the safety plug drops. At that point, remove the weight, wait 10 more minutes, then it can be emptied.

OK, and on too the fun pictures. We did beans in class (two types) and a spicy tomato veggie soup. So delish. I’ll update this post with links to the recipes once I post them.

White beans ready to be heated.

IMG_2565 copy

Spooning the rehydrated beans into jars.

IMG_2601 copy

Small red beans.

IMG_2564 copy

With bacon!!

IMG_2587 copy

Most pressure canned items need 1 or 1.5 inch head space. This is below the bottom of the threading by a good centimetre.

IMG_2608 copy

Beans in syrup with bacon!

IMG_2613 copy

My group worked on the spicy tomato soup. SO GOOD! I need to make a giant batch of this when tomato season hits!

IMG_2576 copy

Half full of solids first, then you top off with liquid.

IMG_2624 copy

Eating the leftovers.

IMG_2631 copy

Sorry to taunt you with these pictures and not the full details, but the recipes are coming soon!

*this post contains affiliate links, please see the “About the Blogger” page for more information

Easy Jalapeño Jelly

Last week in canning class we teamed up to make four different soft spreads, and I had made three of the four already, so I chose to work on the jalapeño jelly. This recipe is actually one from the Ball Complete Book of Home Preserving (thanks class, helping me with my challenge!). It uses pureed jalapeños, rather than actually making juice out of them, making it a quick and easy jelly that is still really pretty and delicious. And has a nice bit of heat to it!

IMG_2417 copy

Ingredients:
12 oz (350g) jalapeño peppers
2 cups cider vinegar, divided
6 cups granulated sugar
2 pouches liquid pectin

IMG_2377 copy

Here’s how we made it:

Stem, cut and seed the peppers. Wear gloves! You really do want to do the peppers by mass for this recipe, it’s kind of hard to do a pepper volume. Take the chopped peppers and puree them in a food processor or blender with one cup of the vinegar.

Prepare your canner, jars and lids. This should yield about 5 half pints, but we put it in the cute little 4oz jars.

IMG_2380 copy

Combine the pepper puree, the sugar and rest of the vinegar and bring to a boil over high. Maintain a boil for 10 minutes and stir constantly. When 10 minutes are up, add the pectin. Yes – 2 full pouches. Boil hard for another minute, then remove from heat and skim foam.

IMG_2396 copy

Fill the jars, leaving a 1/4 inch head space. We discovered when we were out of ladles that pouring jelly with a pyrex measuring cup works great. Wipe the rims, apply the lids, and tighten the bands finger tip tight.

IMG_2399

Place the jars in the canner, ensuring they are covered by at least 1-2 inches of water. Bring to a full rolling boil and process for 10 minutes. After 10 minutes remove the canner lid, wait 5 minutes, remove the jars to a hot pad or towel and listen to the ping ping ping of them sealing.

Cool 12-24 hours, remove bands, wipe, label and store. Later enjoy the jelly perhaps with some crackers and cheese. We tried goat, which if you are into the taste of goats you may enjoy, but I think I’ll try cream cheese or something a little milder next time, as Ball suggests. Deeeelish!

IMG_2641 copy

Master Food Preserver Class – Week 2

I promised to post about master food preserver class each week, so here is what we learned in last Thursday’s class! I took 116 photos in class during week 2, and it didn’t feel like enough, so you know it must have been a good class! And of course it means this post will basically be a picture show. 😉 This week we covered freezing, fruit pie fillings and soft spreads. So I would like to start off with some fun facts that I learned in class that you may or may not already know.

Freezing
– The best way to freeze if you are going to do a bunch of stuff, is to turn your freezer extra cold (down to -10F) the day before so that things freeze quickly. Frozen goods should be kept at 0F or below, so once frozen return the temperature to 0.
– Vegetables should always be blanched before freezing to stop enzymes that would otherwise cause changes in colour, texture, flavour and nutritional value. Recommended blanching times vary by vegetable and range from 1-10 minutes

One thing we covered for freezing was freezing convenience foods. So we did just that, and will eat these food later in the class! YUM.

One convenience food we froze was a “meal in a bag”:
-1 chicken breast cooked and diced
– 2 cups blanched veggies (or frozen ones)
– 1 cup pasta cooked until almost done
– seasoning packet in a separate baggie (such as 2t chicken bouillon, 1/2t garlic powder, 1/2t onion powder, 1/2t paprika, 1t parsley, 2T parmesan cheese)

Freeze it all up in a baggie. When you want to eat it, dump it all in a wok, stir fry it up and … presto!

Chicken for the meal in a bag.

IMG_2326 copy

Blanched veggies for the meal in a bag.

IMG_2350 copy

Combine it all and freeze. A great idea if you have a free weekend day and freezer space!

IMG_2367 copy

Another convenience food we froze was twice baked potatoes. nom nom nom.

Bake potatoes, halve, and remove innards to a large bowl.

IMG_2335 copy

Mash and mix in milk, sour cream, garlic, salt, pepper and cheese.

IMG_2346 copy

Refill, top with more cheese if desired, then freeze on a baking sheet. Once frozen, transfer to freezer containers. When you want to eat it, bake at 375F for 25-30 minutes.

IMG_2348 copy

The last convenience food we did was cookies. Works with most cookie recipes.

Mix up the recipe.

IMG_2344 copy

Mold into balls (and in this case dip in sugar – yum!)

IMG_2359 copy

Freeze on a cookie sheet and then transfer to a freezer container. When you want to eat them bake without thawing at 400F for 10-15 minutes.

IMG_2361 copy

Fruit pie filling (and juice hiding in back)

Most fruit pie filling recipes for canning call for clear jel. What is clear jel anyways? It’s a starch used for thickening, and is basically a modified corn starch. You shouldn’t used regular corn starch or other thickening agents in canning, because they are not specifically designed for canning like clear jel. Clear jel has been modified to make it more heat stable, so it can take the heat of the canning process. It is also stable in low pH, like the pH of fruits. It makes products more shelf stable, and doesn’t separate over time like other starches can. It can be reduced in recipes too if you don’t want quite as much. If you don’t like the starchy pie fillings though, don’t try and can a pie filling recipe without it. Either follow a recipe for canning fruit in syrup, and then drain the syrup to use it in pies, or freeze the fruit instead!

IMG_2402 copy

Soft spreads

Fun fact. Do you know the difference between a jelly, jam, conserve, preserve and a marmalade?
Jam – made from crushed or chopped fruit
Jelly – made from fruit juice
Conserve – made with two or more fruits and nuts or raisins
Preserves – made with whole fruits, or large pieces, in a clear, slightly gelled syrup
Marmalade – made with soft fruit and citrus peel in a clear jel

In class we made the following soft spreads. Click the names to link to the full recipe posts.

Blueberry lime jam

IMG_2393 copy

and all canned up.

IMG_2428 copy

Jalapeno pepper jelly.

IMG_2417 copy

Strawberry lemon marmalade.

IMG_2418 copy

And strawberry rhubarb jam.

IMG_2422 copy

So many delicious treats! And the day’s excellent haul.

IMG_2425 copy

Master Food Preserver Class – Week 1

Week 1 of my Master Food Preserver class was pretty fun. We didn’t get to a ton of food preservation being the first week, but we did start sauerkraut and can up some apples. The major thing we got through was a lot of food safety, which makes sense for week 1. There honestly weren’t too many things that were news to me, but here are some interesting tidbits from the day that you may or may not be aware of.

“Danger zone” is not just a song. It’s also a range of temperatures which are optimal for bacterial growth, and therefore not optimal for food safety. 40-140 degrees Fahrenheit. Food shouldn’t remain in the danger zone for more than 2-3 hours or it can be unsafe. For me I think my biggest offence against this would be putting a really big pot of something in the fridge. It cools slowly enough that it can remain in the danger zone too long. Spreading food out in shallower dishes would help me to avoid remaining in the danger zone.

We also learned about foods that are more likely to be contaminated by bacteria (and should therefore be avoided by the young, sick, pregnant etc.) I knew almost all of these, but didn’t realize the sprouts were due to bacteria related reasons, and didn’t realize lunch meat was on the list.
– rare ground beef
– unpasteurized apple cider/juice
– uncooked hot dogs/ lunch meat
– alfalfa and bean sprouts
– lox (cold smoked fish)
-raw milk and raw cheese
– soft cheeses (feta, Brie, Camembert, Roquefort etc.)
– raw eggs

We also talked about basic canning equipment, a bit about the history of canning, and basic canning guidelines. But I could write about that for pages and pages, so I think I’ll work on this as a page of it’s own to eventually bring this blog to a full canning resource. In the meanwhile, refer to the USDA National Center for Home Food Preservation website http://nchfp.uga.edu/publications/publications_usda.html 🙂

Another fun fact – the cut-off for what is a low acid food is pH 4.6. Anything above this must always be pressure canned. This includes all meats, vegetables, soups and stocks. And I’ll do full pages on these things some day because they are super interesting and important concepts.

Now for the fun part, we started out by getting sauerkraut started. Full recipe to come once it is ready. Yup, I’m going to make you wait.

Shredding the lettuce with a mandolin.

IMG_2101 copy

After letting it sit with salt, filling the jars.

IMG_2152 copy

So pretty!

IMG_2157 copy

We also canned apples. Honestly I wouldn’t normally can apple slices straight up, but it is a good way to learn the concept of canning sliced fruit.

IMG_2125 copy

And we did a fun experiment. We canned the apples in something like 16 different liquids, and we’ll taste test them later. I think this is a great idea because I’d never want to test these myself and then open all 16 at once, but there are almost 20 of us, including instructors, so I think it’s a great idea. I’m going to suggest we do it with pickle recipes too on that week. We did water, light syrup, medium syrup, heavy syrup, extra heavy syrup, brown sugar, honey, agave, stevia, splenda, orange juice, cranberry juice, pineapple juice, grape juice, apple juice… there may be one more I’m forgetting. But yes – what a fun idea!

IMG_2136 copy

Well that about sums up the highlights for the day. More next week, mostly about jams and jellies, fruit pie filling, and freezing. Fun fun!!


A jam contest winner and an announcement – becoming a master food preserver

Congratulations to my jam content winner – Jenna! The random number gods have chosen you! I sent you an email about getting the jam from me. Yayyyyyy jam. Thanks to all of you who entered, I’ll do another giveaway soon.

My second announcement is another fun one. Starting this week I am taking the Master Food Preserver program through OSU Extension Service. Here’s the website if you’re interesting in looking into it. http://extension.oregonstate.edu/linn/linn-benton-county-master-food-preserver-program
It’s an awesome 8 week class where we’ll learn everything there is to know about food preservation. I feel like I know a lot already (got perfect on the pre-quiz at orientation 😉 ) but there is always more to learn. Safety, recipes, and so much more! The program is definitely not something that is available everywhere, which is why I am taking it this year even though it may not be the best time management decision, taking 8 full days and requiring 48 volunteer hours. But it will great, I’m super pumped. I am going to try and post each weekend about it, it’s one day a week on Thursdays 🙂 Here is the book they gave us. So much to learn! So many tabs!

20140429-211826.jpg

And my first homework assignment. Woo! I look forward to telling you all about it 🙂

20140429-214319.jpg

Quick Strawberry Lemon Marmalade

This quick marmalade is very similar to a jam, but has that added citrus tang that is quite delightful. What makes a marmalade a marmalade anyways? That citrus peel! Try this recipe out once you’ve already made a ton of strawberry jam and are looking for something different but still quick and easy.

Ingredients:
1/4 cup thinly sliced lemon peel
4 cups crushed strawberries
1 tbsp lemon juice
1 package regular fruit pectin
6 cups granulated sugar

Here’s how we made it:
Since this is a quick recipe (some may read “quick” as “cheating” 😉 ) with pectin it doesn’t boil for hours like traditional marmalade, which is what softens up the bits of citrus peel. So step one here is to cut the lemon peel into thin slices and boil it in water for 5 or so minute to soften it a bit. Meanwhile prepare the canner, jars and lids. This makes about 7-8 half pints.

IMG_1961 copy

Then the liquid gets discarded, and you combine the peel bits with the strawberry mash, lemon juice and pectin. I ended up squirting in some additional lemon juice, partially for the shock factor because the other ladies weren’t expecting it, but I also think it gave it a nice extra zing!

IMG_1972 copy

Bring to a boil over high, stirring always. Once at a boil, add the sugar all at once, return to a boil for one minute, remove from heat, skim foam and fill the jars.

IMG_1974 copy

Fill the hot jars leaving a quarter inch head space. Wipe rims, apply lids and tighten bands finger tip tight. Place jars in canner covered by 1-2 inches of water, bring to a full rolling boil and process 10 minutes. After 10 minutes, turn off the heat, remove the canner lid, wait 5 minutes and remove the jars to a hot pad or towel. Let cool 12-24 hours, check seals, remove bands, wipe, label and store.

IMG_1990

mmmm marmalade man. Deeeelish.

IMG_2053

Happy Earth Day! Planting golden paintbrush, convincing you to can, and a jam giveaway!

Happy 2014 Earth Day! I hope you are all doing some earth friendly things today! For me, my field work that was planned for today was postponed until tomorrow, so I’m being green by “working from home.” HA! Anyways, it’s true, well, that I’m home, but all joking aside I wanted to share a couple things that I did do for the occasion, and a few that you can do too.

The first way I celebrated Earth Day was with the Institute for Applied Ecology. Every year we recruit volunteers and plant endangered plants. This year we planted 800 golden paintbrush (so far!) at William L. Finley National Wildlife Refuge. This is my study species as many of you might know! We are proud to say it is well on its way to recovery. Here are a few pictures from the event.

Paintbrush in “cone-tainers” ready to go in the ground.

IMG_2057 copy

A lovely flowering paintbrush

IMG_2062 copy

And his comrades.

IMG_2065 copy

Volunteers working hard to get plants in the ground.

IMG_2078 copy

A paintbrush in his new home on our grid.

IMG_2079 copy

Awesome! Aren’t they gorgeous?! Great way to spend the Saturday before Earth Day!

OK, now to totally switch gears to another Earth Day topic – canning! And other food preservation. I love to can (if you haven’t realized this yet, I’m not sure what blog you’ve been reading), but it’s not just fun and delicious. It can be good for the planet too, and for you! Yes, I’ve been posting a lot of sugary jam recipes lately, but really how much jam do I actually eat? And I do often go for much less sugar. But anyways, let me get to the point – here are my top reasons that you should start preserving this Earth Day . Some of them are earth friendly and some health friendly reasons.

1. It allows you to eat local even in the dead of winter.
This should really count are more than one reason since eating local has so many benefits:
– less emissions from your food travelling
– fresher food
– knowledge of where your food came from – talk to your farmer!
So many foods are available for only a short period, but preserve very well. Berries and fruits are
great canned and some freeze well also. Many vegetables can be pressure canned or are great
pickled, and freeze well. Herbs can be dried, or frozen in oil.

2. You produce less waste
Canning jars are reusable over and over again. Every time you eat a store bought canned good,
you either produce waste throwing it away, or even if you recycle it, it takes energy to do that.
Can your own and that jar is good until it get chipped or cracked!

3. You can customize your recipes (to a safe extent)
Certain things can’t be adjusted in canning because it makes recipes unsafe, such as the
amount of vinegar or lemon juice you add, but there are countless ways that you can customize
recipes to suit your needs
– Use less sugar and a low sugar pectin
– Try sweetening things with honey or stevia
– Adjust saltiness and spiciness to your preference
– Sweeten pickled goods that are too strong with a small amount of sweetener
– Choose the size of jar you preserve in to be appropriate for how much your family eats,
reducing wasted food

4. It can save you money
– Preserve things you grow yourself
– Buy in bulk at the peak of the season, split it with a friend to possibly save even more
– Go to pick your own places to get the same produce cheaper than at the market
Canning can end up being more expensive than store bought, such as when you buy a ton of
tomatoes to make sauce, so plan accordingly by planting the most expensive produce and
things you use the most.

5. People love it when you give canned goods away!

Which leads me to why you forced yourself to read this whole post – the jam giveaway! In celebration of Earth Day, and to spread the love of canning I am giving away one jar of my rhubarb orange jam (click for the recipe). Please enter by commenting below and telling me what you are doing to celebrate Earth Day. One entry per person, and it has to be a comment on the blog not the facebook page so it’s easier for me to just draw from one pool of comments. Good luck! Contest will close one week from today – April 29th at 9pm Pacific time. And for now, just open to US and Canada please. Thanks!

IMG_1639 copy

Strawberry Rhubarb Jam

Strawberries and rhubarb are perfect for each other – a delicious match of sweet and tart! This recipe calls for a 1:1 ratio of strawberries to rhubarb, but you are welcome to do a little less rhubarb if you want. I love the tartness of it though, and would actually recommend doing this with a reduced sugar pectin and less sugar to really let the rhubarb shine. Here are the ingredients as written in the  Ball Complete Book of Home Preserving, but the low sugar sure jell does 6 cups of berries to 4 cups sugar, so I think I’d go for that level of sweetness next time.

Ingredients:
2 cups crushed strawberries
2 cups chopped rhubarb
4 tbsp lemon juice
1 package powdered fruit pectin
5.5 cups granulated sugar

IMG_1932 copy

Step one for this jam is preparing the canner, jars and lids. It’s another pectin recipe so is a quick one. This will yield about 6-7 half pints.

Mix together the crushed strawberries, rhubarb, pectin, and lemon juice in a deep stainless steel saucepan. Measure out the sugar and set it aside so it can be added all at once.

IMG_1937 copy

Bring the jam to a boil over high heat. Stir, stir, stir! Once boiling, dump in the sugar and return to a boil. Once at a full boil, maintain for one minute, remove from heat, skim foam and fill jars.

IMG_1948 copy

Fill the jars, leaving a quarter inch head space. Wipe rims, apply lids, and tighten bands finger tip tight. Place filled jars in the canner, covered by at least 1-2 inches of water. Bring to a full rolling boil, and process for 10 minutes. After 10 minutes, remove canner lid, wait 5 minutes and remove the jars to a hot pad or towel. Cool 12-24 hours, remove bands, wipe clean, label and store.

IMG_1959 copy

Such a beautiful and delicious jam!

IMG_2031 copy