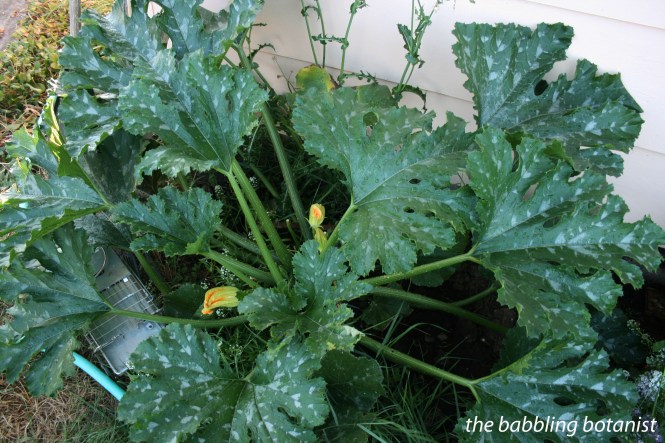
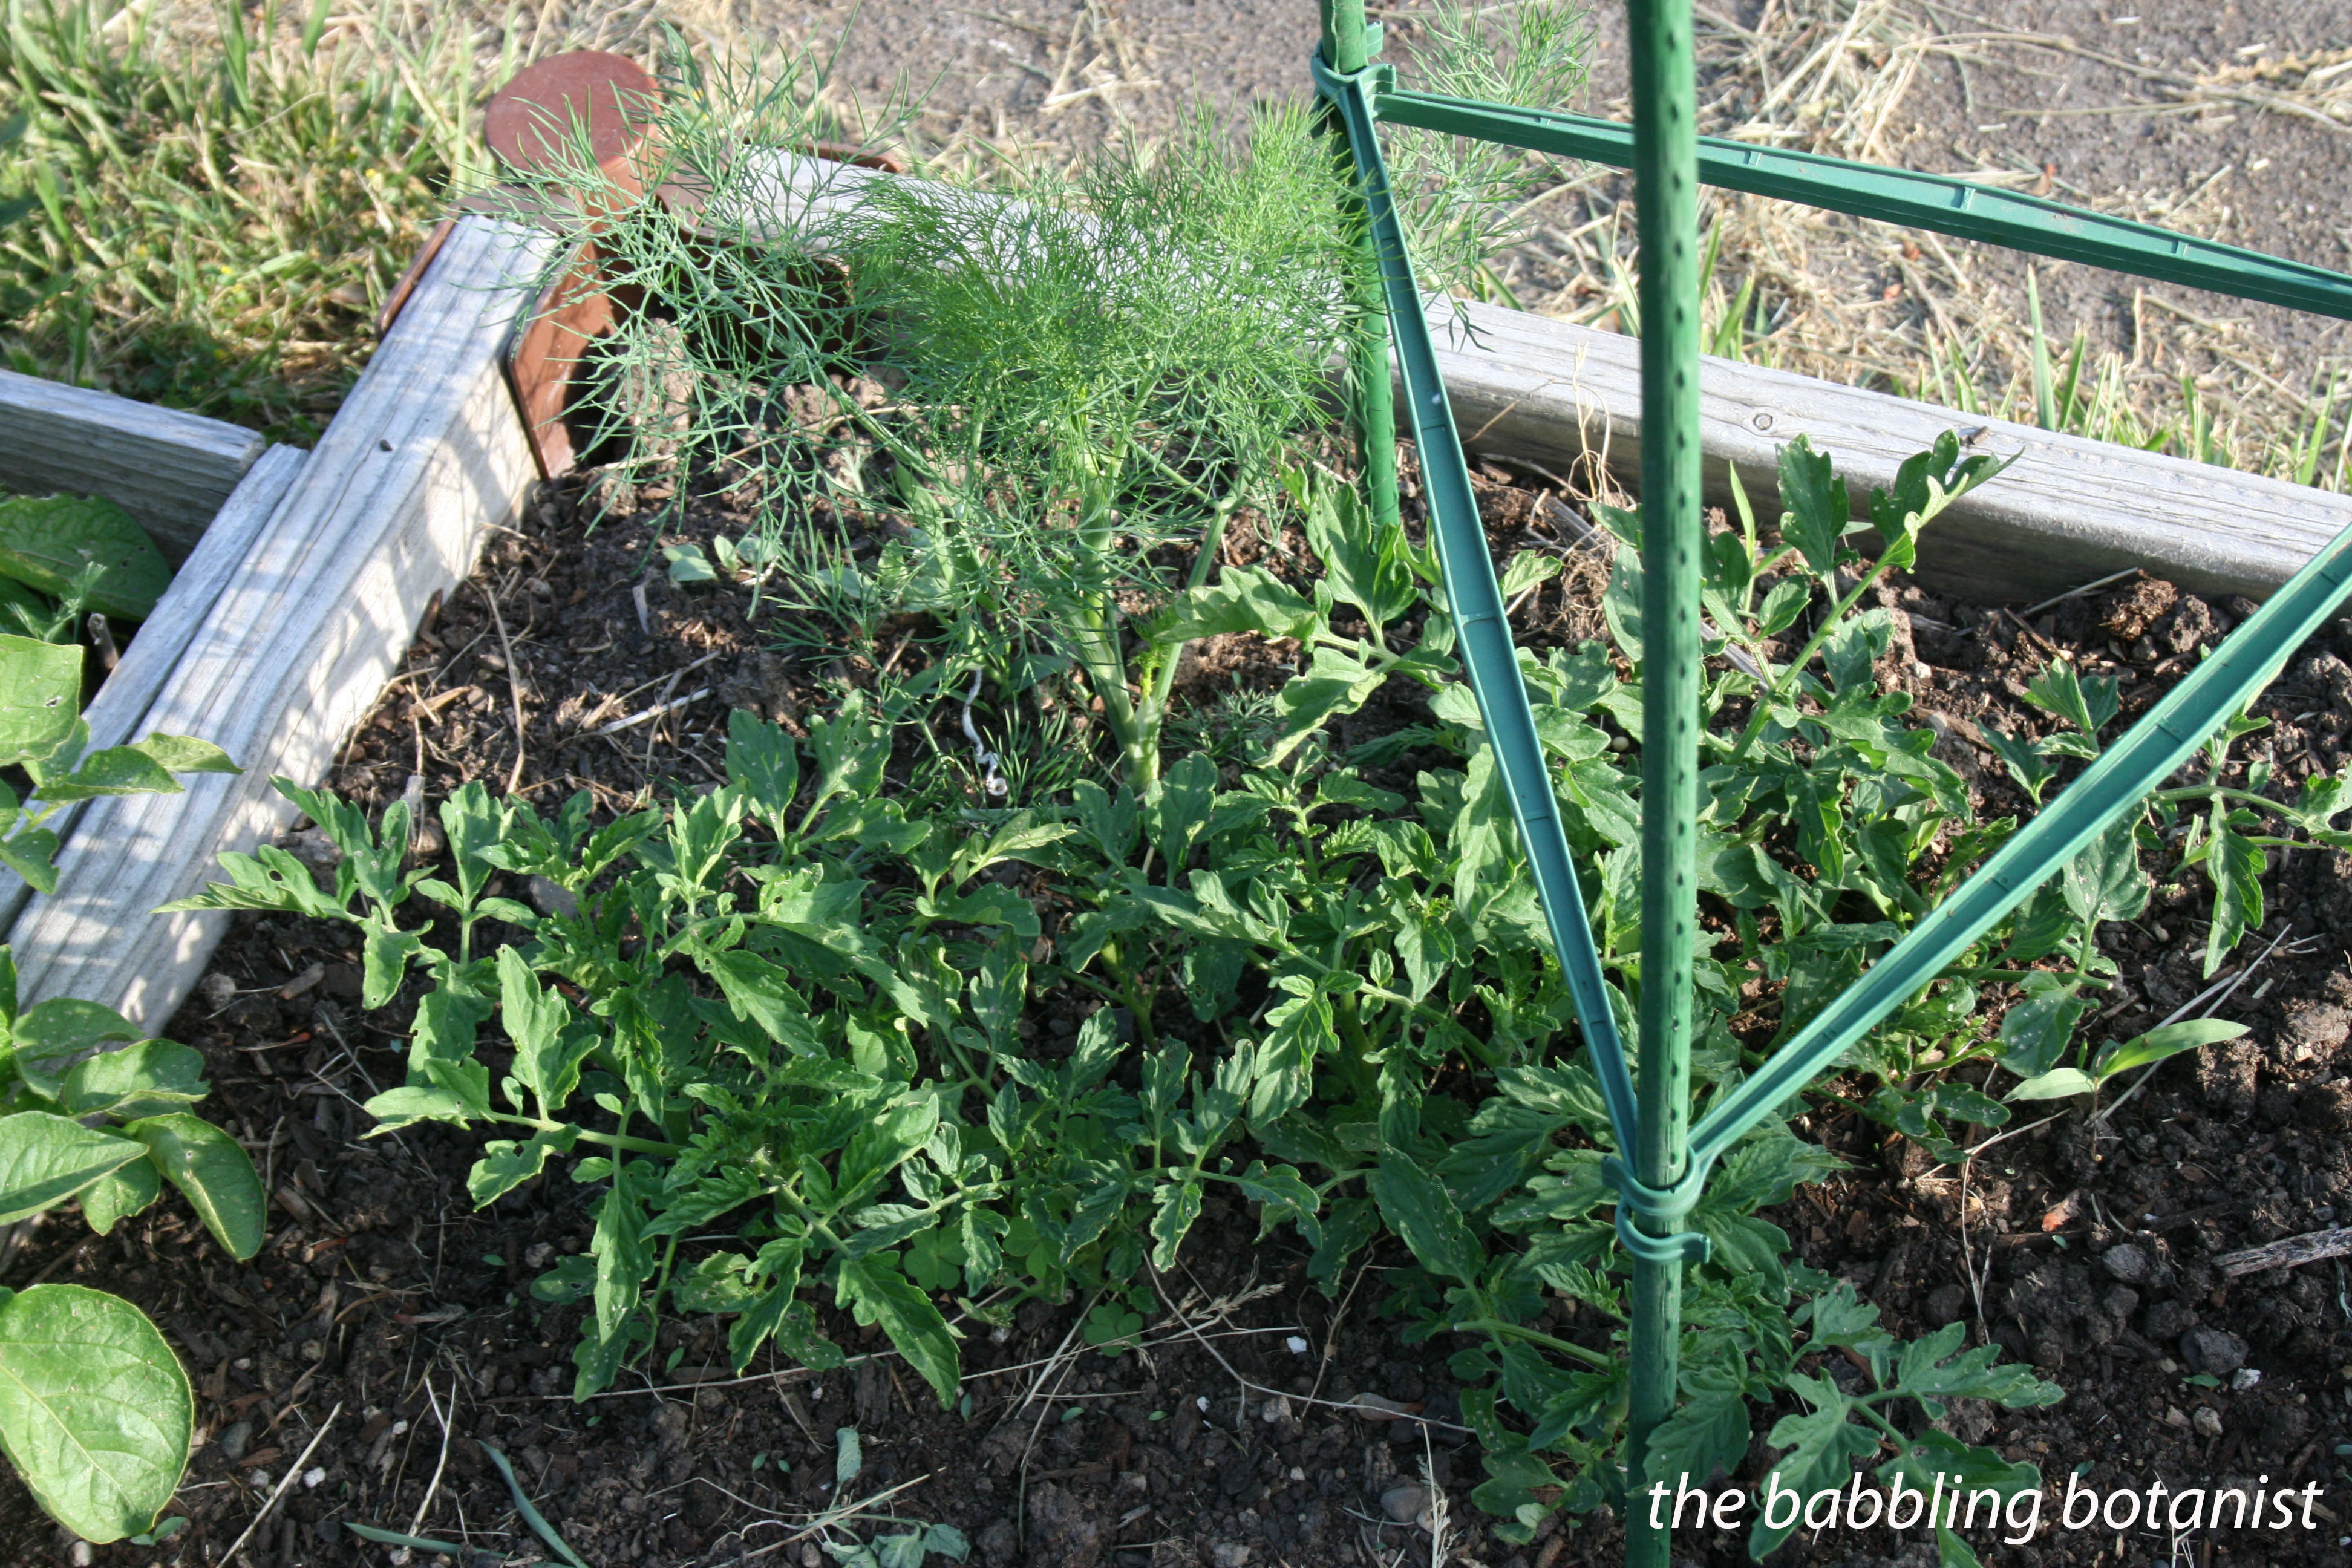
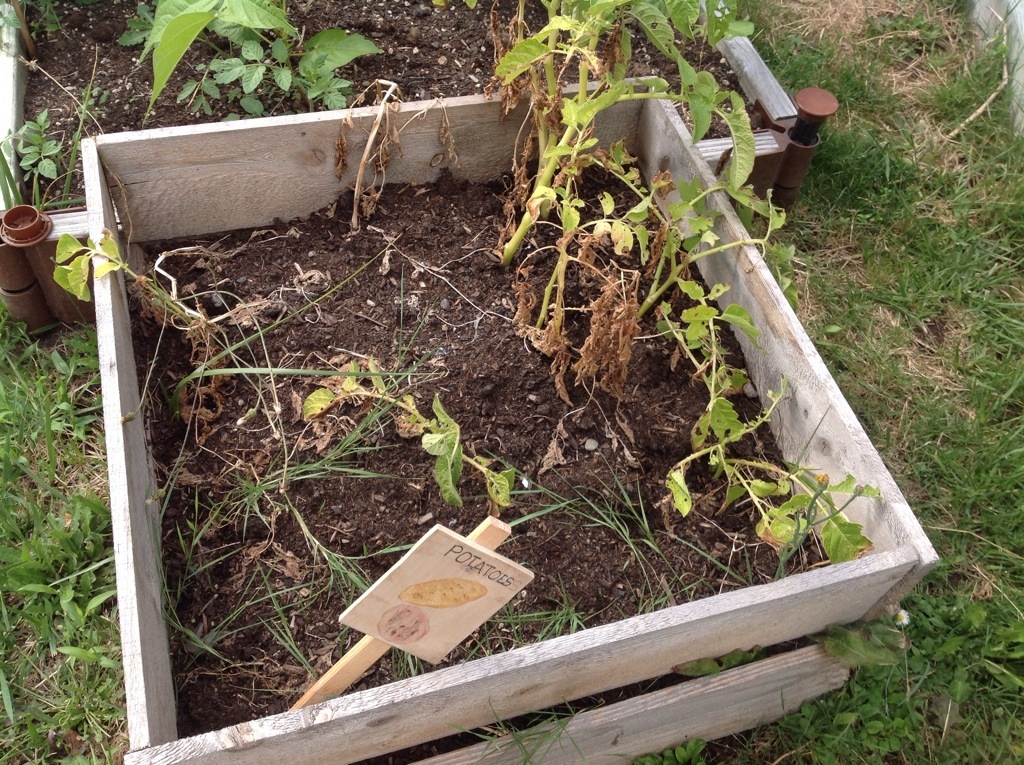
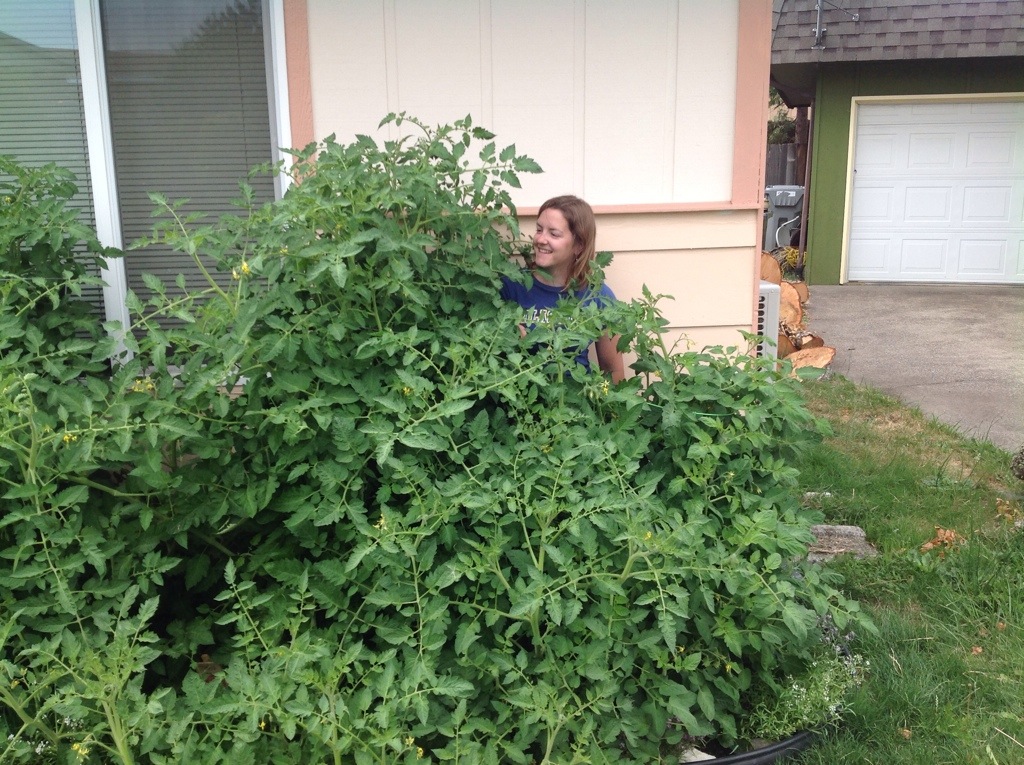
For me, this has been a question I’ve asked myself for the past few years, and I just changed my answer this year! I decided to dive in and grow my own, and here is why.
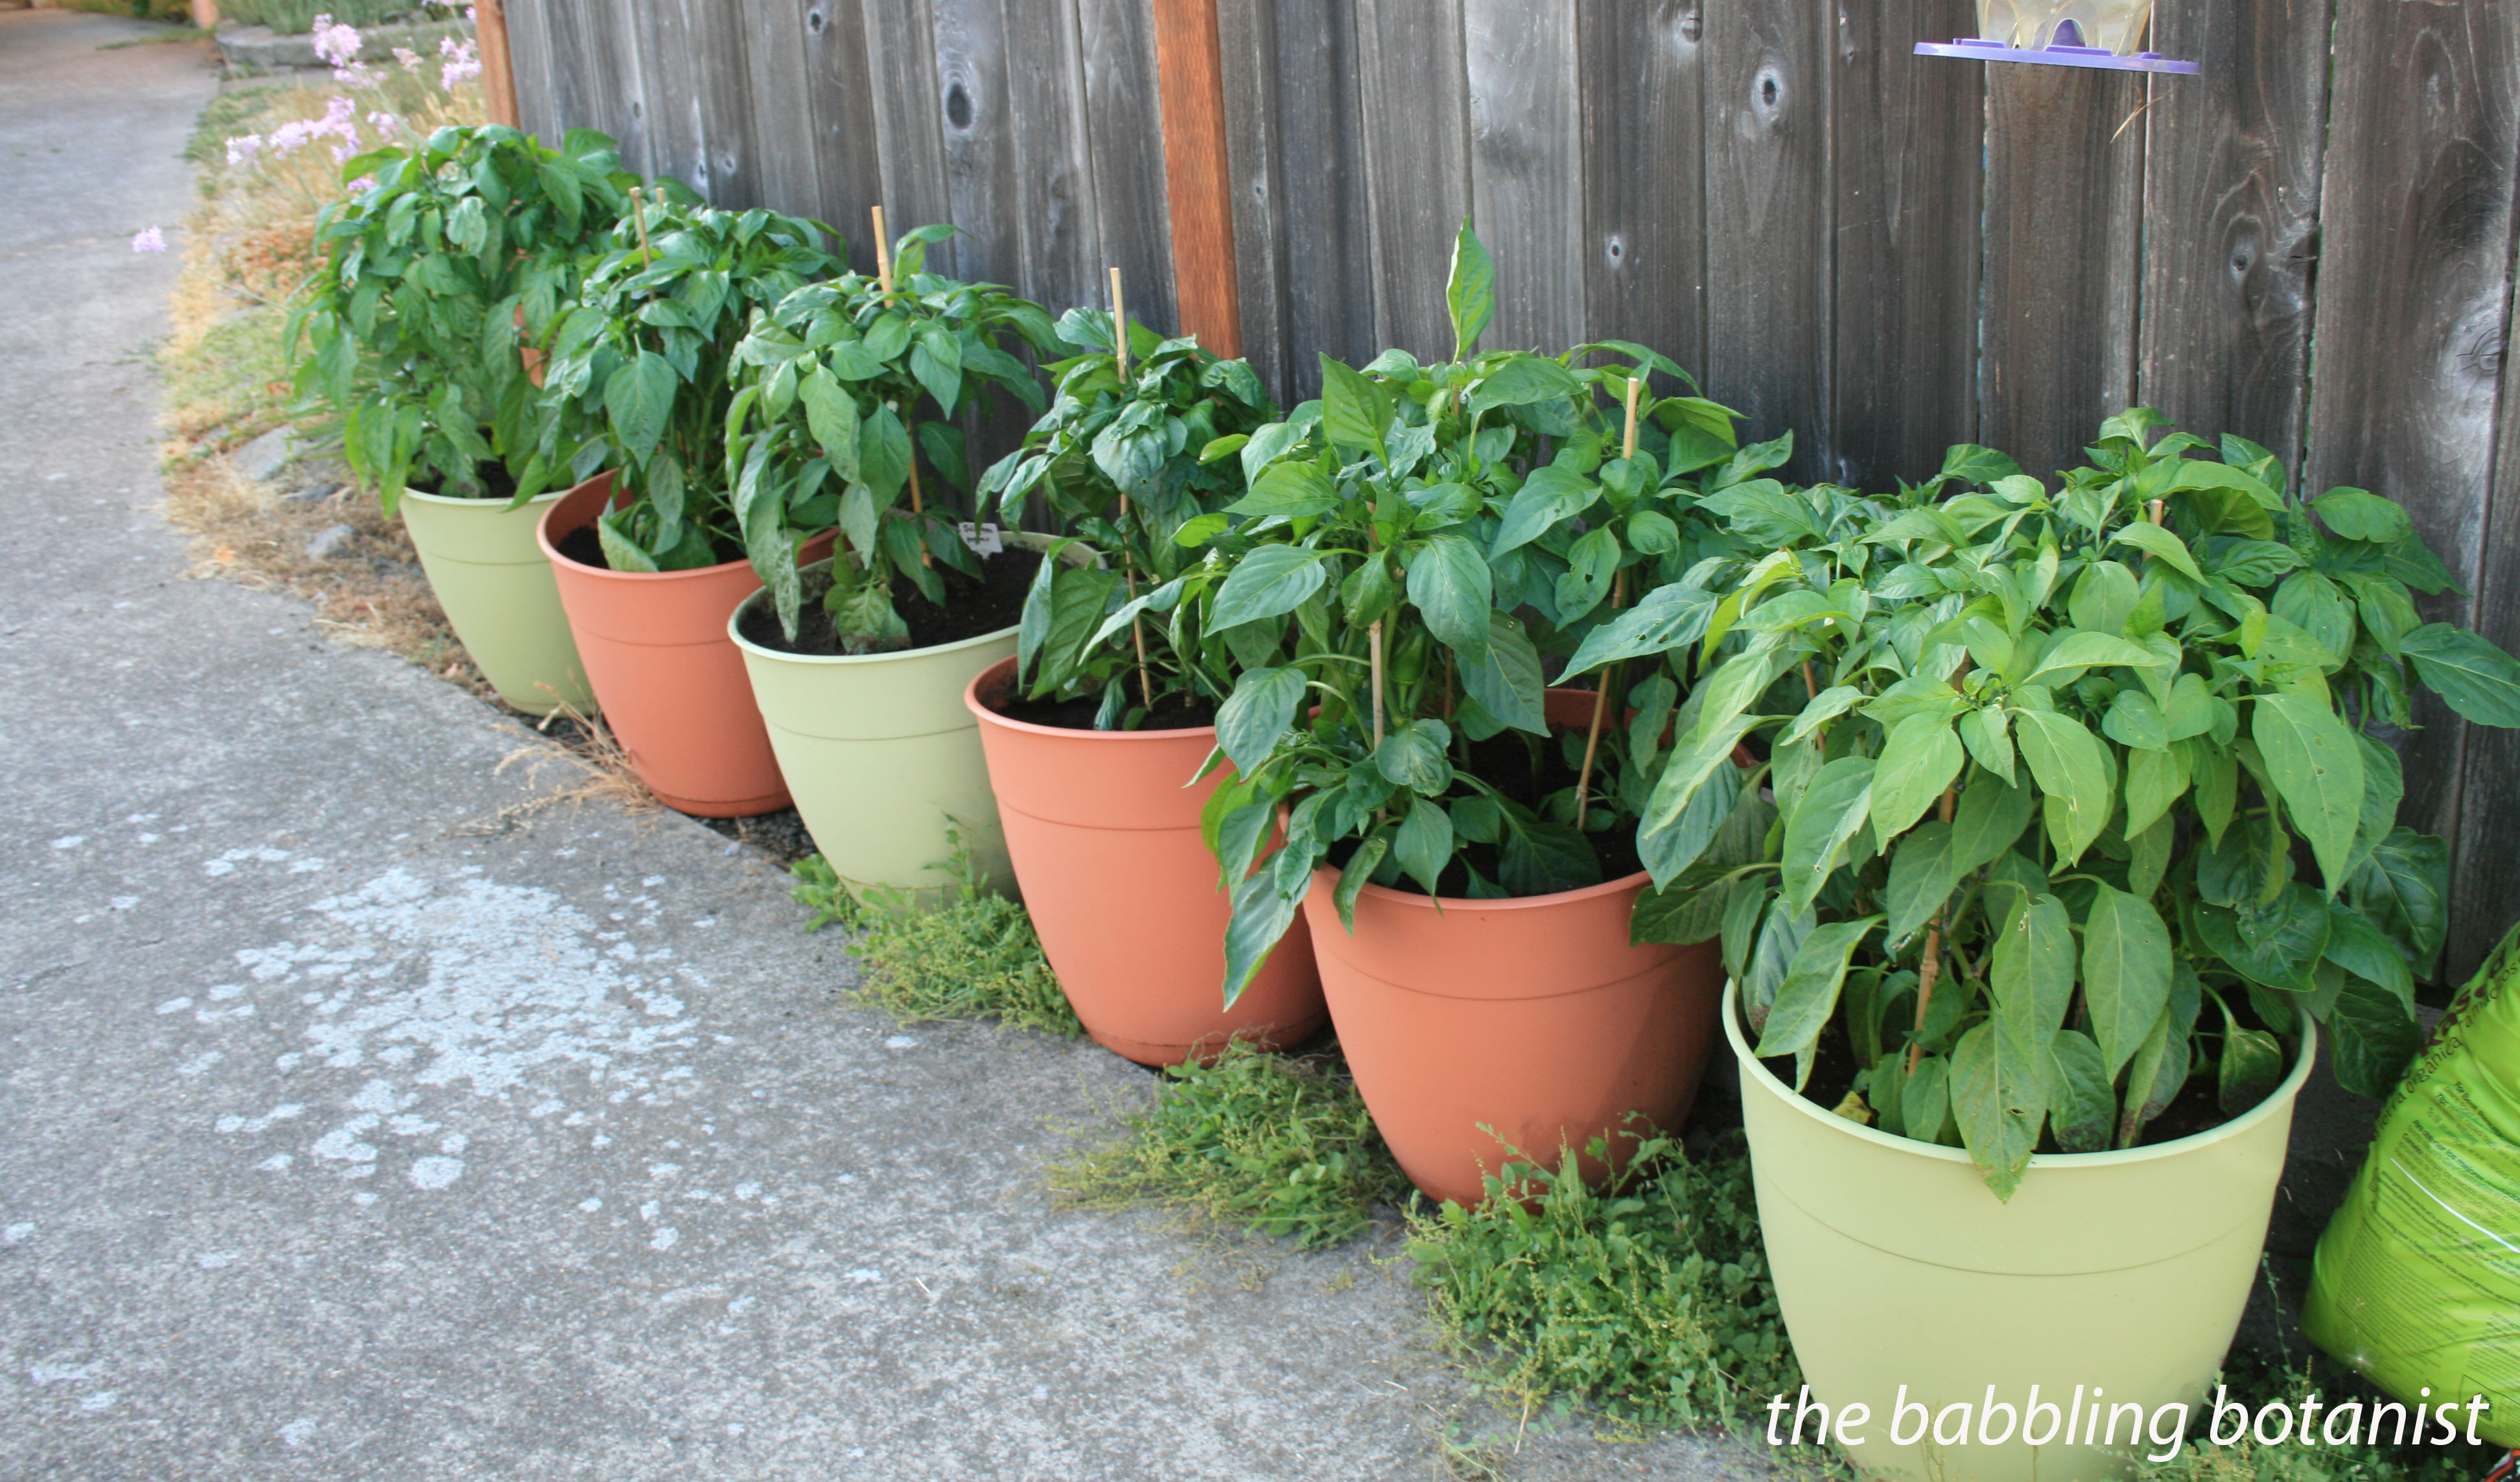
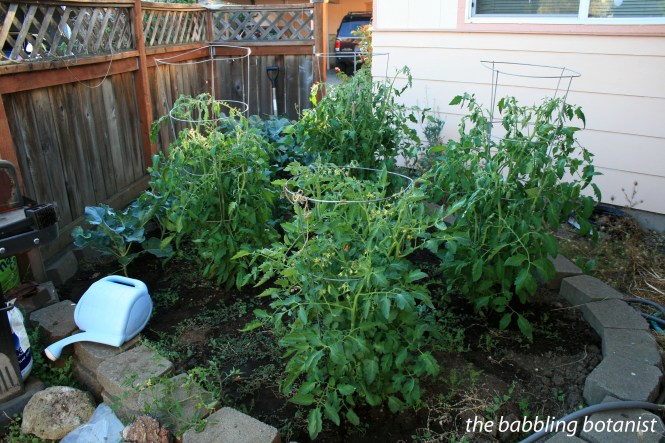
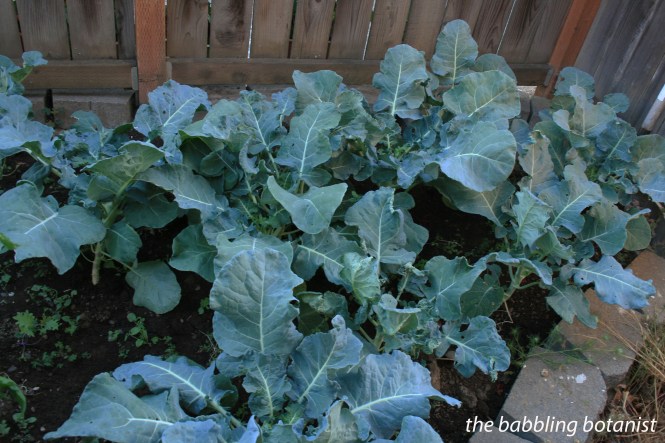
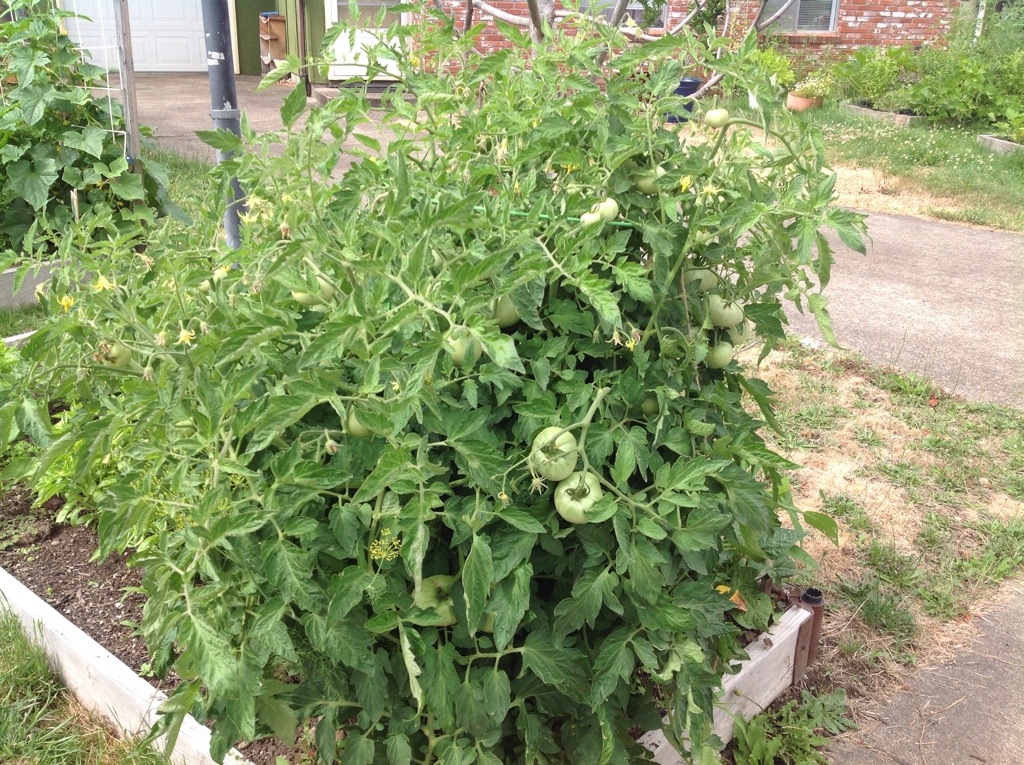
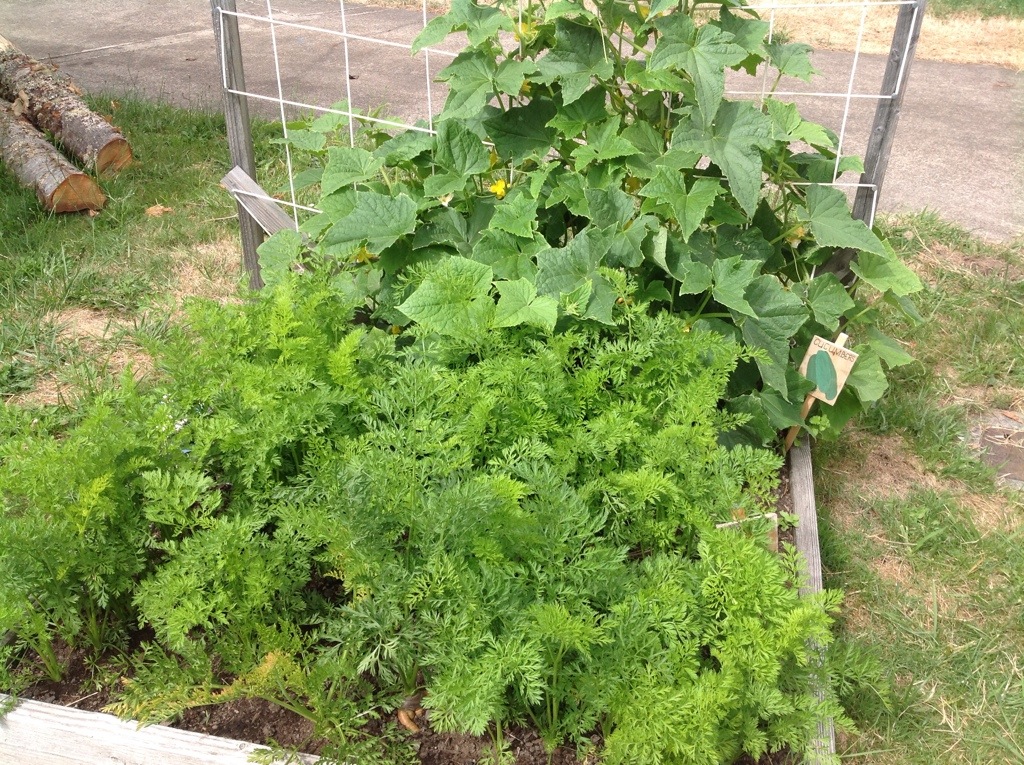
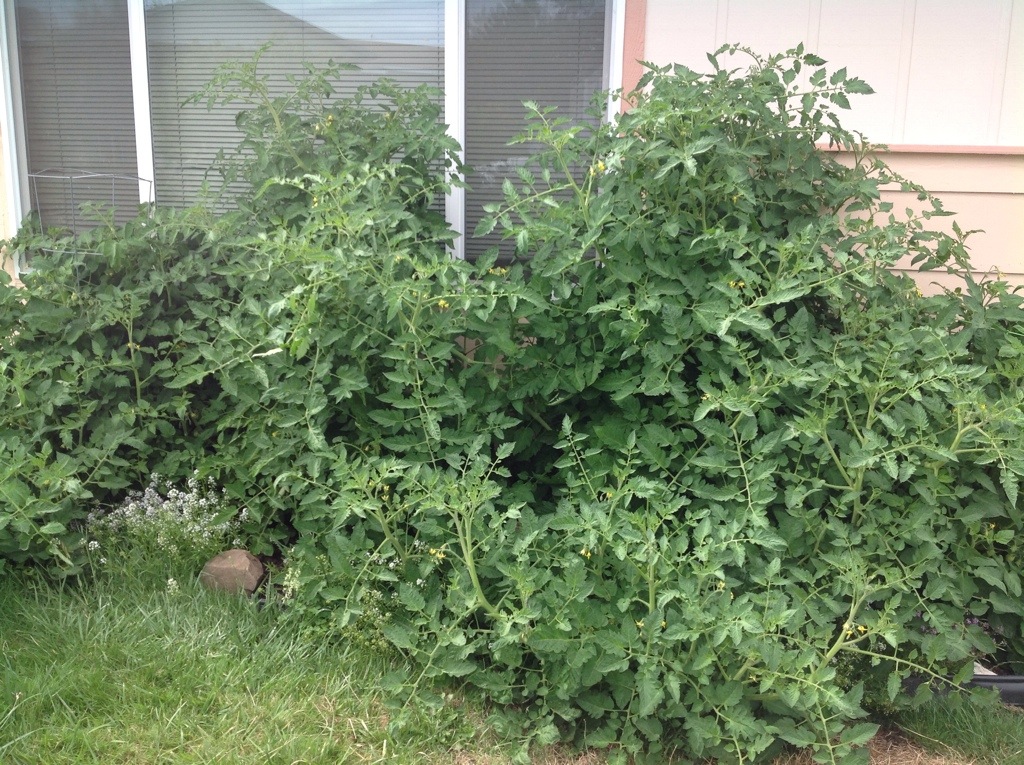
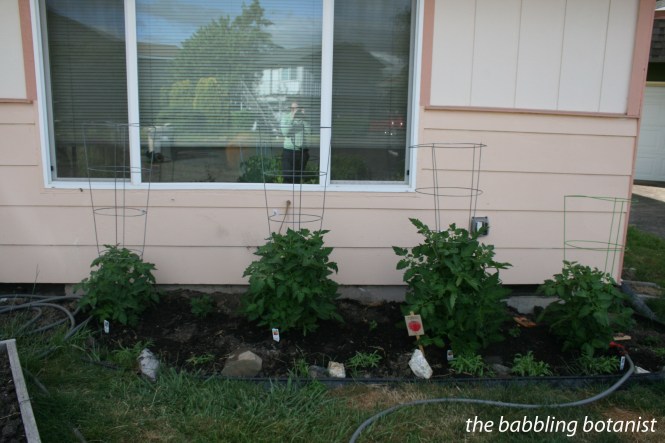
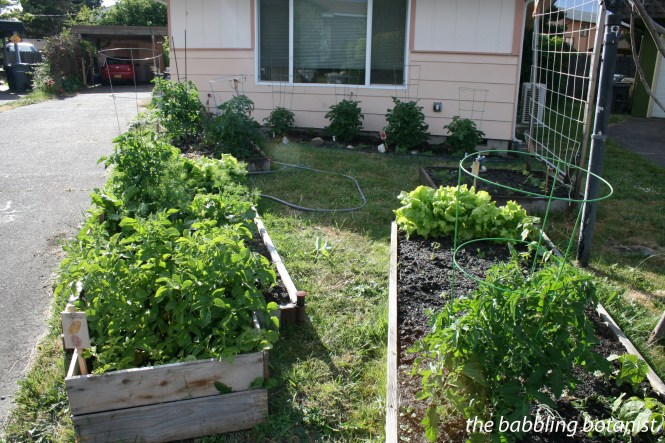
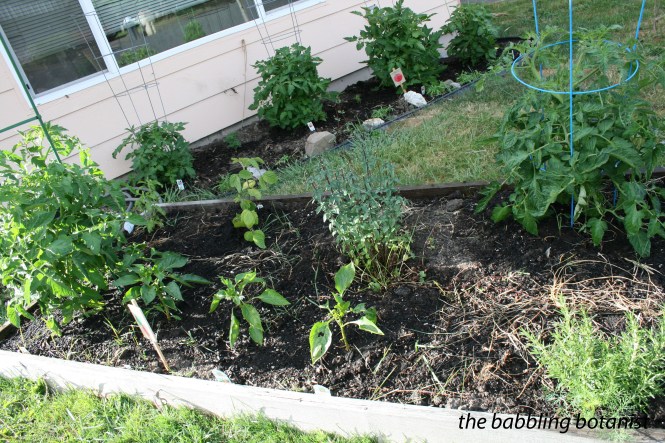
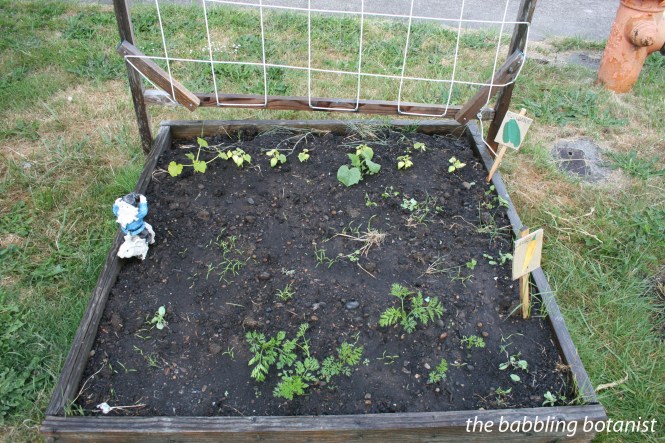
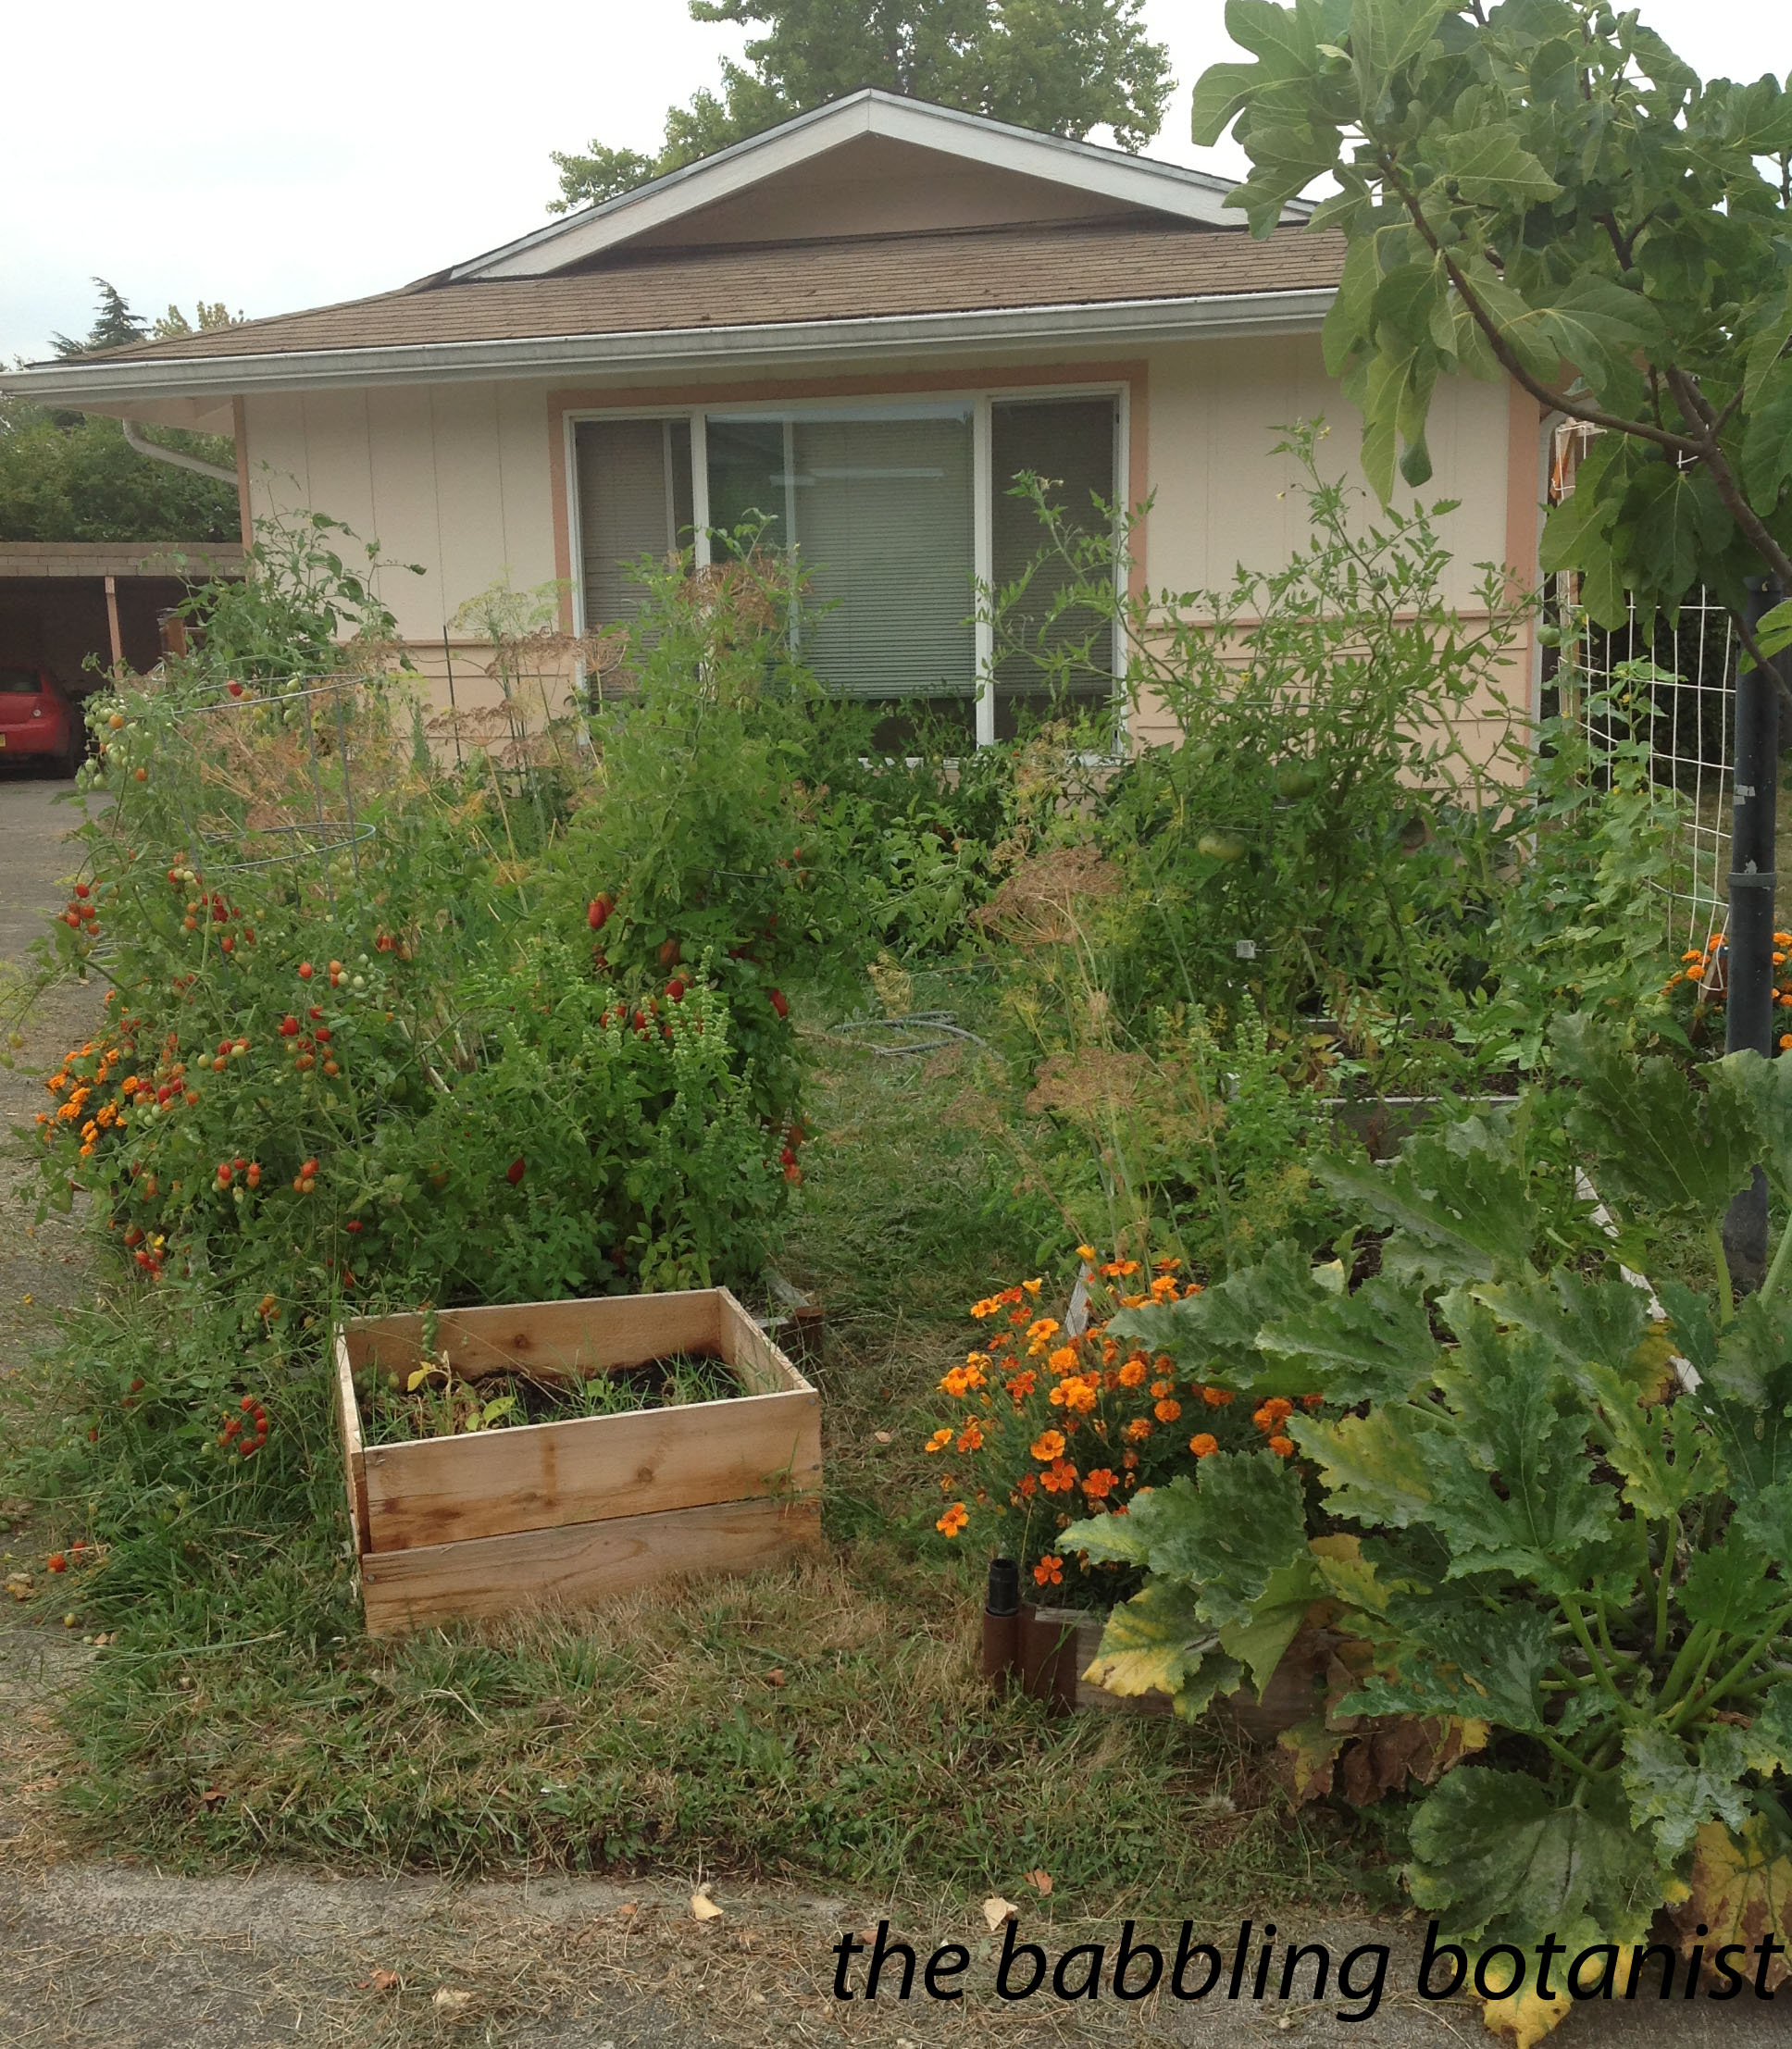
Some crops (like tomatoes and peppers) really need to start inside and be transplanted outside when the weather warms enough, but the decision whether to start your own or buy them can be a difficult one for a beginner gardener (or at least I thought so!). To me, the answer is easier if you have a really tiny garden, or a really massive garden, but when you are somewhere in between, as I am, the decision can be a little more difficult. With a small garden where you just grow two or three tomato plants, buying a couple quality starts is likely more worthwhile than buying a whole pack of seeds when you only want a couple, and investing in grow lights (but if you want to, go for it!). On the flip side, it makes the most sense to start your own seeds, I think, if your garden is really large. So, if you are currently in the middle somewhere with me, I thought I’d let you in on the math that I did to make my decision. I have about 180 square feet of garden, and in the past three years that I’ve had this garden I’ve usually purchased starts for my tomatoes, peppers, marigolds, alyssum and broccoli; so I thought I’d break down my math for you based on those plants only. Everything else that I grow I just seed outside anyways, so we’ll ignore that part for this math. So how much would it cost me, each year, to buy the starts for my garden, versus starting my own seeds?
Buying starts:
Let’s say I buy all my veggie starts for $2.50, and a pack of 6 flowers for $4.00, since that’s about the ballpark of what I spend on them. Based on last year my cost would be as follows:
12 tomatoes $30
4 peppers $10
4 broccoli $10
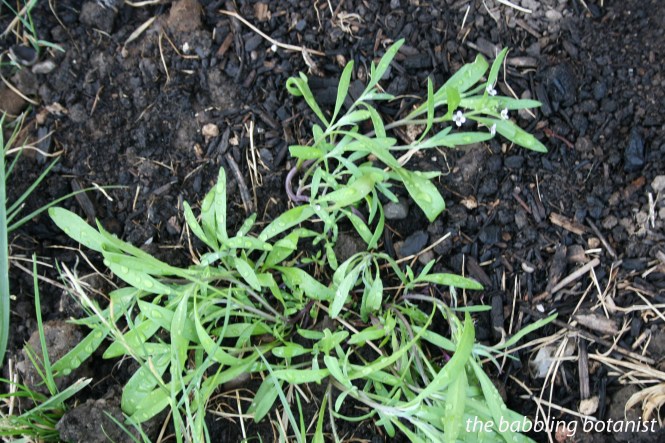
12 alyssum $8
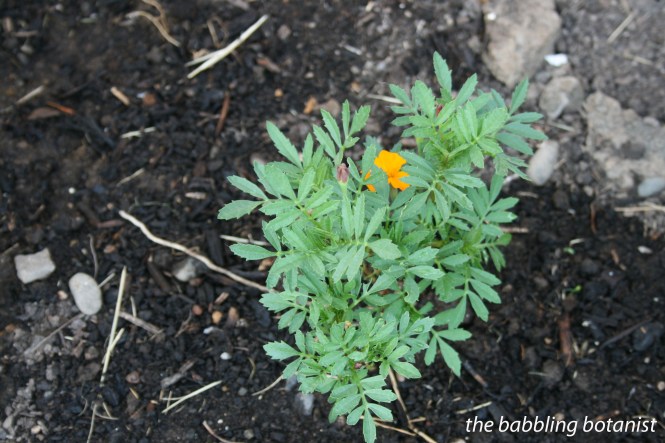
12 marigolds $8
$66
You could, of course, also spend more if you’re buying larger starts, etc.
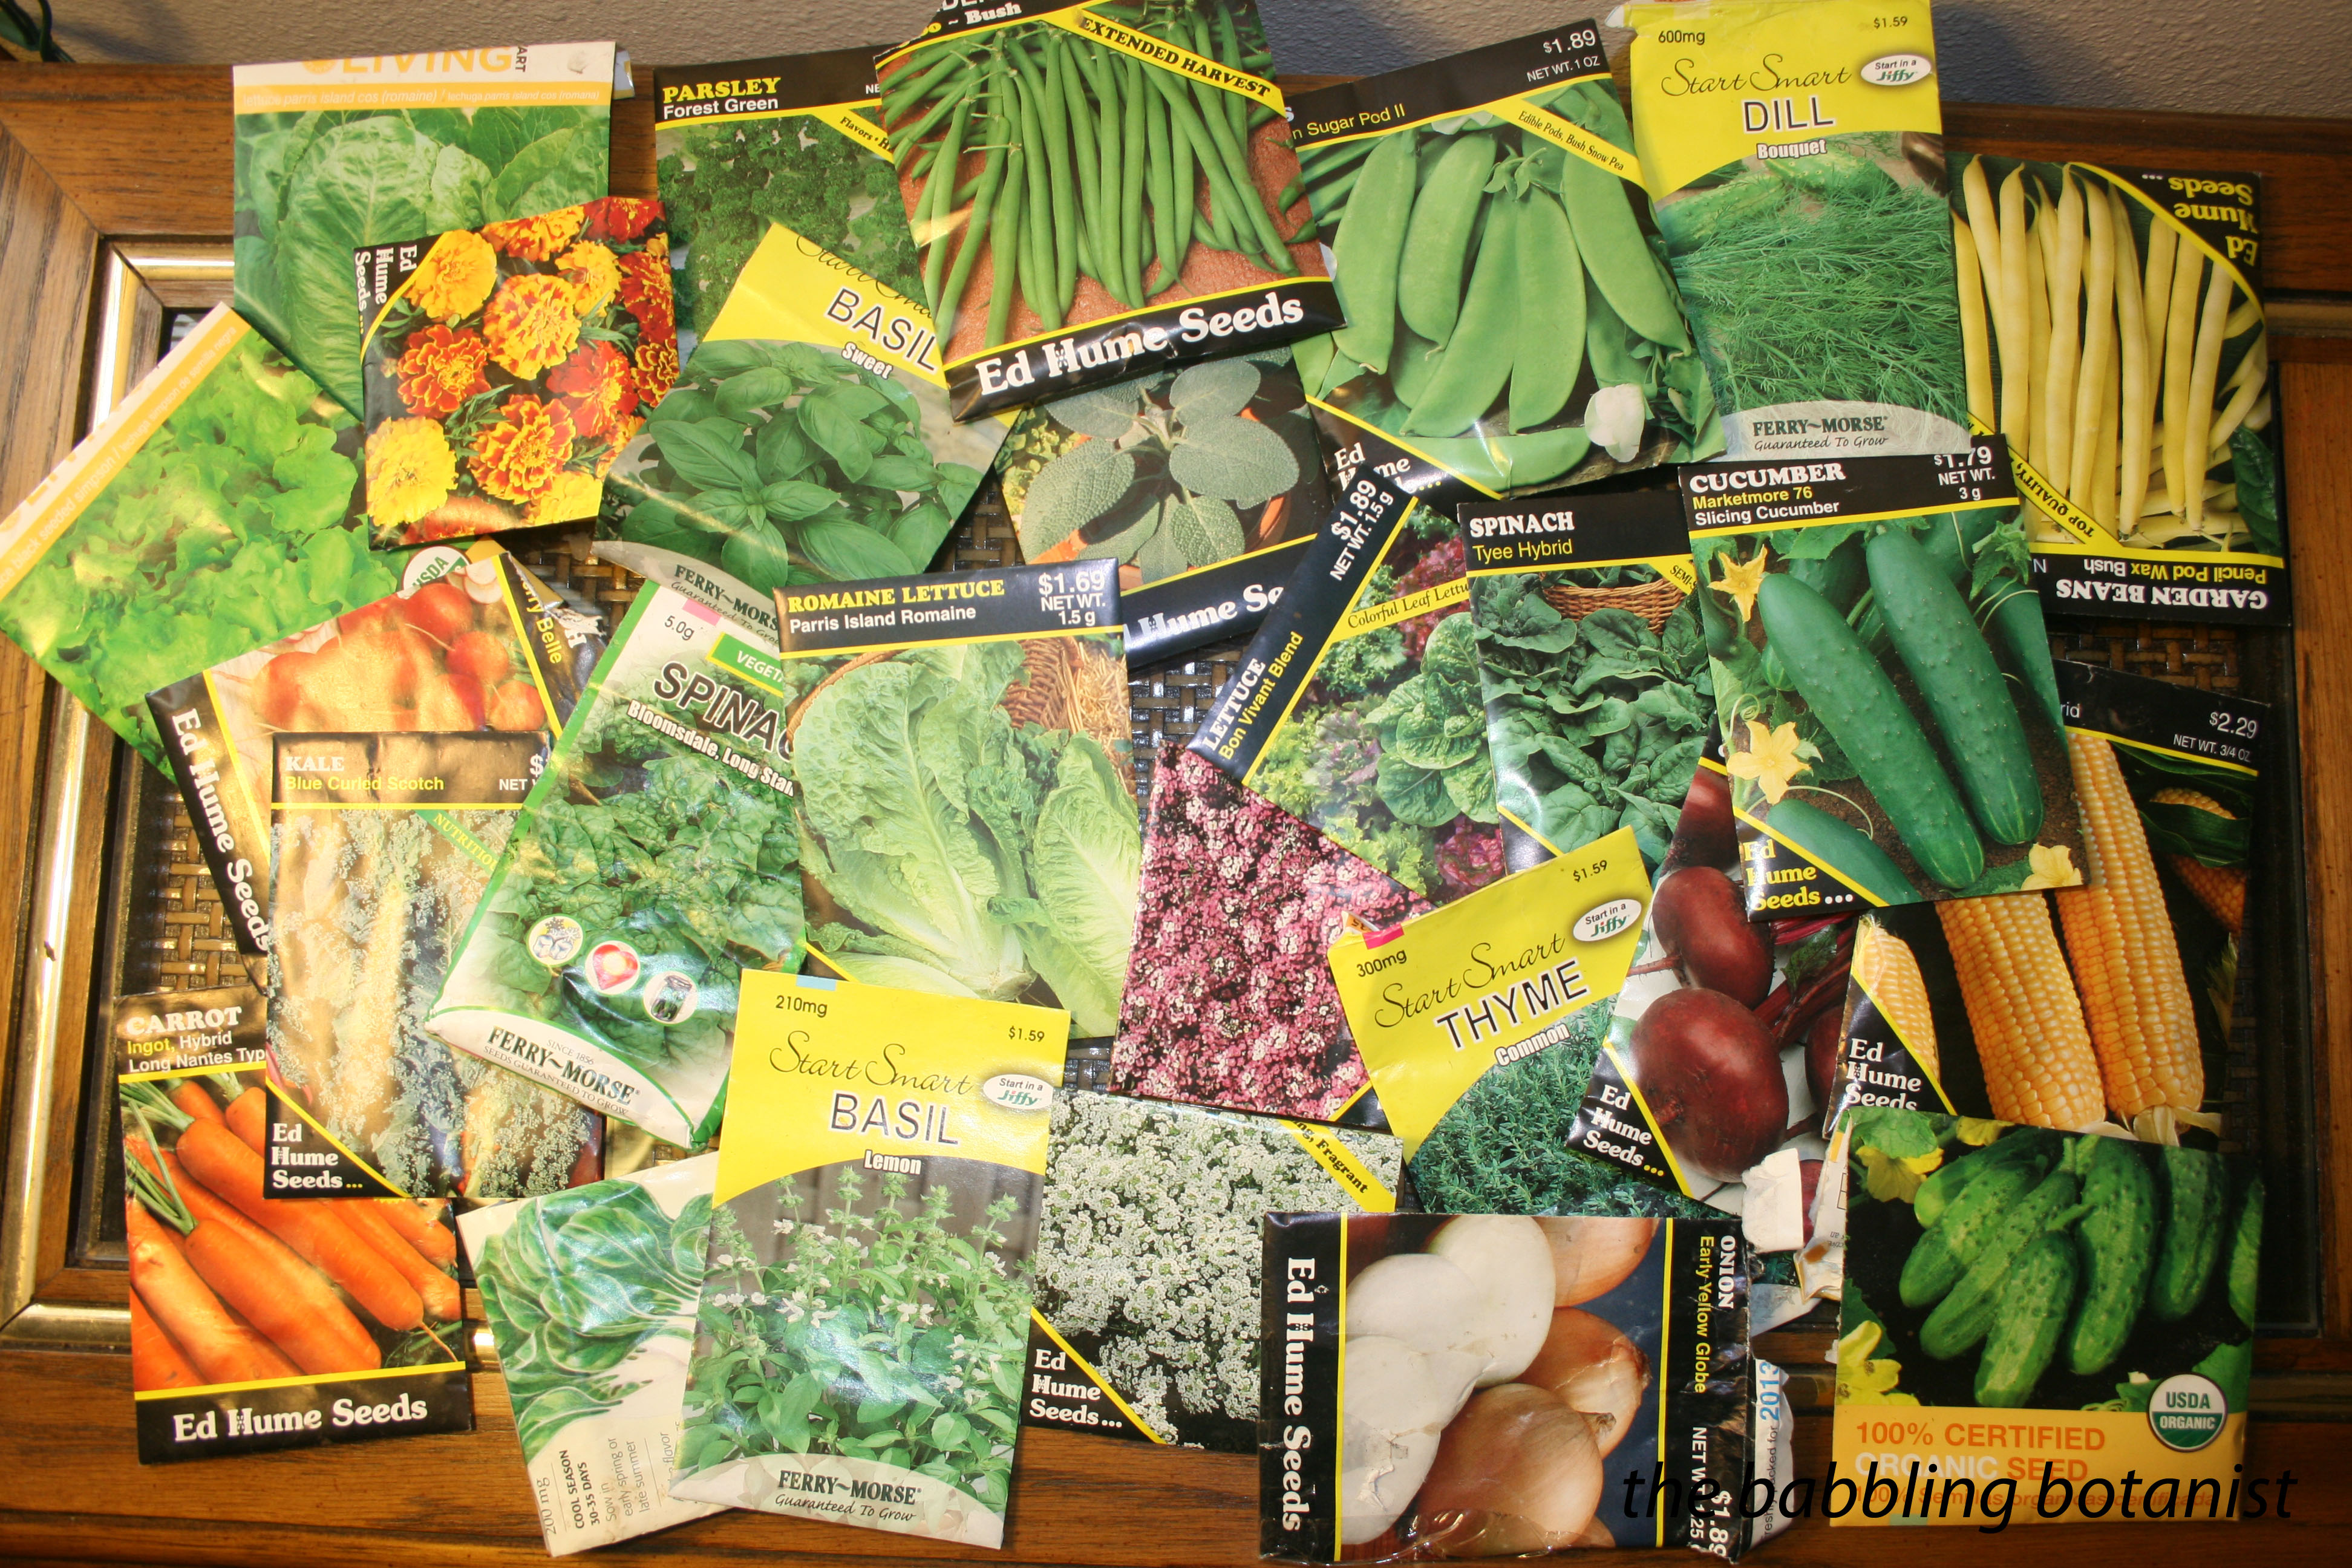
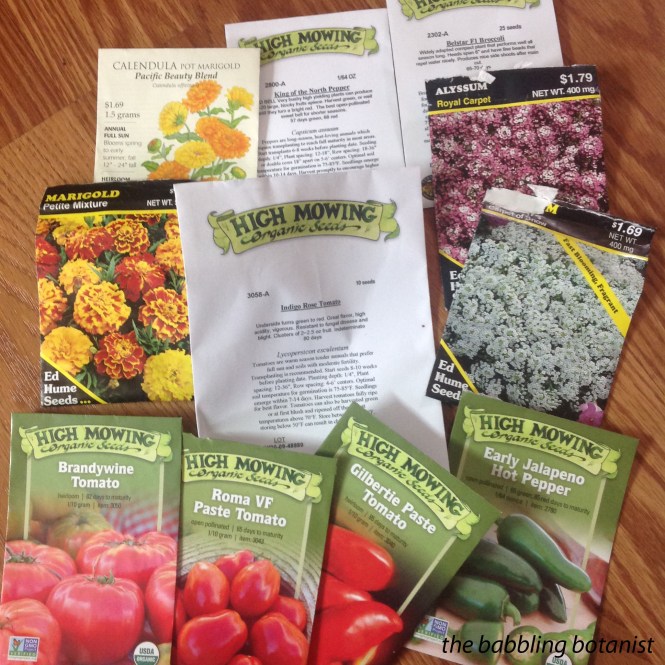
What if I buy the seeds and equipment needed to start my own? It gets a little more complicated if you are also buying multiple varieties of tomatoes and pepper (which I did). So here is the cost for the seeds I actually purchased this year. And as a note, these are certified organic, non-GMO seeds (the tomatoes and peppers at least), so are also on the higher end of cost.
Indigo Rose Tomato $2.75
Roma VF Tomato $2.75
Gilbertie Tomato $2.75
Brandywine Tomato $2.75
Marigold $1.69
Calendula $1.69
Alyssum x2 $3.38
Broccoli $3.20
Jalapeno $2.75
Red Bell Pepper $2.75
$26.46
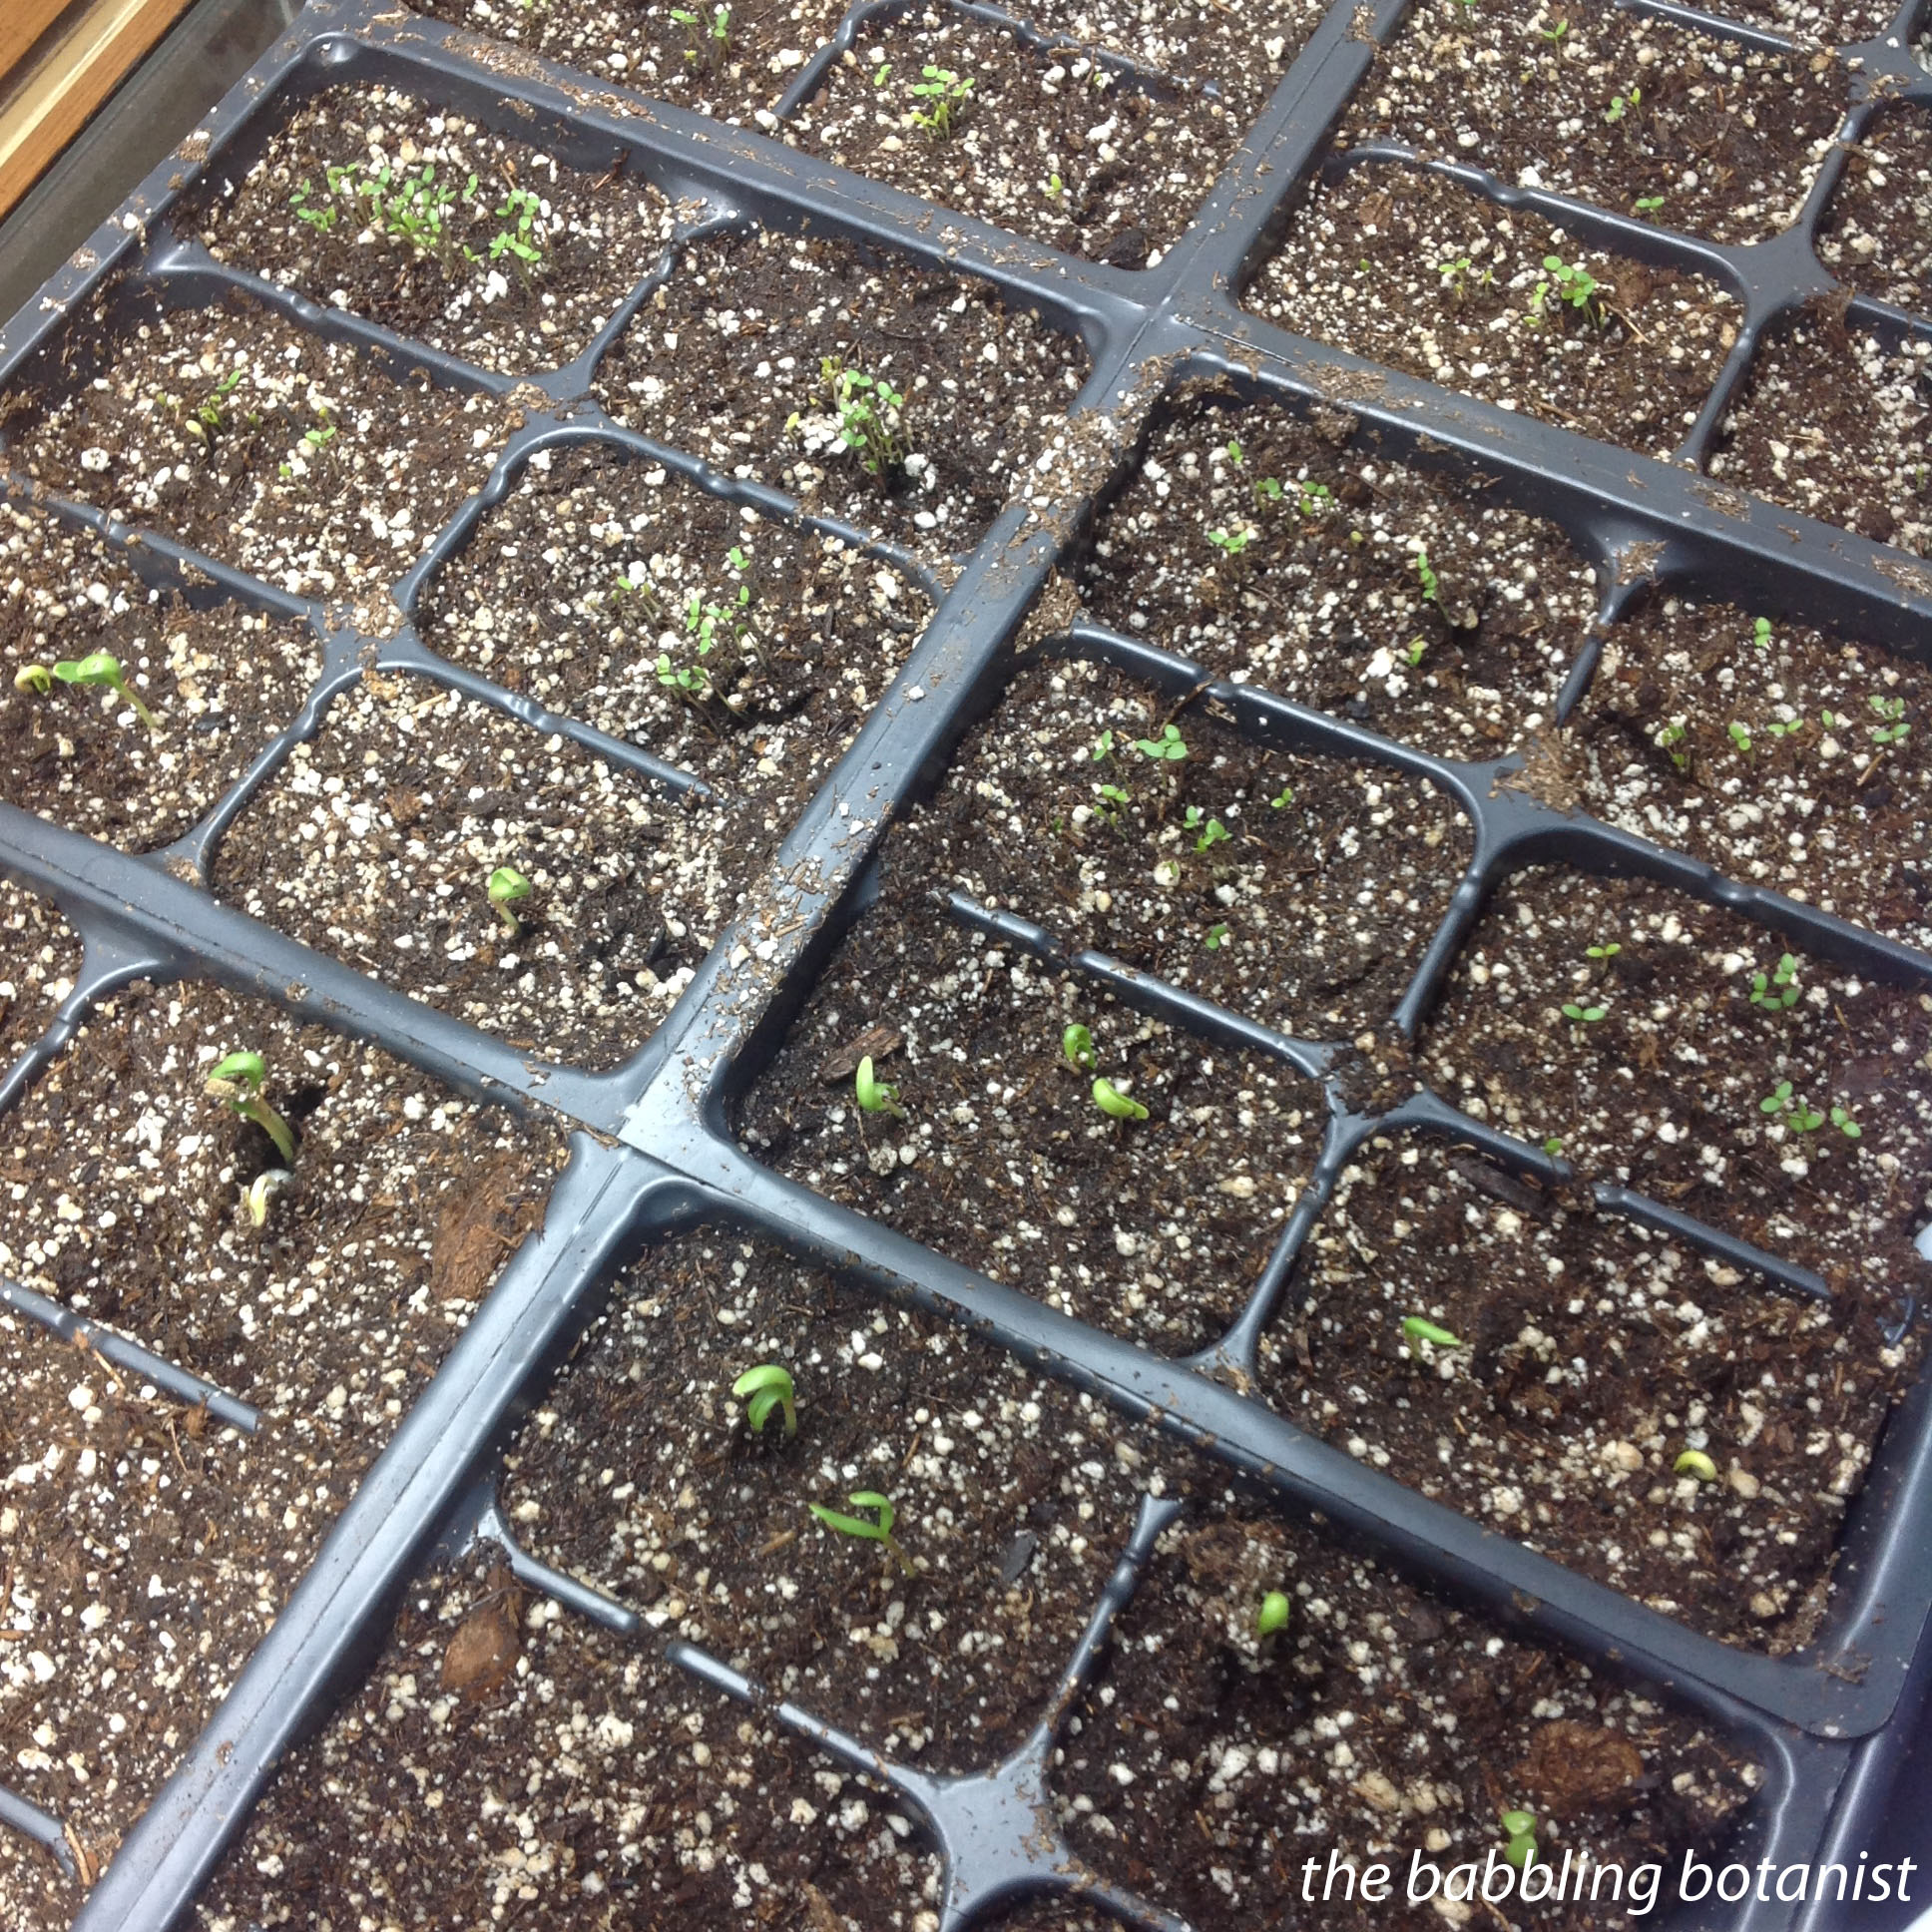
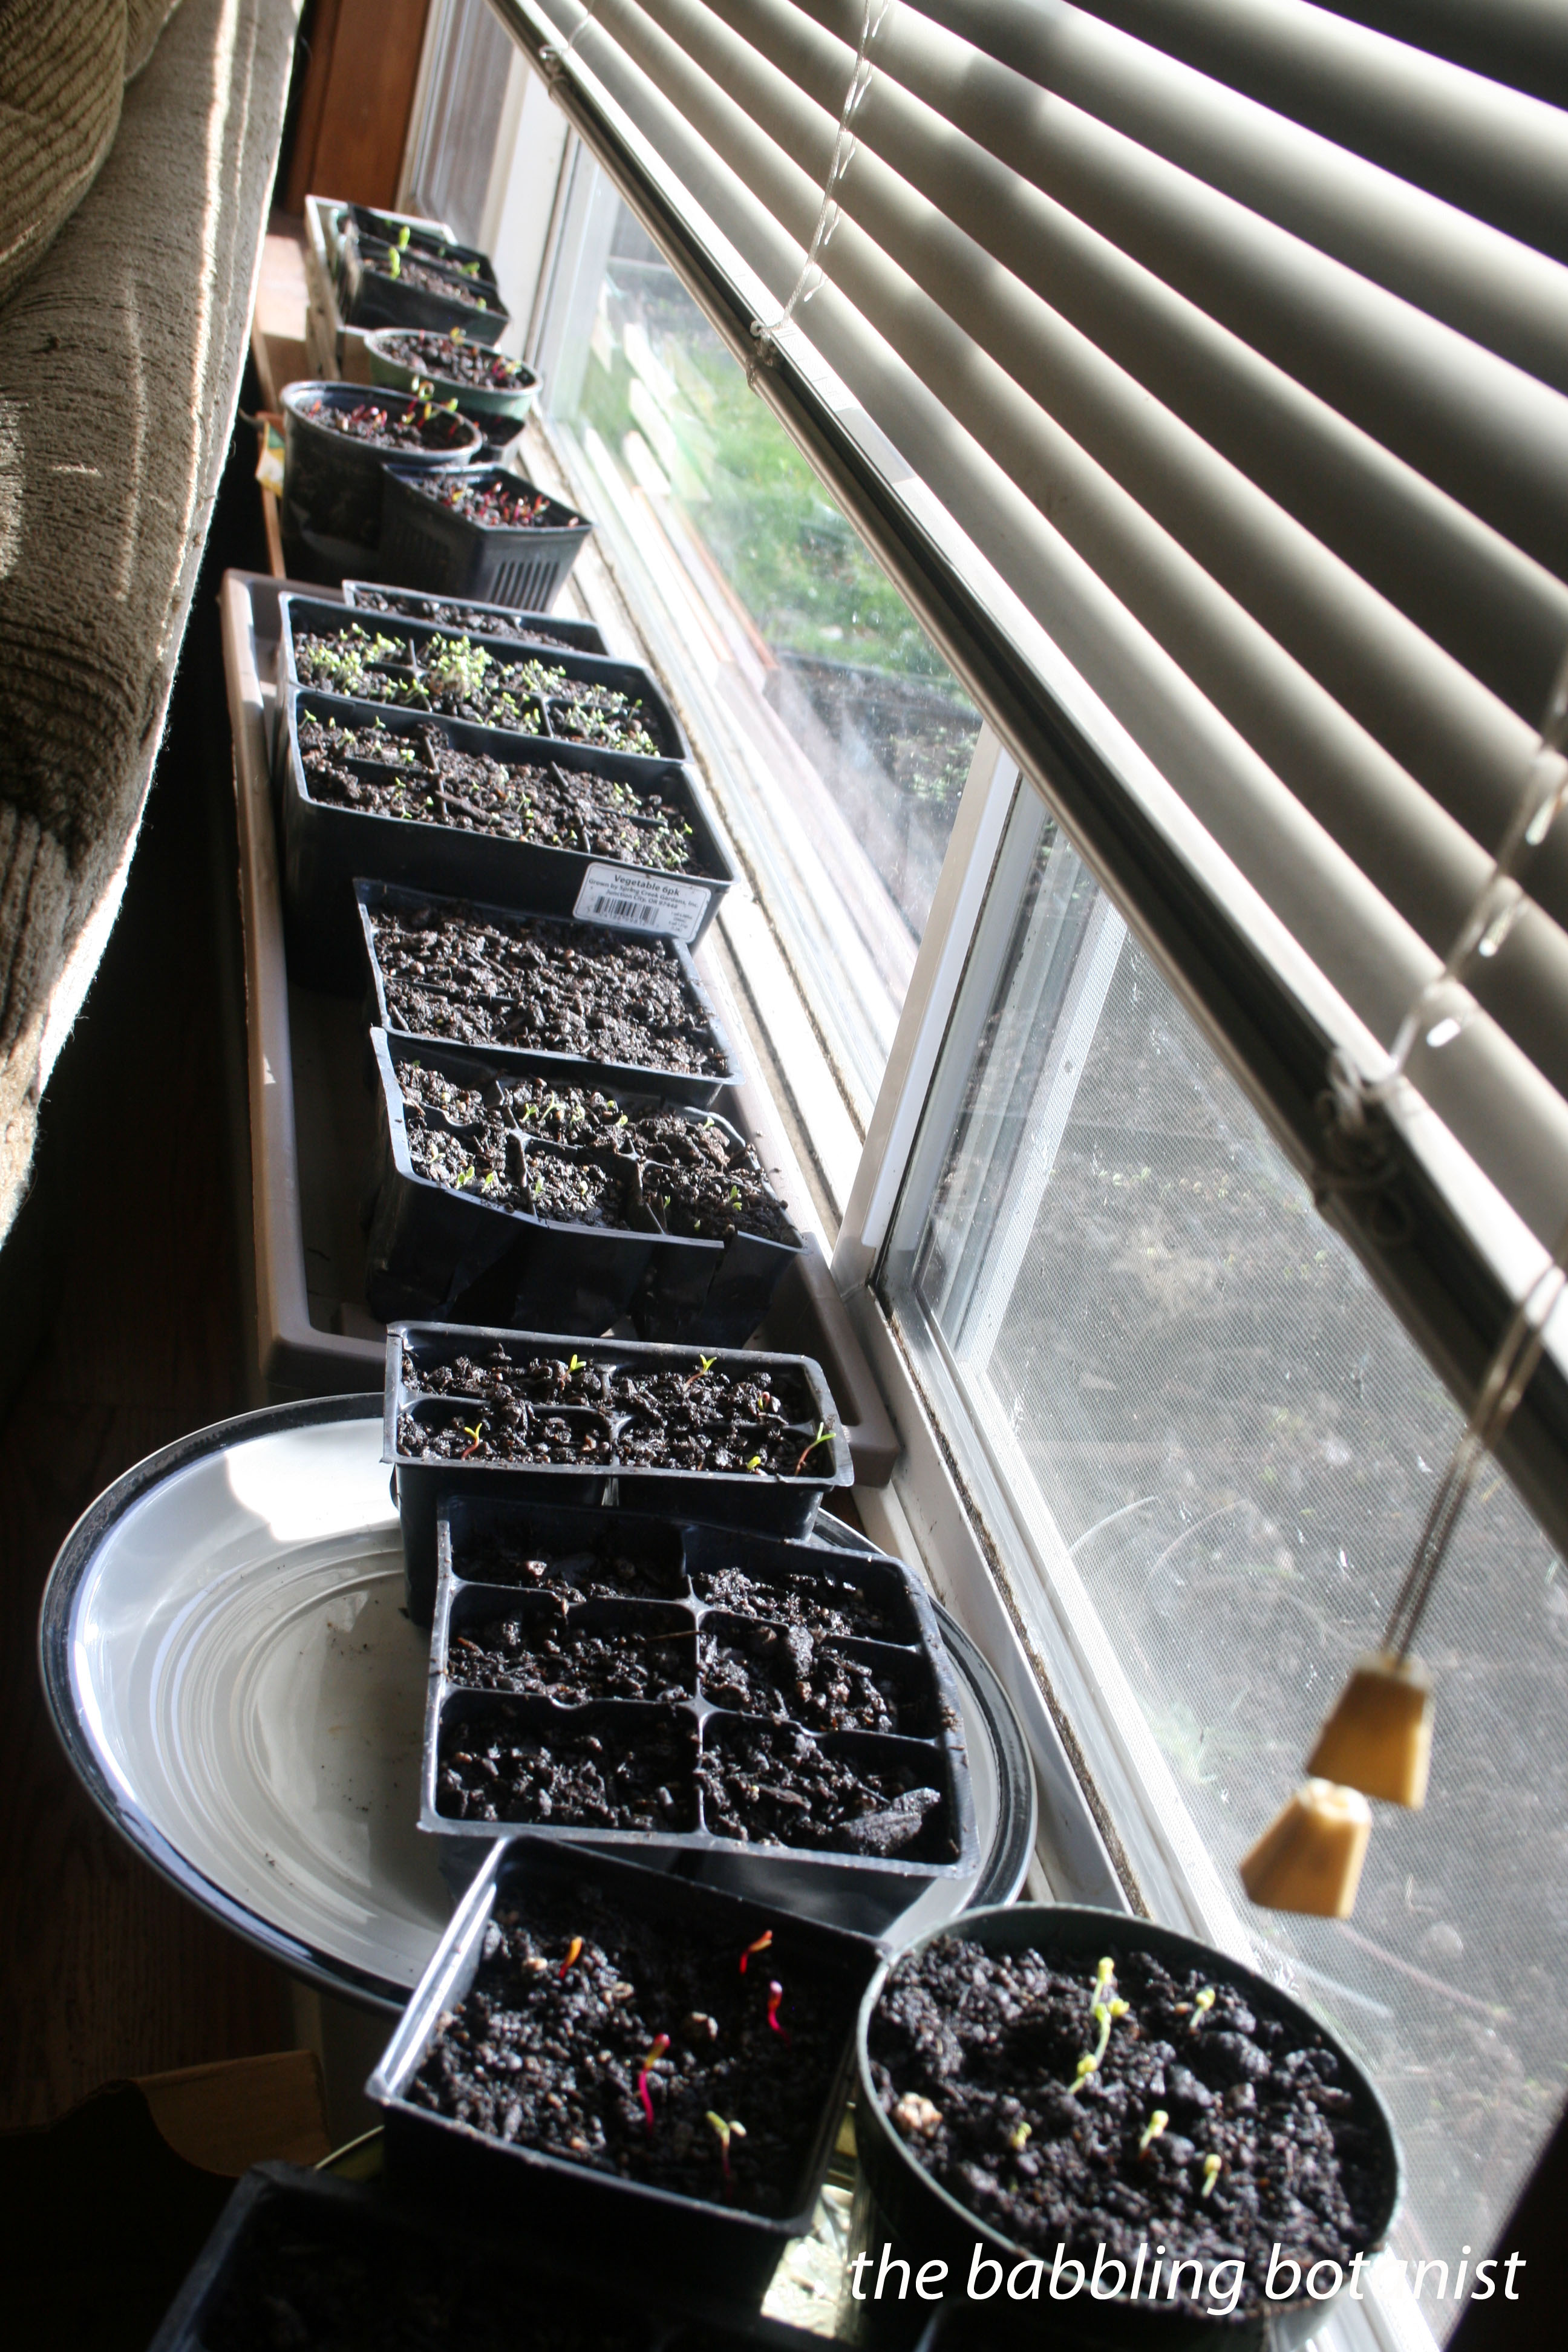
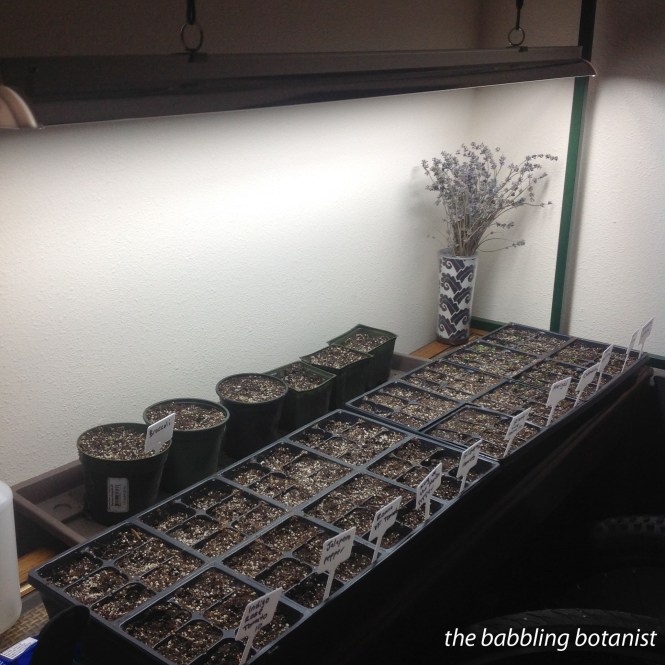
Supposing I only bought one variety of tomato, and one colour of alyssum, I could of course reduce that down as well, by as much as almost $10. However, there are some other expenses; I also bought seed starting trays, and a seed starting soil blend. Also, to get a good tomato or pepper start, they do like a lot of light, so I invested in a grow light this year, and the stand that came with it. Some people also swear by using heating mats, because optimal germination temperature for tomatoes and peppers is pretty warm (75-85 F approximately). I didn’t go for that this year, so I’m not including that in my math. Adding all my accessories to my budget I get:
Hydrofarm JSV4 4-Foot Jump Start T5 Grow Light System $80
Seed starting trays (48-cell insert plus outer tray) x2 $10
Black gold seedling mix (16 qt) $10.99
$100.99
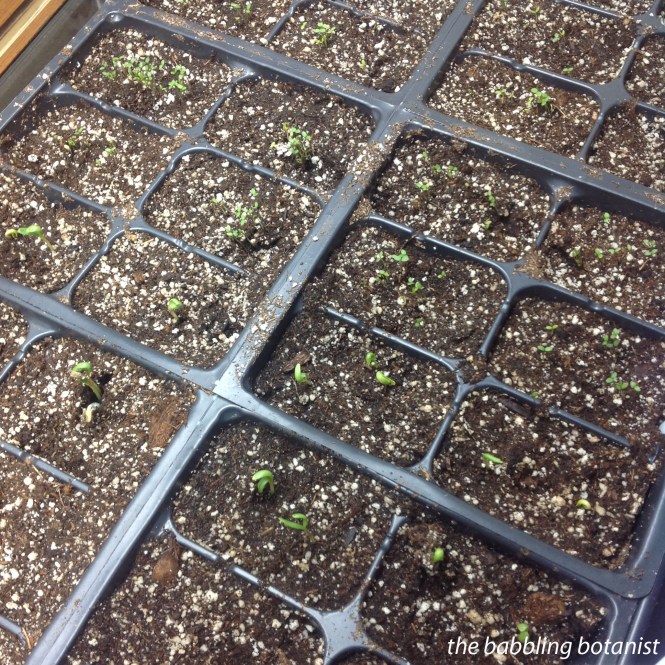
All-inclusive, this year’s new endeavour then comes to $127.45, versus my $66 for buying all my seed starts. While it sounds cheaper to buy the starts, I’ll now reuse my grow light and trays every year. I also have seeds leftover, that if I store in a cool, dry place will still be good for next year. In fact the alyssum is from last year and I still have more seeds left over, and they are germinating just fine. You can also save money in other places, like by making your own seed starting mix, or sharing the cost of seeds with a friend who also has a small garden. You can also save your extra seeds for the next year. The price of how much electricity the grow light will use (especially if you have a few) also could factor into the math, but I’m not really sure I can make a good guess at that.
As an additional note on the grow light, I am really happy with it so far. If you want to buy a light on it’s own, and build your own stand, you could go that route, but if you are looking for one that comes with a stand, this setup is really nice. The height of the light is also adjustable so you can raise it as the plants grow, and the stand is very easy to assemble. They also make a 2-ft version if you are looking for something smaller.
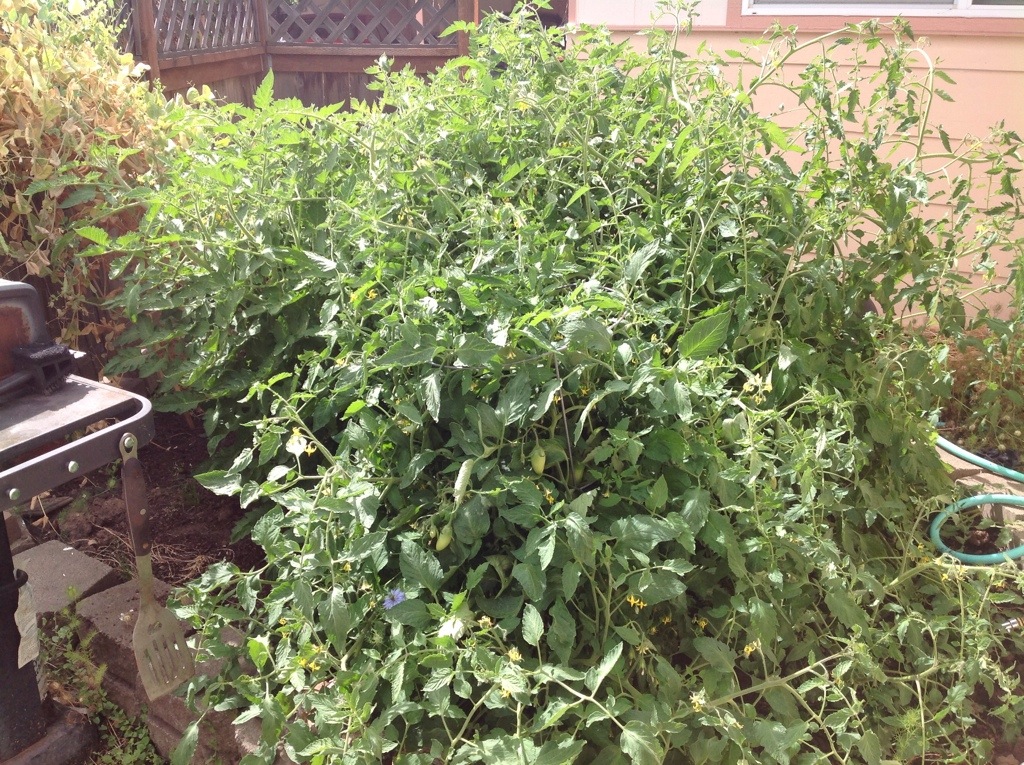
All-in-all I’m happy with my decision, despite a bit more upfront cost. I also just enjoy the fact that I can watch the seedlings grow, make sure that they are properly hardened off before planting outside, and move to larger pots when I need to. I also like that I can have more control over the varieties that I plant (I’ve never seen Gilbertie before for instance). So, if you have a little extra time and money, I think it’s well worth it. But hop to it soon, spring has sprung!
Do you buy your starts or grow your own? Any new and exciting plans for this year?
*this post contains affiliate links, please see the “About the Blogger” page for more information