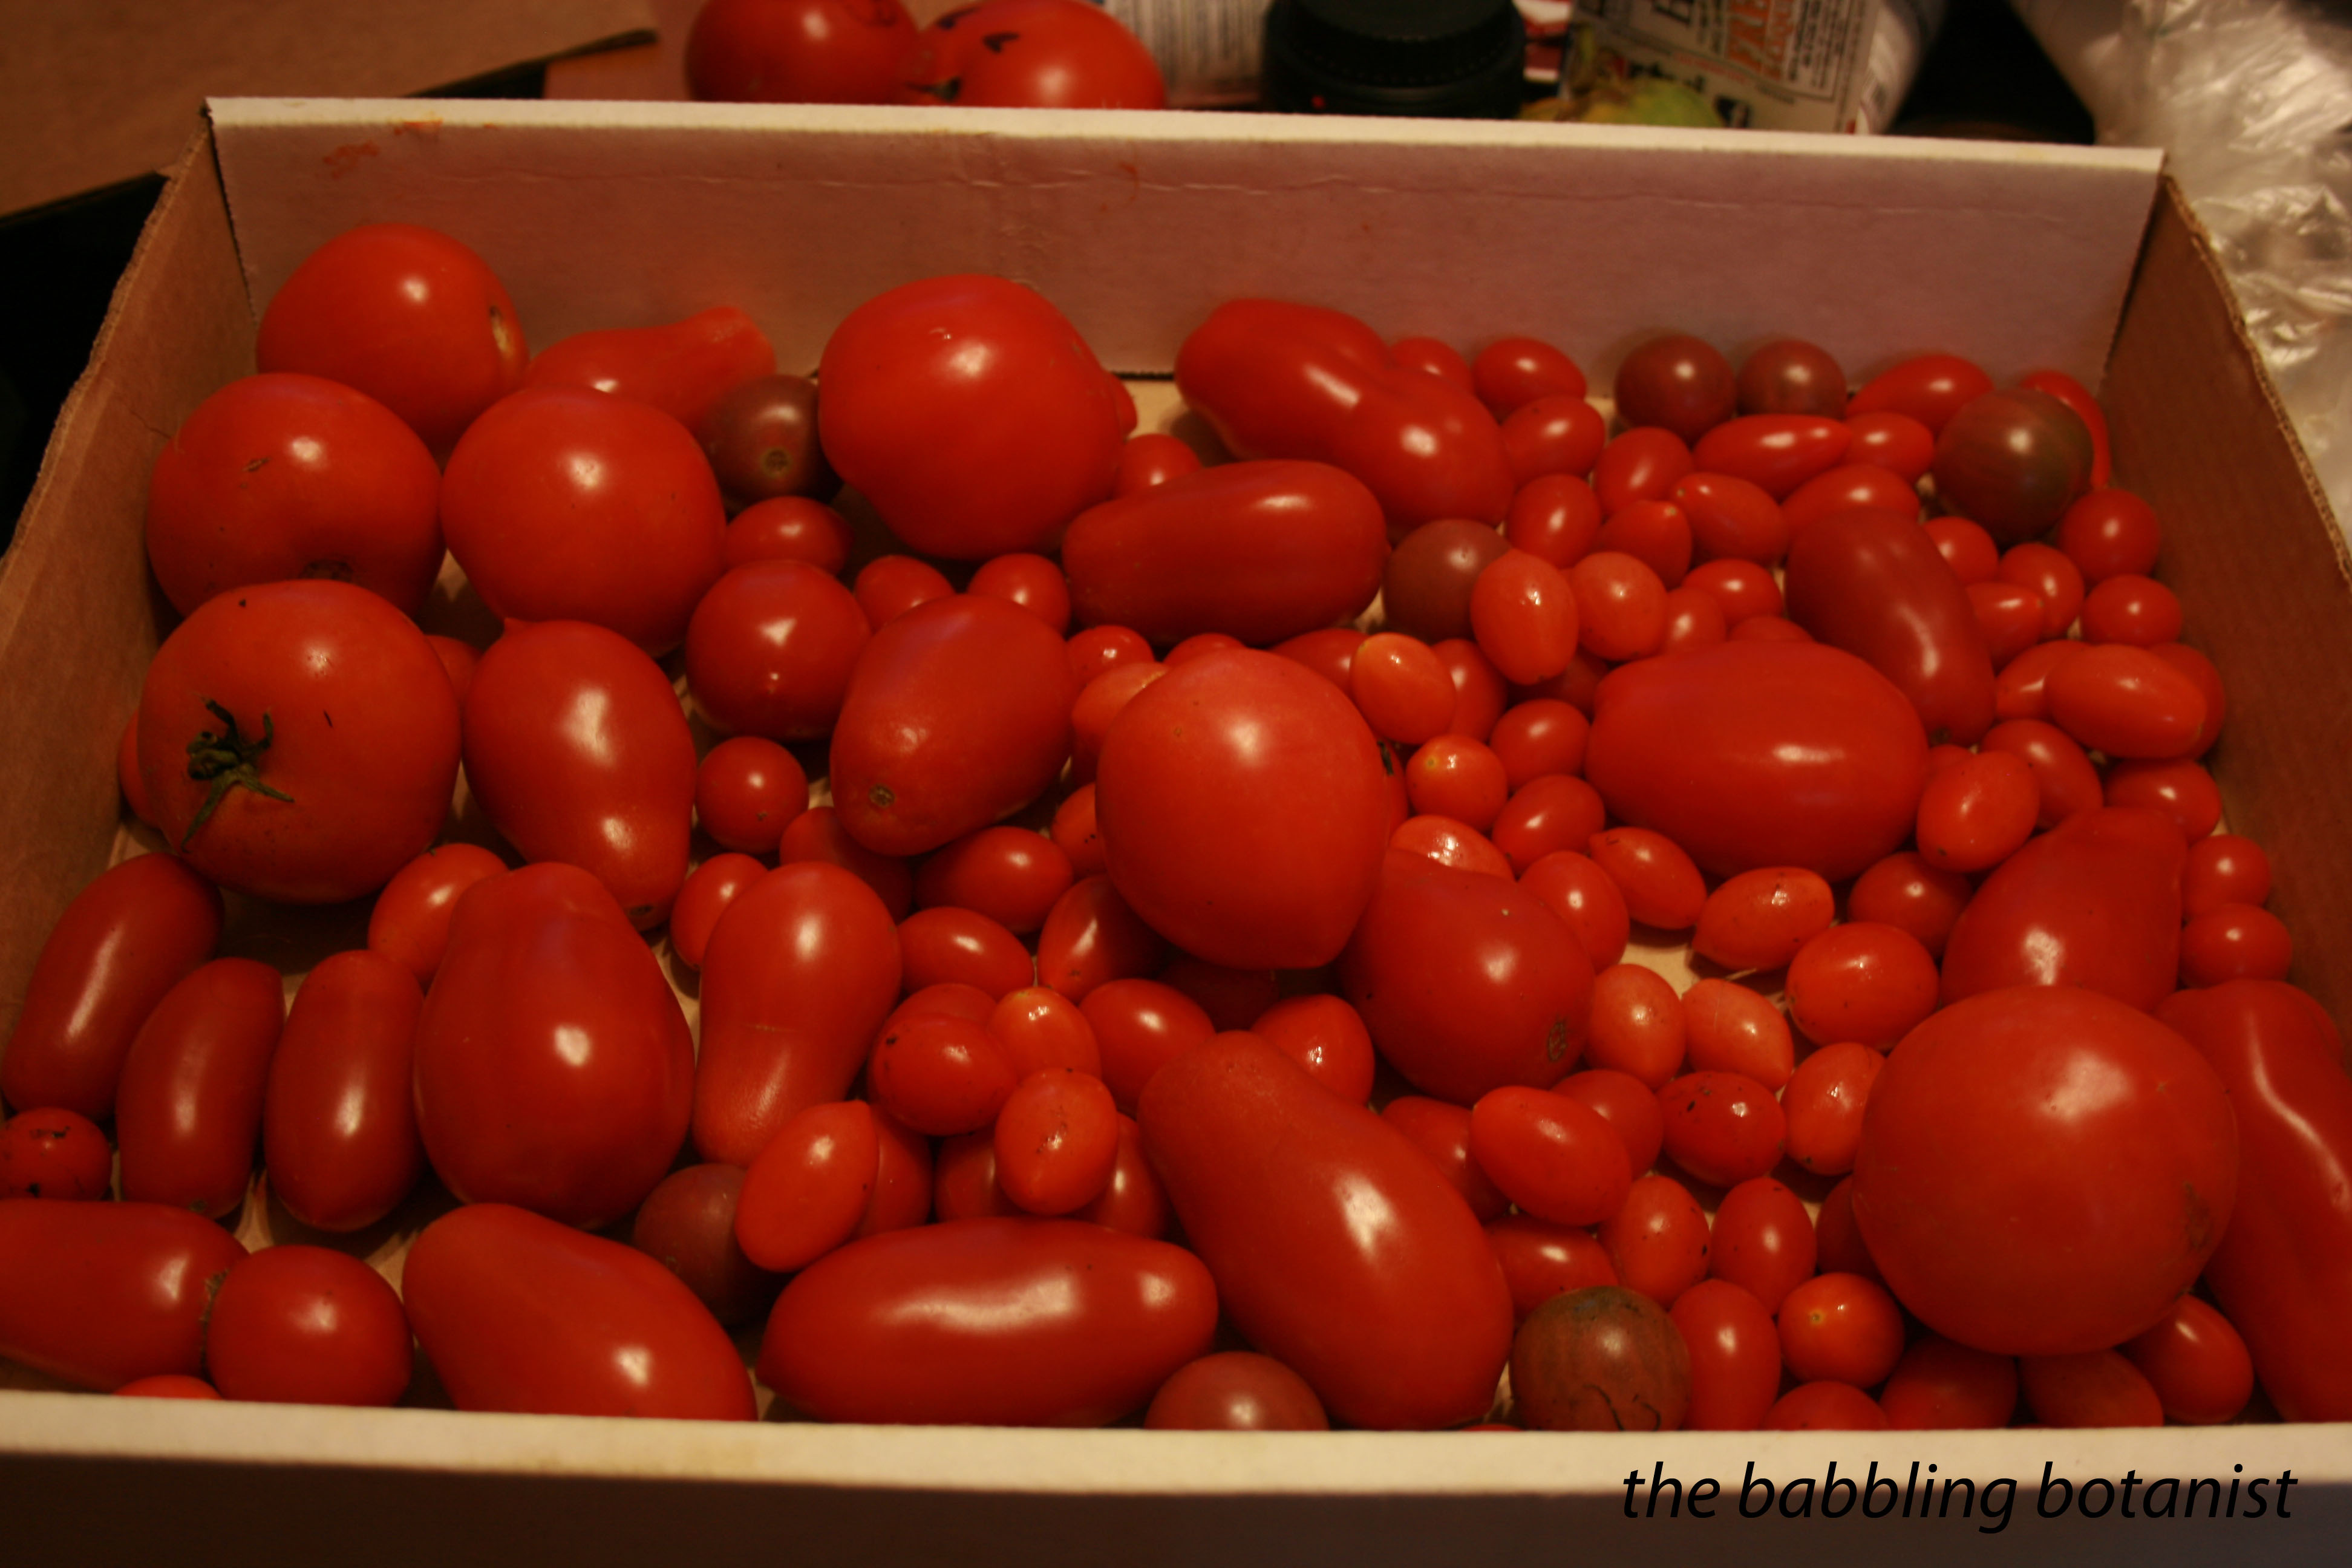
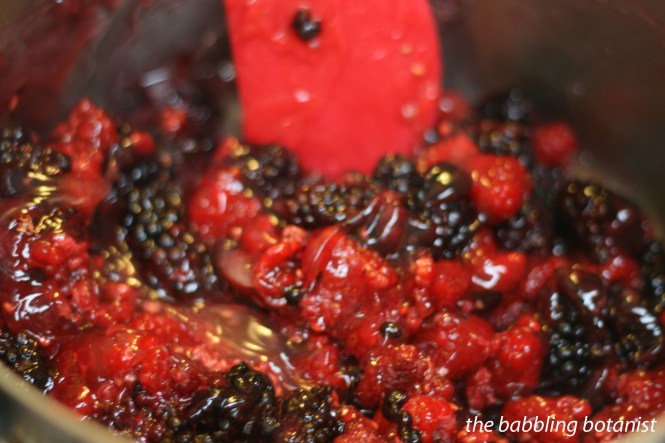
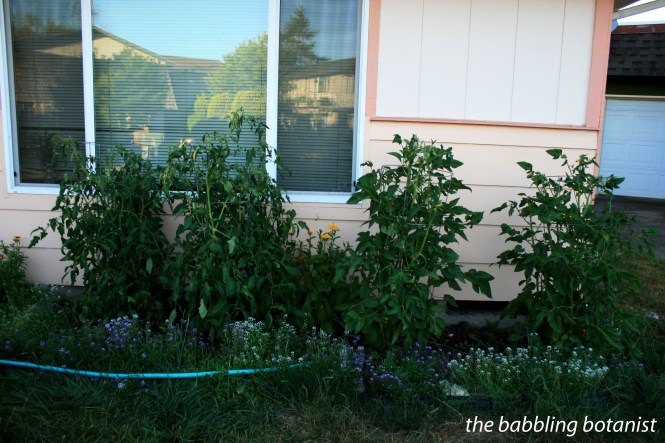
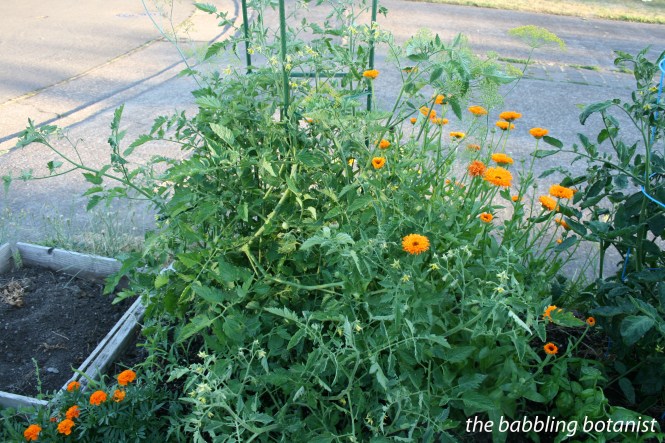
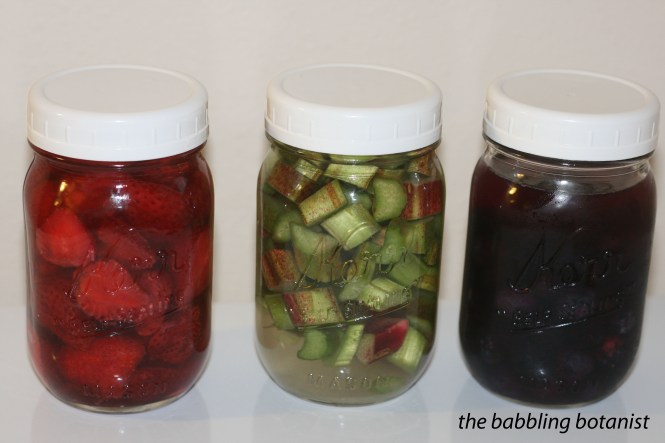
mmmm plums. Last year I posted another plum sauce recipe, which was also delicious, but keeping with my desire to make every recipe from the Ball Complete Book of Home Preserving, I decided to try their recipe this year. The only thing I changed from what’s in Ball is to add allspice, and remove some of the sugar. Make it with a mix of plum varieties for extra fun sauce!

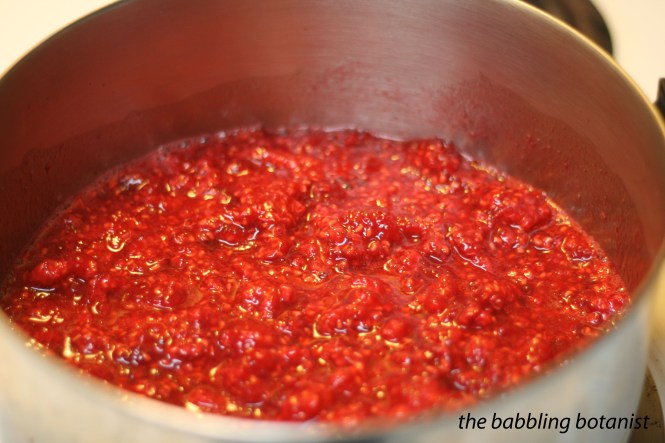
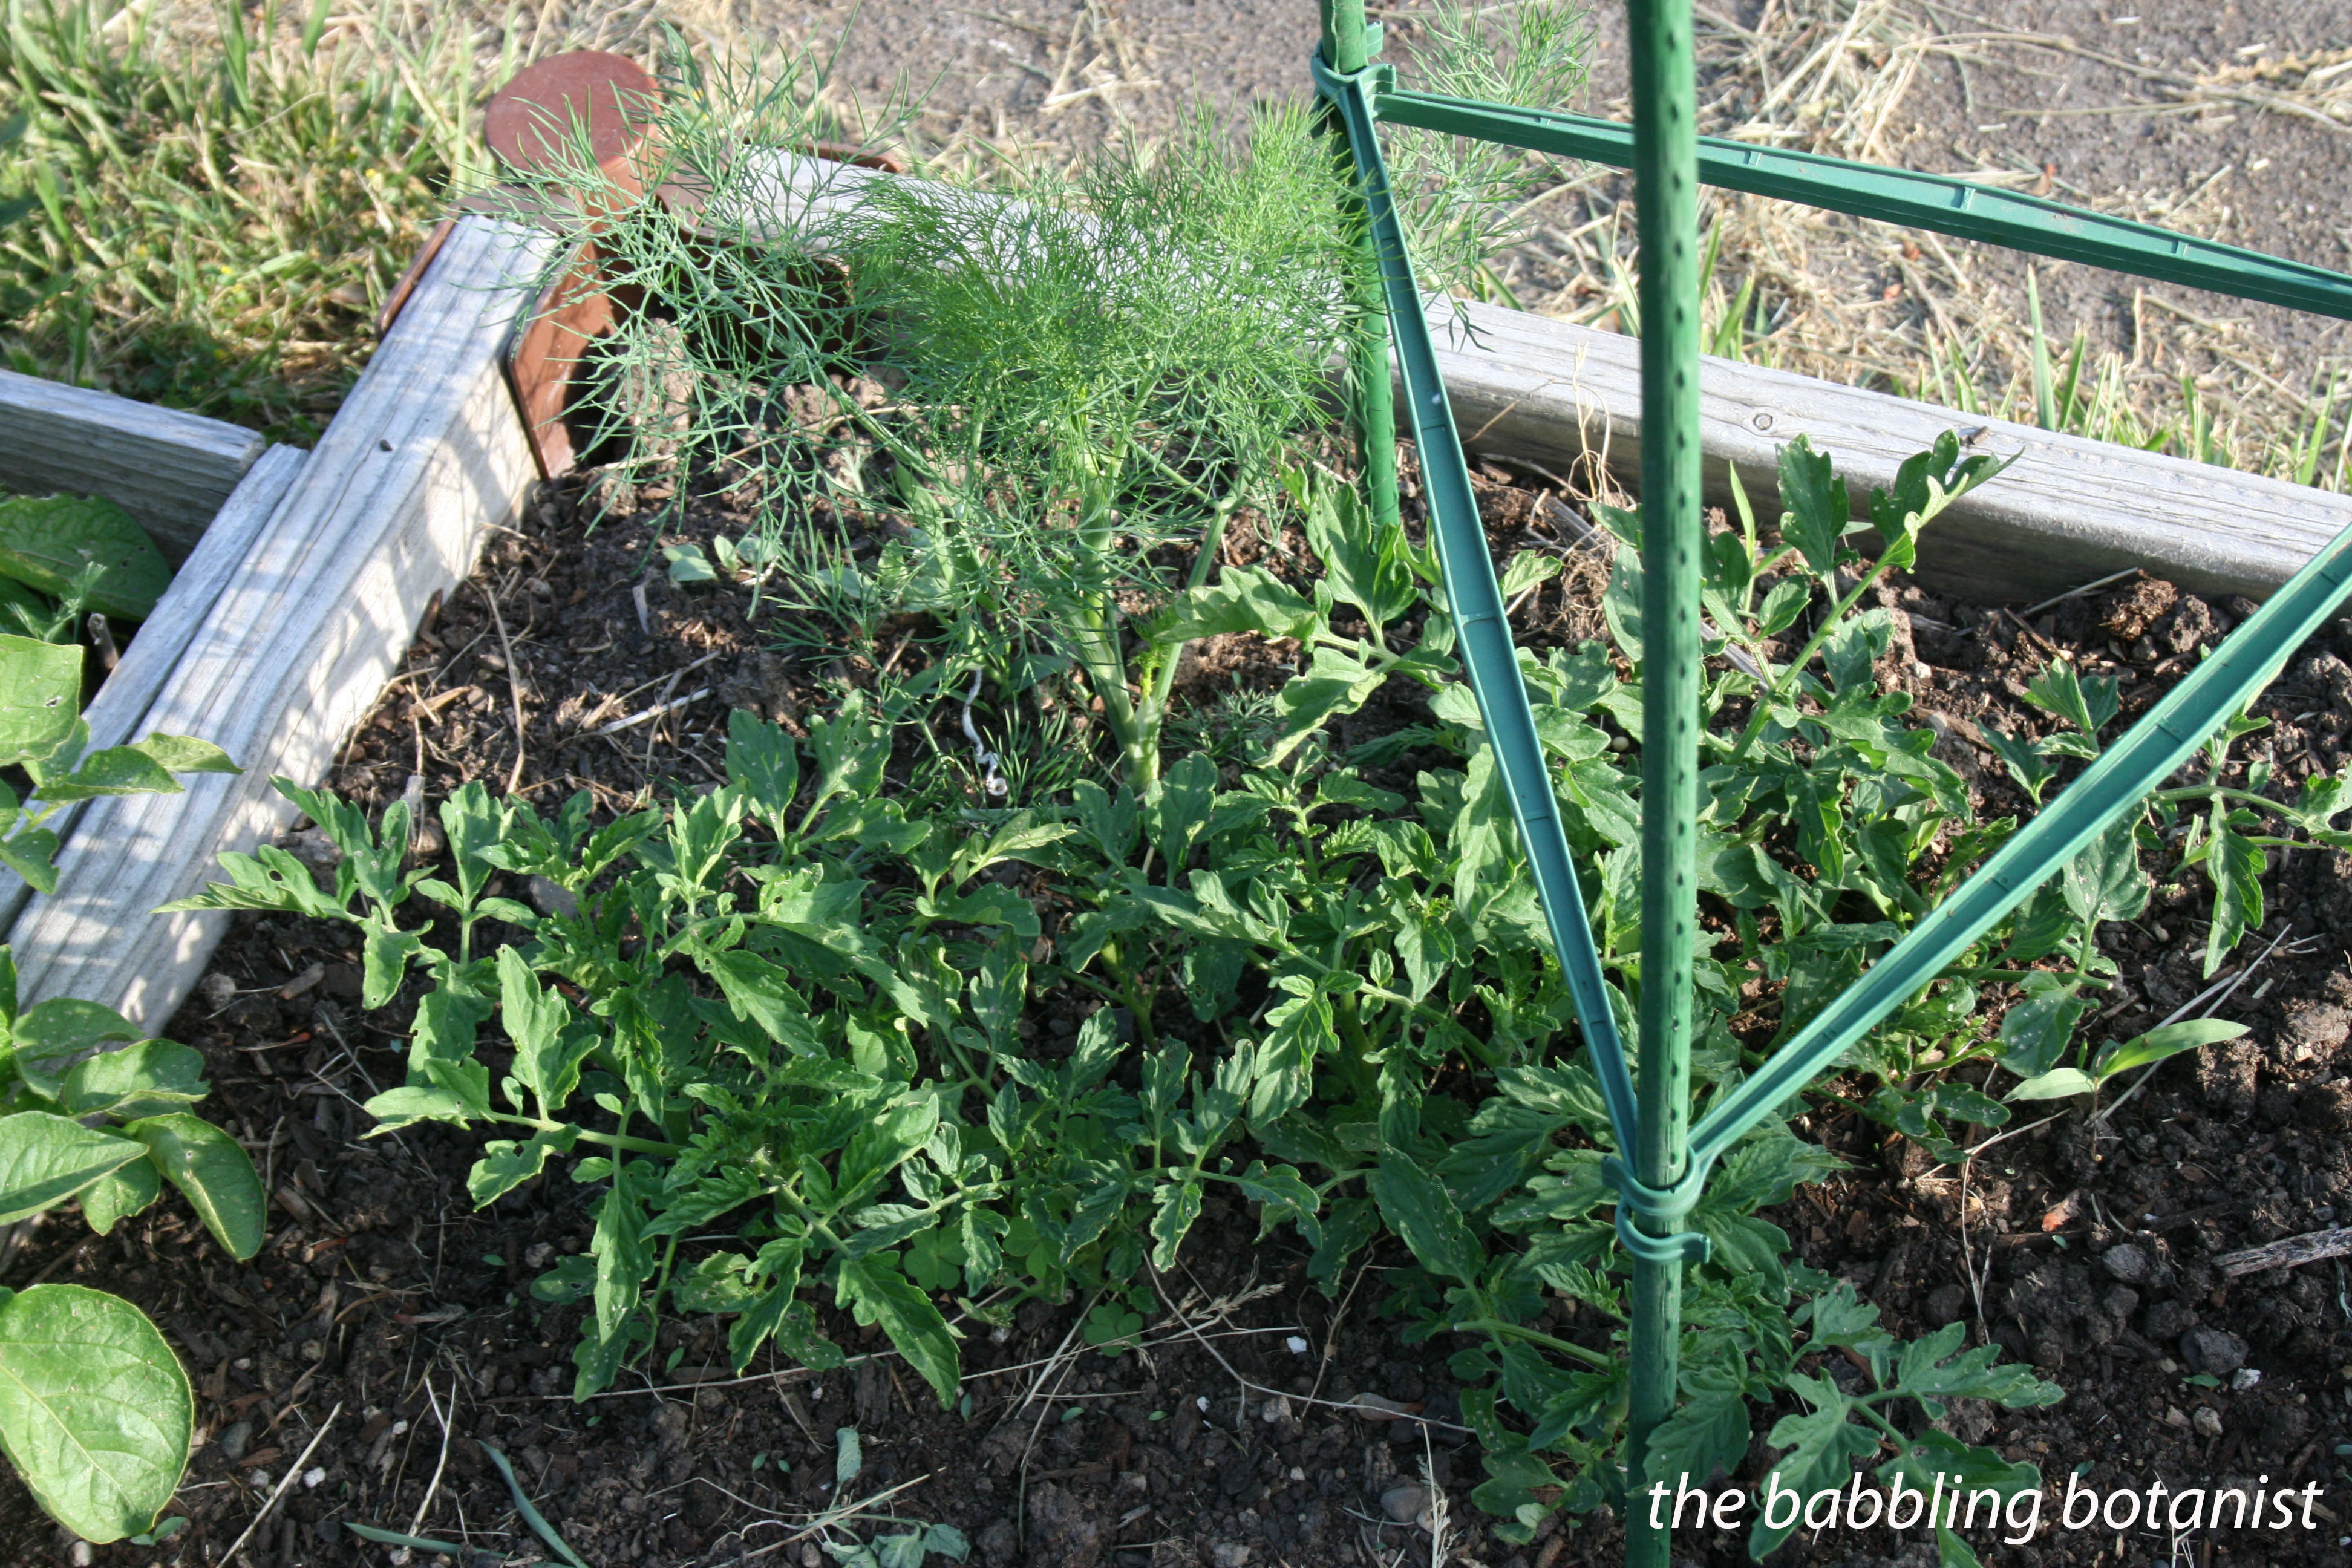
10 cups chopped pitted plums
3/4 cups finely chopped onion
2 tbsp chopped seeded chili pepper
1 cup cider vinegar
2 cups brown sugar
1 cup white sugar (optional in my opinion)
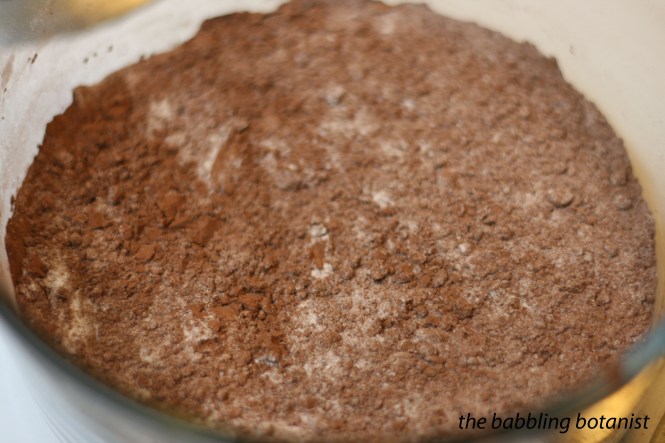
2 tbsp mustard seeds (I used 1 ish tbsp ground)
1 tbsp salt
2 cloves finely chopped garlic
1 tbsp finely chopped gingerroot
1/2 tsp allspice
To make it:
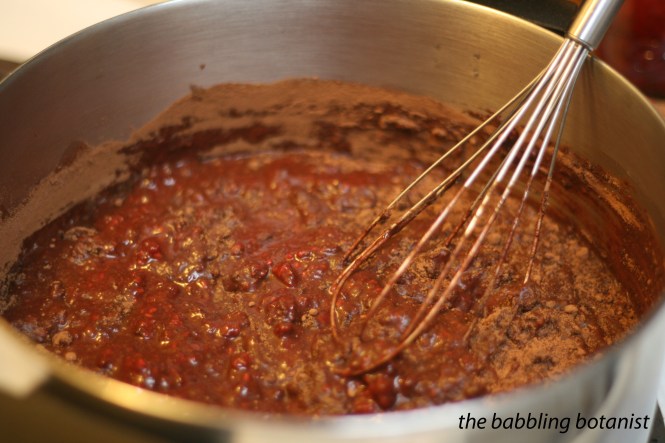
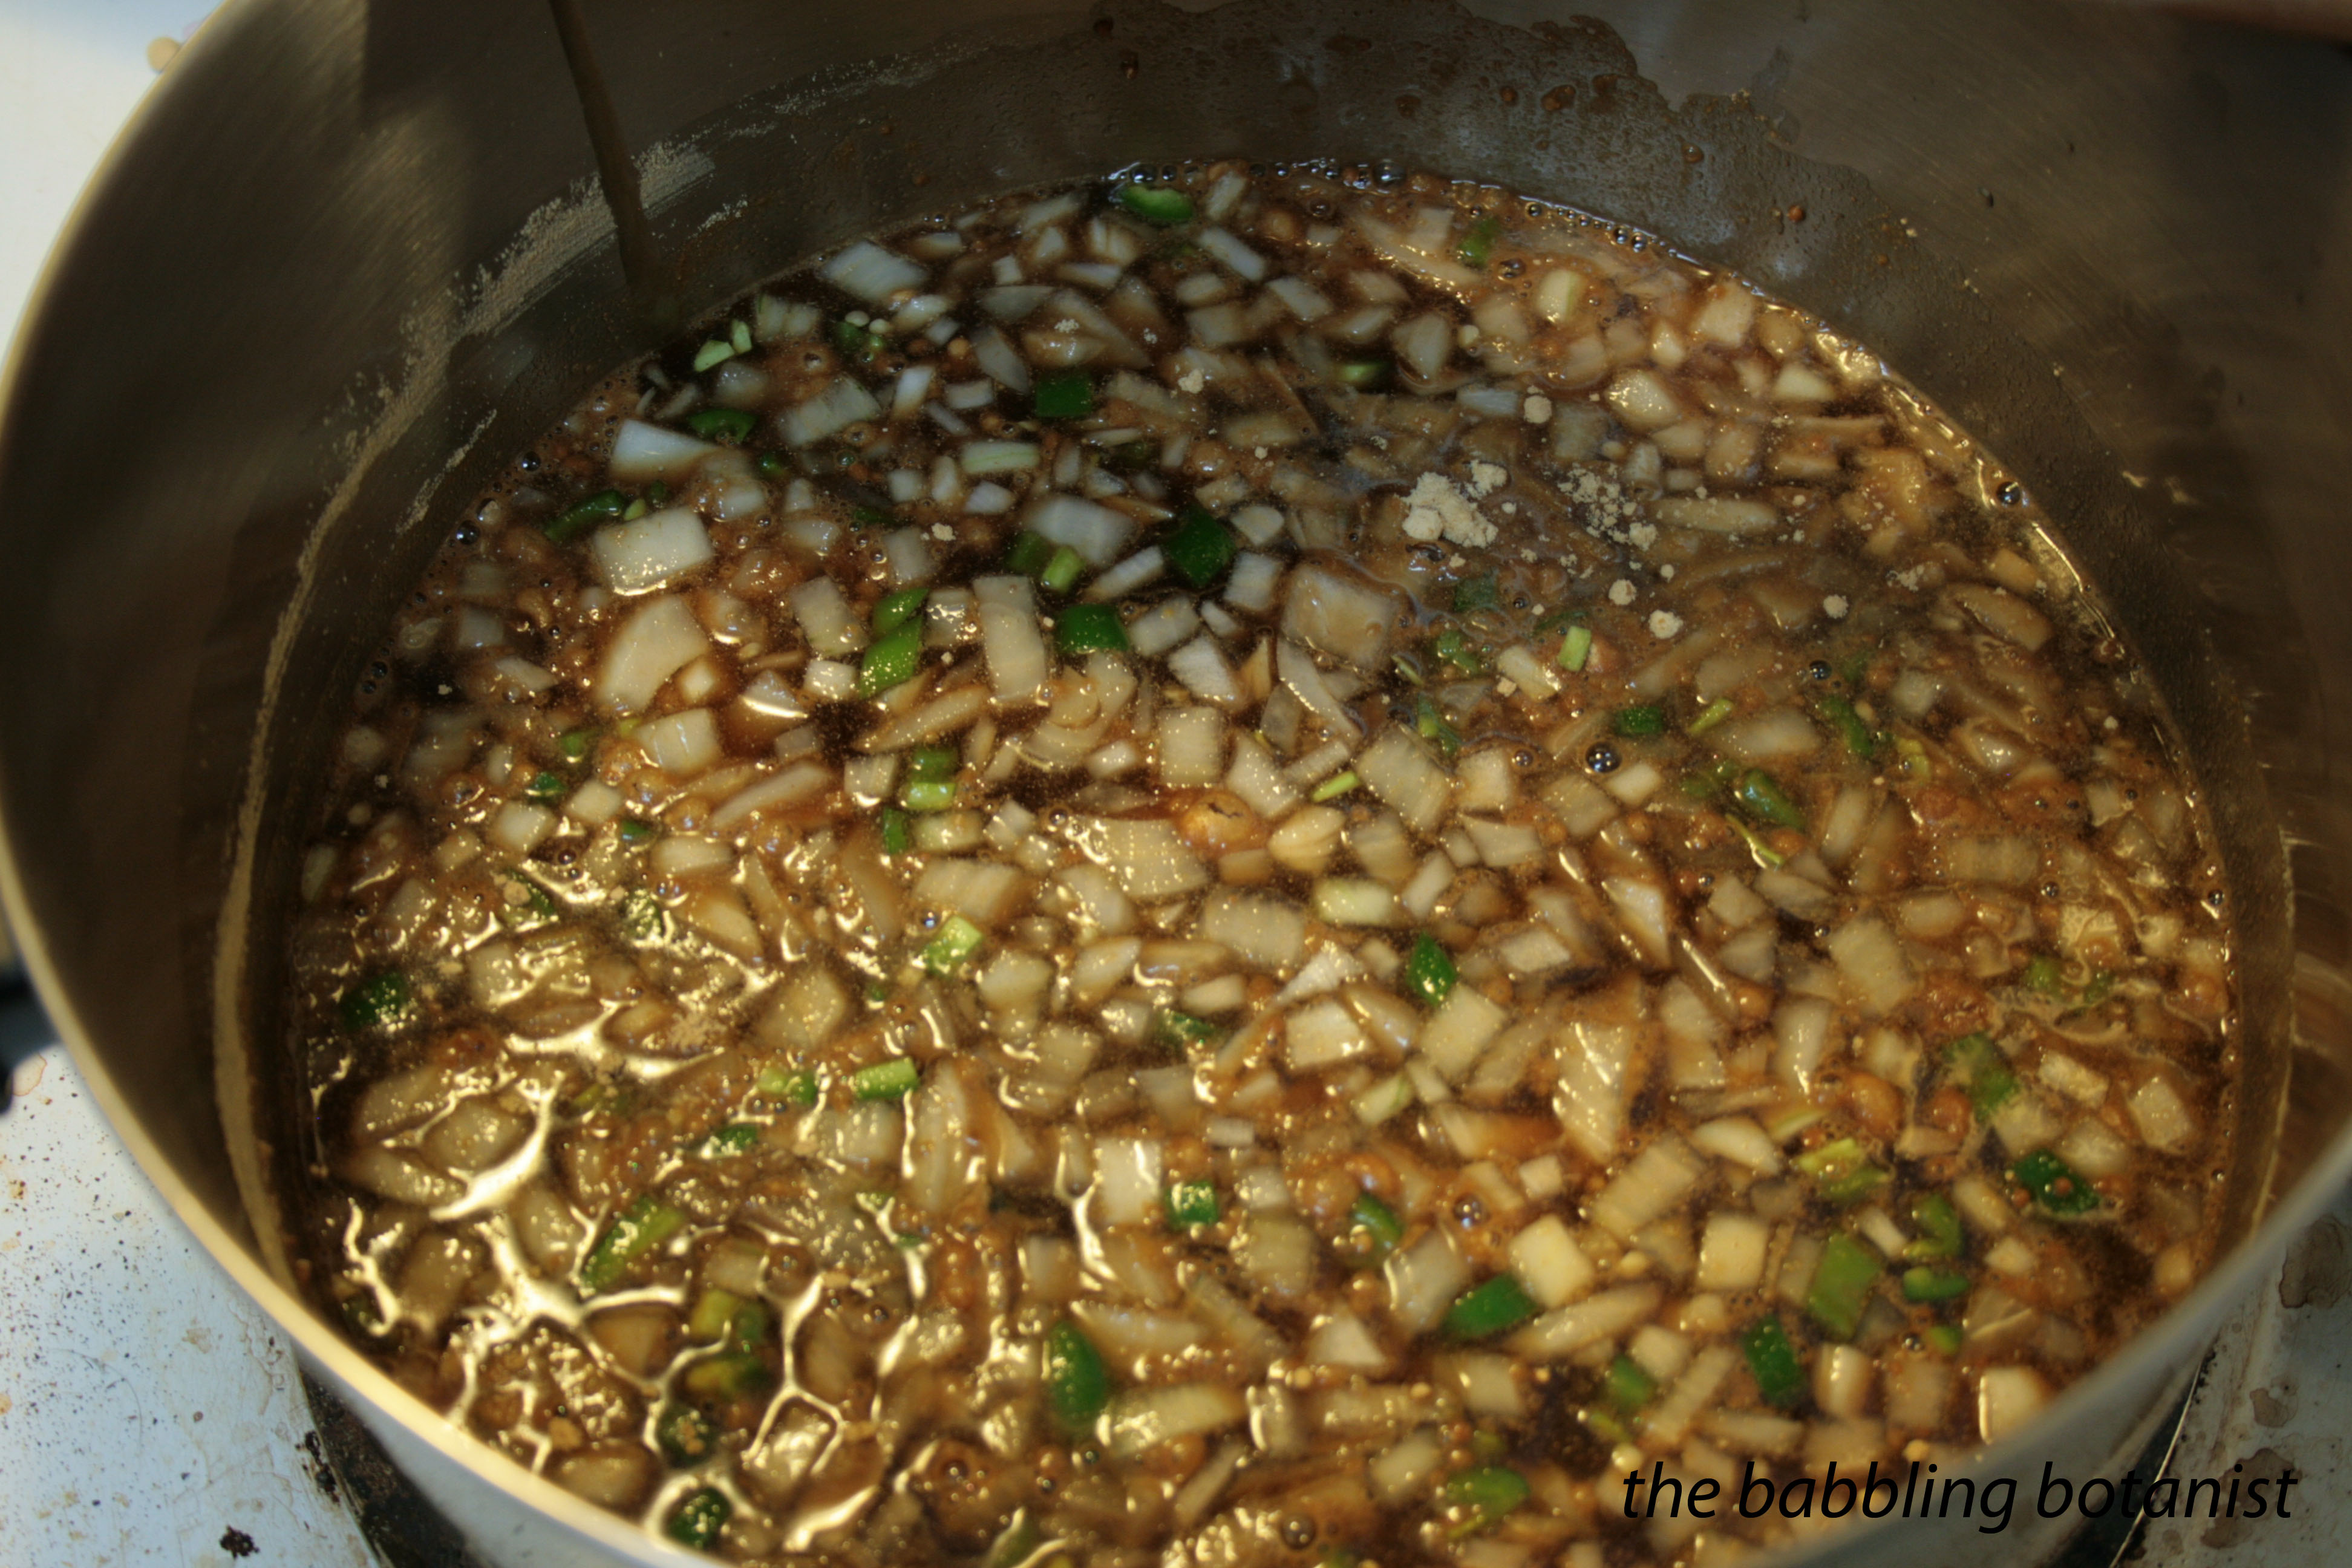
Dice the plums, pepper, onions, ginger, and garlic finely and combine everything except the plums in a large pot and bring to a boil. I thought 3 total cups of sugar sounded like too much, so left out the white sugar and decided I’d taste it and add in later if I wanted it sweeter. I didn’t end up adding in though, it’s plenty tasty without, so consider reducing it if you want a less sweet sauce; Ball tends to make things quite sweet.
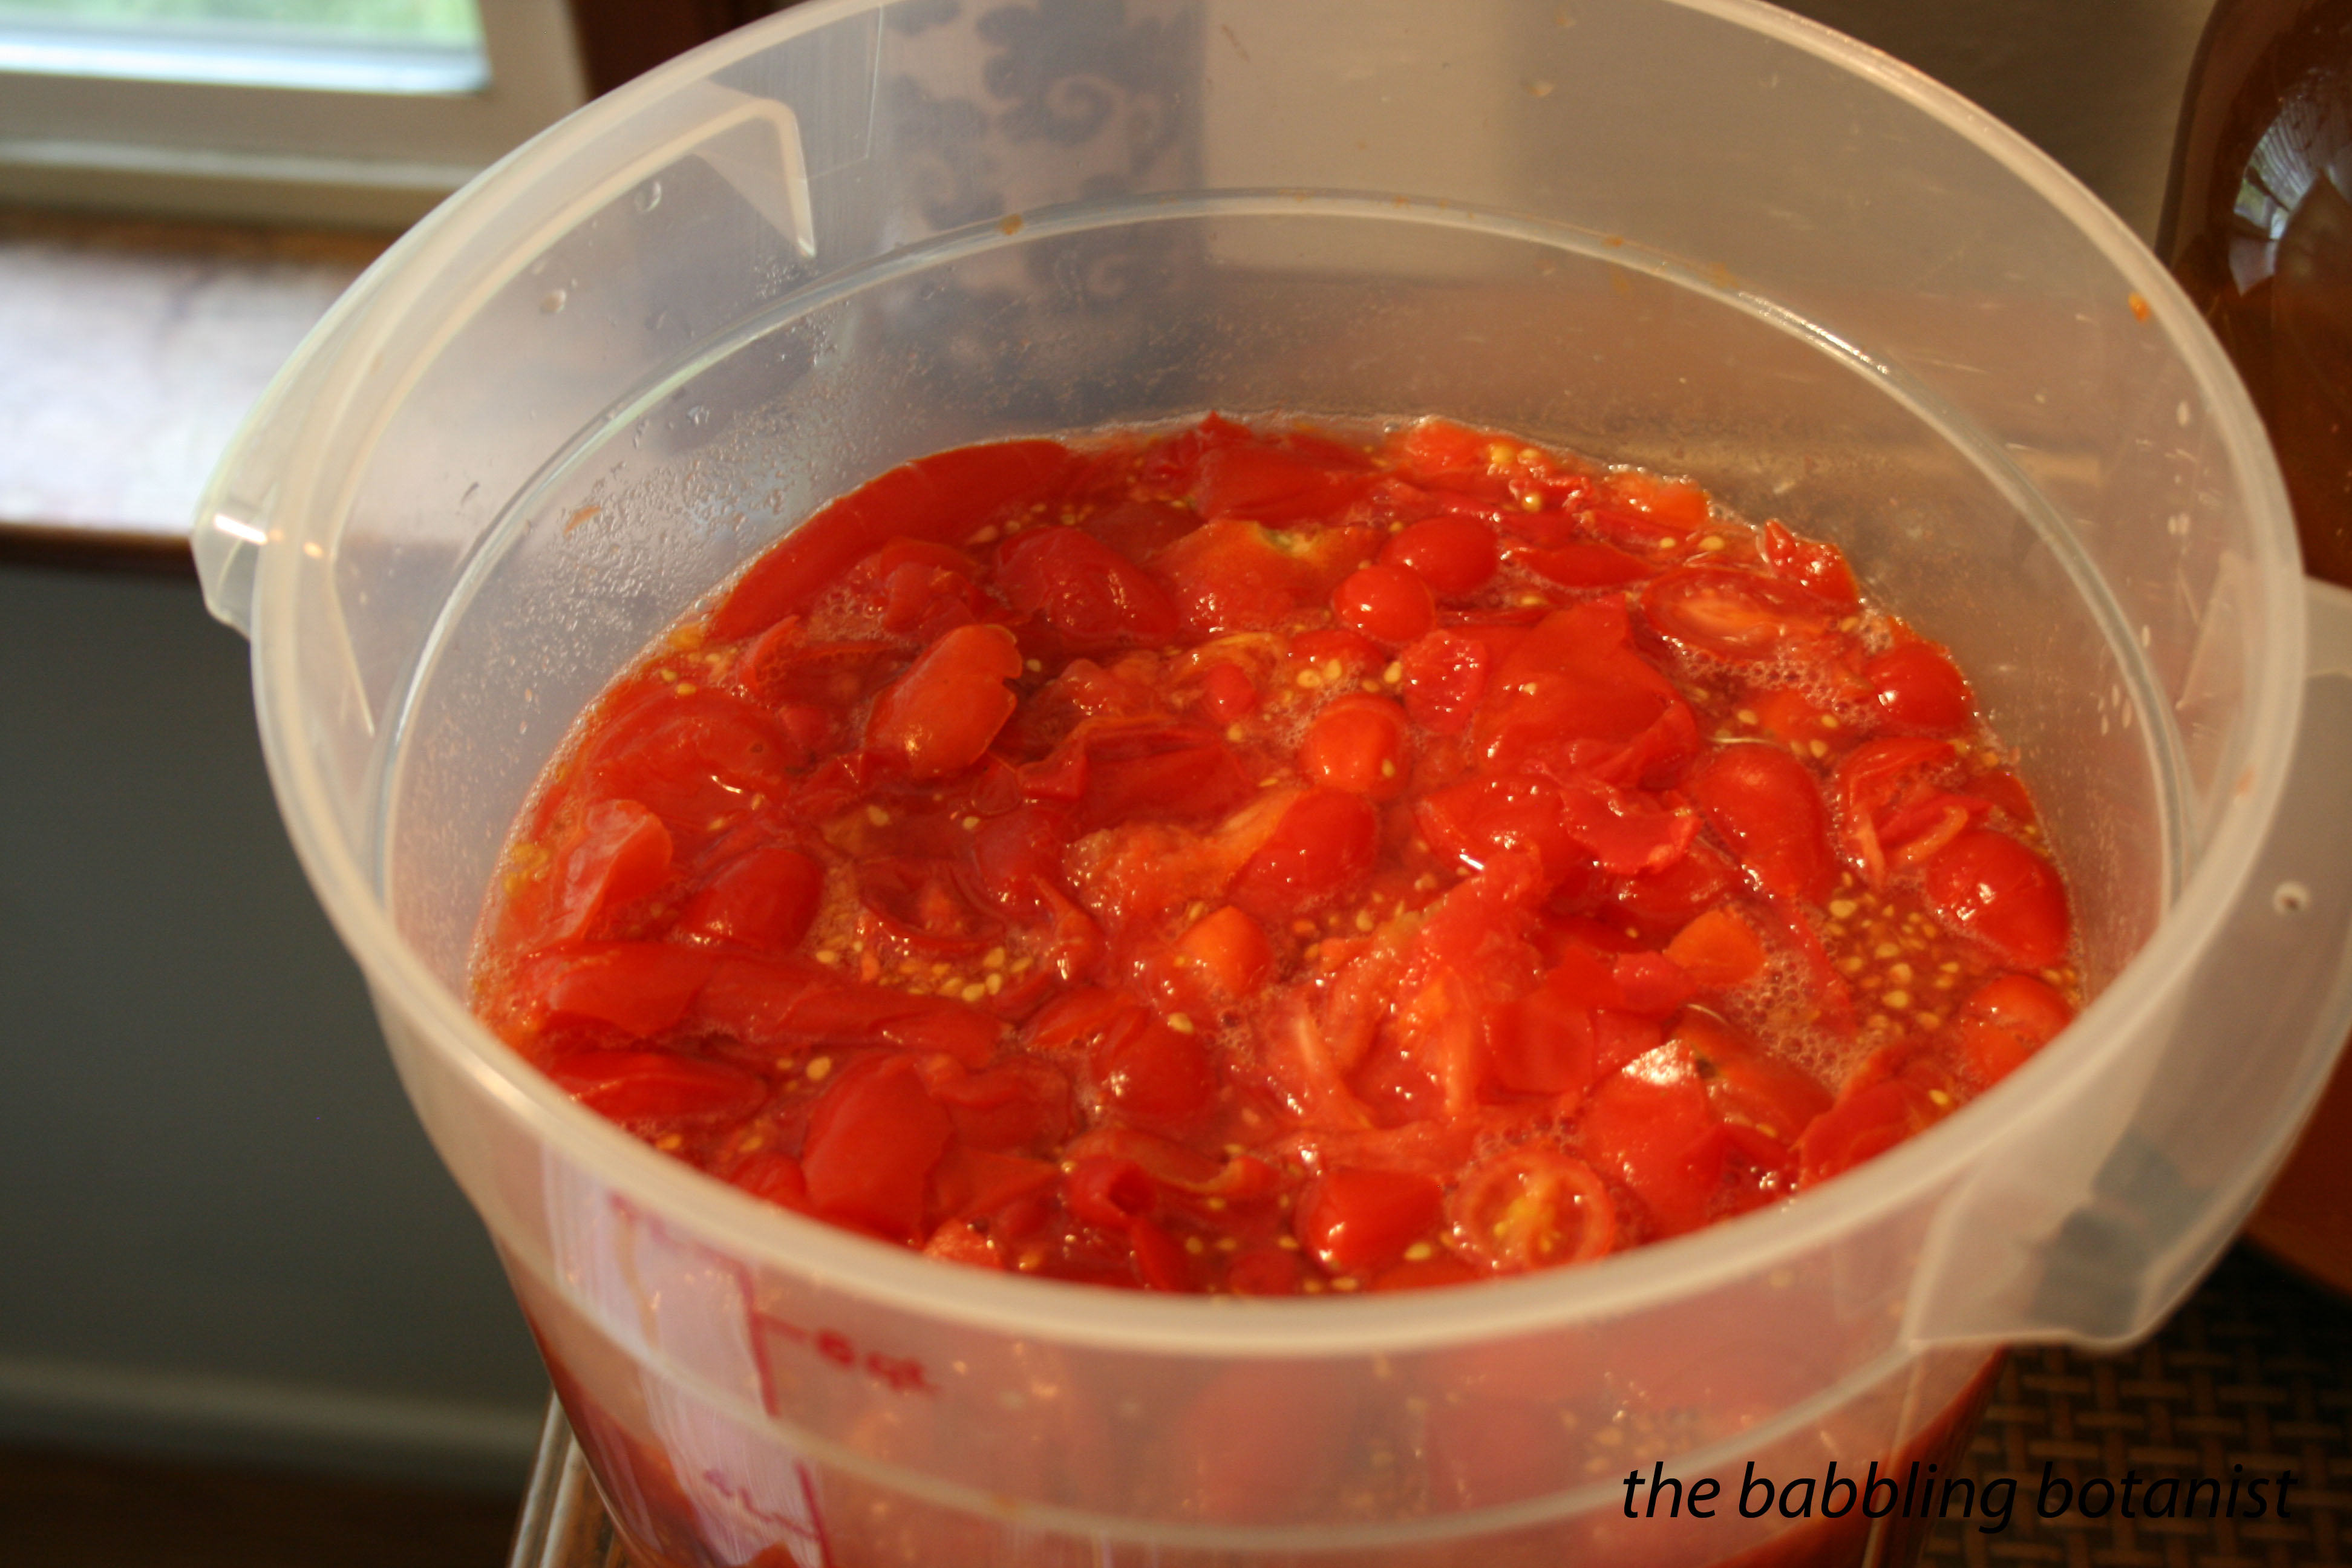
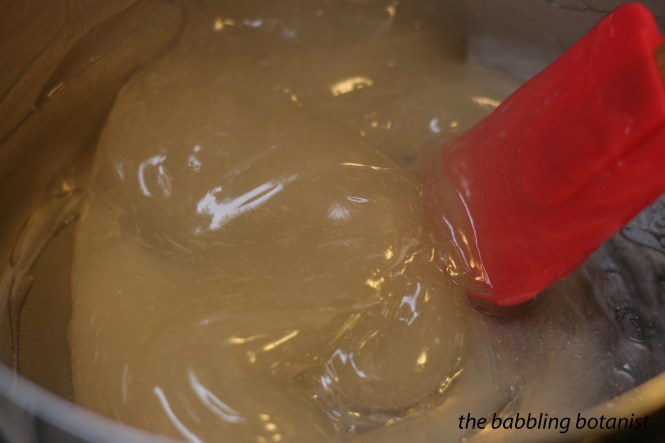
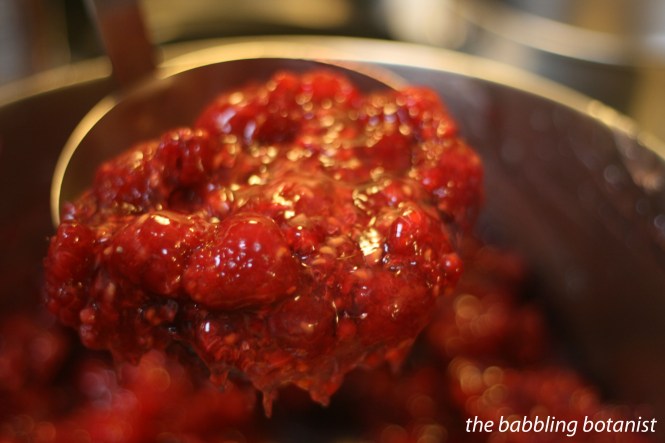
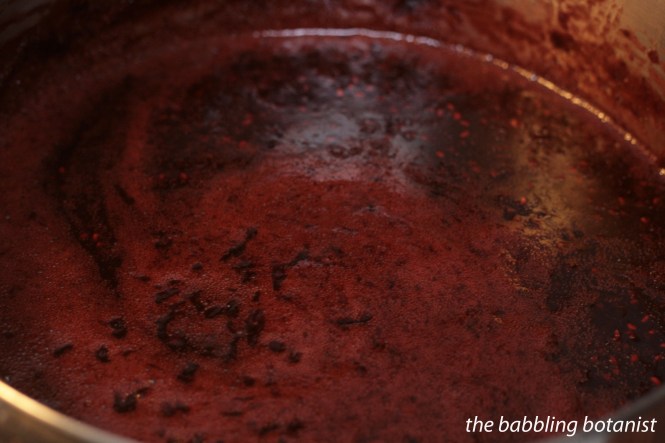
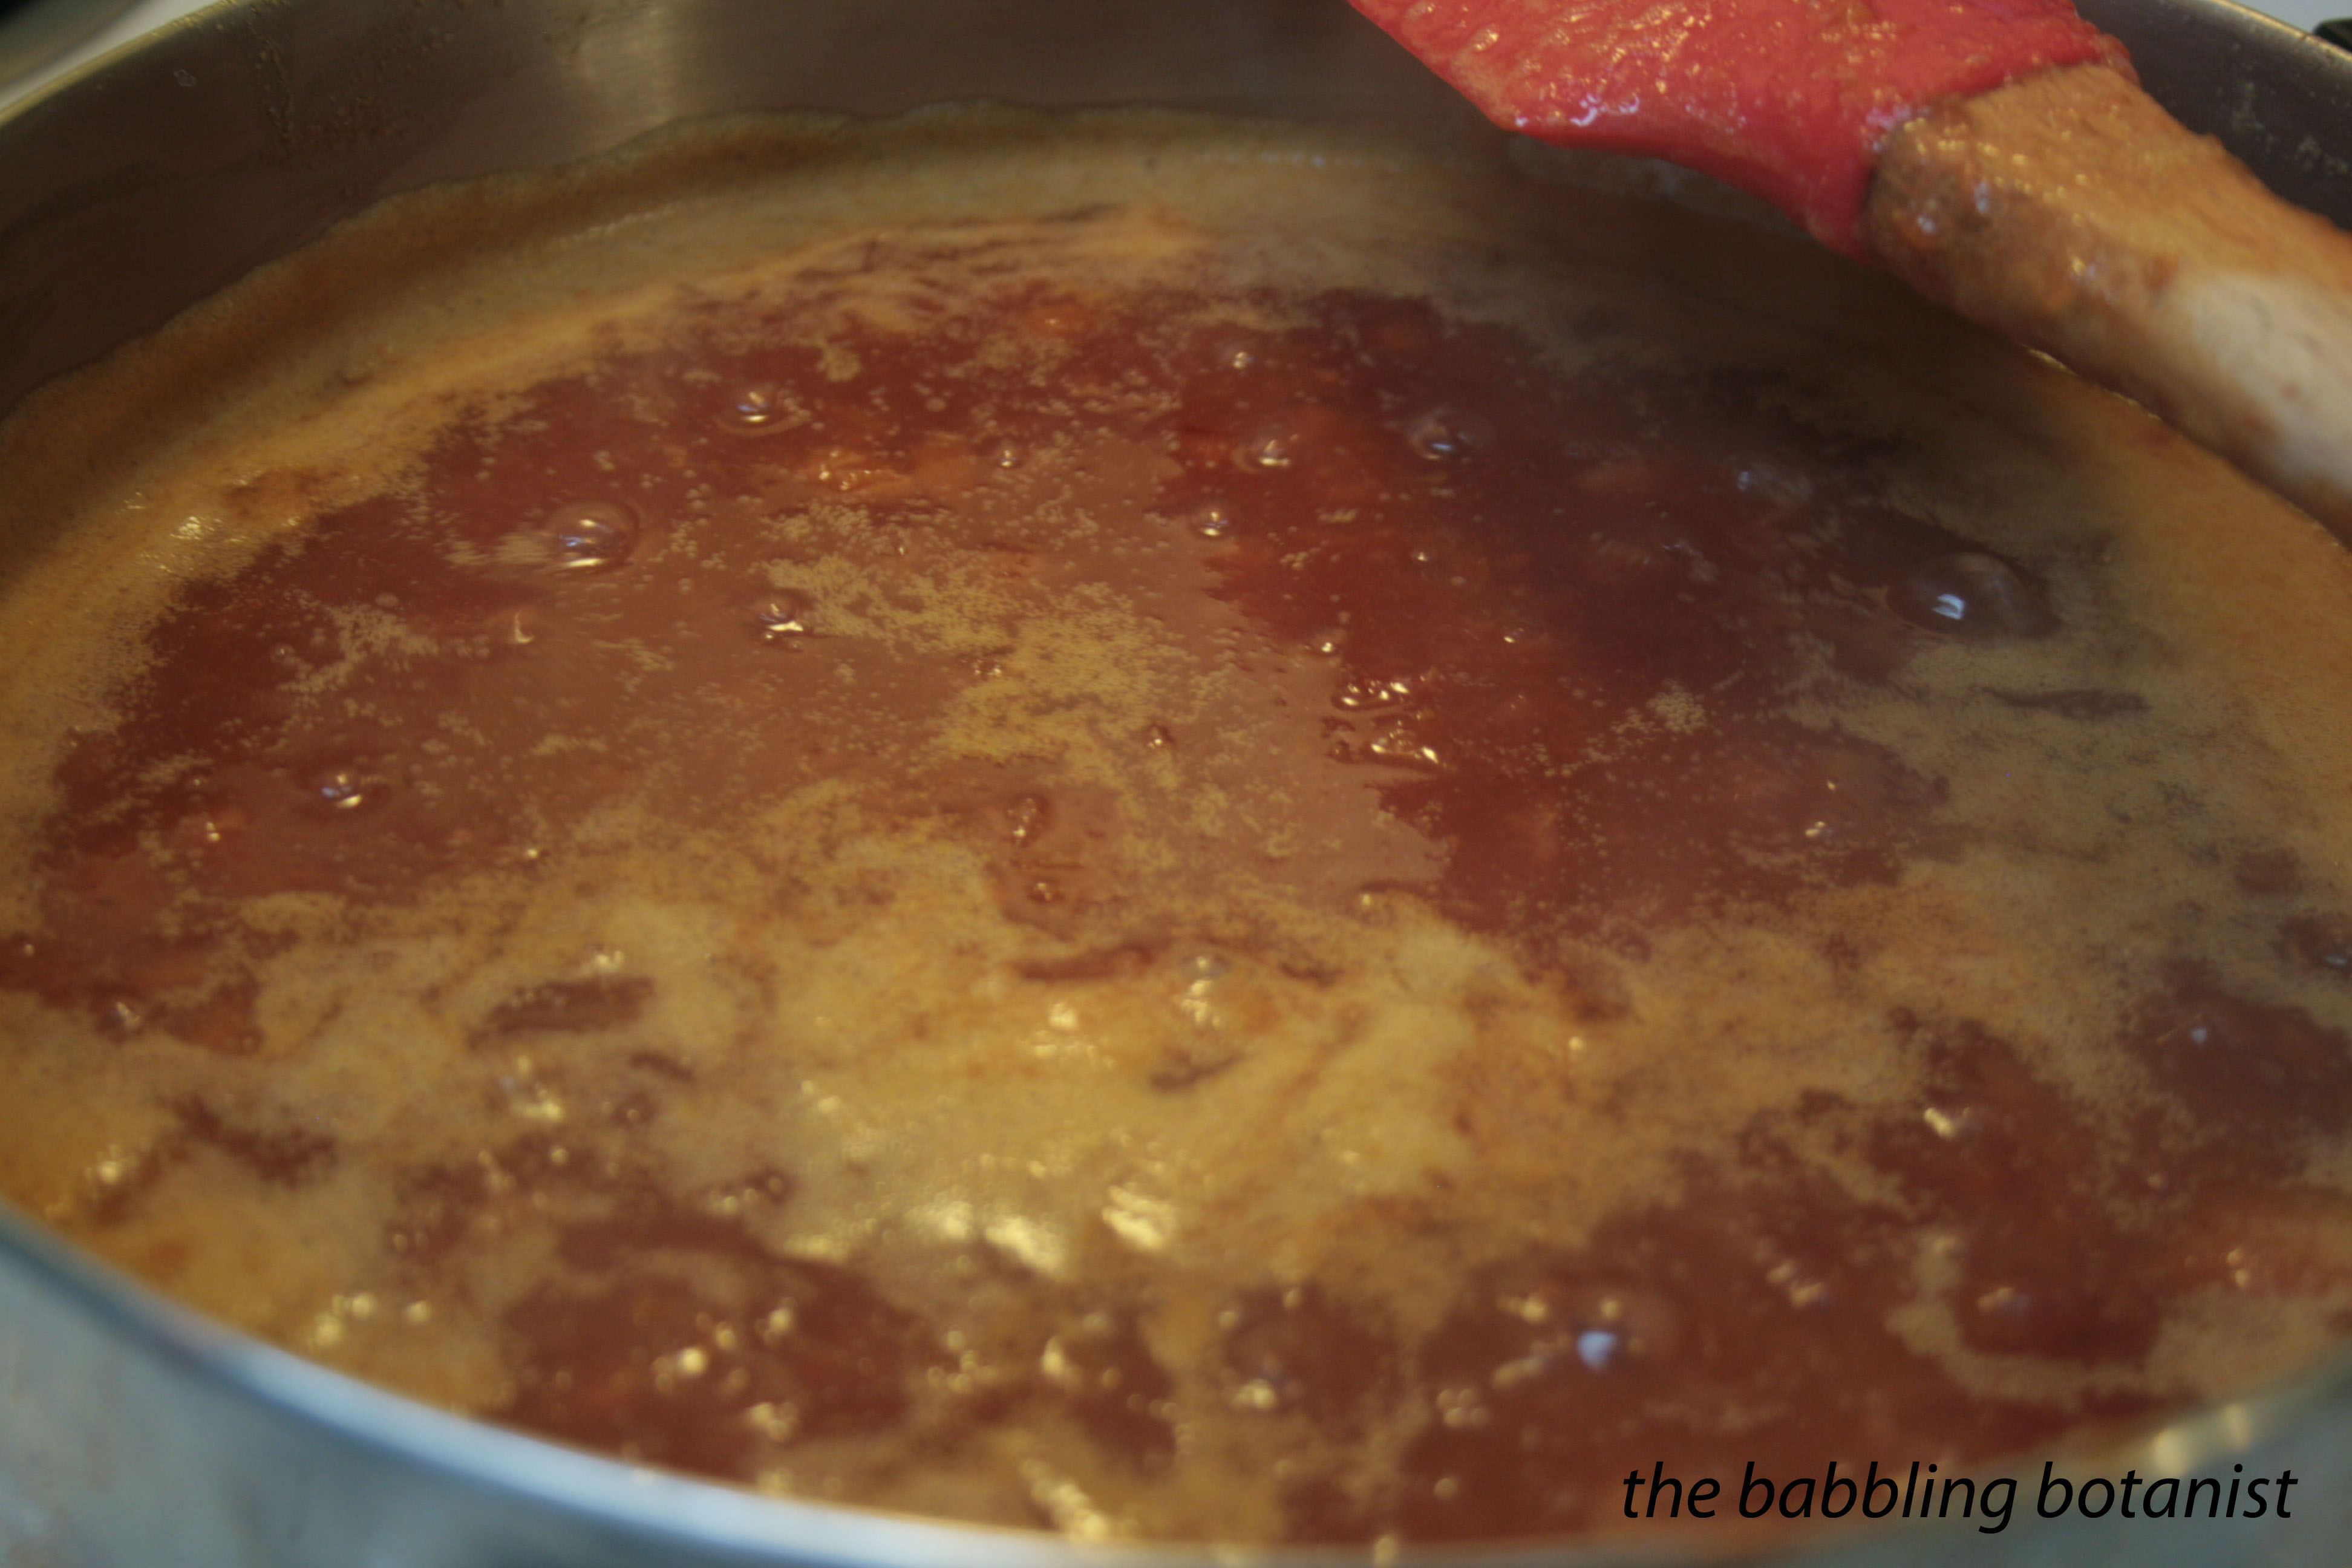
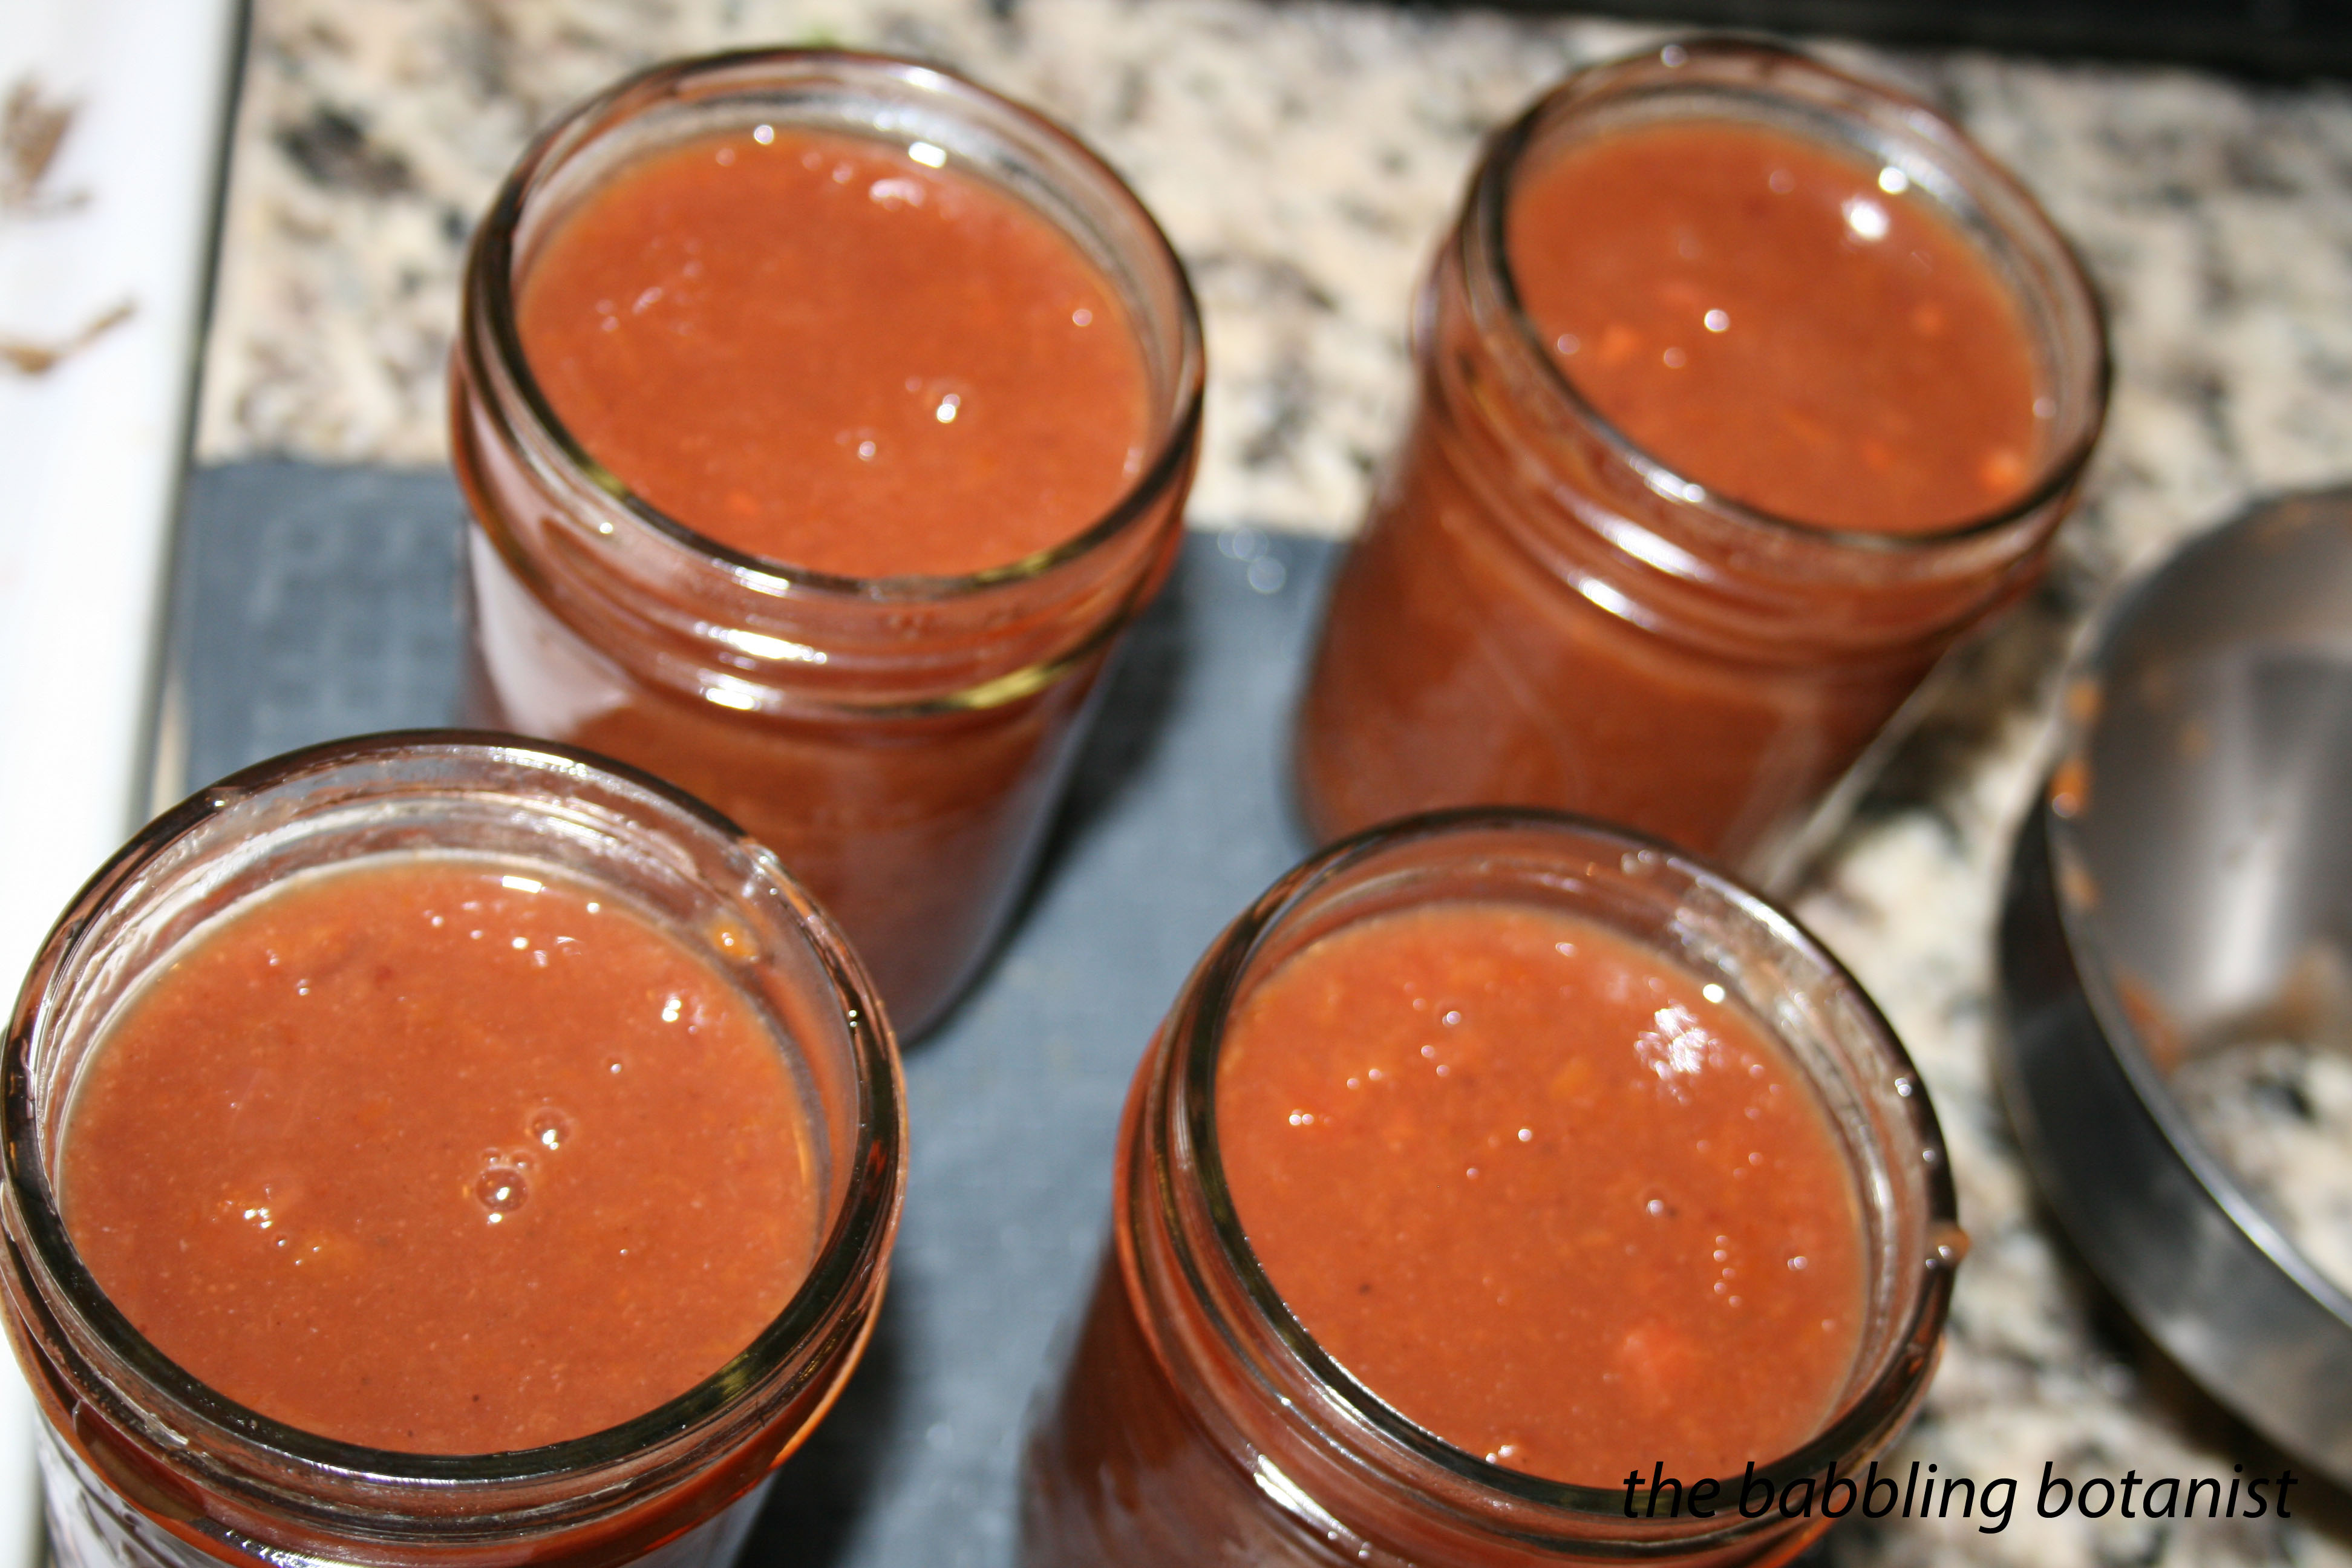
Add the diced plums and return to a boil. Reduce heat and continue to simmer for a few hours, until it reaches a good plum sauce consistency. When you are getting close, prepare 4 pint jars, or 8 half pints.
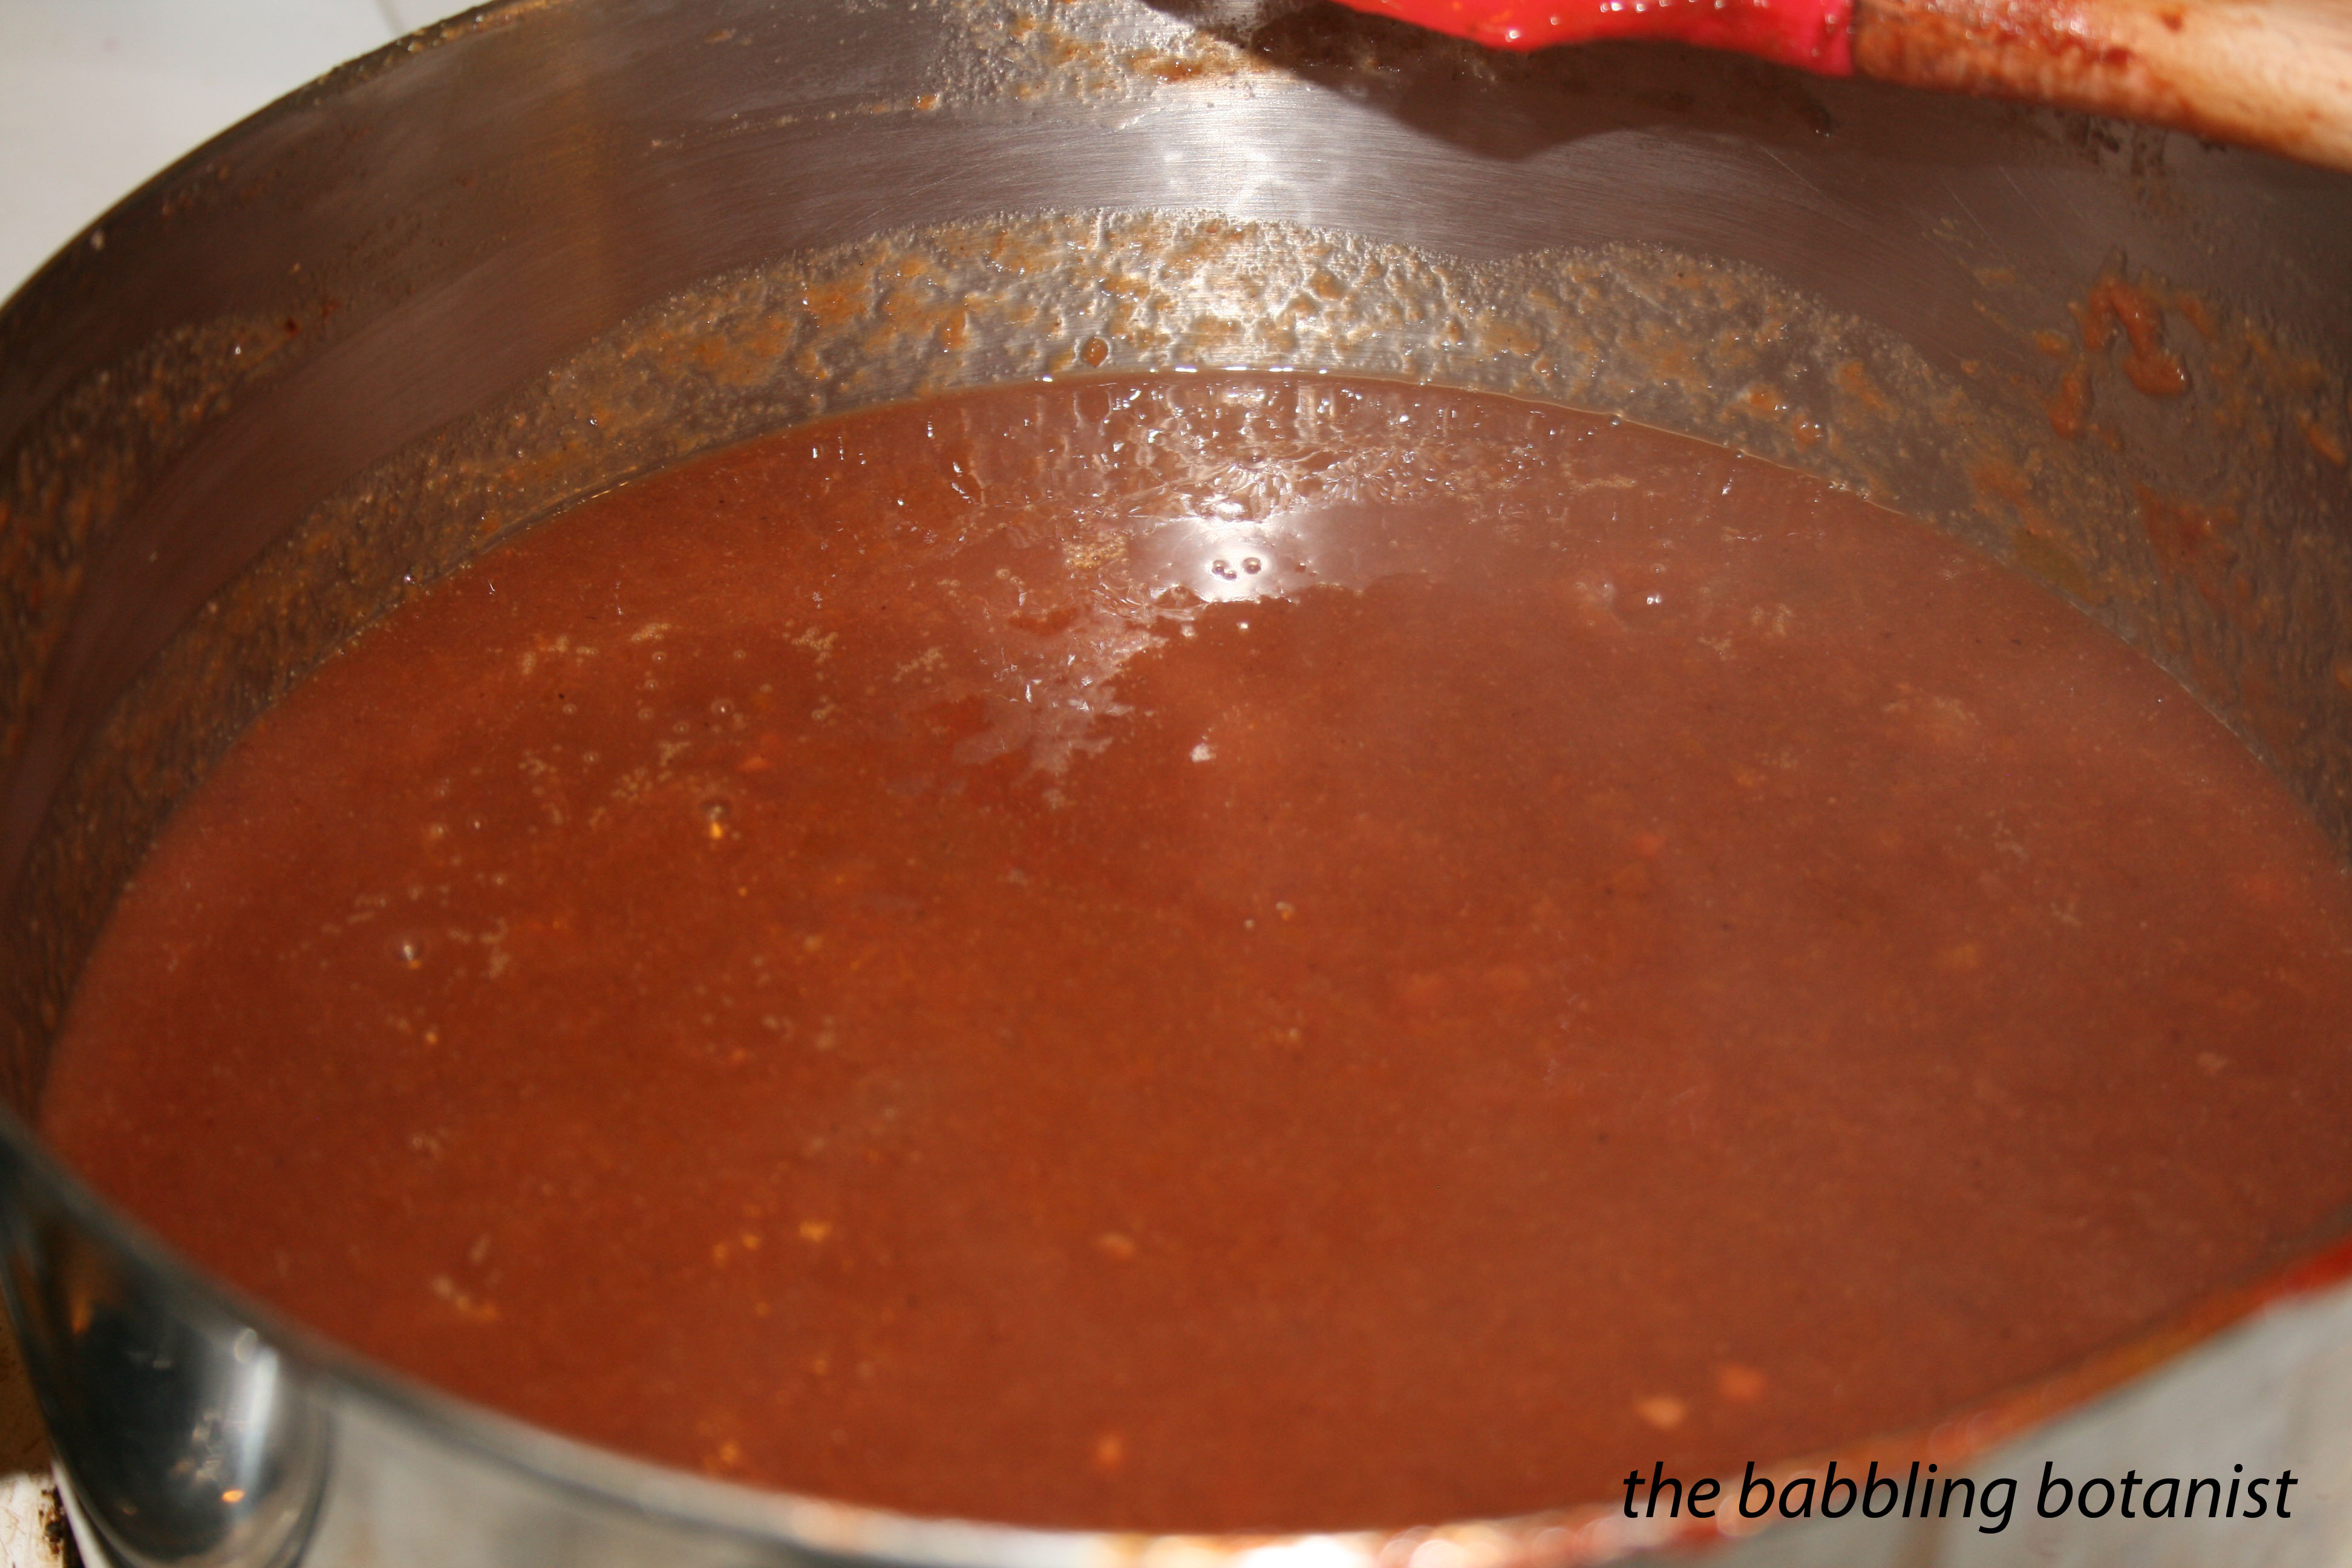
Here it is reduced by about half, a few hours later.
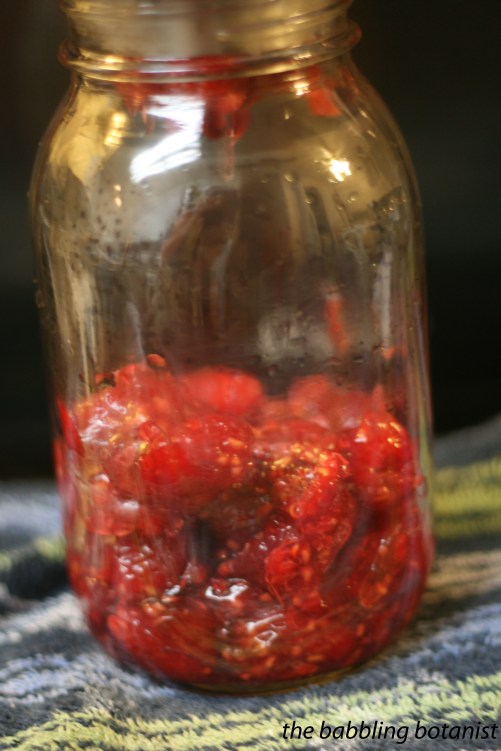
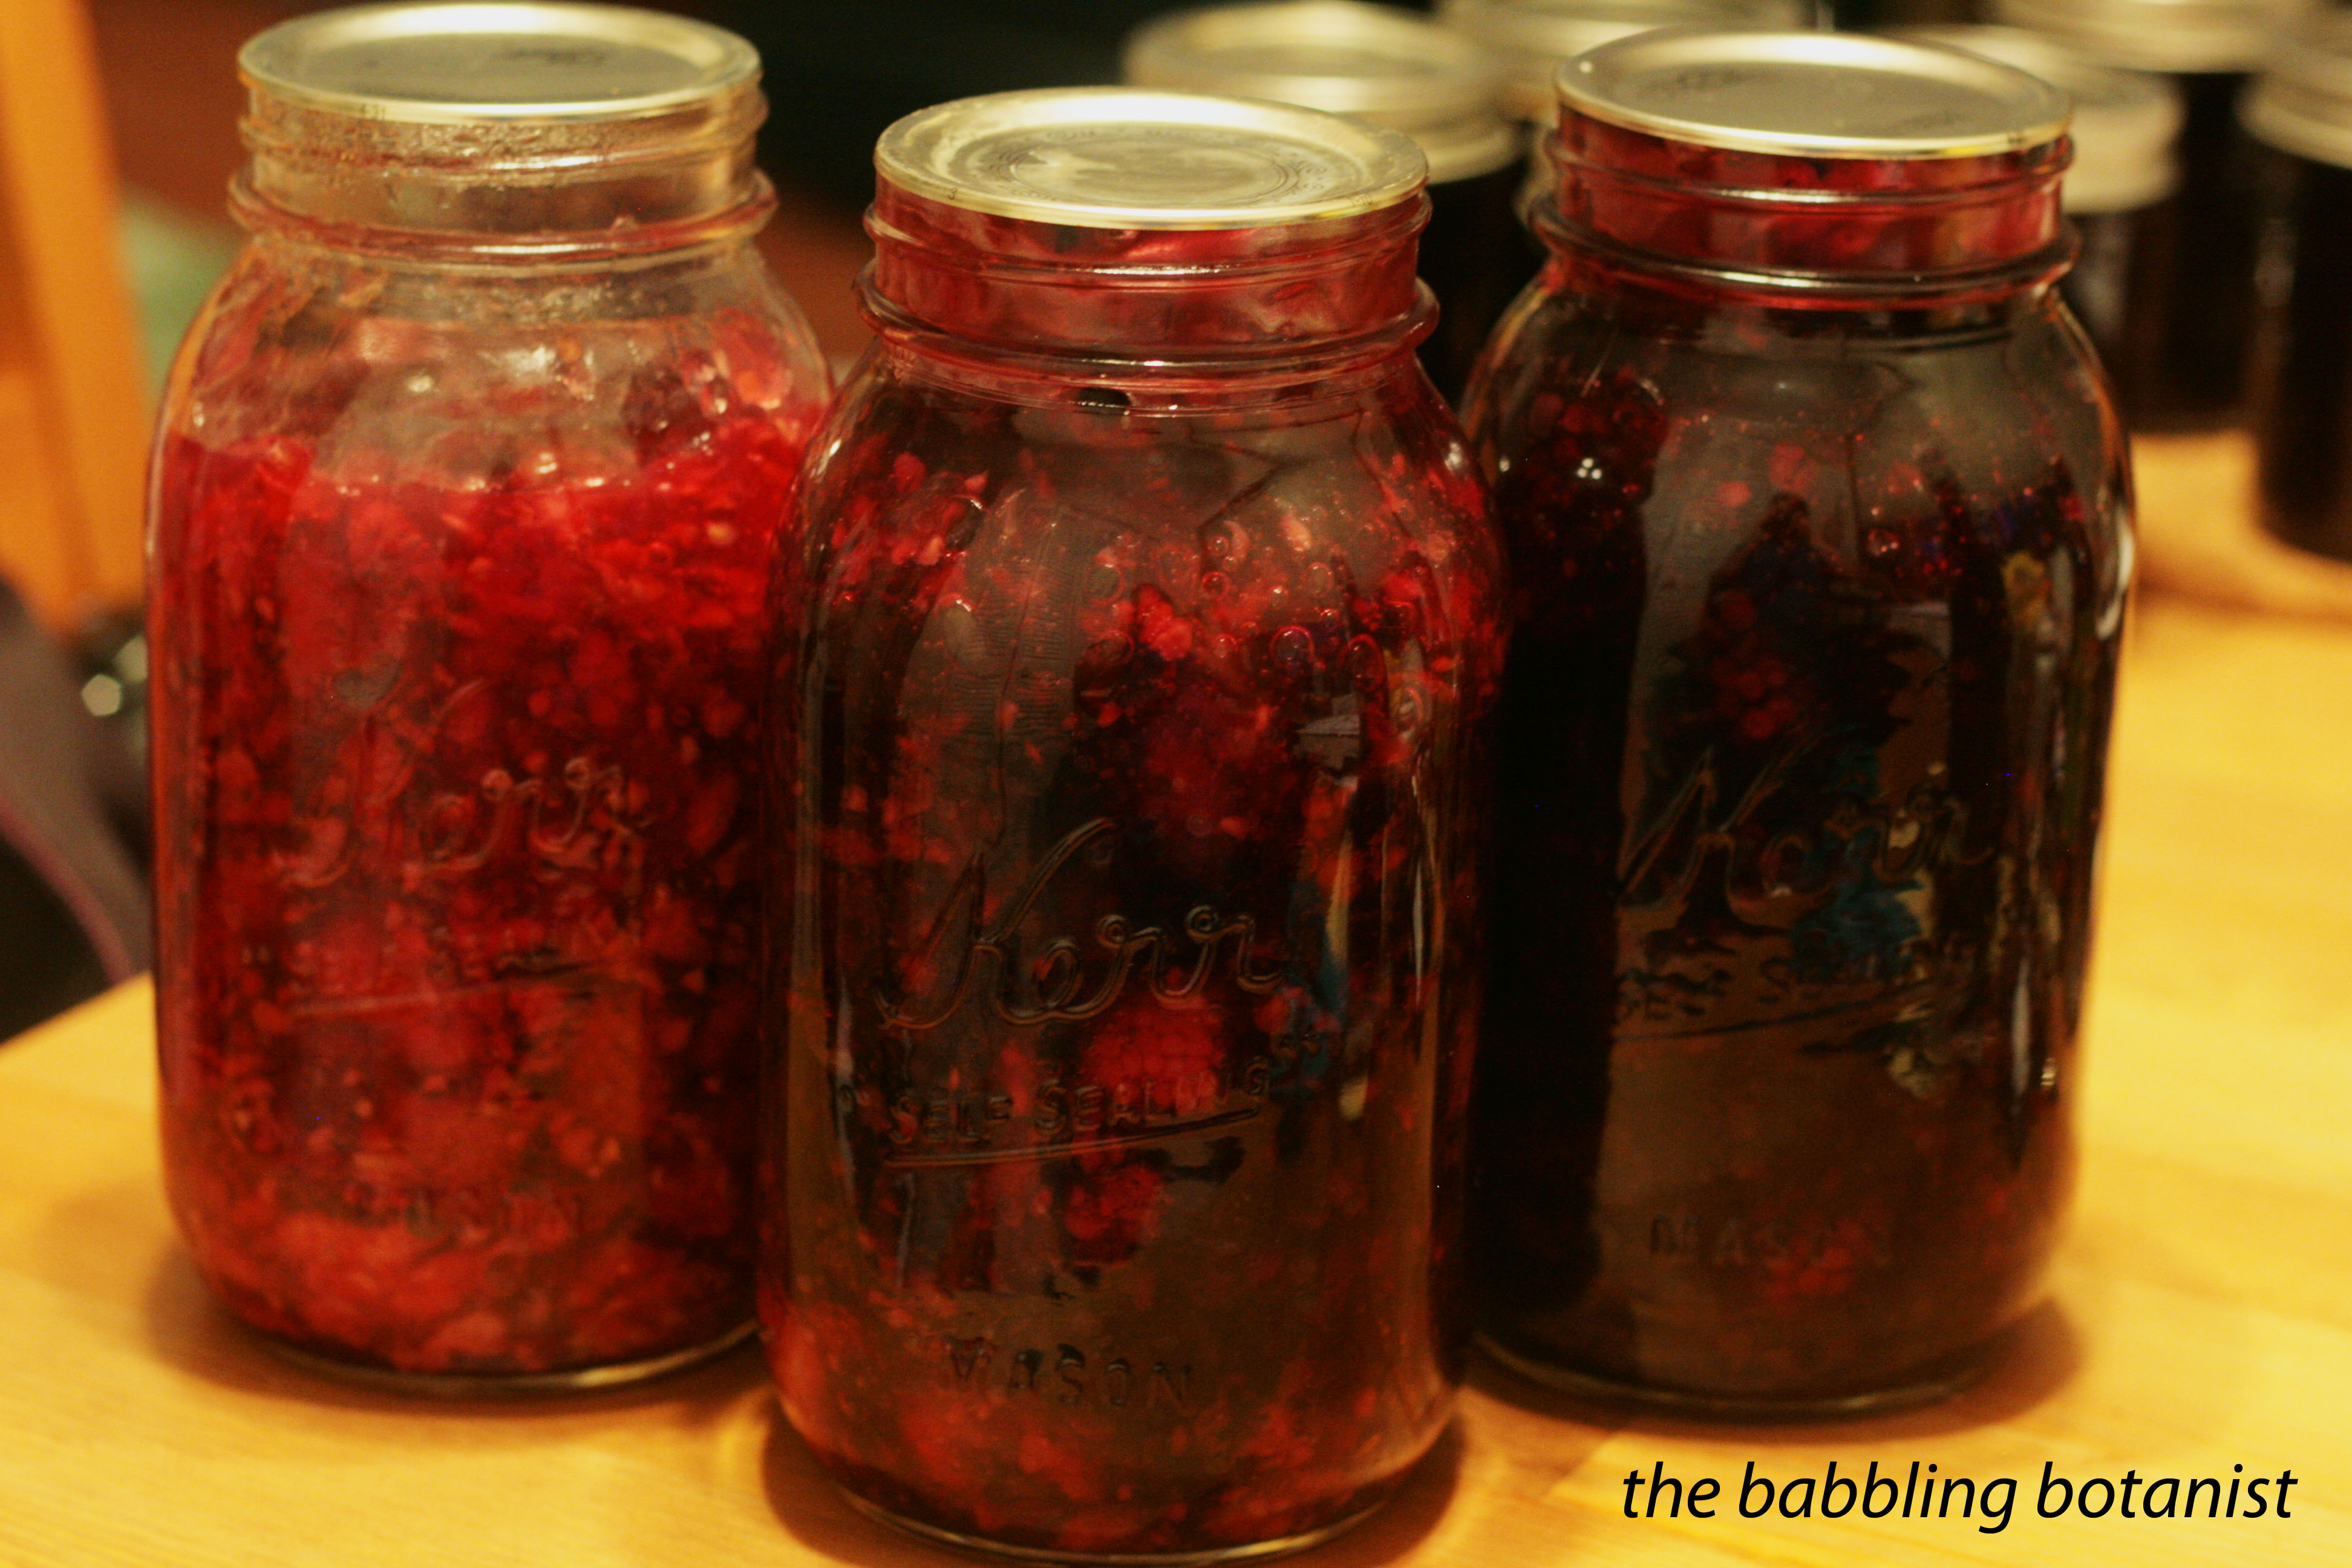
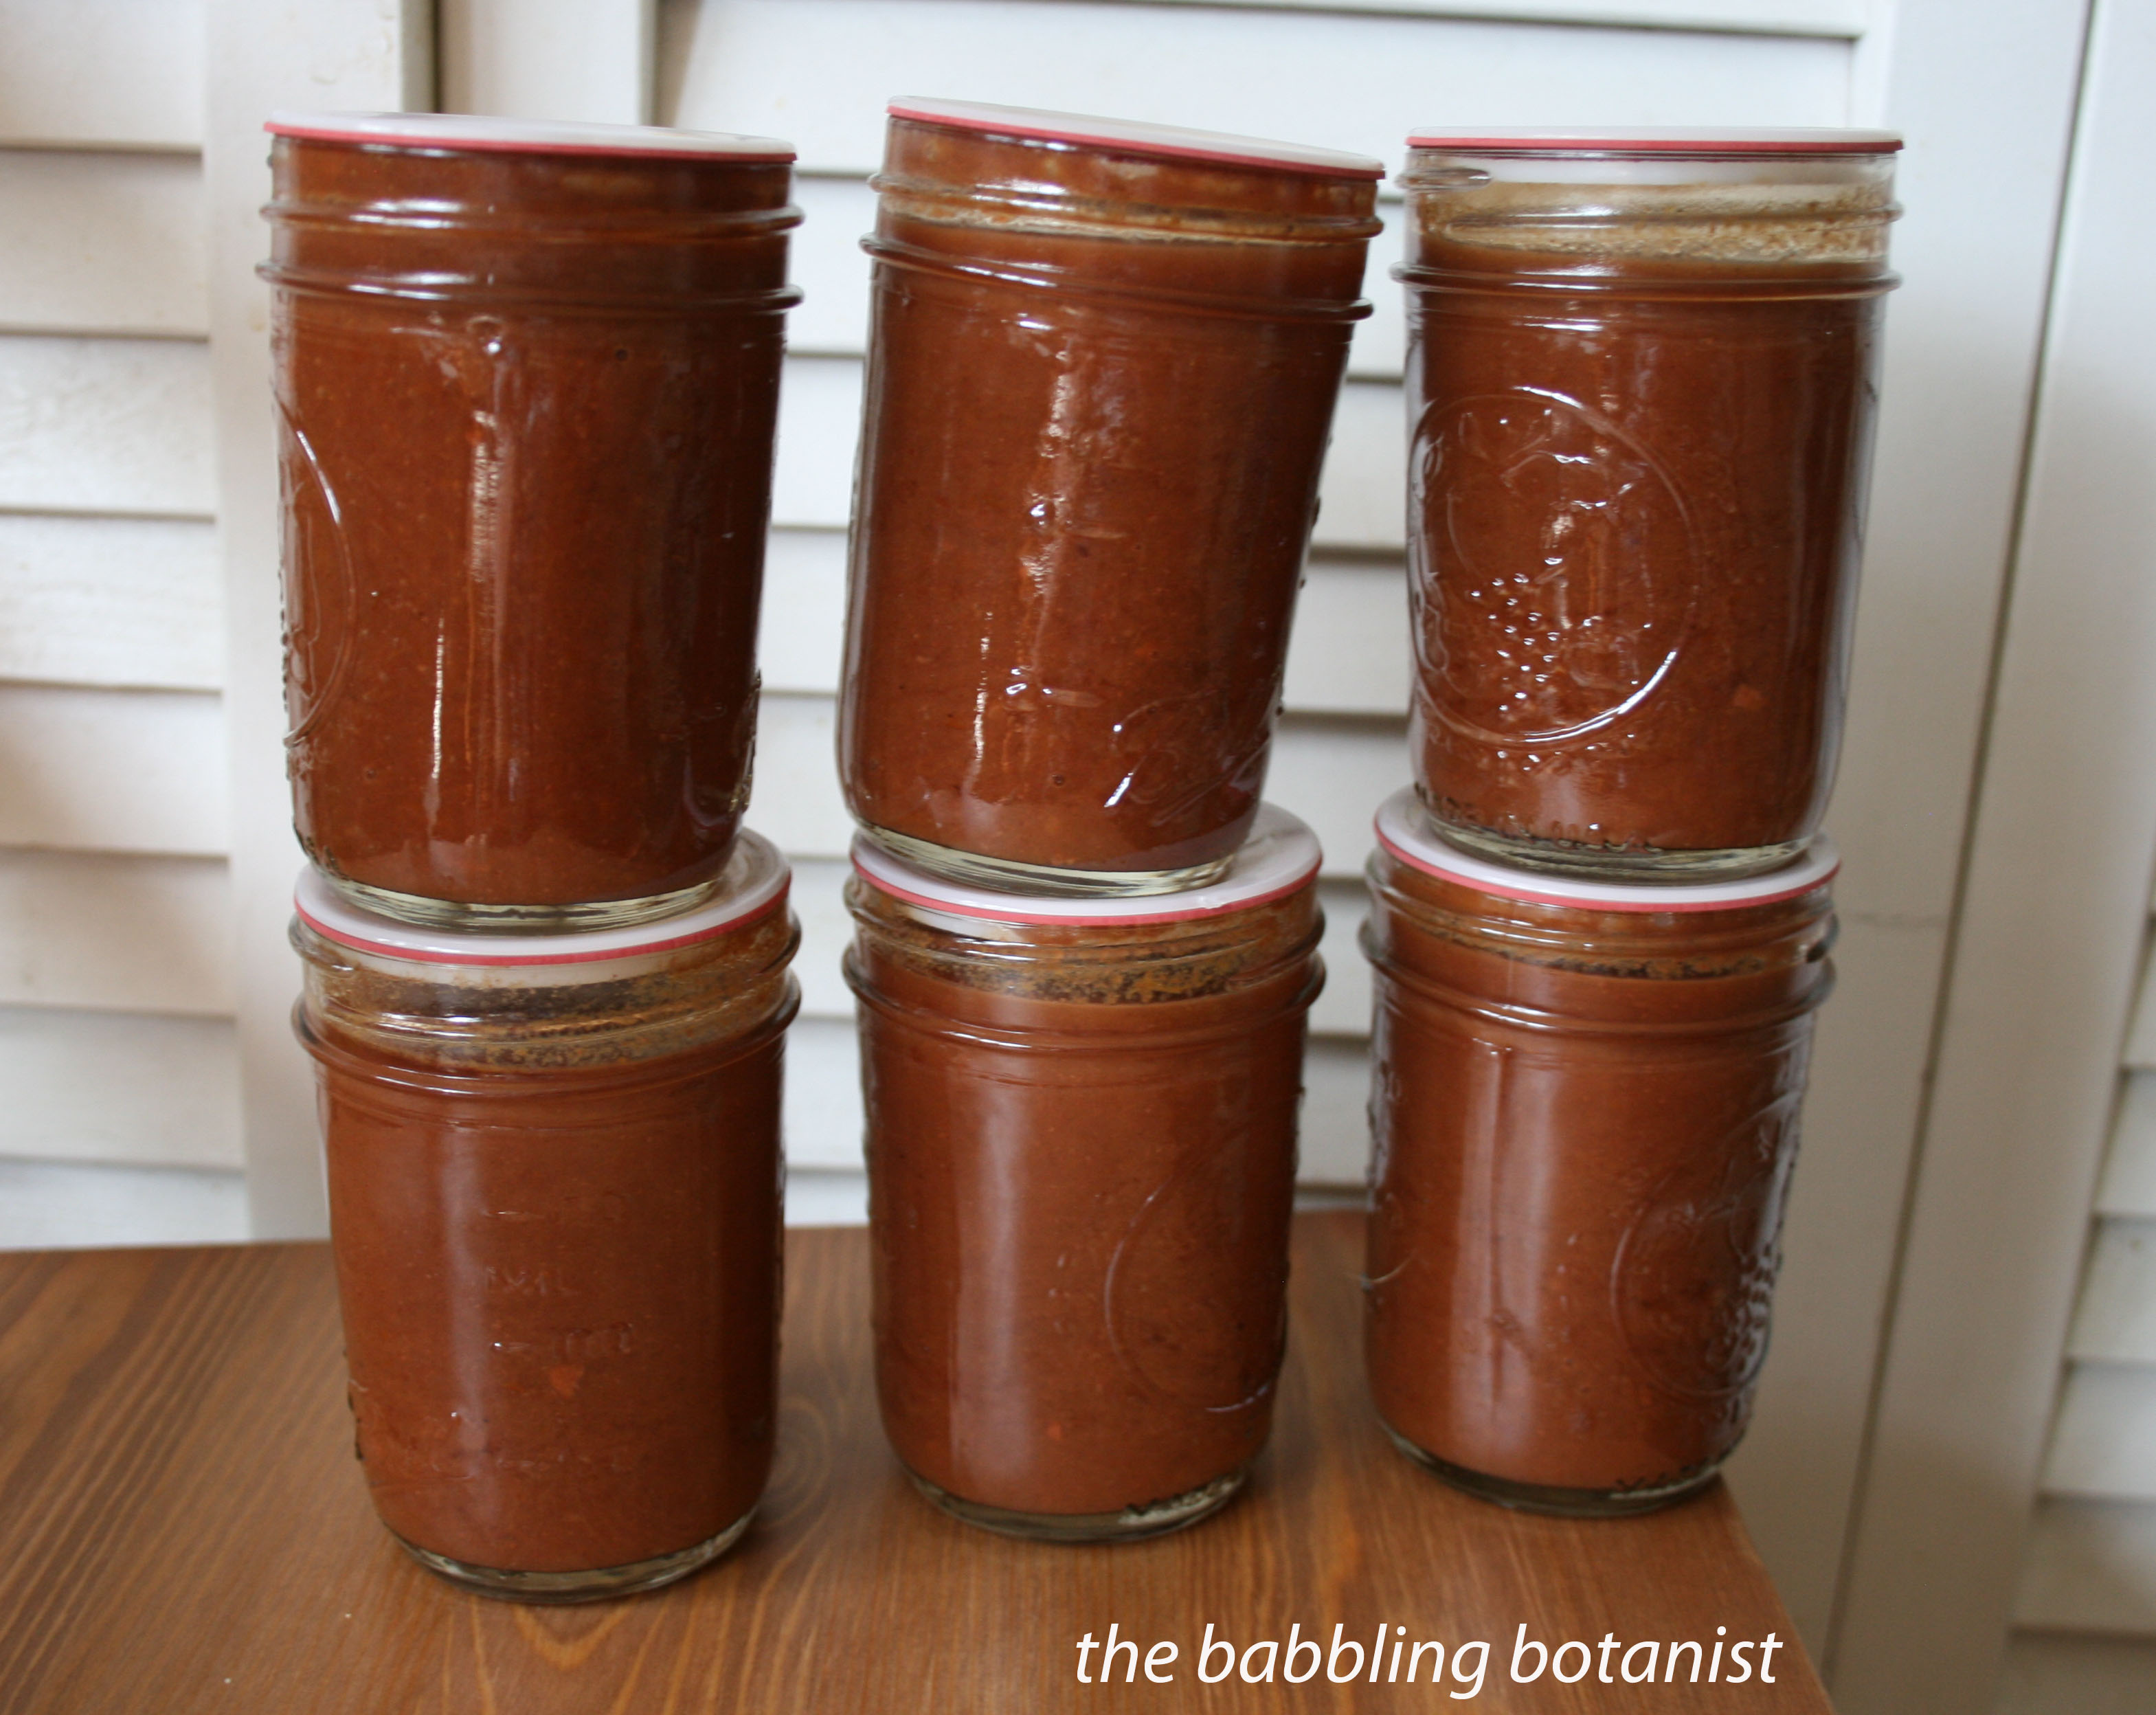
Fill hot jars, leaving a half inch head space. Wipe rims, apply lids, and tighten finger tip tight. Process in a boiling water bath canner, covered by at least 1-2 inches of water, for 20 minutes. After 20 minutes, turn off heat, remove canner lid, wait 5 minutes, and remove jars to a hot pad or towel. Cool, check seals, label, and store.
Gorgeous!! And tasty.
*this post contains affiliate links, please see the “About the Blogger” page for more information