End of Season Freezer Tour

We officially had the first frost of the season, which means the bulk of the preservation season is over. I do still have some carrots, beets, and broccoli alive in the garden, but the tomatoes and peppers are toast. Sad, but luckily now we enter the phase of eating all these goodies which is also great! Being so busy this summer, I didn’t do nearly as much canning as last summer, but one thing that helped some with my time crunch was having a freezer this year. A chest freezer is really a great investment if you have the space, and I have not even noticed a change in the power bill. At this time of year it’s a great idea to go through your freezer, sort it, and determine what you have so that you ensure you actually eat those things throughout the winter. I just went through mine, so thought I’d give you a tour of it!

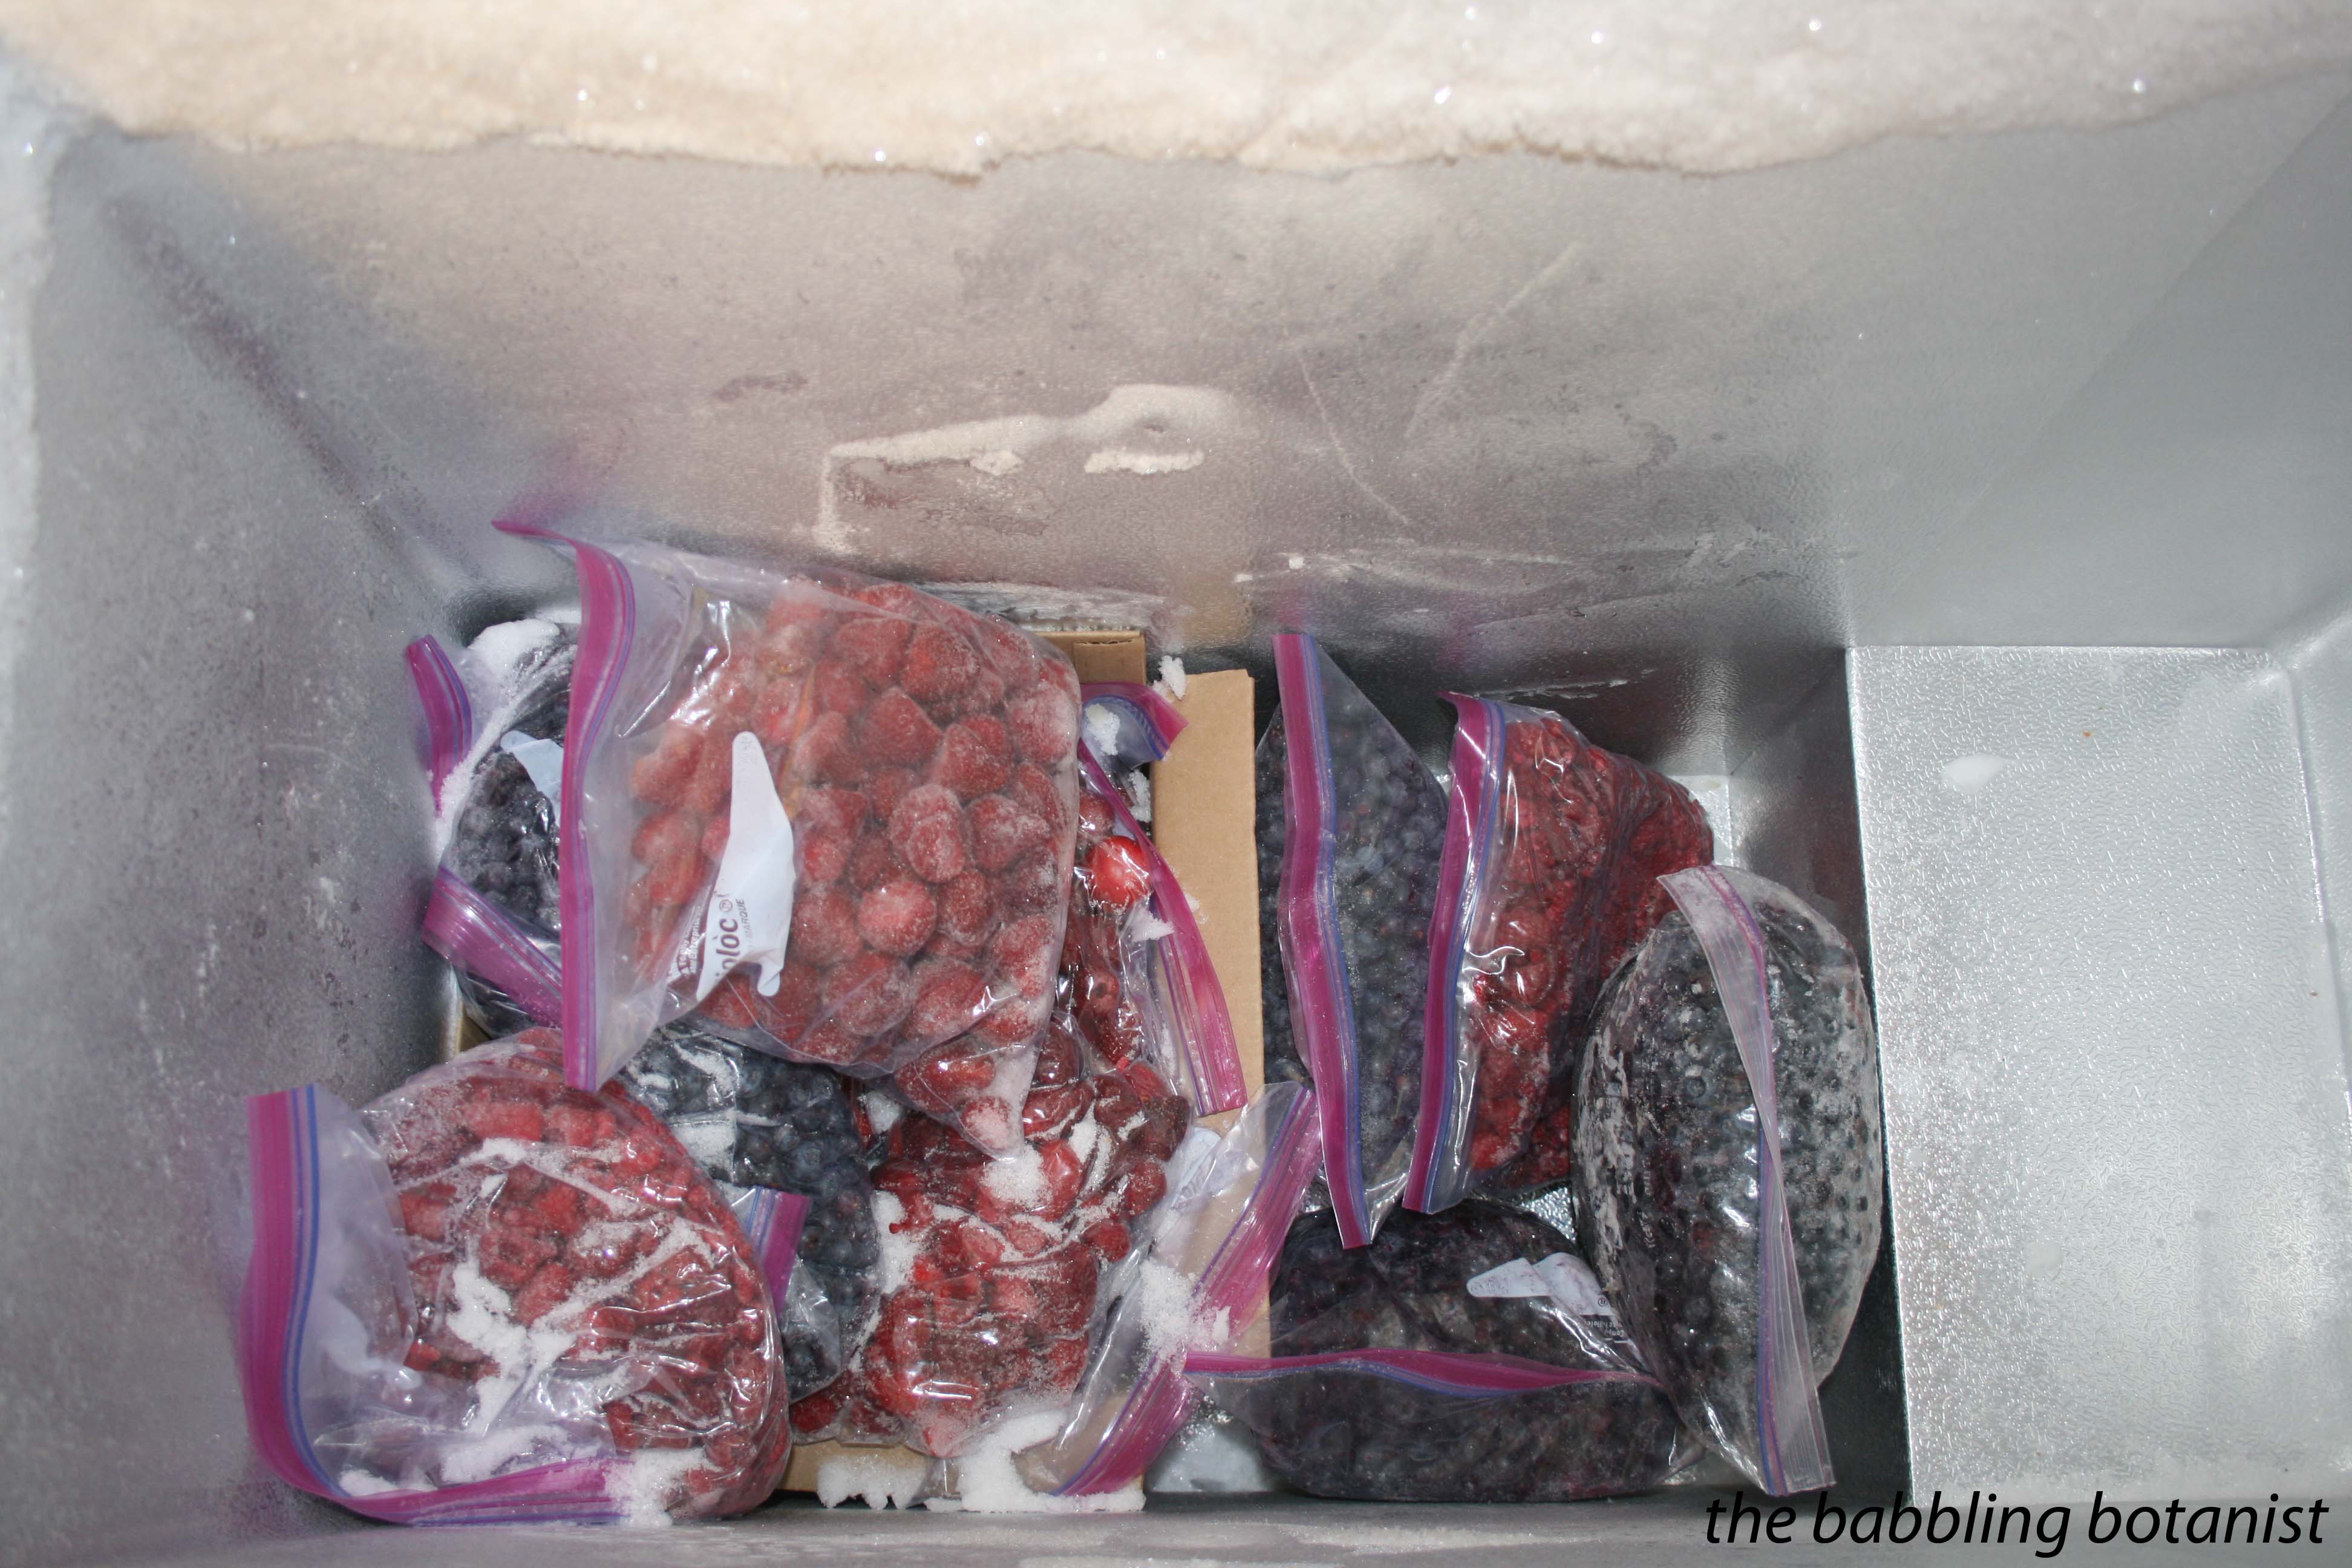
On the bottom here you can see that I had a very successful berry season. I tried to layer the bottom of the freezer with the berries, since I have so many, then have one of each bag more accessible, and I can grab another as needed.

IMG_5900

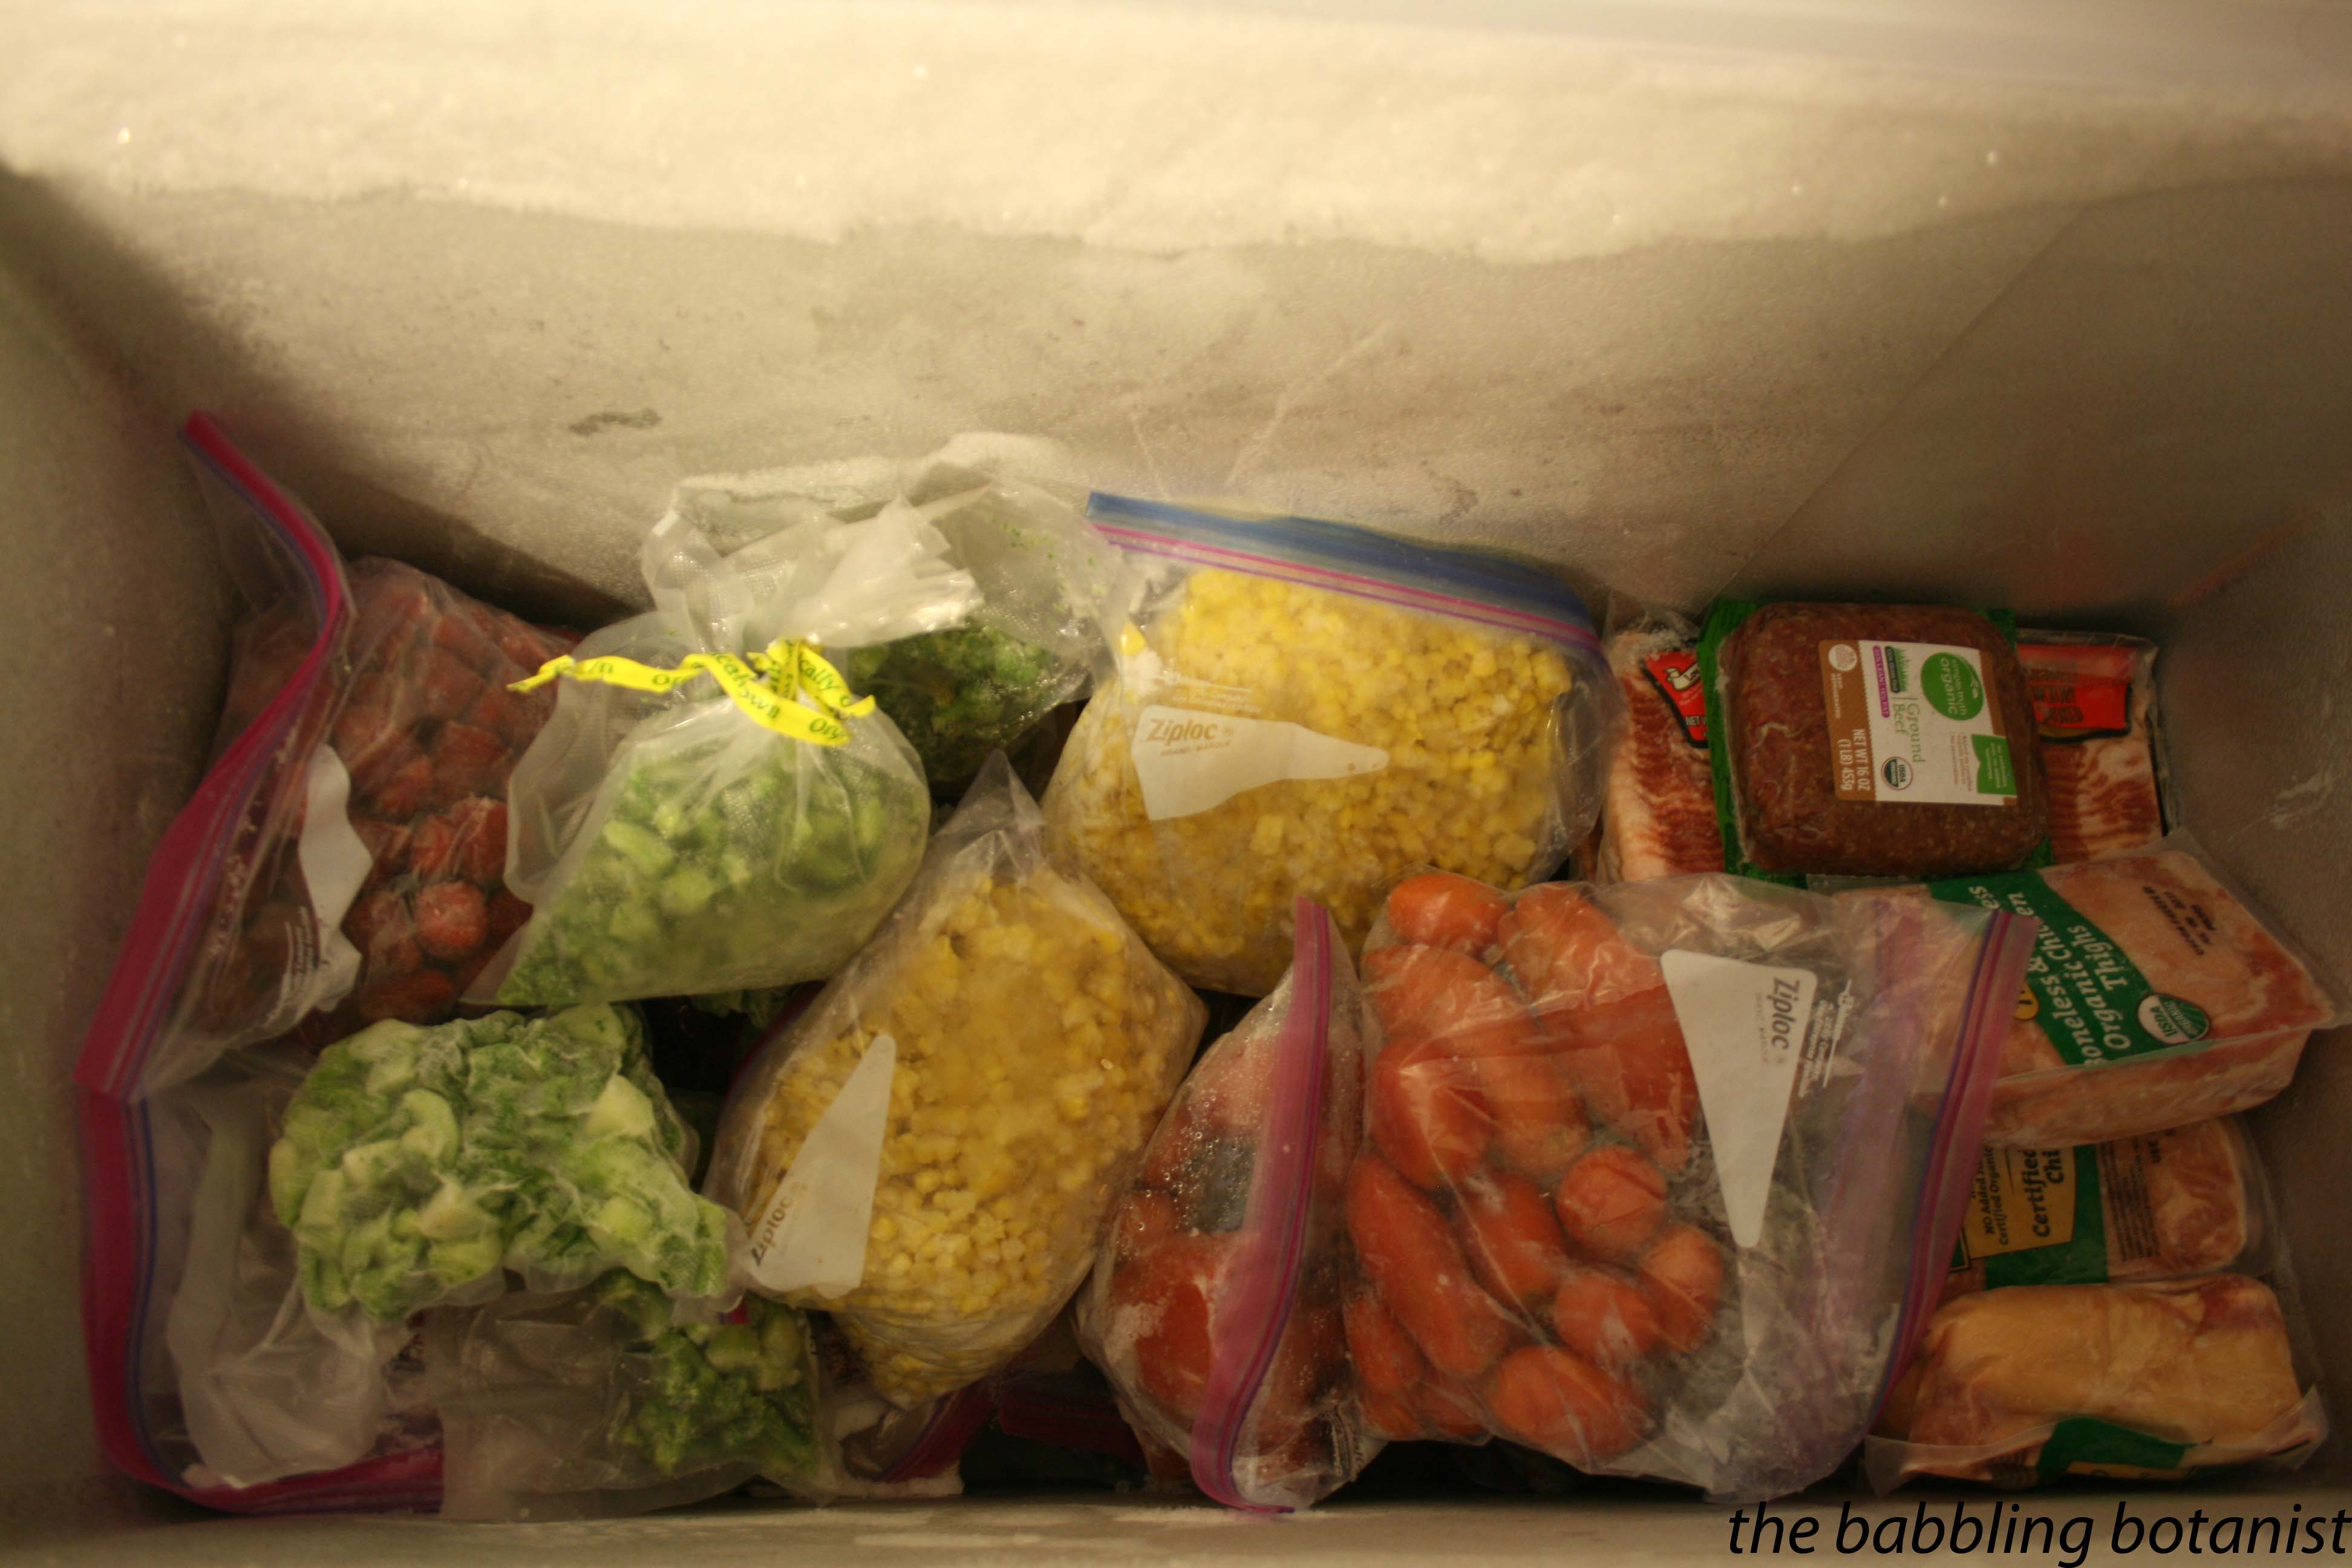
On top of the berries I have some vegetables and meat that I froze this summer. Home grown broccoli vacuum sealed using my new food saver, corn from the local farm stand that I got when they were having an awesome sale, tomatoes from near the end of the season when they were growing slowly so I accumulate them until I have enough for some sauce, and some meats that I bought either on sale or in bulk from Costco.

IMG_5903

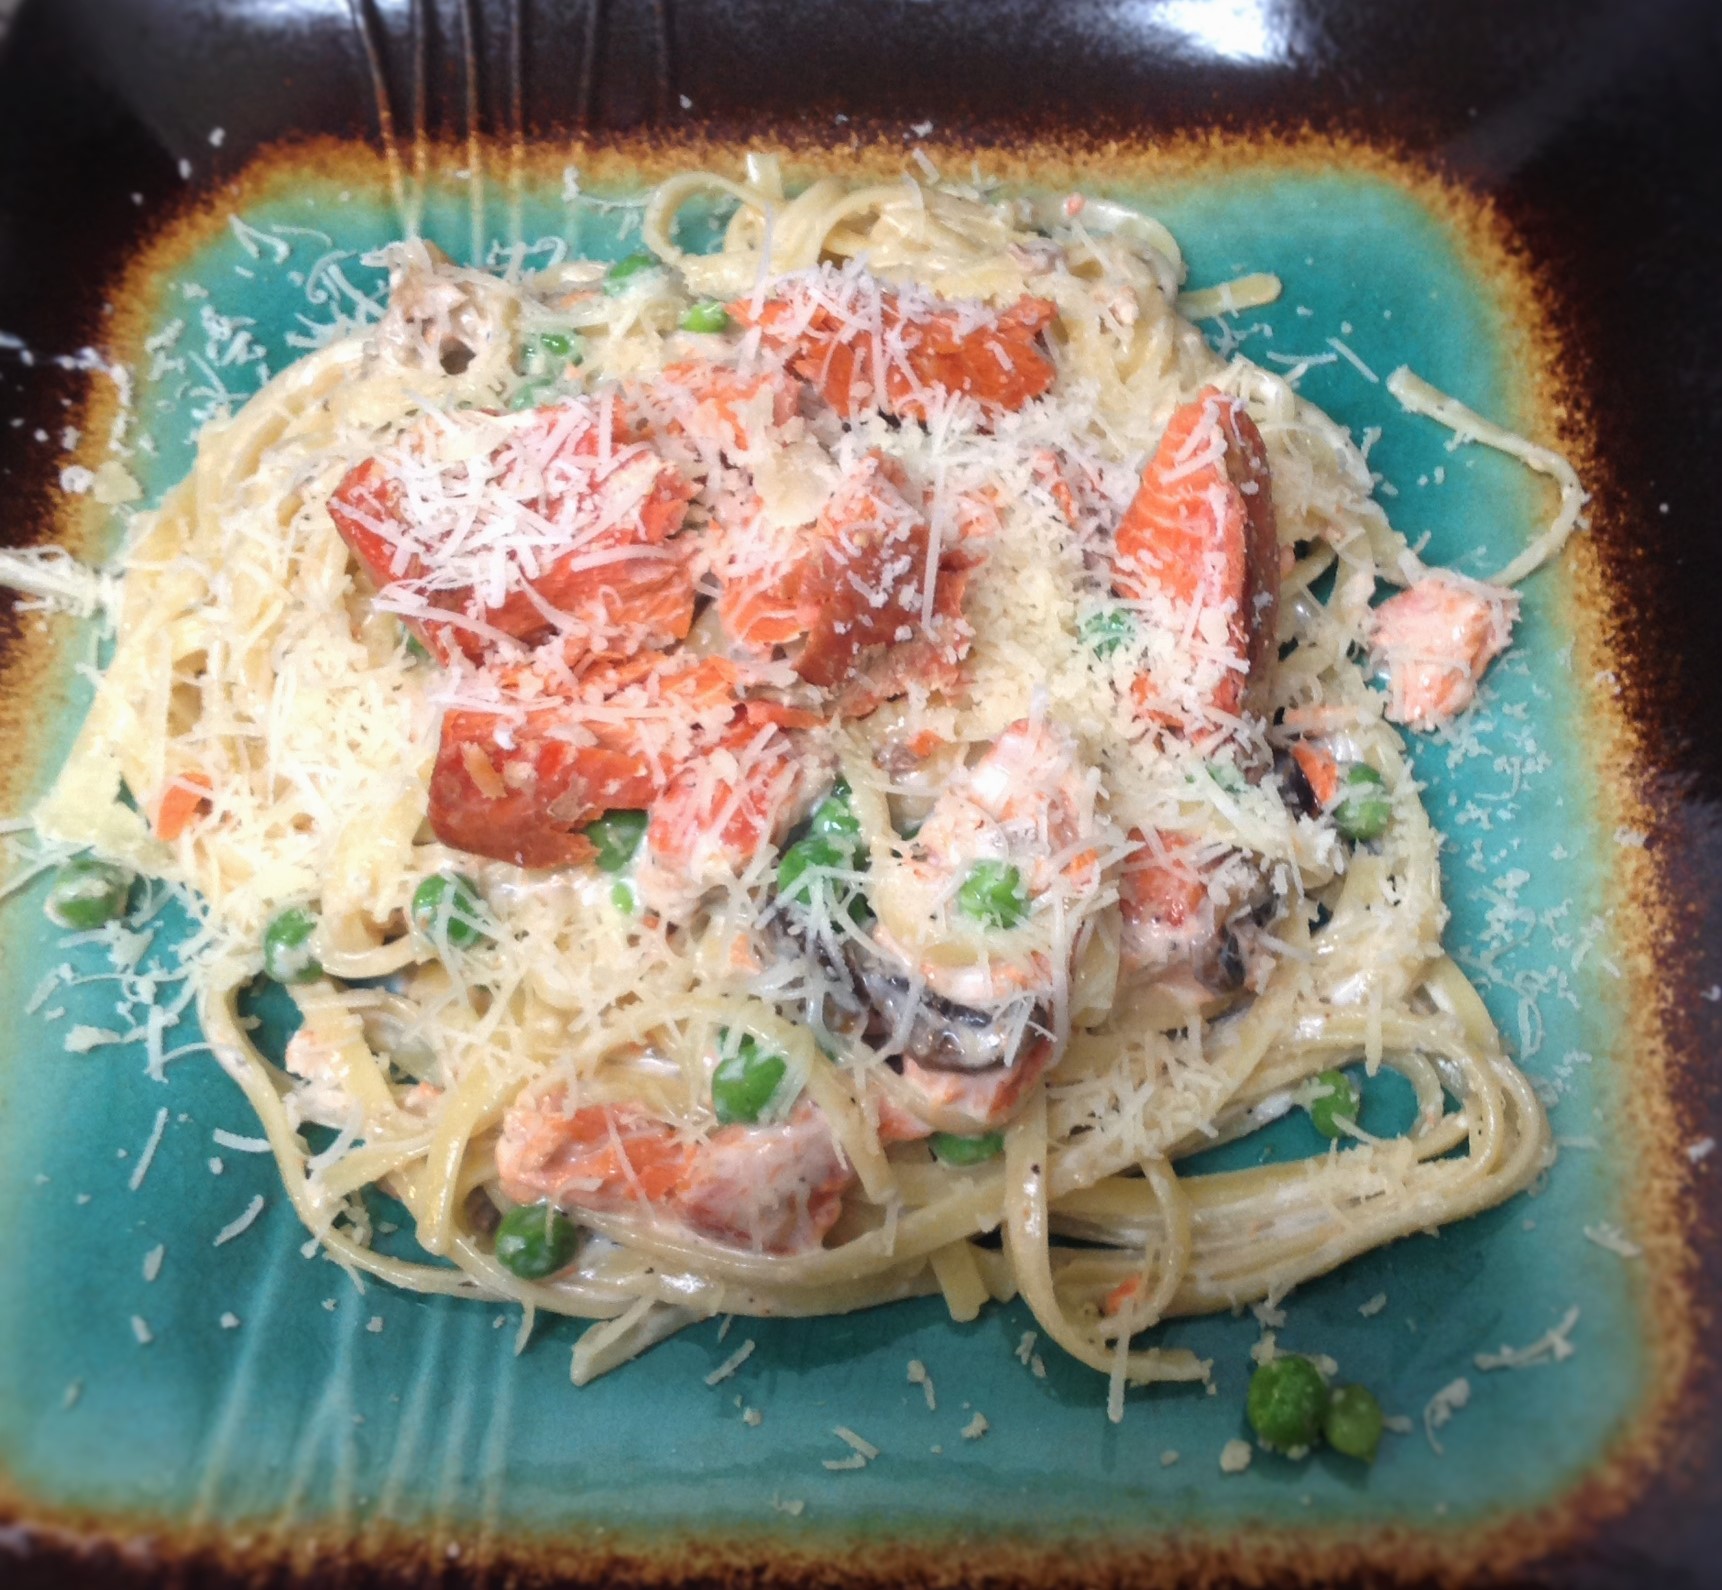
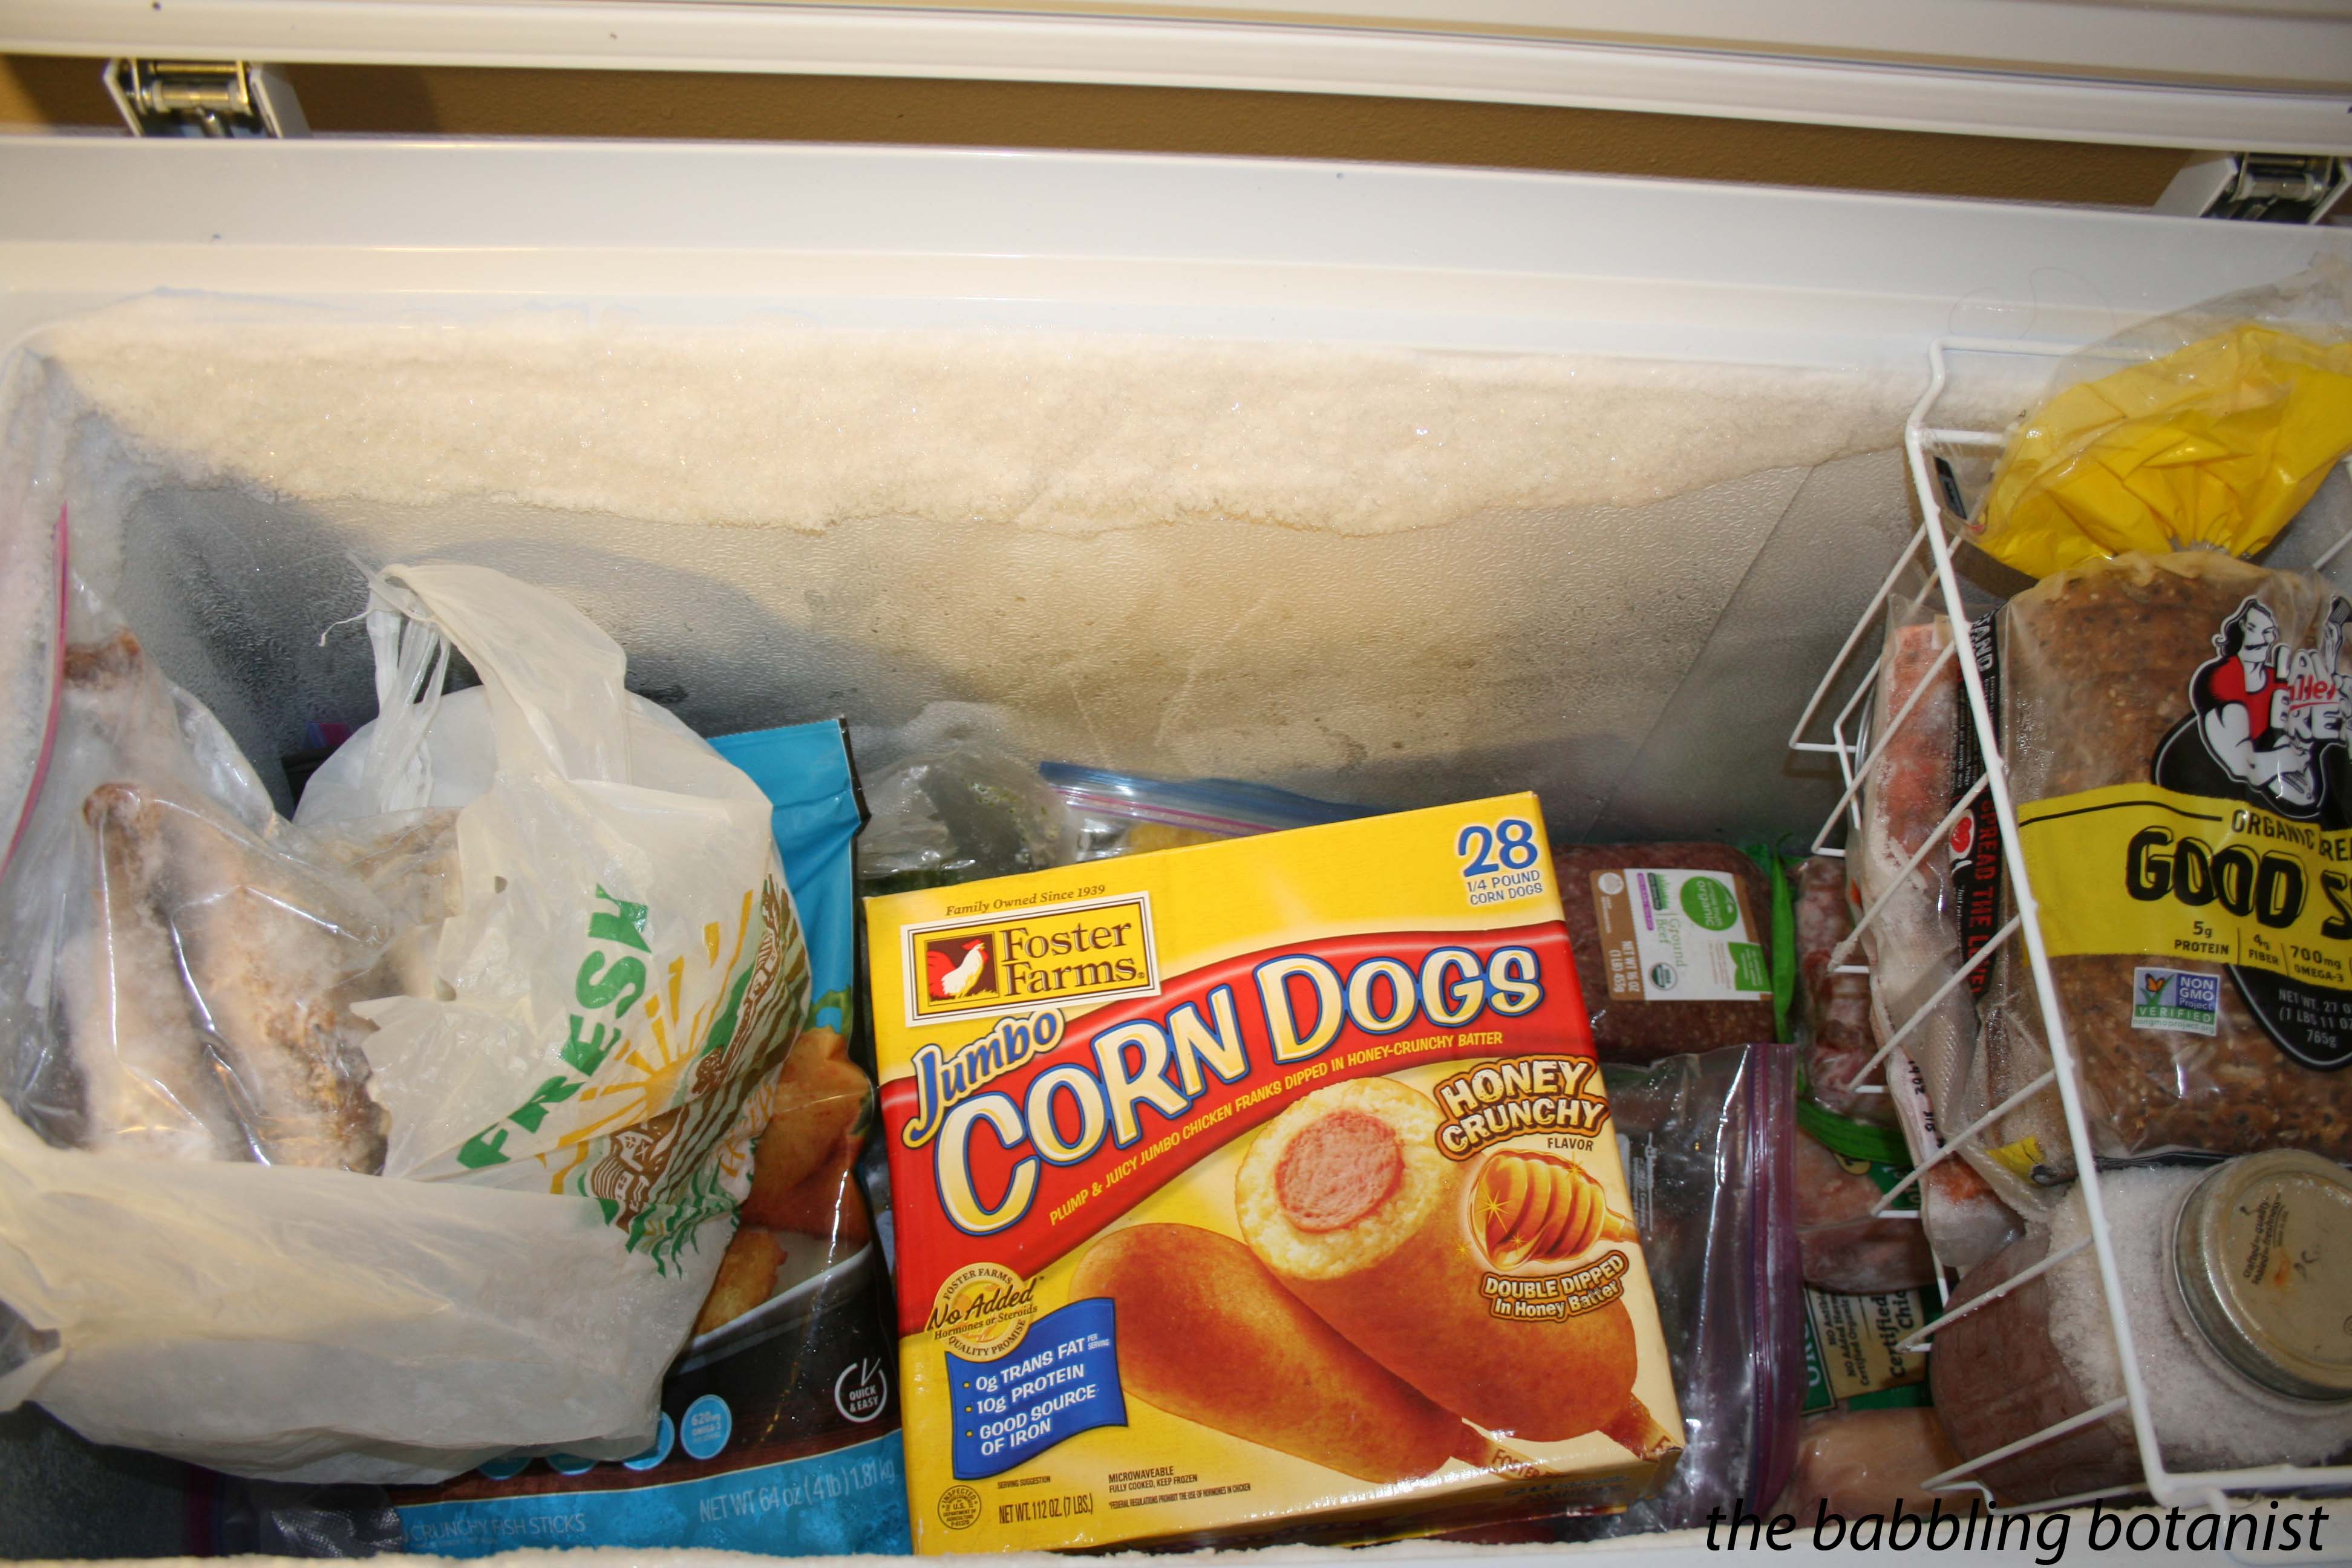
On the next layer we have in that bag a turkey carcass which I plan to take out when I have more time and make stock with, we also have some corn dogs (mostly the boy – but everyone can’t be perfect in what they have in the freezer right?) and in the basket some bread and the last bit of smoked salmon from this summer.

IMG_5907

All in all I think I did pretty well on berries (more than enough probably!) but would have liked to freeze a little more in the way of veggies. I do have winter squash that I still plan to cook, puree and add to my freezer stash, and once that carcass is out I’ll have a little more room for that, but overall I think the season was a success – the freezer is nearly full after all. I did also eat some of the things I preserved earlier this season – as it should be! Now go check out you freezer, and don’t let that stuff in the bottom sit there for the rest of eternity – eat it!

What things do you like to preserve by freezing? How was your preservation season this year?

Adventures in Smoking Salmon (Safely)

IMG_3144

During the time I spent in Alaska I was able to enjoy a lot of salmon, especially smoked salmon, but it wasn’t until becoming a Master Food Preserver that I attempted to make smoked salmon myself. It’s not terribly hard, but you do of course need a smoker, some wood chips, and some patience. To make sure it’s done safely, a good thermometer, and preferably one you can leave inside the fish like this one, is also important. Now if you love smoked salmon as much as us, you know how expensive it is to buy, so gather up some gear and try it yourself. Also check out the publication on this topic PNW 238 Smoking Fish at Home – Safely and if you want to can your fish, check out Canning Smoked Fish at Home for how to safely can home smoked fish.

Here’s how it’s done. First, brine your fish in a salt water brine. If you want a sweet or spicy brine, you can certainly also add some brown sugar, spices, or whatever at this point, but salt is the key ingredient to help get the fish to dry out. The extension publication recommends a brine of 7 parts water, to one part salt to ensure enough salt in the final product. Place your fish in a single layer in a shallow pan, mix the salt and water (and whatever else you want to add) in a separate bowl, and pour it over your fish to completely submerge it in brine.

IMG_5674 copy

Large pieces of fatty fish require the longest brine; smaller, leaner fish require less brine time. I brined the salmon (in the fridge) for close to two hours, as they were fairly large fillets. After the brine time completes, rinse the fish lightly, and leave it out to dry. You want a pellicle to form on the fish, which is basically a tacky clear film on the surface, because this will absorb in the smoke flavour much better than if we began smoking right away. It also helps to prevent spoilage. Placing the fish in front of a fan can speed up the process, but you’ll want to leave it for about an hour.

When you are getting a good pellicle, start up your smoker. We used a Smoke Hollow smoker like this one but others function similarly. Follow the manufacturers instructions, but basically there is usually one tray that you fill with water and another that you fill with wood chips. Use hard woods for smoking, as soft woods will leave an undesirable flavour on the fish. Fill these and start the smoker on a low temperature to start getting some smoke going.

IMG_5681 copy

Place the racks full of fish into the smoker and close the door. Keep the heat around 90 F, bascially you want it hot enough that it is producing smoke, but not so hot that you are just cooking the fish. We want to first smoke it, then cook it. Smoke the fish for up to 2 hours at these low temperatures, and then increase the temperature of the smoker to between 200 – 225 F. To ensure your fish is safely cooked, we want to reach an internal temperature of 150-160 F and hold it there for 30 minutes. Now is the time you want your thermometer in the thickest piece of fish, on the top shelf where it’s coolest, and make sure you hit that temp. It’s nice to have one with a cord or long stem so you can feed it through the vent hole in the smoker and not have to open the door to continually check the temp. If you have a thermometer that alarms when you hit your set temperature, then even better! Hit that temp and maintain for 30 minutes.

lIMG_5684 copy

Now your salmon is done! Take it out and give it a taste. Deeeeelish! Refrigerate the fish for up to two weeks, or freeze for long term storage.

IMG_5690 copy

To maintain the best quality product, vacuum seal your delcious bounty using a product like a Food Saver. I finally invested in one this year when Costco was having a sale since I now have a good sized freezer, and it’s really helping me maintain my food quality! mmm. Now this has made me hungry, off to make some salmon dip.

IMG_5694 copy

*this post contains affiliate links, please see the “About the Blogger” page for more information