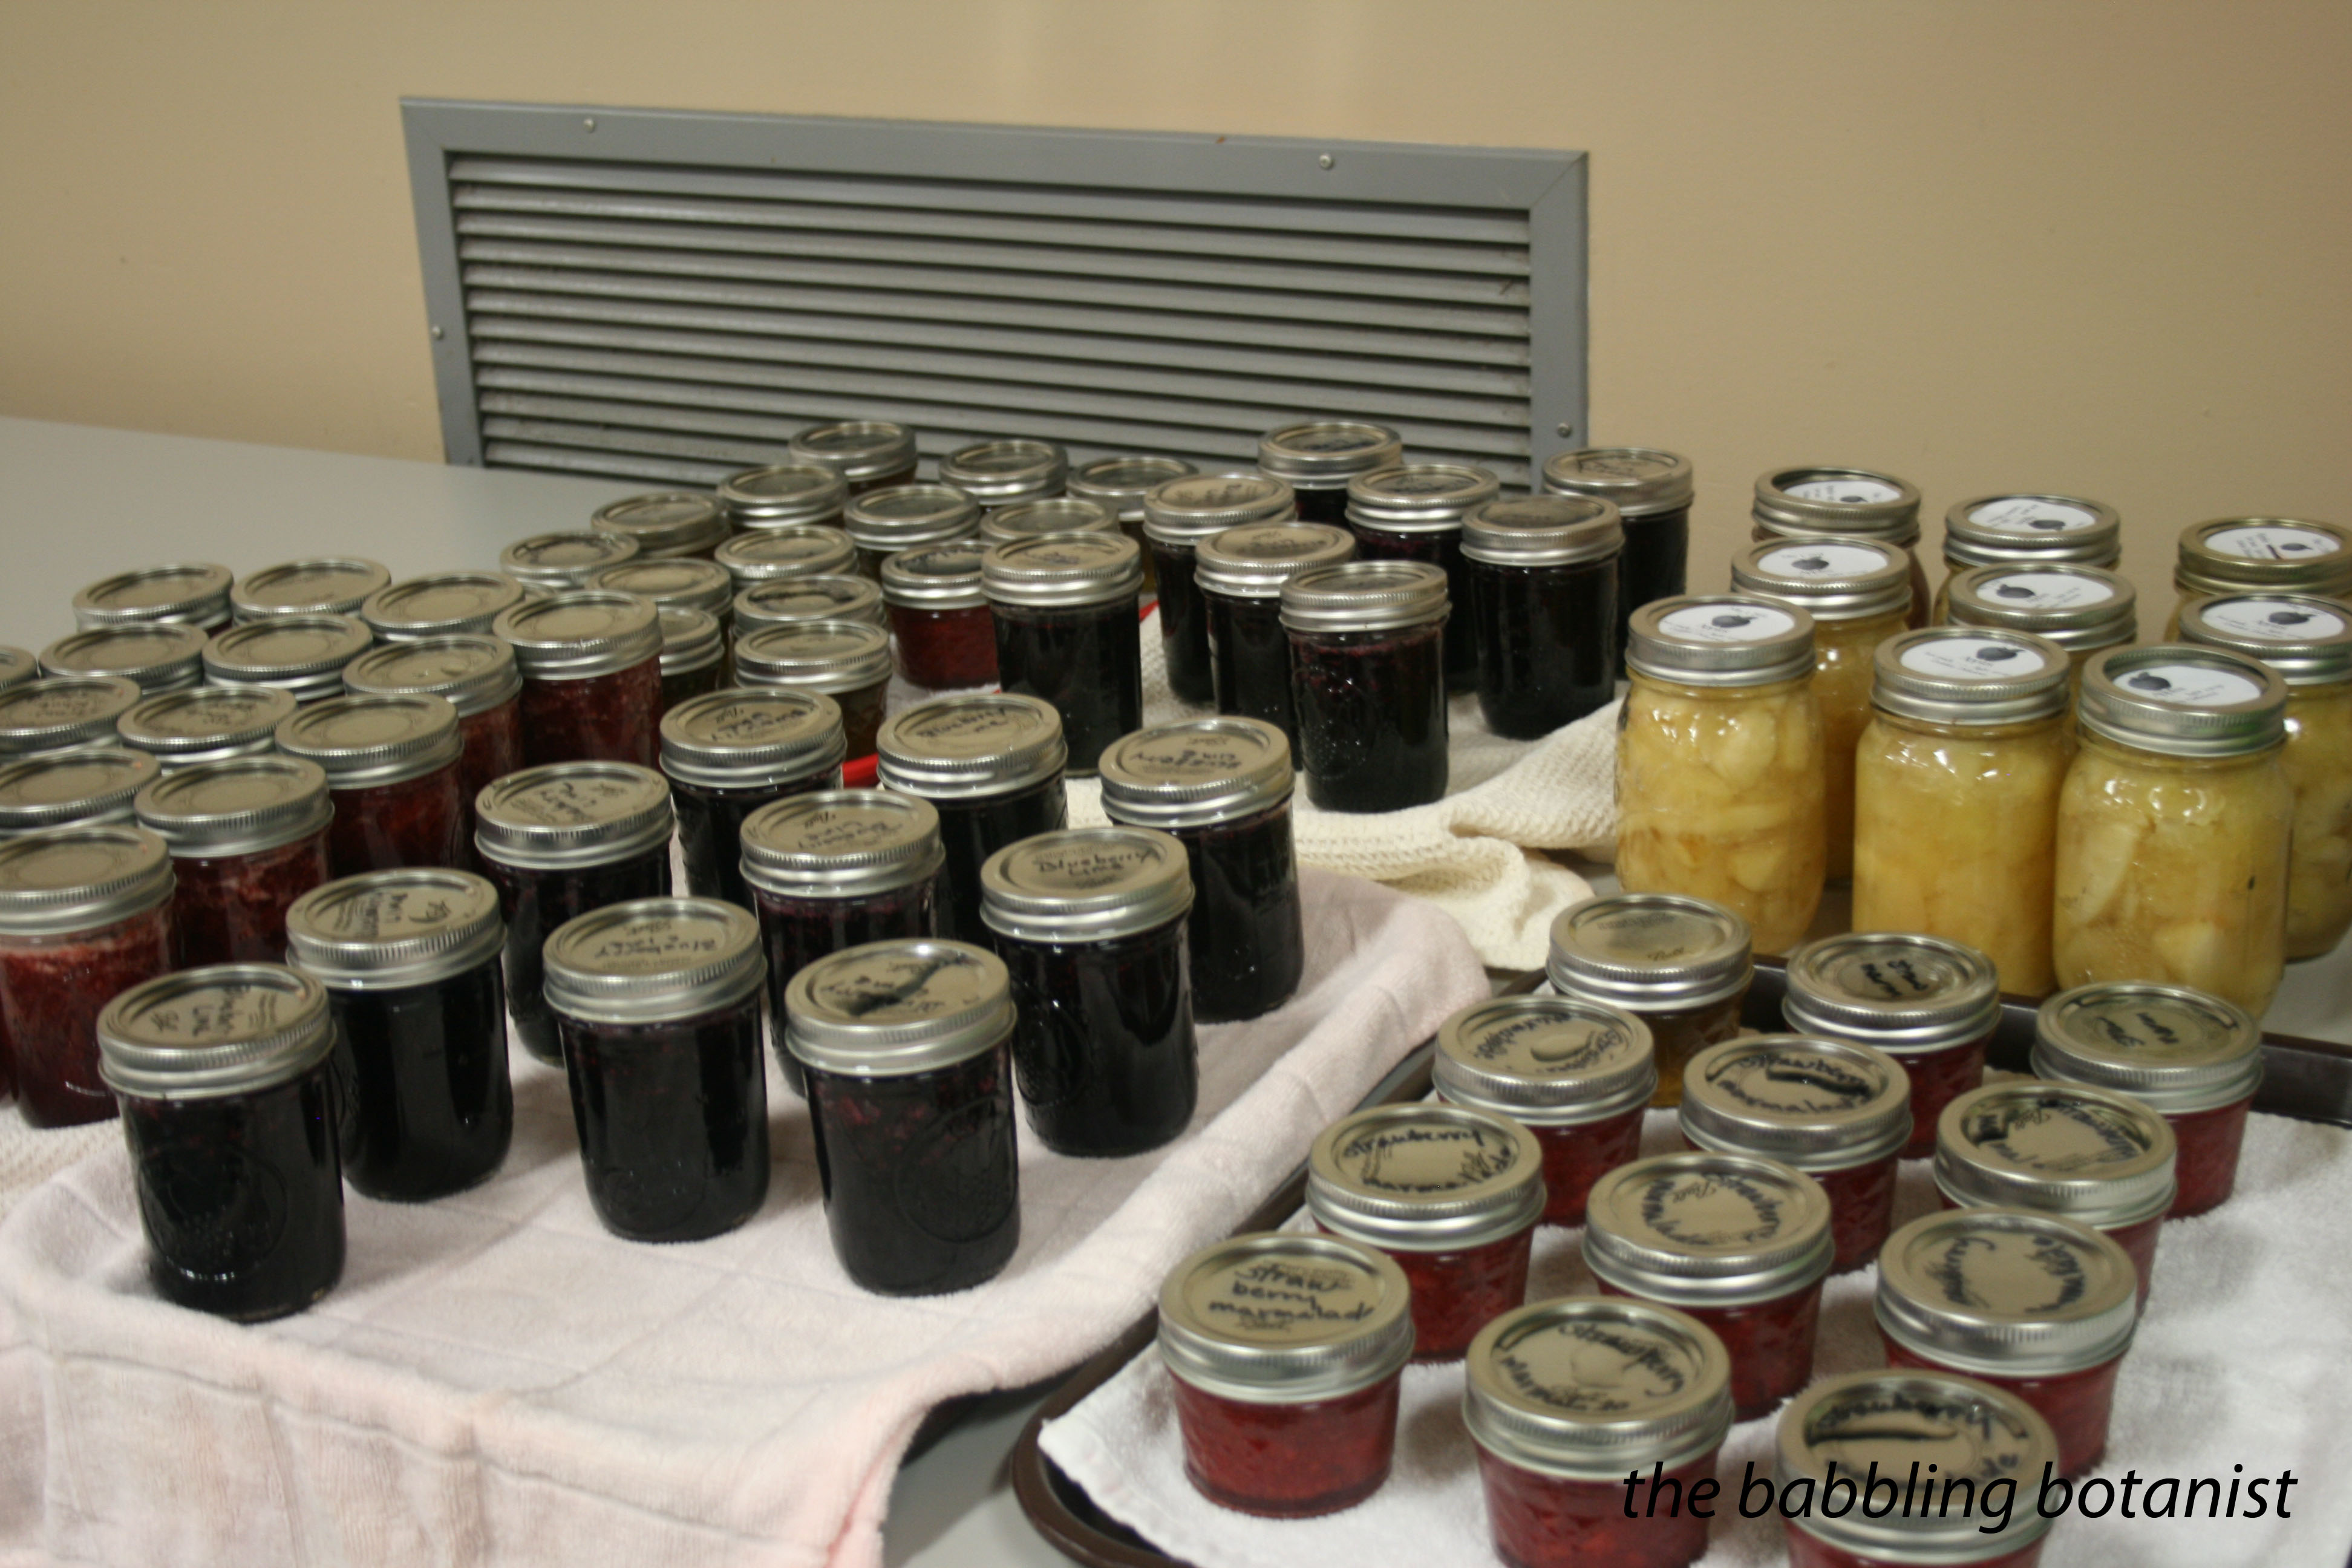
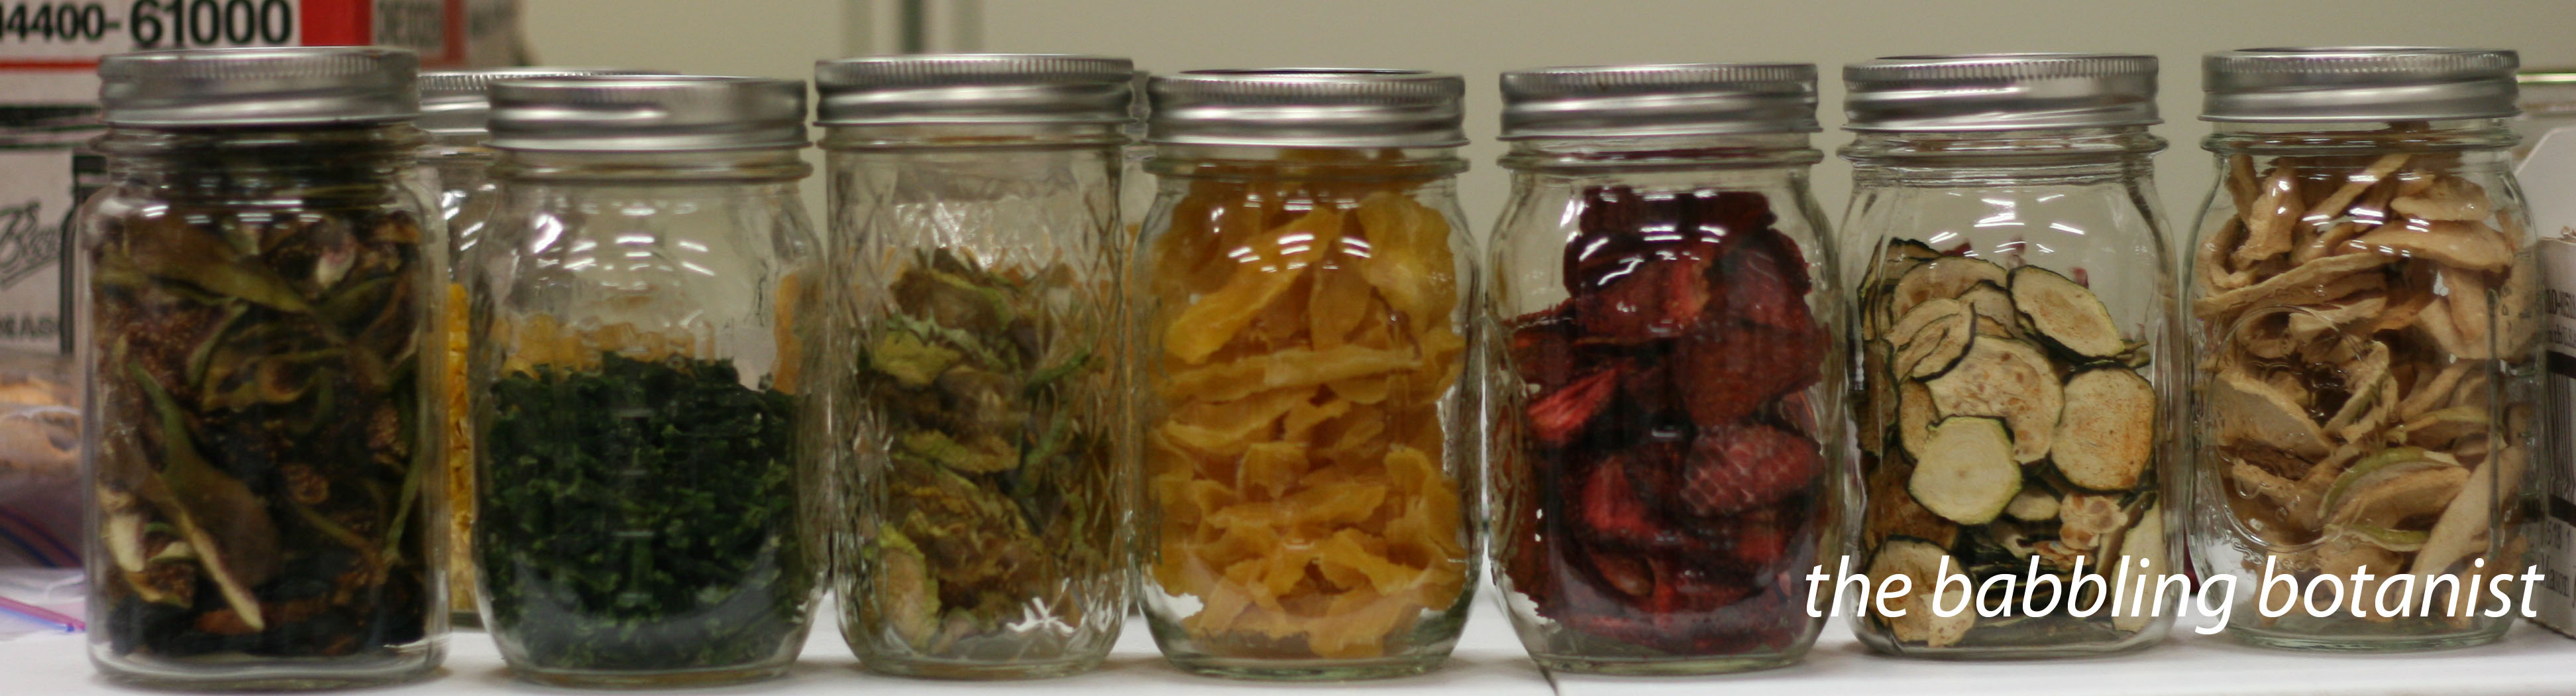
I was a little sad that by week 6 of my Master Food Preserver class we were done with canning. Maybe that’s why it’s taken me so long to write this post 😉 But actually, I learned a lot about dehydrating fruits and vegetables, which was great because it is something I have a little less experience with doing at home. Some of the fun things we either made in class or they had for demos are pictured below. From left to right we have: figs, green beans, tomatillos, canned apples that were dried, strawberries, zucchini, and regular apples.
One awesome thing about dehydrating is there are not too many safety concerns, as with canning. Things are more flexible, such as how large you want to cut pieces of food and how long you want to dry them. Now they should be sufficiently dry, but there is still a bit of flexibility there. Microorganisms and enzymes require water, so when you dehydrate food, you make conditions that are not favourable for food spoilage. It has been shown that pathogens can survive the food drying process, but there are actually no documented cases of people becoming ill from home dried foods, so it is a pretty safe preservation technique. You can also pretreat fruits with either an acid solution (citric or ascorbic acid), or sodium metabisulfite, and blanch vegetables to reduce this risk even further. Also, let’s keep meat in the back of our heads as a side note. Today I’m referring to drying fruits and veggies, and week 7 we talked more about drying meats, which have a couple safety steps that you need to remember.
Fruits and veggies can be dried using a dehydrator, your oven, solar dehydrators, or many things like herbs can simply be air dried. Commercial dehydrators, like this one which I have, can be a worthwhile investment if you are going to do a lot of drying. Using your oven often creates a lower quality product, partially because ovens are not really designed for the low temperatures at which you normally would dry things. The oven will also take longer and use more energy than a dehydrator.
Here are a few things we made in class.
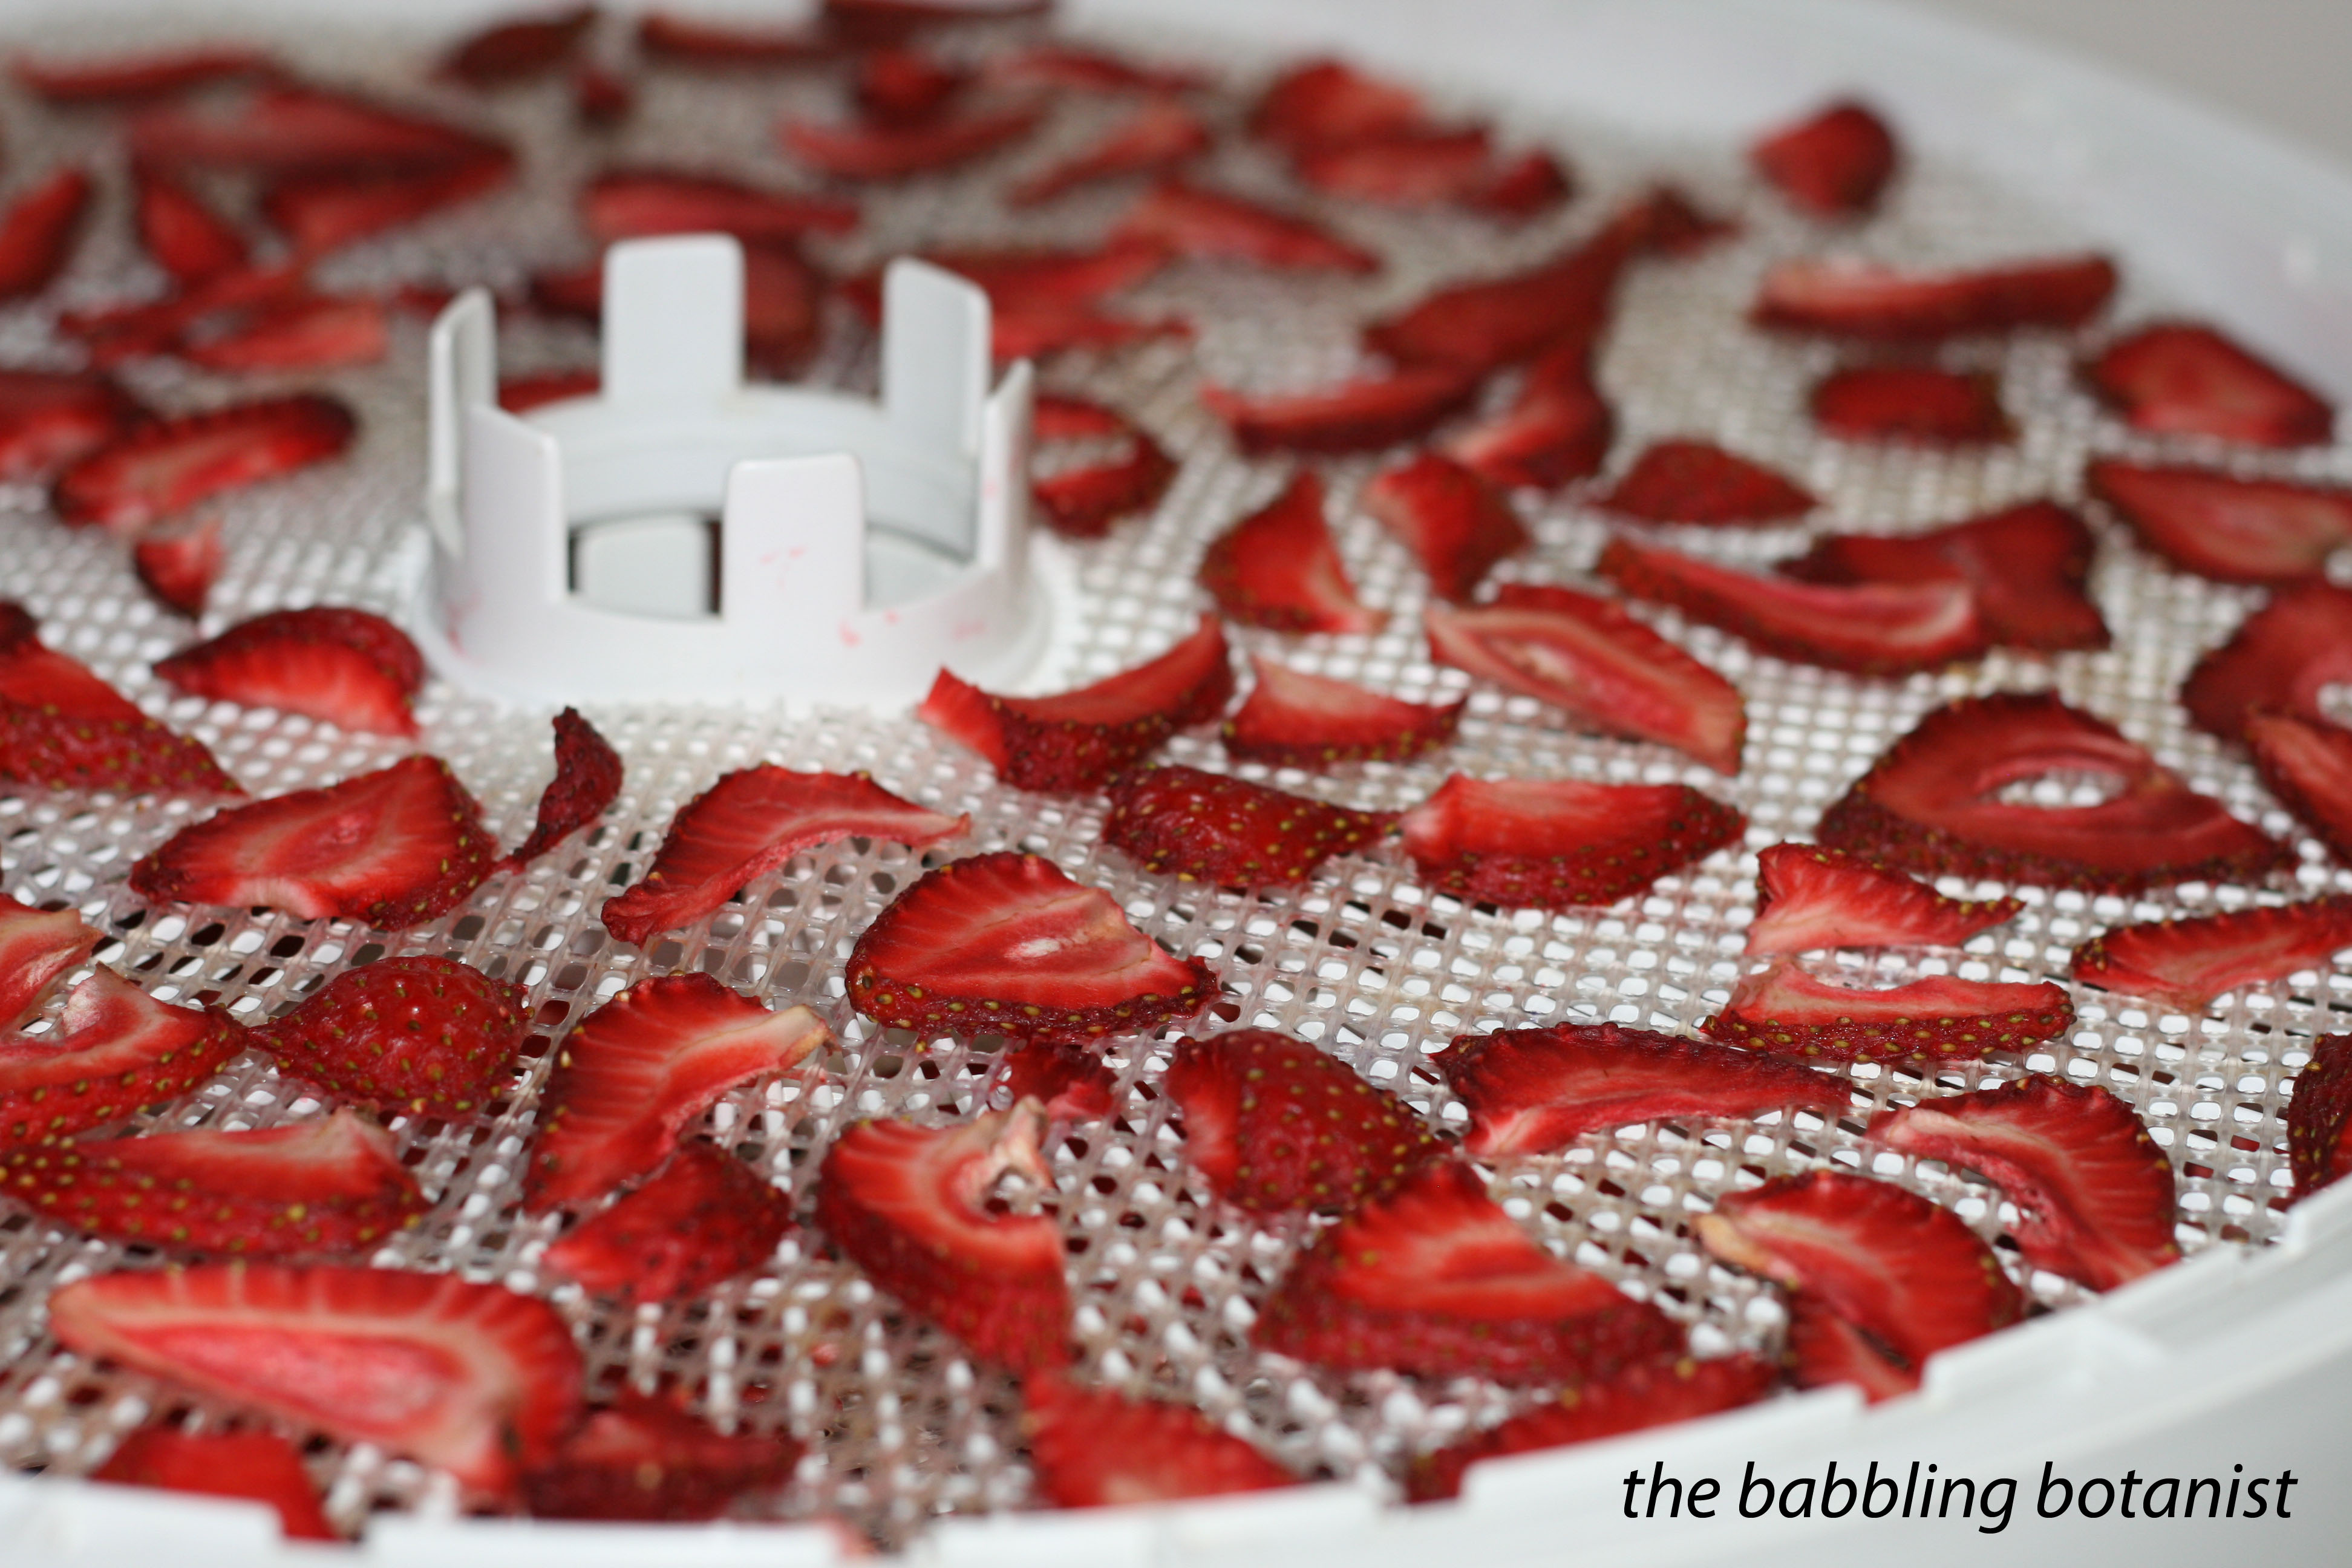
Strawberries.
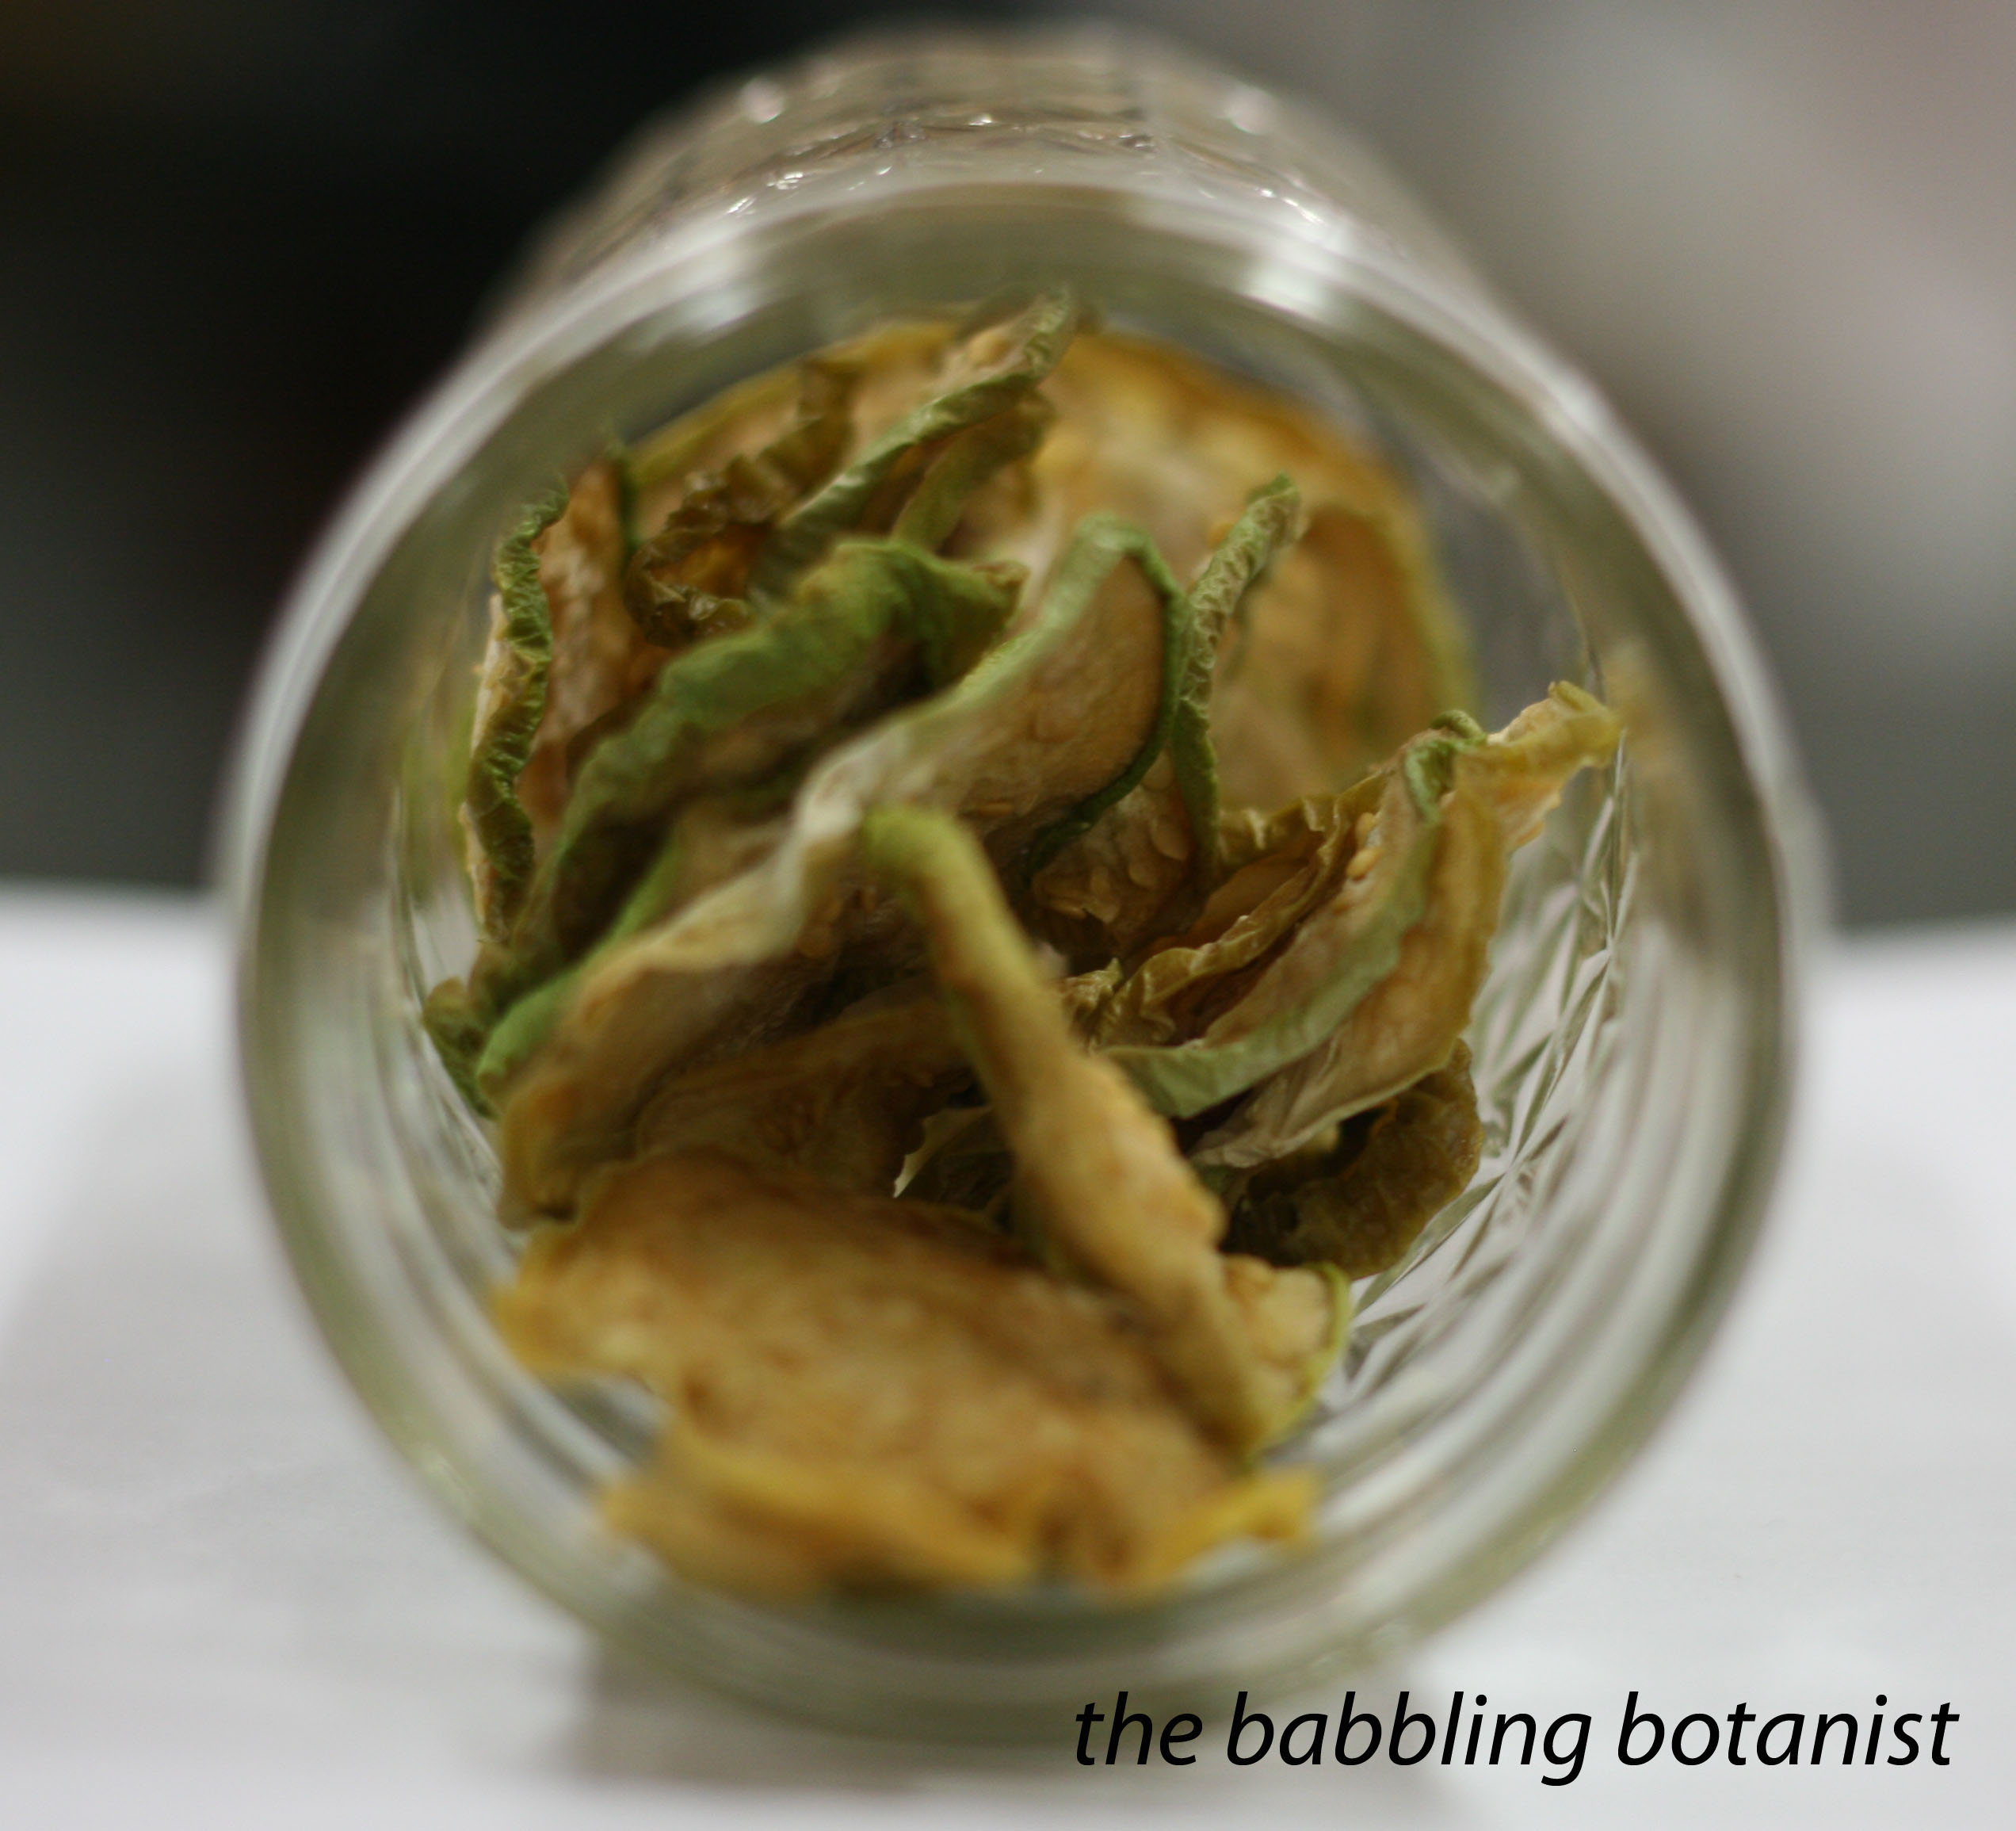
Tomatillos.
And what they look like after they’ve been dried. Janice described them as a tart, sweet surprise. Perfect description!
So how does the nutrition of dried foods compare to fresh? One of the things that does become diminished in drying is the vitamin C, and this is because it is a water soluble vitamin, and drying eliminates much of the water content of the food. Doing pretreatments of fruit, such as the ascorbic acid dip, helps to reduce nutrient loss, preserves colour and flavour and increases the quality and storage life of dried foods. As an example of these pretreatments, fruits can be dipped for 10 minutes into pure pineapple, orange or lemon juice, or a mixture of 1/2 teaspoon ascorbic acid per quart of water. To destroy more of the pathogens and be extra safe, this can be increased to 8 teaspoons of ascorbic acid per quart of water. Be sure not to over soak the foods, or nutrients can end up being lost, and drying time will increase. For many vegetables, you should blanch as a pretreatment, just like when freezing, to destroy enzymes. Different vegetables should be blanched for differing amounts of time, but in general they should remain firm but still be tender. That can be hard to gauge, so look up blanching times and other awesome information in this great extension service publication found here.
One of my favourite ways to dehydrate is by making fruit leather, such as this strawberry fruit leather I posted recently. Fruit leathers have a few advantages. First, I love the reduced amount of chopping. Slicing strawberries, like pictured above, and drying those, is a heck of a lot more effort than pureeing in a blender and pouring on a tray. You do need the extra trays, however, but I think they are worth the investment. I prefer the texture somewhat as well, because fruit leathers are done when they are still a bit tacky, and not brittle.
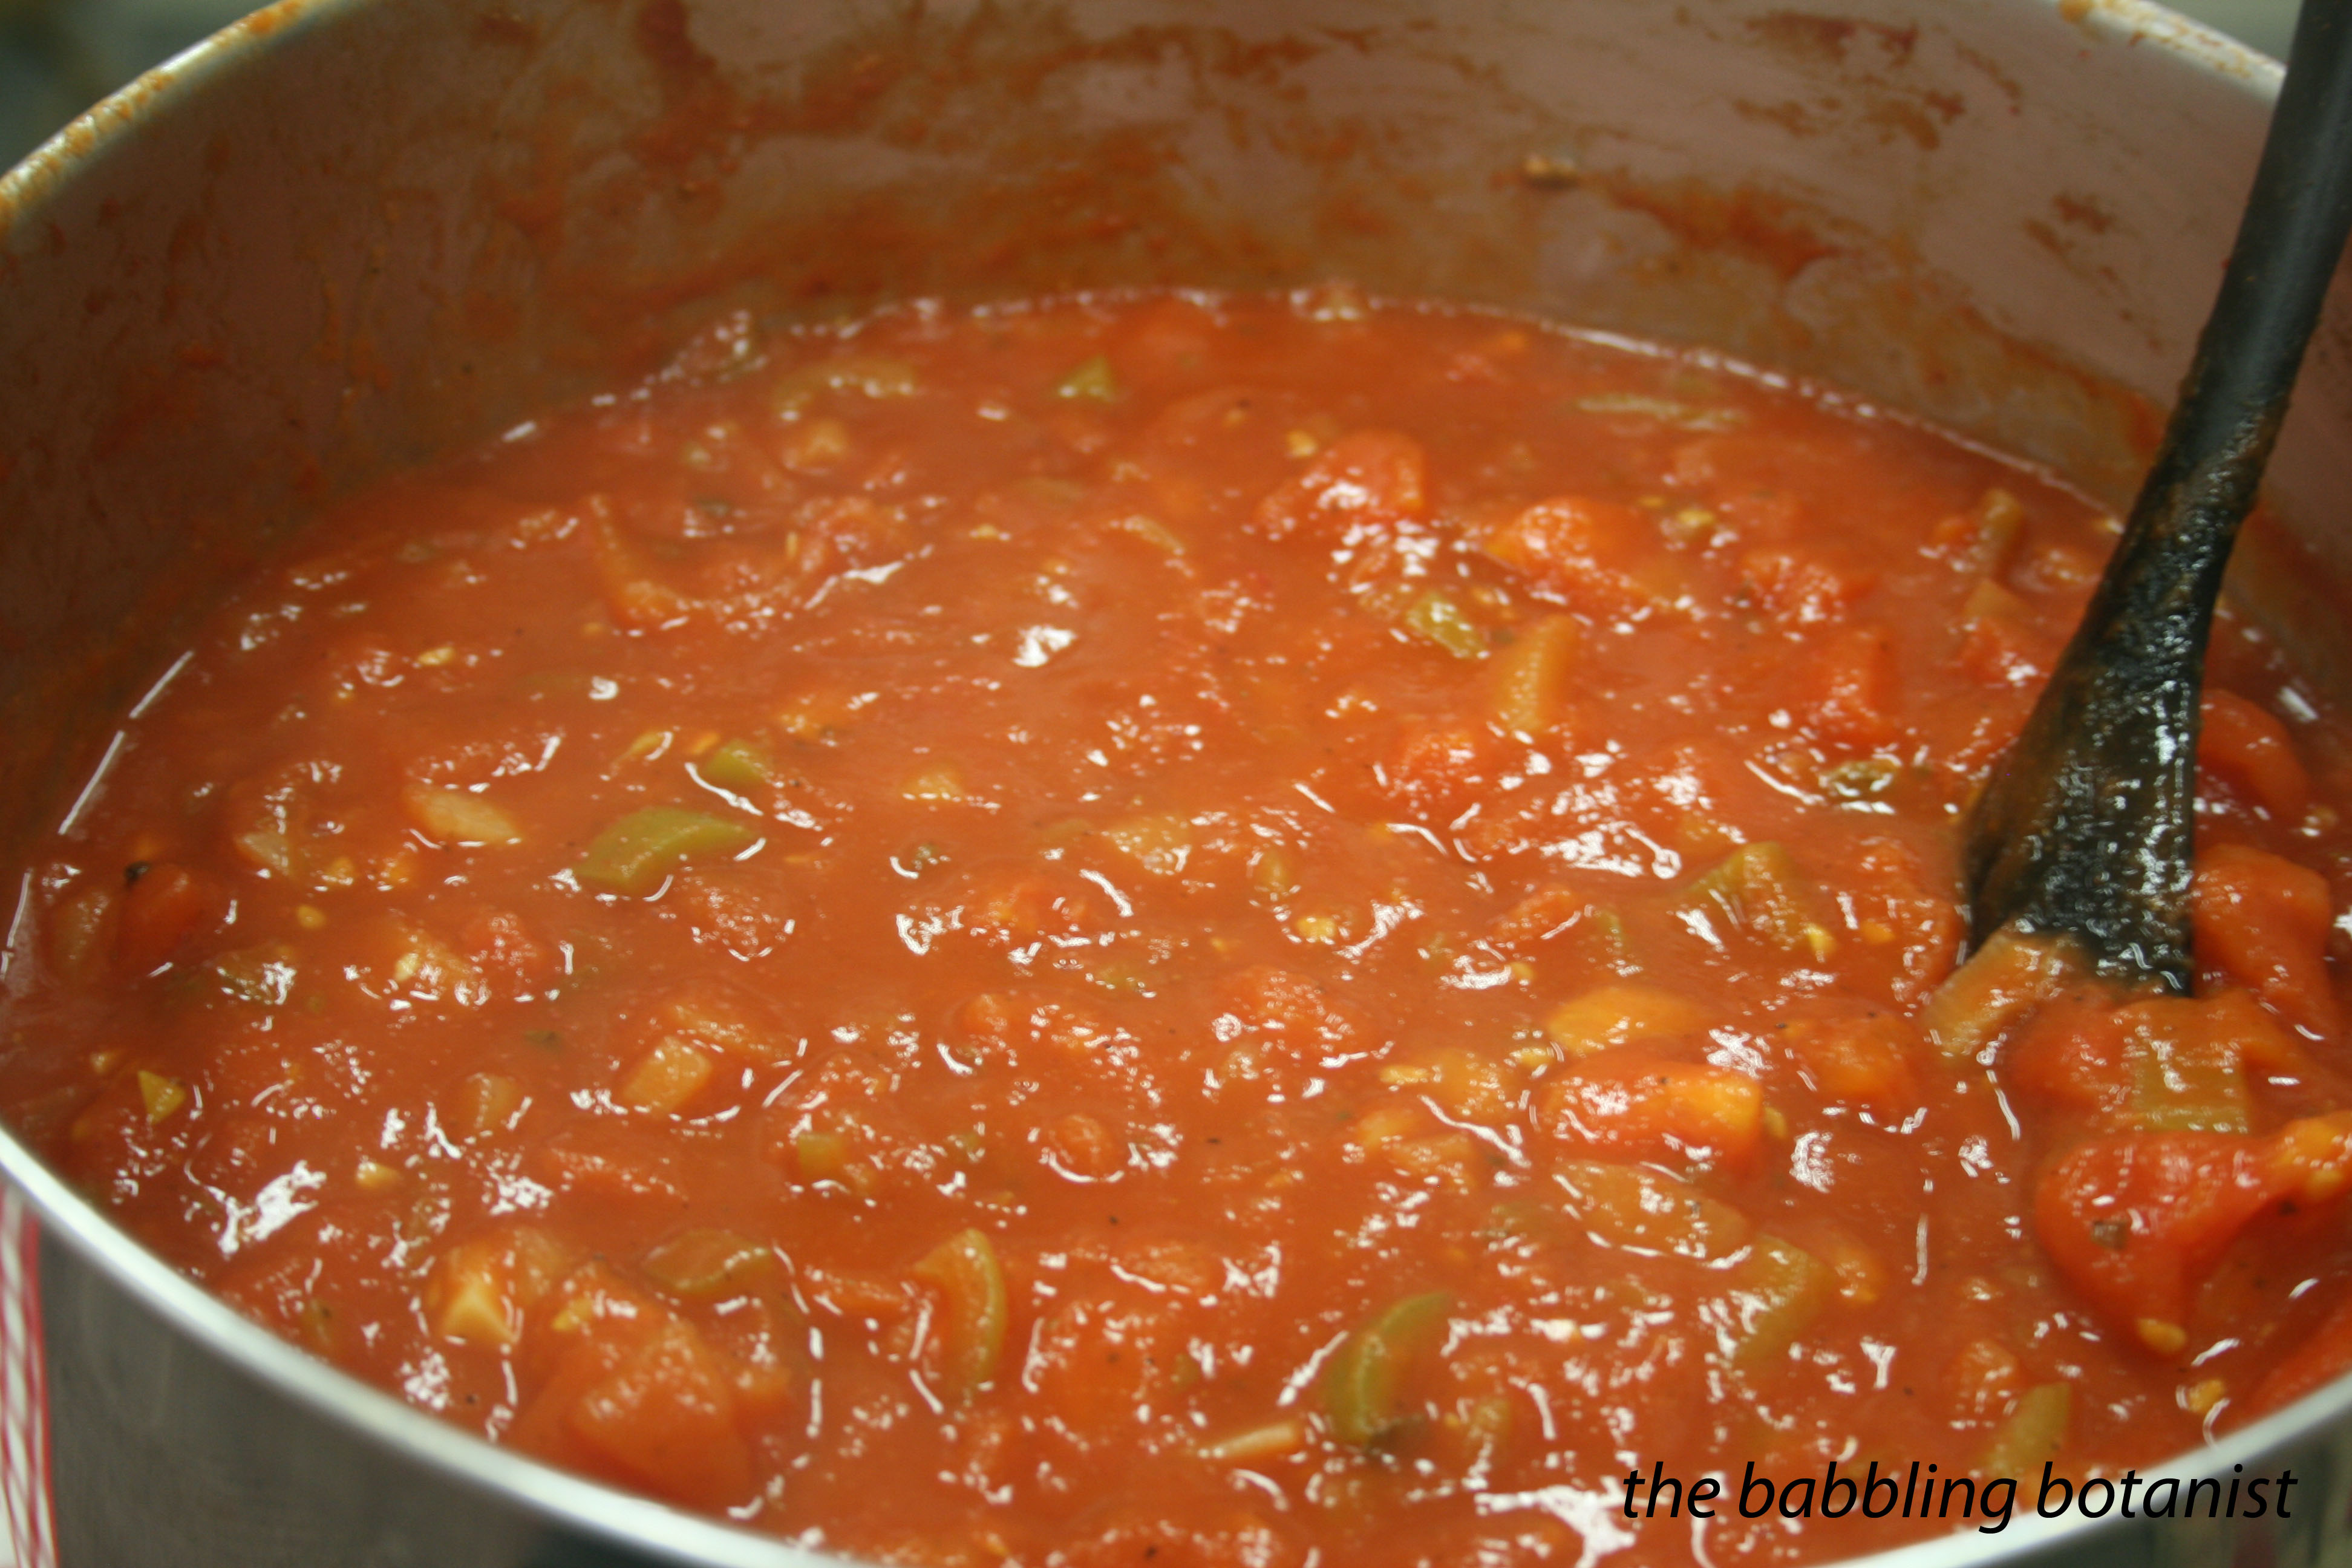
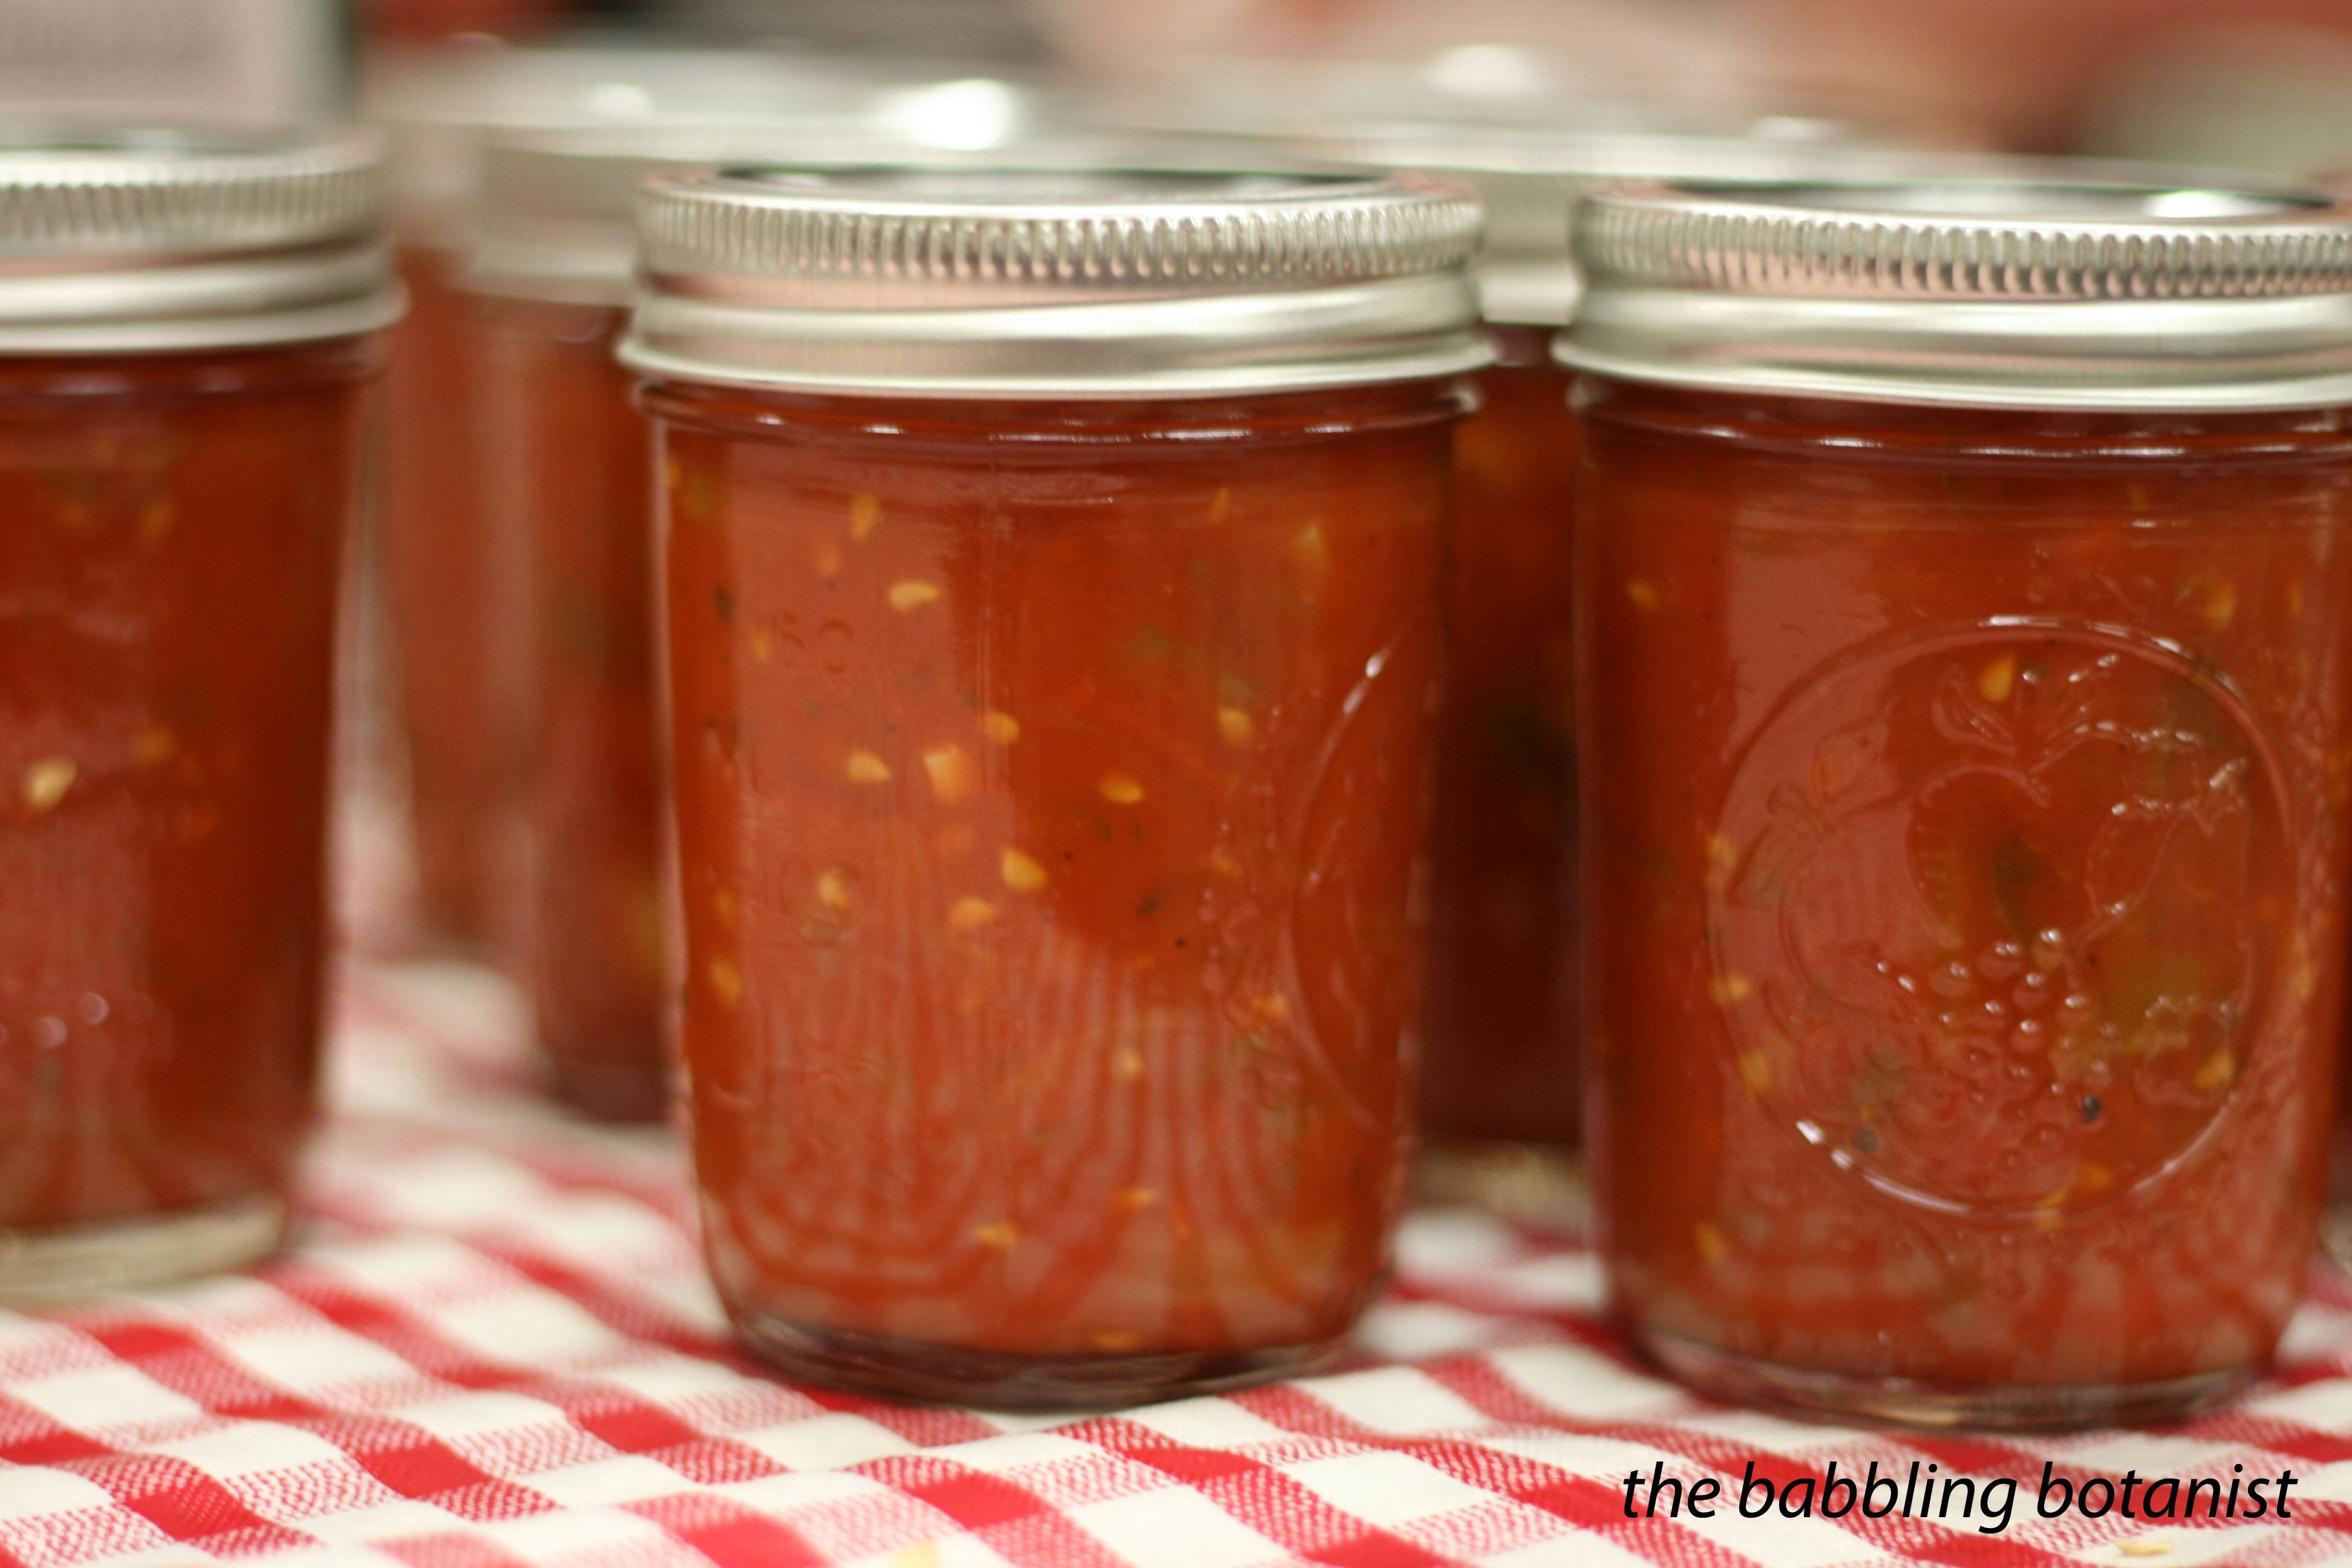
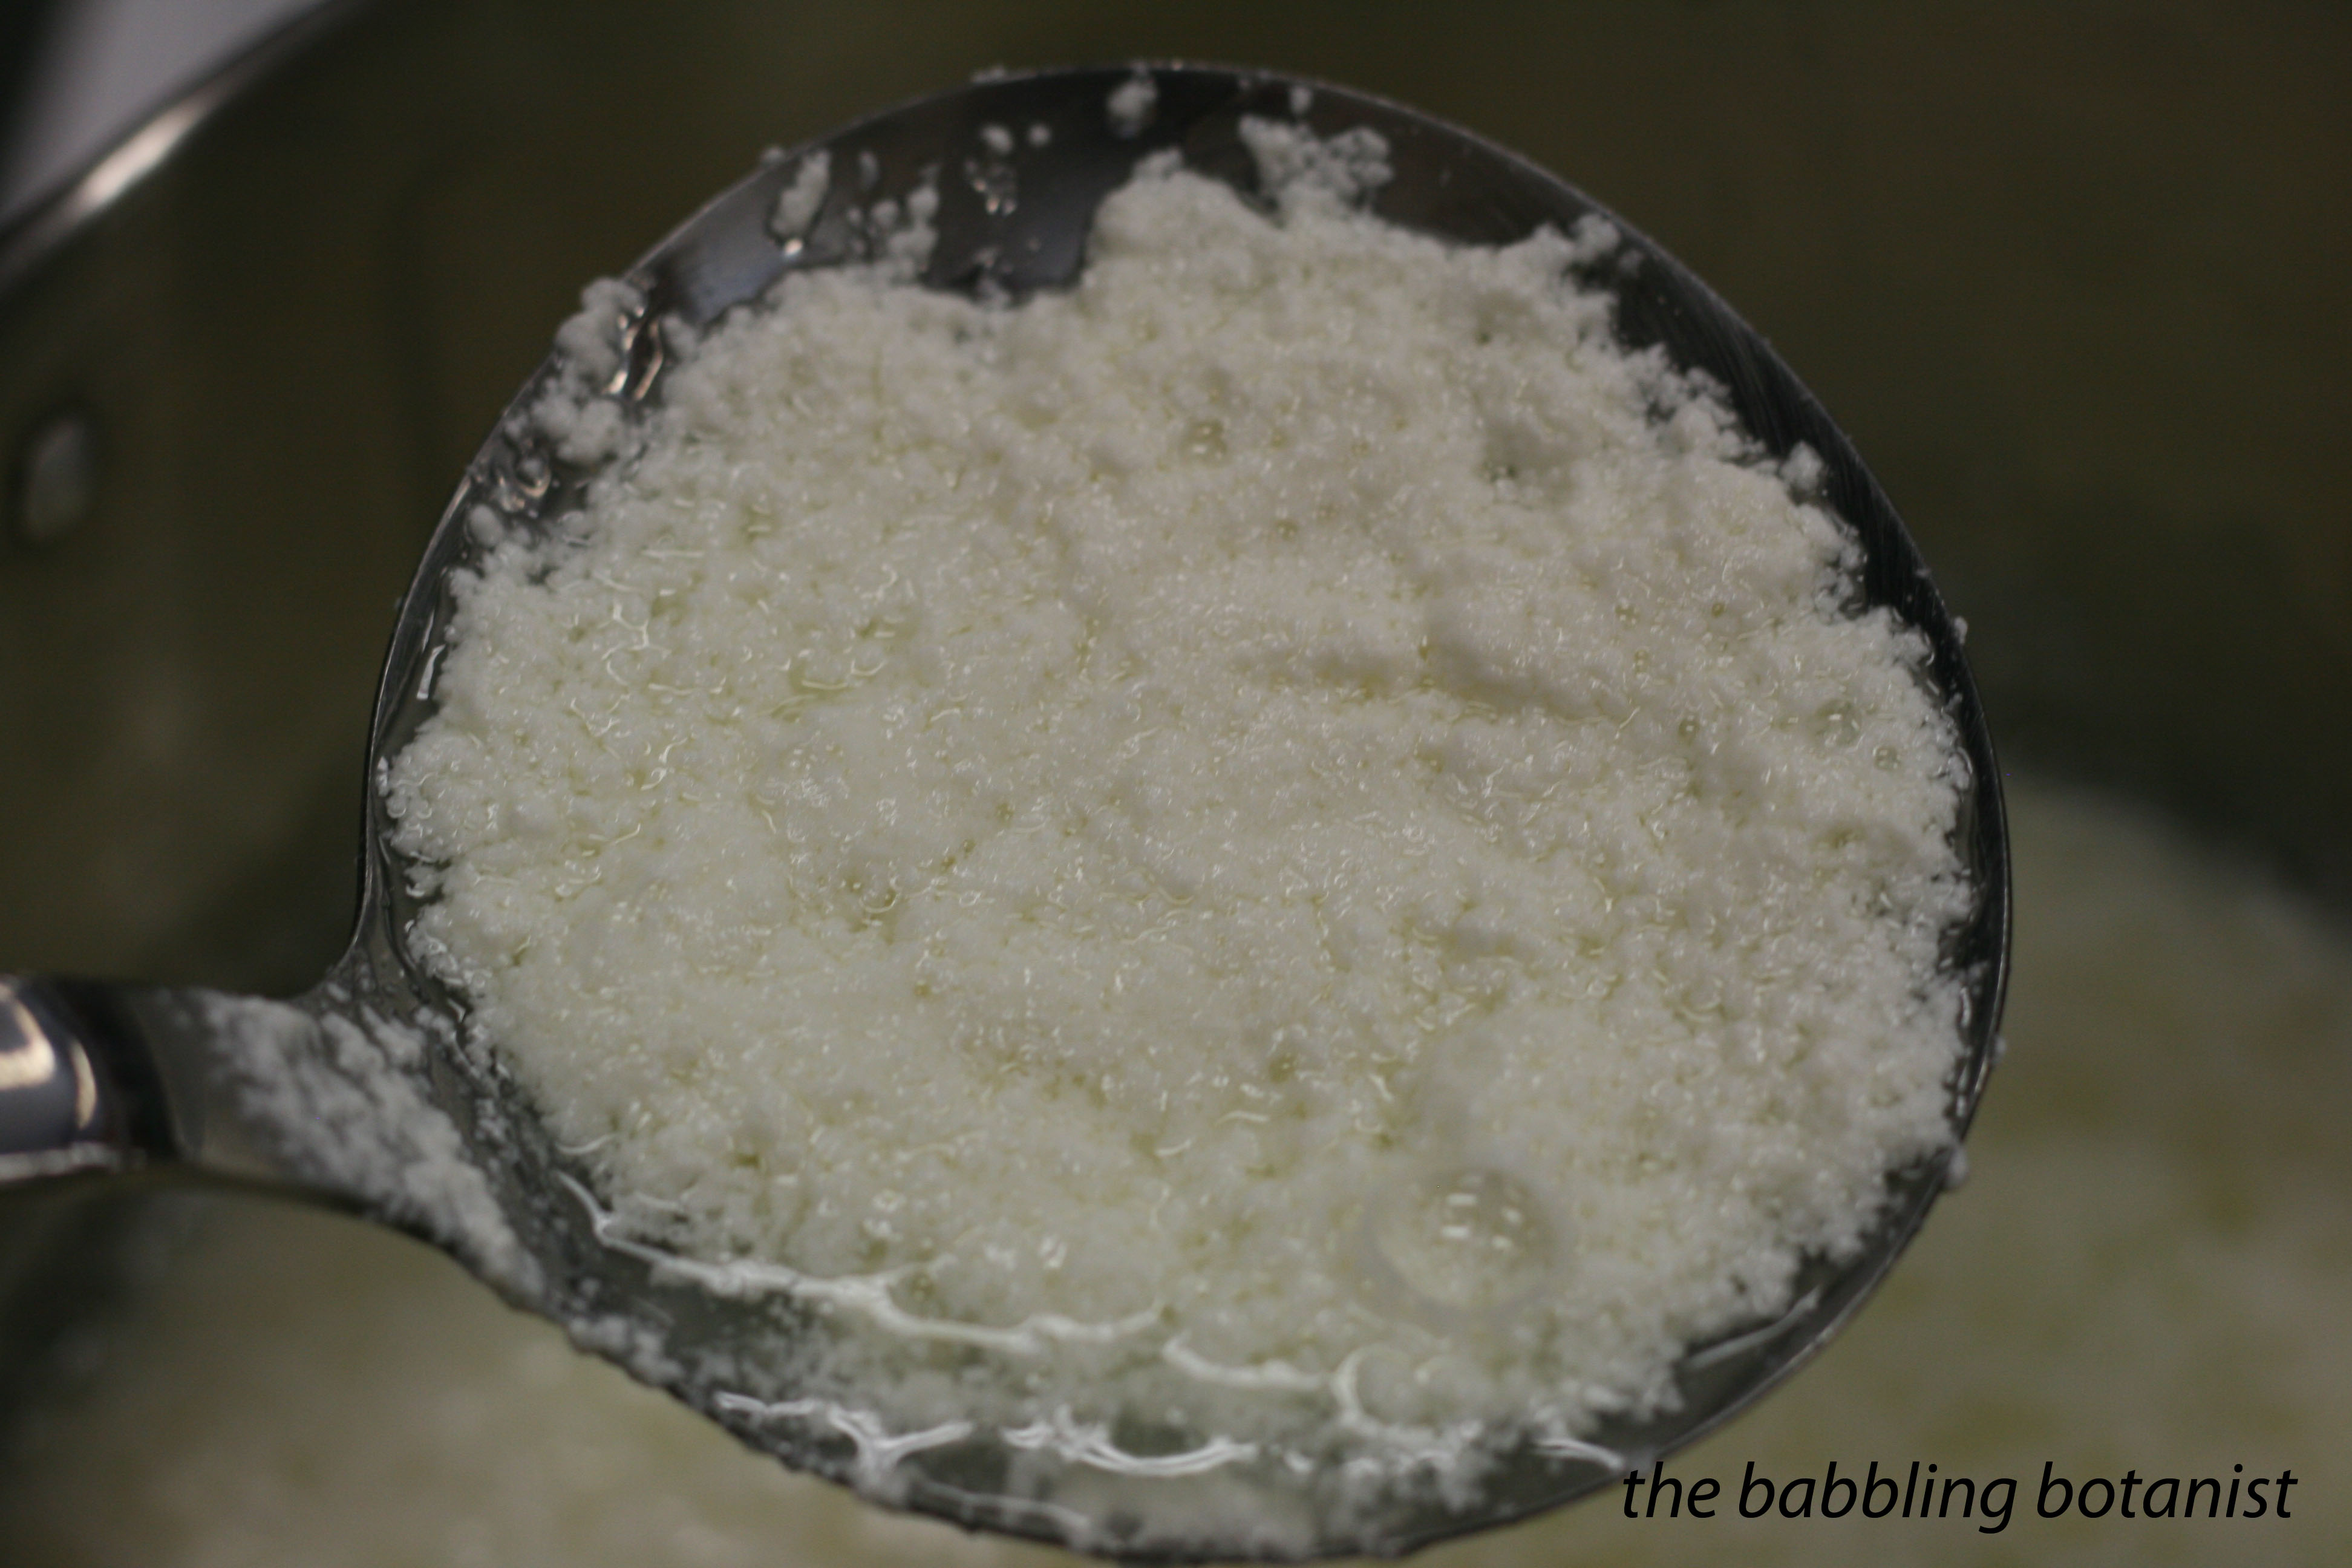
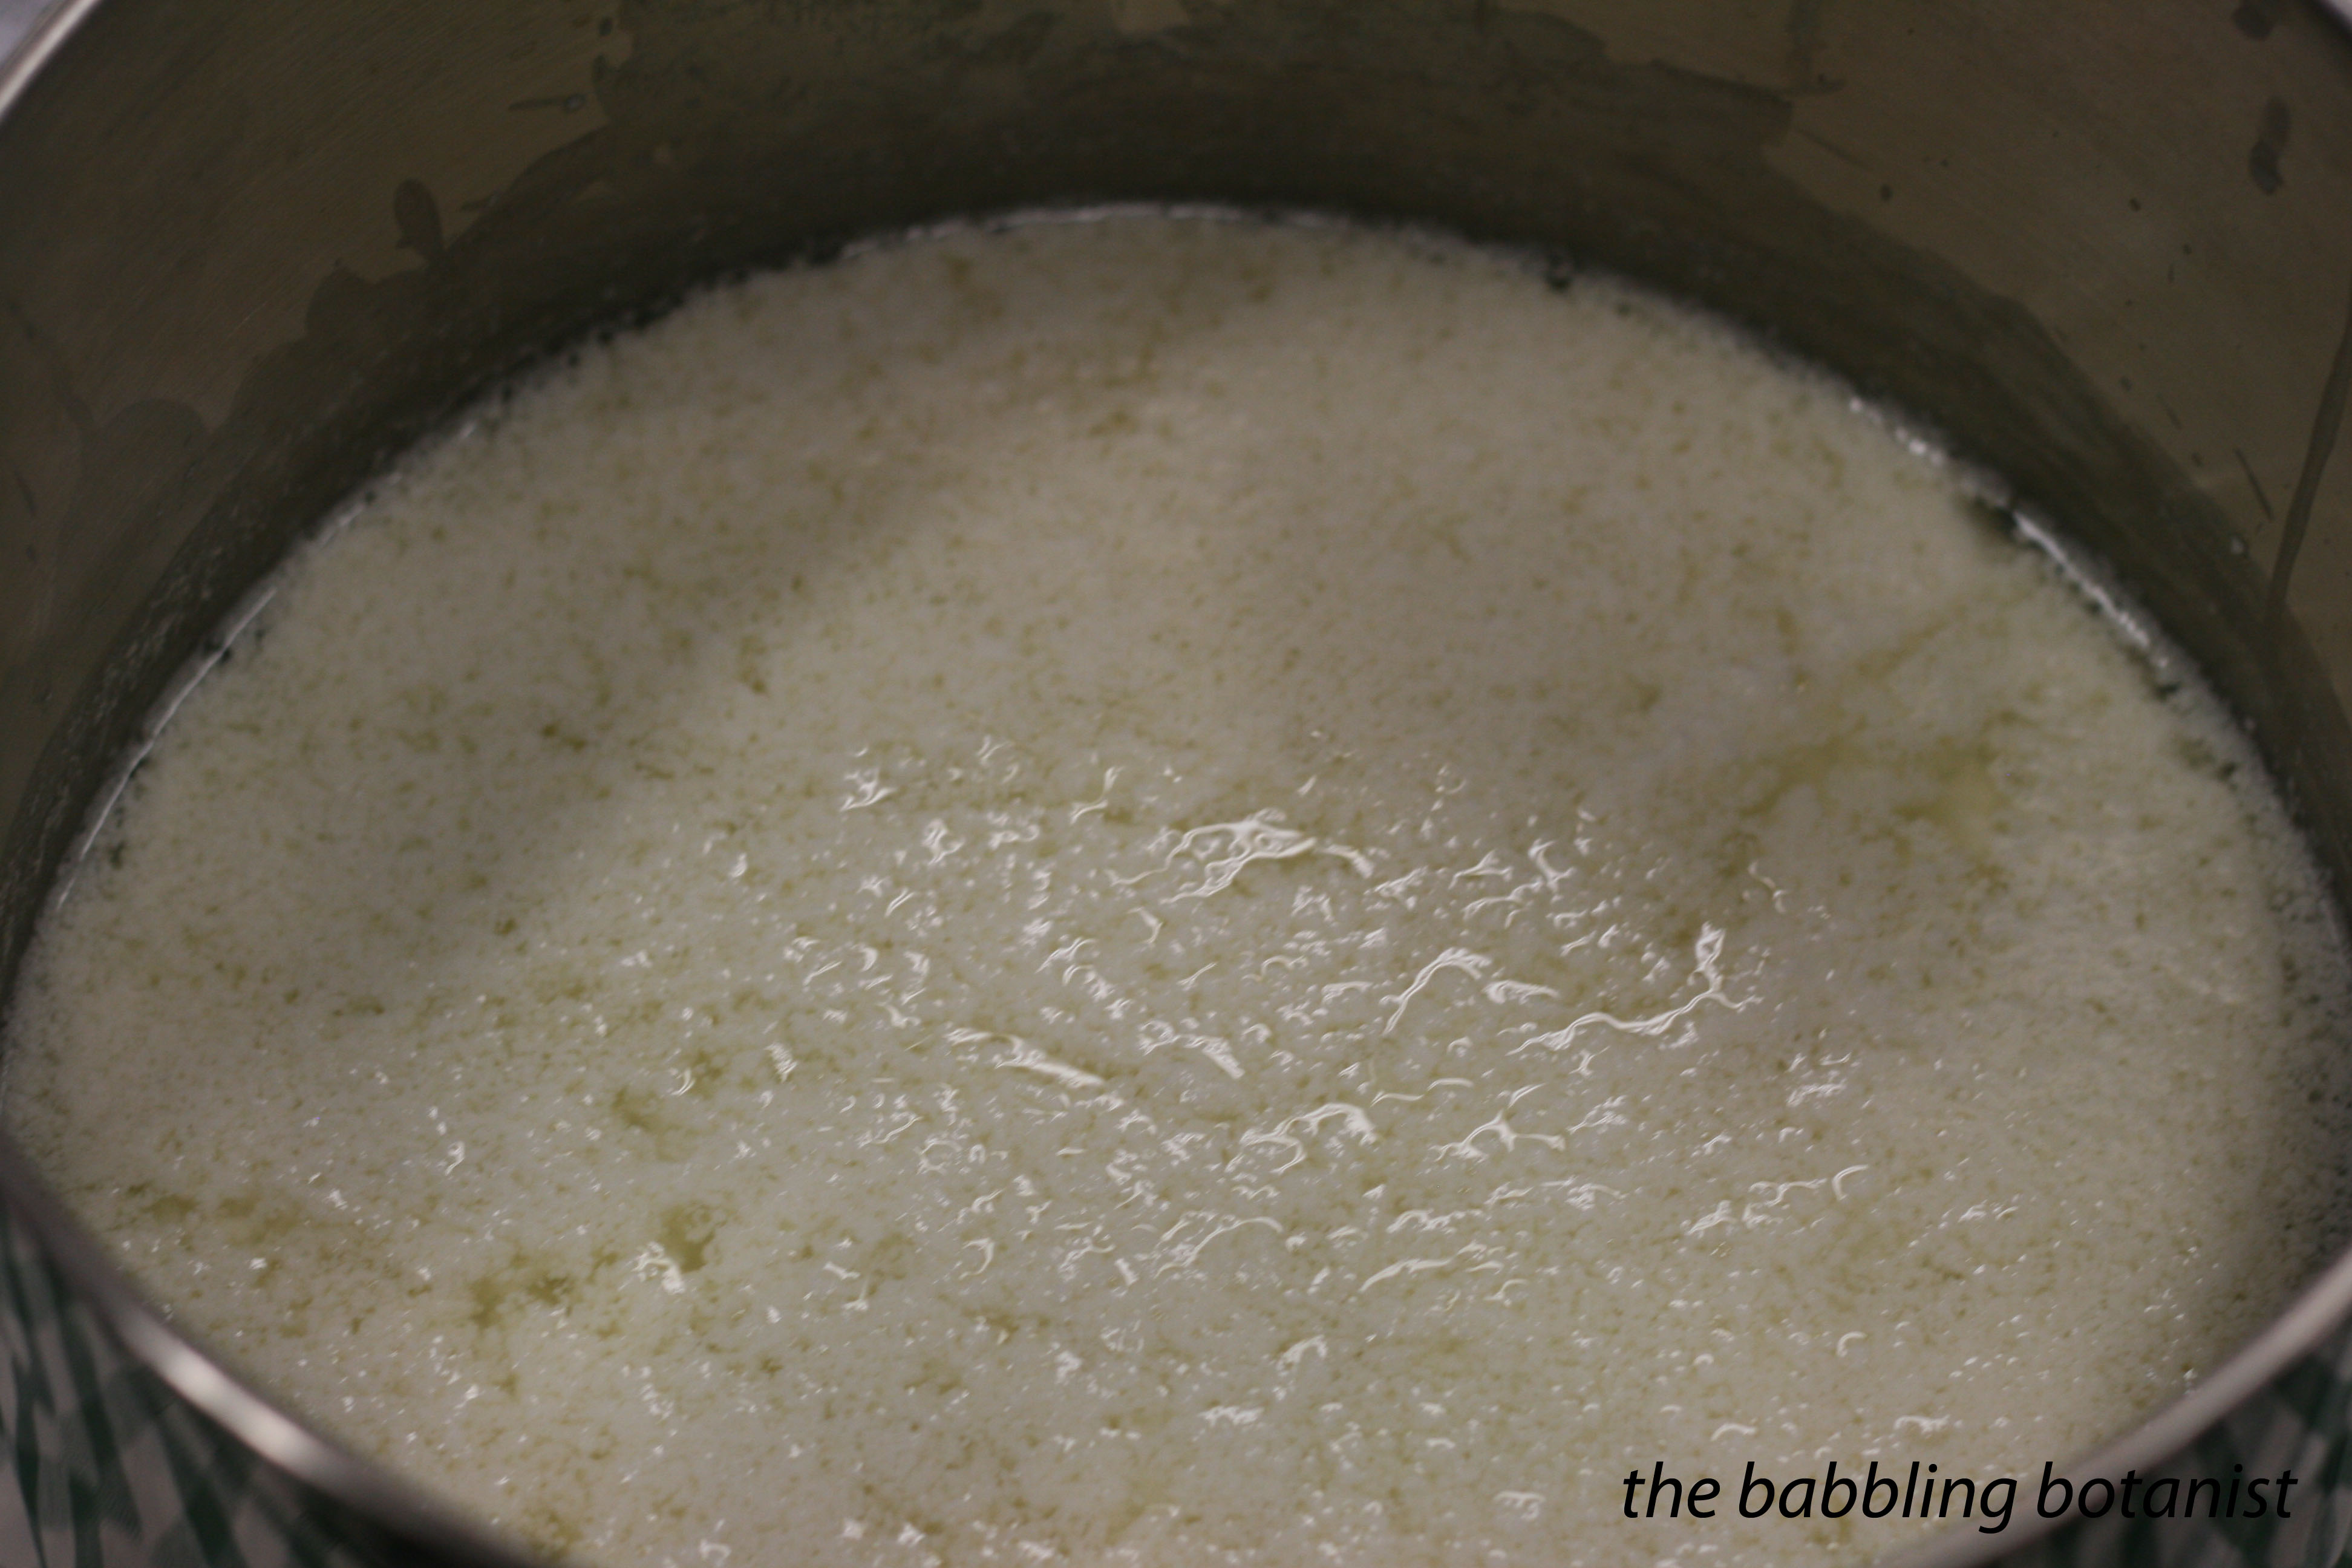
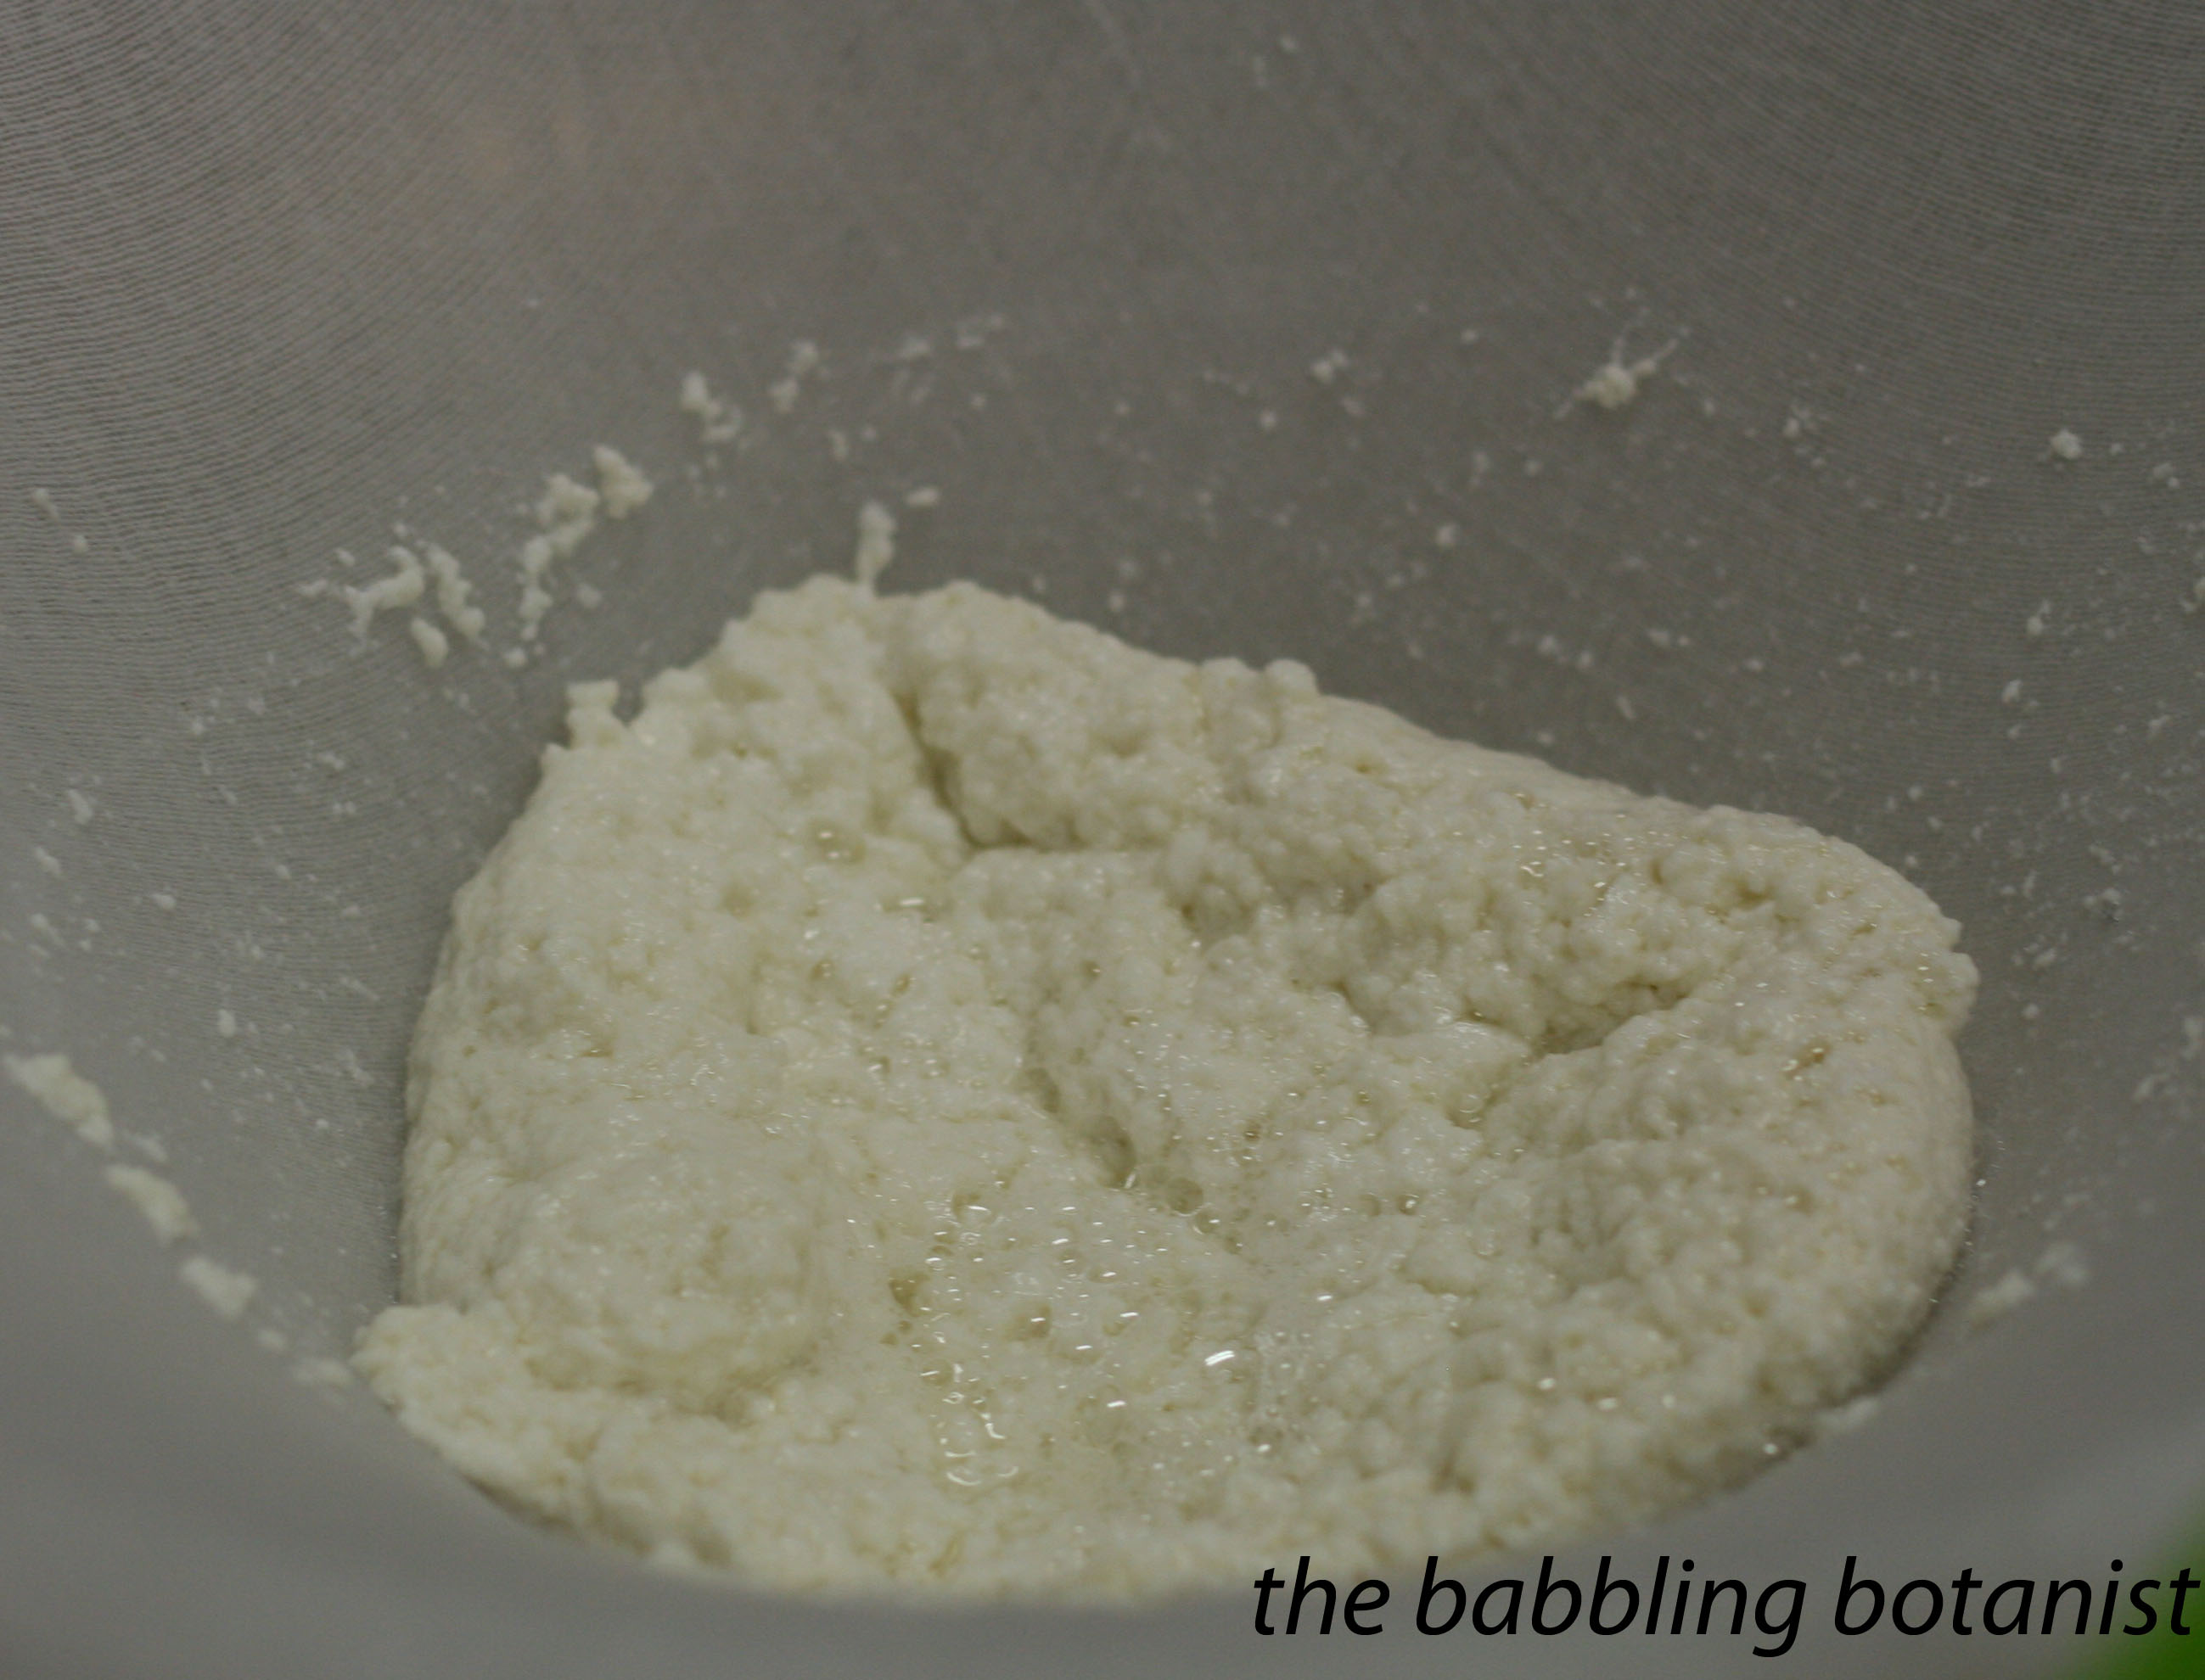
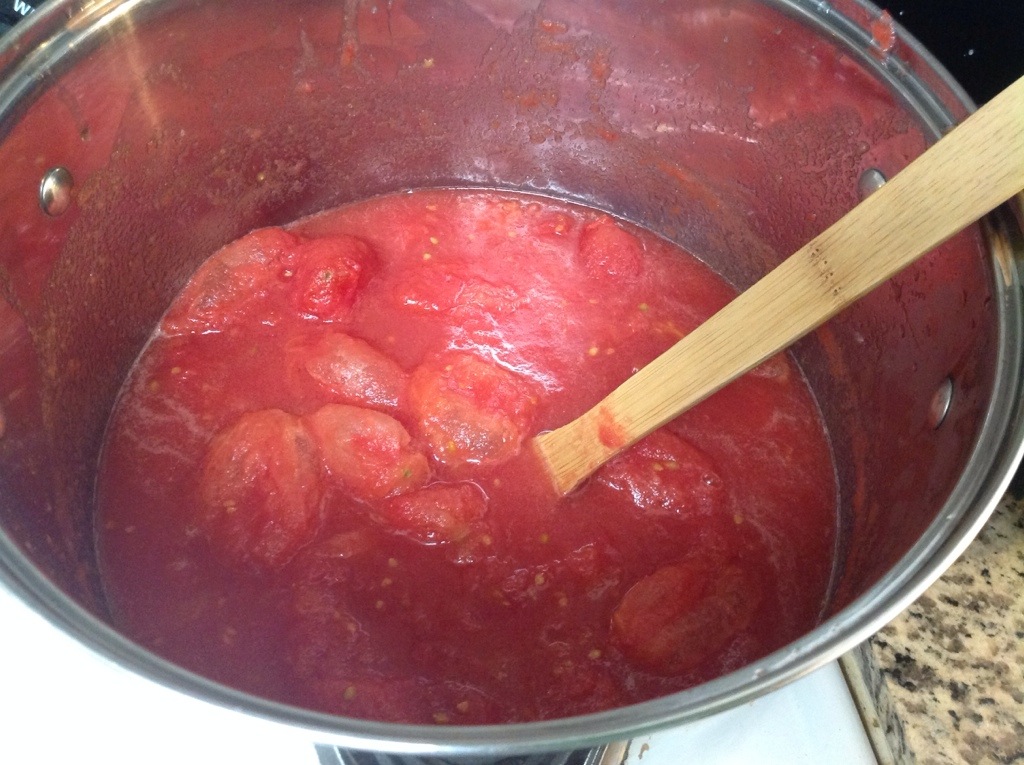
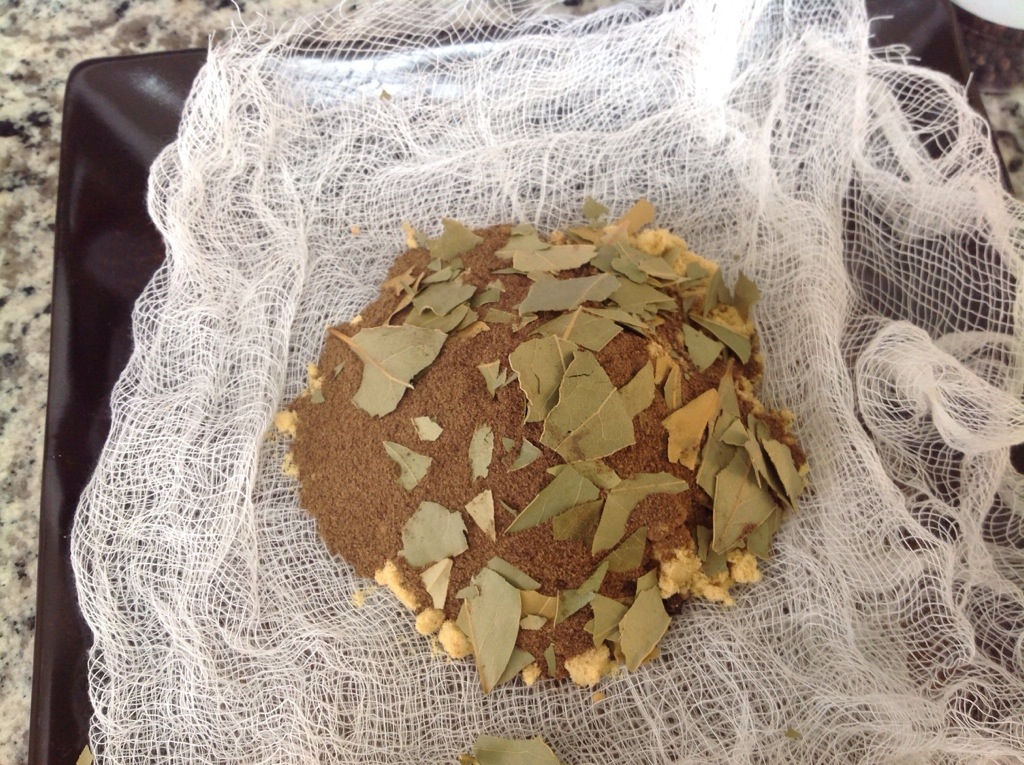
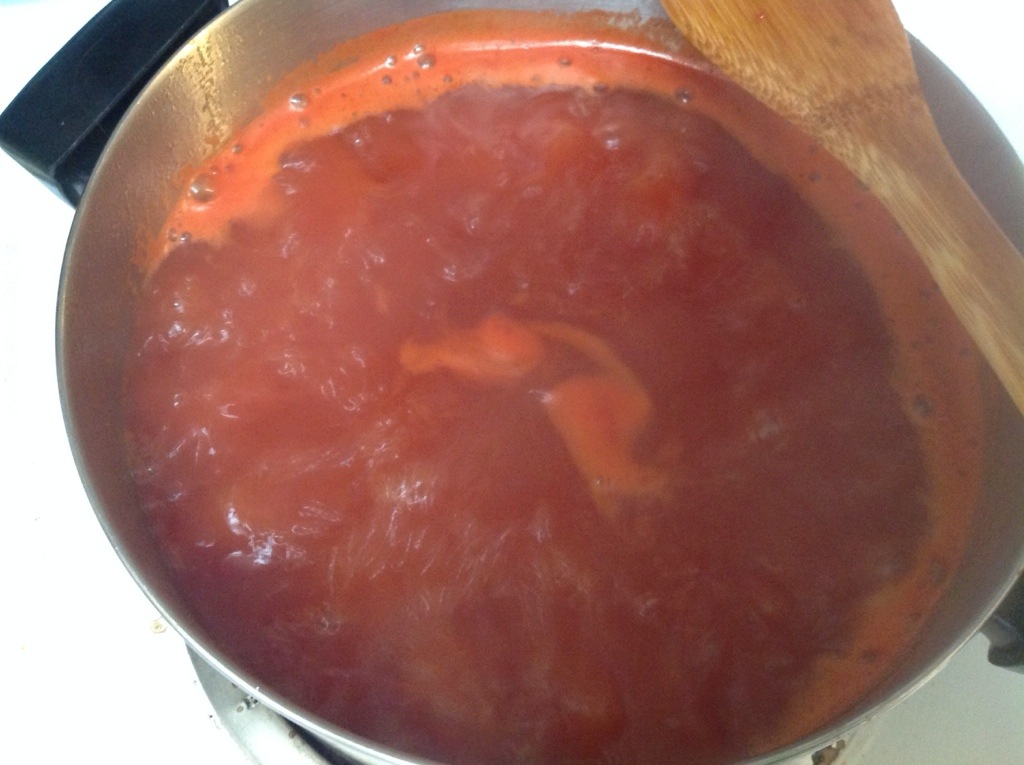
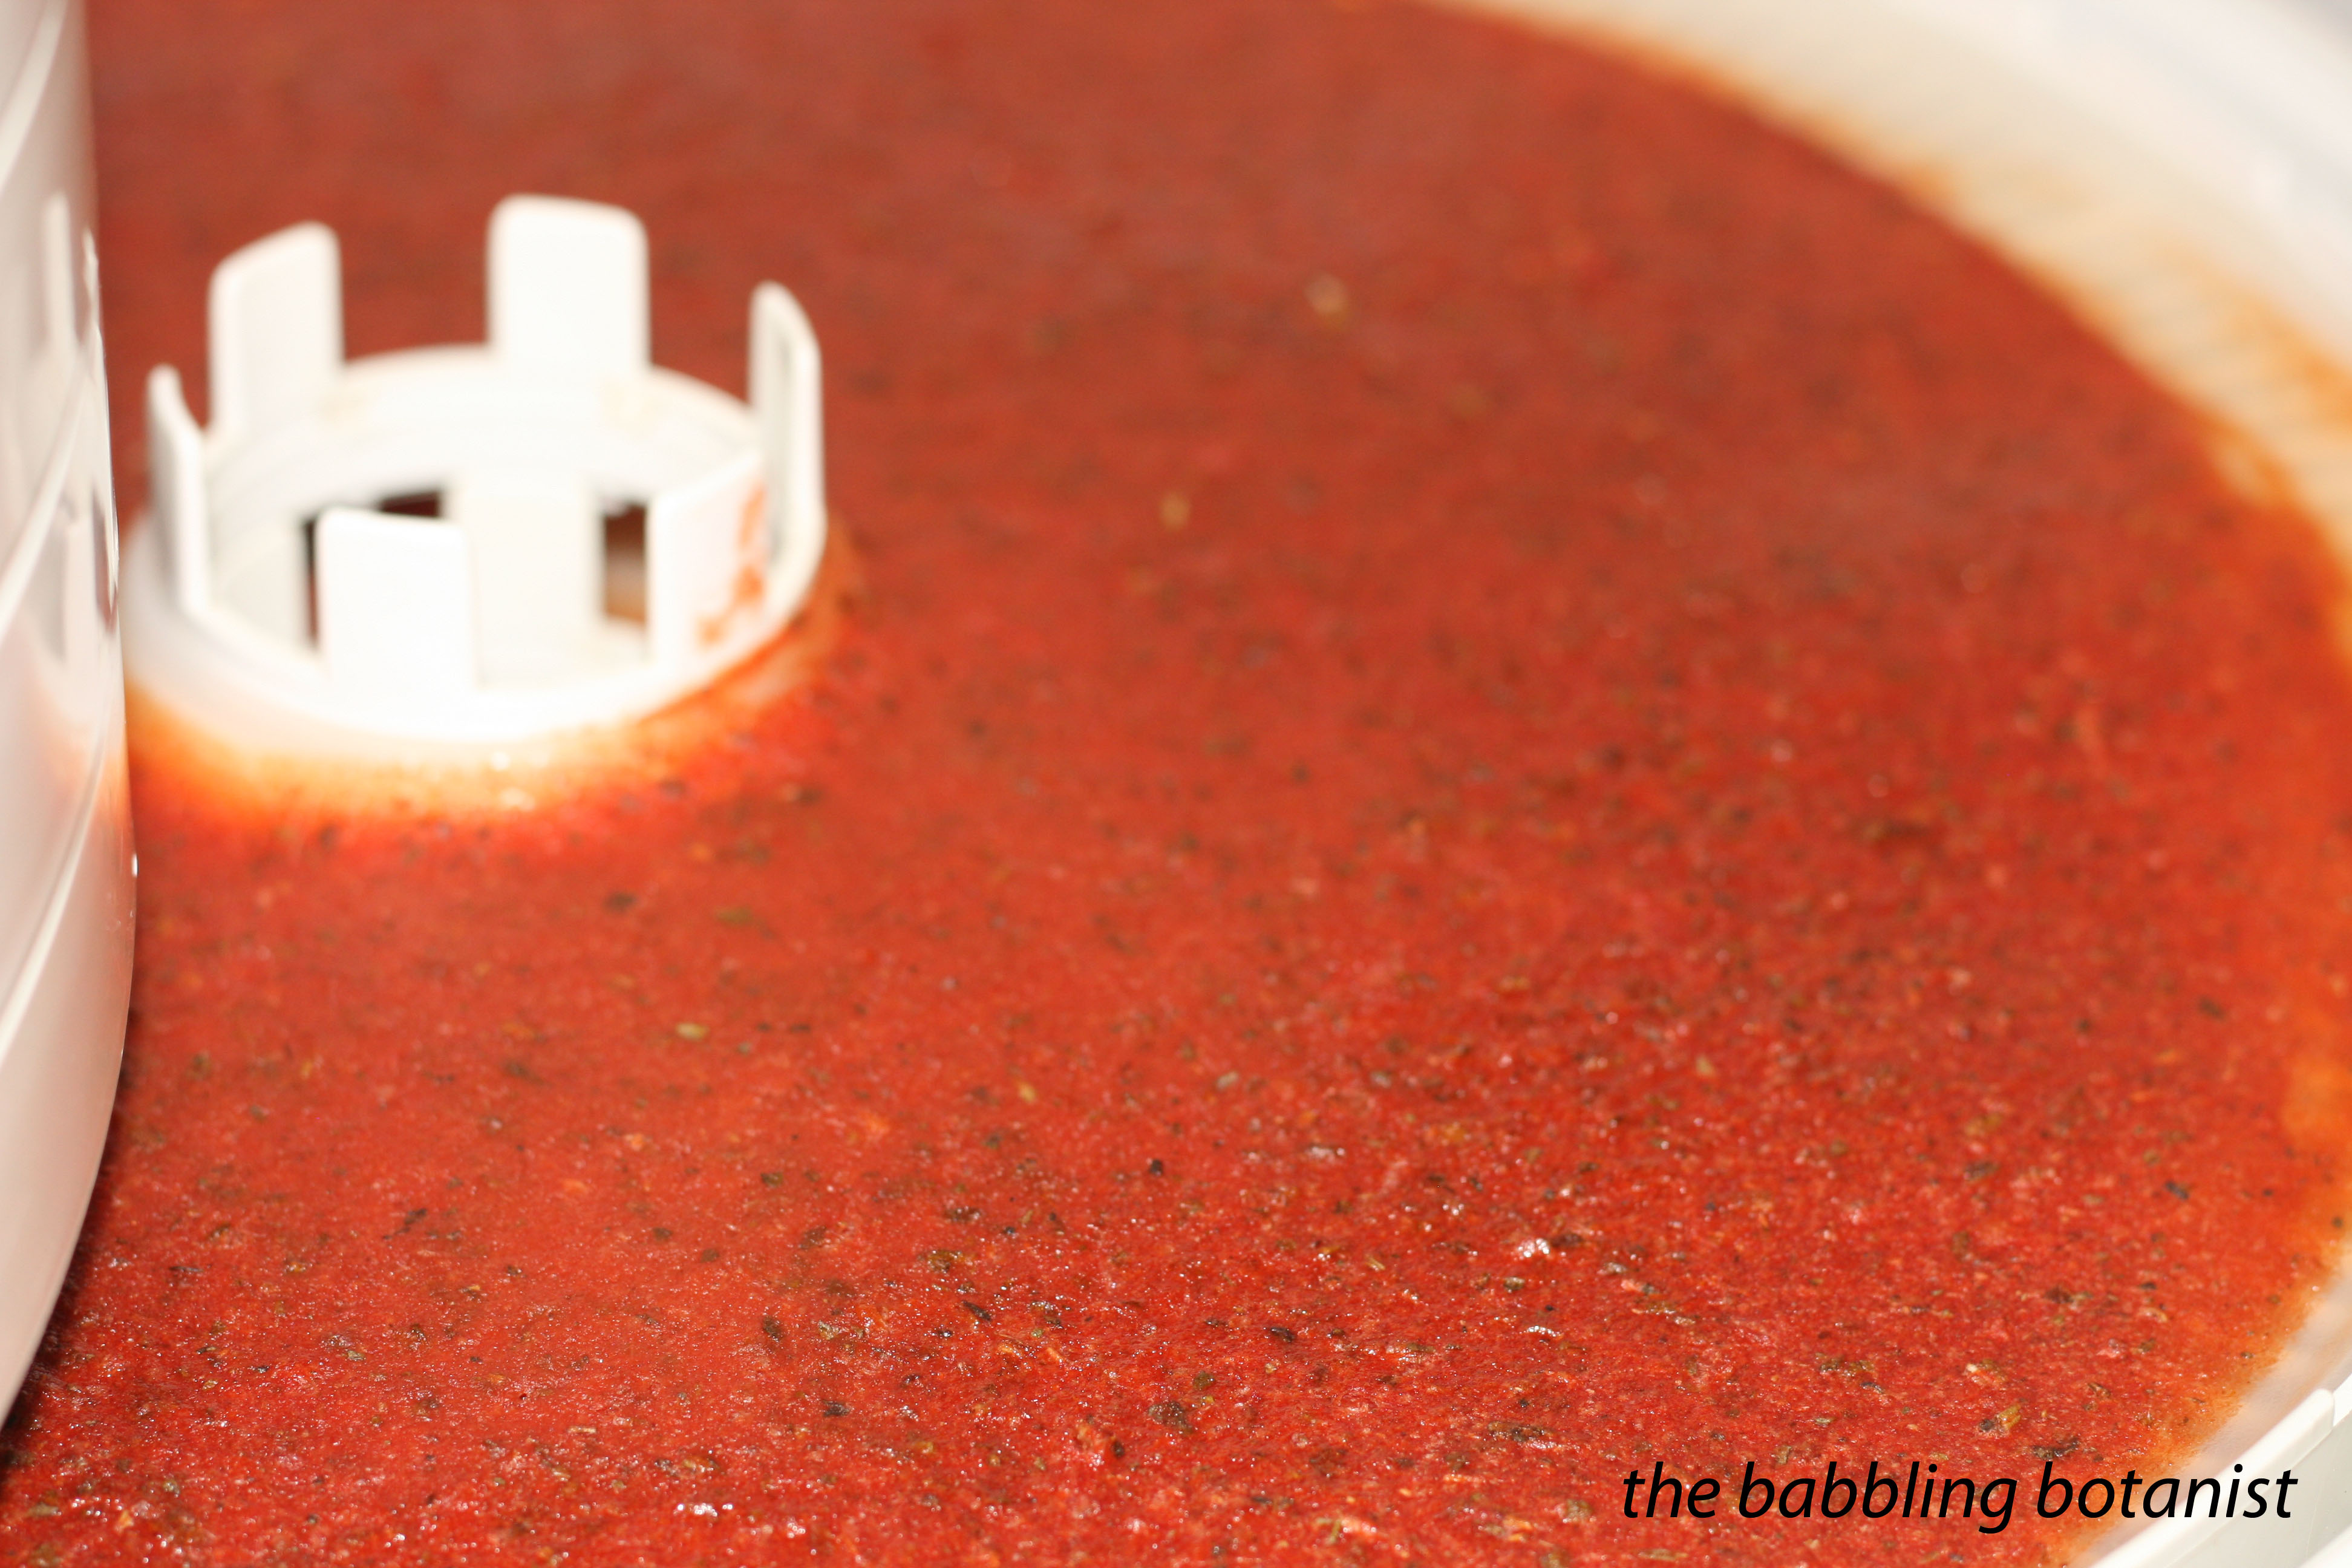
In class we made “pizza leather” which is 15oz of stewed tomatoes, 8 oz of tomato sauce, and dried herbs on top. It is a pretty tasty snack.
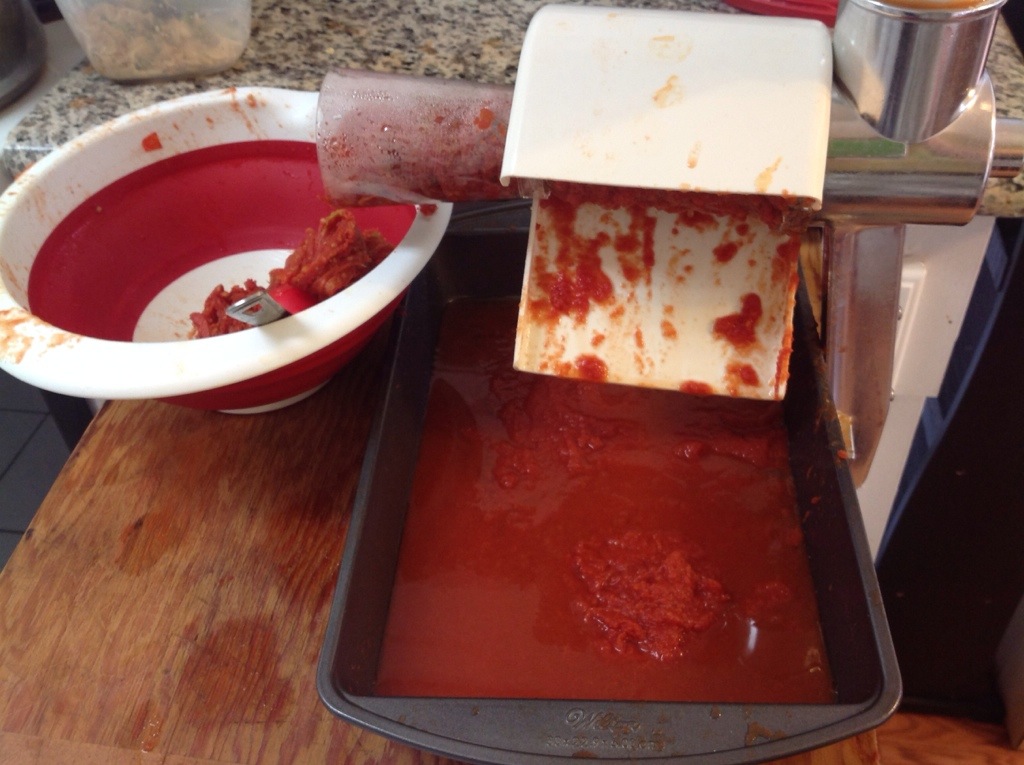
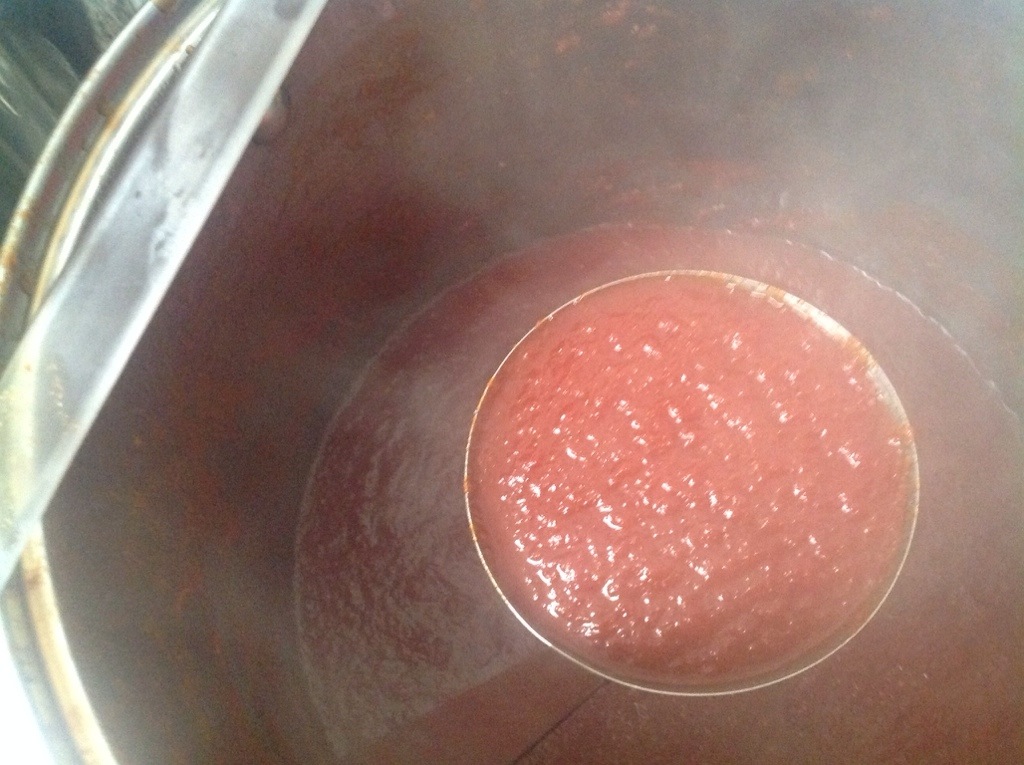
Spreading tomato sauce out for the pizza leather.

And once it is done. I think it would be delicious slapped on a toasted English muffin with some mozzarella cheese. mmmmmm.
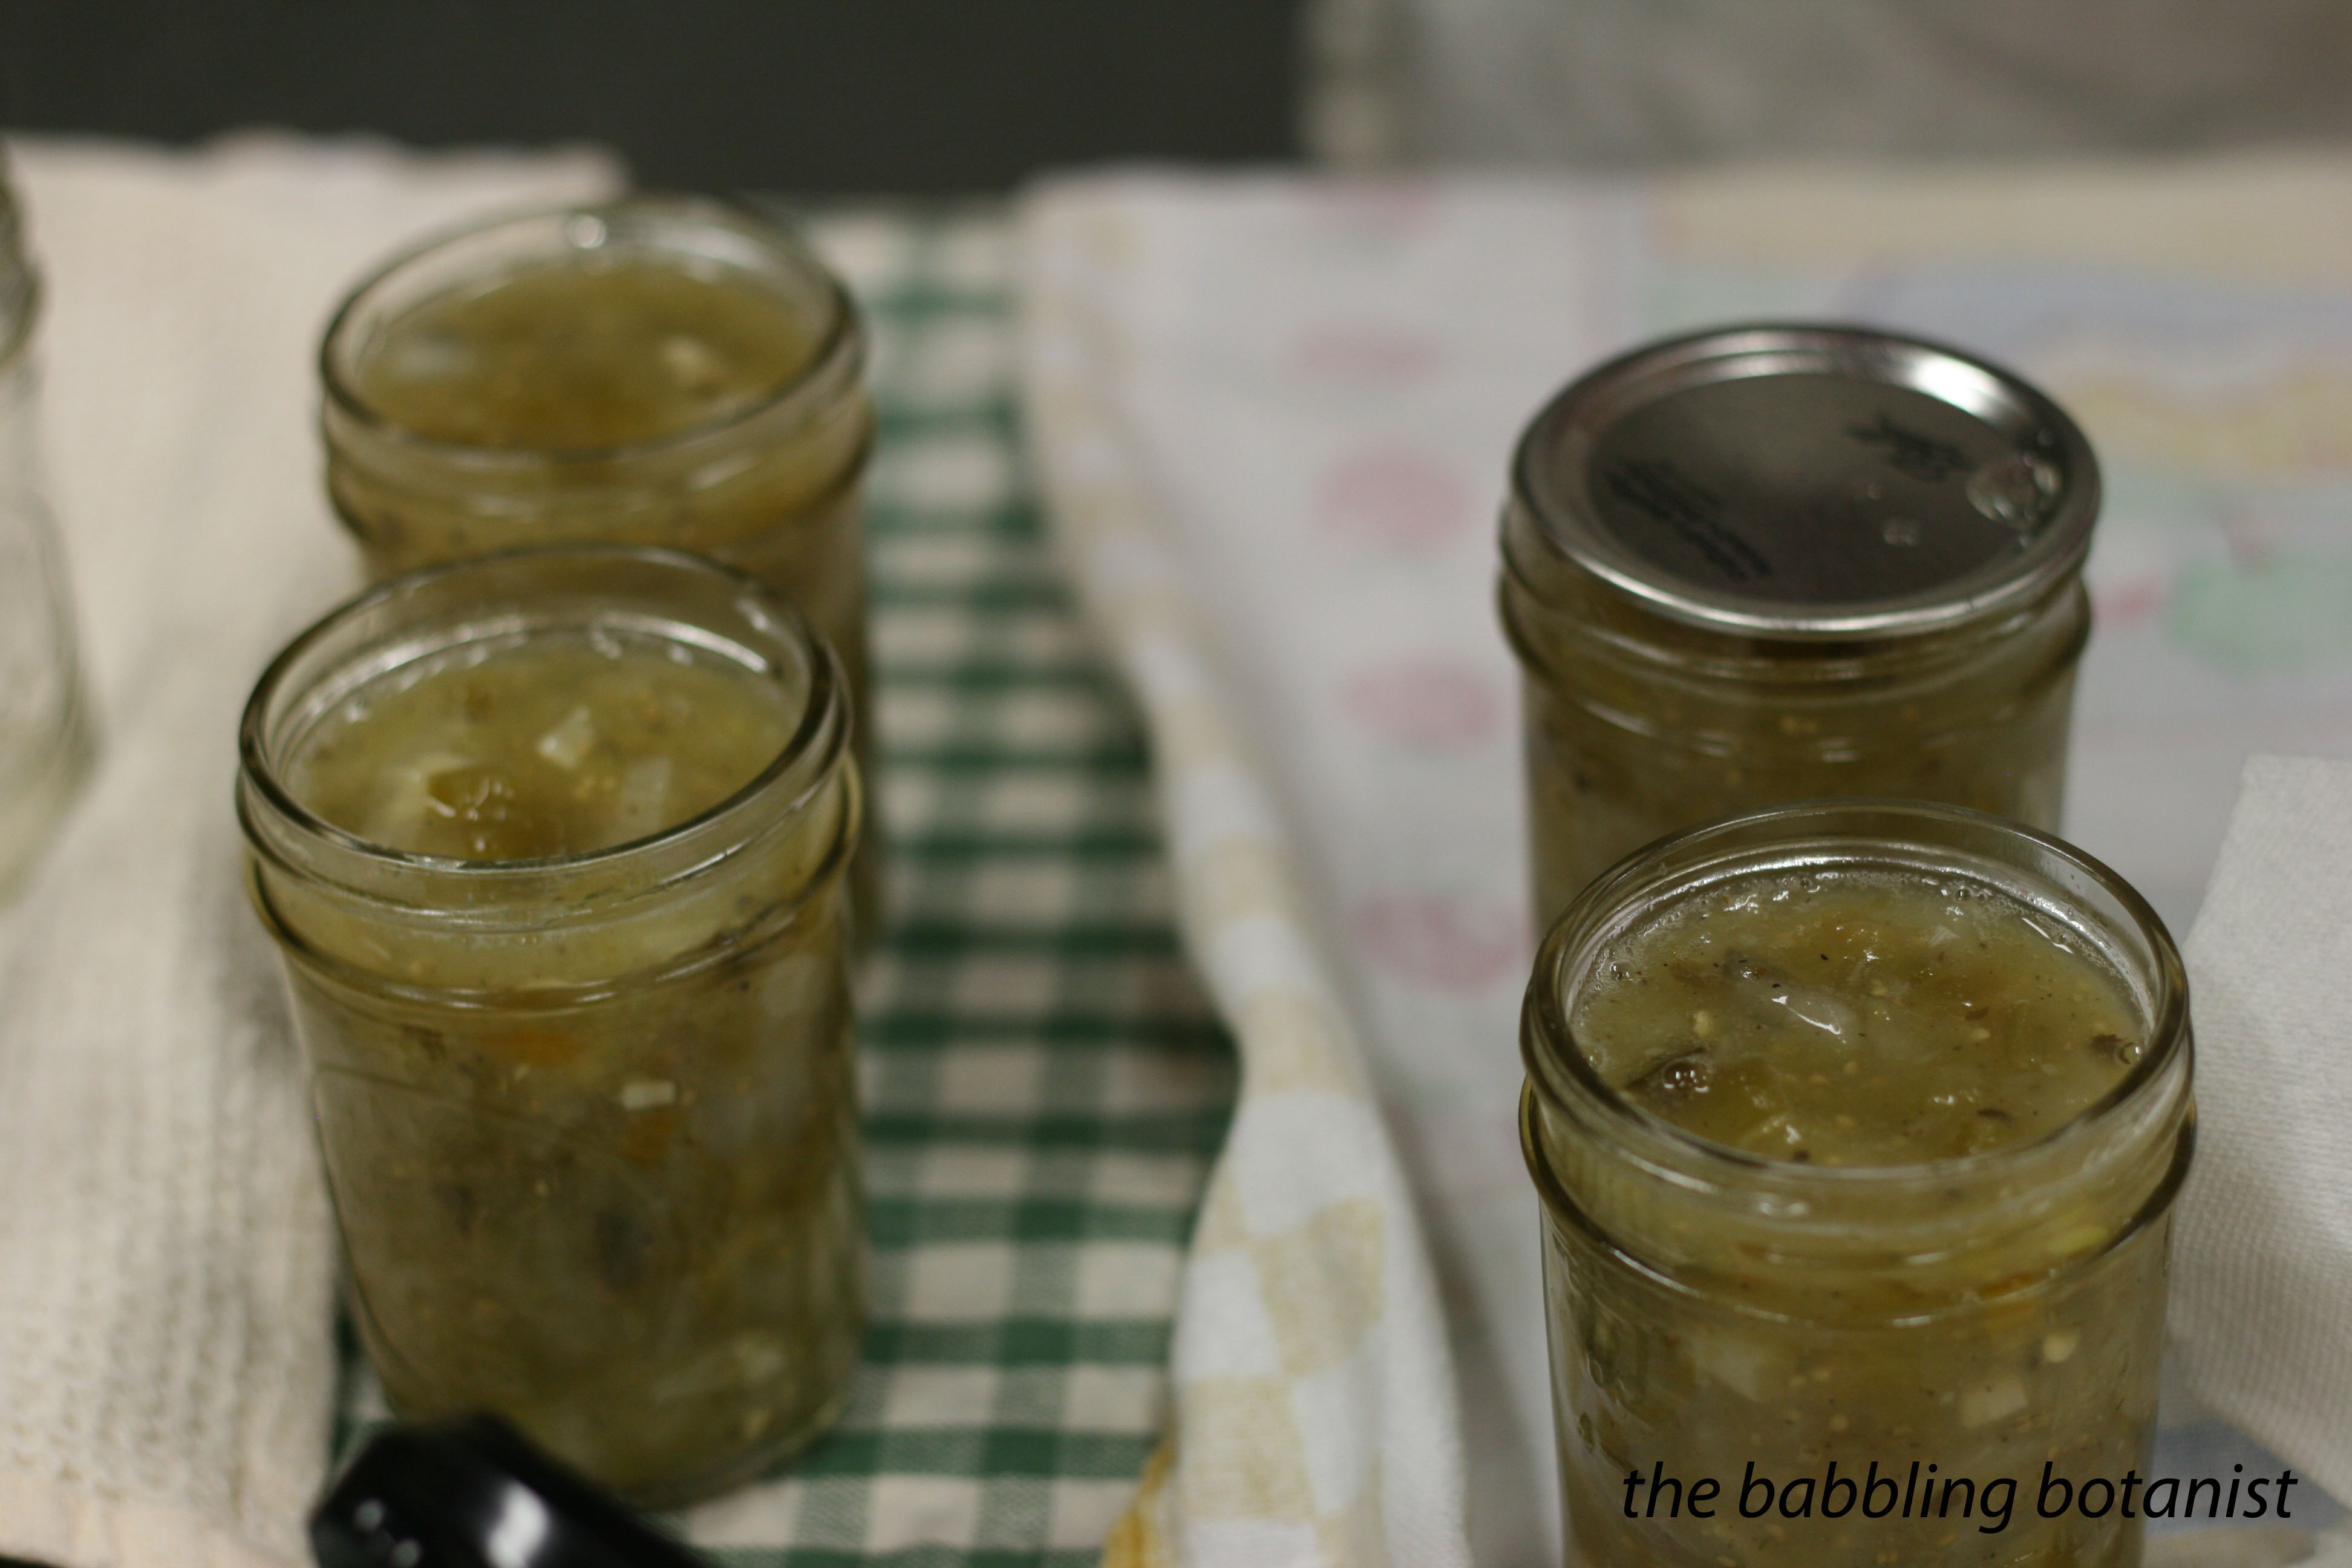
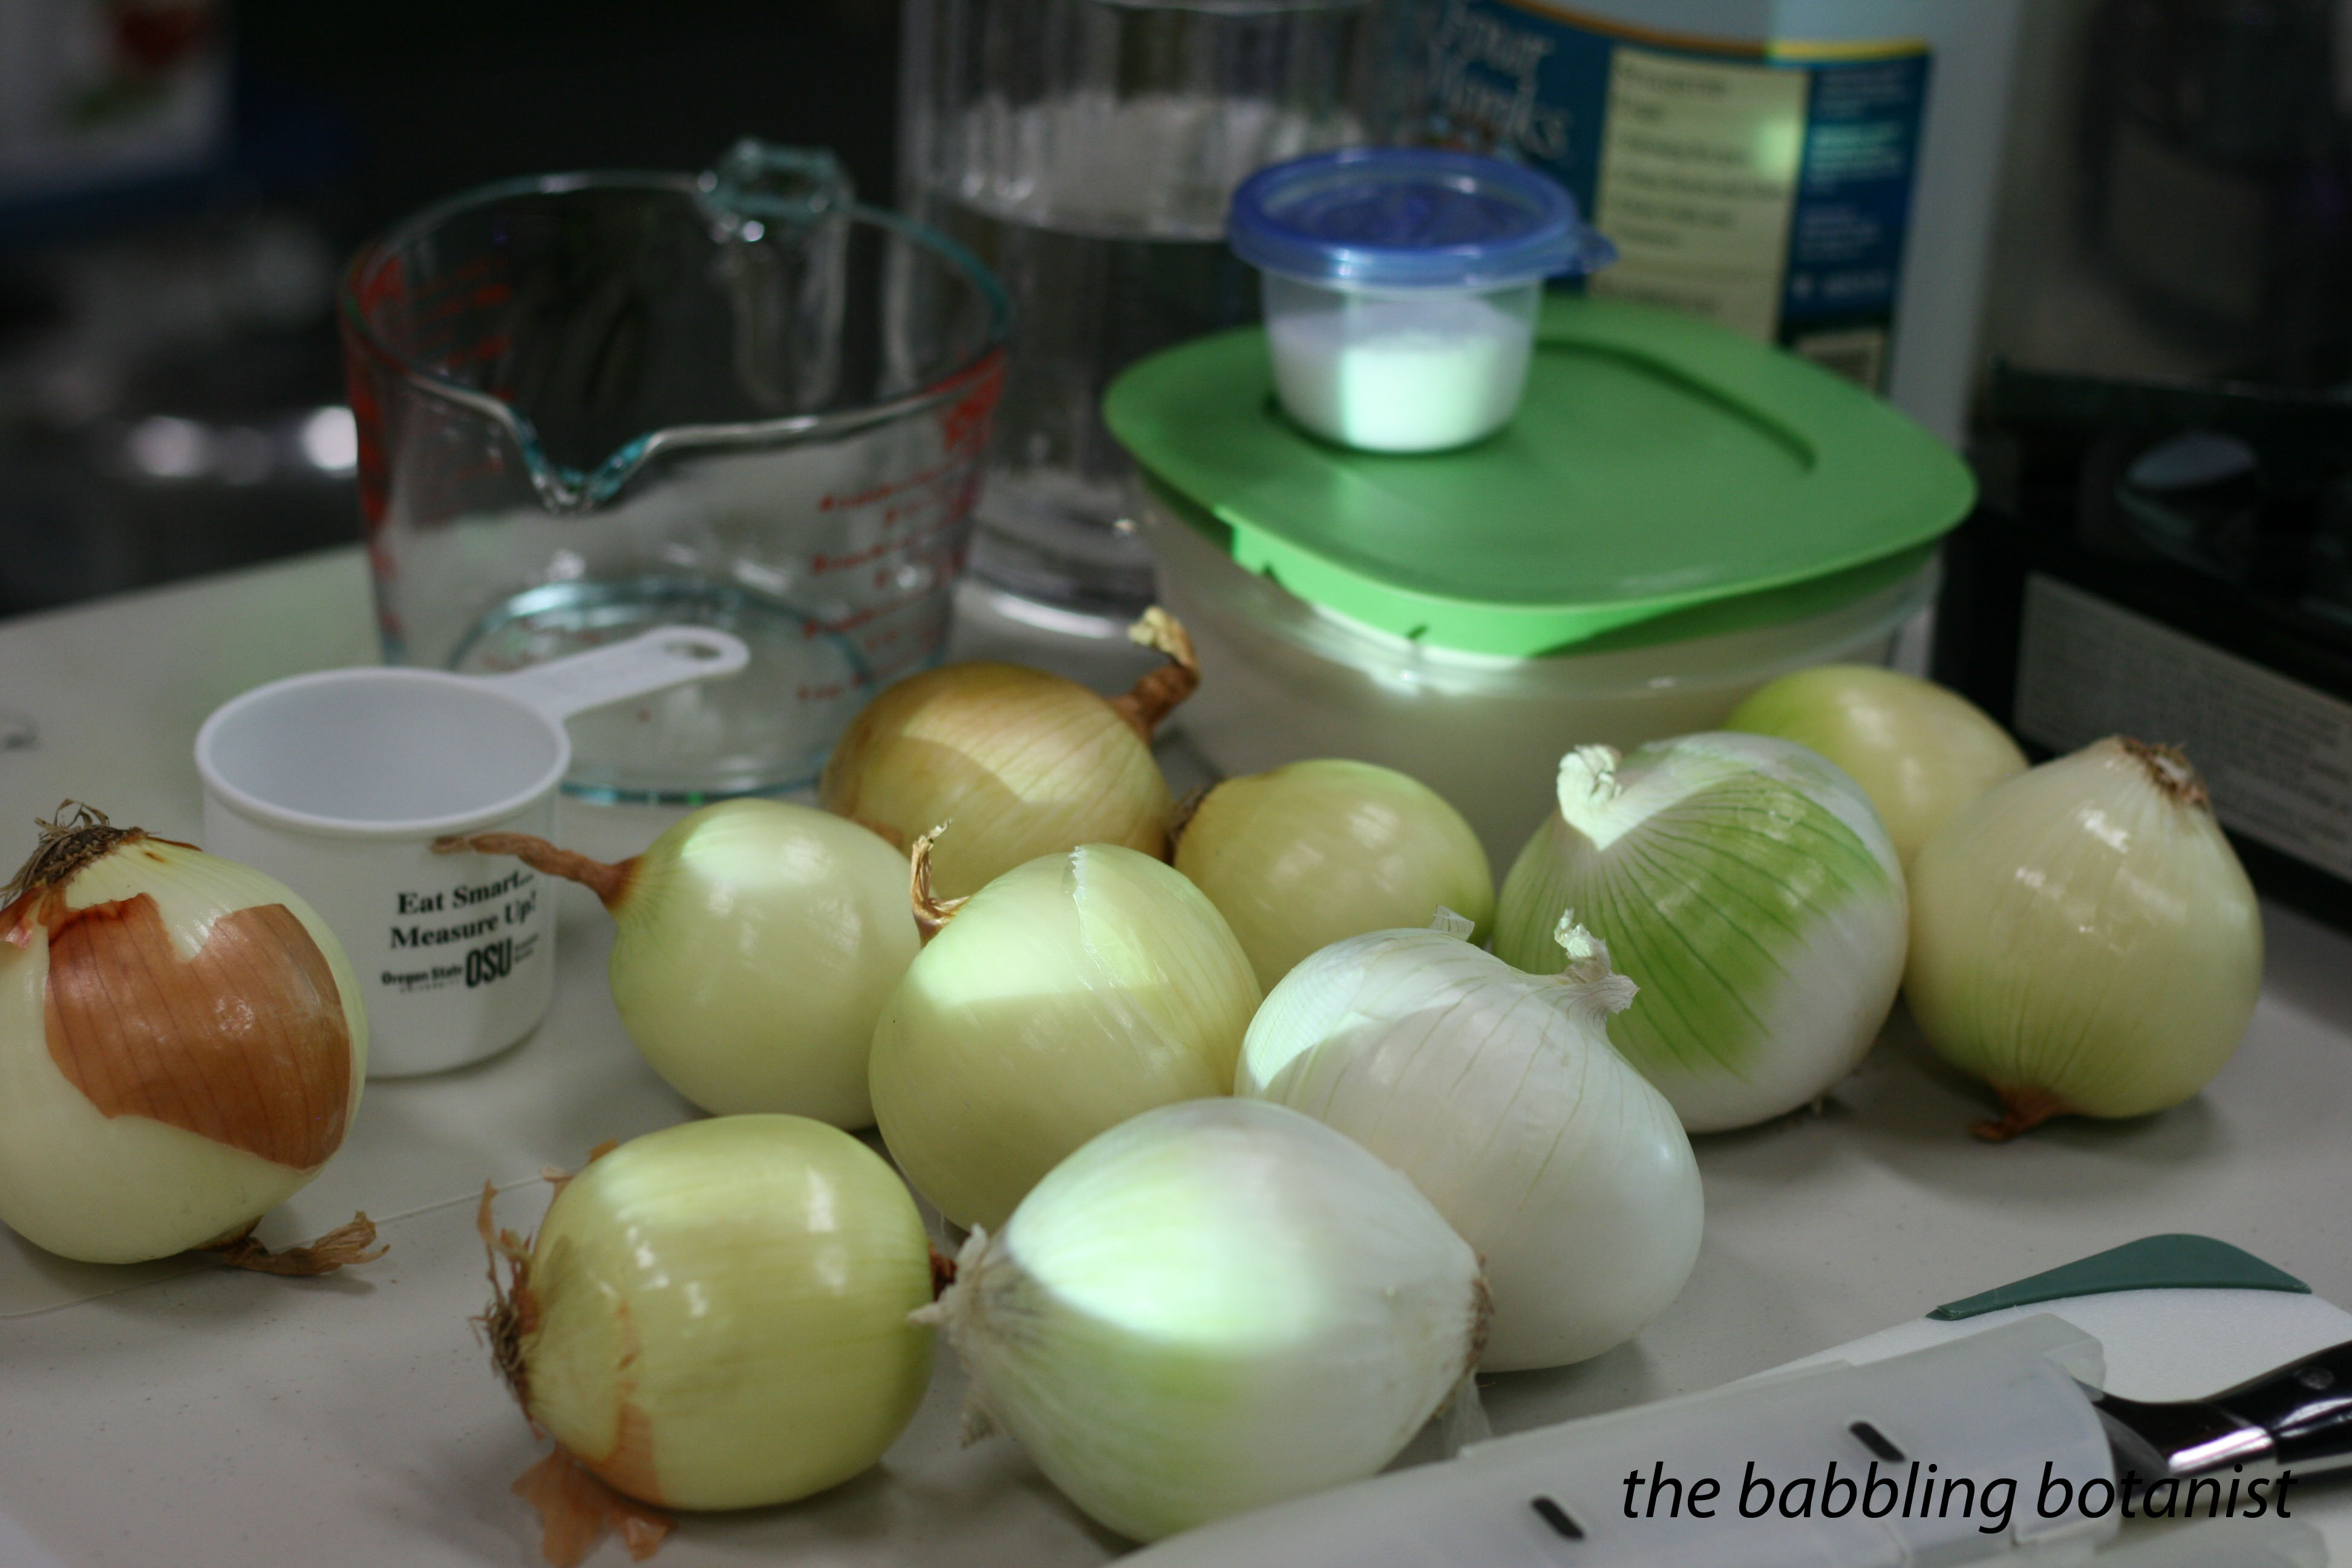
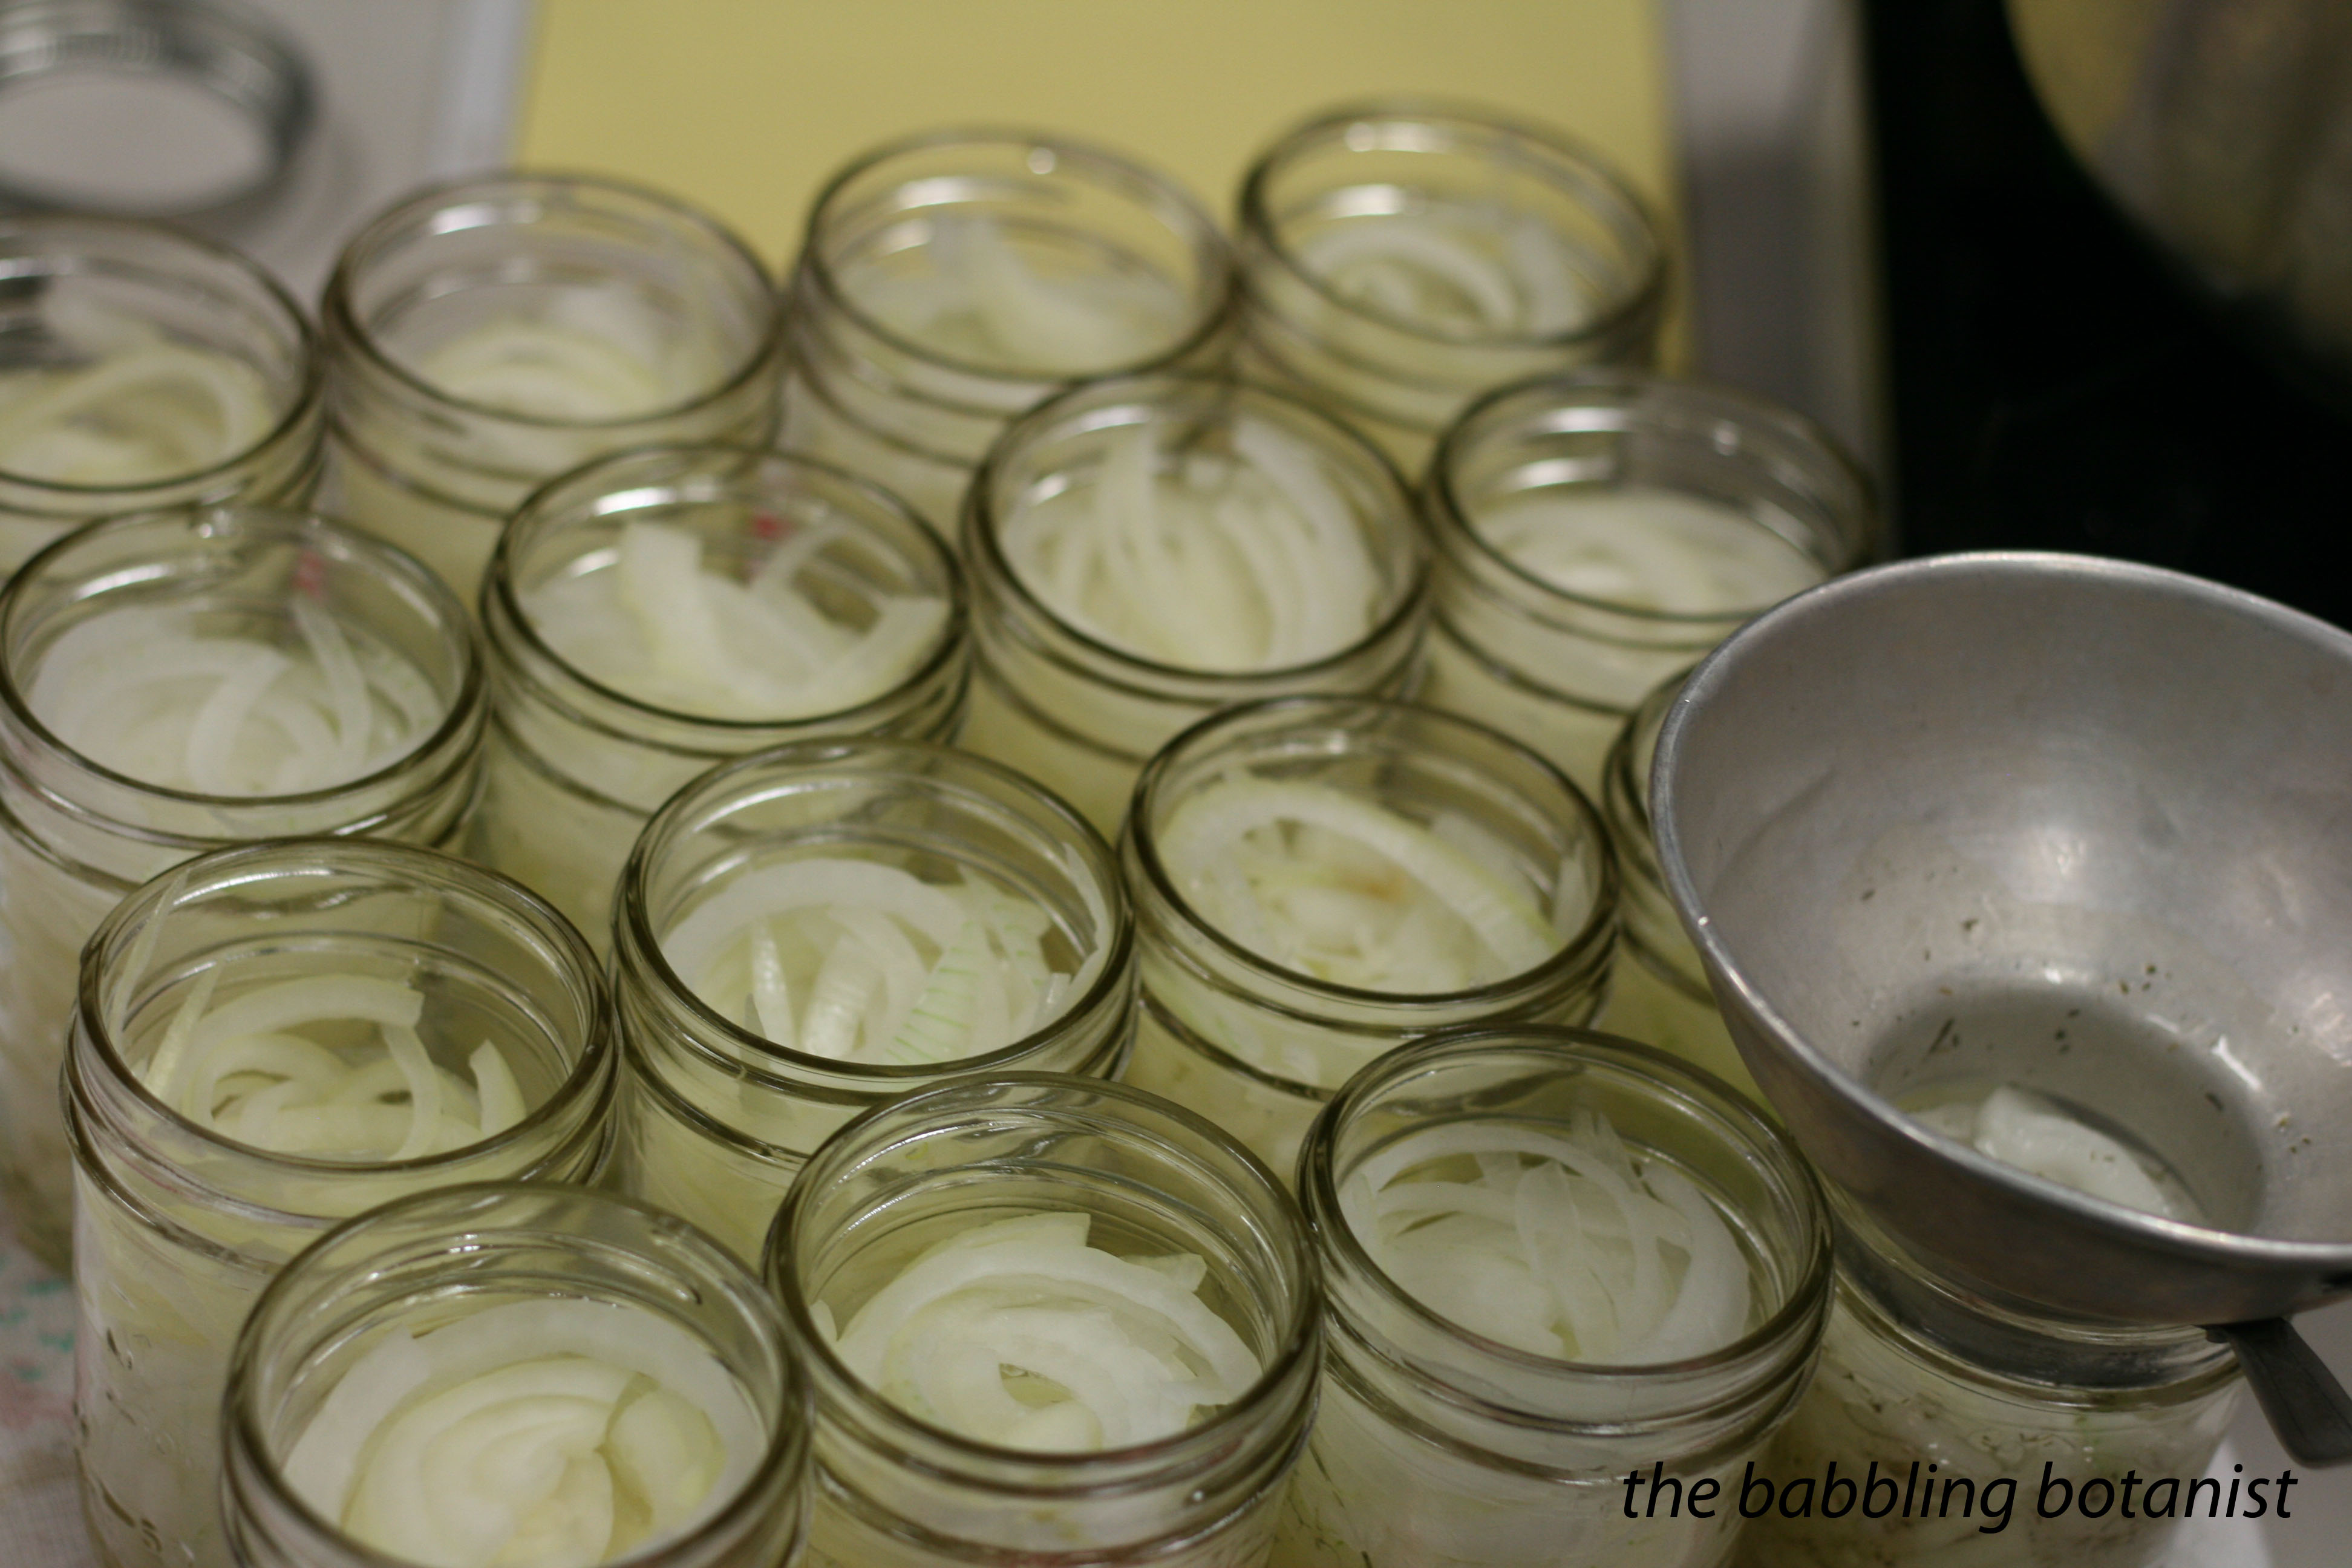
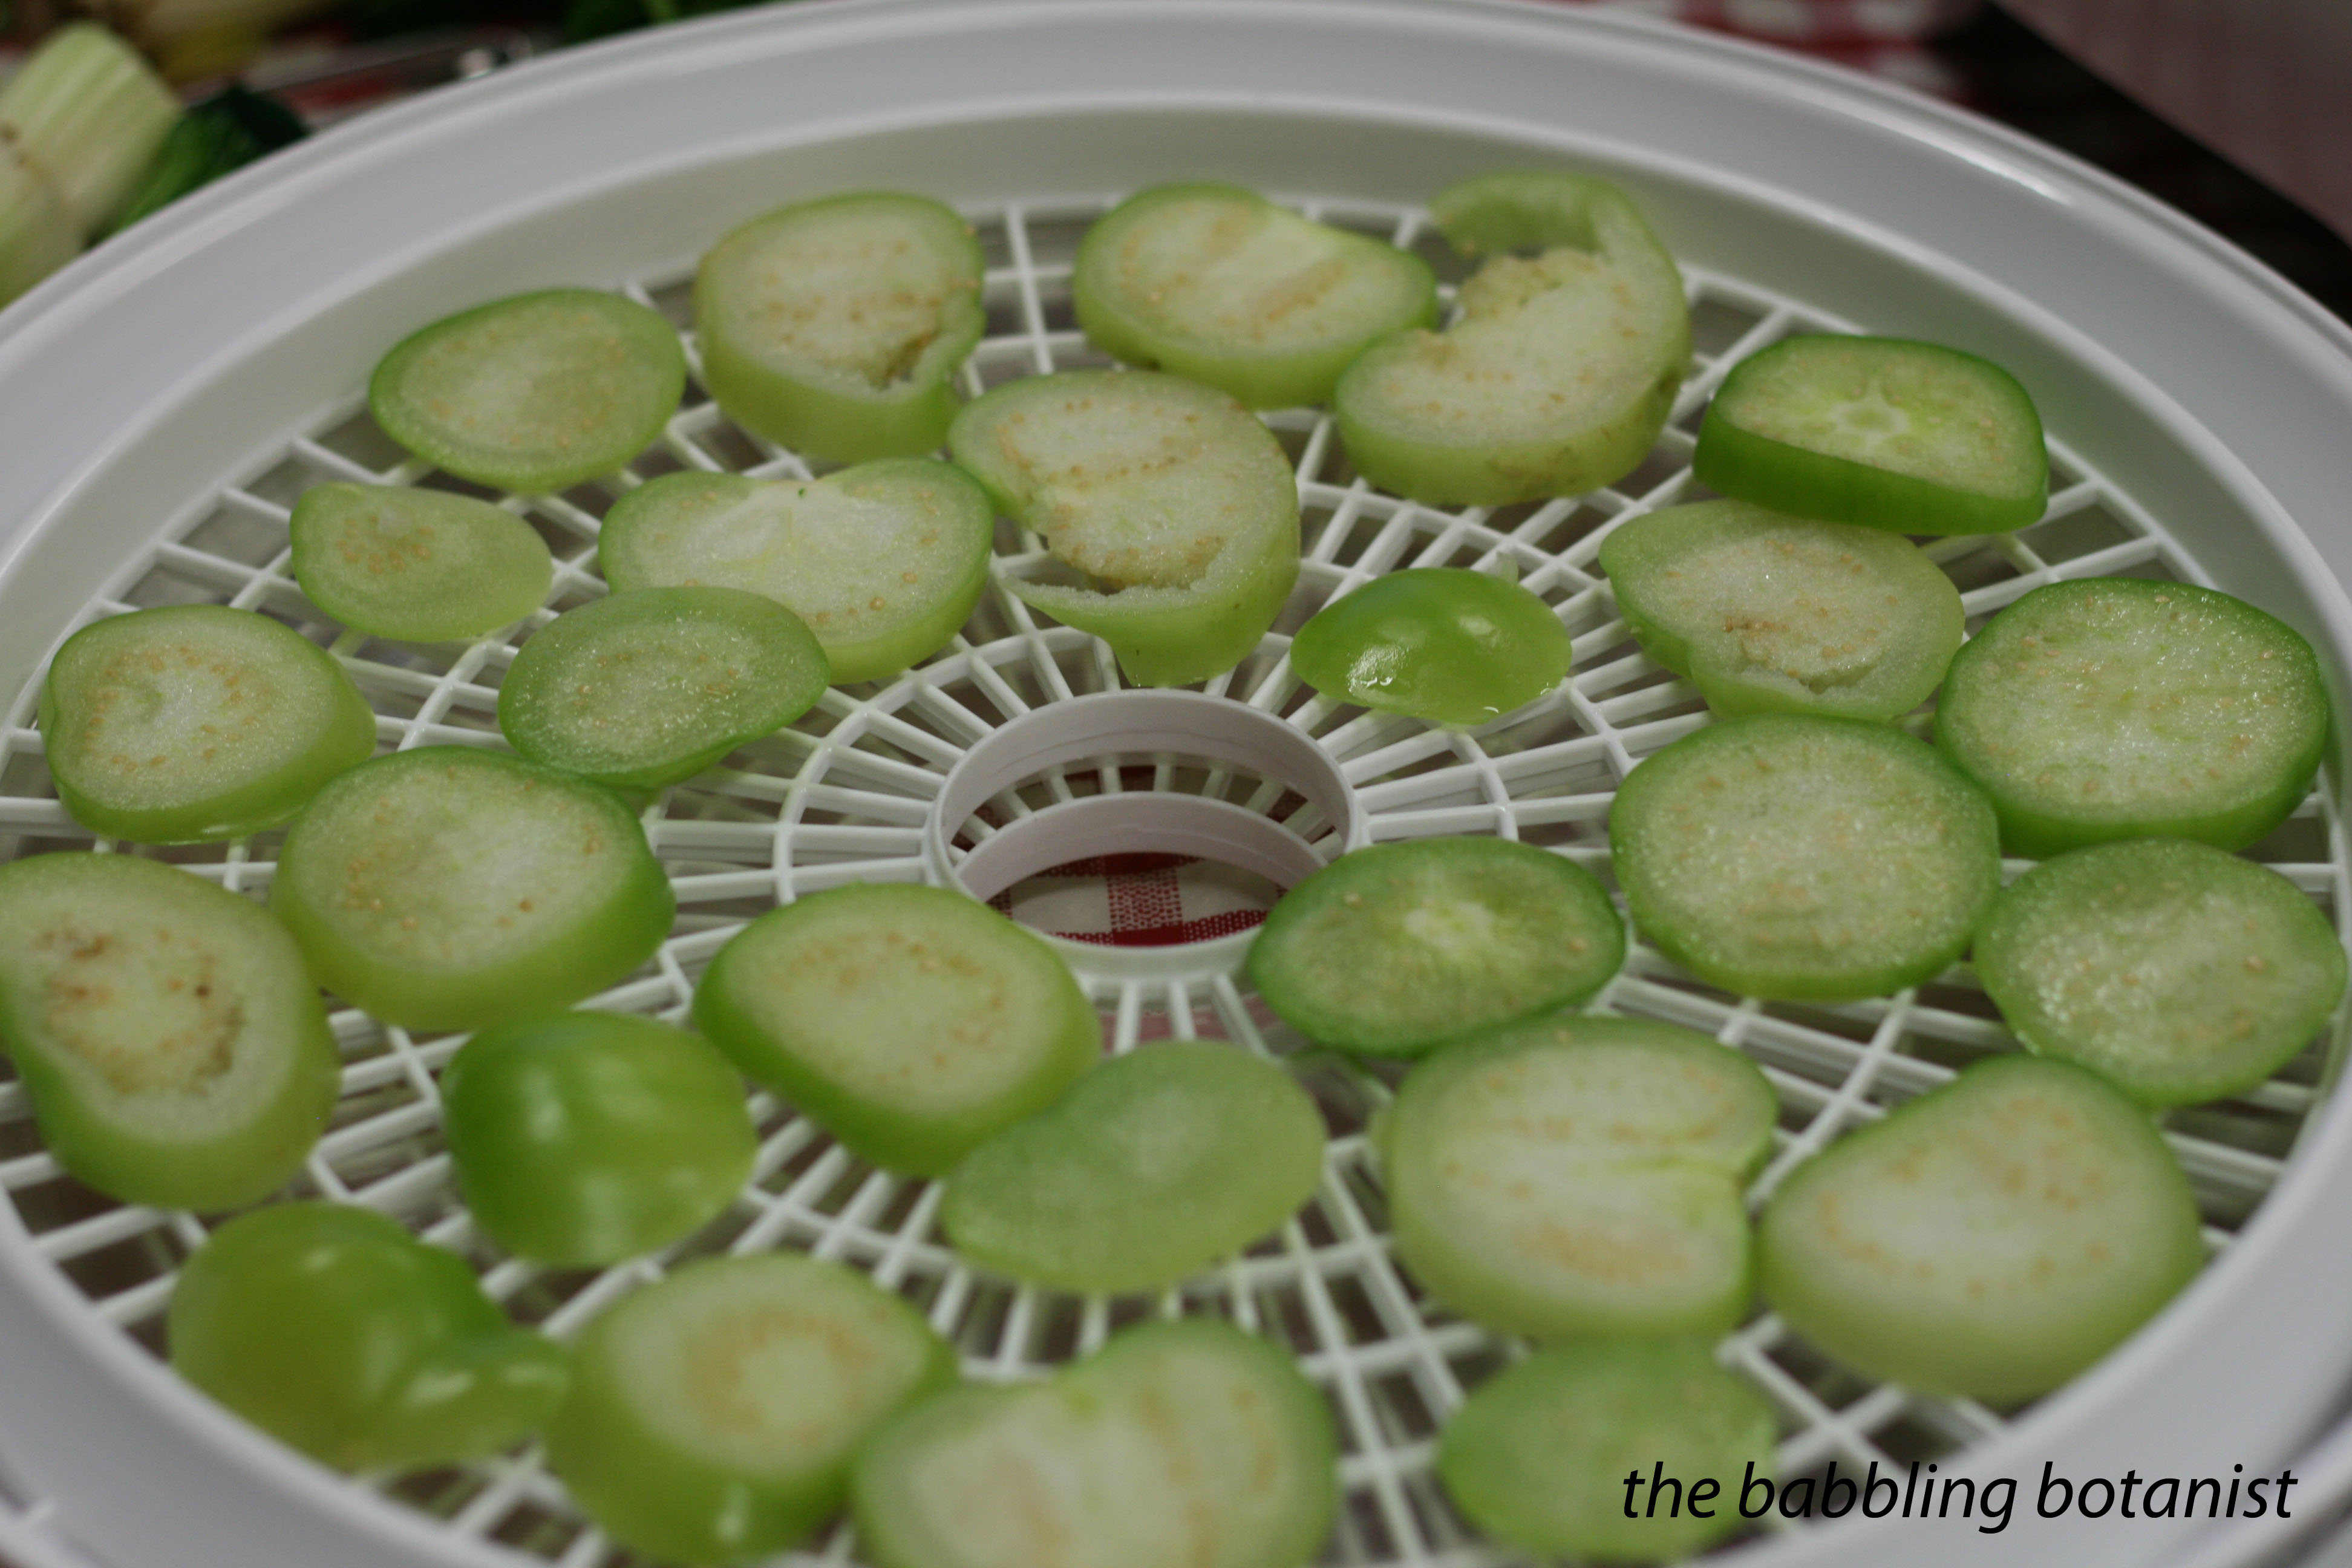
Vegetables can be great to dehydrate to later use in things like soups. For these, we pretreated the celery by blanching for about a minute, but we did not treat the zucchini or onions.
When you want to use dehydrated vegetables, some times you will want to rehydrate them first. Soak them in 1.5-2 cups of water per cup of dried vegetables, and add more if needed. They should plump to the size before they were dehydrated. They can also just be put straight into soup or stew and rehydrate in the broth.

Zucchini chips are a great way to use up excess zucchini. You know that you will be rolling in it soon! My first one is about ready to harvest.

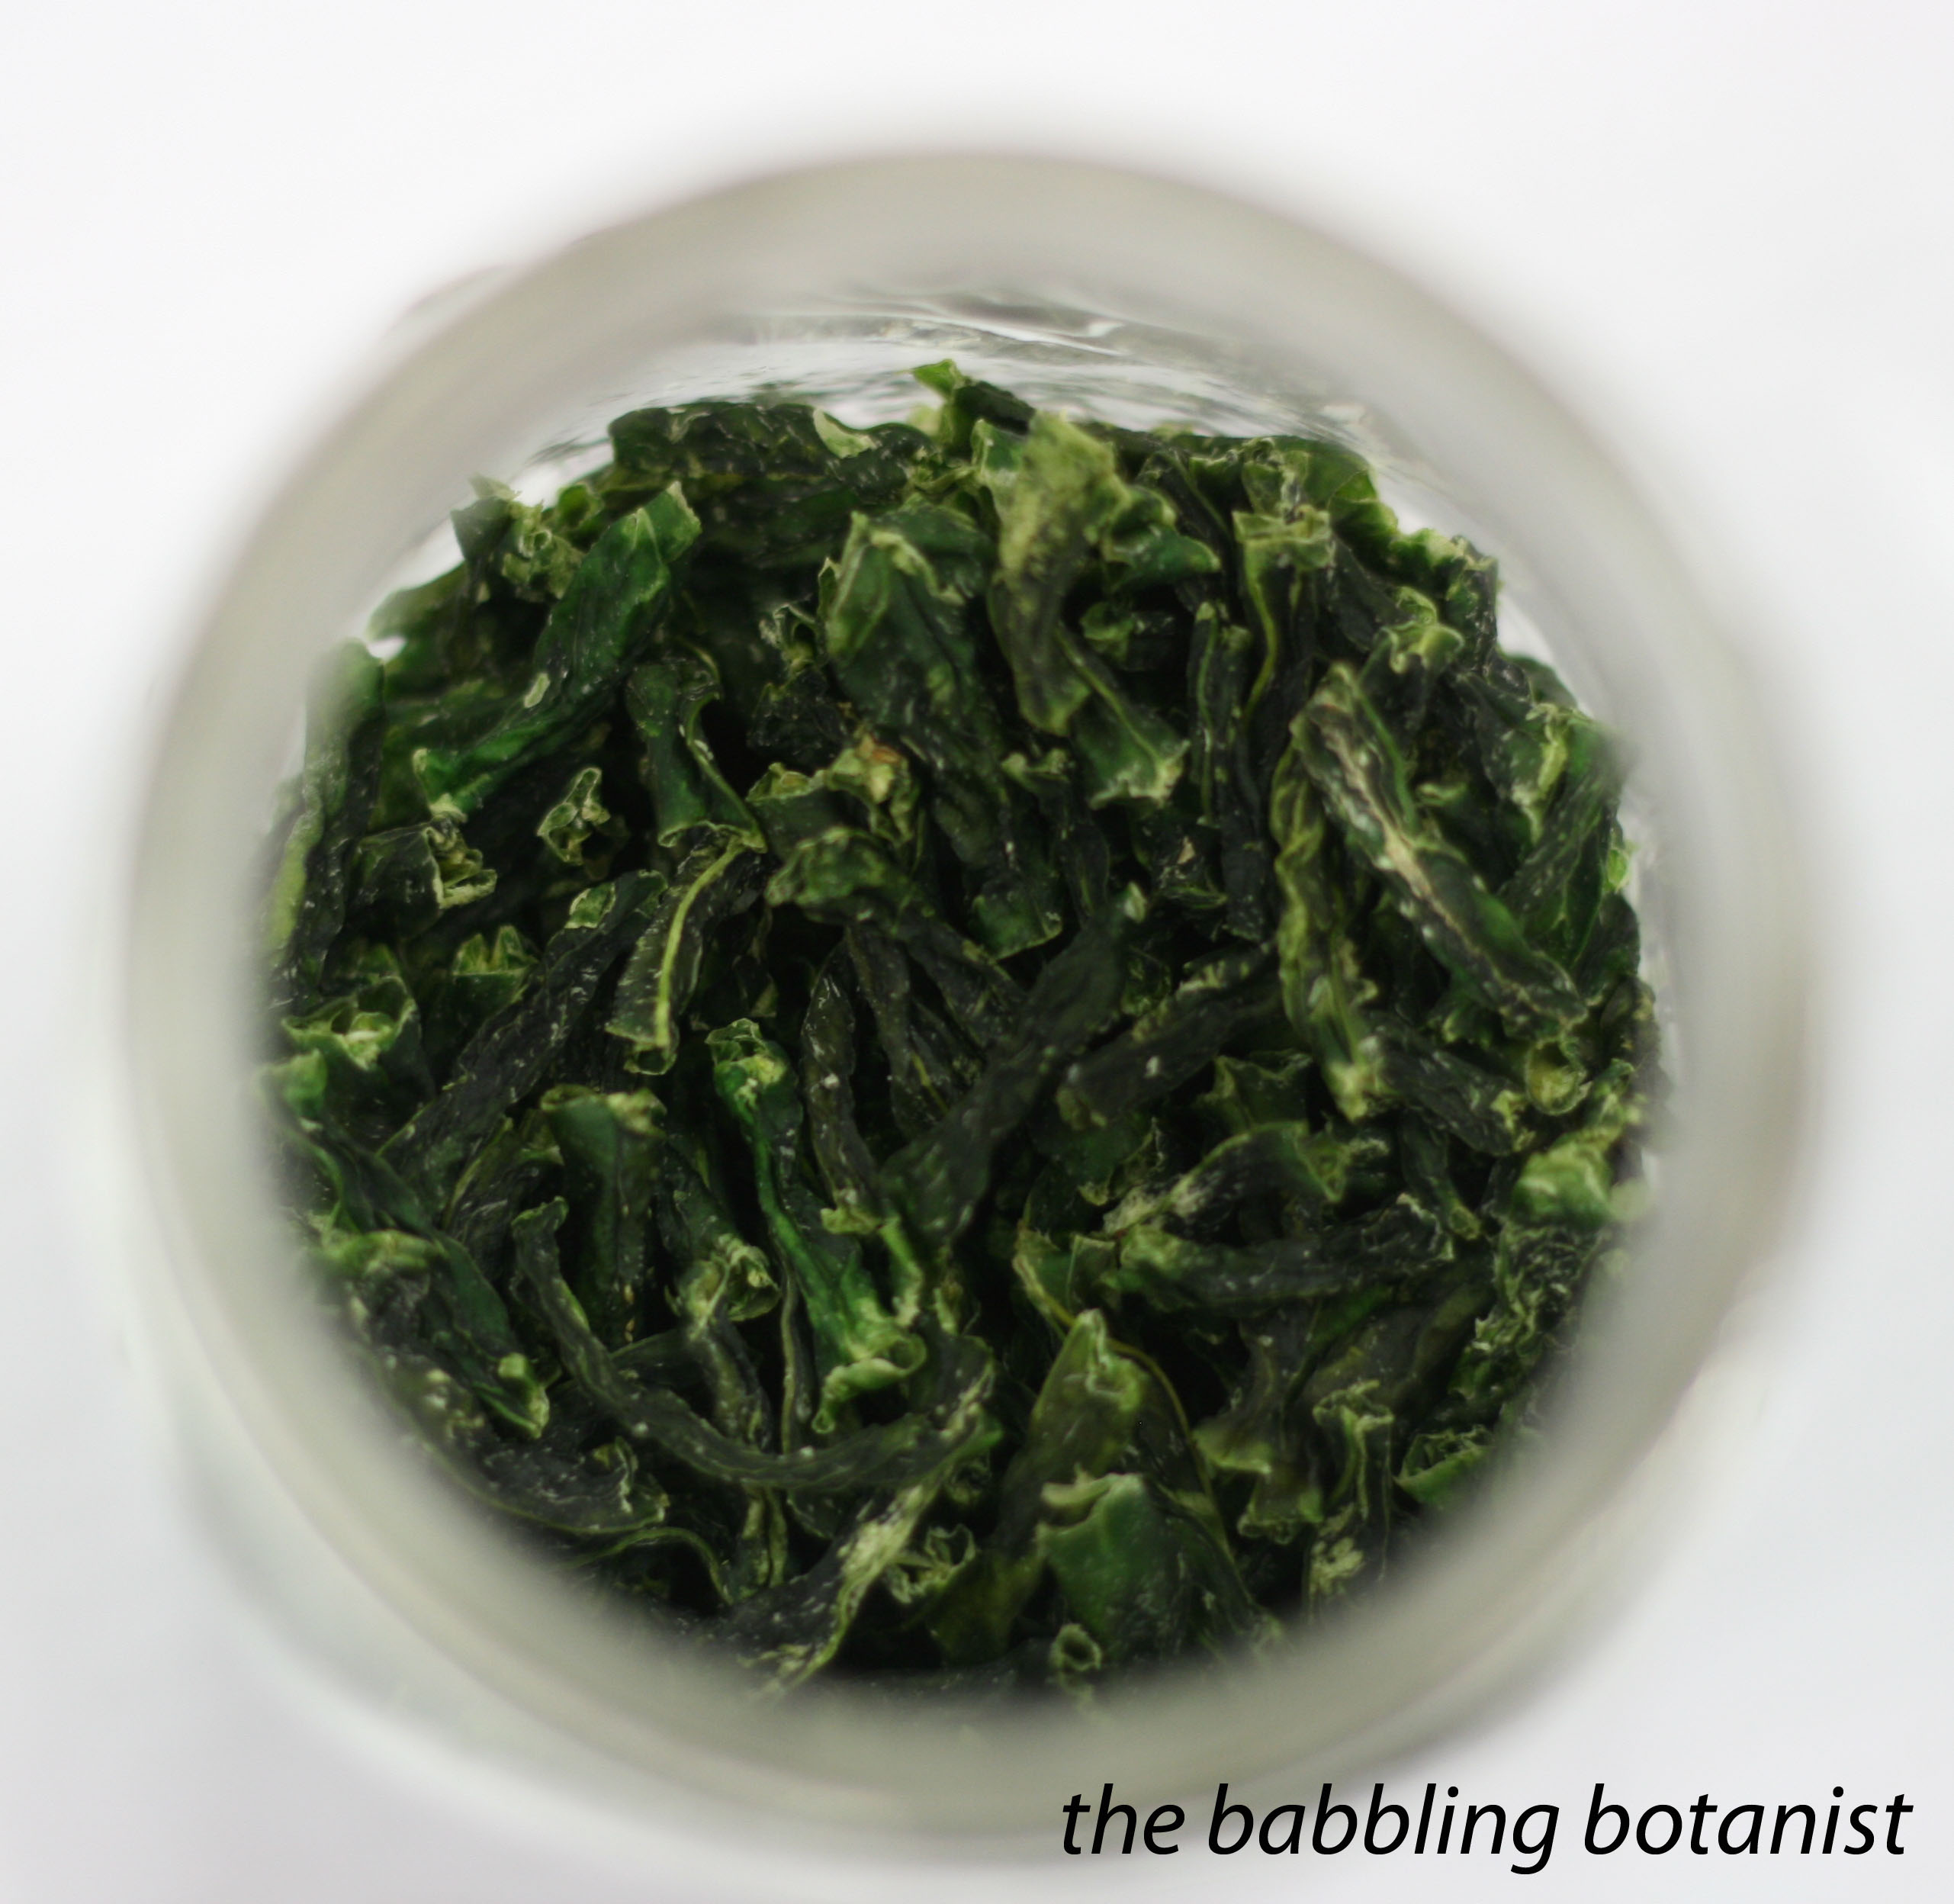
Dried green beans. Yup, just randomly inserted here because they were pretty.
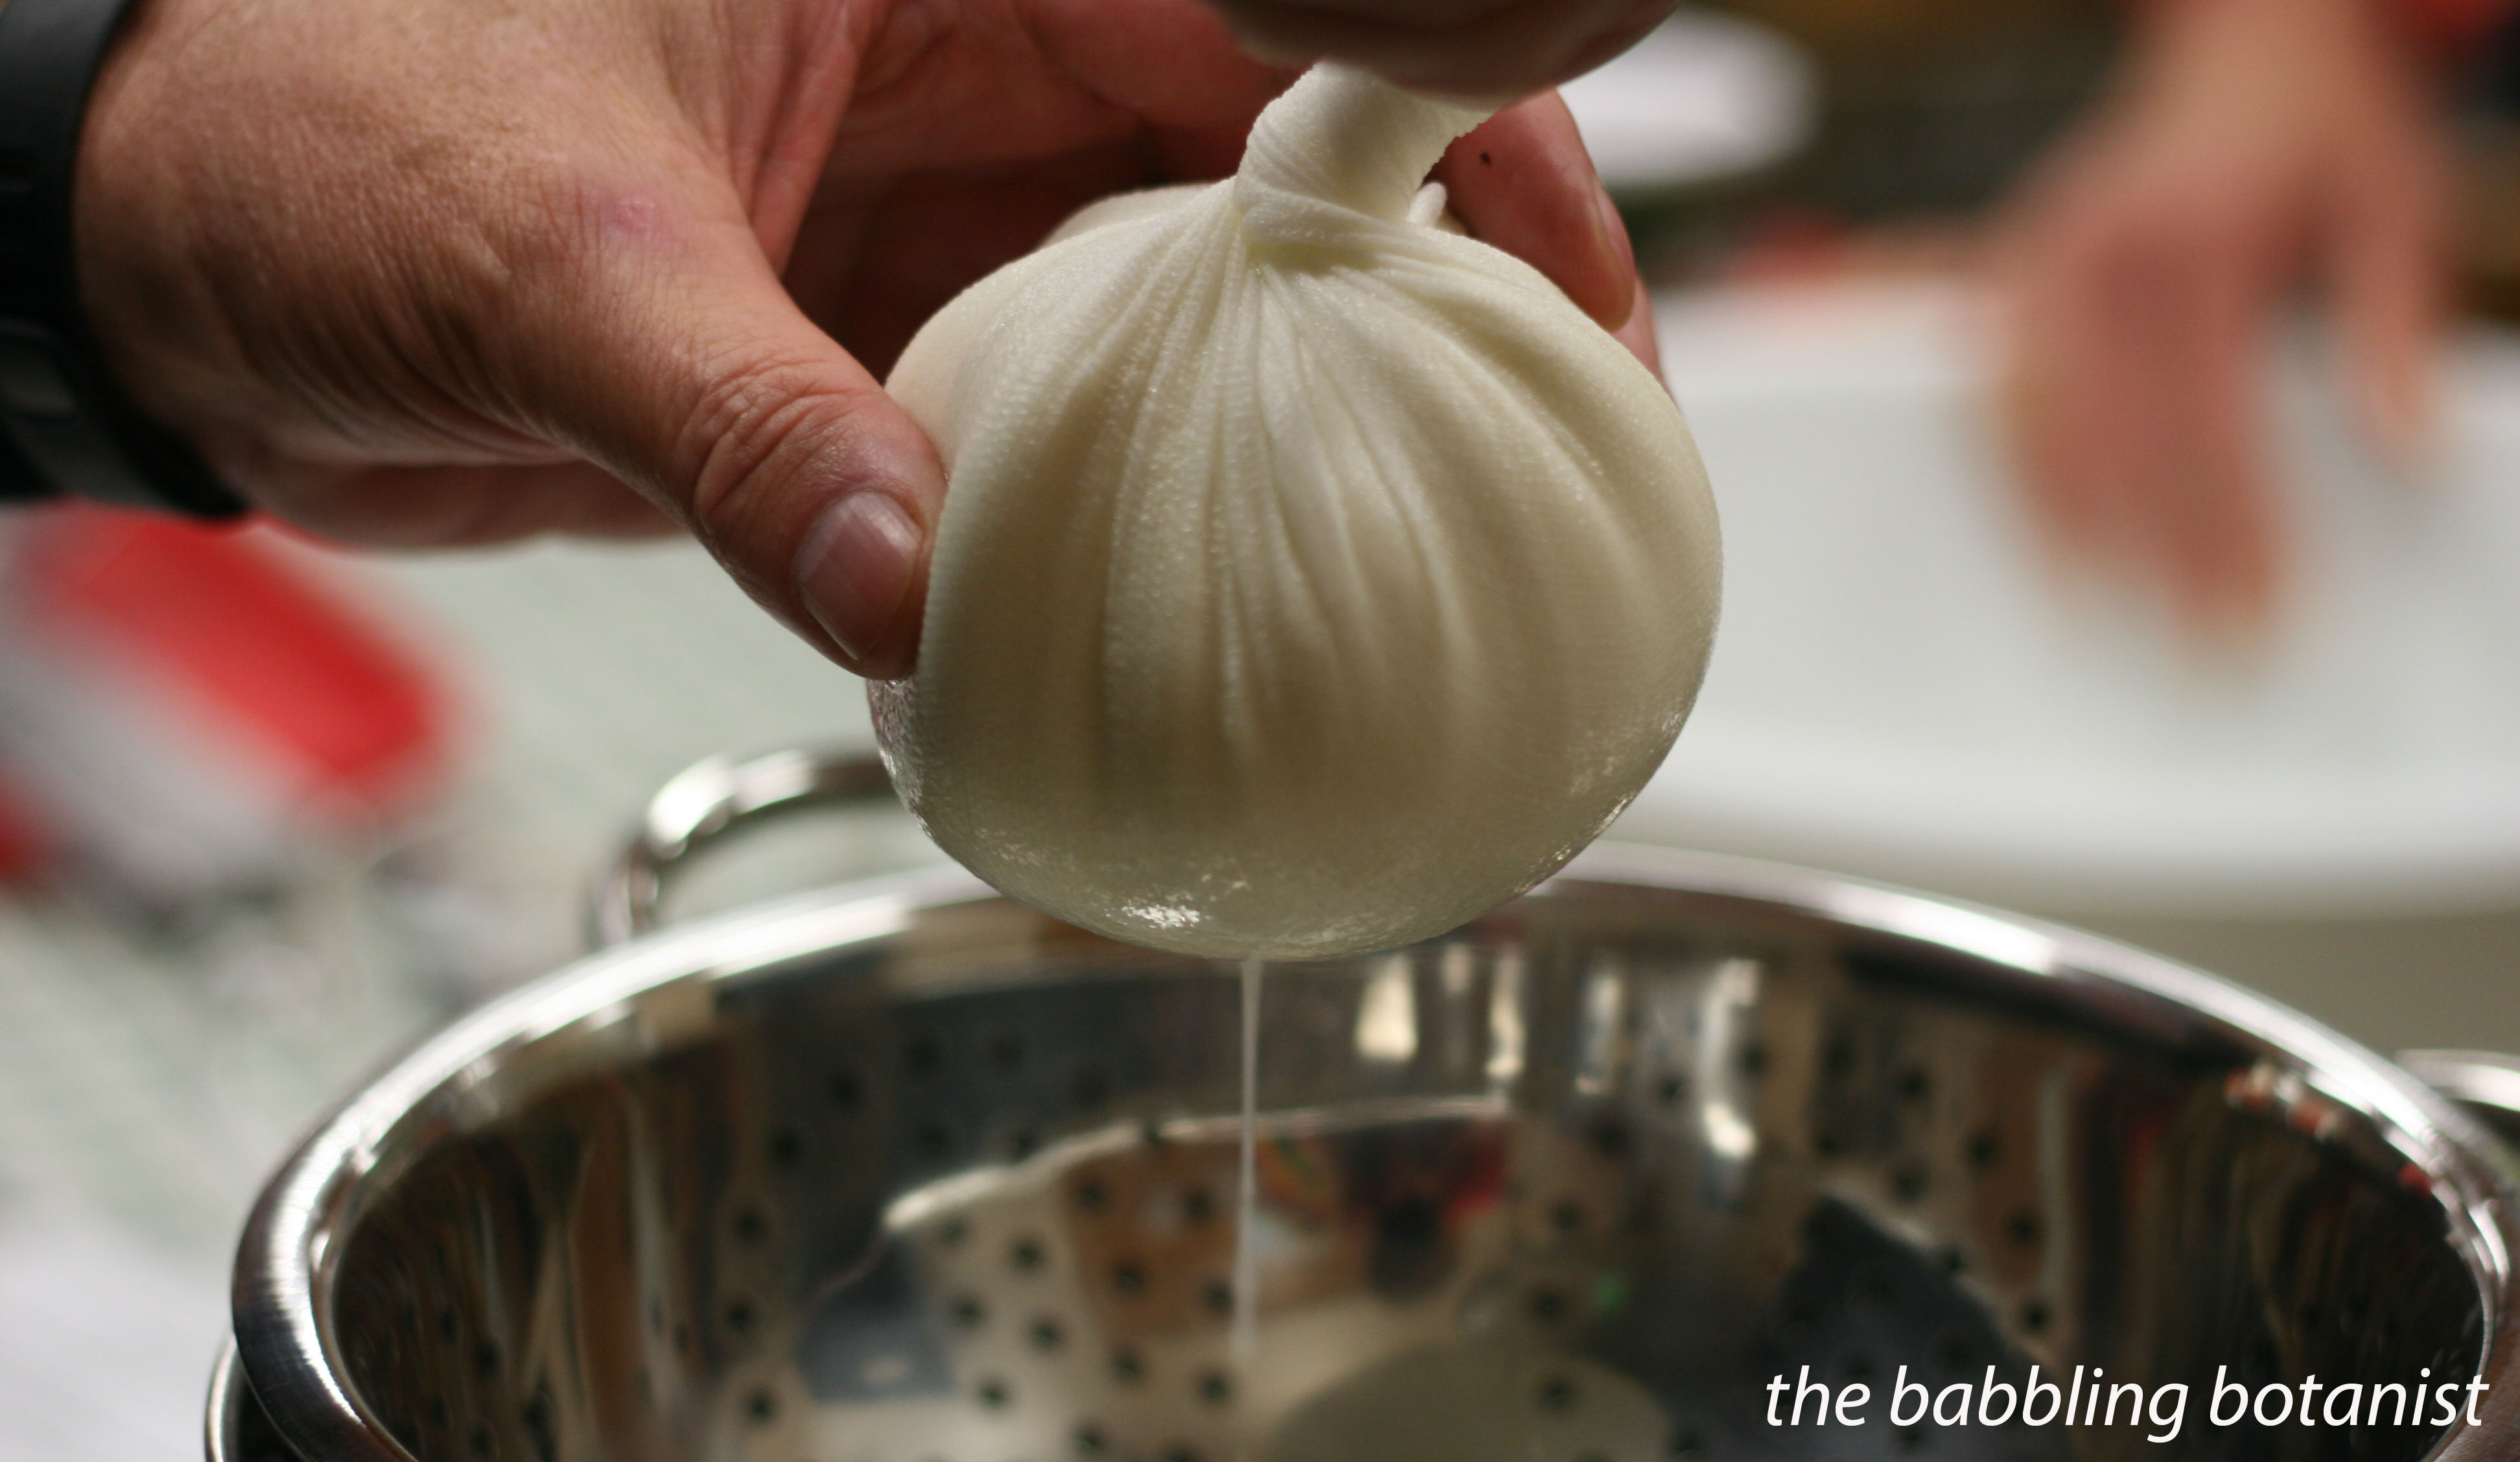
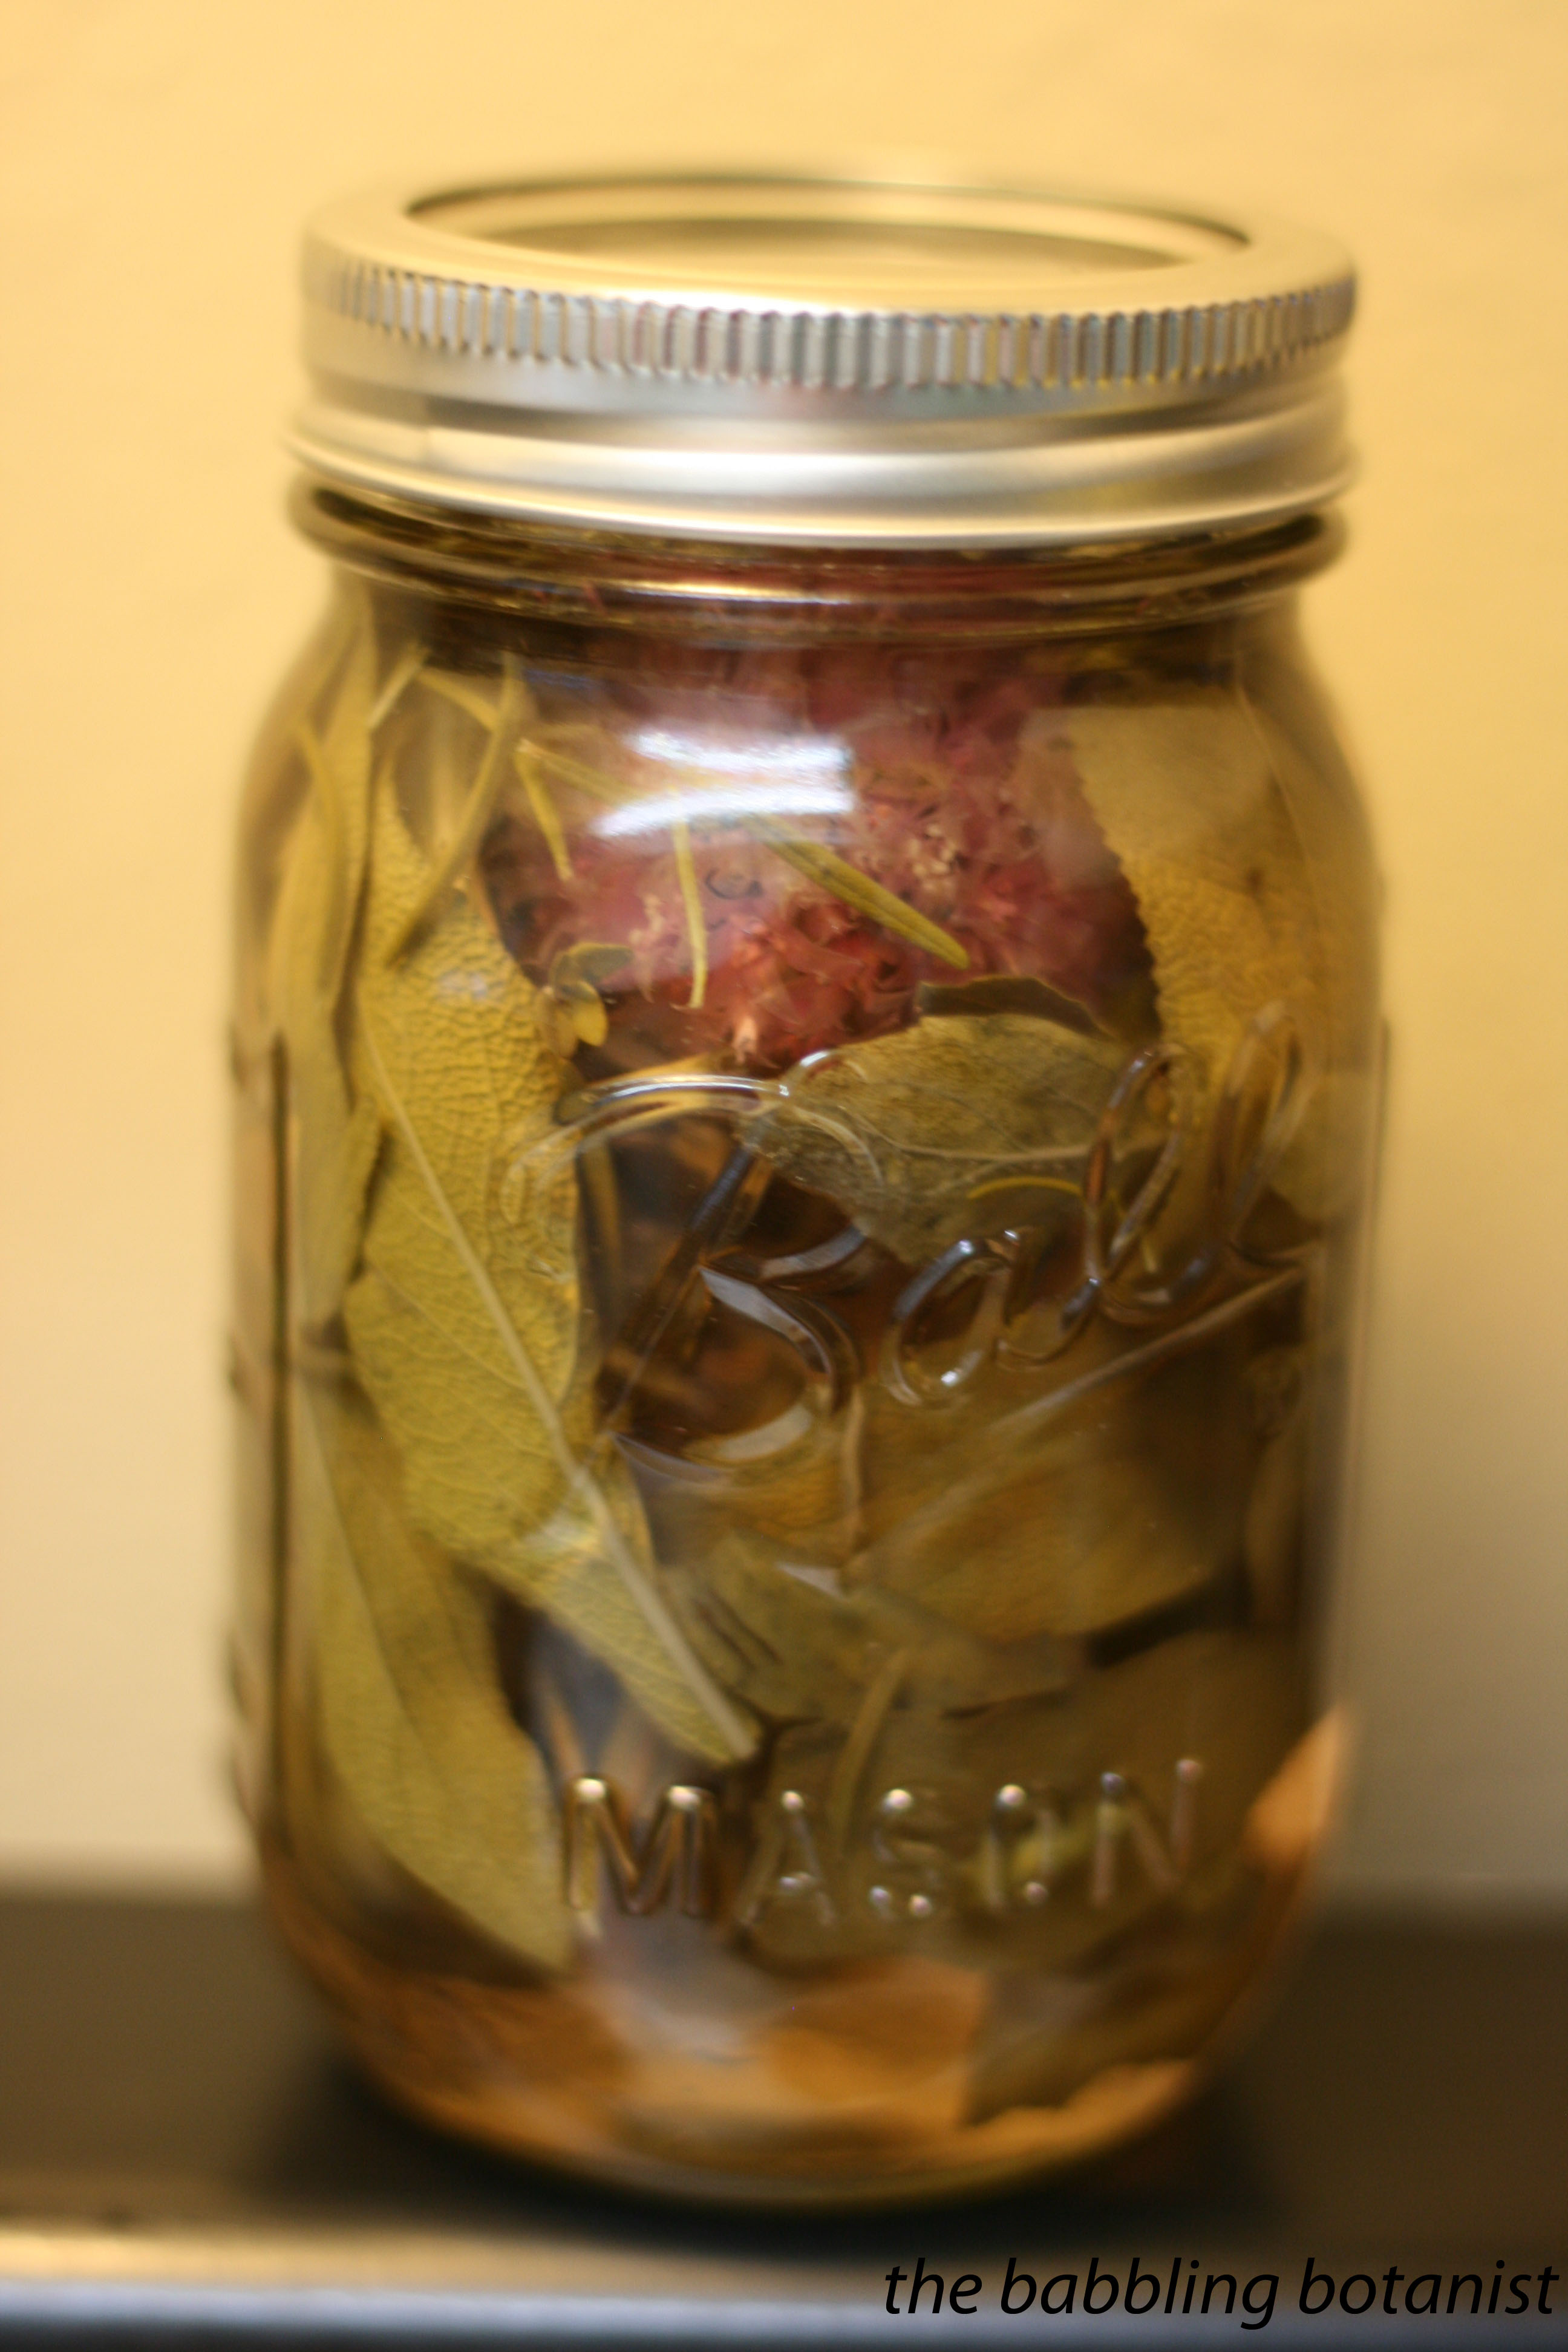
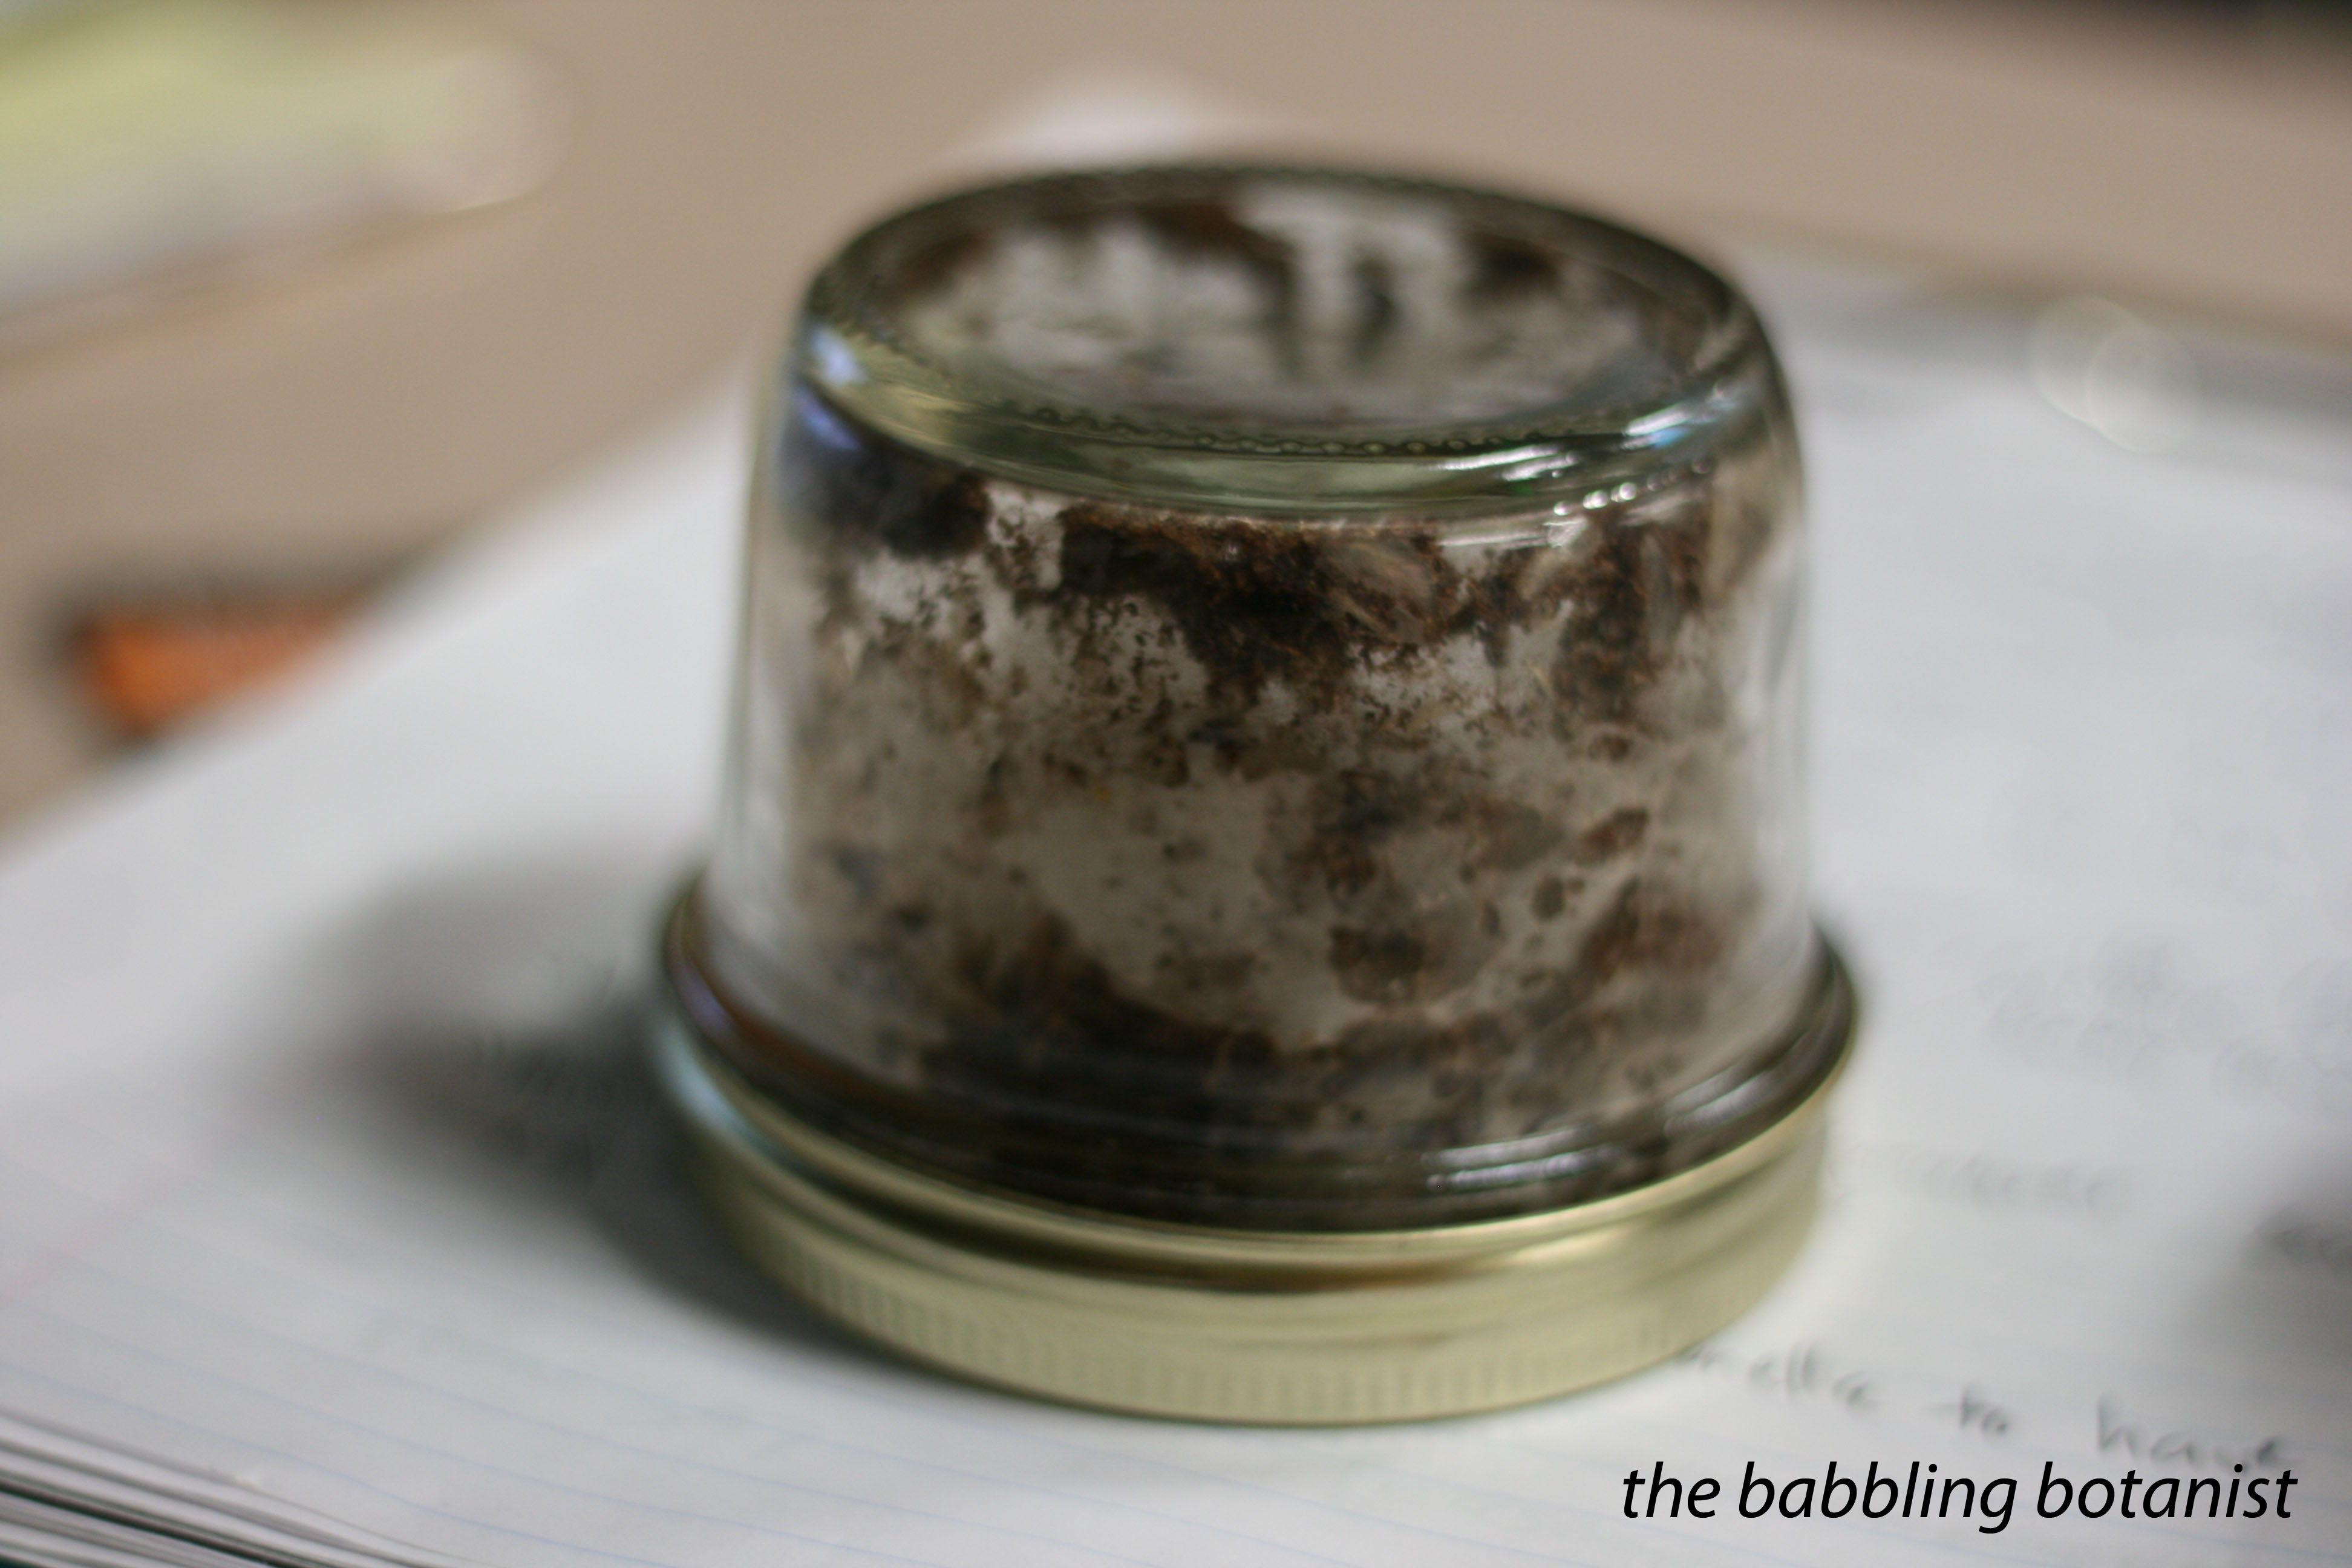
Dried foods should be stored in air tight, food grade storage containers. Canning jars are pretty great for this if you already have a lot on hand. Some times though, little critters can still get in there. Ewwww. Obviously, discard something this nasty.
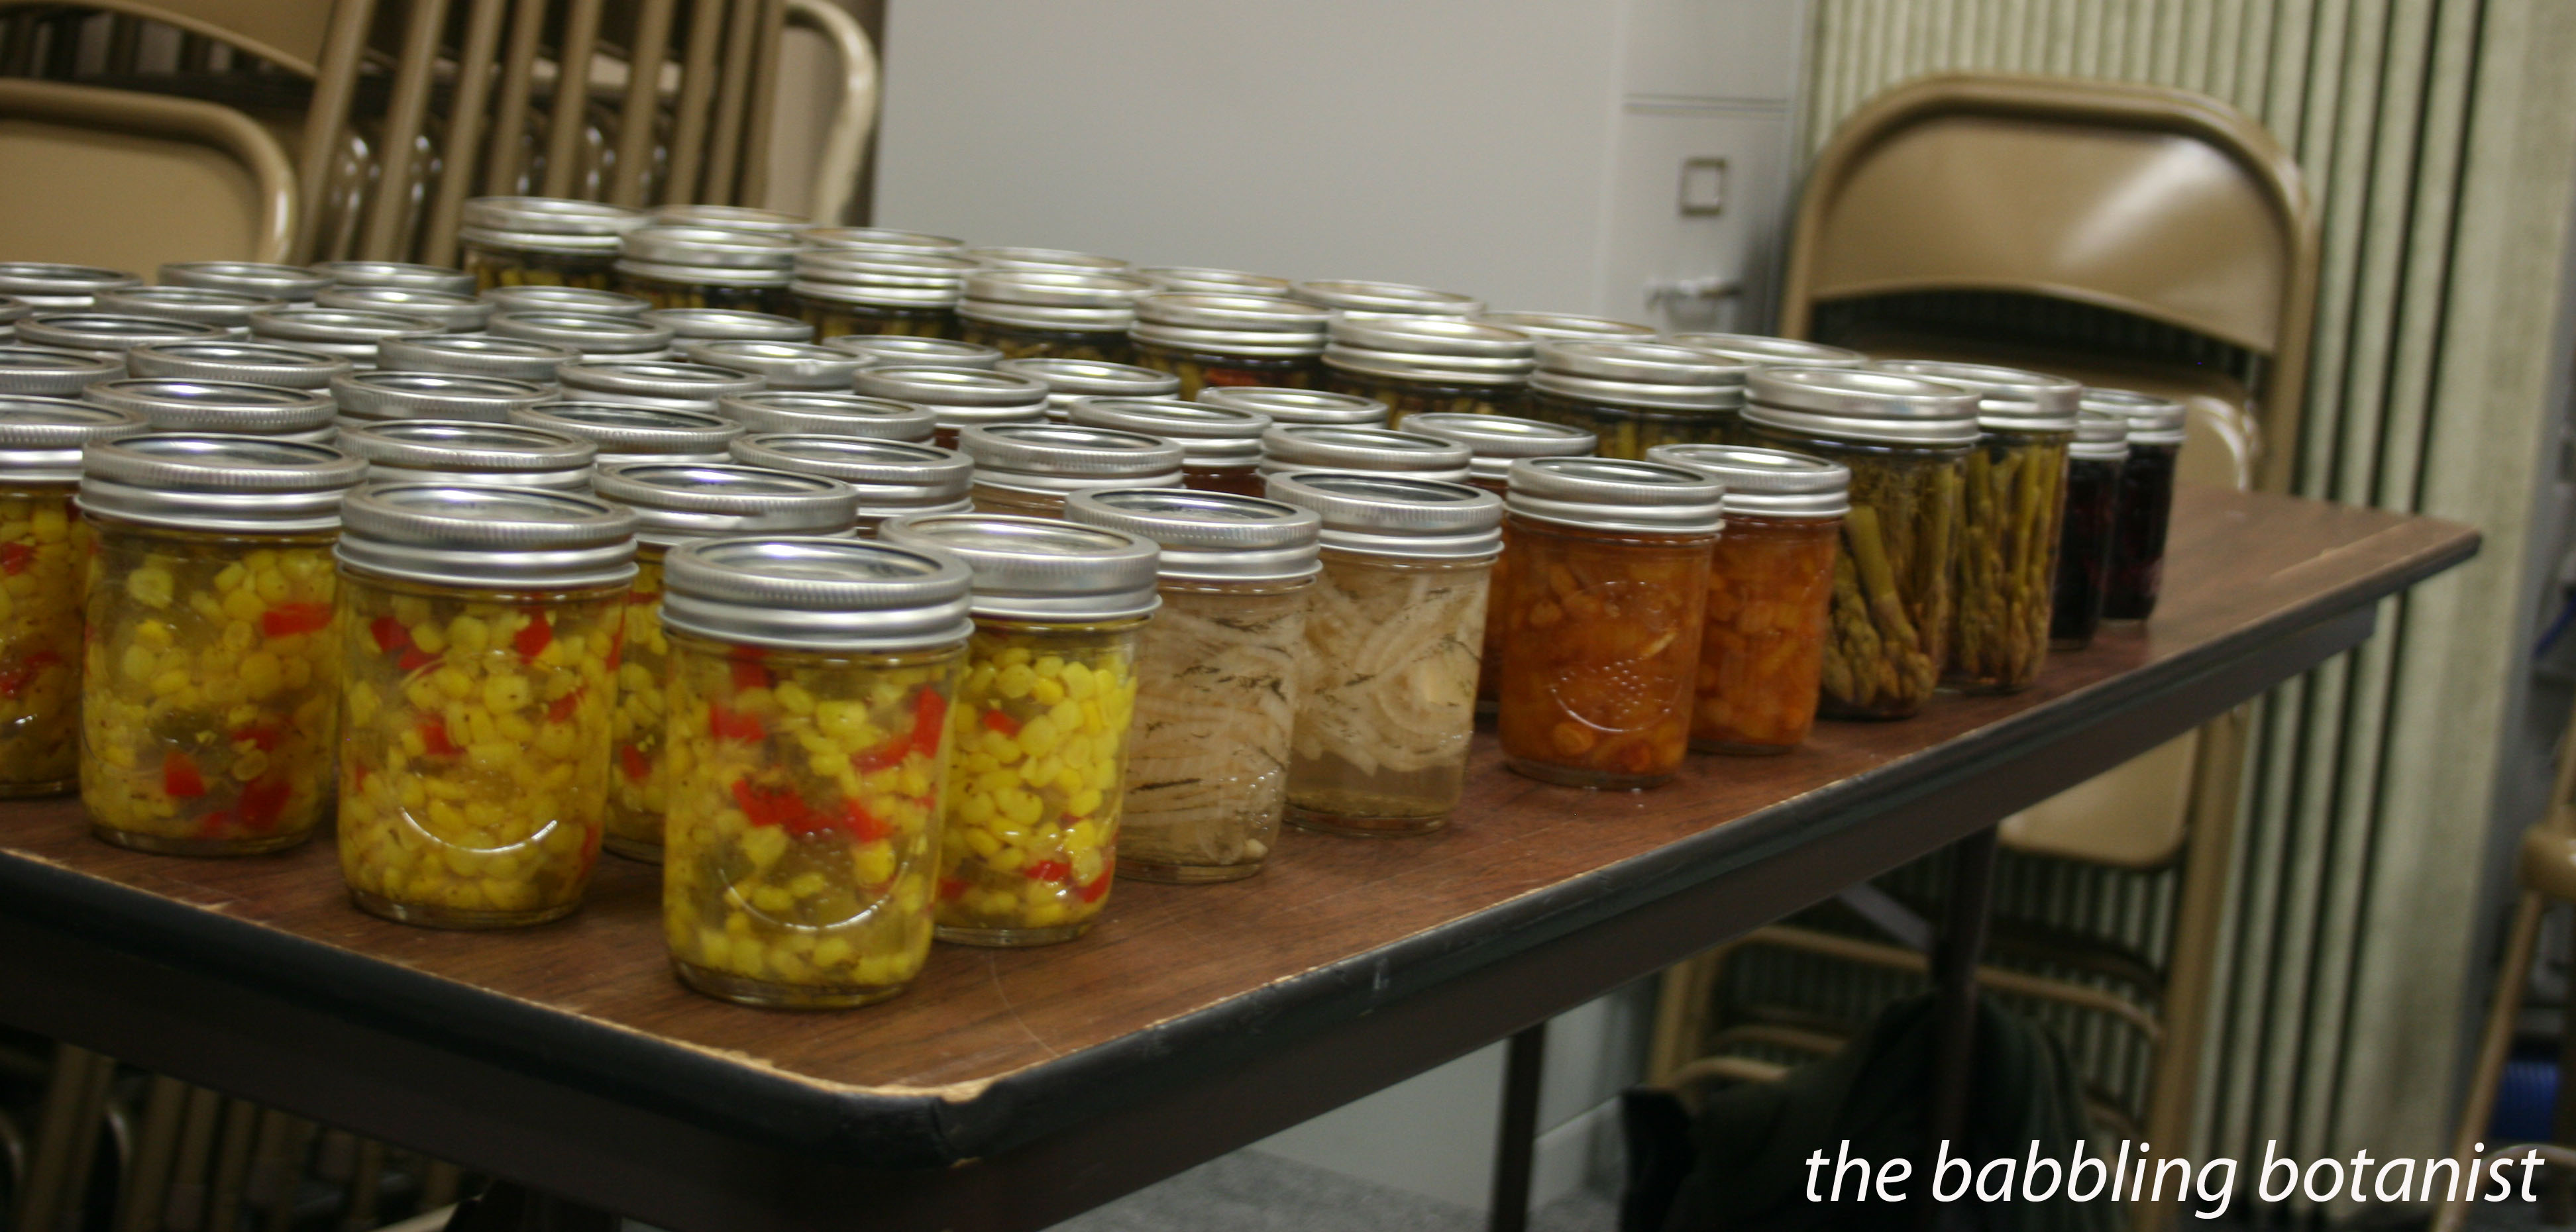
And finally, our bounty of dried foods. It’s crazy how much things shrivel down. OK, now I am hungry. Time for some lunch.

*this post contains affiliate links, please see the “About the Blogger” page for more information