When Ball put out their FreshTech electric water bath canner this year, which I previously reviewed here, they also advertised it with some additional uses, beyond just using it as a canner. I thought I would probably just use it for canning, and those other uses were just a good marketing idea, but I’ve actually come to use it for quite a few other things so thought I’d share some of them with you in case you’ve been on the fence about buying one. Ball’s suggestions mostly revolve around making a big batch of something – which makes sense, a lot of us don’t have another pot this big, so it is good for a big batch of whatever you are making. It also comes with a steaming rack for steaming vegetables, but to me unless you are steaming a whole lot, using this giant pot maybe isn’t ideal. My ideas for it mostly revolve around the fact that it’s very easy to get the canner to stay at a set temperature. Unfortunately the dial doesn’t have temperatures on it, so if you want to know the exact temp you need a thermometer (this is the one I use most often), but it does maintain pretty much whatever temperature you are interested in. So here are some of my uses for it!
BEER!
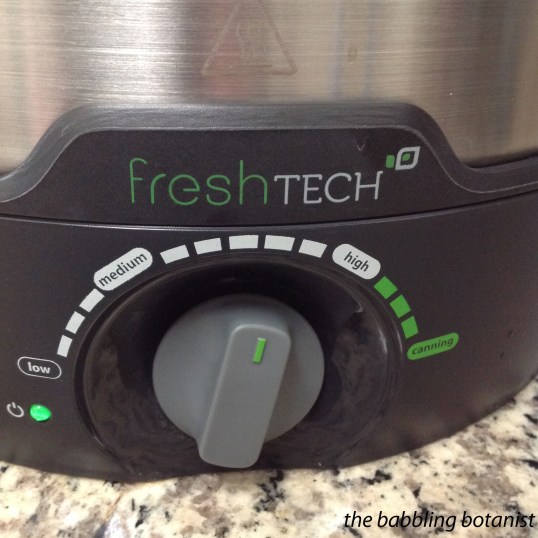
Now if you are a pro, making all grain beer and being all fancy like, you probably won’t agree with this one, but I think the canner is awesome for making beer. Why? Well if you are making beer from malt extracts and a smaller amount of specialty grains, usually what you do is first steep some grains at around 170 F, then add the extract and bring your wort to a boil. Using my electric stove top, I often find myself overshooting the steeping temperatures, but using the canner has been much easier. Why? Because of the way the canner burner pulses on and off to maintain the temperature. Additionally, I just left the canning rack in the canner, and set my grain bag full of grain on top of it so I didn’t have to worry about it touching the bottom and melting or burning. Once you get your wort to your steeping temperature, turn the heat down until you hear the burner turn off, then it will just come back on in short bursts necessary to maintain that temperature. Worked like a charm. Then you have two options when you are done steeping. Either boil the wort also in the canning pot, or if you want to use your larger brew pot simply put it under the spout of the canner, open the spout and sparge your grains. Either way works great! And many of the “mini-mash” recipes that I have followed actually only tell you to boil about 3 gallons of the wort and top it off at the end anyways, so this is a great option for those recipes and for beginners not ready to invest in more equipment. Last time we brewed, we actually made one batch in the brew pot we have, and one in the canner because there is very little active time involved it was great – two brews in the same amount of time as one!
Mmmm wort.
Making Stock
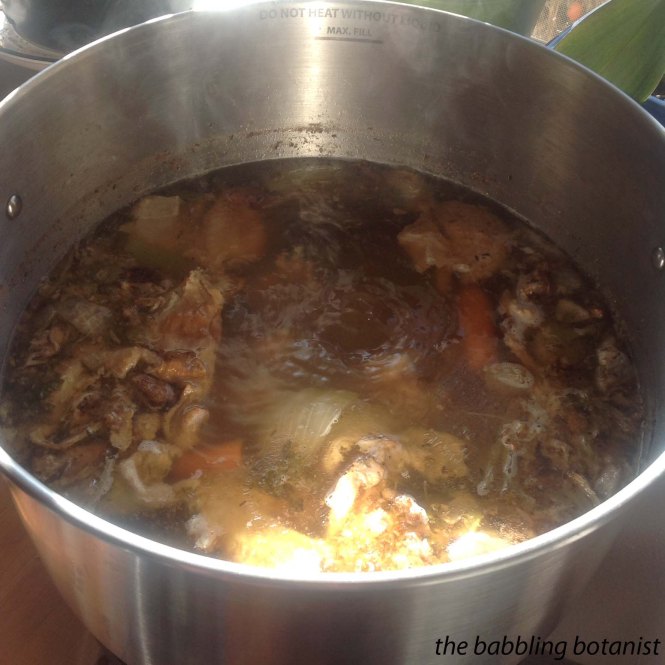
After thanksgiving I froze the turkey carcass to make stock with, and decided to do it with the canner this year. I am quite happy with how it turned out! I was a little concerned with whether anything would burn to the bottom (which it didn’t at all) so to be safe I actually left the rack in the canner, filled it with my bones and bits of meat, carrots, onions, celery and spices, and covered with water. Similarly to the way I’ve made stock in the crock pot before, I actually didn’t boil a ton of the water off, but rather let it just cook on a hot but not boiling temperature. I made sure that there was a ton of water in there so there was no chance of it cooking all off, and left it cooking for a full 24 hours. Turned out super well!
Pasteurizing milk
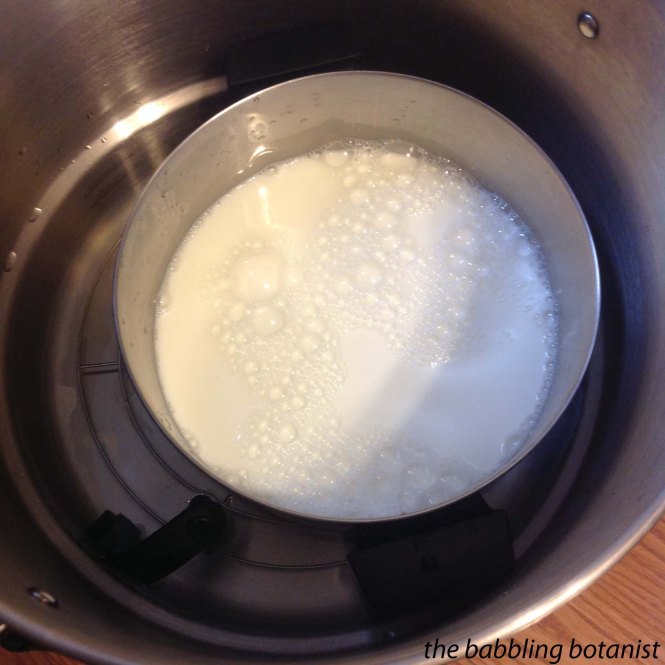
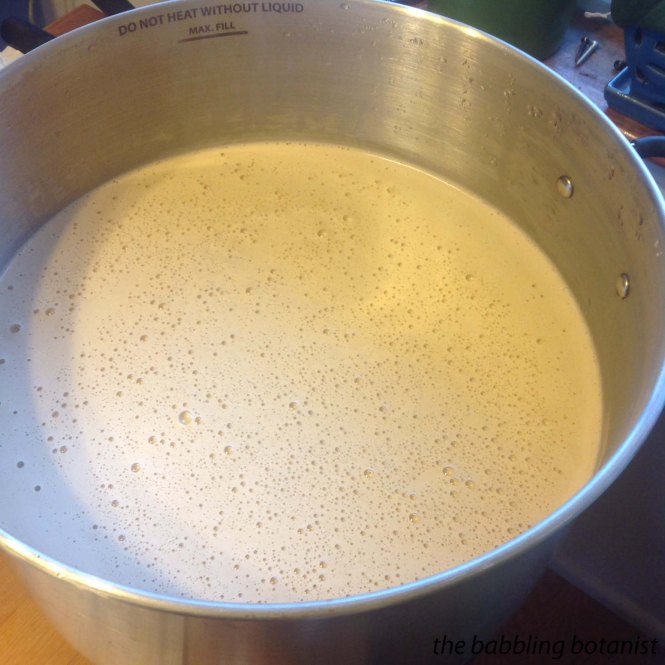
Another possible use for the canner is pasteurizing milk. Weck actually markets their canner as a “pasteurizer.” If you have access to raw milk, and want to pasteurize it at home, you could do a nice big batch in the canner. Again, the pro here of the canner is the same as many of the other uses – I find it much easier not to overshoot the temperature. Use your canner as a double boiler with your largest pot. For pasteurization, you want to either heat to 145 F for 30 minutes (reference here) or to 165 F for 15 seconds (reference here). The canner is large enough that you could easily use it as a double boiler for most sizes of large pot. Pictured is my 4.5 quart pot, but my larger stock pot is the same diameter and fits nicely also if I wanted to do a larger batch.
Mulled Wine (and other hot beverages)
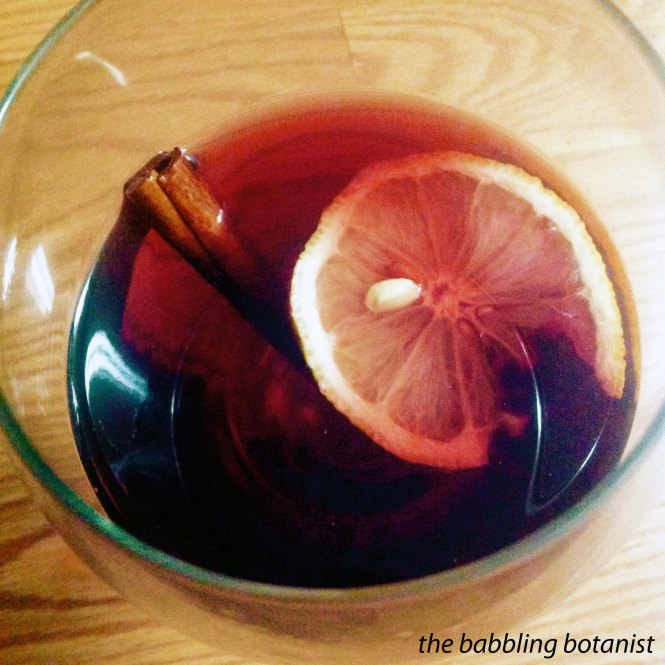
This one was inspired by Ball’s suggestion of apple cider, but the canner can be used for mulled wine too. The thing I like again is that you can just leave it on low and it will keep the wine warm, and you don’t have to worry about having a burner on. Plus it has a spout for serving!
Do you have the new Ball canner? What creative ways have you used it? Interested in purchasing one? – They have had a couple sales on amazon so keep your eyes peeled for after Christmas sales, or buy one for the canning junky in your life!
*this post contains affiliate links, please see the “About the Blogger” page for more information (Yes, if you buy the canner from amazon I will receive a small profit, but I would never recommend a product I don’t love just because of that!!)
Could you use it as a sous-vide as well?
Possibly. I haven’t tried that, but I think it may work. It’s not a method I’ve really used before but I could attempt it.
Hi, I am a beer brewer, and I’ve been interested for a while in putting together a DIY automated electric system for brewing between 1 and 2.5 gallon batches (all grain), and I think this kettle could be perfect as part of it.
I’ve read that the valve can be removed for cleaning, so I’m wondering if it could be replaced with a 1/2″ metal ball valve instead. I’m also wondering what the diameter of the hole in the pot is when you remove the black plastic spigot, and what the distance is from the center of the hole to the bottom of the inside of the pot. If you’d be so kind, could you also tell me the inside diameter of the pot (it looks like it gets a little narrower towards the bottom?) and the inside height of the pot? Thanks a lot for your help.
Sorry for the delayed response to this post. Hopefully this is still helpful. The hole in the pot is 0.75 inches in diameter and yes the spout can be removed. The bottom 2.5 inches of the pot are narrower yes, because the steamer rack rests on the lip. The inner diameter of this lower portion is 11.75 inches. The distance from the center of the hole to the bottom of the pot is 1.25 inches. The inside height is 9.25 inches. Again, I apologize for the delay, and thanks for your question!
Hi, I’m thinking of using this pot as part of a DIY homebrewing setup for brewing between 1 and 2.5 gallons of beer, and I have a few questions. I’ve read that the black spigot can be removed for cleaning, so when you do, what is the size of the hole left in the pot? I’m wondering if a 1/2″ metal ball valve could fit in it, or if it would have to be widened. I’m also wondering what the distance is between the center of the hole and the bottom of the inside of the pot.
If you’d be so kind, could you also tell me what the inside diameter of the pot is, both at the top, and at the bottom where it looks like it gets a little narrower, as well as the inside height of the pot? Thanks a lot for your help.
Sorry about the double post. It didn’t look like the first one went through.
No problem, I have it set that I have to approve comments from new commenters. Thanks for your questions and I’ve replied above.
Hi I was thinking about buying this pot to pasteurize raw goat’s milk. I was not sure if this would work or not? Saw that you have tried it. Did it work out well? Did it reach the appropriate temperature? What setting on the pot did you use? How long did it take? Thank you so much for the help.
Yes, I think this pot would work for you just fine. The pot can do anything from warm to a full boil so will be able to reach the appropriate temperature. Some sources recommend a double boiler method since you want to heat the milk slowly, but since this pot heats up fairly slowly it seemed to work fine to do it right in the pot. Somewhere between medium and high was the right temp. How long will depend how much milk you are thinking of doing at once, but it does come up to heat a little slower than a burner does I’ve noticed. Good luck!
I have had this canner for a little over a year now, and it has worked very well. However, the spigot on the side just broke, so it will no longer hold water. I have tried to contact Ball/FreshTech to see if I can get a replacement, but they so far have not replied to my many messages. It is useless unless I can replace or repair the spigot. I have tried several glues/epoxies, but they can’t take the heat. Can you tell me where I could find a replacement for the spigot? It is not canning season and I need a fix right away.
Oh no! I’m so sorry, I don’t know the answer to this 😦
I have since been able to get in touch with Ball, and they have promised to replace the part. However, it was not in stock and they have no idea when they will be able to send me a new one(this was first week in August., and I am still waiting). I tried several glues, but none could withstand the heat. I eventually had a friend of mine, who has a 3d printer, make me a stopper piece that at least plugs the hole, so I was able to get my canning dome.
Dang that’s frustrating. Hopefully they get them back in stock!
I have the same problem with my Freshtech. I looked on Amazon and they have them, however, they’re out of stock. You would think Ball would carry the parts, it is very frustrating to say the least!!!