Strawberry Jam

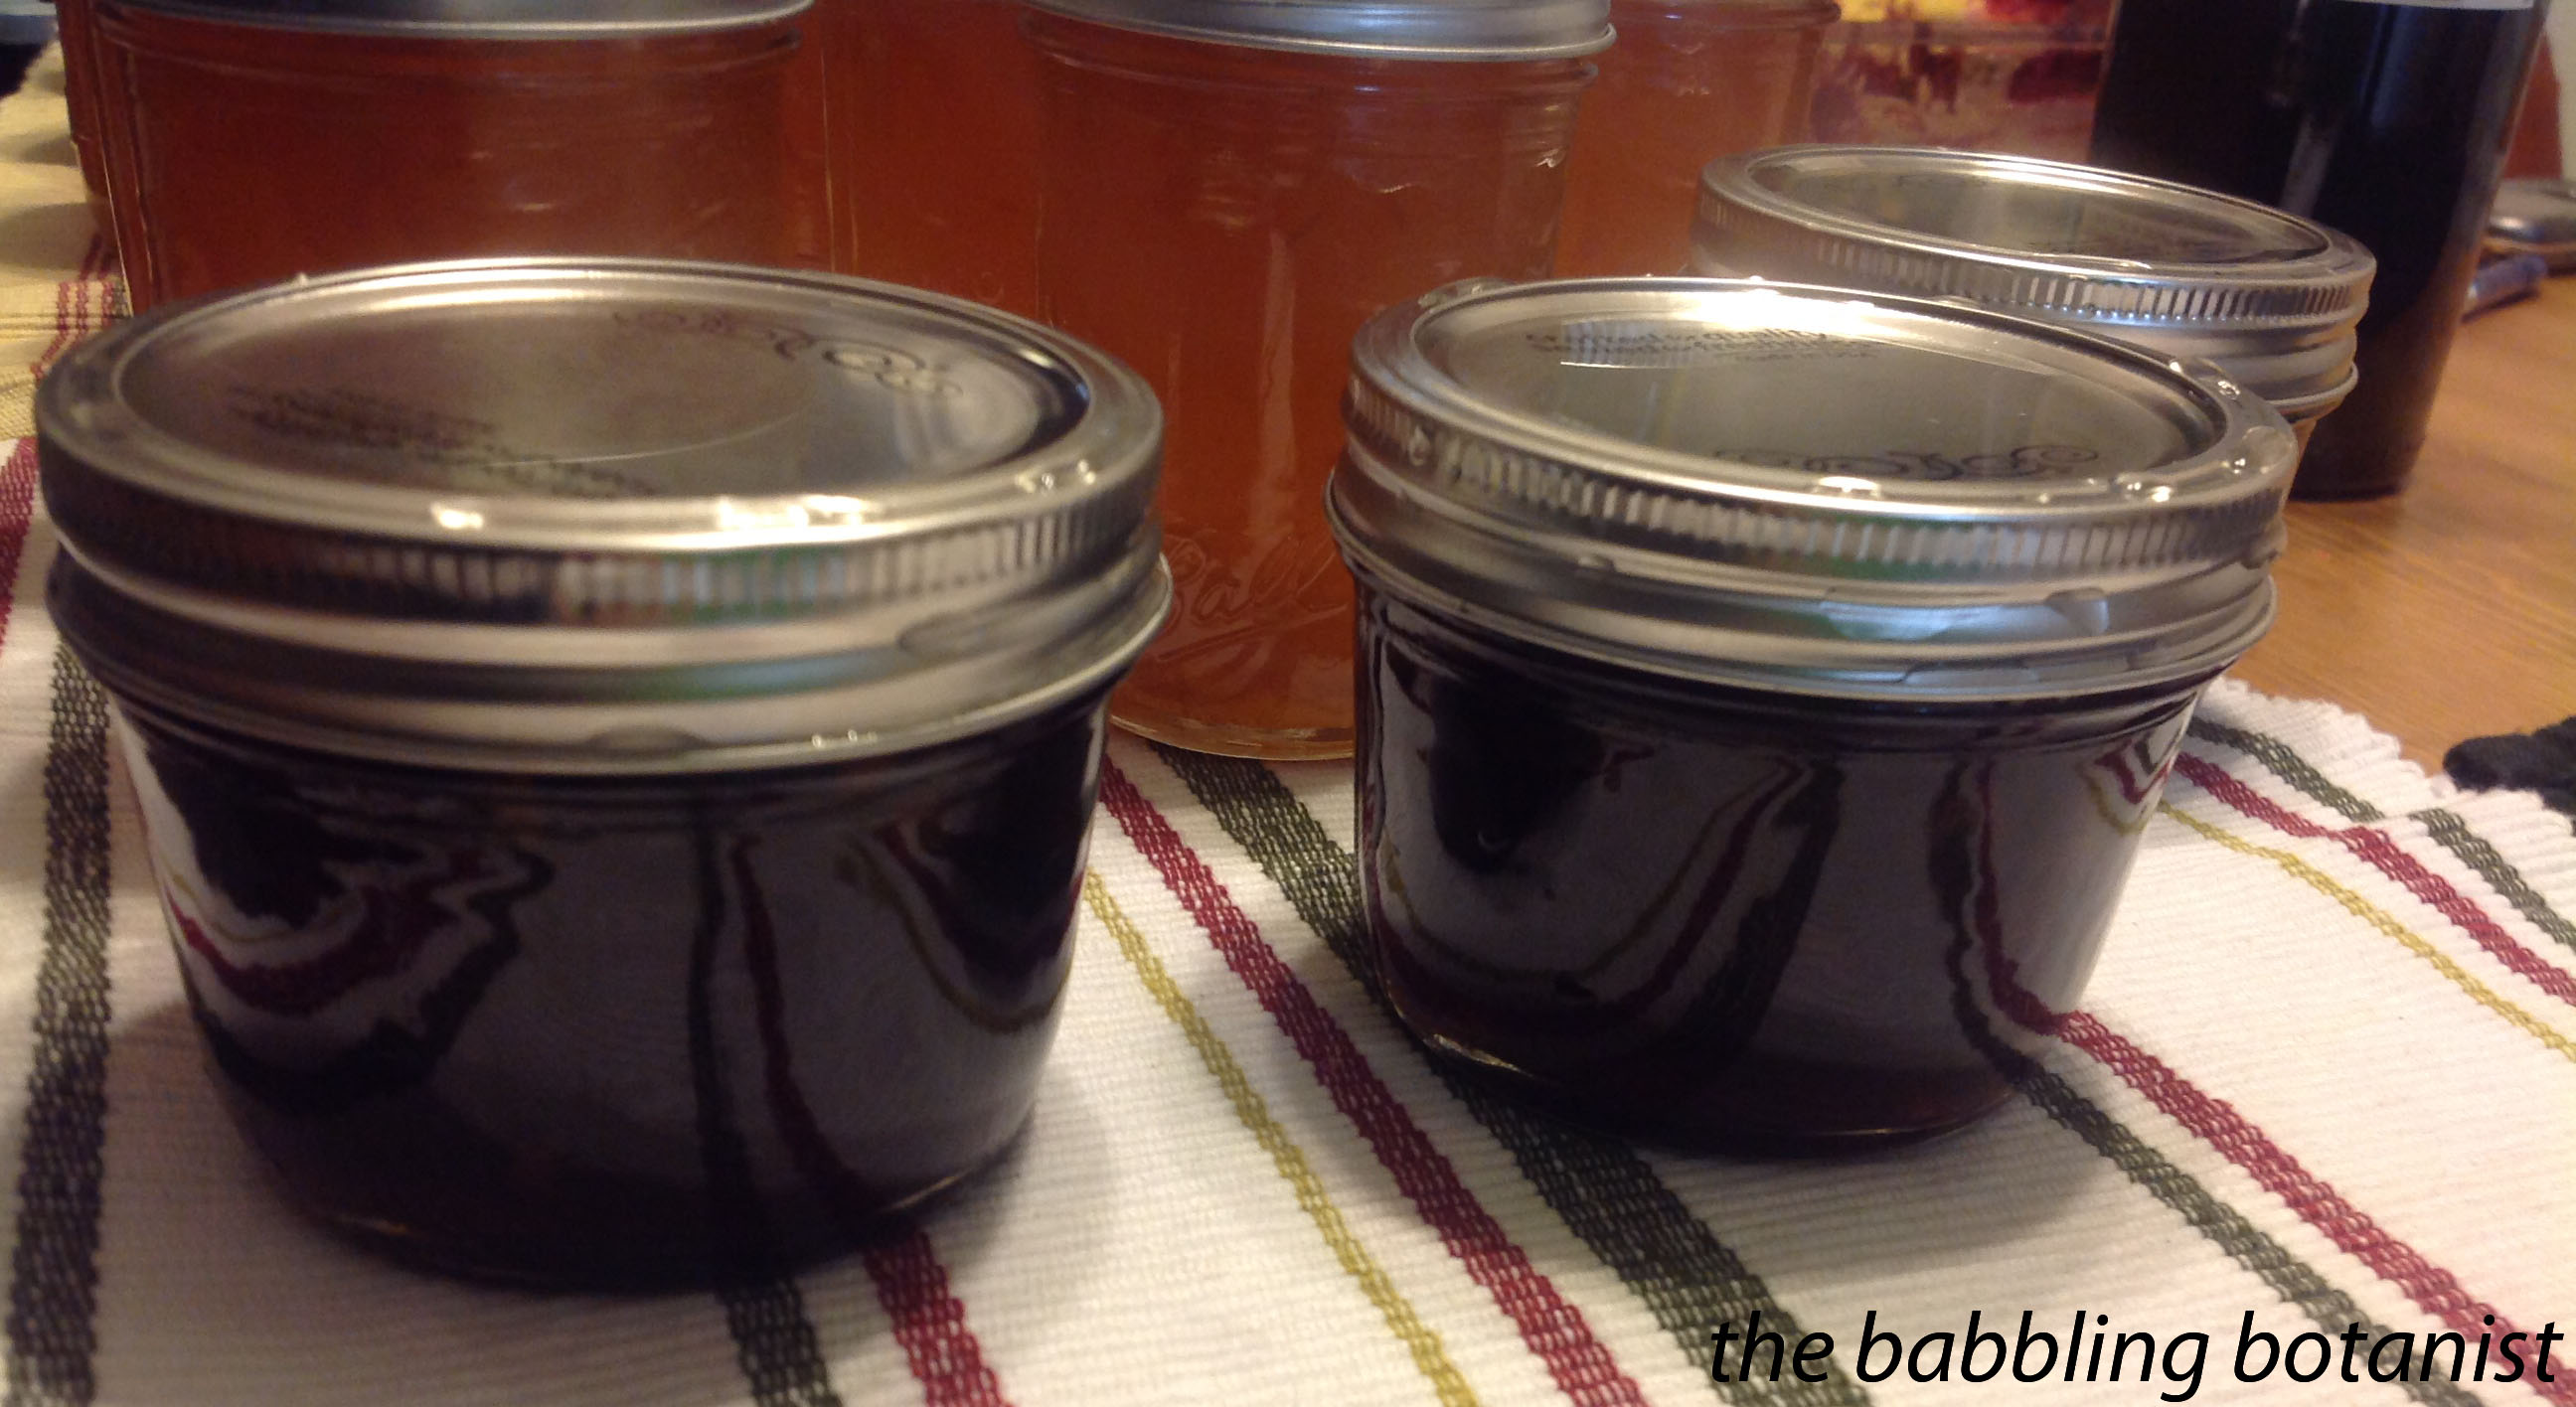
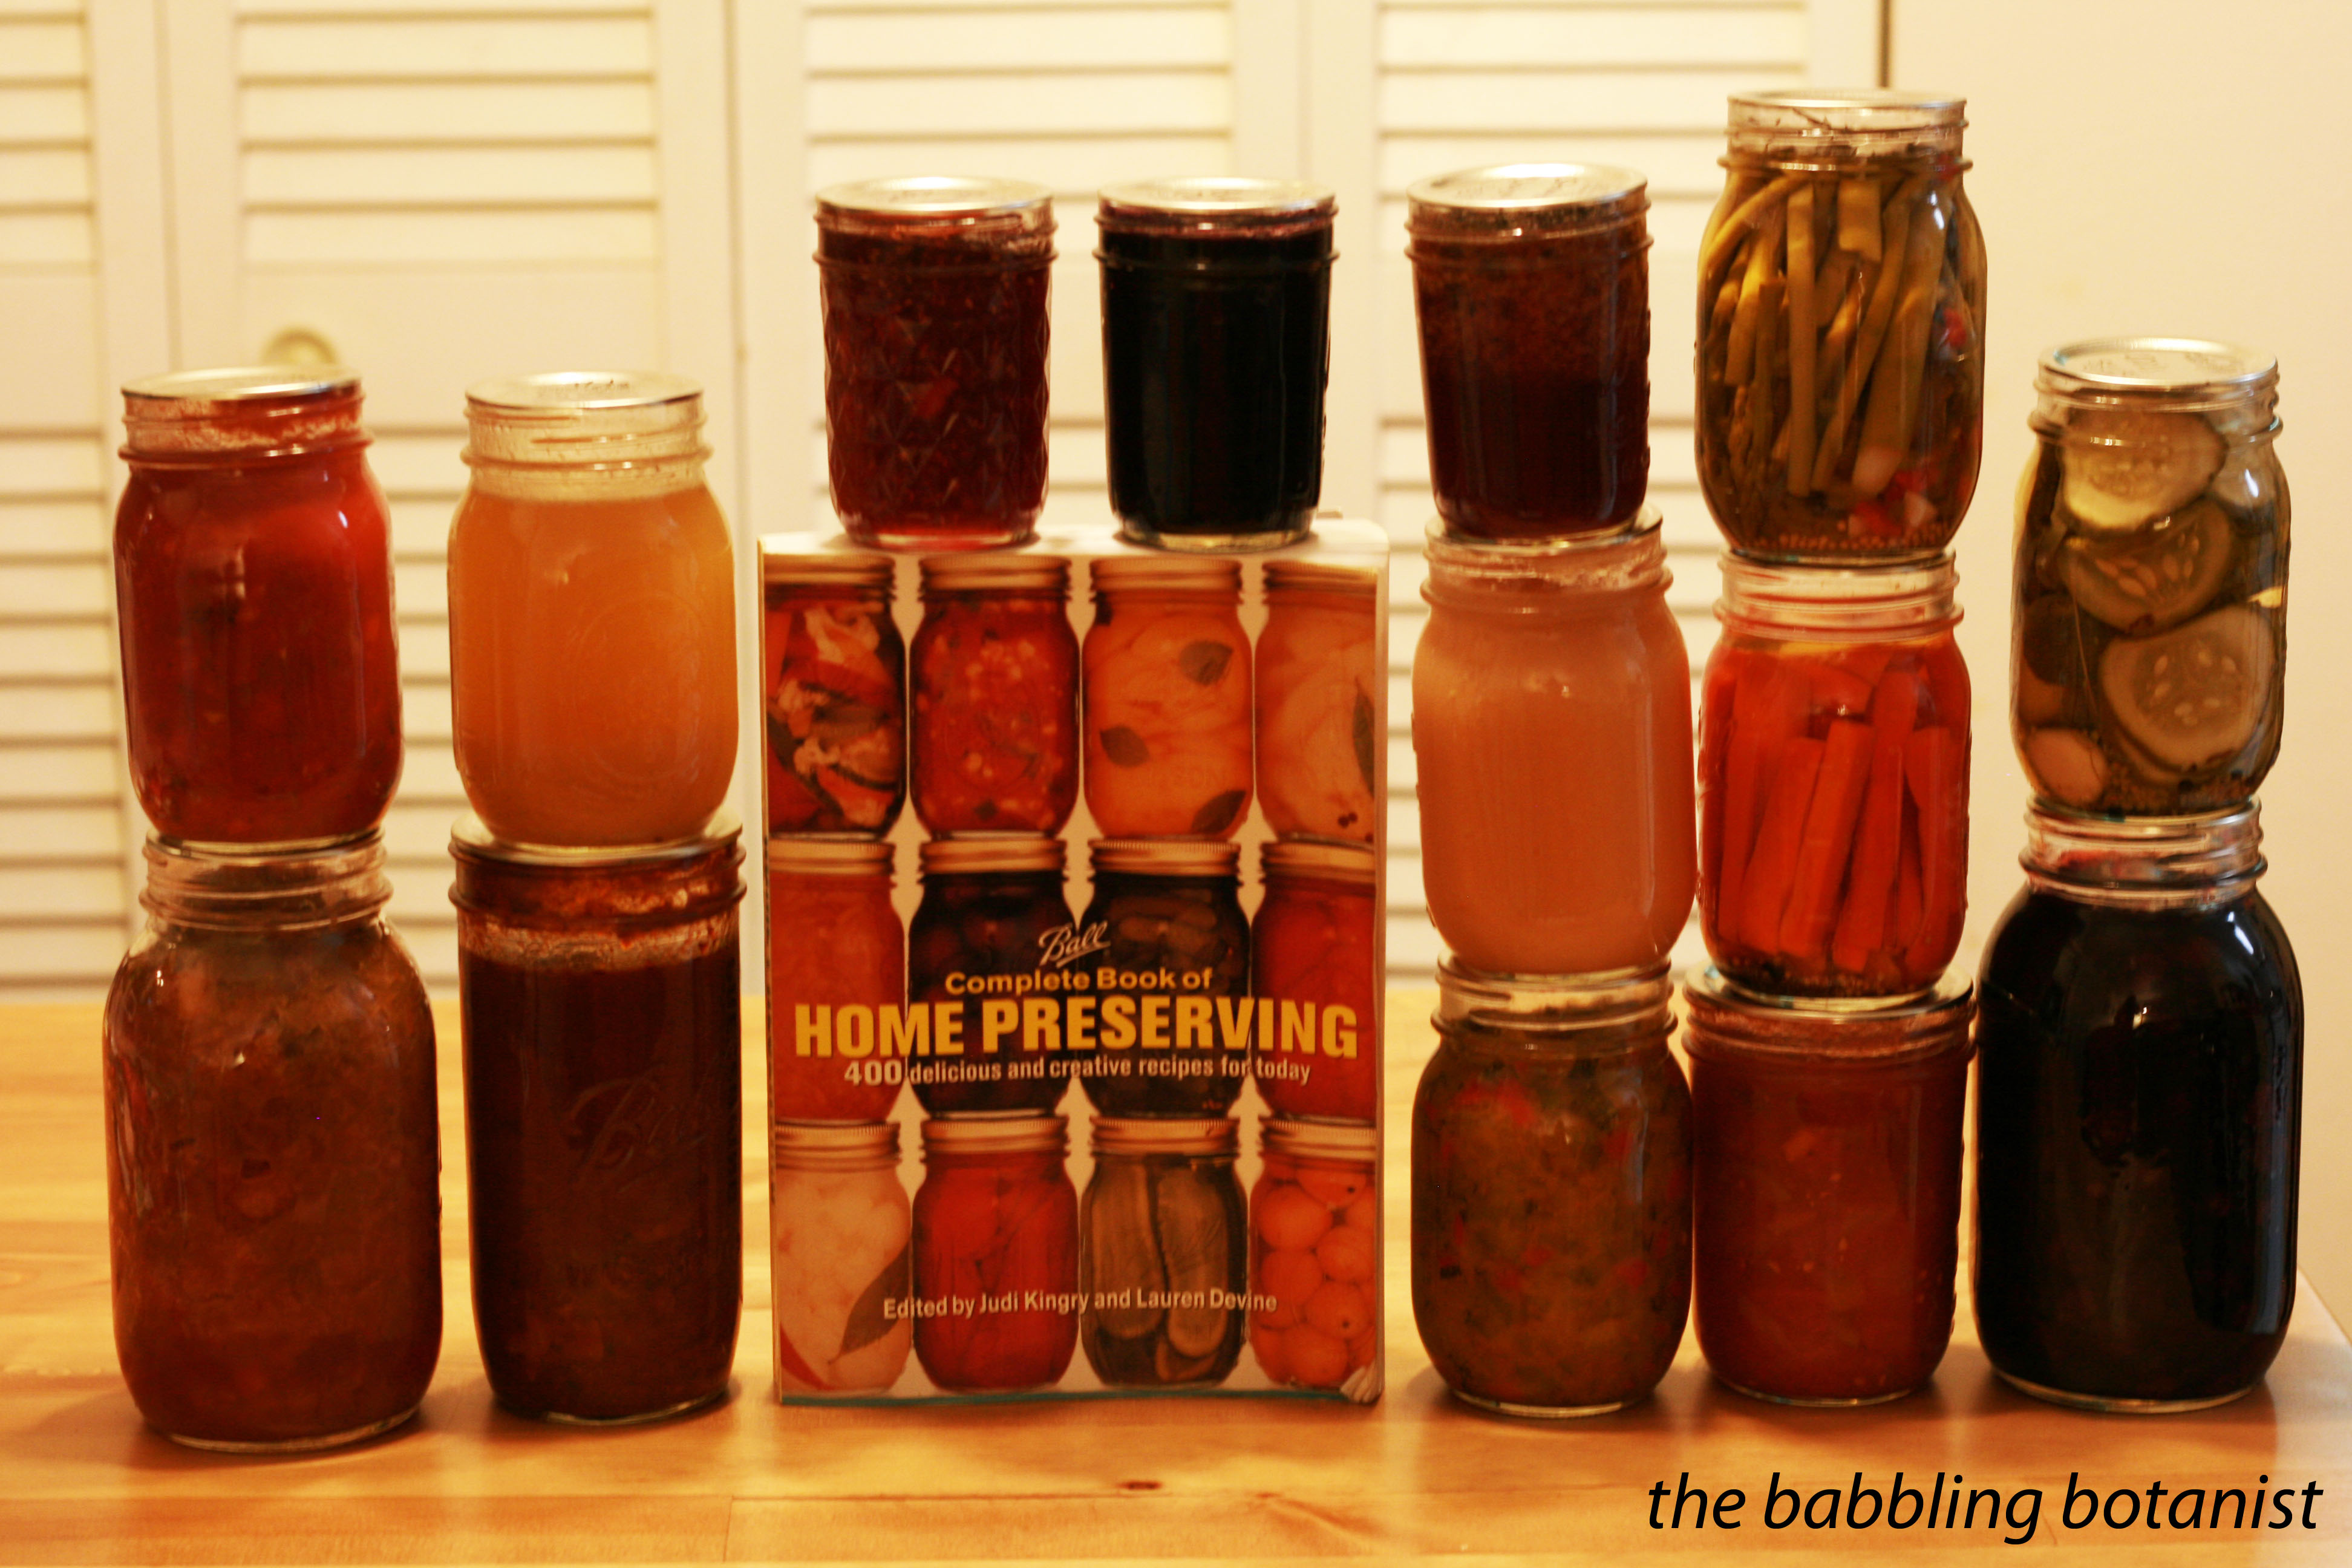
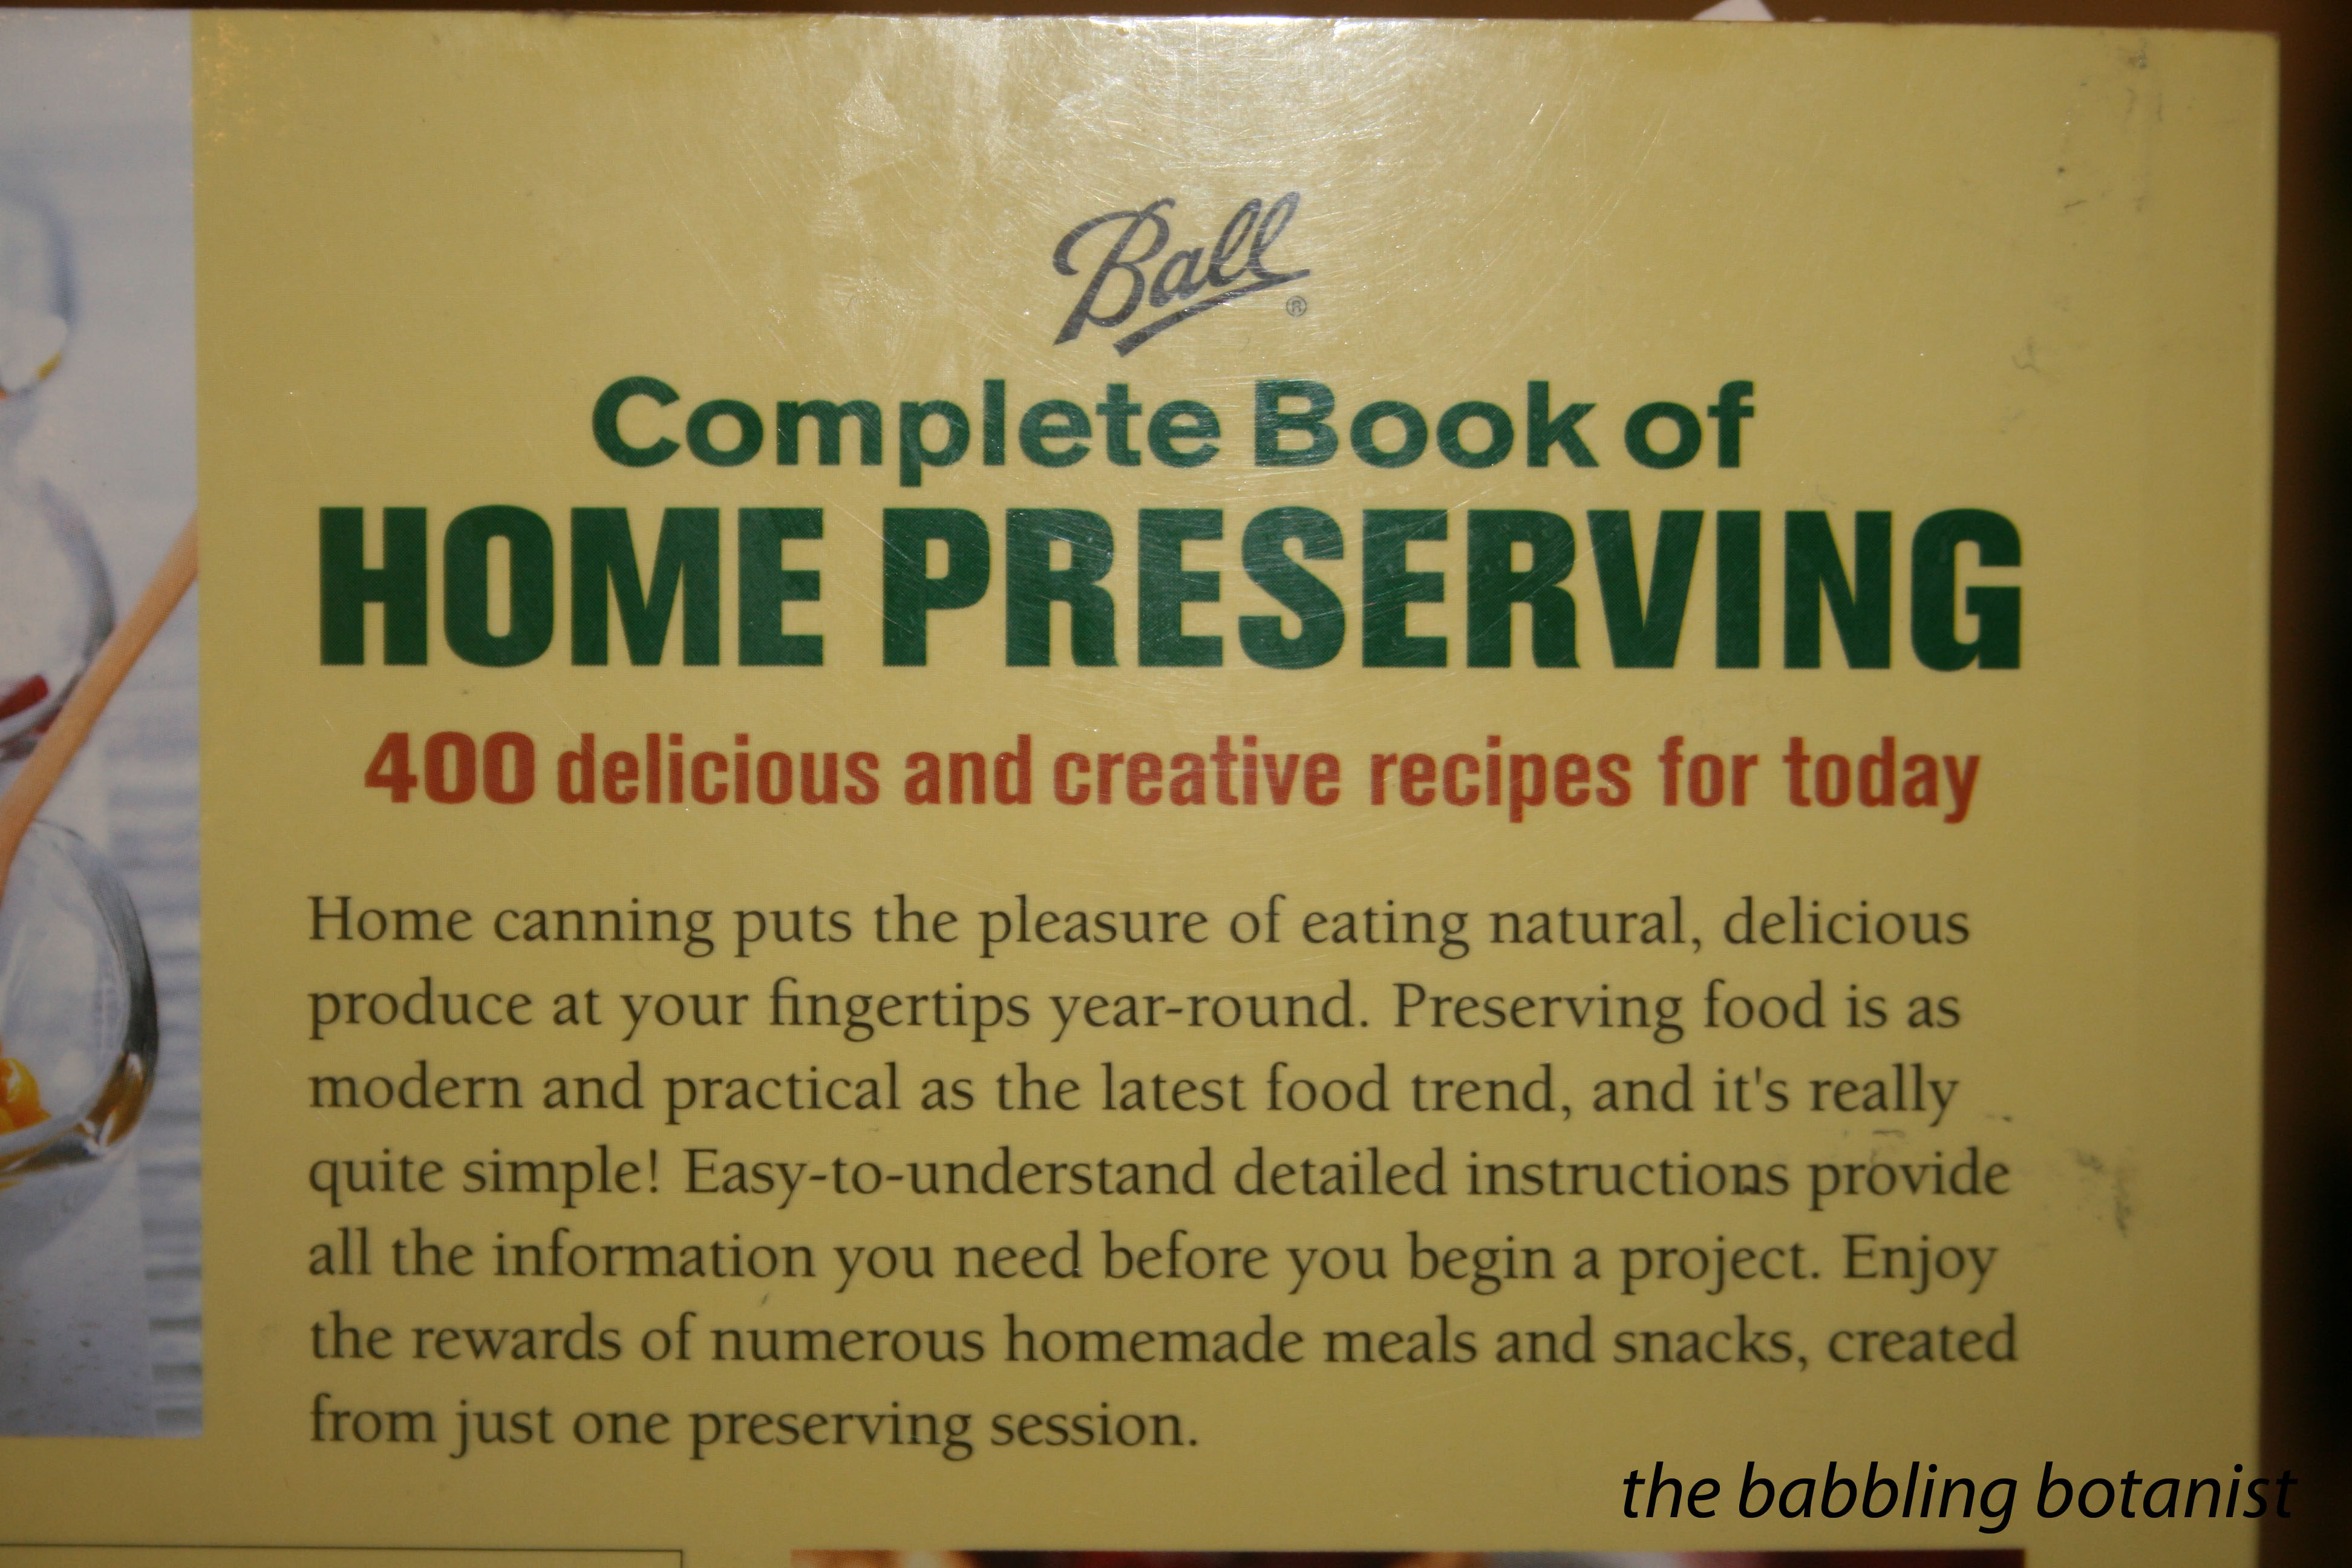
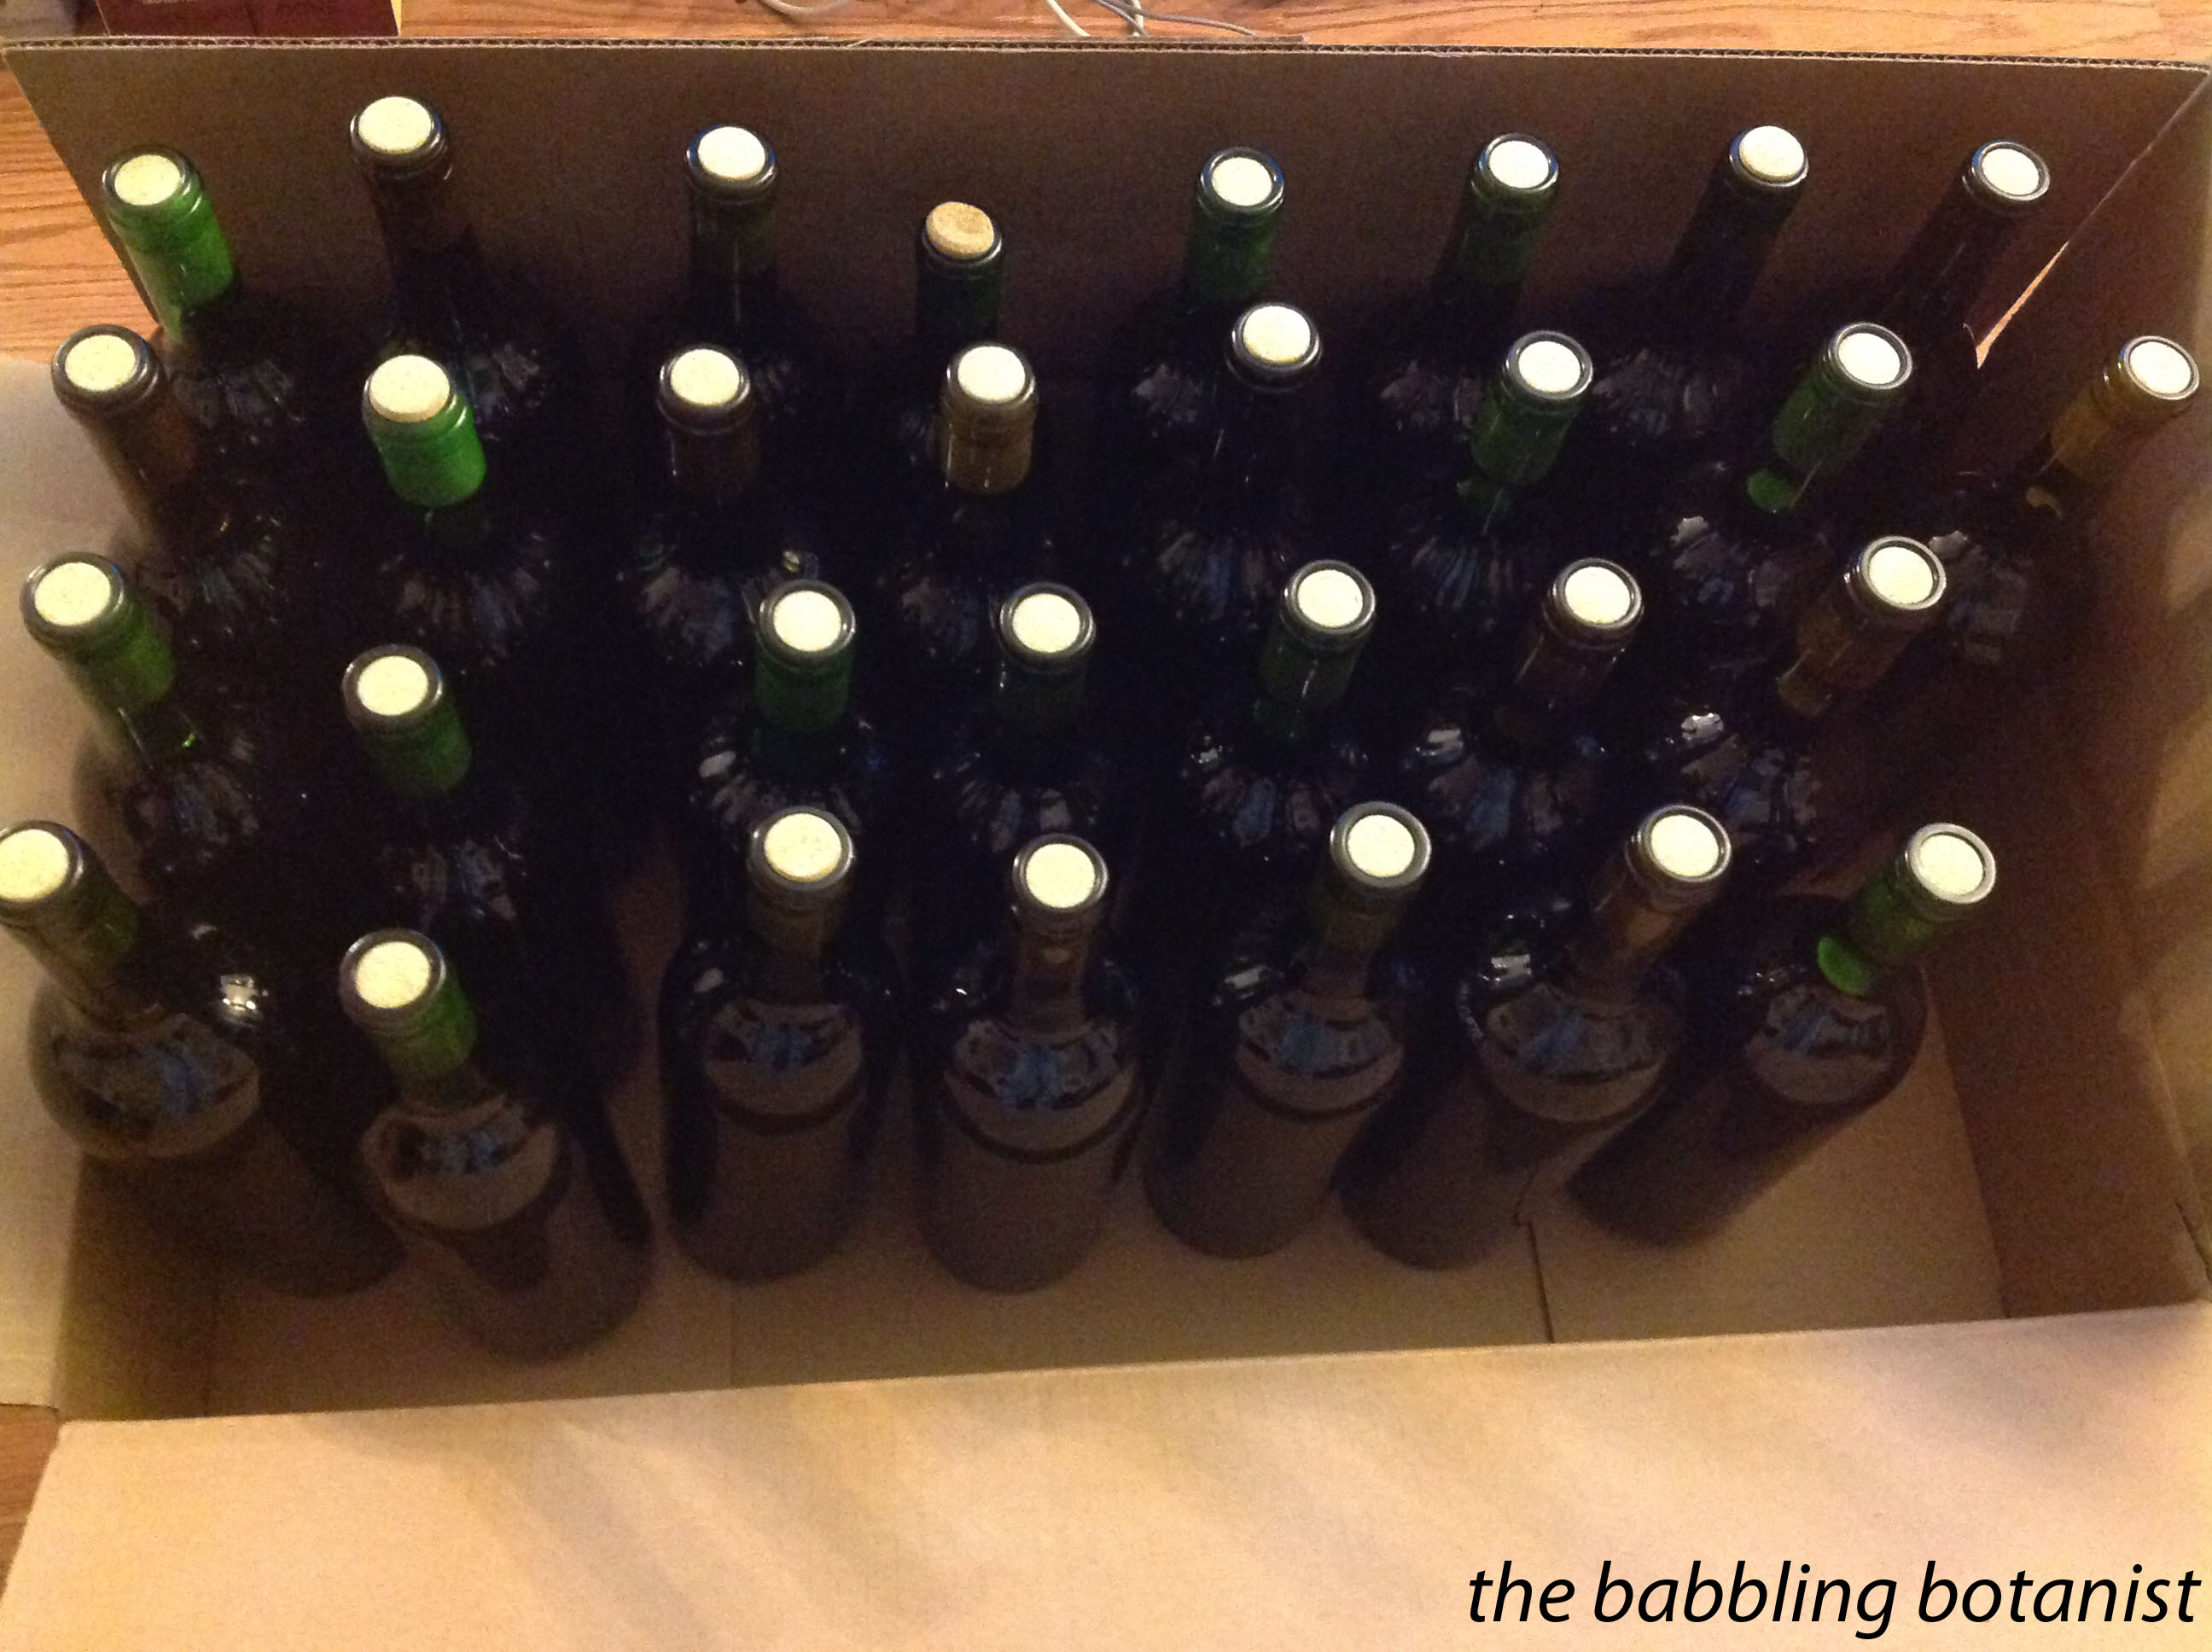
Strawberry Jam is the very first recipe in The Ball Complete Book of Home Preserving, page 8, and for good reason. It’s a delicious, but simple recipe and a great place to start if you are just learning to can. Most fruit and berry jams with added pectin are done very similarly to this, so it’s definitely a great first recipe. We actually had a first time canner with us on this adventure and I think it was a great success – we made 30 jars for wedding favours for Kiki’s upcoming wedding! While Oregon berries aren’t ready just yet, California ones are coming in hot!

IMG_1677 copy

Ingredients:
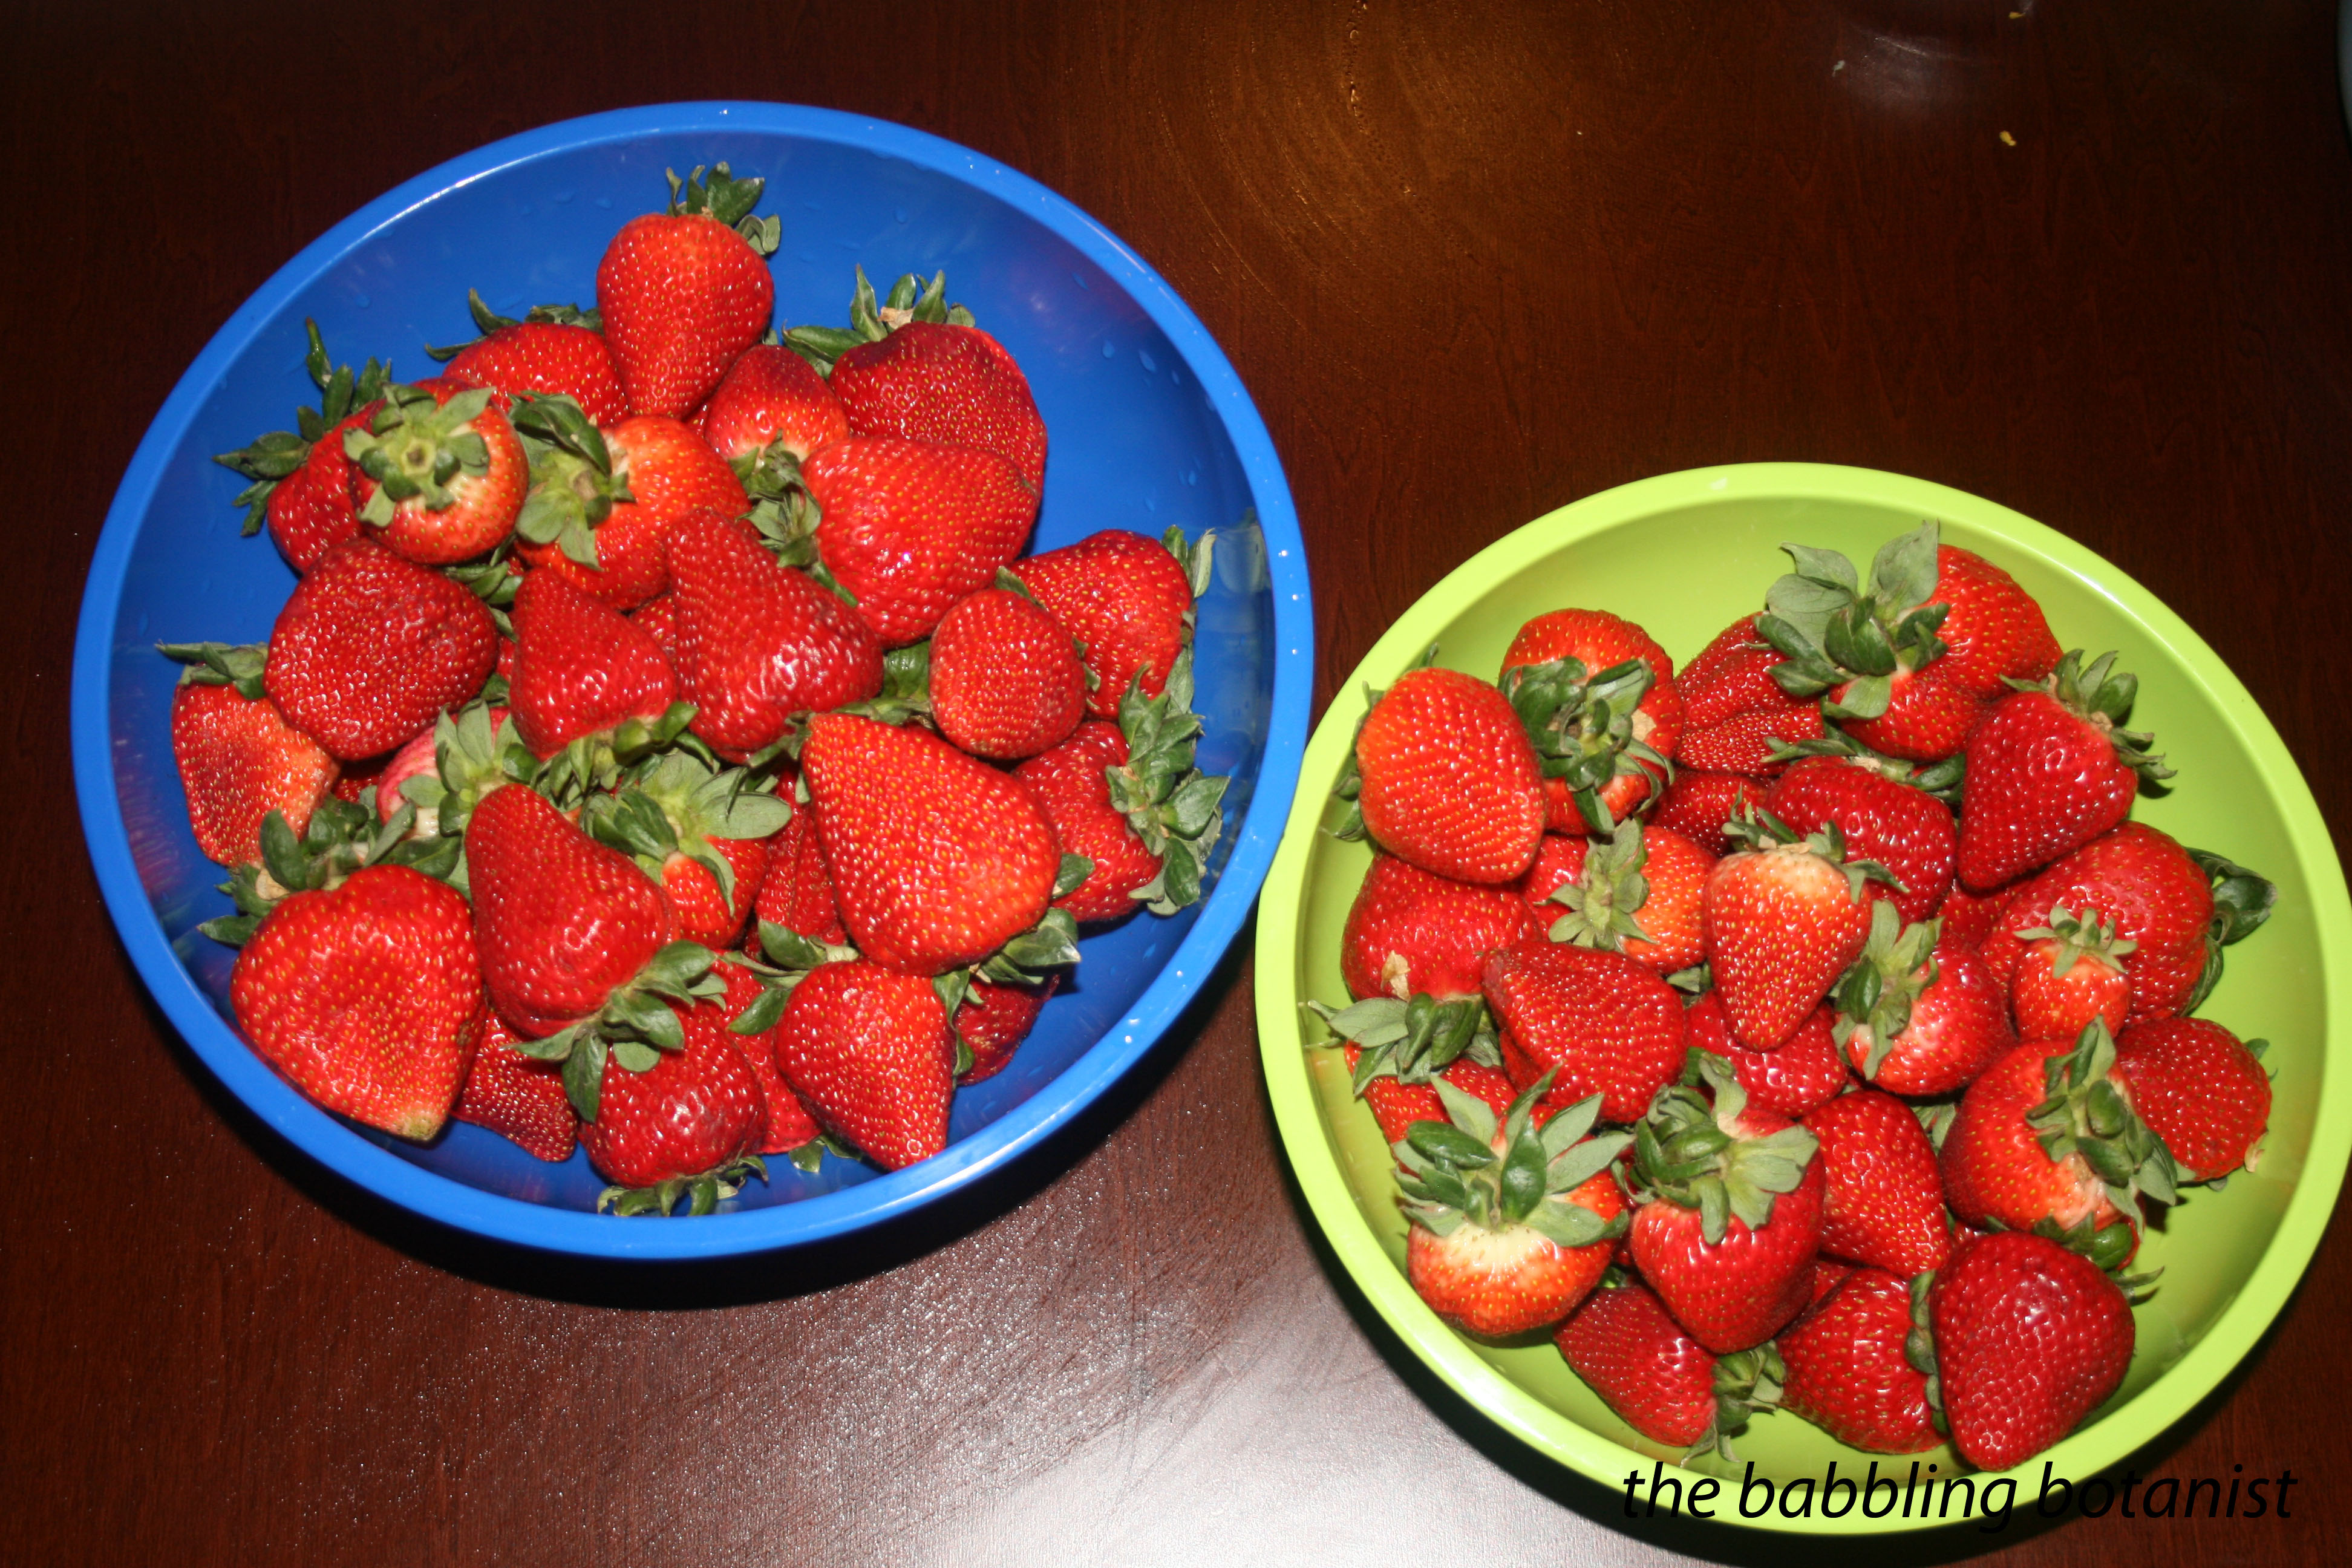
8 ish cups whole strawberries
7 cups granulated sugar
4 Tbsp lemon juice
1 package regular powdered fruit pectin

Here’s how we made it:
Prepare the canner, jars and lids. This recipe will yield around 8 half pints. Doubling jam isn’t usually recommended because it can affect the set of your jam, so we did multiple batches of this jam instead, one with added vanilla for a fun twist!

Measure the sugar into a bowl and set it aside so it can be added all at once when it is time. Does this sound like too much sugar to you? Ya, me too. Luckily Ball and other companies also have low and no sugar pectin. Get a jar of that and follow those directions for lower sugar jams. The Ball one at least works for anywhere from no sugar to a half cup per two jar batch. So 1/4 cup per half pint jar. But it’s flexible which is super awesome. The instructions work for anywhere from 2-10 jars and sugar is adjustable. Those delicious local berries really don’t need much added sugar so being able to add it to taste is great.

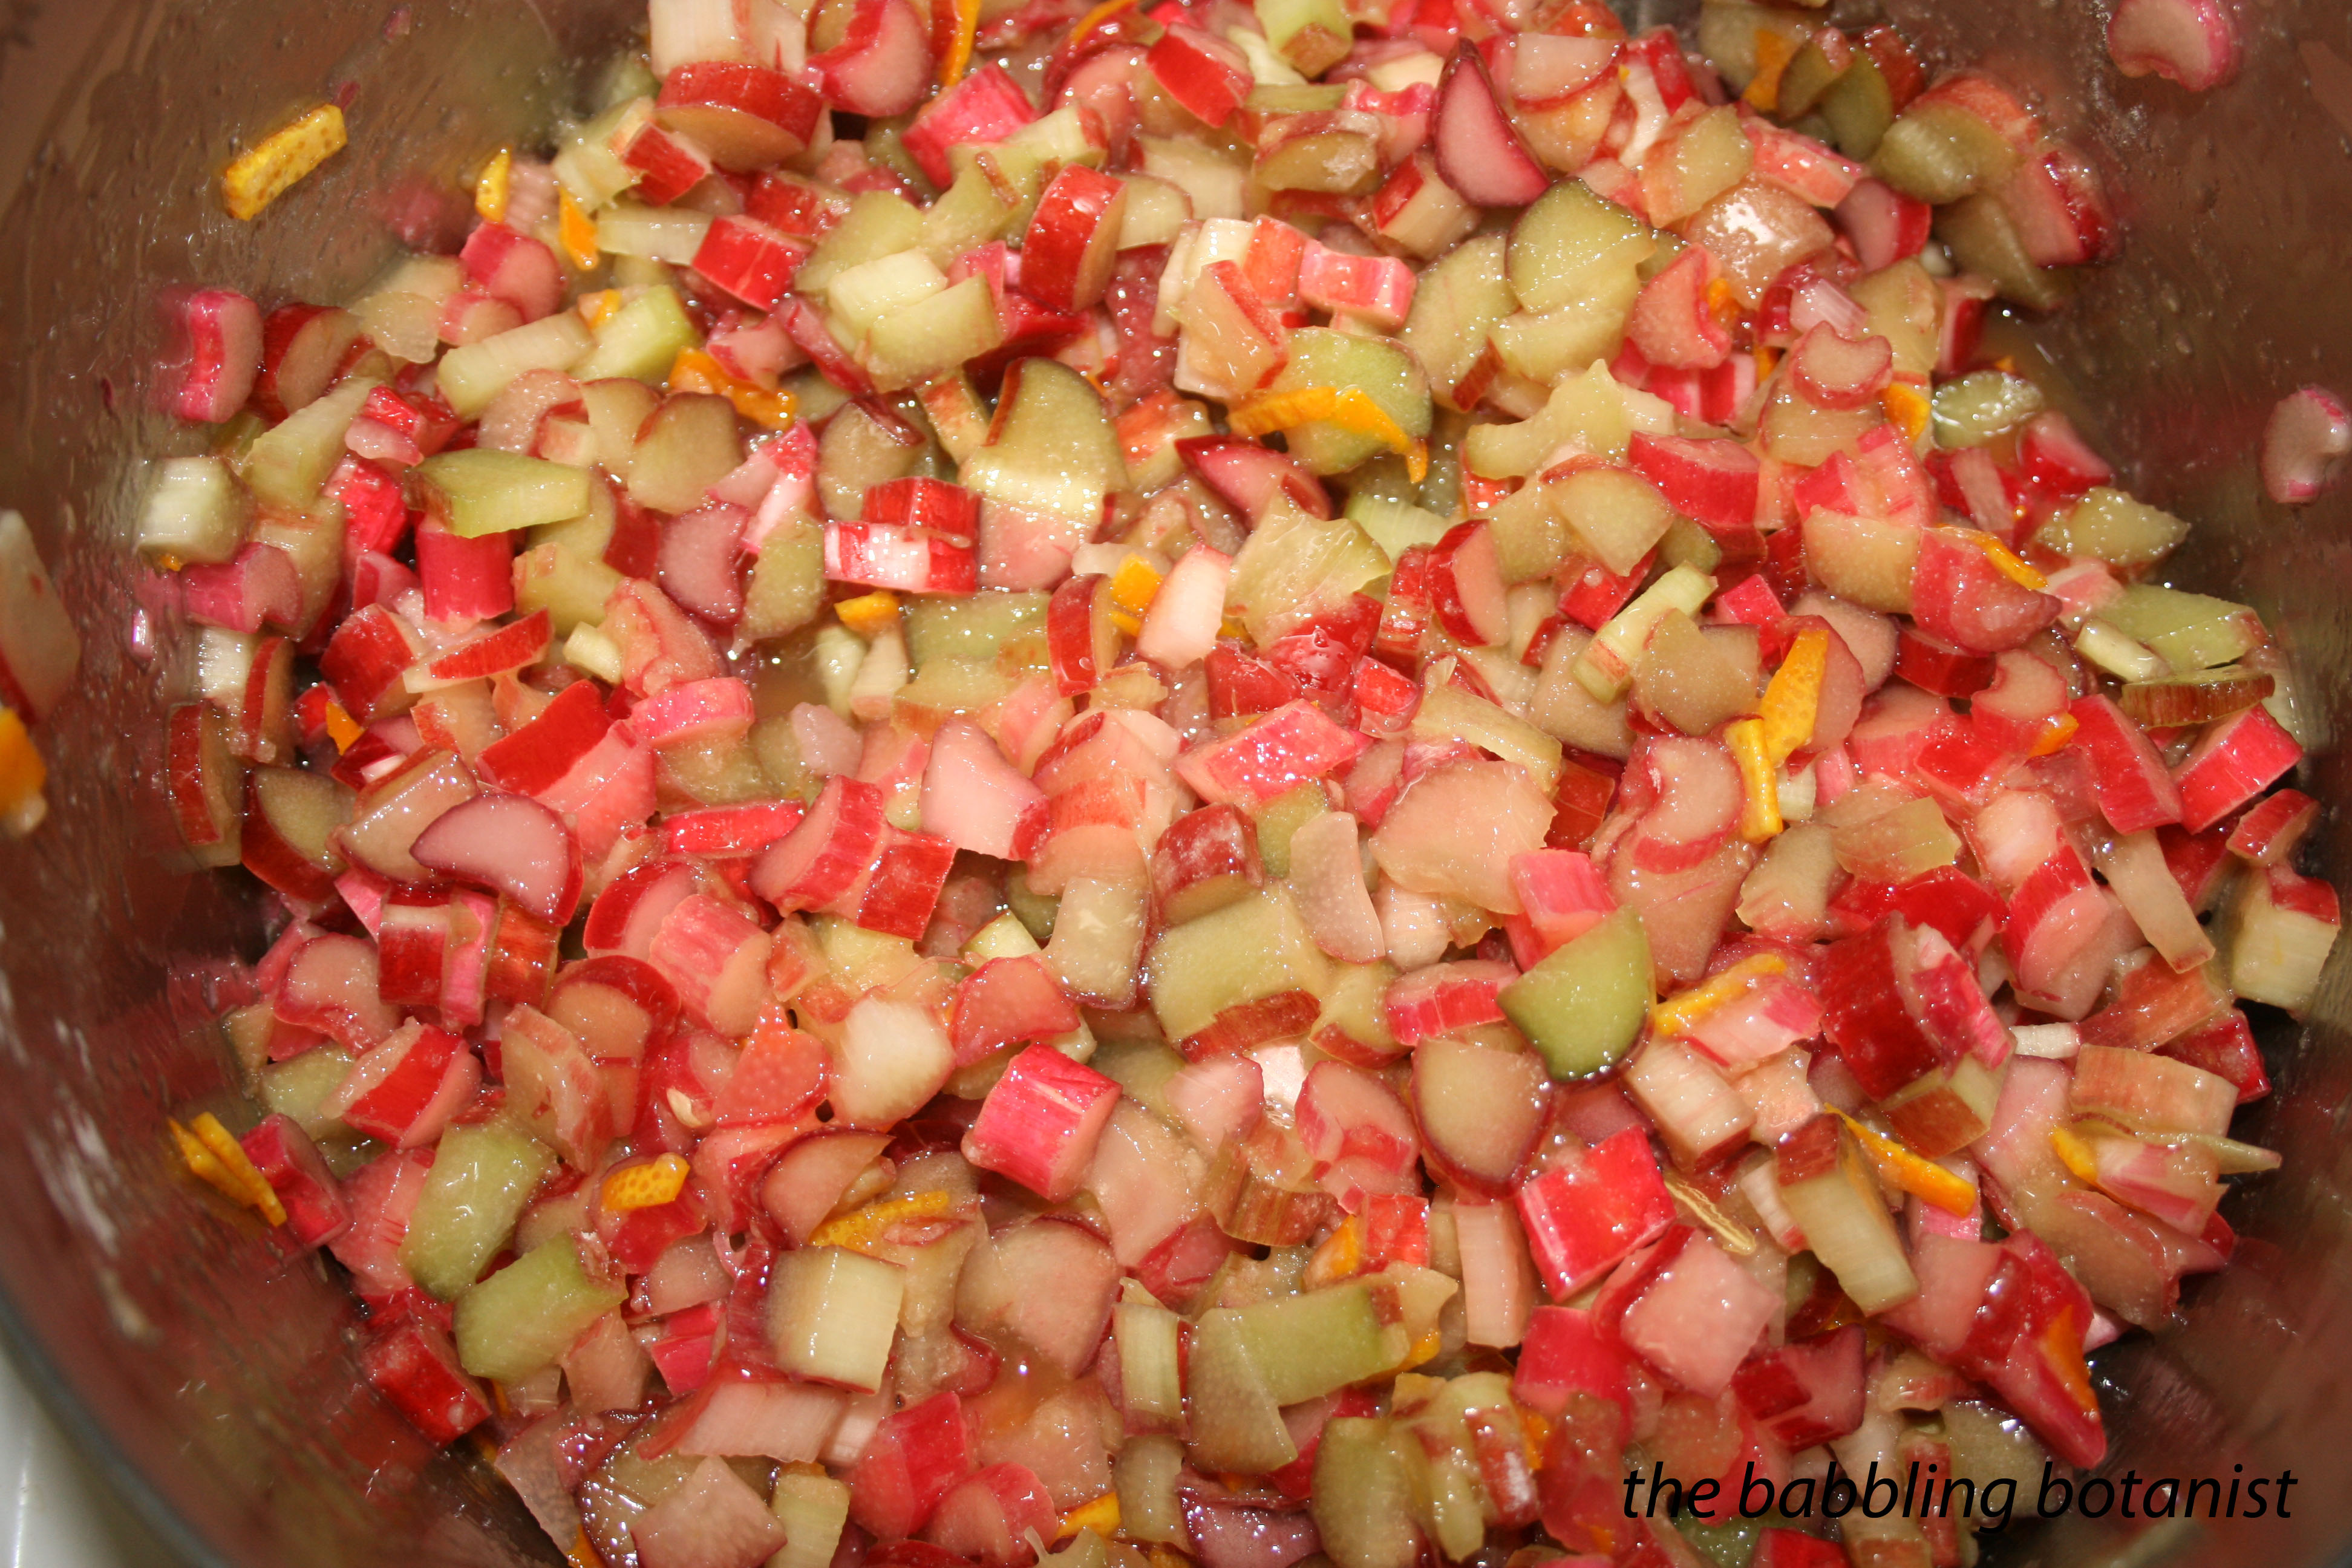
Rinse the berries, and hull them. One layer at a time, mash the berries with a potato masher, and pour the mash into a liquid measuring cup. You want 5 cups of mashed berries total. Crazy Kiki didn’t have a potato masher so you can also use the blender. But you DO NOT want a puree. You want a chunky mash, so just do maybe a cup of berries at a time and give it a quick pulse.

IMG_1685 copy

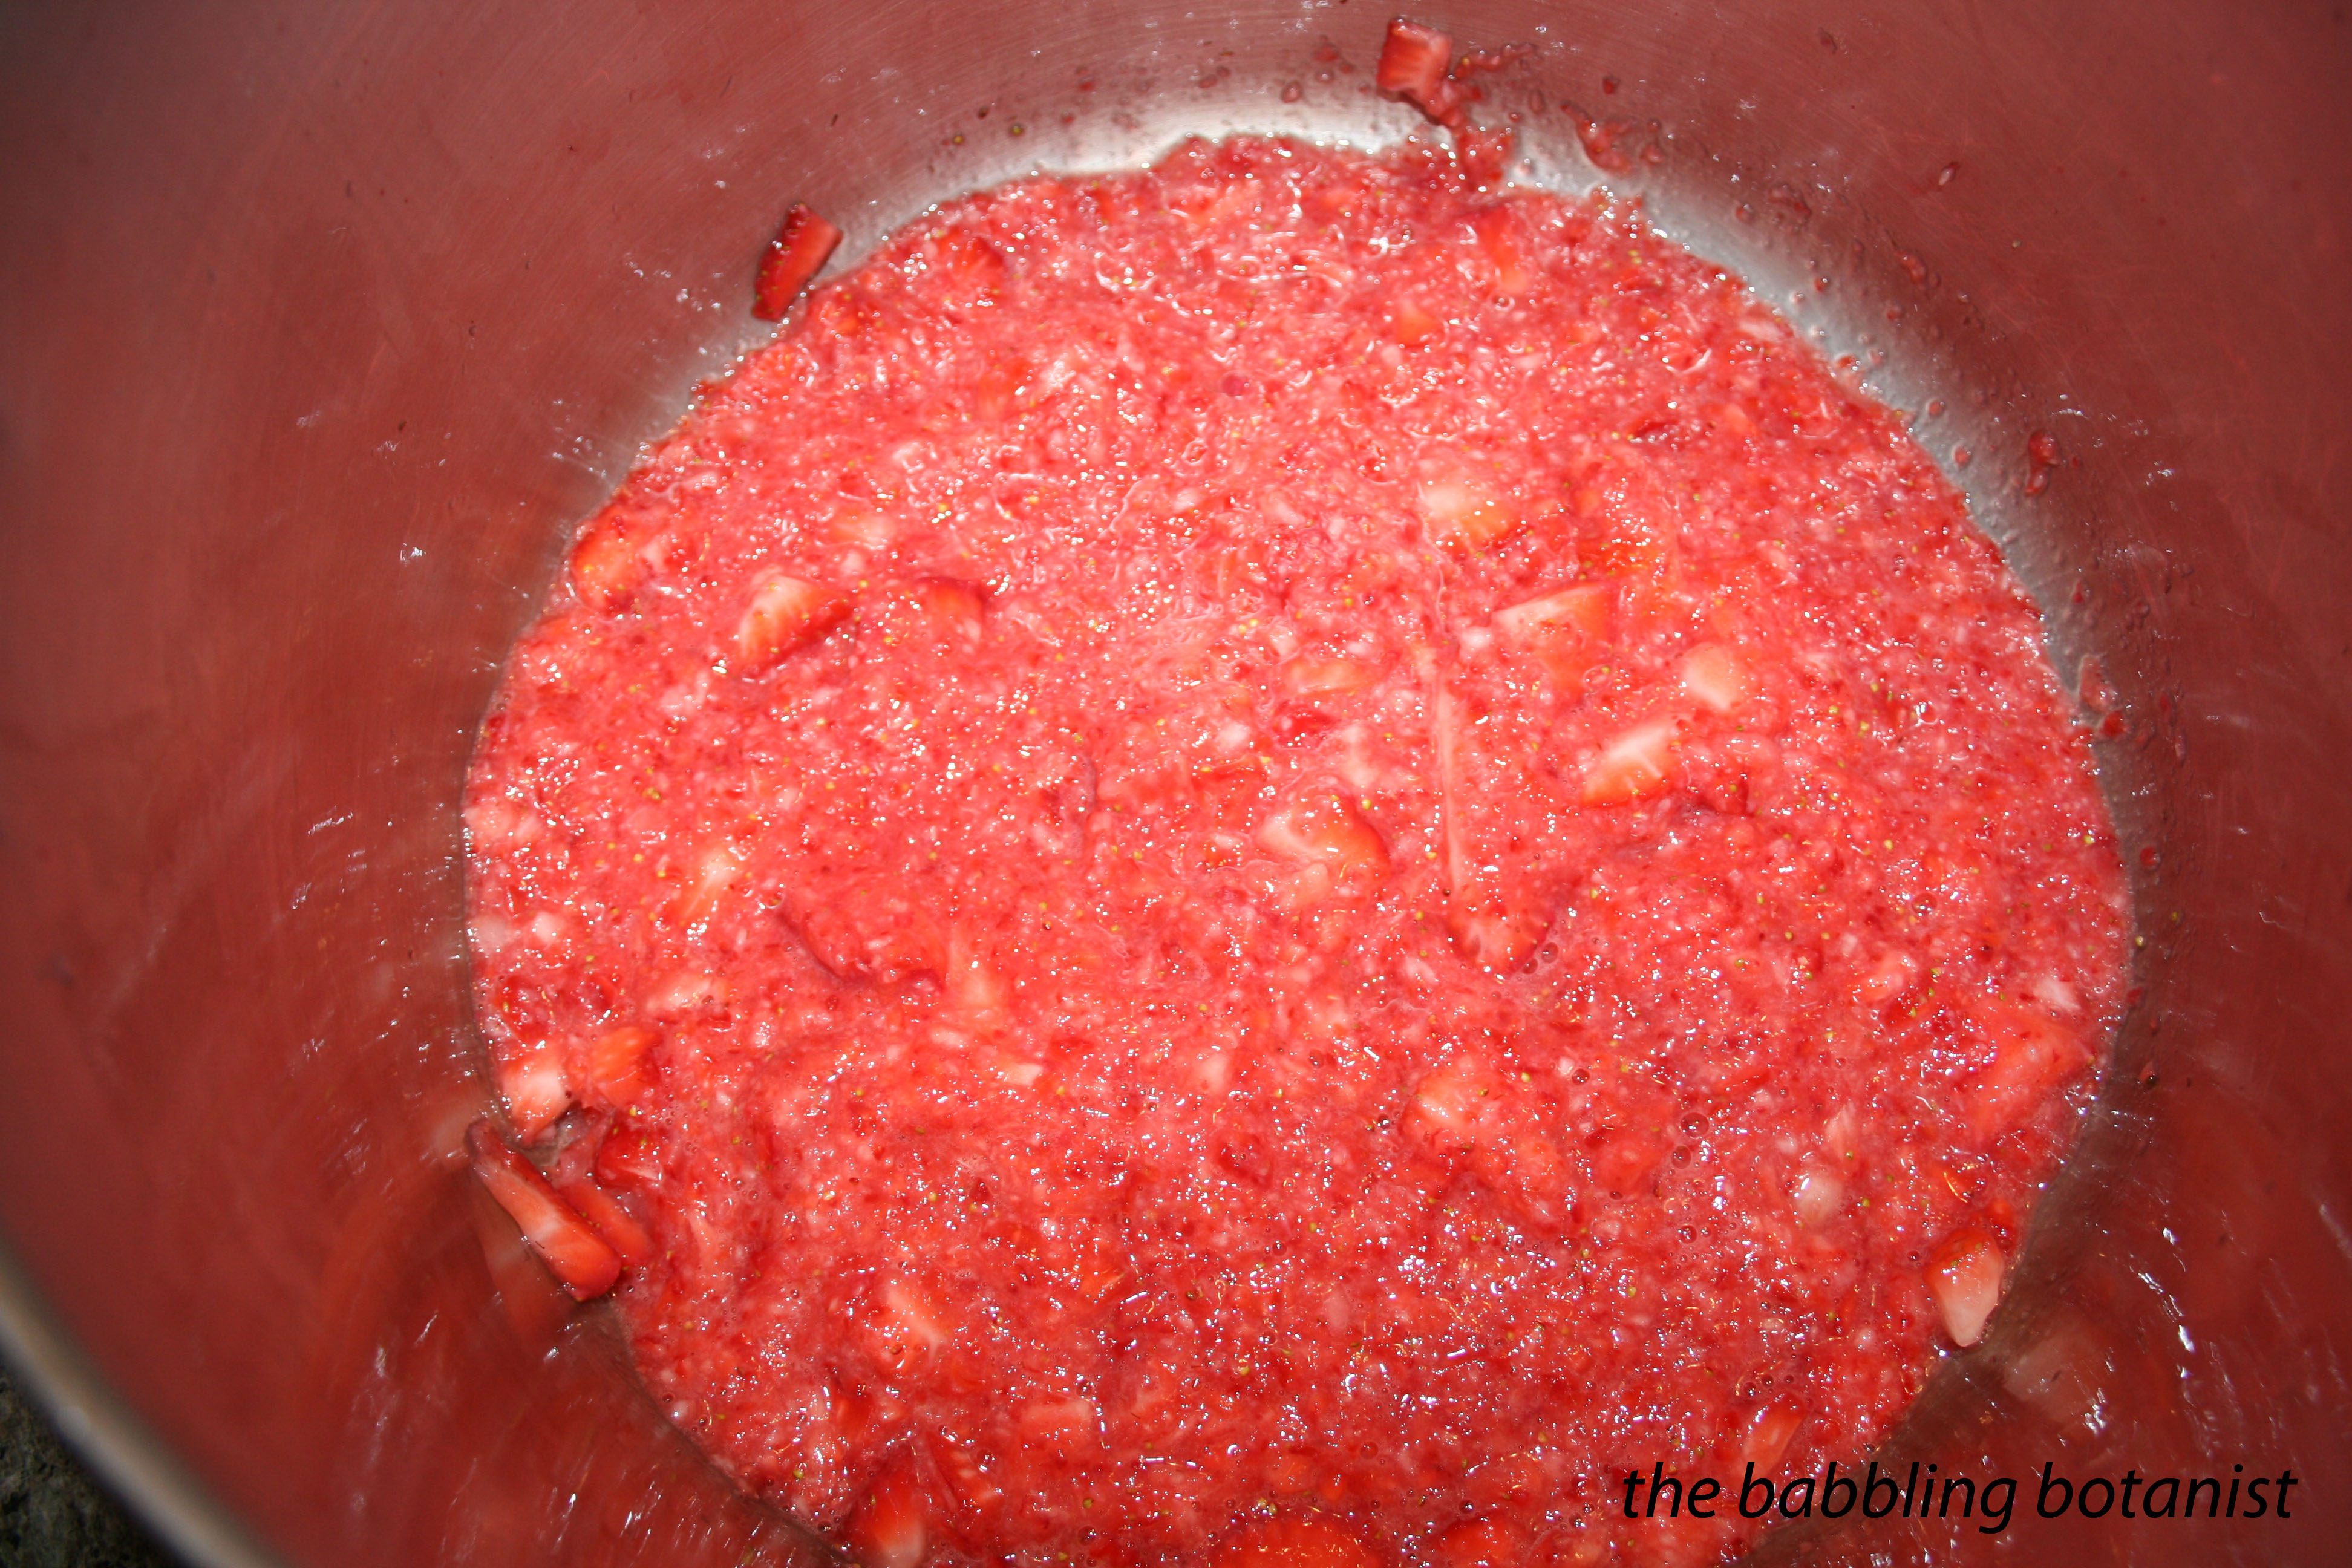
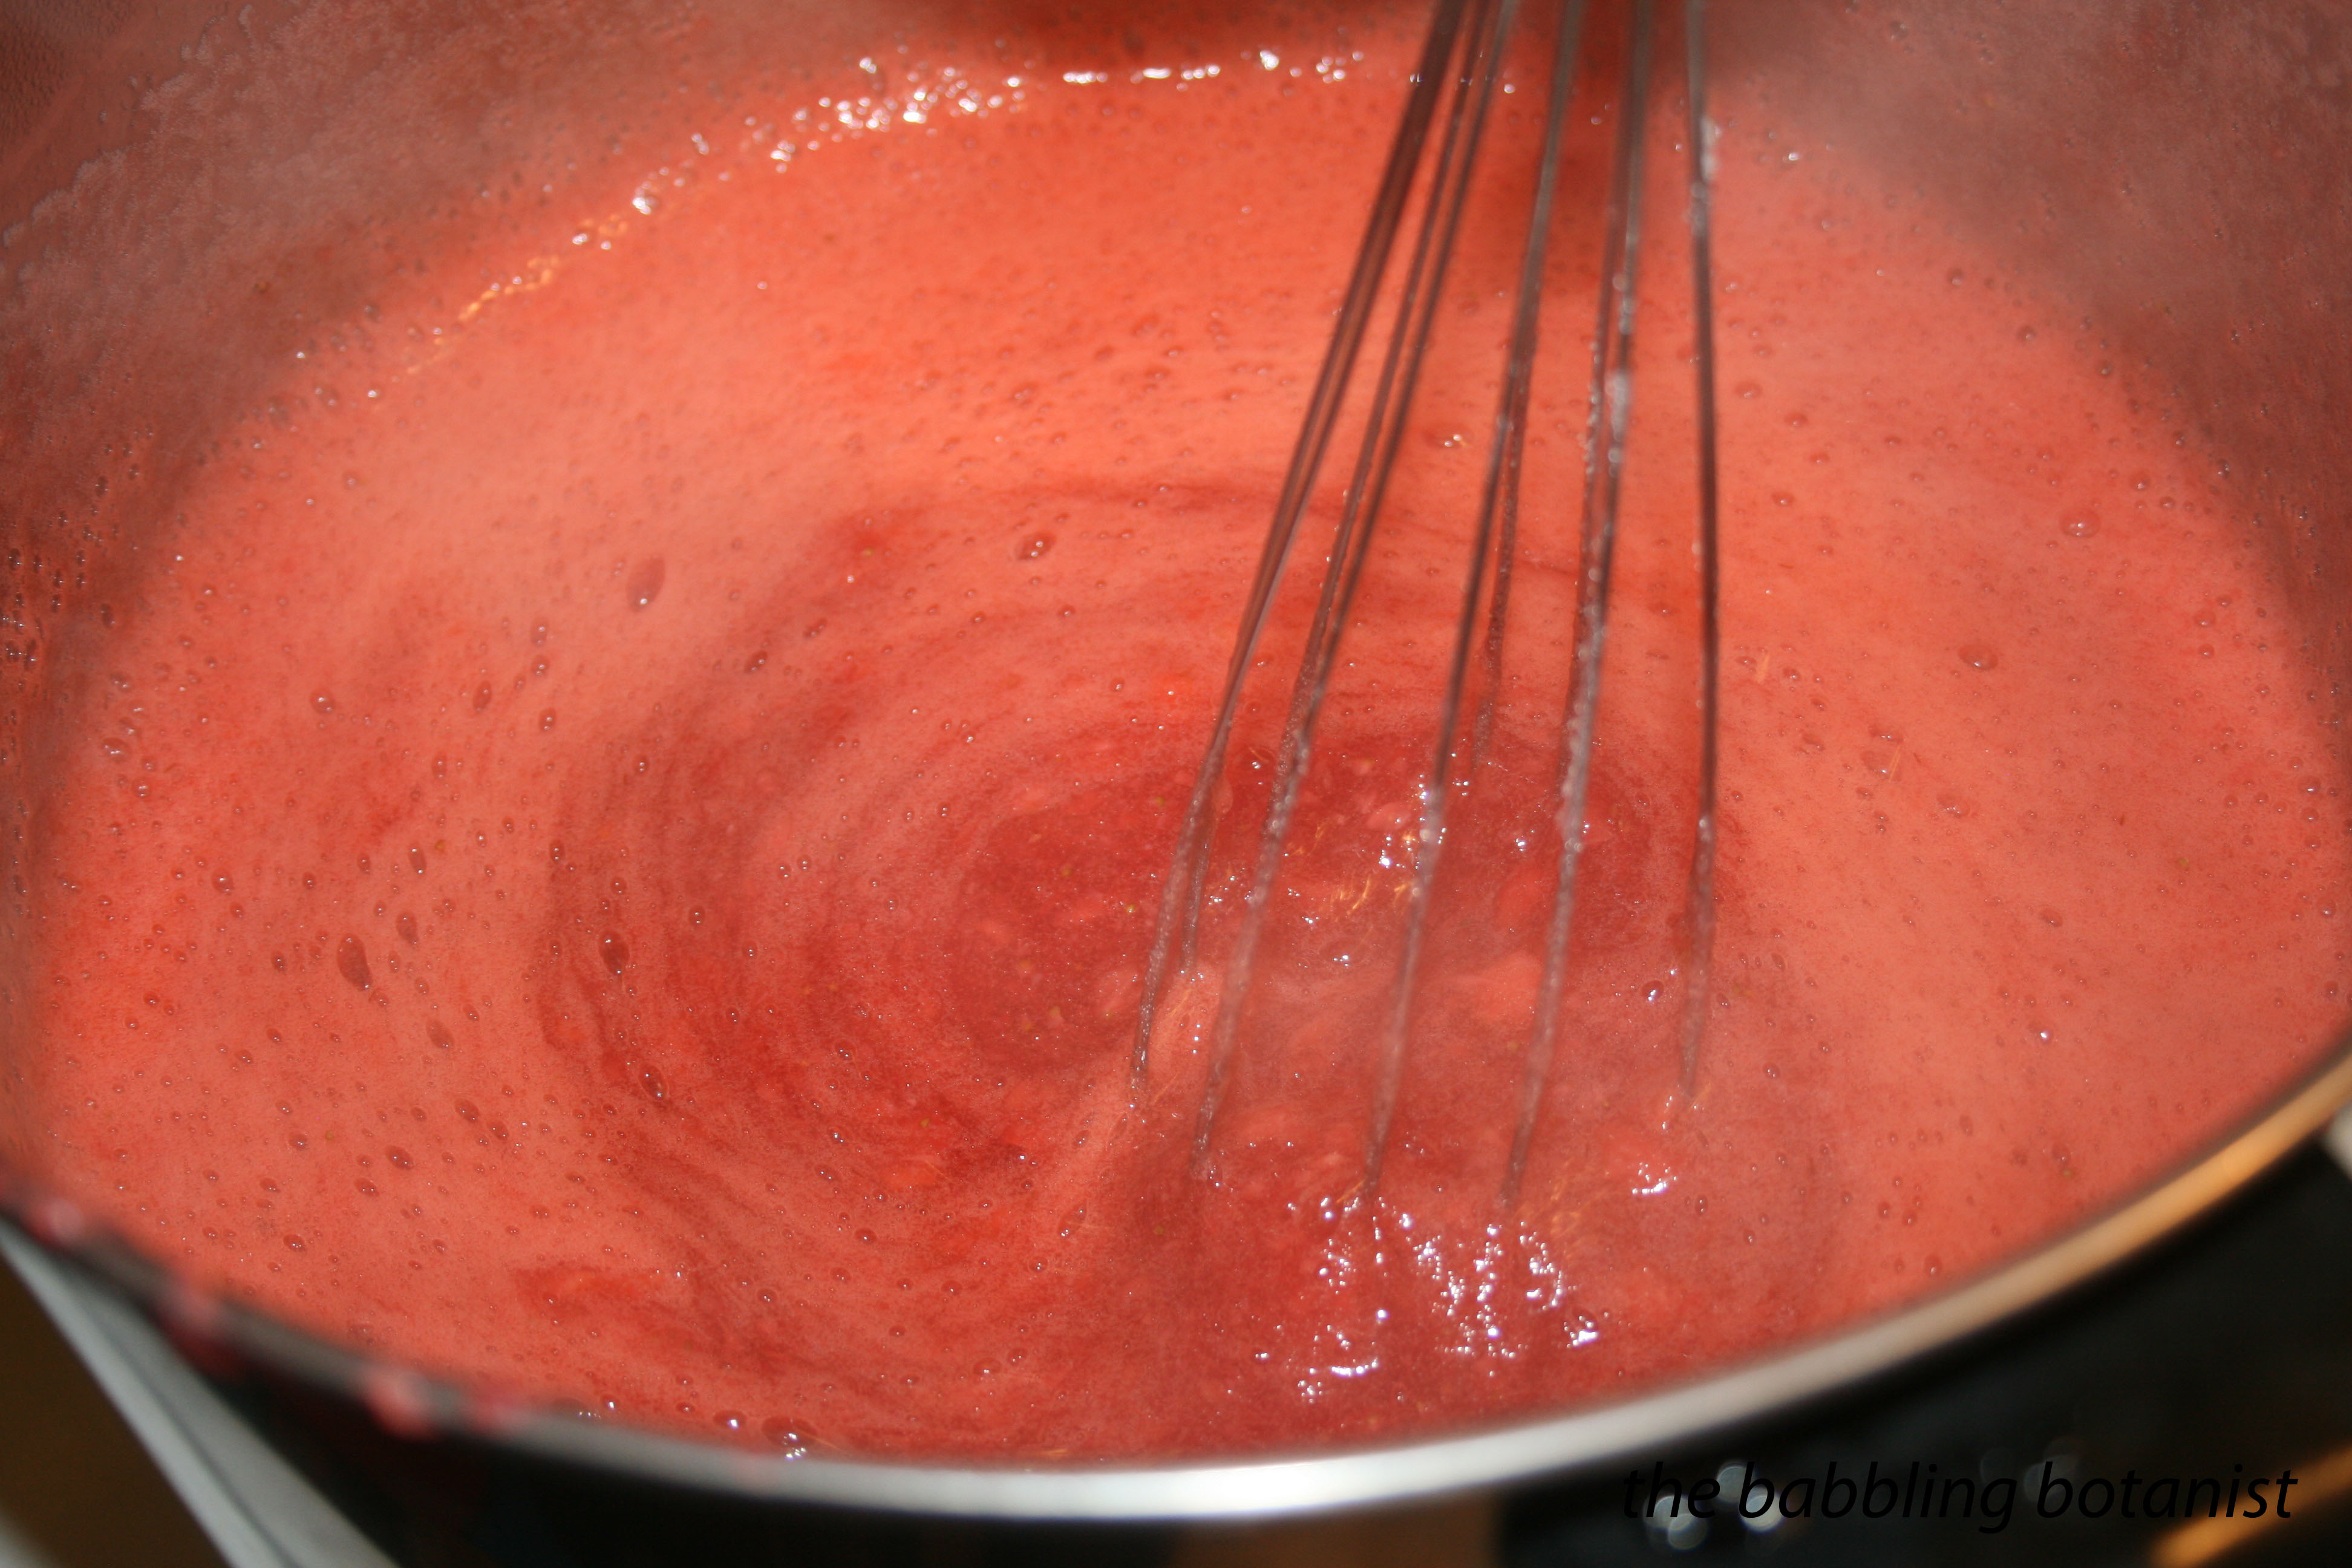
Once you have 5 cups of mash in a large pot add your lemon juice, and whisk in the pectin to dissolve. If you want a fun modification of this recipe, you can add a half of a vanilla bean at this point to make strawberry vanilla jam. Just put it in now and remove before filling the jars.

IMG_1702 copy

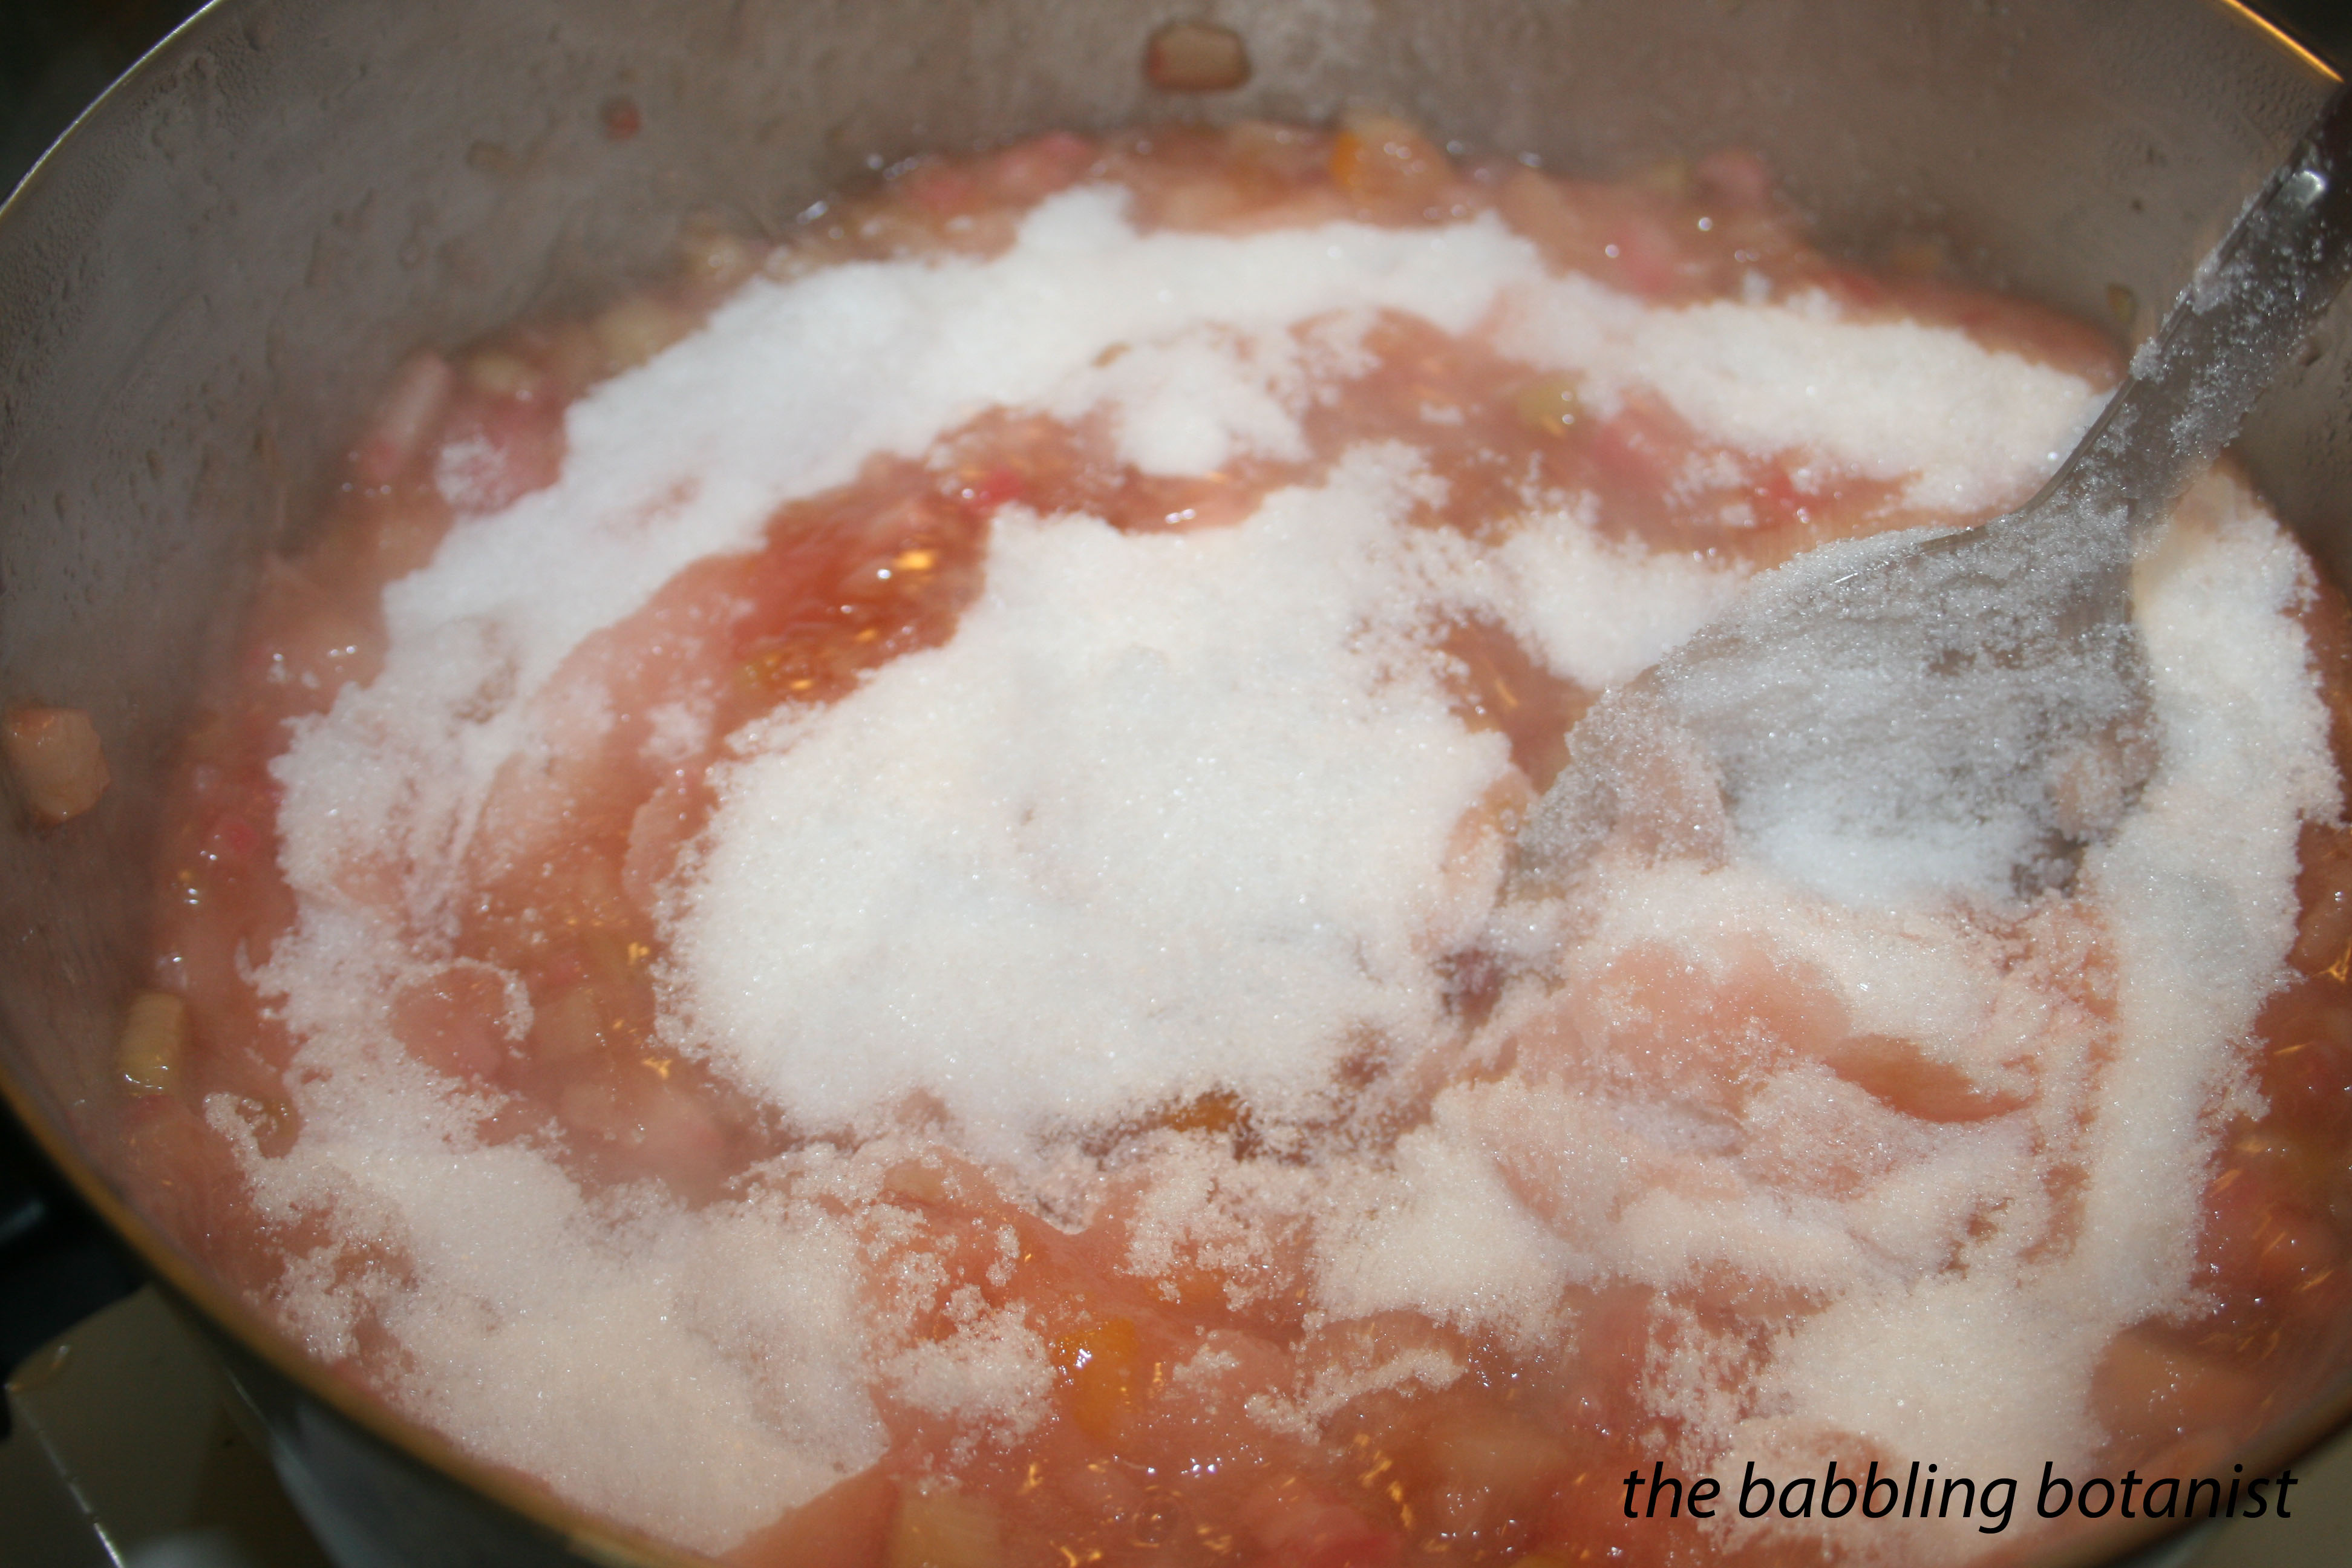
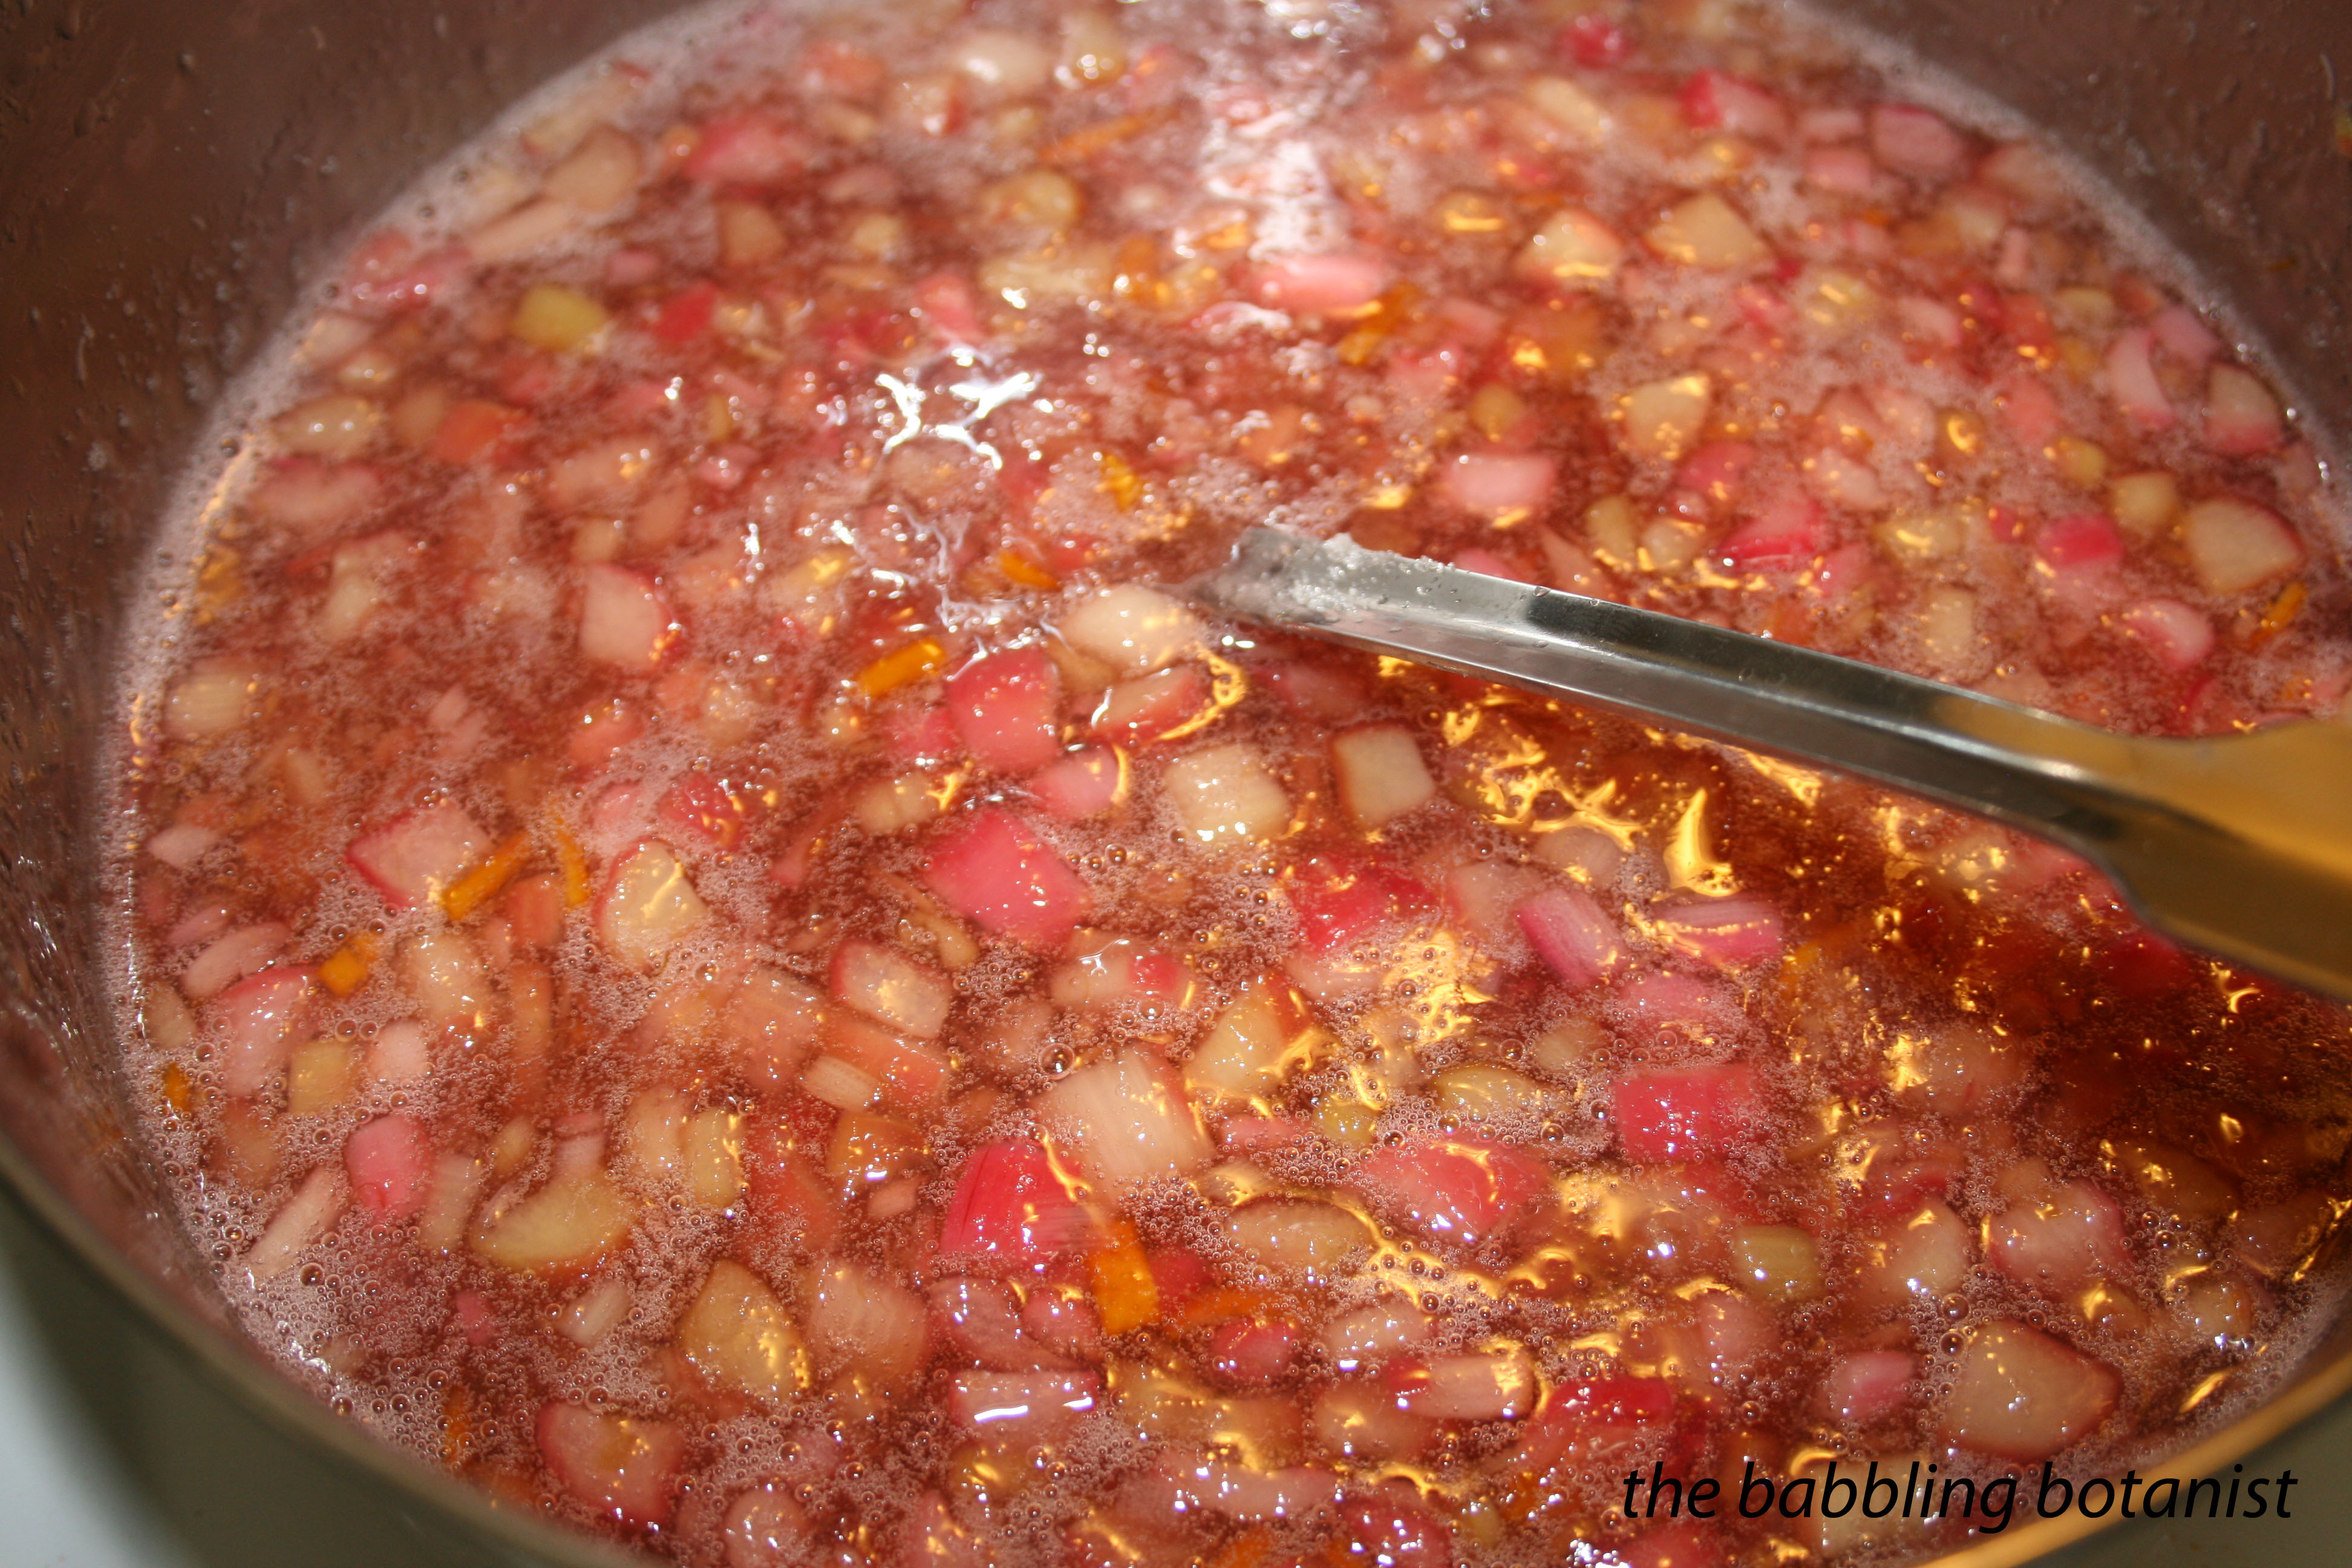
Turn the burner on to high, and bring the mixture to a boil. Stir frequently to prevent sticking. Once at a full rolling boil, add the sugar all at once. Return to a full rolling boil that you can’t stir down. Time one minute of boil, stirring constantly. After one minute, remove the jam from the heat, and skim off any foam. This jam tends to get quite foamy so it’s actually worth it to skim.

IMG_1716 copy

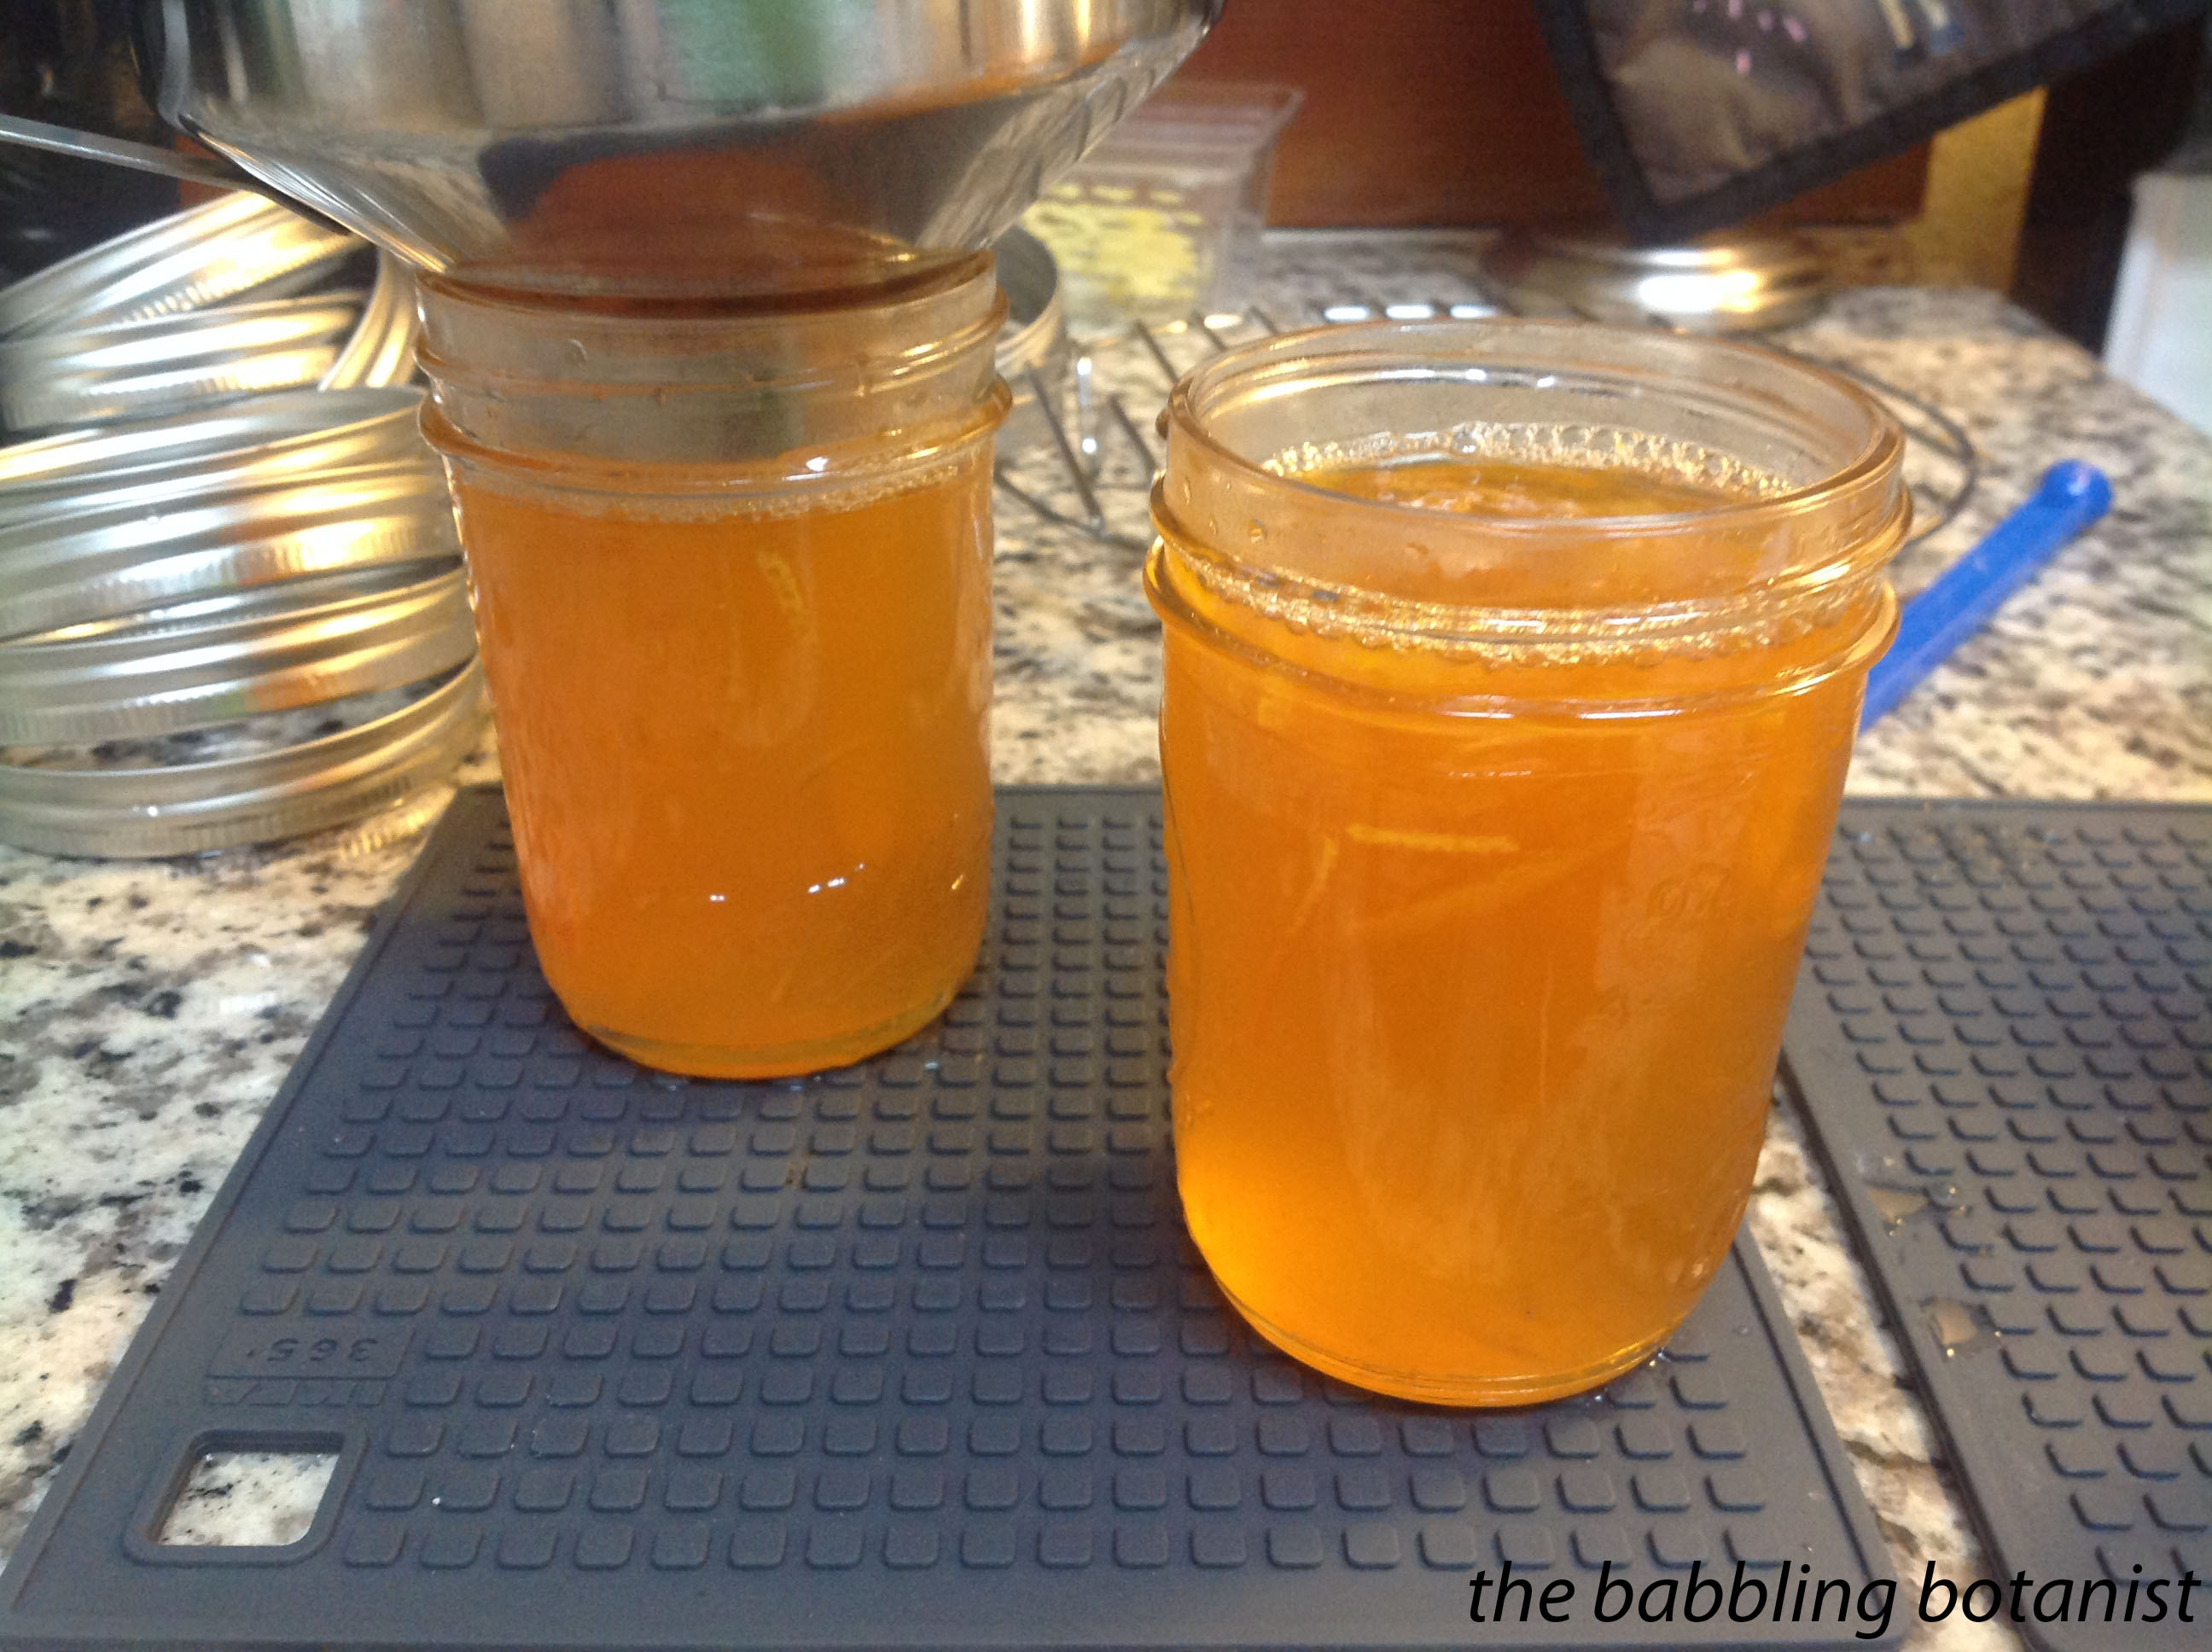
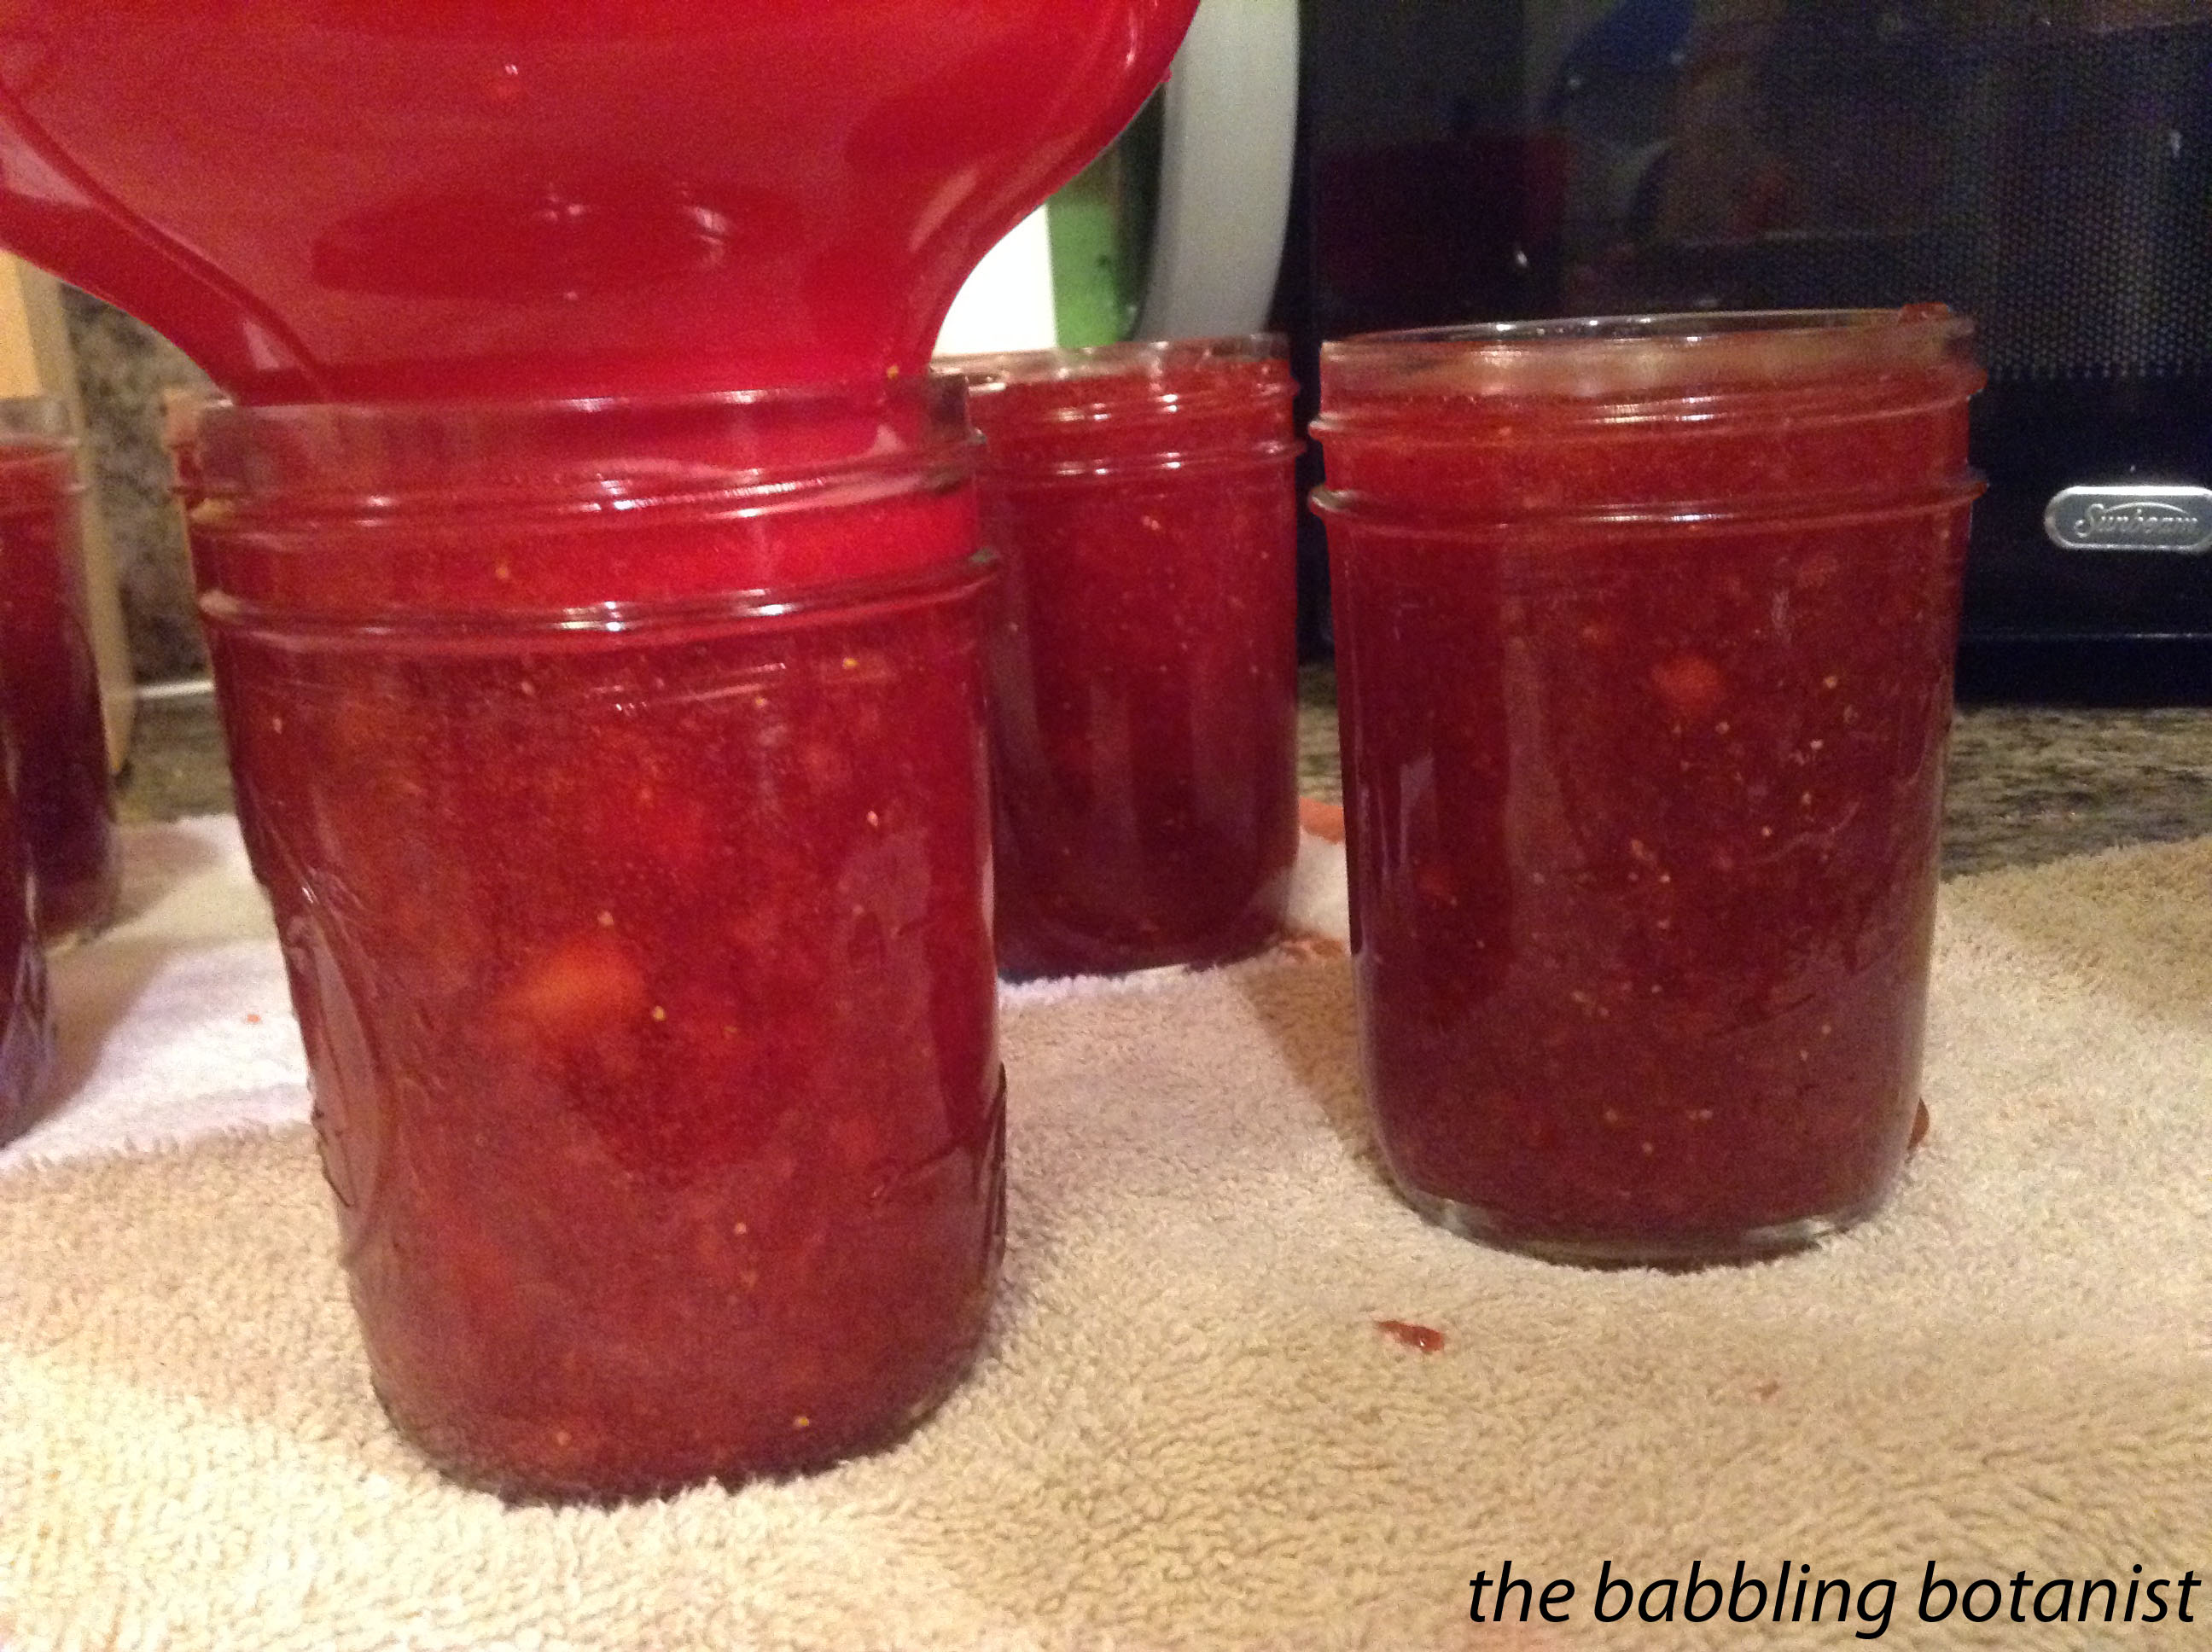
Remove the hot jars from the canner, and fill each jar, leaving a quarter inch head space. Wipe the rims, apply the lids finger tip tight, and place the jars in the canner covered by at least 1-2 inches of water.

photo 2 copy

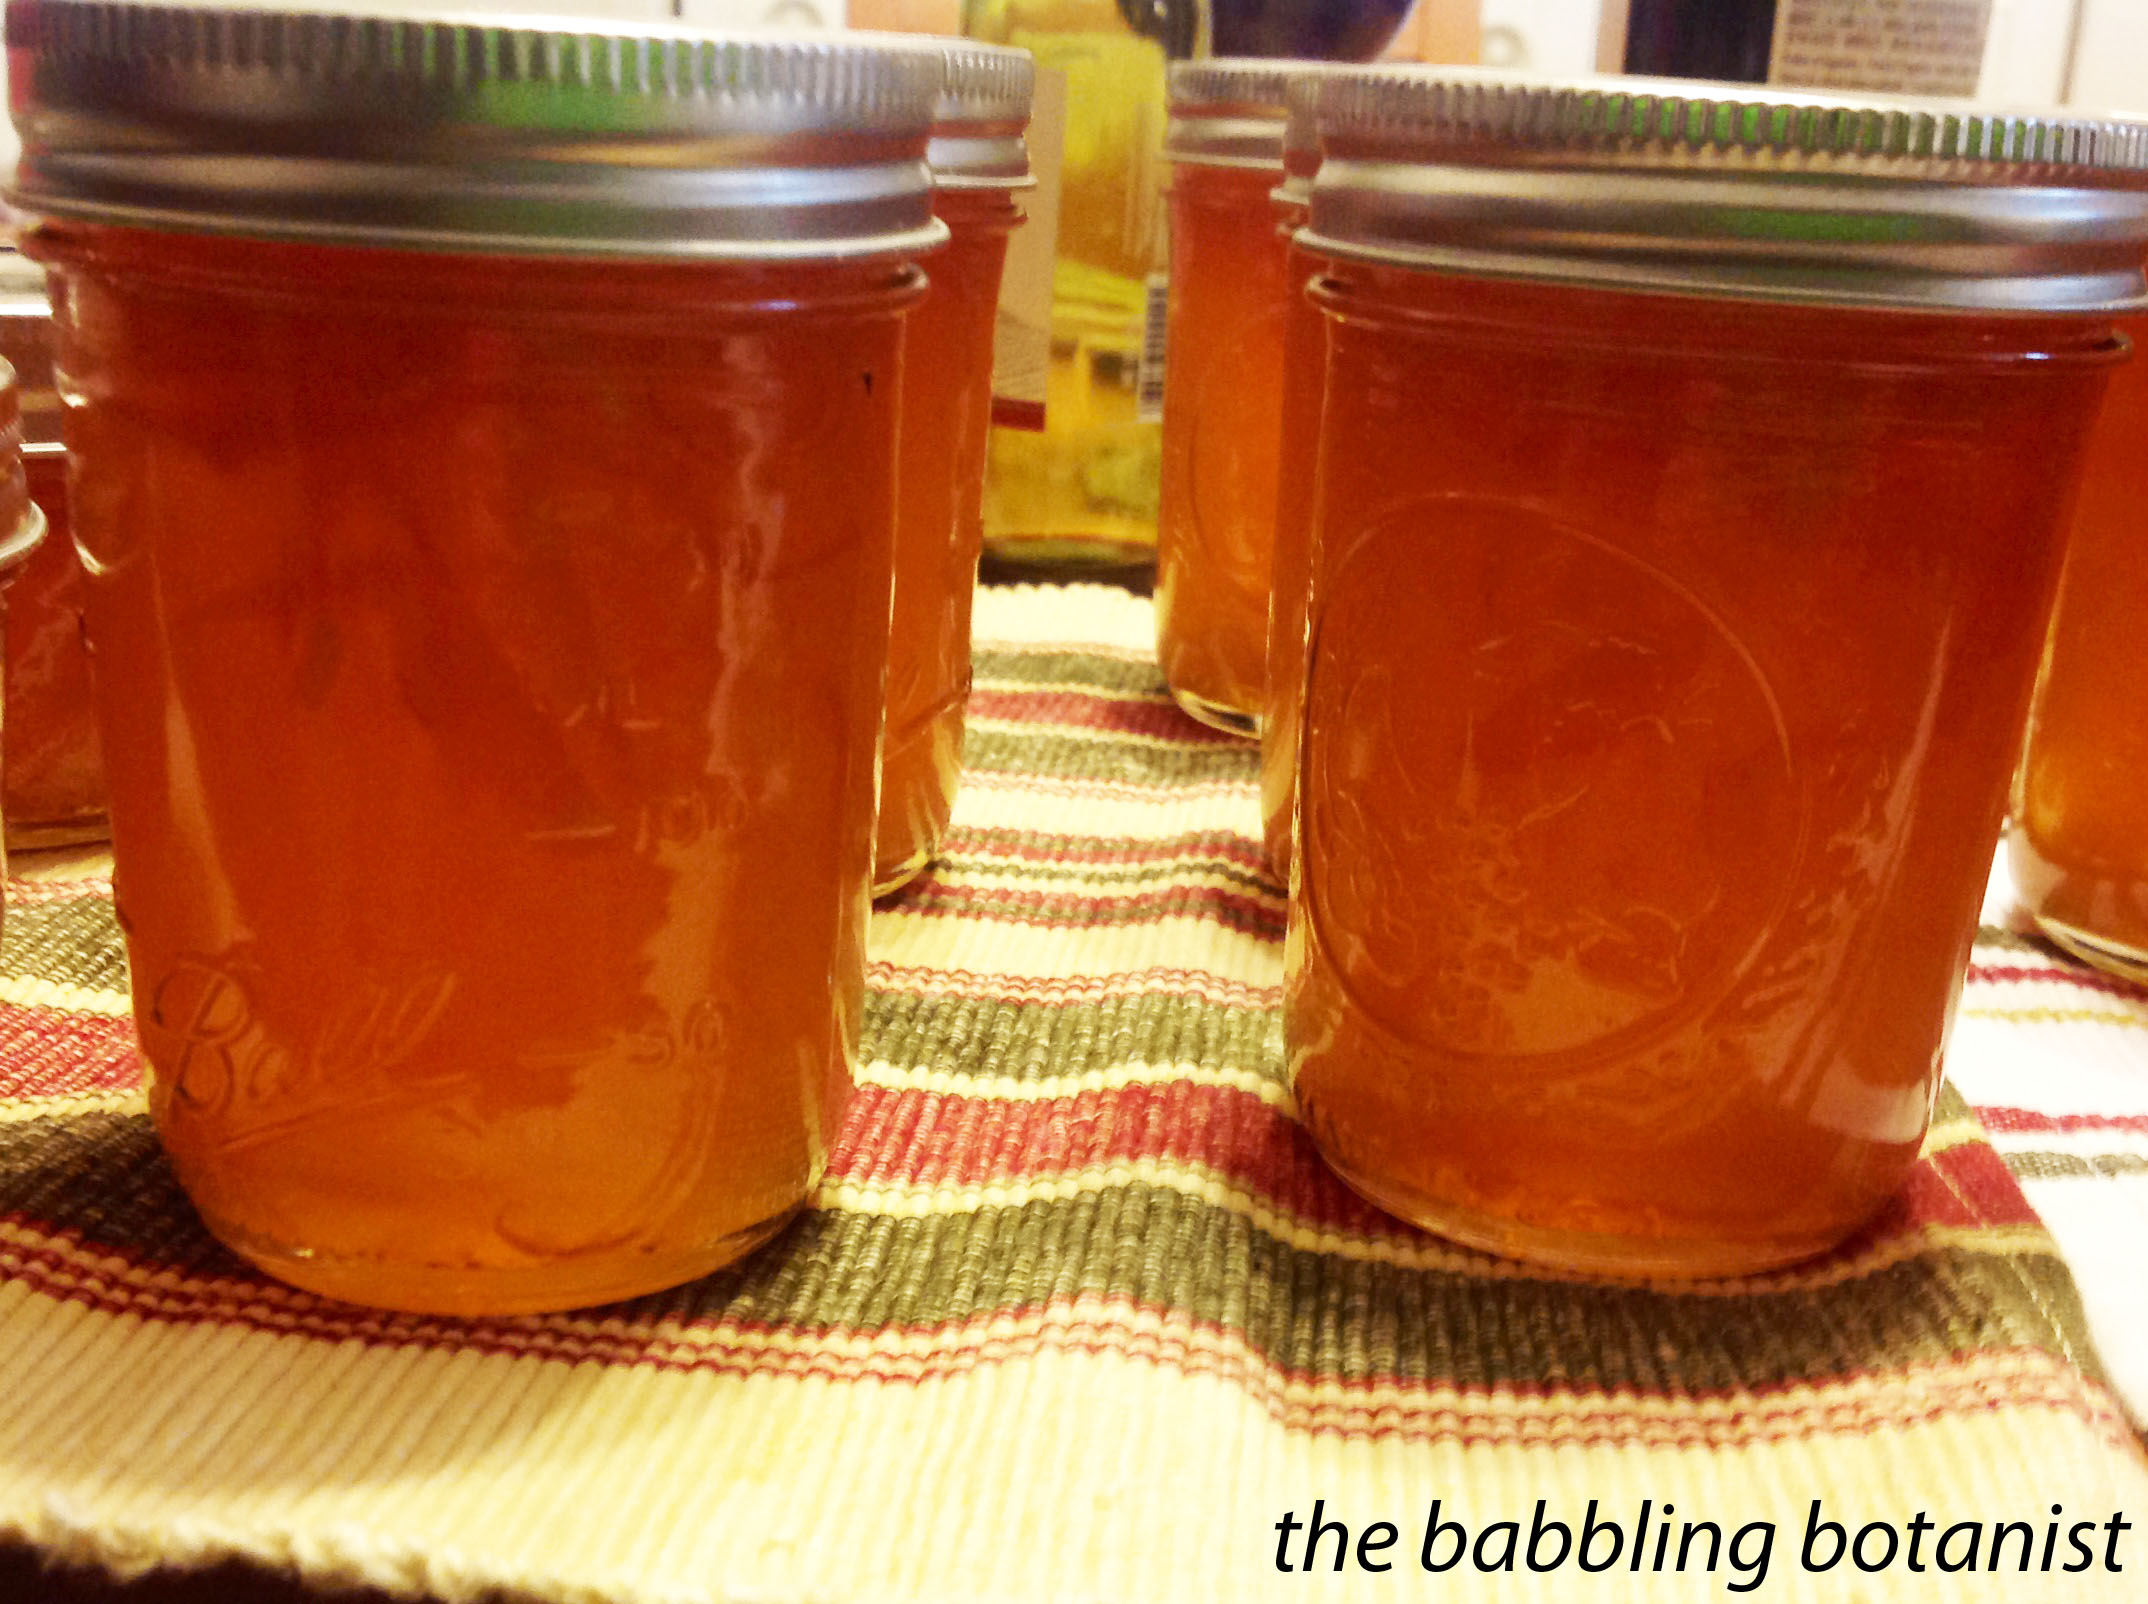
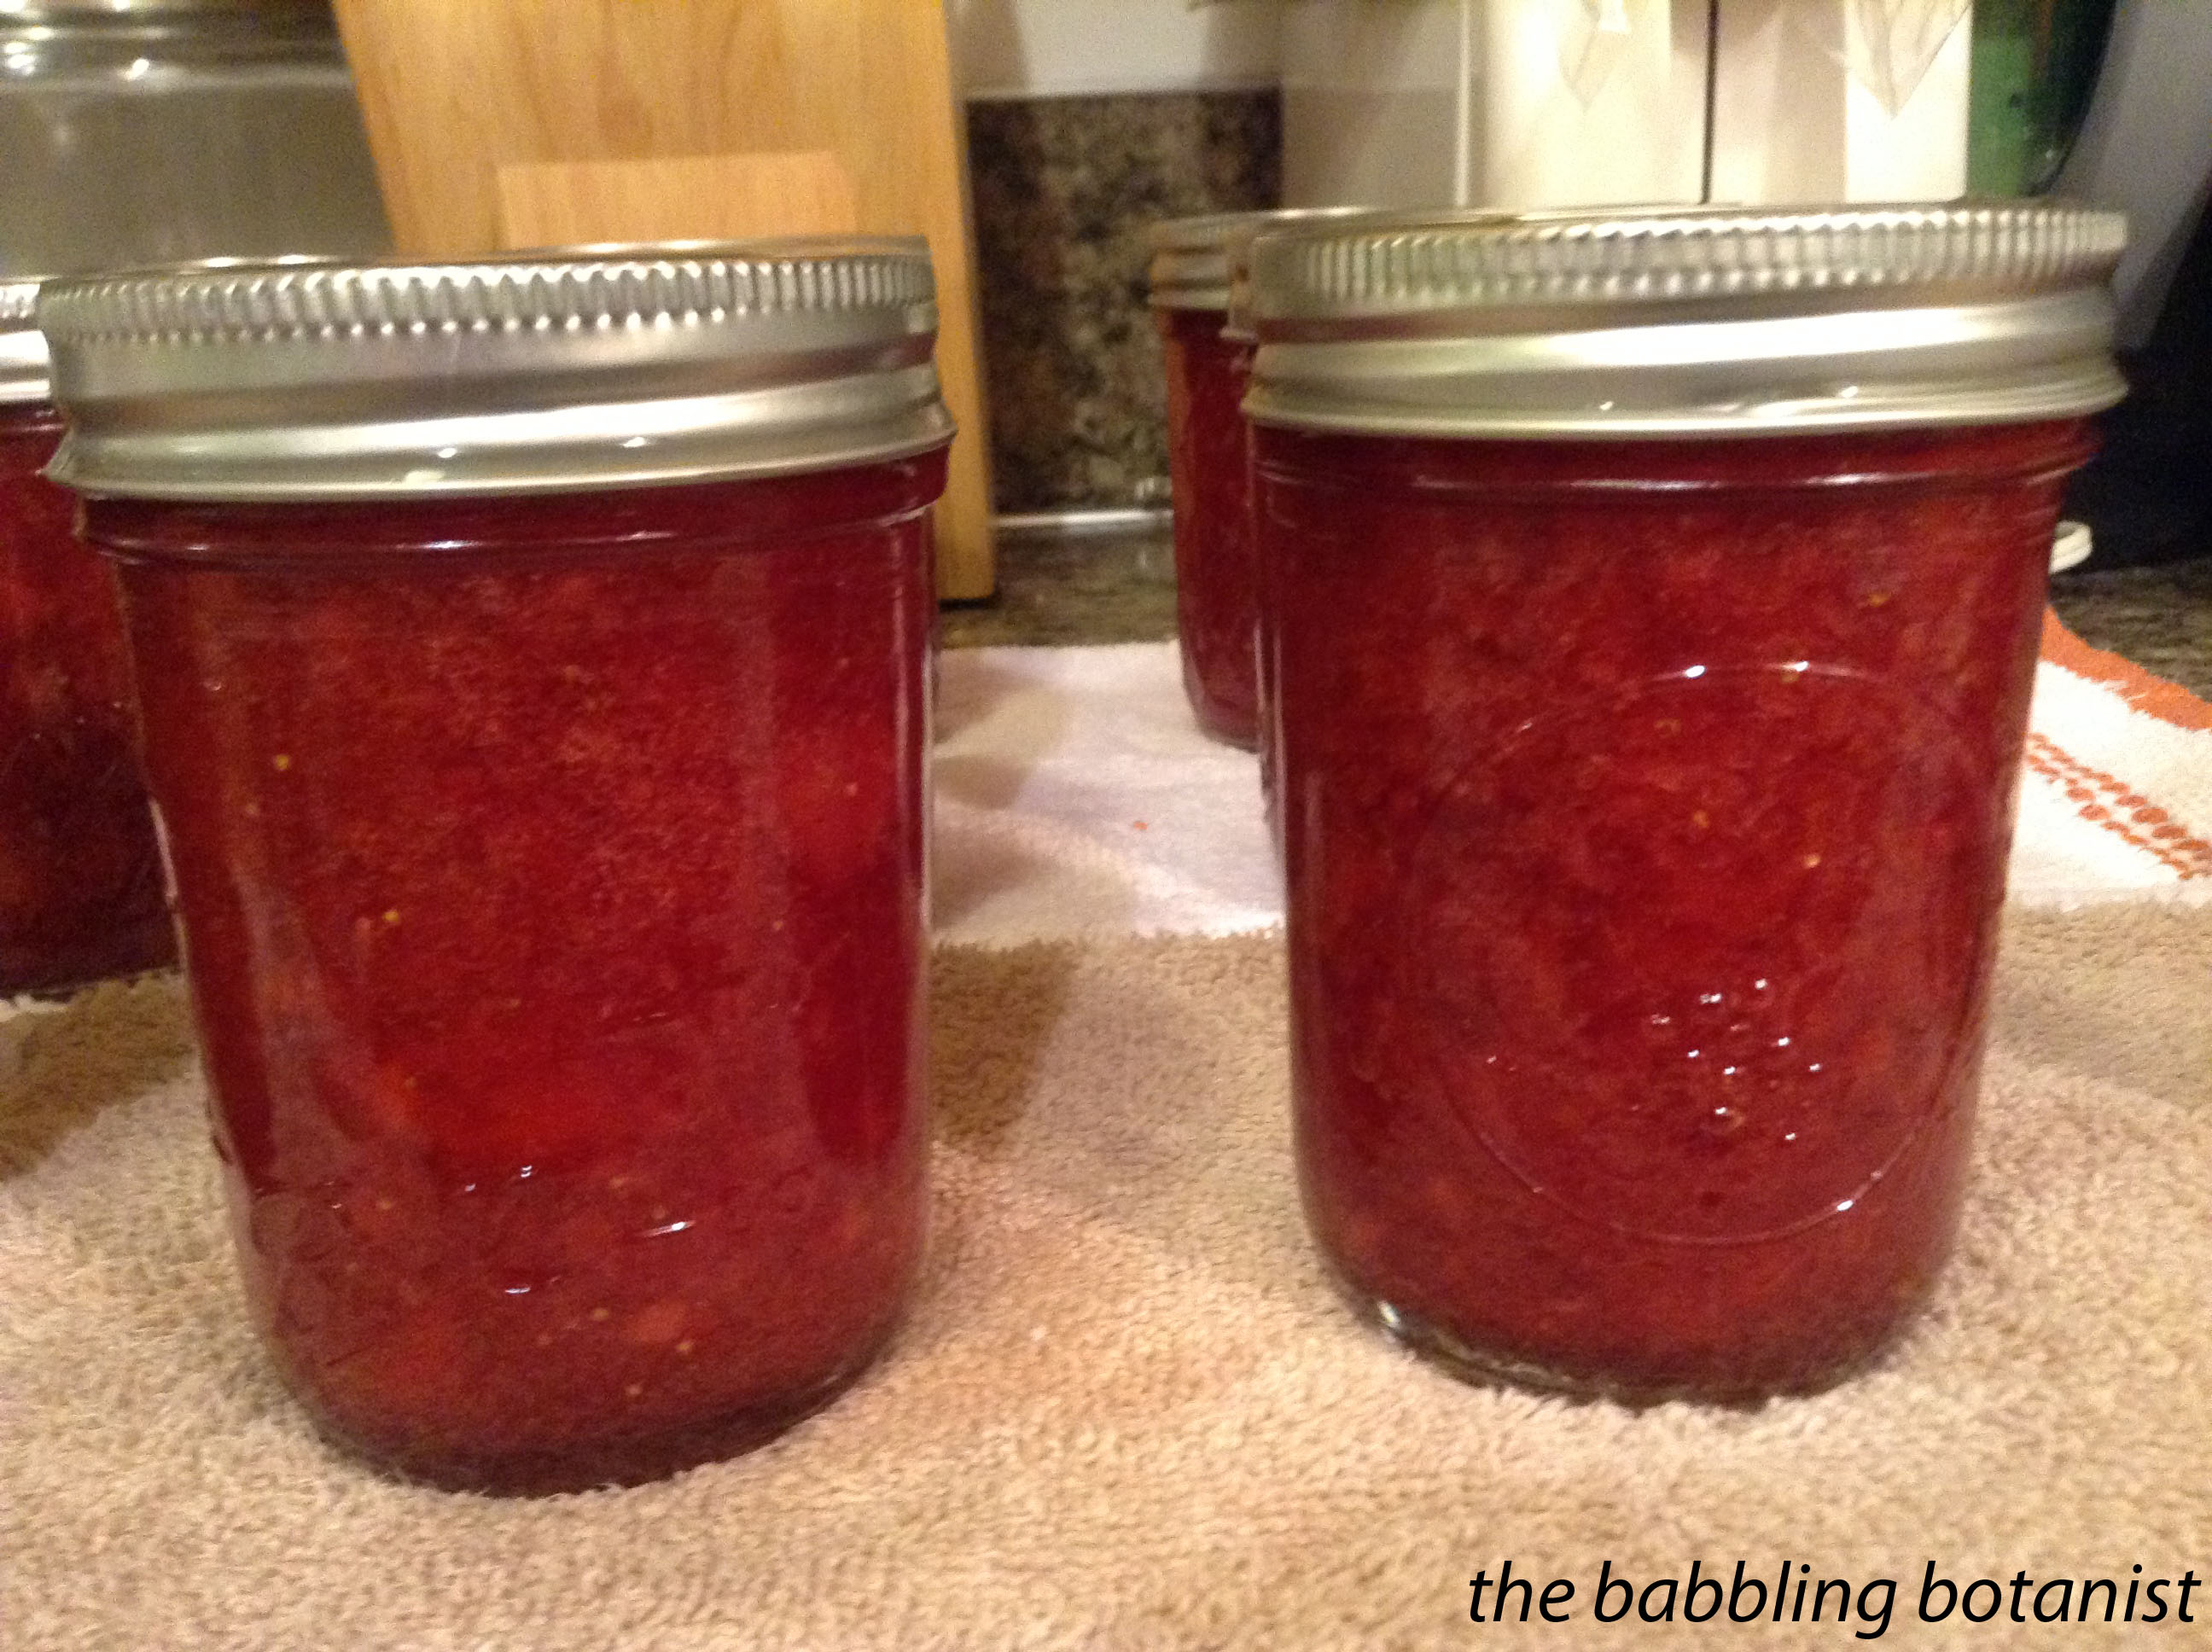
Process the jars for 10 minutes, starting the time when the water is at a full rolling boil. After 10 minutes turn off the heat, remove the canner lid, and wait 5 minutes before removing the jars to a hot pad or towel. Leave the jars undisturbed for 12-24 hours, check the seals, remove the bands, wipe clean, label and store.

photo 3 copy

*this post contains affiliate links, please see the “About the Blogger” page for more information

Rhubarb Orange Jam

I’ve been itching to can with the warm weather we’ve been having, but there is not too much in season quite yet. One thing that is ready to go though is rhubarb! So I cracked open my Ball Complete Book of Home Preserving, looked up rhubarb in the glossary and found this rhubarb orange jam recipe. I went full sugar for this recipe, since rhubarb and orange sounded like quite the tart combination, but you rhubarb lovers are welcome to pick up a box of low sugar pectin if you so desire. It’s really quite a delicious combination of sweet and tart. I enjoyed my little bit of leftovers on an English muffin.

IMG_1616 copy

This recipe yields 7 half pints.

Ingredients:
2 oranges
5 cups finely chopped rhubarb
1 package fruit pectin
6 cups sugar

IMG_1589 copy

Here’s how it’s done. This is a nice and easy pectin jam, and dang is it delicious!

First prepare your canner, jars, and lids. This recipe is a quick one.

Finely chop the rhubarb. Peel one half of one of the oranges and chop the peel finely. Juice the two oranges and measure the juice. You want at least a full cup, so if you don’t have quite enough top it off with a bit of water.

Combine the orange juice, rhubarb and pectin in a large pot. Stir to dissolve the pectin.

IMG_1598 copy

Bring to a boil over high heat, stirring frequently. Once at a full boil add the sugar all at once. I let it boil a minute or two before adding the sugar, just to get the rhubarb nice and soft.

IMG_1606 copy

Bring the mixture back to a full boil. Stir constantly to prevent burning. Once at a full boil, time one minute of hard boiling. Remove from heat.

IMG_1608 copy

Fill the jars, leaving a quarter inch head space. Wipe the rims, apply the lids, and tighten the bands finger tip tight. Place the full jars in the canner, covered by at least one inch of water. Bring to a full rolling boil and process for 10 minutes. After 10 minutes, remove the canner lid, wait 5 minutes and remove the jars to a hot pad or towel.

IMG_1612 copy

Isn’t that a gorgeous jam!?

Let the jars cool 12-24 hours, check the seals, remove the bands, label and store. This jam is delicious and so easy! If you have the canning itch too, make it, you won’t regret it.

IMG_1639 copy

*this post contains affiliate links, please see the “About the Blogger” page for more information

Testing the new wort chiller

For the boy’s birthday last month (the big 3-0!) I got him a fun new toy to add to our brewing equipment – a wort chiller! We were super excited to try it out, so last weekend we tried it out with a clone brew of Lagunitas IPA; recipe to come once we’ve tasted it. But for now I wanted to share with you the awesomeness that is the wort chiller. I ended up getting this one from Home Brew Stuff and am pretty happy with it so far. They do make bigger ones for people with bigger pots, but this is pretty perfect for a 6 gallon pot which is what we have.

wort chiller

So for those of you who are wondering what the hey this weird coil of metal is for, here’s the down low on wort chillers. When you make beer, you have your wort at a boil, but you’re good friends  (yeast) who are going to turn all that sugar into alcohol for you do not like the heat. So you want to cool the wort from boiling to room temperature as quickly as possible. This can be done with an ice bath in the sink, which we’ve done until now, or this fancy contraption. How it works is that you attach it to the hose, cold water runs through it and out the other end which you rest in the sink, and presto the wort gets cooled off! I timed it, from boiling to 70F took 14 minutes. I am pretty happy with that! That was for about 3.5-4 gallons, which is what was left after some boils off while you make the beer. I wish I could give an exact time on how long it took to cool with the ice bath, but I hadn’t thought about this so didn’t time it. I’d say it was at least 45 minutes to an hour. I can tell you that the first time we did it, our friends went home before it was cooled because it was taking so long. And last time we cleaned the whole office while it cooled. So I’d say it was a worthwhile investment. Plus we’ve been buying ice since it takes a lot to cool it, so it will pay for itself in the long run. If you are brewing without a wort chiller, go get one! Maybe this fun outdoor burner will be next, so we can brew outside 😉

IMG_1517 copy

*this post contains affiliate links, please see the “About the Blogger” page for more information

Countin’ your cans… for bragging rights, and a purpose

OK, so it may seem like I’m just doing this post to brag about the abundance of goodies in my overflowing pantry, but I swear there is also a purpose beyond making you jealous of me. Why keep a tally of how much you can each year? Well I’ll tell you why. My first year canning, I discovered in February that I only had three jars of salsa left! THE HORROR! I couldn’t make more until August! I never should have shared that red gold with anyone; it is too delicious. So last year, I canned 82 pints of it. HA! That’s not even hyperbole – but, when I do salsa I go big with the batches and split it with a friend, so 40 or so of those went into my pantry. Point is, are 40 pints of salsa going to get me through until I can make more? So far so good! I’ll let you know if it lasts. So, to get to my point at last. Do you have any idea how many jars of something you eat in a year? Are you always kicking yourself come late winter saying, “I wish I canned more ____!!”? This year keep a tally with me. I promise it’s not a contest, but if it were I think I’d place pretty well 😉 Here’s my canning closet in early November, when the bulk of the real canning season was over.

canning closet
Here she is, the 2013 canning list, just shy of 500 jars

Jams – 95
16 half pints strawberry jam
17 half pints strawberry rhubarb jam
6 half pints raspberry jam
9 half pints blueberry jam
8 half pints fig strawberry jam
8 half pints apricot jam
8 pints strawberry Pinot noir jam
6 pints blackberry cinnamon tequila jam
17 pints spiced cranberry jam

Who in their right mind needs 95 jars of jam!? No one, absolutely no one! Now having said that, these make excellent gifts. 5 went to my nana for her birthday, many went to family members for Christmas, a few went as wedding presents etc. You can have too much jam, but you’ll never have it go to waste.

Pie Filling
11 quarts strawberry rhubarb pie filling
17 quarts blueberry pie filling

Ya eating 28 pies is a lot, but when you are scrambling two hours before a potluck wondering what the heck to bring, man will you be glad for home canned pie fillings.

Pickles and Relishes
28 pints pickles
7 pints pickled asparagus
14 pints pickled carrots
6 quarts pickled beets
8 pints spicy dilly beans
8 pints zesty zucchini relish

You can never have too many pickled goods. They make a good snack, a nice treat to bring to ladies wine night, or a great topping. And this is coming from someone who a few years ago would pick the pickles off her burgers at a restaurant.

Fruits and Fruit Juices
15 quarts peaches in syrup
7 pints applesauce
5 quarts cranberry juice
10 pints of strawberry lemonade concentrate

I need to get more into fruit things, this area is actually kind of lacking for me. But dang I really like making the juices, SO GOOD.

Tomato Products
82 pints salsa
10 pints salsa verde
29 pints tomato sauce
8 quarts crushed tomatoes
5 pints country western ketchup

My favourite category for sure – always can have more tomatoes!

Pressure Canning
14 pints beans
64 half pints tuna
10pints chicken stock
6 quarts pressure canned beets
20 half pints corn

Always great to have these things on hand for a quick meal!

Overall, I think I need to add more savoury to my sweet this year, but I’m pretty proud of this list! What canned goods do you always run out of first? Keep track with me this year so you can better gauge how much you eat, and how much to make of your favourites.

30 Day Juice Challenge

Today we are going to talk about juicing. The liquid fruit and vegetable, delicious tasting beverage kind of juicing of course, not the big muscles on steroids kind. Sheesh I know I look good, but how could you think that? OK so seriously what is juicing all about, and why should you try it?

juice4

Ha. OK that’s just a funny post I found while searching for juice recipes, I swear I didn’t live off wine for 30 days, as tasty as that sounds. Here is the real story. My sweet mama got me a juicer this year for Christmas. At first I kind of thought it was a strange gift, but hey I guess I’m hard to buy for? Sorry mama, I jest. Anyways, I took it home and got to juicing and never looked back. I have used it probably 60% of days since I first tried juicing and I’m pretty happy with it now. Mmmm juice. So if you’ve ever thought about trying juicing, been scared to try it, or just thought that juicing referred to steroids, then this is the post for you.

IMG_1431 copy

When I started juicing, I just started scouring the internet and Pinterest for recipes. It’s hard to know what random fruits and vegetables are going to taste good together. Trust me, if you like everything in a recipe, it doesn’t mean you’ll like that juice. However, same goes the other way, don’t poo poo every recipe with beets in it for example. You are crazy for not liking them, but seriously give some a try.

So here is my number one tip, sign up for the 30 day challenge at http://juicerecipes.com/. I restarted the challenge last week so I could show you the sweet “Challendar” they have. And honestly after 40 plus days of looking at it, screen capping it for you was the first time I actually noticed that didn’t just say calendar. But I digress. This challenge is awesome because it starts you out on simpler recipes. For example the first week is mostly various combos of carrots, apples, celery, oranges, lemon and ginger. Not too scary right? We’re not talking beets and kale and spinach yet week one, we’re easing in to it. So what’s on this challendar? If you click on the little shopping cart it will give you a list of all the produce you need to buy for that week (when you sign up, mine is just a picture, I know you tried to click it). Then each day you just click the day and check off the recipe when you finish it. Super easy right! I know you want to try it! So, note, this is not a juice fast, it’s a one quart a day juice. What I did was usually just drink it for breakfast. If you are really active and hungry I’d maybe suggest drinking it with a light meal.

challender

So if you are still scared to try juicing, take a look at the pile of fruit and veggies below. It’s a lot right! But it will turn in to 7 quarts of juice. This is what you will consume week one. Or half this if you split the recipe with a friend like I do most days and just drink a pint. I really found this increased my fruit and veggie intake. Sure, maybe normally you’d be able to eat an apple a day or something, but 2 apples, 2 oranges and 14 carrots? I think not. Juice!!!

IMG_1338 copy

The juicer that I have is Jack Lalanne’s power juicer (click here to check it out on amazon). I am pretty happy with it, with only a couple complaints. Sometimes I do feel like the pulp that it shoots out the garbage end is a little wetter than it could be. Now, this is like a $100 ish juicer, whereas you can buy ones that cost three times that. Maybe they do a better job at getting the pulp really dry, but I’m not sure it’s worth the extra price tag, and this one is available at Costco and Fred Meyer! My only other complaint is if something gets a little stuck it vibrates like crazy and you think you broke it, but usually sending through another carrot clears it right up.

IMG_1321 copy

OK, a few more tips before you get to juicing.

1. Start with “simple” recipes. By that I mean start with only a few ingredients that you are likely to enjoy. Even if you don’t do the challenge, try a recipe with only 3 or 4 ingredients to start. The first juice I tried is pictured below. Sweet potato, gooood, peppers, gooood, beets, heck ya! But all together. Lord almighty don’t start with something like this. Apple, orange, carrot, pepper, beet and sweet potato, what was I thinking. I jumped right in the deep end and it took me all day to finish that juice. And oh boy did I finish it, even if it was mostly just to prove to the boy that it didn’t taste bad. Yikes, learn from my mistake on that one please.

juice5
2. OK that was a long tip 1. This one is simple – ginger is your friend. And lemon. I love the recipes with ginger and lemon, and especially if you are worried it’s a recipe you won’t like.

3. Don’t start in the winter. Well depending where you live. It was expensive and I don’t love buying cucumbers and things all the way from Mexico, so I am super excited that local stuff will be available very soon.

4. Buy in bulk – even though you will have trouble fitting it all in two crispers.

5. Don’t try inventing your own recipes until you’ve completed the challenge. Or at least tried some other people’s recipes if you aren’t doing the challenge.

6. Mix up juicing with smoothie making. Personally I don’t think it’s worth it to juice berries since they are so little and expensive, so I like to mix it up. Have a smoothie some days with bananas, which you can’t really juice, and some delicious berries.

7. Drink up, and enjoy!

IMG_1344

*This post contains affiliate links. Check out the “About the Blogger” page for more information.

Happy Spring!

Spring is here! Spring is here!! Spring is here!!!

I’ve always said that summer was my favourite season, but this spring with the anticipation of planting my garden, getting back into canning pretty much every week, and starting up on this season’s field work, I am tempted to say I have a new favourite season. The daffodils are all coming up, the trees are starting to flower and smell amazing, and now and then we actually get some sunshine. I apologize to those of you out east – but here, dare I say I think it’s spring.

20140320-142212.jpg
I thought the first day of spring would make a great day for my first gardening post. A tour of the little plots of land that I have, what I plan to do with them this year, and that sort of thing. So here it is, my front yard. If you don’t know me, we live in a duplex where we only have a front yard, but it’s at the very end of a cul-de-sac so we have full sun all the time which makes it a great area to garden. So here is the grand tour! In my yard I have a few raised beds, and the front of the house area. The beds are 4ftx8ft, 4ftx4ft and 2 that are 3ftx8ft. Then that little box is 2×2 and I plan to do potatoes in that. The front of the house bed is abut 12ftx3.5ft. Then I have a triangle ish area by the side of the house (pictured next) that is probably 40-45 square feet. So all in all I have about 180 square feet, if my math is okay. Not too bad for such a small little yard and only in the front! 🙂

garden1

The side yard is a weird shape and not ideal , but I make do. The landlord built a fence around it so it’s more shady than I’d like, but I will do my best to put more shade tolerant plants over here. Excuse the weeds, planting time isn’t quite here yet…

IMG_1379
So what have I done so far to get ready for another great year? I’m so glad you asked! I’ve started planning everything I want to plant this year and have done a few early seed starts. I pulled out all my leftover seeds from last year, and bought a bunch more, here they are!

IMG_1403 copy

It’s still early so I’m trying not to be over excited, but I did start some things that I know can handle a bit of cold. So far I started a bunch of lettuce, beets, spinach, kale, peas, herbs and some flowers – alyssum and marigolds. In the past I haven’t done a lot of seed starts, but it’s a nice way to get things going. My beets did quite poorly last year so I’m hoping this will help. So here are the babies only about 5 days after I started them. I can’t start many more, my window sill is full!

IMG_1389
The peas are starting to poke out their little heads. I don’t normally start peas, just direct seed them, but it’s still quite cold at night at the garden is kinda soggy so I thought why not!

IMG_1392 copy

Beets! So adorable!

IMG_1398 copy

Another thing that can go in this early is potatoes. I got my “seed potatoes” ready to go. I have that in quotations simply because these are potatoes I found in the back of my cupboard and thought, “sweet, I forgot these were there, what perfect timing, I will plant them.” Don’t let the garden centre fool you, seed potatoes are just potatoes. ha! Anyways they are cut and being planted this week.

IMG_1315 copy

And last but not least, for things already started and growing – brace yourself for some rhubarb recipes, look how big it already is!

IMG_1308 copy

Awesome, spring is here and I’m ready to plant! So let’s take a quick look back at last year’s garden. Spoiler alert – this jungle is what my front yard will look like in a few months. This shot is from mid August last year. You really can produce an amazing amount in such a small area and even with fairly shallow beds (mine were only 6-8 inches, but more discussion on this later!)

2013 garden

So what’s on my list for this year?
Tomatoes – millions of them. OK that may be slight hyperbole, but I can’t get enough of them. They are probably the most versatile thing when it comes to canning, and though you have to wait all season for them, they are a great bang for your buck in terms of how expensive they are at a farmer’s market, and how many of them you use if you can them for salsas and sauces.
Zucchini – although maybe less than last year.
Lettuce, kale and spinach – gotta get those greens!
Potatoes – I am trying the potato box again. It was moderately successful last year so here’s take 2! Basically as they grow larger you add another layer and build it up to get more taters.
Beets – I love ’em!
Carrots – maybe, they were delicious last year, but take a long time
Peppers and onions – probably cutting this year as they take a lot of space and effort for the price of them at the market or farm stand
Beans – It’s my nickname from my sister and who doesn’t love beans! Also my very first canning project
Pickling cucumbers – Check out that sweet trellis I built for growing them vertically.
Lots and lots of spices

OK – I’m sure I forgot something, but such is life! There will be more posts 🙂
Do you have a small garden space that you are trying to utilize efficiently? What are you planting this year?

Cherry Marmalade

The next recipe for my Ball canning challenge was cherry marmalade, which we actually made while the Seville Orange Marmalade was cooking down. I realize it’s not cherry season, but I had some in the freezer already pitted that I had intended on making into cherry pie. However, they’d been there all winter and since it was a marmalade kind of day I thought, heck, let’s make another one! This one is page 102 in the Ball Complete Book of Home Preserving.

cherry4 copy

Ingredients:
2/3 cup chopped seeded orange (peeled)
4 cups pitted sweet cherries
4 tbsp lemon juice
3.5 cups granulated sugar

Here’s how we made it:

In a large pot combine the cherries, orange and lemon juice. Bring the mixture to a boil over medium high, then reduce the heat, cover and maintain a boil, stirring often. Boil for 20 minutes or so until the peels are softening and the cherries are breaking down a bit.

cherry1 copy

After 20 minutes add the sugar, maintaining a boil. Continue to boil hard, stirring frequently for about 30 minutes, until gel stage is reached.

cherry2 copy

Fill the hot jars leaving a quarter inch headspace. Remove bubbles, wipe the rim, apply the lids and tighten the bands finger tip tight. Place the jars in the canner covered by at least 1-2 inches of water. Bring to a full rolling boil and process for 15 minutes. After the 15 minutes, turn off the heat, remove the canner lid, wait 5 minutes and remove the jars to a hot pad or towel. Ping, ping, ping – marmalade! Wait 12-24 hours, check the seals, remove the bands, wipe, label and store. Deeeeeelish!

cherry3 copy

*This post contains affiliate links. Check out the “About the Blogger” page for more information.

Seville Orange Marmalade

OK – so if you read my post on Friday, you know about the epic challenge I am undertaking – that I plan to can my way through the entire Ball Complete Book of Home Preserving. So here is my first post for that challenge, page 97, my first traditional marmalade.

Ingredients:
2 1/4 lbs Oranges
2 Clementine oranges
2 lemons
12.5 cups hot water
11.5 cups sugar
1/3 cup brandy (optional)

marmalade 1

Here’s how we made it:

We didn’t 100% follow Ball on how to do step 1 just because we wanted really thin slices of peel, so you can decide which method you prefer. We peeled strips off the oranges with a potato peeler, then peeled off the rest of the peel and juiced them in an electric juicer, reserving the juice. The rest of the peel/rind, seeds and pulp goes into a cheesecloth bag. The other way you can do it is by halving your oranges and lemons and squeezing the juices out into a cheesecloth lined bowl. Then scoop out all the rest of the pulp and seeds into the cheesecloth. If you like the orange slices thick then no problem, follow Ball and now slice those peels as thin as you like them. We just wanted really thin slices. Whichever way you do it, reserve the juices, and tie the pulp, peel and seeds up in a cheesecloth bag.

marmalade 2

Combine the juices, peel slices, pulp sack and hot water in a large pot. Bring to a boil, then reduce the heat and continue to boil gently. The goal is to get the peel nice and soft, and reduce the total volume by nearly a half. This will take about 1.5-2 hours.

marmalade 3

After the hour and a half or so you’ll remove the cheesecloth bag. Try and squeeze it out pretty well back into the pot, or set it in a strainer so you can add those tasty juices back. At this point you want to check that you have pretty close to 10 cups of liquid remaining. If you have more left (like we did) this can affect the quality of your set. So if you are still well over 10 cups you can either discard some or let it boil down a little longer.

marmalade 4 copy

Time to prepare the canner, jars and lids. This recipe will yield 11-12 half pints.

Bring your juice back up to a boil, stirring constantly. Slowly add in the sugar. Maintain a hard boil for 15 minutes or so while stirring occasionally, until gel stage is reached. Once it reaches gel you can add the brandy if you are using it.

marmalade 5 copy

Fill the hot jars with marmalade, leaving a 1/4 inch head space. Wipe the rim, apply the lid, and tighten the band finger tip tight.

As you can maybe tell, our marmalade was a little thinner than it should have been. I’m pretty sure this is due to us not making sure we had 10 cups of liquid, so definitely don’t skip that step. It also did set more and more throughout the week, so if it’s not perfect at first don’t panic.

marmalade 6 copy

Place the jars in the canner covered by at least 1-2 inches of water. Bring to a full rolling boil and process for 10 minutes. After the 10 minutes, remove the canner lid, wait 5 minutes, and remove the jars onto a hot pad or towel. After 12-24 hours when they have cooled, check the seals, remove the bands, wipe the jars, label and store. Wait a few weeks to eat them for the best set.

marmalade 7

*This post contains affiliate links. Check out the “About the Blogger” page for more information.

~~~ An Epic Canning Challenge and a Book Review ~~~ The Ball Complete Book of Home Preserving

The Ball Complete Book of Home Preserving is a book that every canner should have in their collection. I don’t know why it has taken me this long to give you a review of it since it’s basically the first book you should refer to when you decide, “I want to can today!” But first – the epic canning challenge! When I started canning with my friend Kiki, we joked that we should challenge ourselves to can everything in Ball, a.k.a. my canning bible. Alas, something was holding us back… and it’s name was marmalade… chutney….and a few other preserves. The chapter on soft spreads has some downright weird sounding recipes in it. However, last week we conquered two marmalades (recipes coming soon) and I’ve decided, the challenge is on. We are going to can EVERY recipe in the book! This could take a while, but I’m in it for the long haul. Bring it on Ball!!

ball

So let’s talk about the book for a minute. It’s not called the “complete” for nothing. This book has 400 recipes in a broad range of categories, and has TESTED and TRUSTED recipes. This should be the book you check when you read a recipe elsewhere that doesn’t sound quite right. Remember, anyone can write a canning book or blog, but Ball’s recipes are ones that you know you can trust. They have lots of nice tips in the columns also, and a good section on getting started.

IMG_1215

In the Ball Complete Book of Home Preserving you will find everything from jams and marmalade, salsas and chutney, to pressure canned soups and stocks, condiments and pickles. So get this book now, canning season is just around the corner and it’s currently only like $13 on amazon. It is definitely worth that! So get it and follow along as I can and blog my way through the entire book!

IMG_1220

*This post contains affiliate links. Check out the “About the Blogger” page for more information.

Makin’ my Merlot

Wine. Wine. What can I say about wine? The nectar of the gods. Wine is a delicious fermented beverage that people have been making and drinking for thousands of years. While the art of making phenomenal wine may be a skill that takes time to perfect, it’s actually not very hard to make pretty darn good wine at home. And for the cost comparison it can be well worth your while!

If you read my last post you know that we already invested in a beer starter kit, so we bought a few additional things, but mostly the kit will work for both.  Typically the wine kits (the ingredient kits as opposed to the equipment kits), which are a great place to start, make 6 gallons , so you need a 6 gallon carboy rather than 5 with the beer. This starter kit would be enough to get you started. Personally, I’d go for a glass carboy just because I feel like they are easier to clean and I’d prefer my wine to be sitting in glass than plastic for extended periods of time (although the primary buckets are plastic). But some “fancier” wines sit a lot longer. Anyways, start with a wine kit to try your hand at wine, everything you need is included right there in the box! Pictured below is my primary fermenter with everything that came in my first kit! yay!

wine1 copy

The first step for homemade wine is about as easy as it gets. You stir bentonite into warm water. Then add in that big sack o’ grape juice concentrate once it is dissolved. We could not figure out how the heck to pull off the cap without exploding it everywhere so I recommend one person holding it over the fermenter while the other cuts a hole in the corner.

wine2 copy

For this merlot there were also dried grape skins, which you put in a sack and add to the bucket. Then, you top it off to 6 gallons with water. Next, throw in some wood chips. Aging wine in fancy wood barrels, psshhh we just throw the wood in the wine instead of putting the wine in the wood.

wine3 copy

Take a hydrometer reading so you know your starting sugar content and can calculate percent alcohol at the end. Stir it all up, add in the yeast. Presto!

wine4

And then we wait. Put on the lid and watch it bubble away.

wine5

After about 6-8 days this wine was transferred to the secondary fermenter. This is because of the wood and peels in there. We’ve done a second one (Pinot Noir) where it stayed in the primary 14 days, until fermentation was complete, so it varies by wine.

wine6
The next stage for most kit wine occurs after about two weeks when fermentation is complete. At this stage we racked it back into the primary bucket where we added some chemicals for clarifying and stabilizing the wine. Sulphite and potassium sorbate are added as preservatives and kieselsol and chitosan are added as fining/clarifying agents.

wine7
This stage is also about degassing the wine, so after the addition of the different preservatives and clarifying agents you use a sweet drill attachment to stir the wine really vigorously. You could also just stir it really fast, but why not use a drill on your wine if you get the chance!? The chemicals have to go in a certain order to properly clarify the wine, so follow the instructions in your package and stir for the appropriate amount of time in between.

wine8

Once finished we racked the wine back into the cleaned and sterilized secondary fermenter to stabilize for a few more weeks.

Then when the wine is clear, it’s bottling day! For this we transferred it into the primary bucket, then bottled from there, but I’ve since decided that is totally unnecessary. Just bottle from your secondary fermenter. I let it clear at a height though so I didn’t have to disturb it at all bottling day.

wine9

In advance of bottling day you will have cleaned some old bottles and accepted bottle donations from your friends. If you are going to get into wine making, it’s time to stockpile bottles! Don’t buy them, that’s ridiculous. Buy full bottles and drink them and then clean them up 🙂

wine 10 copy

Bottling is easy as pie. Fill each sanitized bottle to right about where the neck of the bottle begins.

wine 11

Then comes the final challenge. Corking. Here is our first attempt at that. We decided it just gives the bottles personality. We did get better after this one though. Corking it kind of a 5 handed job, so if you are two people, well… ya.

wine 12 copy

Ta da! 30 bottles of wine. Leave it upright for a day or so, then store it on its side to keep the cork moist. Kit wine usually recommends aging the wine 2-4 months, so in a few months I’ll let you know how it tastes. The glass we had left over tasted pretty good, and it’s only supposed to get better from here. Total cost – about $2 a bottle!

wine 13 copy

*This post contains affiliate links. Check out the “About the Blogger” page for more information.