Carrot pulp crackers – save that juice waste!

For all you juicers out there who feel like you should be using that leftover pulp for something after you drink your delicious juice, this post is for you! Or, if you are just looking for a healthy cracker but don’t juice, shred up some carrots or other veggie for this recipe.

One thing that I hadn’t done yet with my juicing was to use the leftover pulp for something. I compost it, but it always seems kind of nasty and unappealing to me. Especially when I juice a bunch of things that are all mixed in there together, with chunks of peel and celery string that got caught. Eww. So I decided to brave just using the carrots first for crackers. I juiced all my carrots, set the pulp aside, and then juiced the rest. I recently had talked to a friend about making crackers from the pulp using flax or chia seeds, so I did a quick google search, found a few somewhat similar to what I was thinking, and made up a recipe – so here is what I came up with. Feel free to use whatever type of seed you like or whatever type of flour. Chia seeds are super good for you, so this seemed like a great way to eat them. Make these crackers gluten free if you want by blending up flax seeds, or using quinoa flour or something! Enjoy!

IMG_1826

Ingredients:
3 cups carrot pulp
1/3 cup flour
2 tablespoons chia seed
2 tablespoons sesame seed
1-2 tablespoons olive oil
1 or more teaspoons garlic powder
1/2 teaspoon salt
1/2 teaspoon pepper
1/2 teaspoon paprika

Here’s what I did:
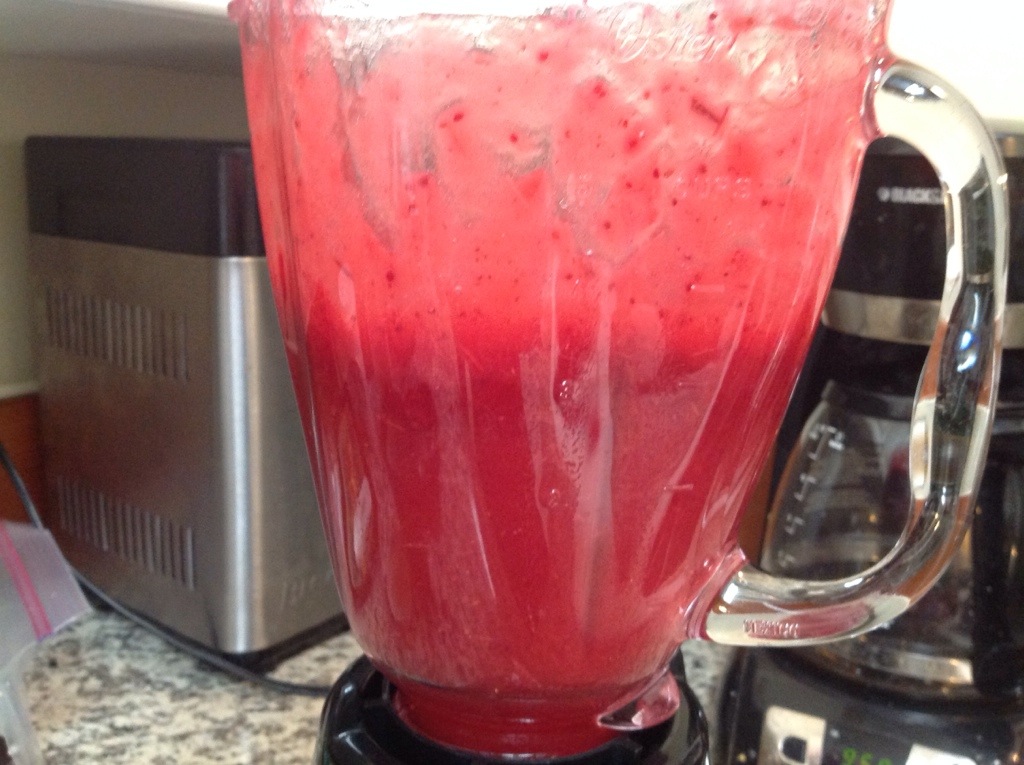
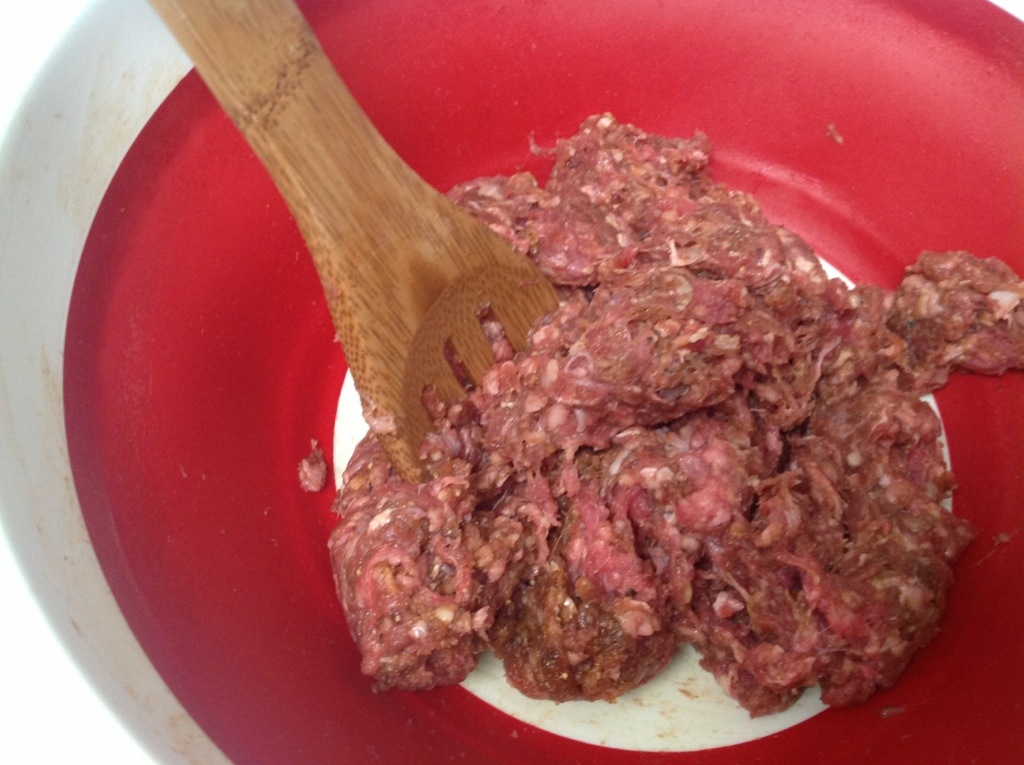
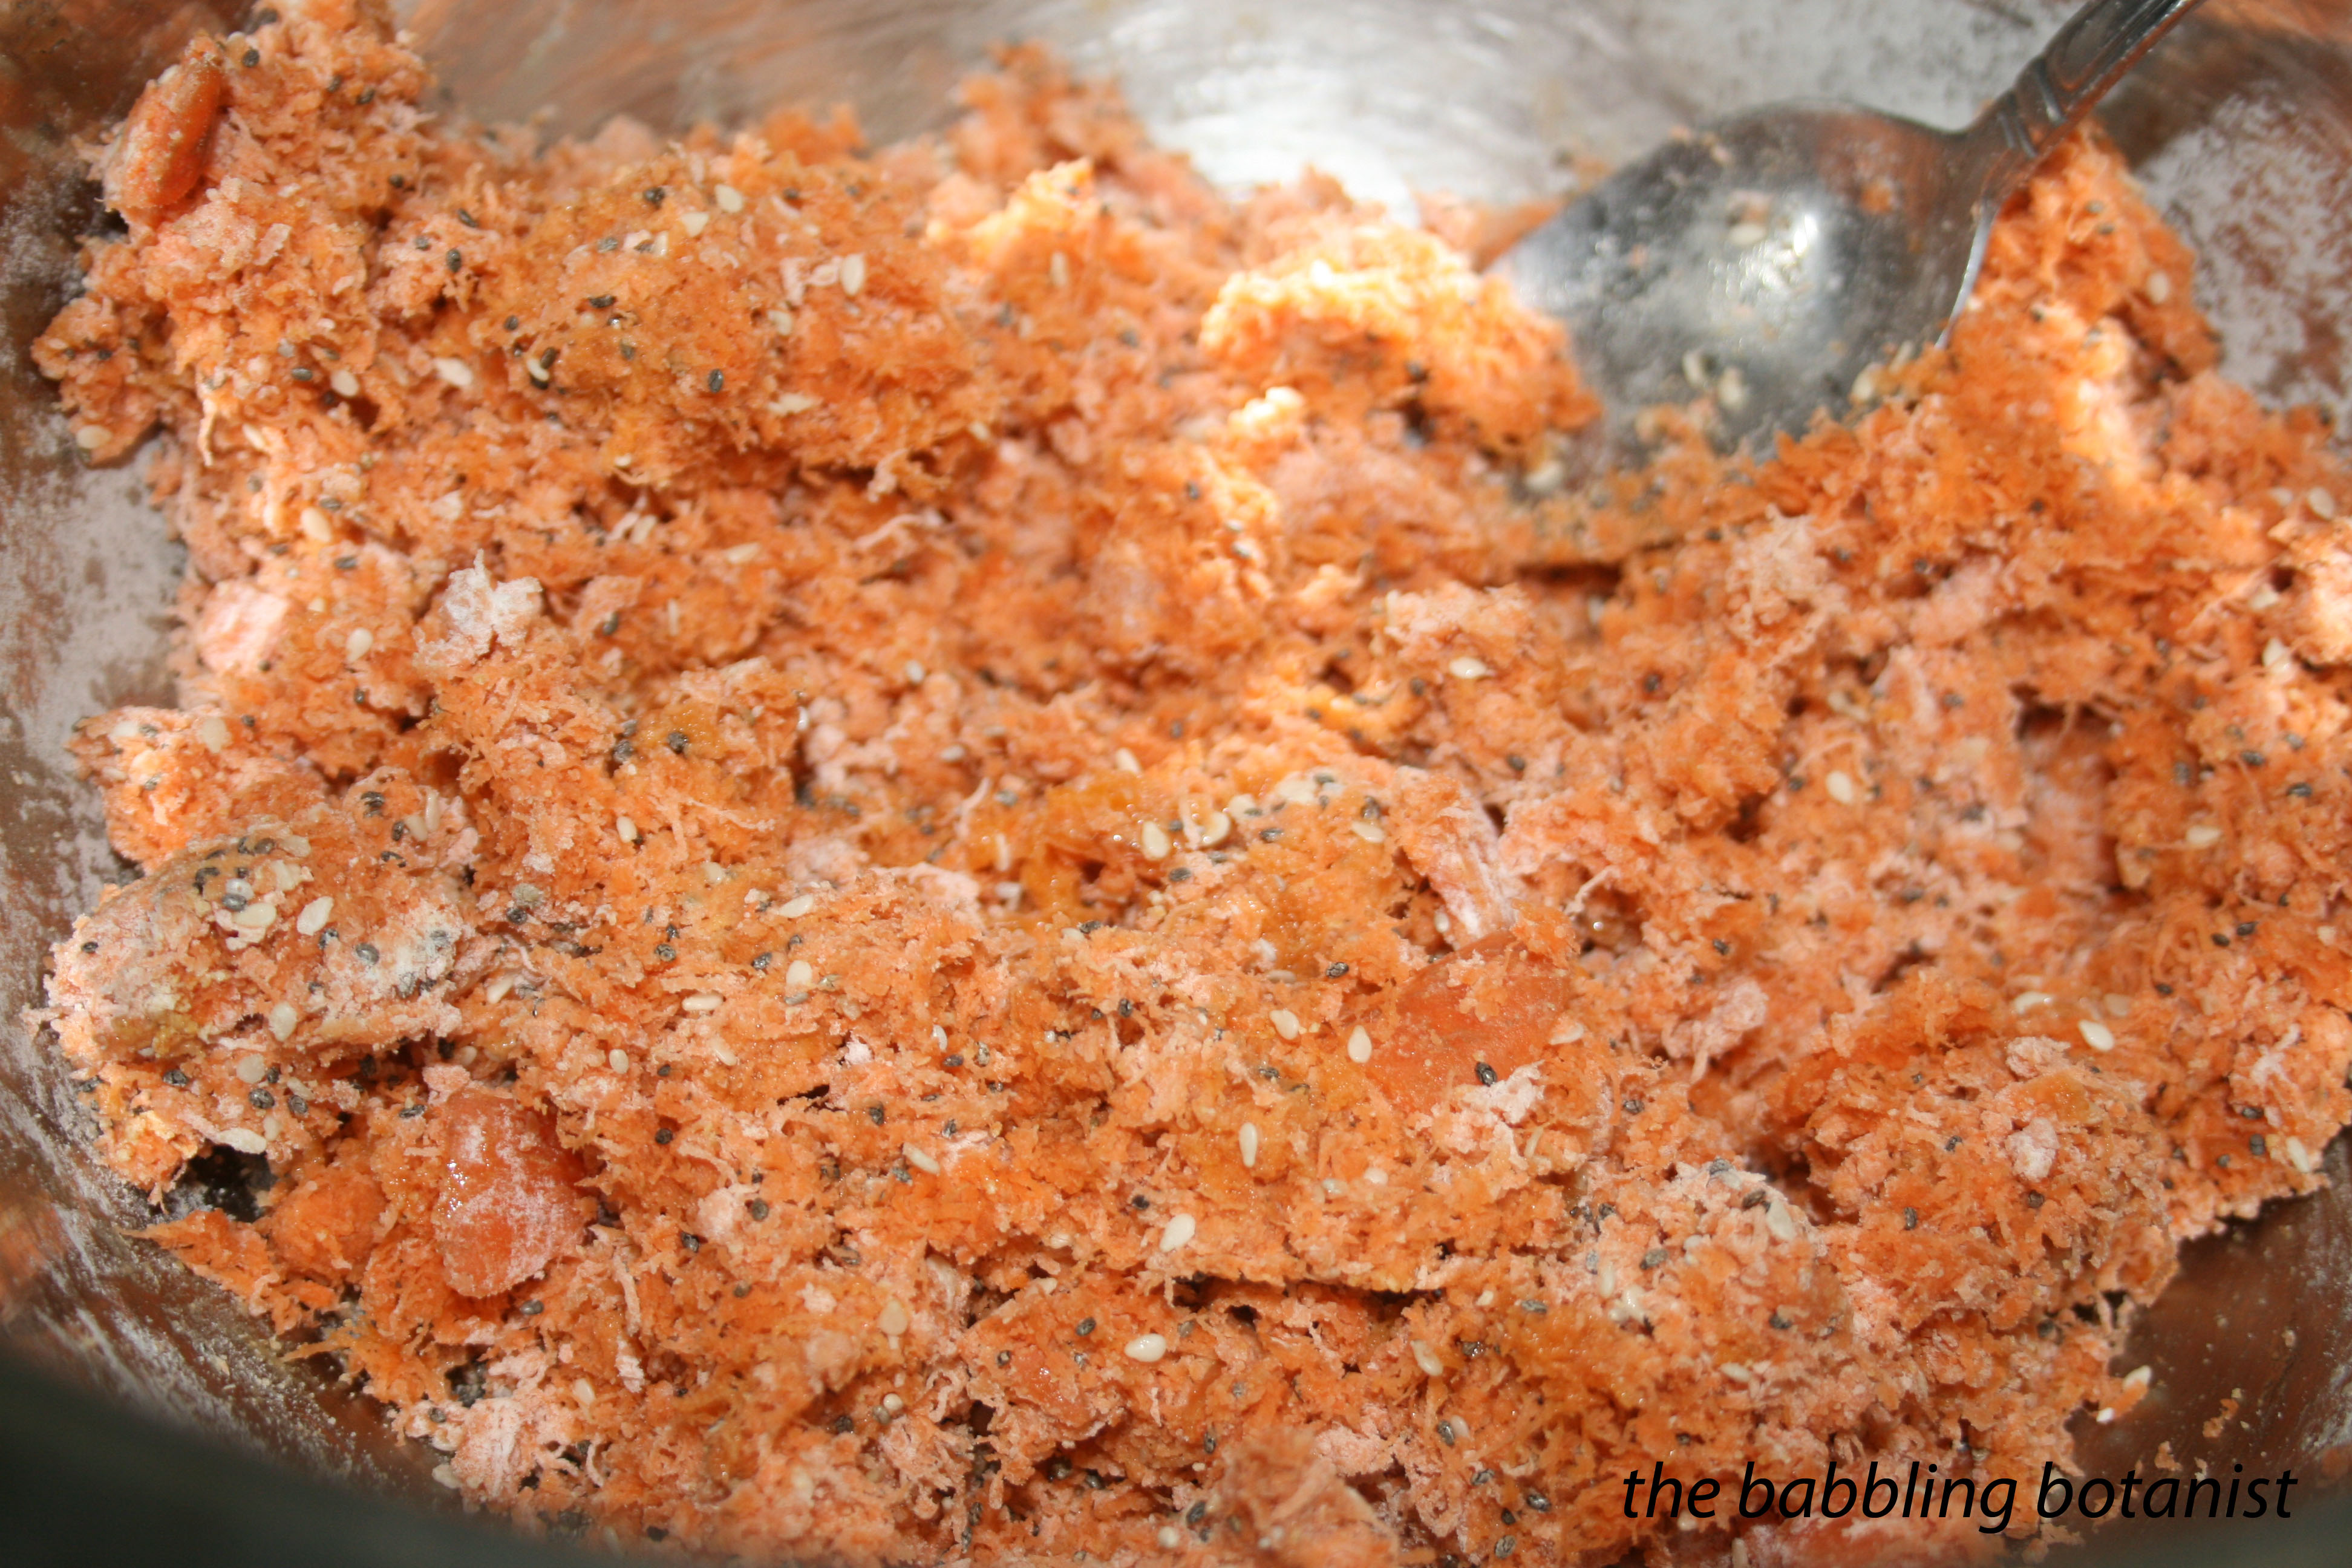
Juice a bunch of carrots and save the pulp. Mix it with all the other ingredients. Definitely spice it to taste with whatever you like, I think it could use more salt or more garlic powder.

IMG_1752 copy

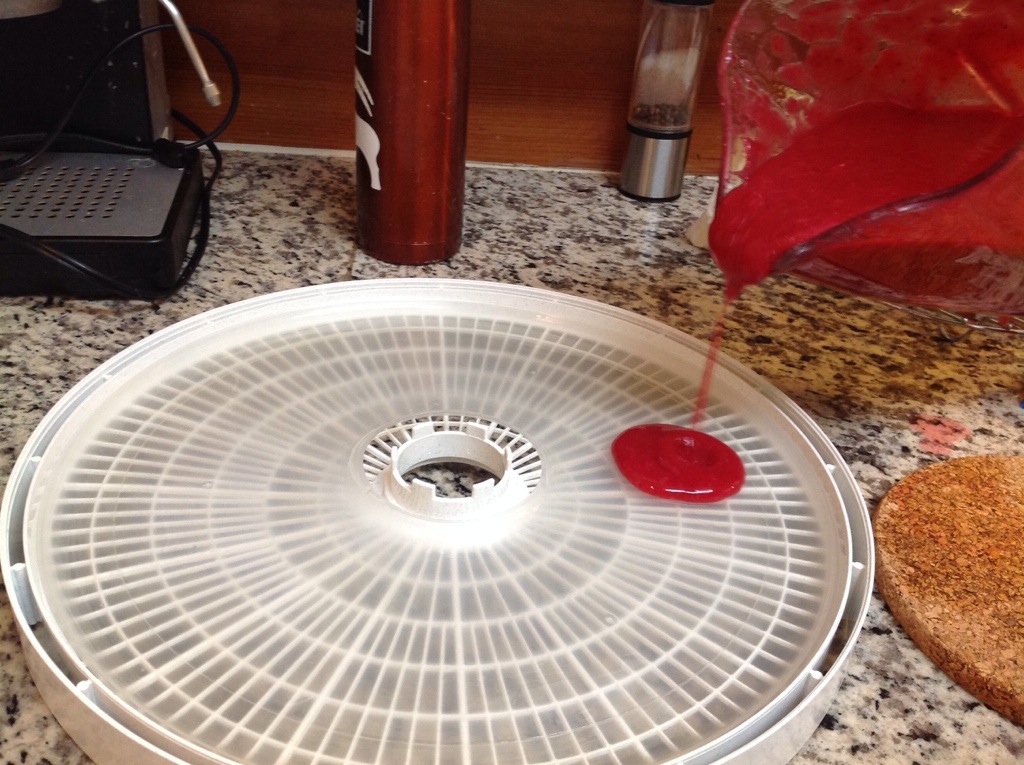
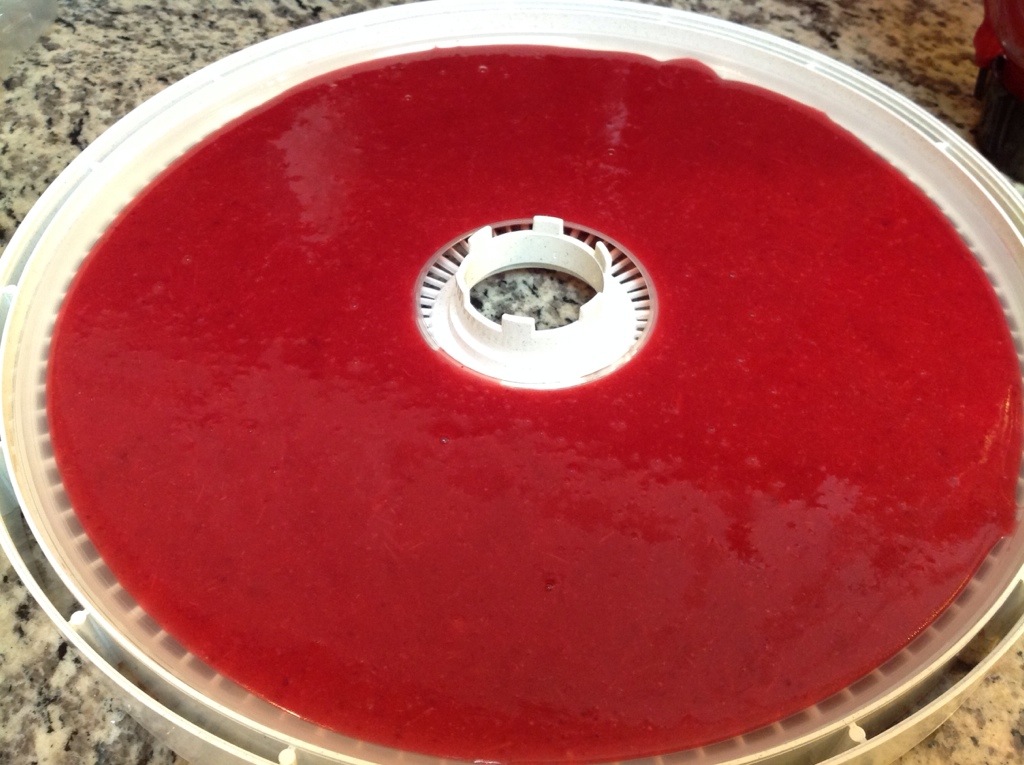
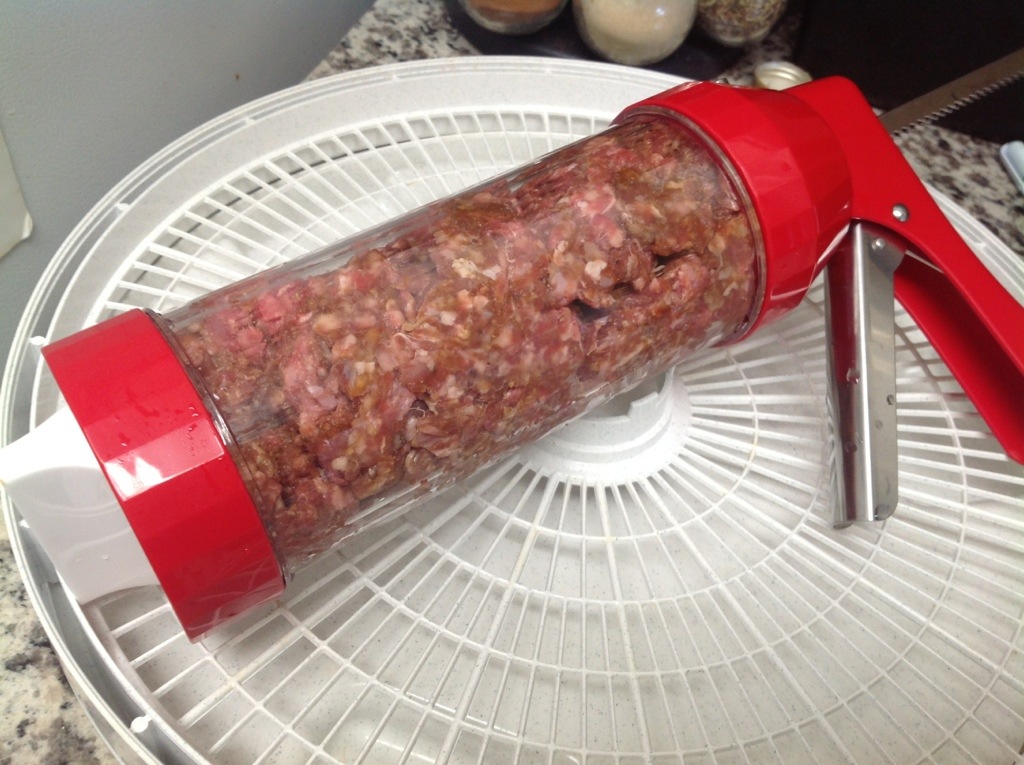
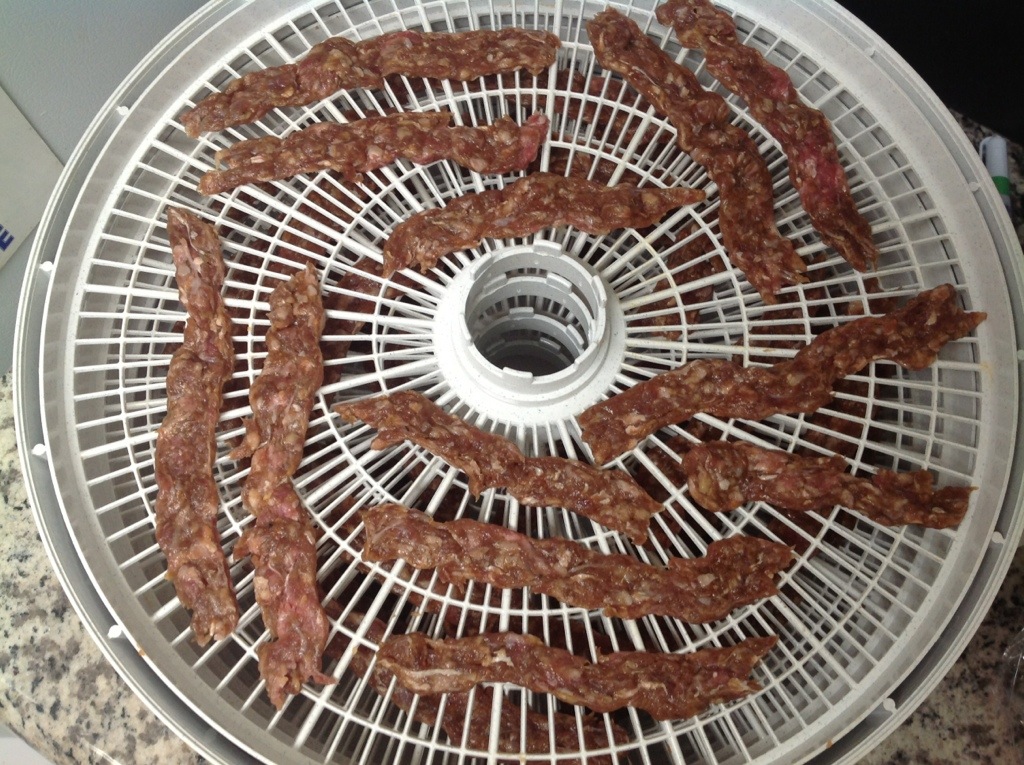
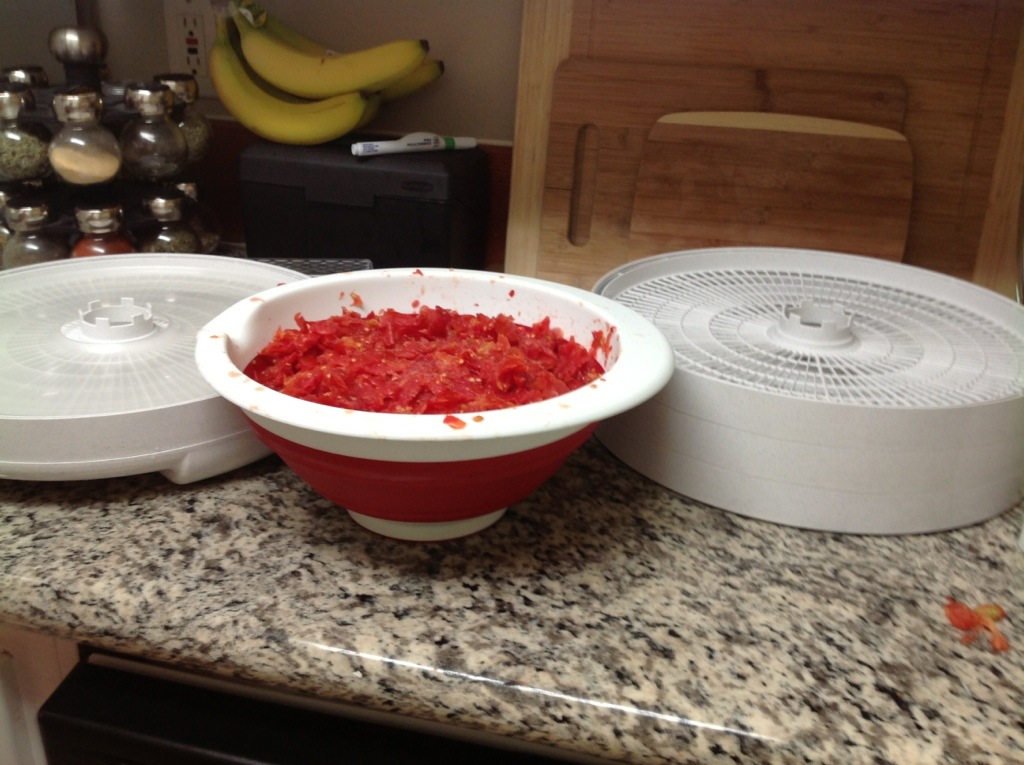
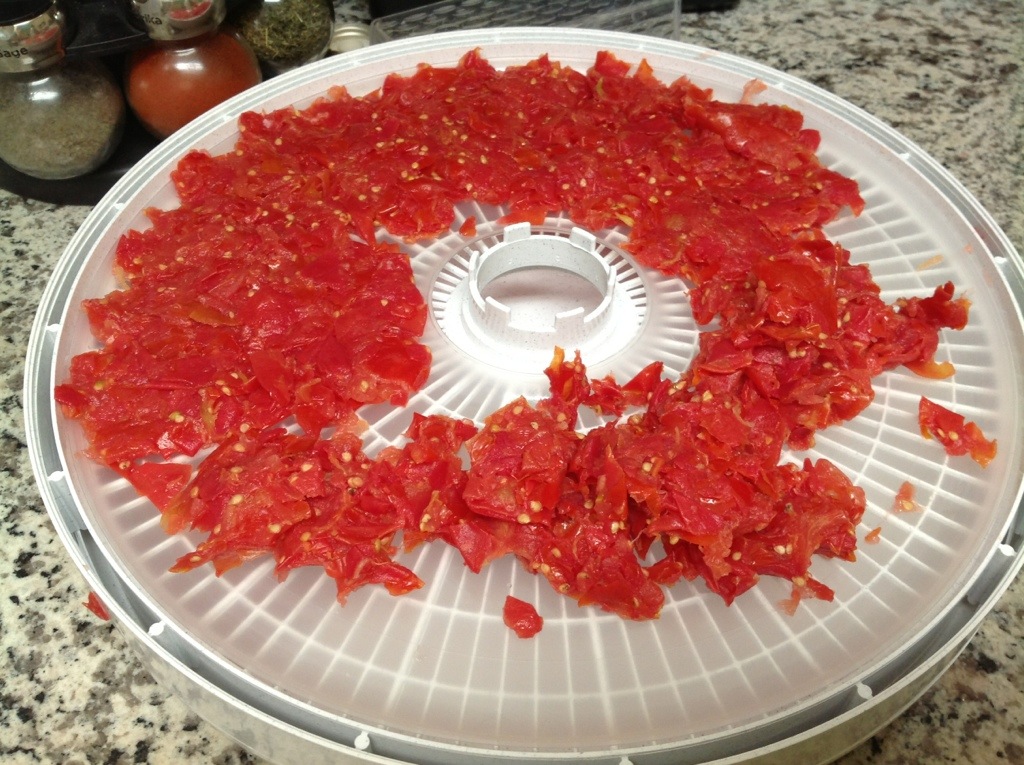
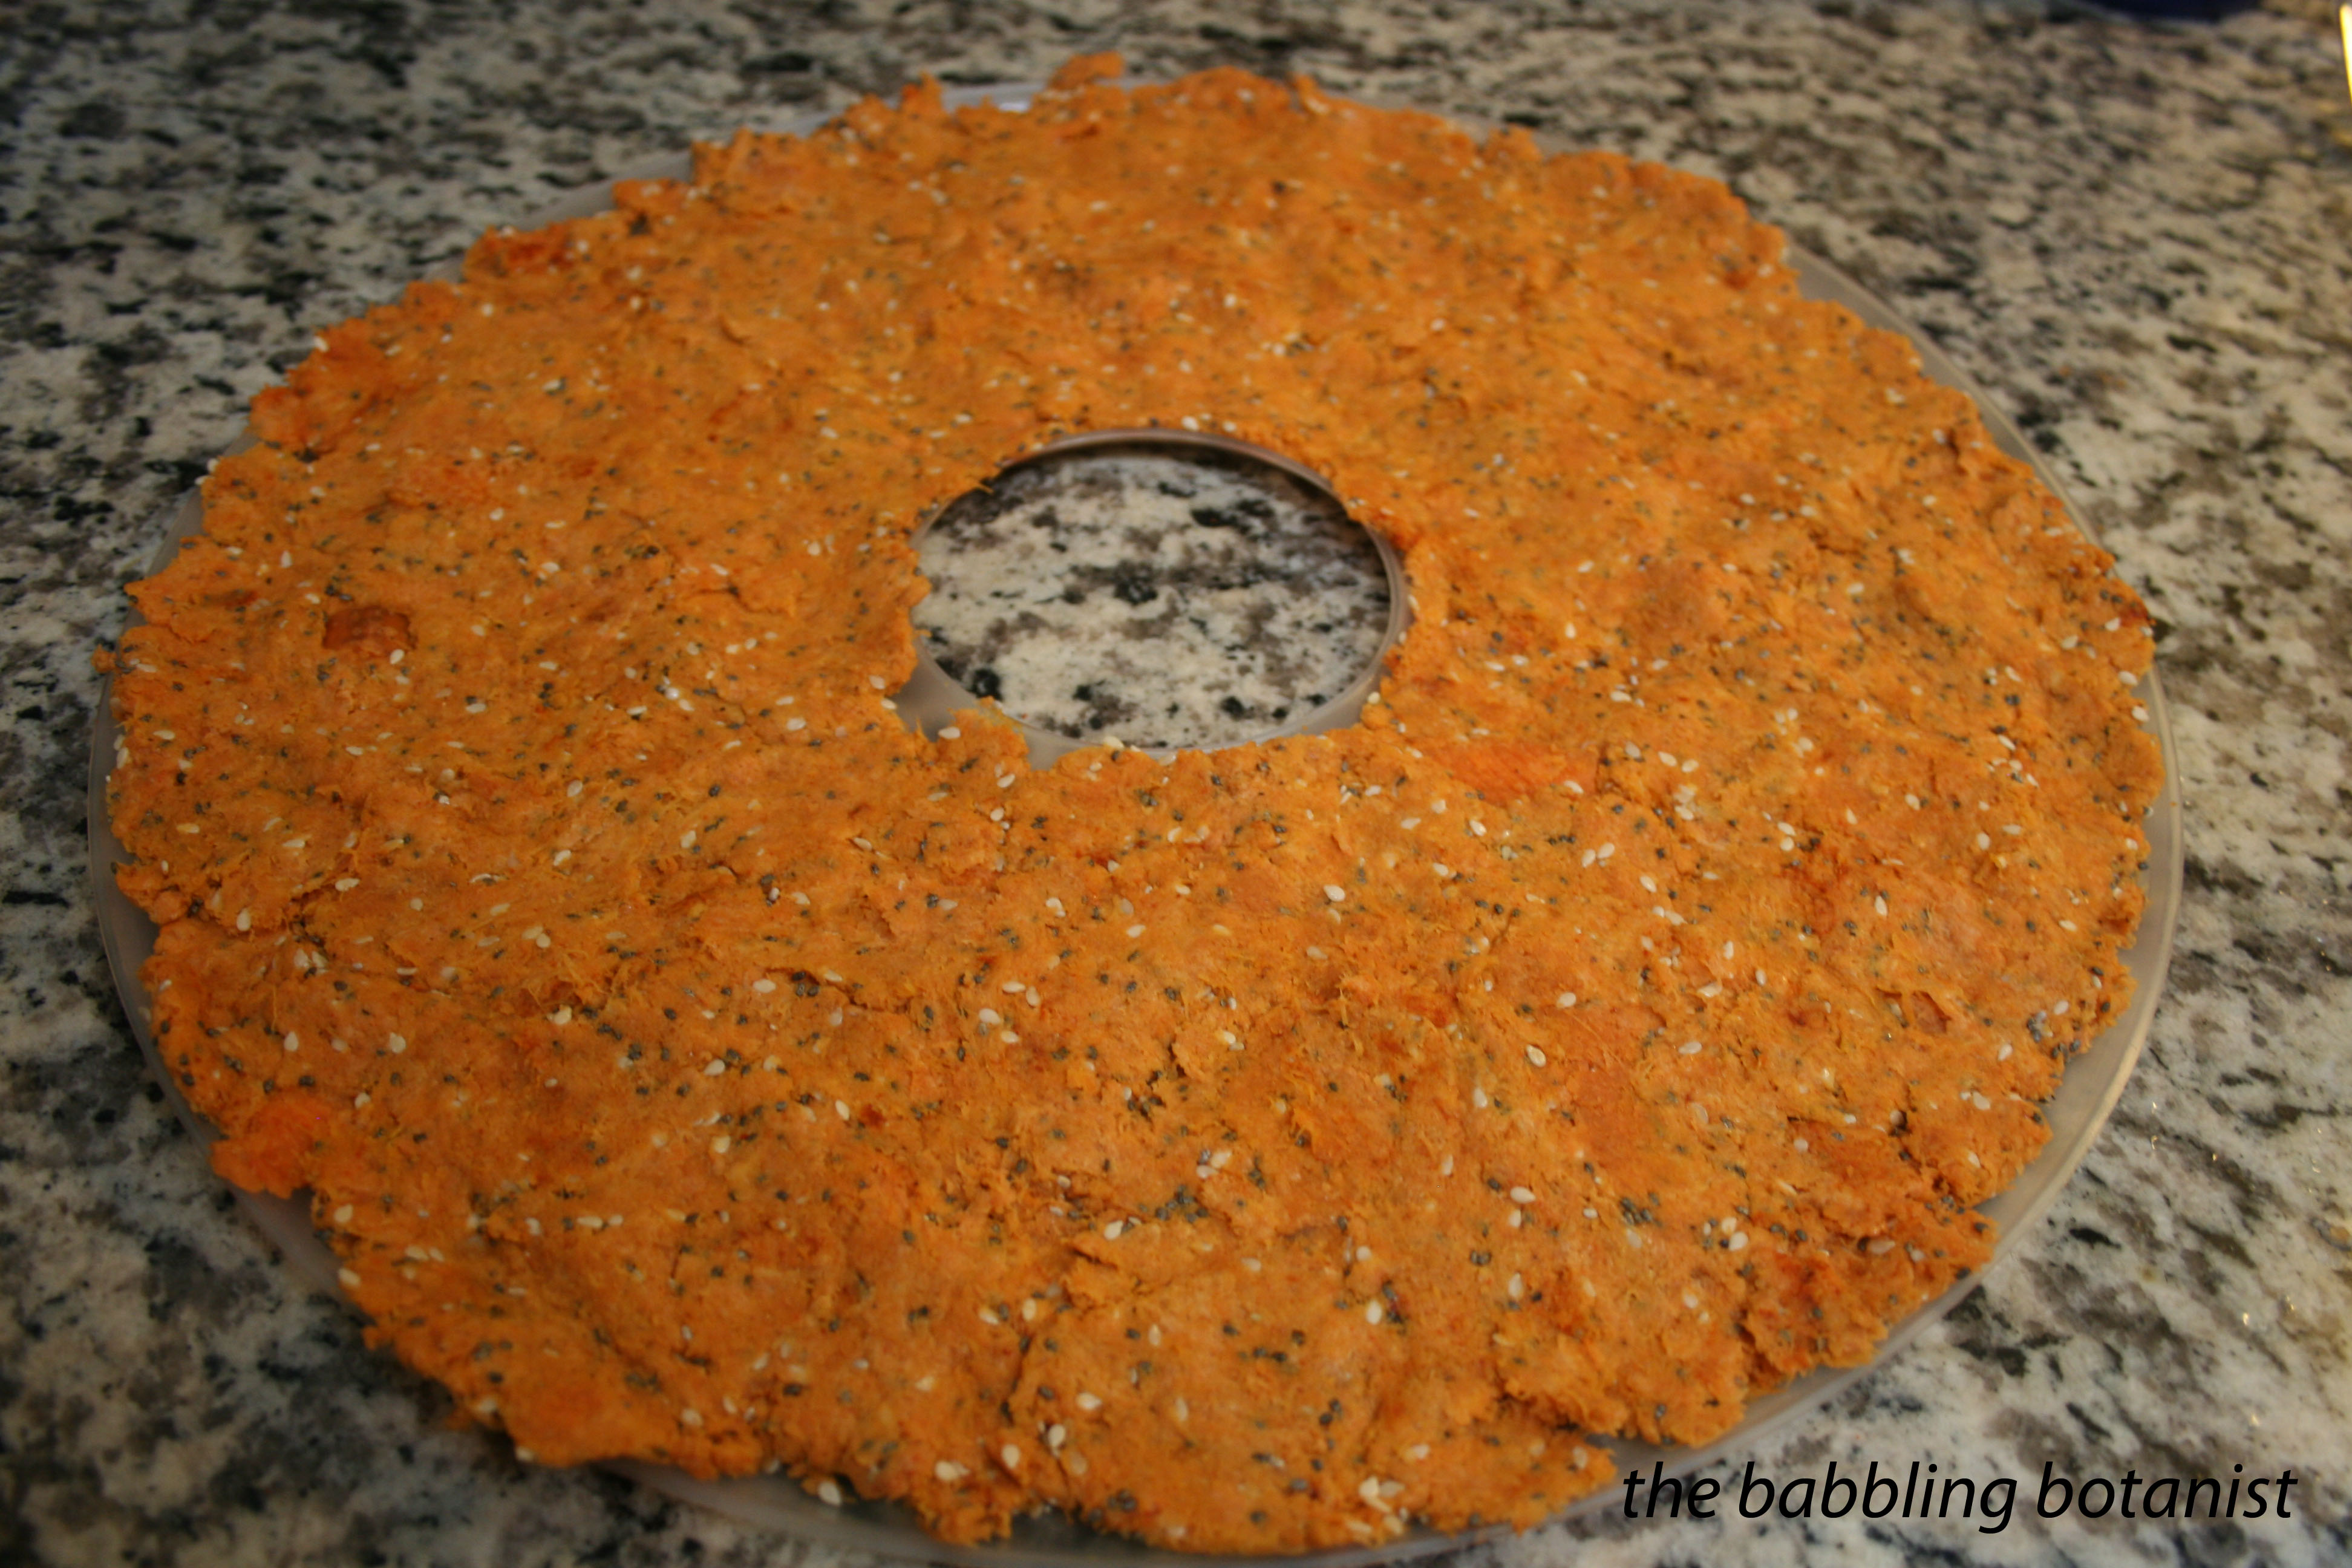
Spread it out on a plastic dehydrator tray. Flatten down with the back of a spoon.

IMG_1759 copy

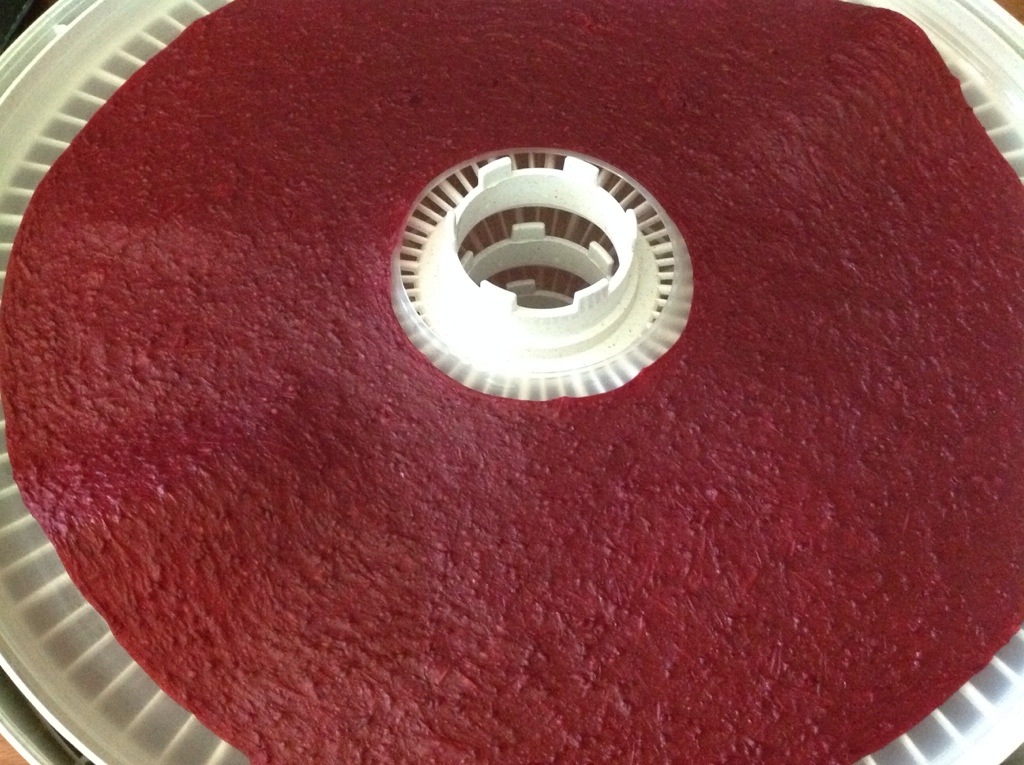
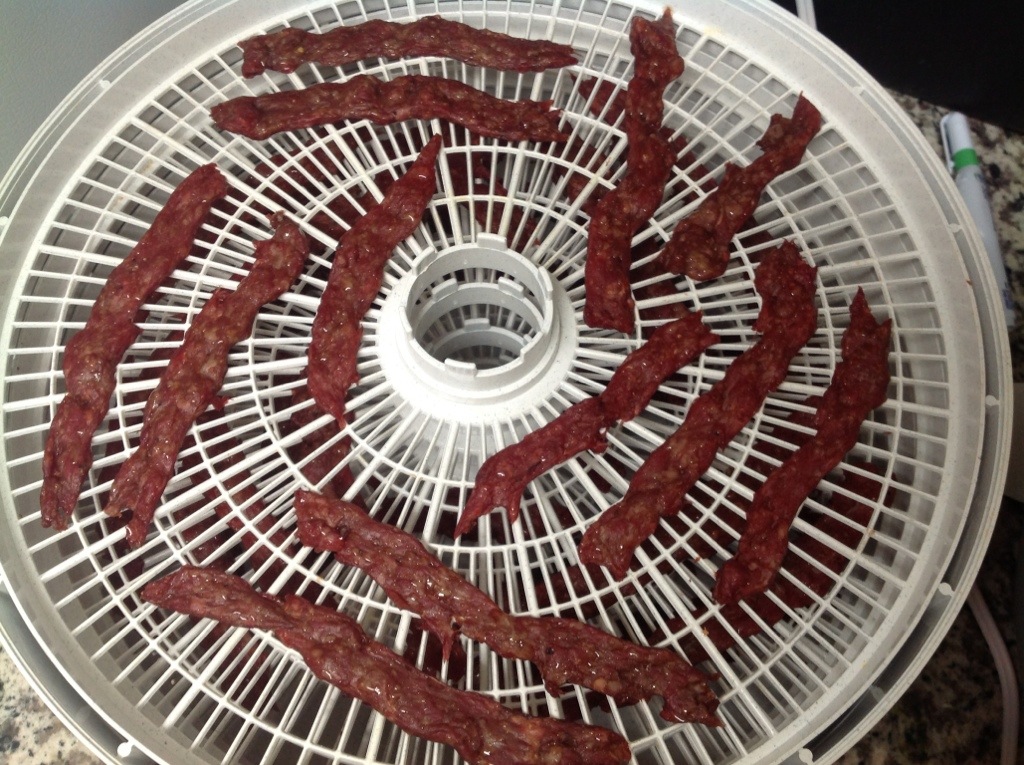
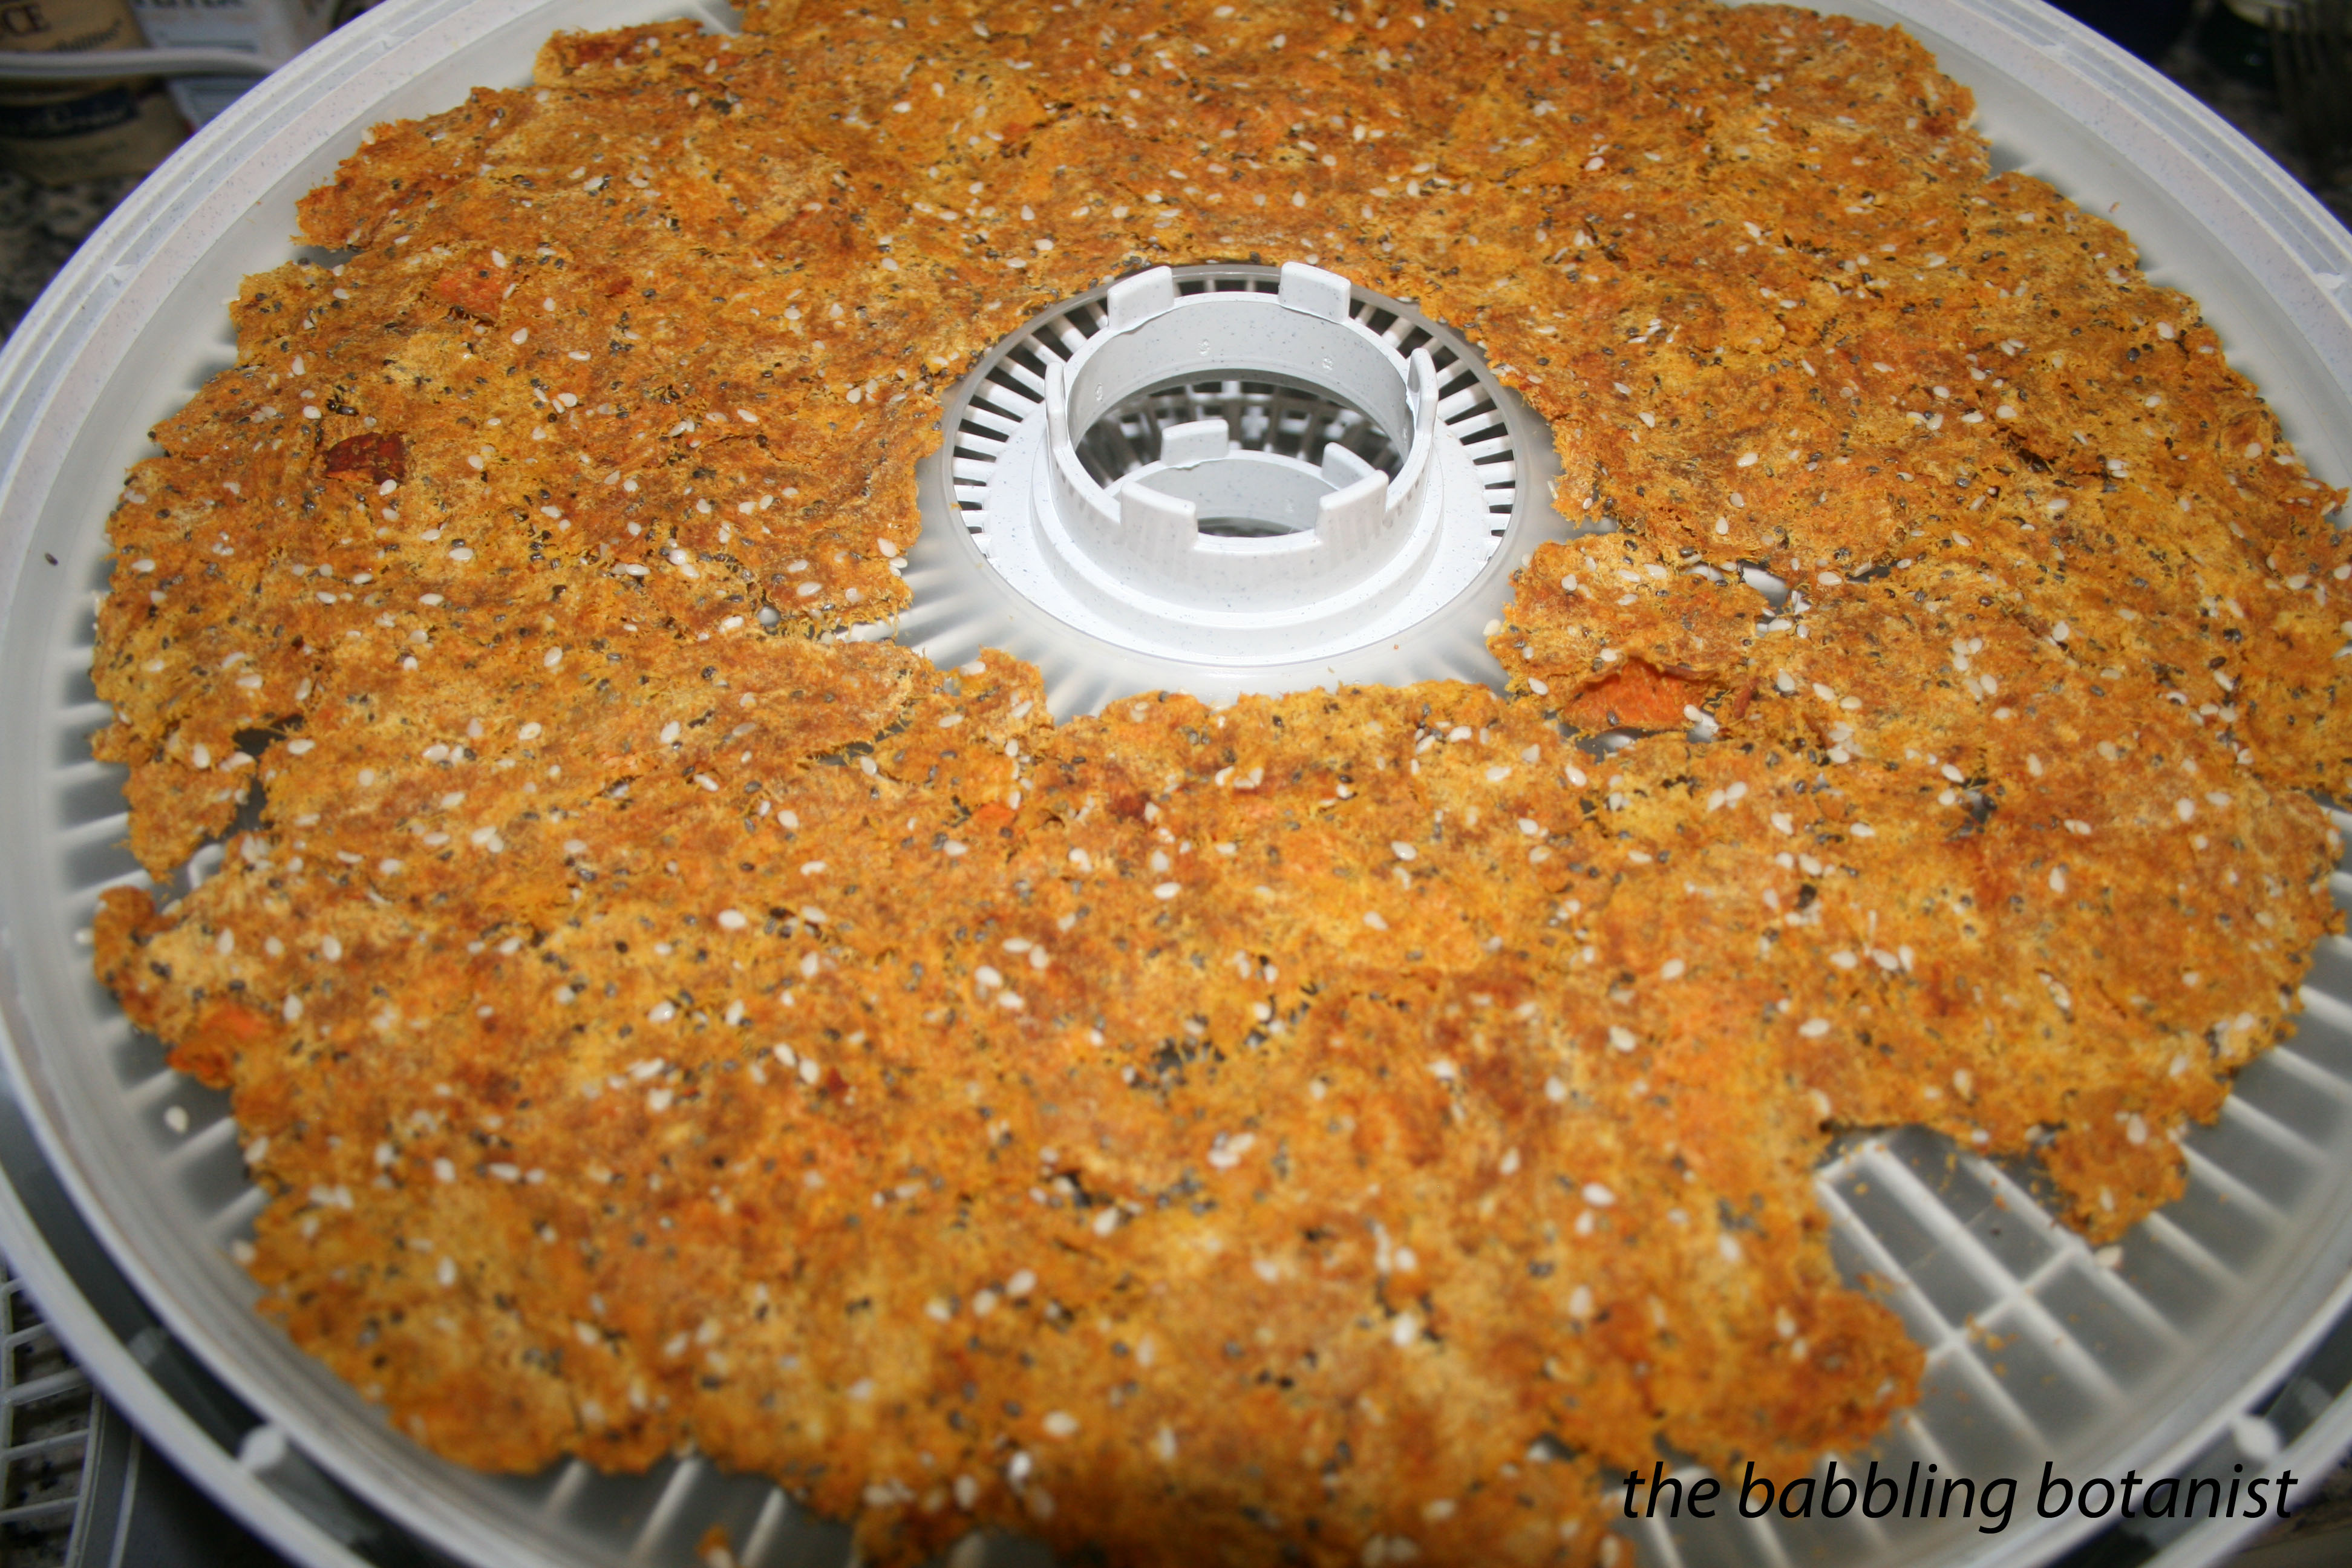
Dry at 135 F for 6 or so hours, until it is dry. I think it was around 6 hours for me with only one tray full, so it will be longer if you make a thicker layer or do multiple trays. I think the best way to do these would be to buy more dehydrator trays (those plastic inserts for fruit leather and what have you) then save a few days of pulp in the freezer and make a bigger batch. I have this dehydrator, which I am super happy with, but if you don’t have one, try this on the lowest setting in your oven.

IMG_1791 copy

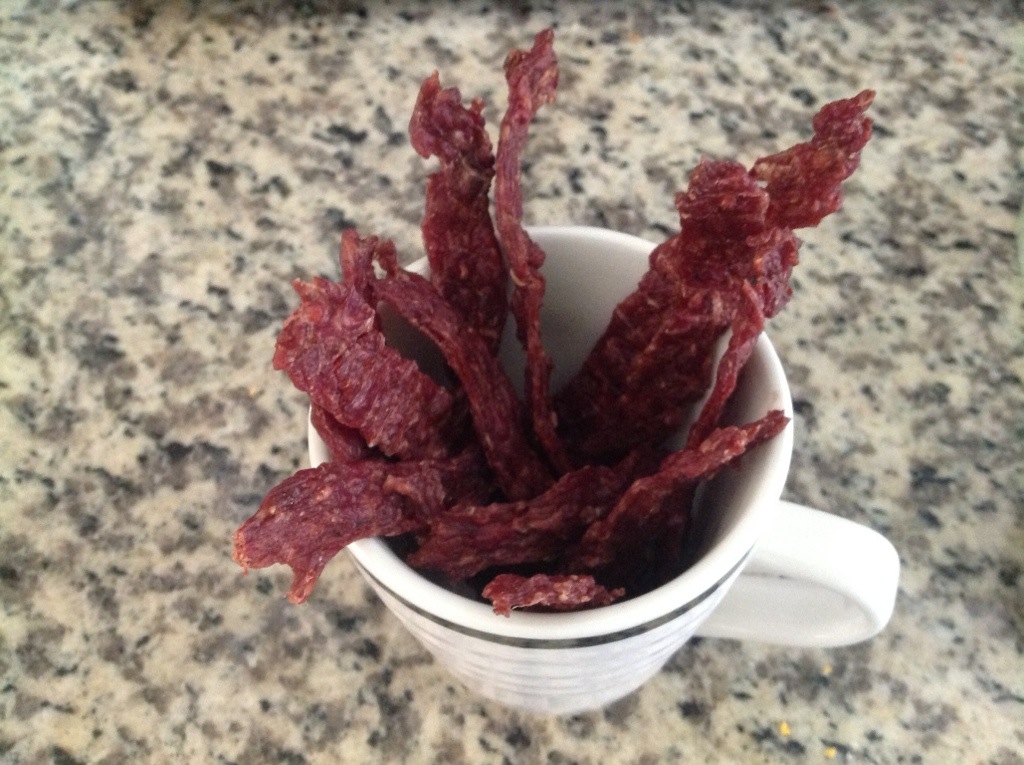
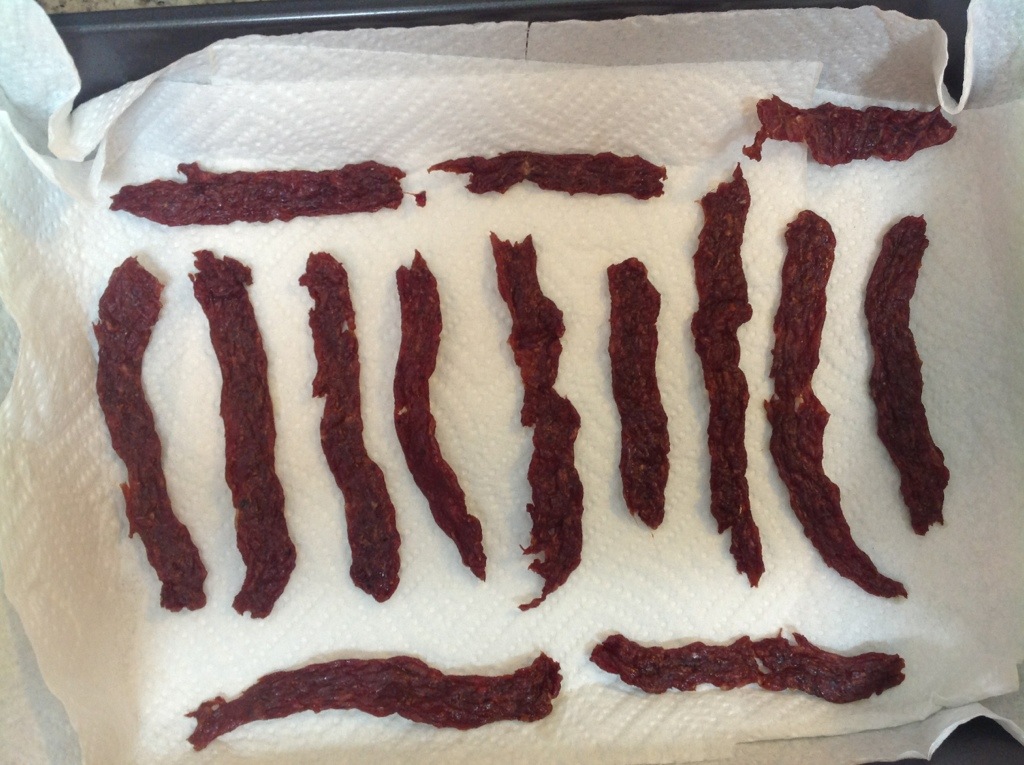
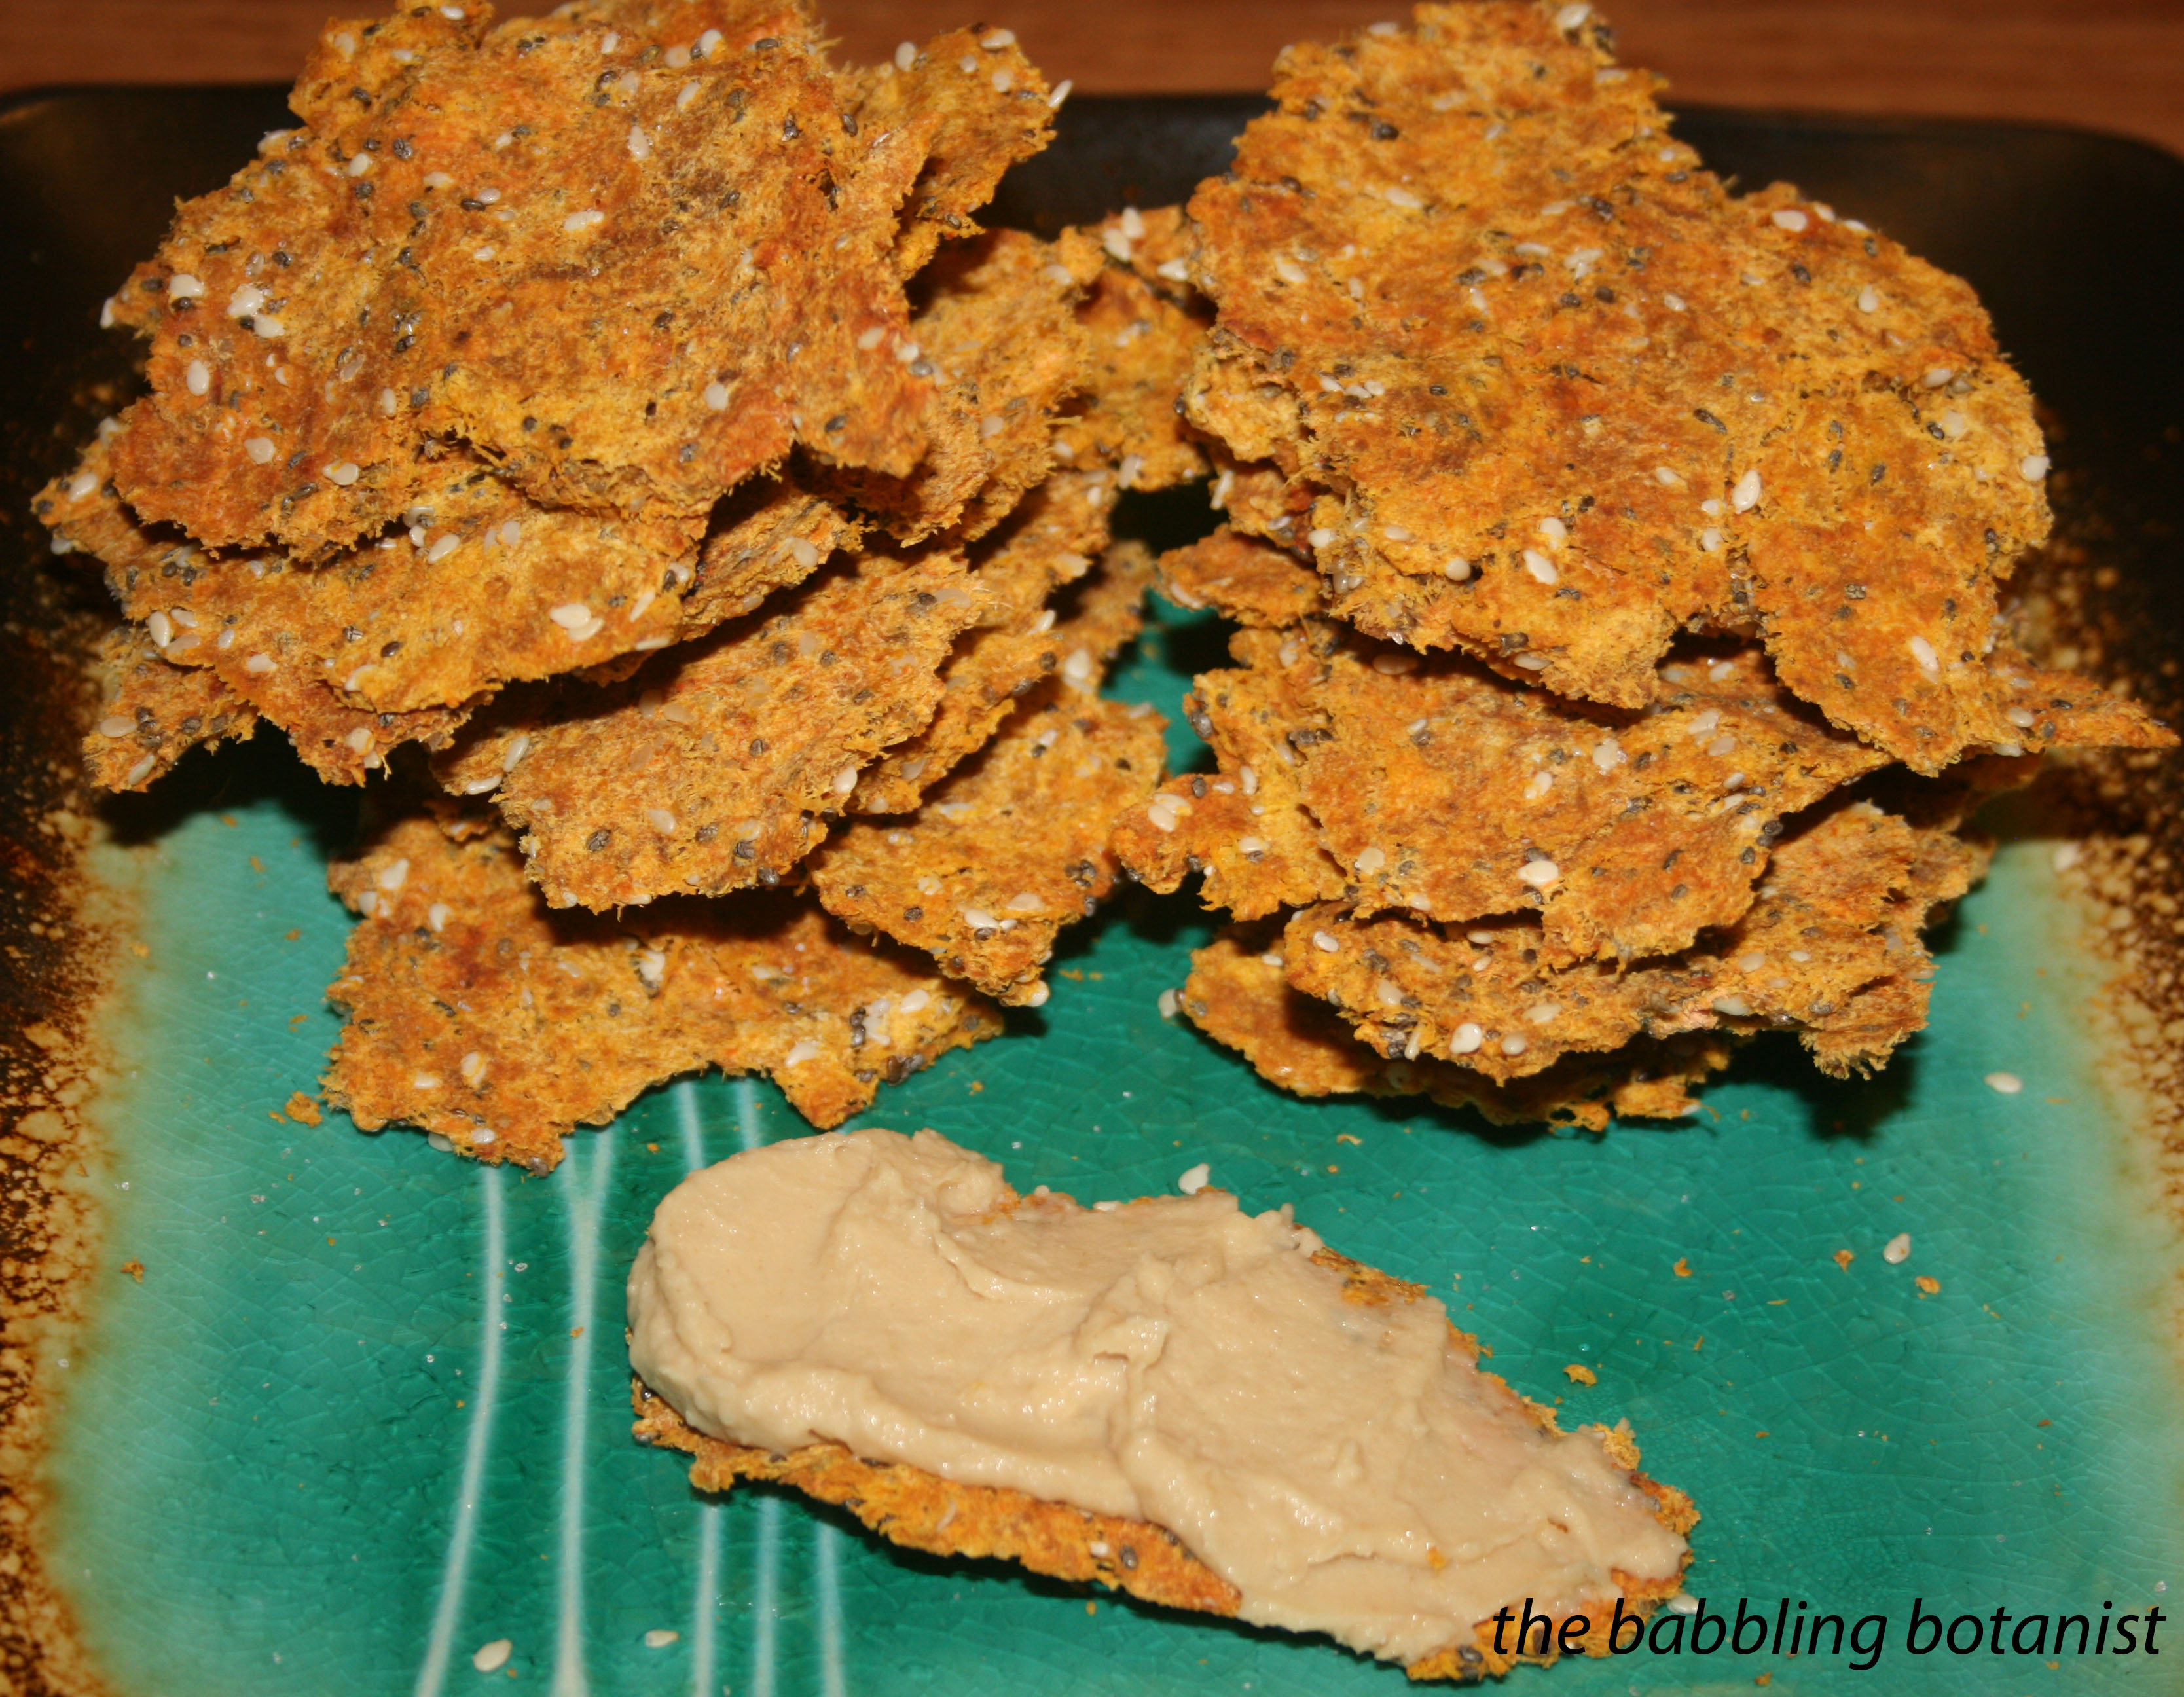
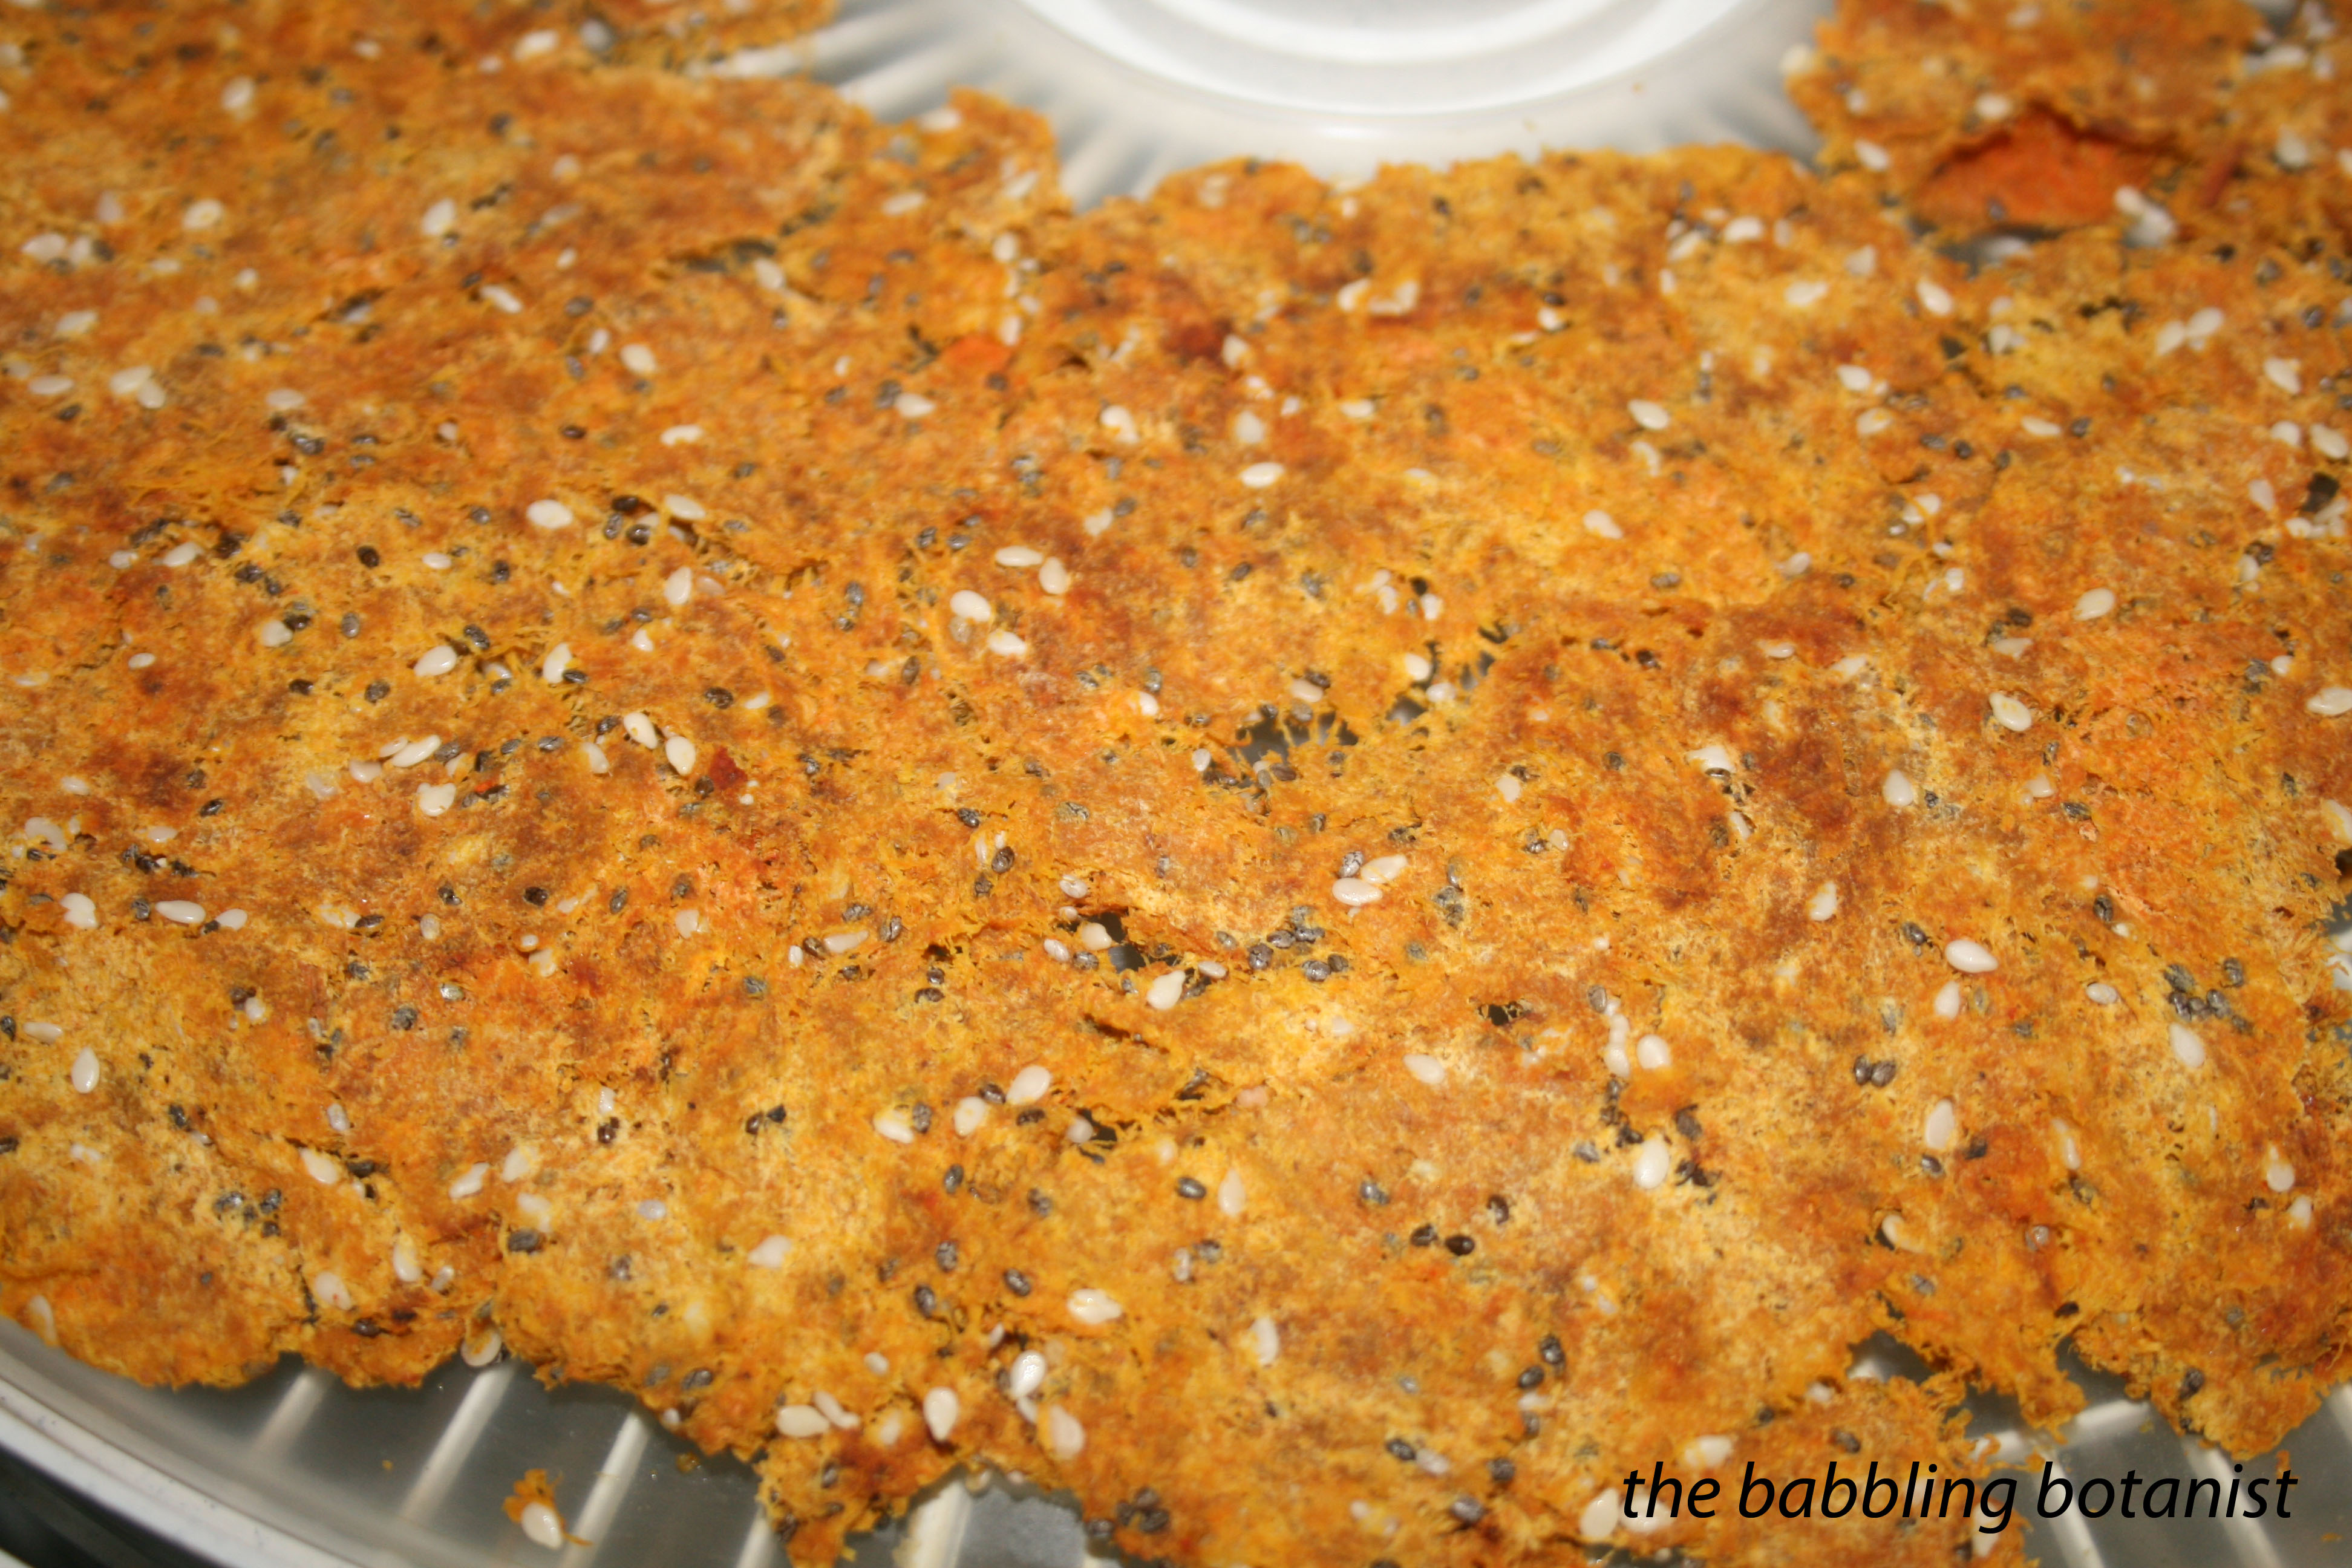
Mmmm crispy crackers. Break them up into pieces and eat. They are good with hummus as in the first picture above 🙂 Next up I’d like to try some different spice mixes and maybe make them with beet pulp for a pretty purple cracker!!

IMG_1792 copy

Do you use your pulp when you juice? I’d love to hear about more ideas!


Cranberry Fruit Leather

For anyone who read the cranberry juice post and was wondering, “did she just throw out the cranberries?” Here is your answer: no! I made fruit leather!

Step one: blend the leftover cranberries with a little water. This can of course be made of other pureed fruits and berries as well – be adventurous!! You can add a little sweetener if you like too.

20131025-225013.jpg

Grease a fruit leather tray a little and pour on the fruit puree.

20131025-225036.jpg

Place in the dehydrator at 135F for 4 or so hours (until it is dry enough to lift up but still a little tacky to the touch).

20131025-225102.jpg

This example is a little overdone but still tasty, check it frequently when it’s near done. Peel off pieces and eat! So tasty!

20131025-225202.jpg

Beef jerky – with the jerky gun!

Knowing that I got a dehydrator for my birthday, my good pal Kiki got me the jerky gun to go along with it! I finally tried it out last week and am pretty happy with the results. I just did about a pound of ground beef to try it out, which is about what the gun will hold at a time.

20130919-133326.jpg

For this first endeavour I used the spice and cure packets that came with the gun since it came with 4 packets, but in the future I’d really like to try my own recipes. I don’t like that there is really no list of ingredients on the packets. I will report back with delicious recipes in the future! This is tasty trust me, just maybe not the best for you.

20130916-225738.jpg

Here’s how I made it. Mix one pound of lean ground beef (93% lean or more) with one cure packet and one flavour packet. Add a little extra cayenne for spice if you desire (you DO desire it!)

20130916-225956.jpg

Mix it up well. It smelled so good I wanted to eat it all raw! Eww, don’t be tempted.

20130916-230045.jpg

Fill the meat into the jerky gun.

20130916-230110.jpg

Attach the end piece. I picked the one that makes 2 smaller strips.

20130916-230310.jpg

Squirt strips out onto the dehydrator tray! BAM it’s that easy!

Now, to ensure your jerky is safe from bacteria, you have two options. The first would occur here – precooking the meat. Place the meat on a baking sheet instead of directly on the trays, and cook in a preheated oven at 325F until they reach an internal temperature of 160F. Use a thin tipped thermometer to check the temperature. Then finish on the dehydrator. Option 2 is what I did, which is why the strips are going on the dehydrator raw. Option 2 is post drying heating. Once the jerky is done, immediately place them in the oven, preheated to 275F, and cook for 10 minutes. Both options work fine, you choose which you prefer.

Turn the dehydrator on the the highest setting, 160F / 71C. Preheat it for 15-30 minutes.

20130916-230349.jpg

After about an hour or so it is starting to dry but the fat is pooling on it, so pat them dry with a paper towel. Do this a few times, every hour or so. It’s also nice to flip them once, I think I did it after about 2 hours.

20130916-230426.jpg

When they are done, remove to a paper towel and leave them for a couple hours wrapped in paper towel if they still have any fat droplets. They shouldn’t really though if you had lean meat. You can tell they are done by removing a piece and letting it cool a bit. Try to bend it in half, and if it won’t break at all it’s not ready. If it splits but doesn’t snap you are probably good to go. You don’t want to cook until it snaps in half, that’s over done. For me with only one pound of beef on 4 trays it took about 5 hours to be satisfactorily done. Don’t overcook it, especially if you still need to do the 10 minutes post drying heating.

20130917-013523.jpg

Mmmm jerky. “Condition” your jerky by loosely packing it and shaking the container every couple days. This just helps redistribute moisture from moister ones to drier ones. If you see condensation forming, they are under done. Then store! I like to store it in the fridge just so it keeps longer but it will keep 2 weeks unrefrigerated. Plus it honestly probably will never last long enough to go bad! Make a big batch just before a camping trip! nom nom nom!

Love this and want a jerky gun of your own? Click here to purchase. Don’t have a dehydrator? They are totally worth the price! I have this one and so far love it!

*This post contains affiliate links. Check out the “About the Blogger” page for more information.

Tomato Leather

My lovely man gave me a dehydrator for my birthday, so when we were making tomato sauce we decided to experiment with using the skins for something – tomato leather!

20130902-213618.jpg

All we really did for this recipe was wring out as much of the excess liquid as we could and place the the skins in a nice even layer on the dehydrator trays. With the skins from 22 pounds of tomatoes we filled two trays. We seasoned it with lots of garlic powder, cayenne, salt and pepper. We turned the dehydrator on to 135 F, and left it overnight.

20130902-213724.jpg

In the morning it was cripsy goodness! The tray that we had put on the fruit roll sheet wasn’t fully dry on the bottom so I transferred it just to the regular tray and left it another couple hours.

20130902-213746.jpg

When dry, I cracked them up into pieces and put them in a plastic bag for a snack later. It actually tastes pretty good, I wasn’t sure what to expect, and it’s good for you!

20130902-213900.jpg